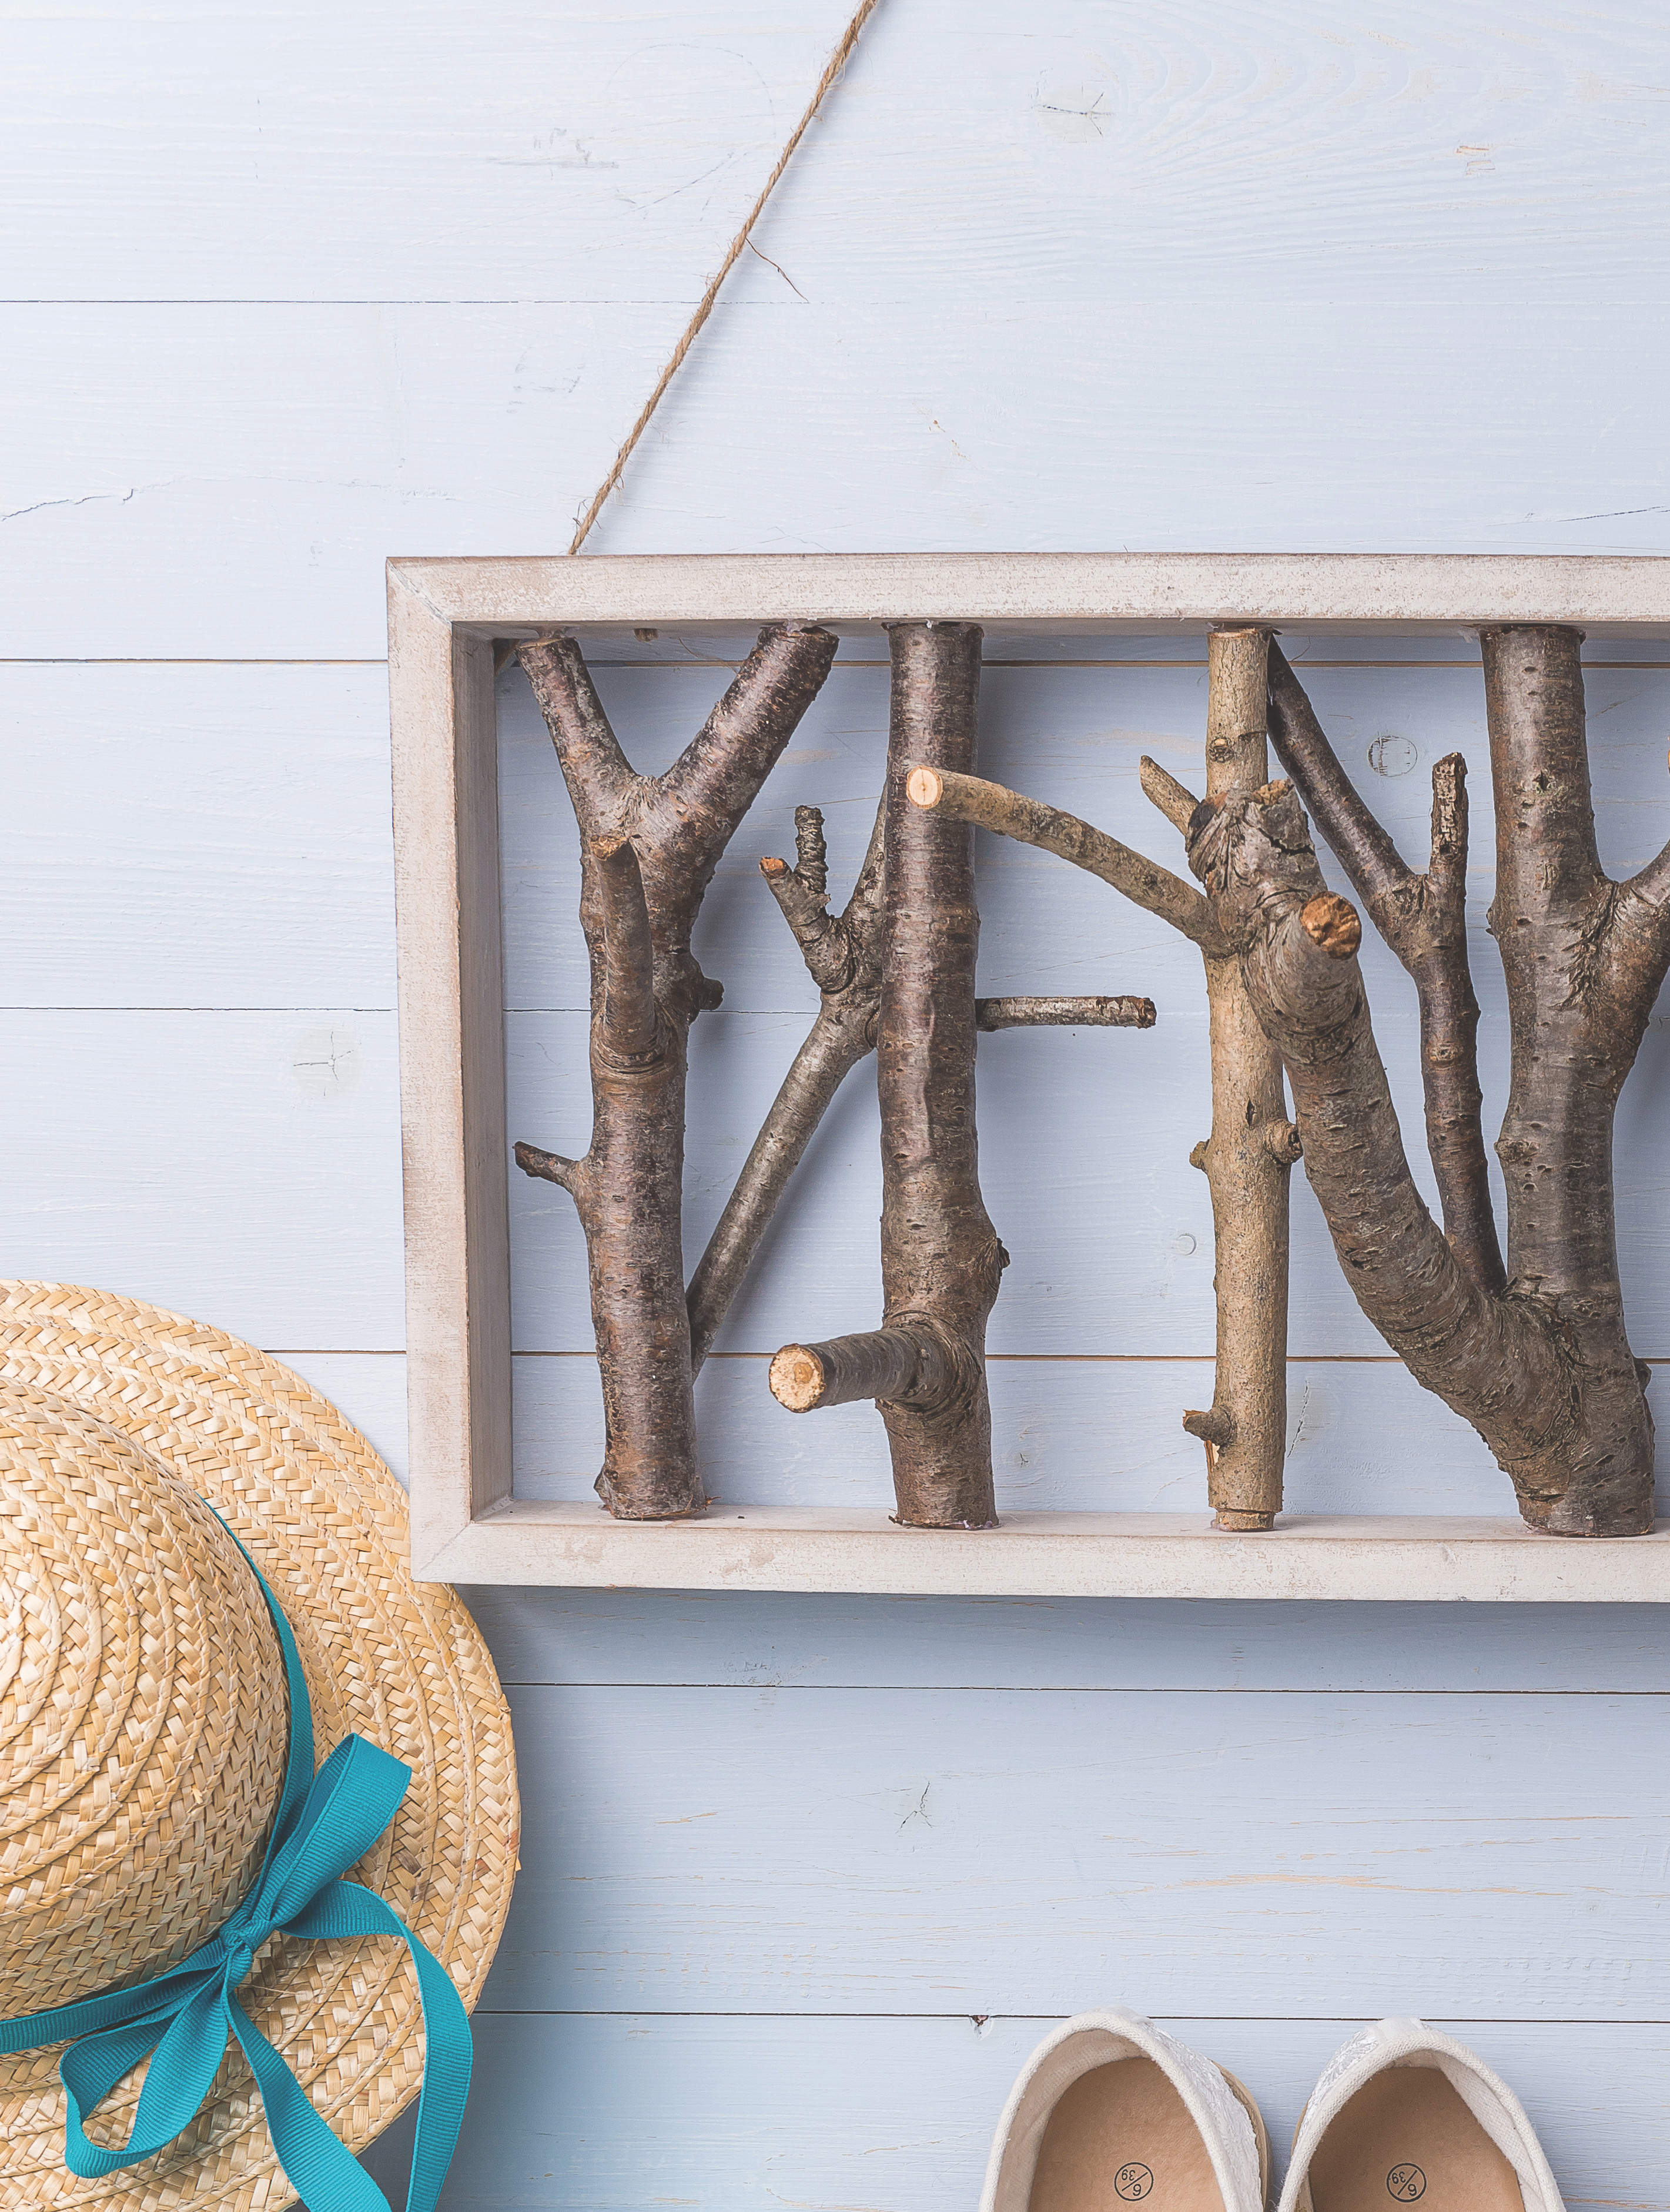
How to make a scarf hanger

How to make a scarf hanger

There’s a real beauty to rustic upcycling and nothing more exciting than using natural materials to make stunning, practical homewares like this scarf hanger!

Try our magazines – get 6 issues from just £9.99!

Published: August 13, 2021 at 5:29 am

Once this quirky scarf hanger is made, it’ll really get conversations going – it’s a clever, show-stopper of a piece, packed with nature’s charm, and fabulously practical to boot. If you’re new to upcycling, you’ll get acquainted with some traditional upcycling tools, like a small saw, glue gun and screwdriver. And when you’ve found the perfect frame, it’s just a case of hunting out the right twigs for your DIY scarf hanger. Hang it near the front door for maximum impact!

Here's a couple of top tips when making your DIY scarf hanger:

  • Sand and paint alternative twigs in pastel shades for a cool, contemporary finish
  • For coats, double the frame size and use thicker branches

Check out our other upcycling projects for more inspiration, we love these easy wine bottle lights, or how about keeping organised with these fun peg magnets? If you're looking for more great upcycling projects, have a read through of the best recycled craft ideas for adults. Got a good idea we've missed? Let us know in the comments below!

We love seeing what you make, so don’t forget to share your upcycling or craft projects with us on Instagram, Facebook or Twitter, too!

How to make a scarf hanger - portrait

You will need:

  • Selection of branches and twigs
  • Glue gun and glue sticks
  • Saw
  • Drill and bit
  • Picture hooks and screws
  • Screwdriver
  • Wooden frame

How to make a scarf hanger

Step 1

To begin your DIY scarf hanger, hunt out a good-sized frame in a local junk shop. Frames can be found in second hand shops/flea markets or cheap homeware shops, but they are also easy to make if you struggle to find one. You could also use any of these alternatives: a deep-set tray with the bottom cut out; picture frames; or simple mirrors with the backs removed.

Step 2

Collect a selection of twigs and branches in all shapes and sizes, making sure that at least one part is straight and a few of them have solid twigs sprouting out from them at a 45 degree angle. Wash them down in hot soapy water and lay them out to dry on old newspaper for a couple of days (depending on how wet they were when you found them).

Step 3

Start by fixing picture hooks to the back of the frame in both the top right-hand corner and the top left-hand corner using your drill and screwdriver.

Step 4

Measure the distance between the inside top edge of the frame and the inside bottom edge of the frame and cut three or four branches to size. Our frame measured 22cm from the top to the bottom and so we used this measurement to cut the branches and twigs to the correct length. It is always best for the branches and twigs to be on the longer side, rather than shorter, as you can then knock them into place lightly with a hammer and they will be much easier to secure.

Step 5

Play around with the branches and twigs until you are happy with how they look in the frame. The sprouting twigs must be facing forward to act as hangers and the back must be able to sit flush against the wall once hung.

Step 6

Secure the branches and twigs in place with a glue gun. Keep cutting and adding more branches until you are happy with the scarf hanger’s appearance.

Step 7

Remove any visible glue with a sharp Stanley knife once finished.

Step 8

Finally, find somewhere to display your scarf hanger!

How to make a scarf hanger – portrait, detail


We hoped you enjoyed this project on how to make a scarf hanger. If you’re after more upcycling projects – check out these stunning wine bottle lights, or why not try your hand at making your own envelopes with our how to make an envelope tutorial – the free templates makes it so easy!