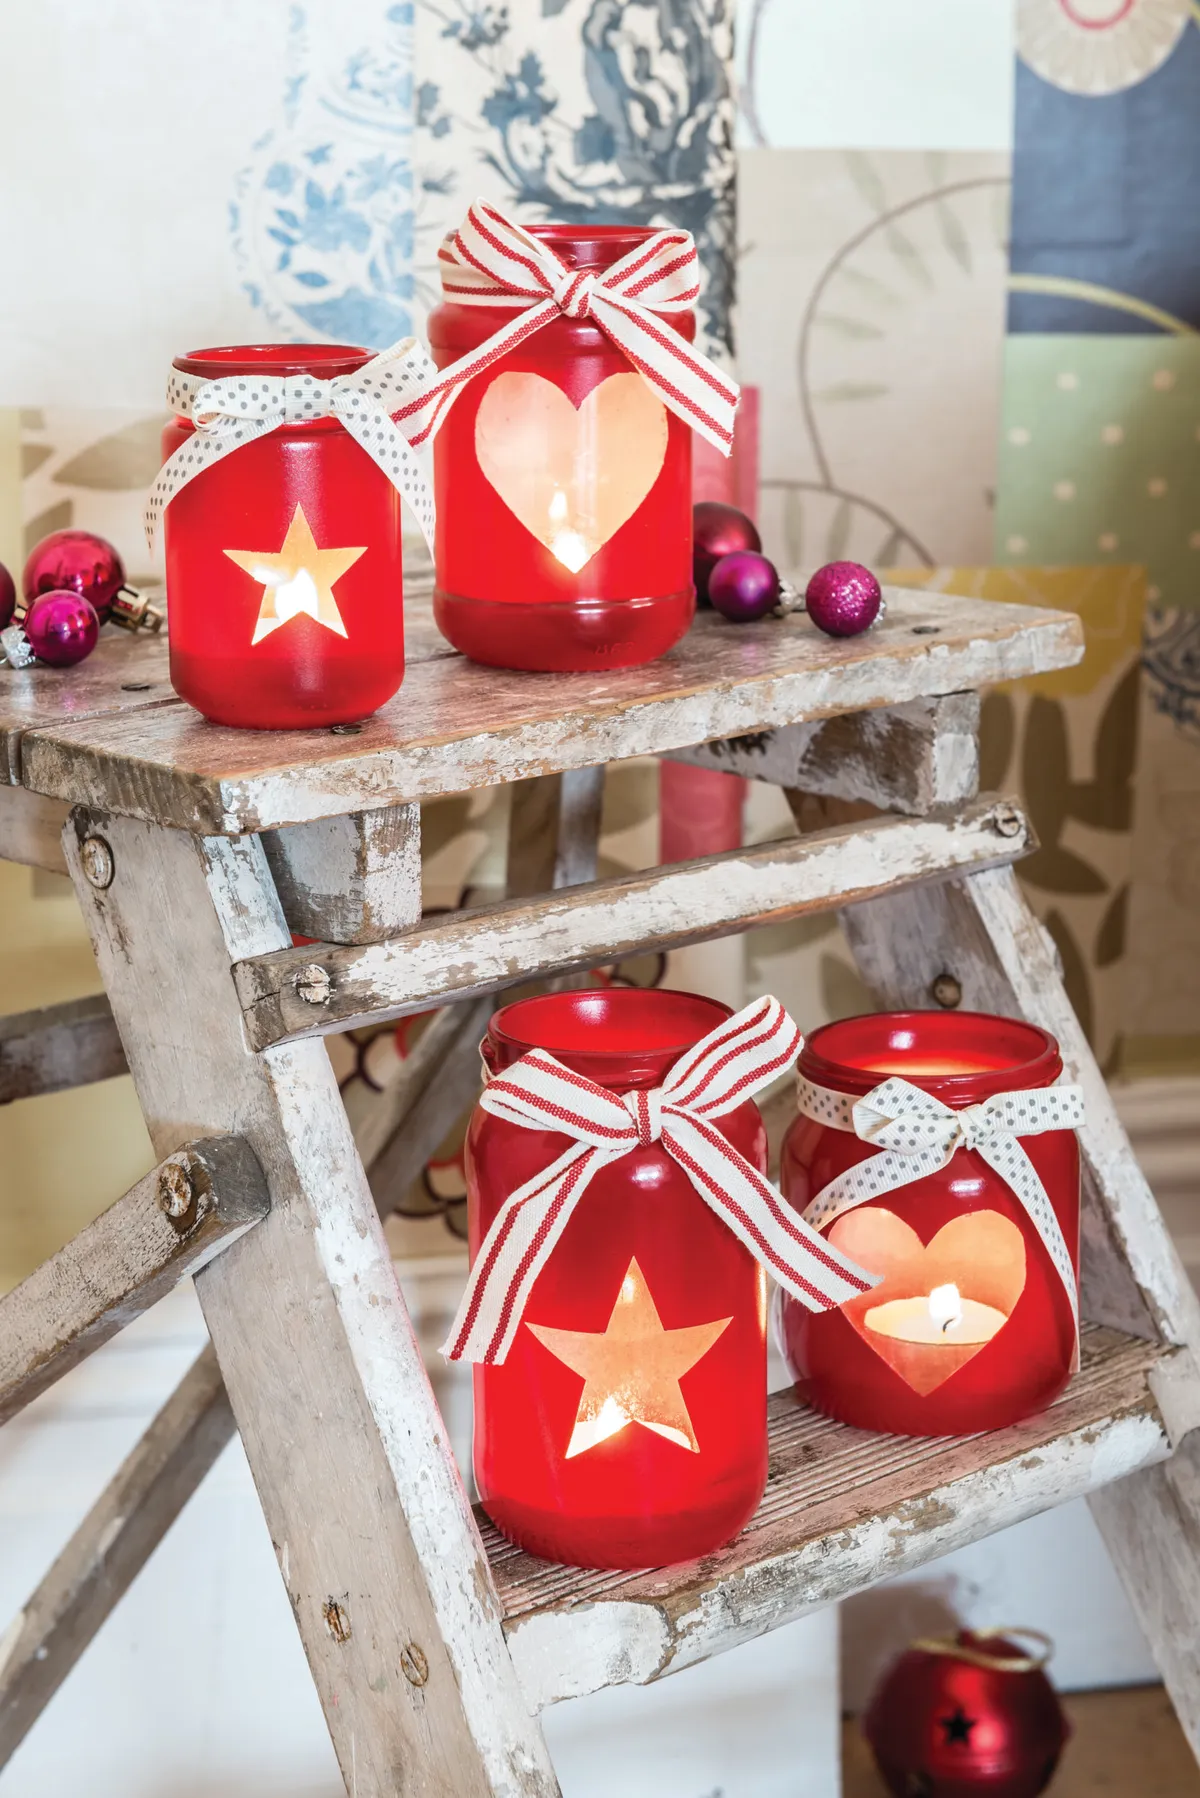
DIY mason jar candle holders

DIY mason jar candle holders

These DIY mason jar candle holders are easy and quick to make for no-fuss Christmas decorations!

Try our magazines – get 6 issues from just £9.99!

Published: July 8, 2024 at 2:56 pm

These DIY mason jar candle holders are so easy to make and are really cost-effective, too. Use good-quality masking tape to prevent the paint from bleeding into the design and do a test piece first to get used to the flow. It’s easy to overload your project with paint that creates drips, so make sure you achieve a good even stroke for a great finish.

Always give your mason jars a coat of primer before you spray paint them – it not only reduces the coats you need to apply but also gives the inside of the jar a clean finish. As the jars can get very hot around the rim when used with real tea lights, we suggest including a safety warning.

Alternatively, use a battery operated tea light instead. You can offer these as add-ons to boost your sales. Check out our other upcycling projects for more inspiration, we love these upcycled jam jars, or how about keeping the memory of a loved one with this adorable teddy made from an old t-shirt?

We love seeing what you make, so don’t forget to share your upcycling or craft projects with us on Instagram, Facebook or Twitter, too!

You will need

  • Mason jars (or jam jars)
  • Masking tape
  • Surface primer
  • Red enamel spray paint
  • Old cardboard box
  • Ribbon
  • Craft knife
  • Cutting mat
  • Baking paper
  • Pencil
  • Glue

How to make DIY mason jar candle holders

Step 1

Print the DIY mason jar candle holders – template onto a sheet of A4 paper (you may find that you need to resize them to fit the front of your jar, depending on the size of the mason jar that you are using).

Step 2

Rip off a piece of masking tape and stick lightly onto baking paper; do not stick too firmly as you’ll need to remove it later. Put the baking paper sheet over the template and trace around the motif. Use a craft knife and cutting mat to cut around the motif. Remove the baking paper (the easiest way to do this is to use a craft knife to lift up a corner, then peel off).

Step 3

Clean and dry the jars, making sure that any sticky labels are completely removed. Stick your masking tape motif onto the side of the jar, positioned where you’d like the motif to appear. Attach a piece of masking tape behind the motif on the inside of the jar to prevent any overspray going onto the clear motif area.

Step 4

Place the jar inside an old cardboard box and give it a coat of primer, using sweeping strokes. Leave to dry for about 20 minutes, then repeat if necessary. Once dry, apply your first coat of colour in the same way. Leave to dry, then repeat, building up layers of colour until you get an effect you are happy with. Remember to spray around the inner lip of the jar for a neat finish.

Step 5

When the jar is completely dry, remove the masked motif from the front of the jar and the masking tape from inside, using a craft knife.

Step 6

Cut a length of decorative ribbon and wrap around the rim of the jar, tying in a bow at the front. Dab some strong glue underneath the ribbon and the bow to hold it securely in place, to finish.

DIY mason jar candle holders


We hope you’ve enjoyed this quick and easy tutorial on how to make DIY mason jar candle holders. If you like mason jar crafts, check out our round up of the best mason jar crafts for more brilliant inspiration.