DIY Joy Christmas sign

DIY Joy Christmas sign

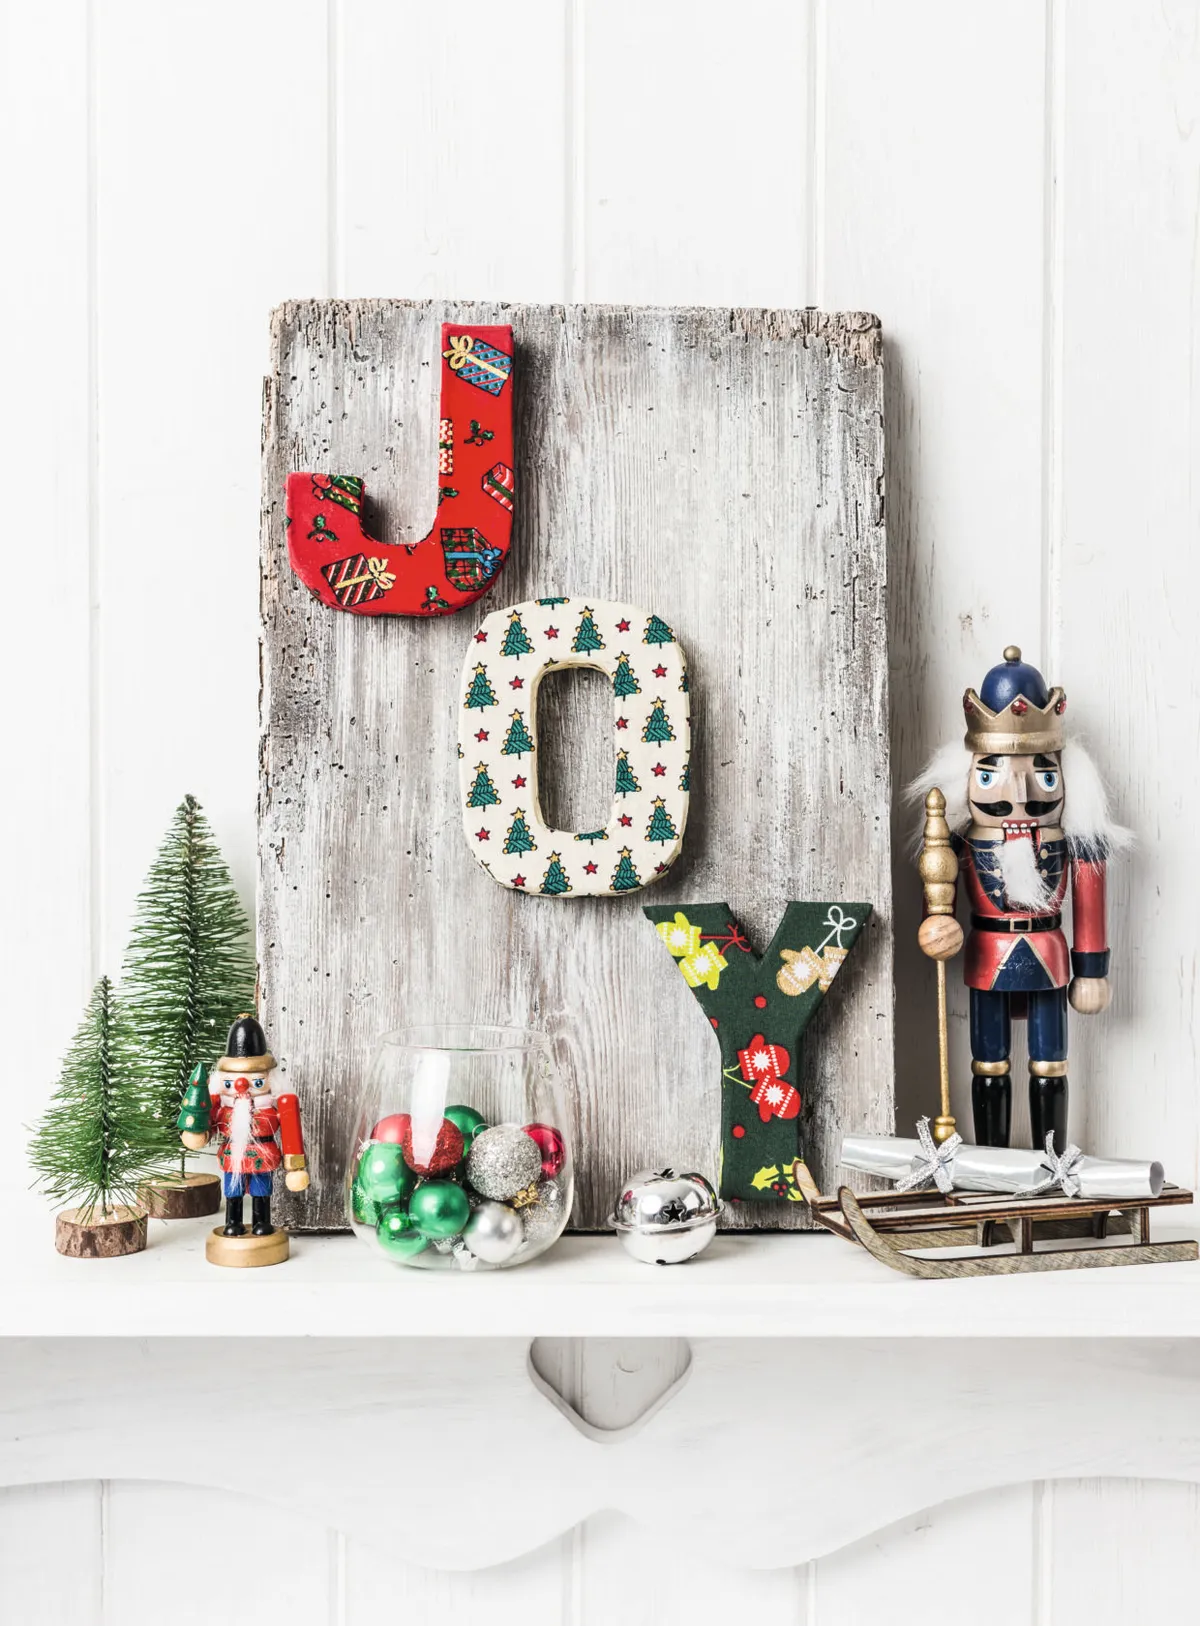
Rustic is the word on everyone's lips this Christmas – get the look with our cool Joy Christmas sign made from an old floorboard and fabric scraps.

Try our magazines – get 6 issues from just £9.99!

Published: July 8, 2024 at 2:52 pm

Bring joy to customers' homes this December with an easy Joy Christmas sign made from an old floorboard picked up at a reclamation yard and papier mâché letters covered in leftover fabrics. If you don't have fabric scraps, then you can use scrapbook papers or wrapping paper instead.

This Joy Christmas sign can be lucrative year-round when you offer to create bespoke signs for weddings, initials or the nursery, too.
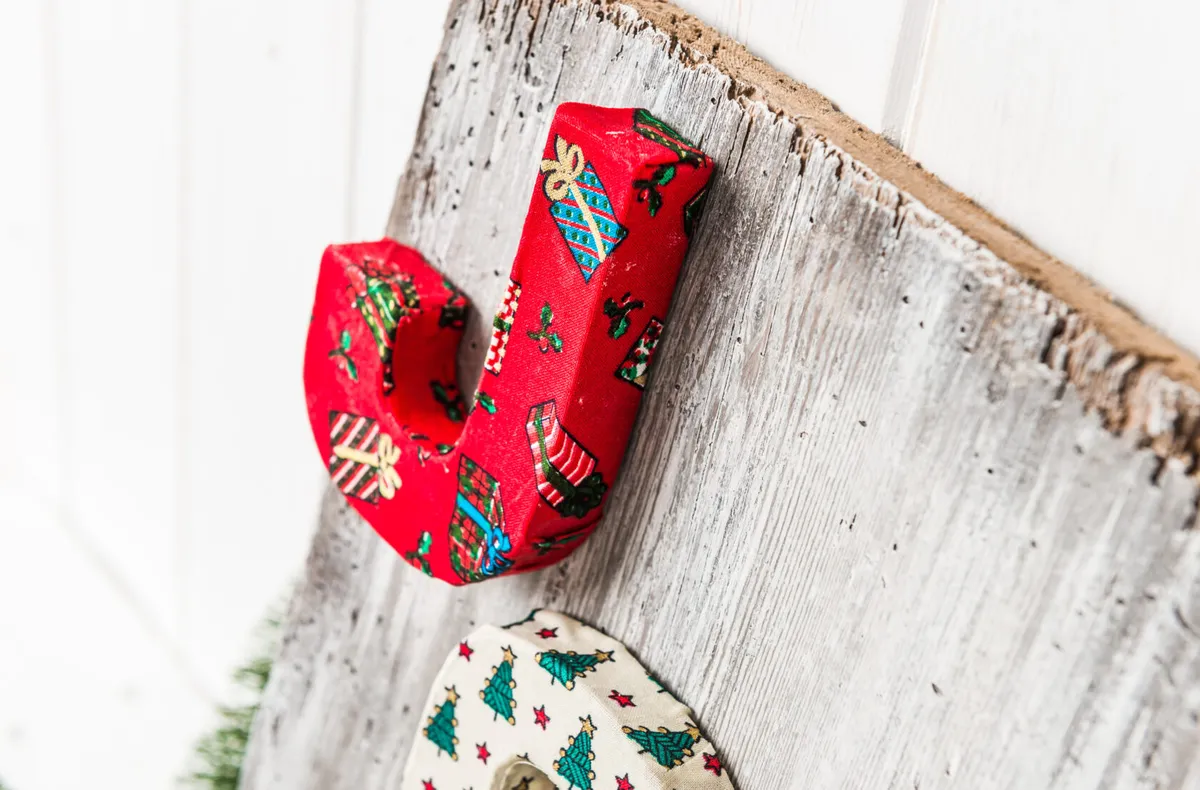
DIY Joy Christmas sign - portrait

If you love this Joy Christmas sign, check out these gorgeous DIY illuminated letters - ideal for all year round - or these soft fabric letters, ideal for craft rooms and nurseries alike.

We love seeing what you make, so don’t forget to share your upcycling or craft projects with us on Instagram, Facebook or Twitter, too!

You will need:

  • Old piece of wood
  • Chalk paint in white
  • Brush
  • Cloth or kitchen towel
  • Fabric scraps (the size of a fat quarter is ample)
  • Papier mâché letters in J, O and Y
  • PVA glue
  • Strong glue
DIY Joy Christmas sign - portrait

How to make a Joy Christmas sign

Step 1

Clean the floorboard with a dry old paintbrush to remove any dirt and dust.

Step 2

Apply paint to the floorboard with light strokes. To get the vintage, worn paint effect, you should only have a little paint on the brush, so if it’s overloaded with paint sweep it over some kitchen roll a few times to remove the excess.

Step 3

Use a dry cloth or piece of kitchen roll to rub over the paint to work it into the grain of the wood and also to remove any excess. Leave to dry completely.

Step 4

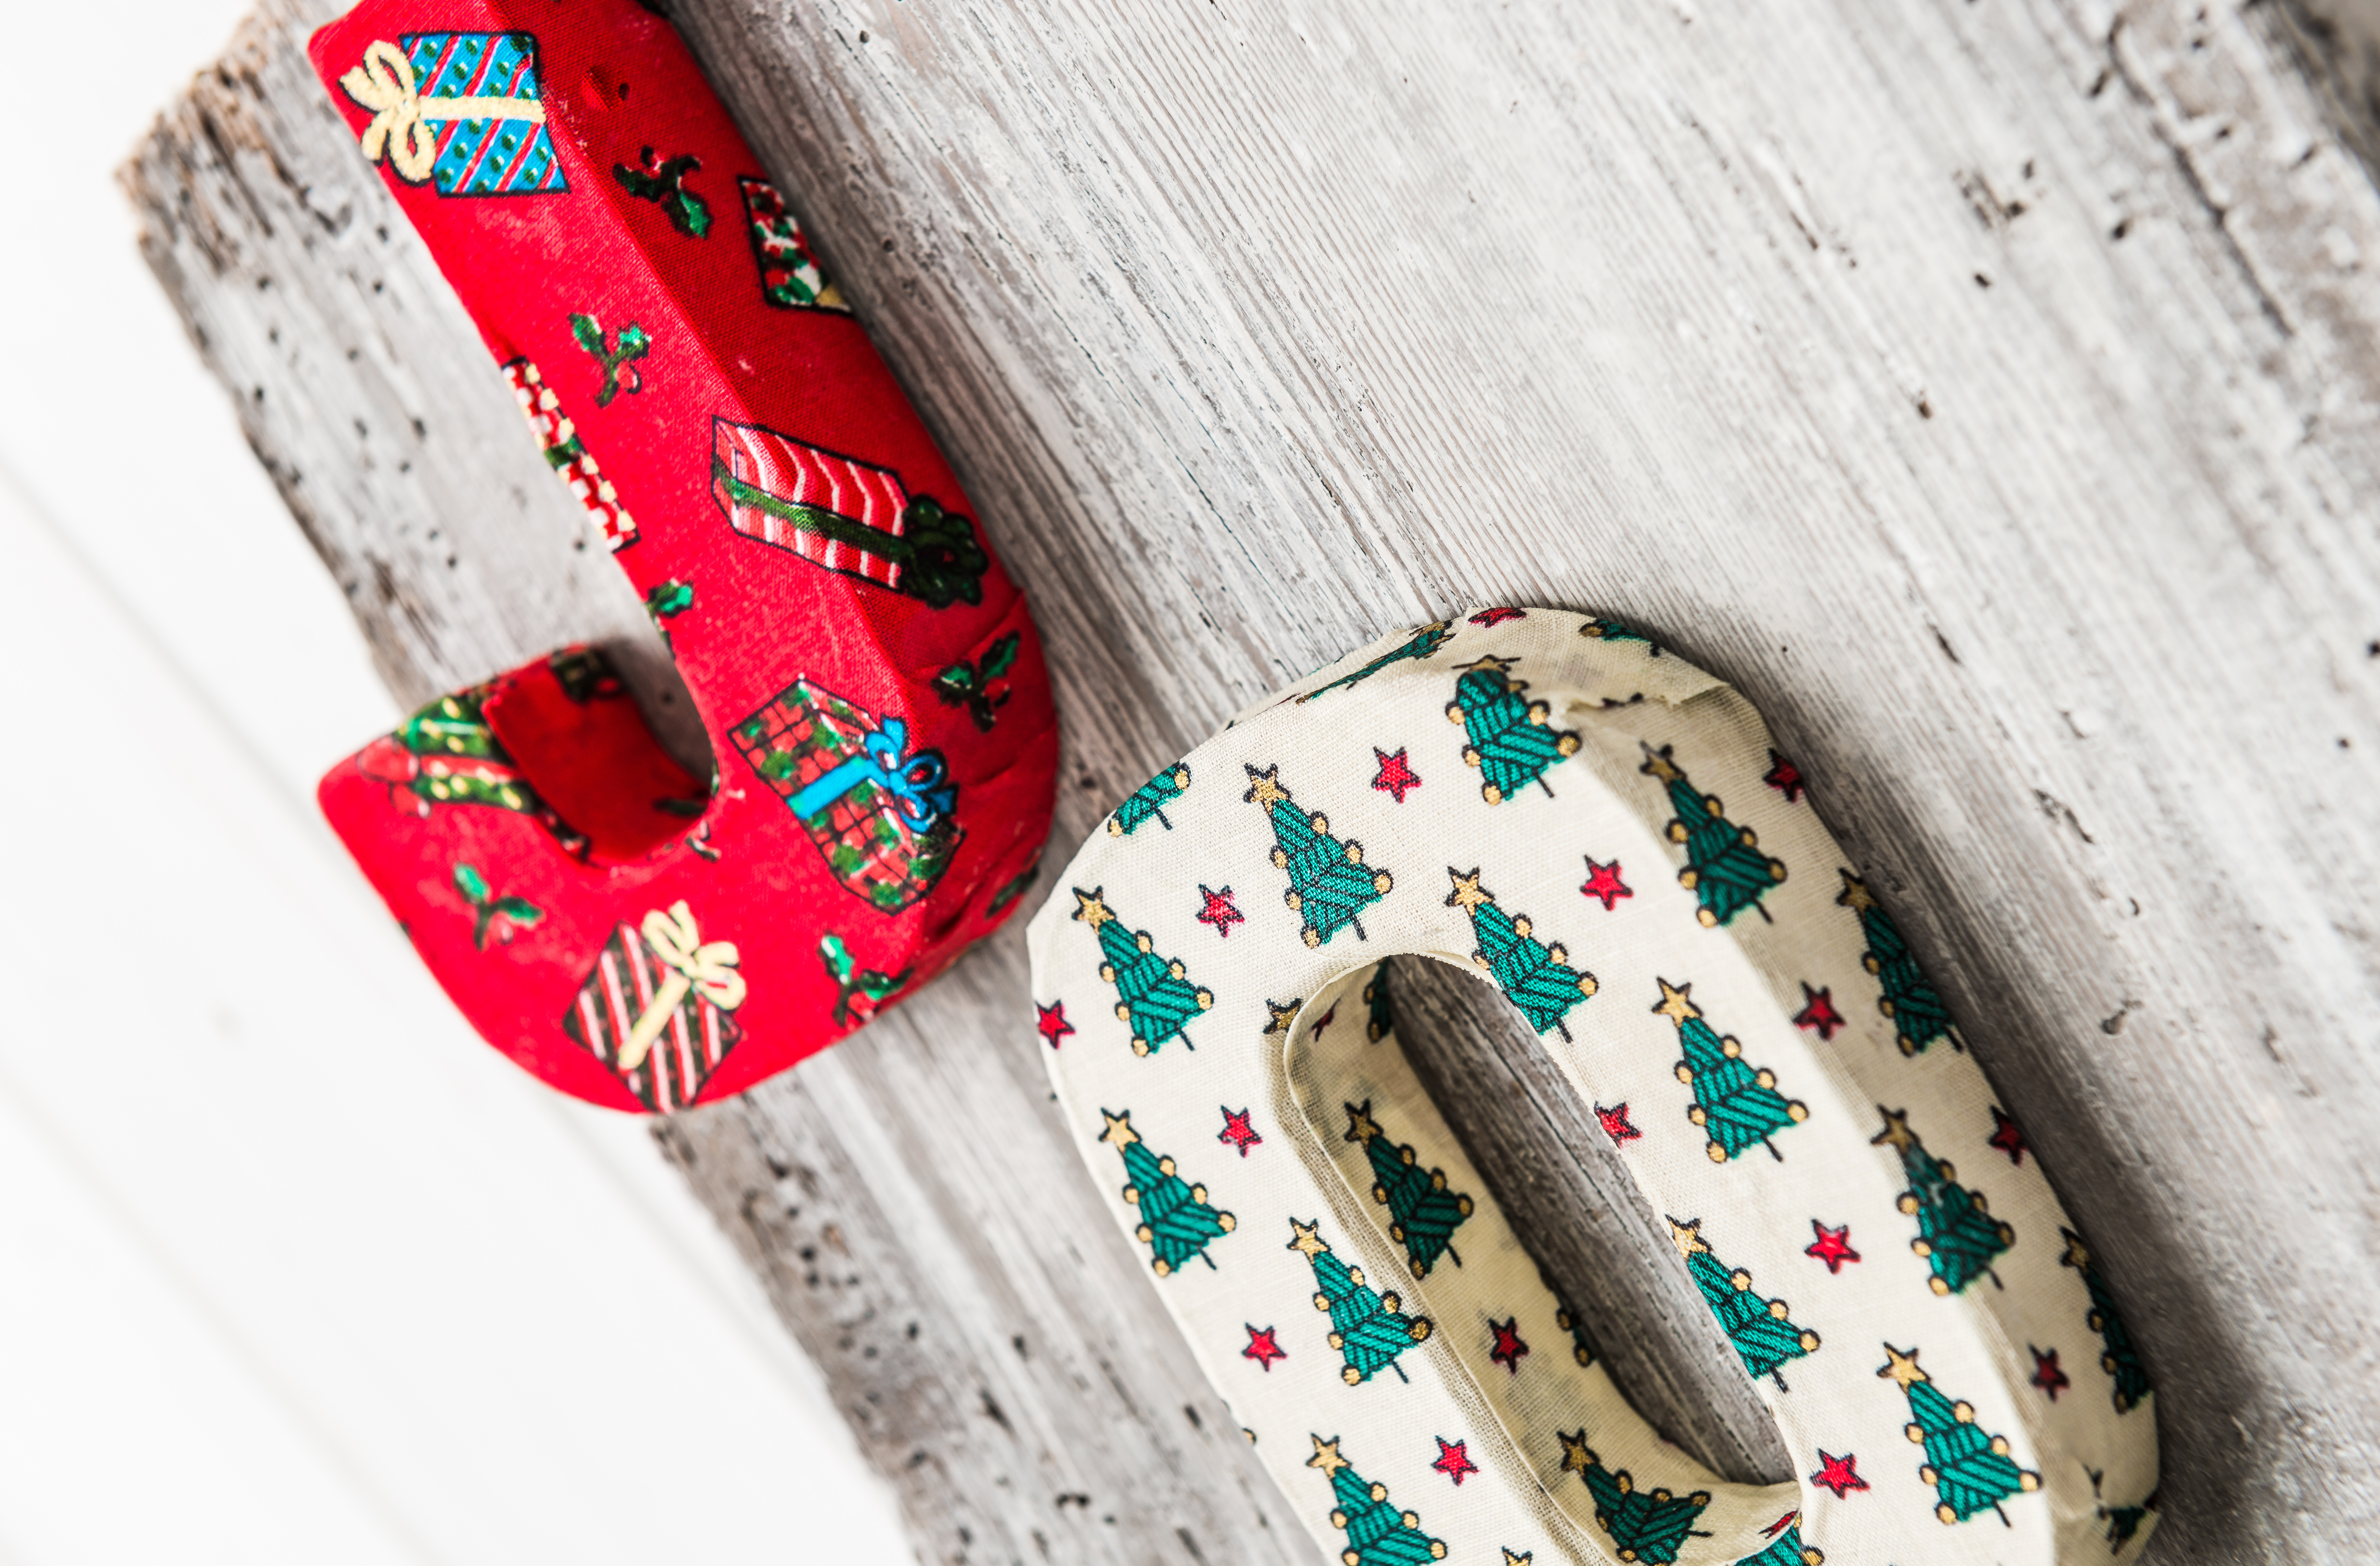
Arrange the fabrics in the order you would like them to appear. Once happy with the look, coat the face of the first letter with PVA glue, then stick the fabric in place. Work the fabric around the letter, sticking and clipping the fabric to the sides and on the reverse. Repeat for the remaining letters, then go over the fabric with PVA glue to seal the edges.

Step 5

Arrange the letters down the length of the floorboard, then stick them in place using a strong glue, to finish.

DIY Joy Christmas sign – portrait


We hope you’ve enjoyed this easy project on how to make a DIY Joy Christmas sign. If you’re looking for more Christmas projects, why not browse our Christmas printables for lots of Christmas freebies, or perhaps you’re thinking about buying a craft printer? Check out our review of the best printer for card making.