Step 1
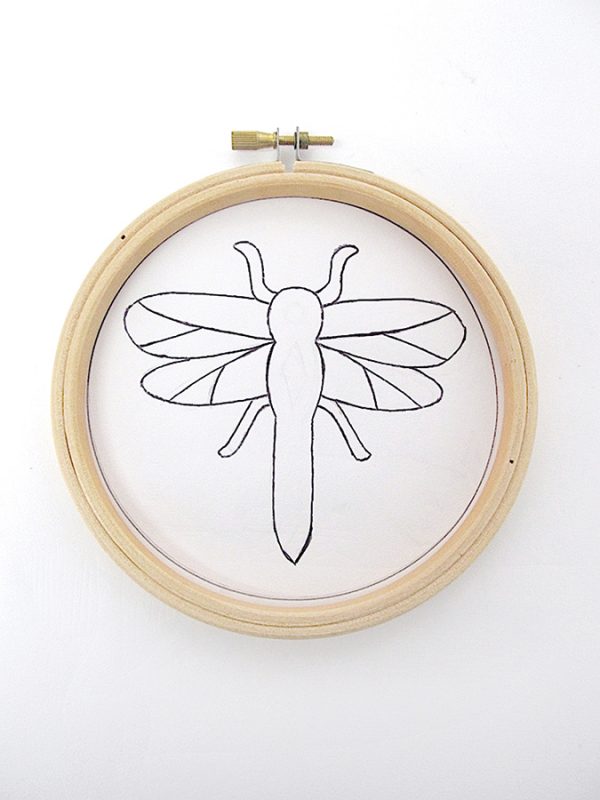
Cut out or print your chosen template. Alternatively, create your own screen printing template by drawing around the inside of the embroidery hoop onto a piece of paper, then drawing your design inside the circle. Fill in the areas of negative space you don’t want to print using black pen – this will highlight the design details.
Step 2
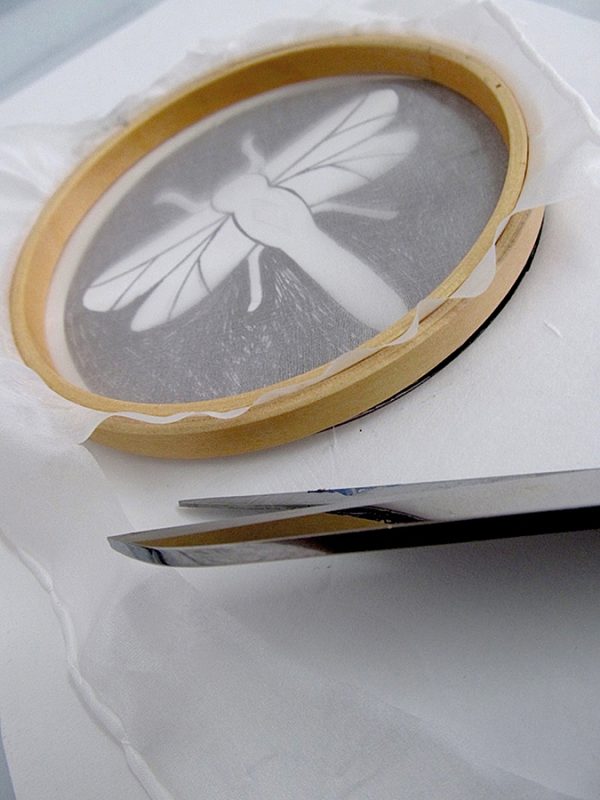
To create the hoop screen, lay the silk scarf on top of the embroidery hoop and cut out a square panel to fit the hoop. Undo the hoop, sandwich the silk square between it, then tighten it up. Pull the fabric until the surface is smooth and taut. Cut away any excess silk around the hoop leaving a small seam allowance edge.
Step 3
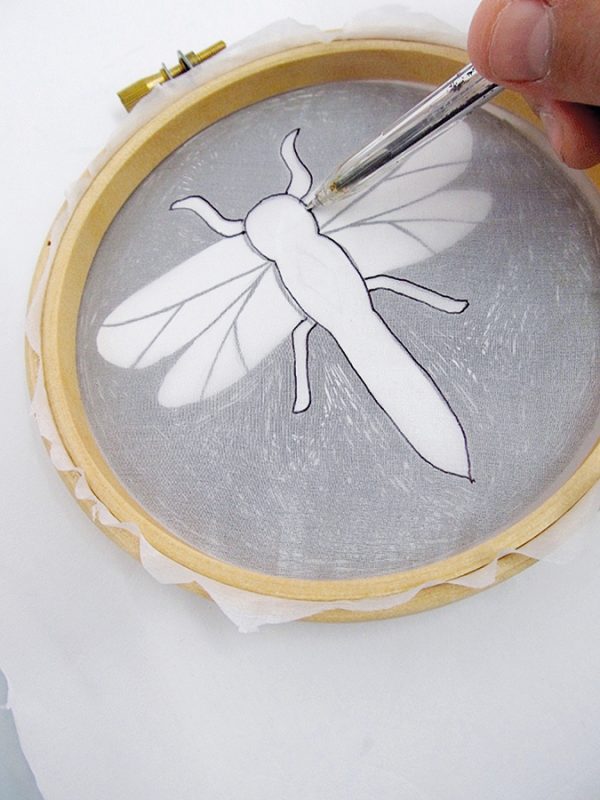
Place the hoop screen flat onto the template, as shown, and use a pen to trace the design directly onto the silk fabric surface, only drawing around the shapes you wish to be printed.
Step 4
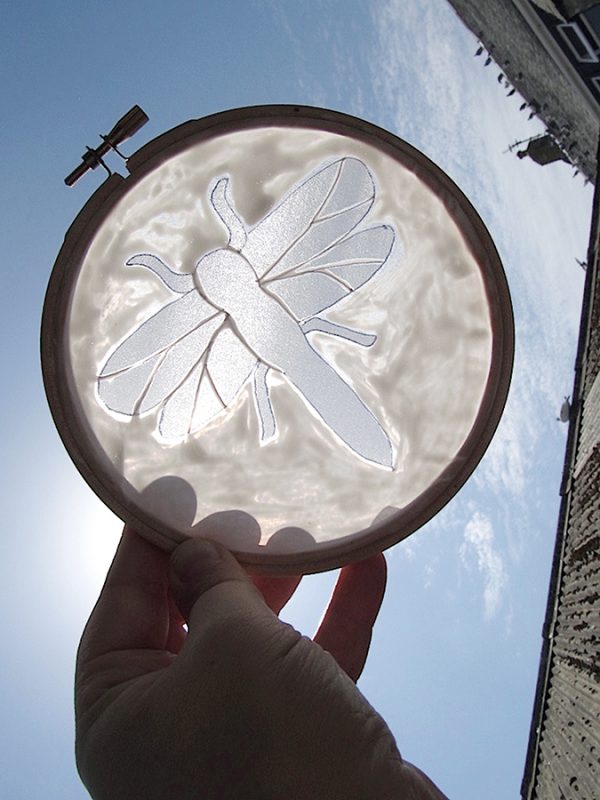
Flip the hoop back over and use a paintbrush to apply Mod Podge to the negative space around the design. Start by filling the edge of the design, working from the middle out. Mod Podge acts as a block resistant, meaning the paint now won’t go through these areas – this is called exposing the screen. Hold the screen to the light to make sure all the areas are filled, then leave until dry and clear.
Step 5
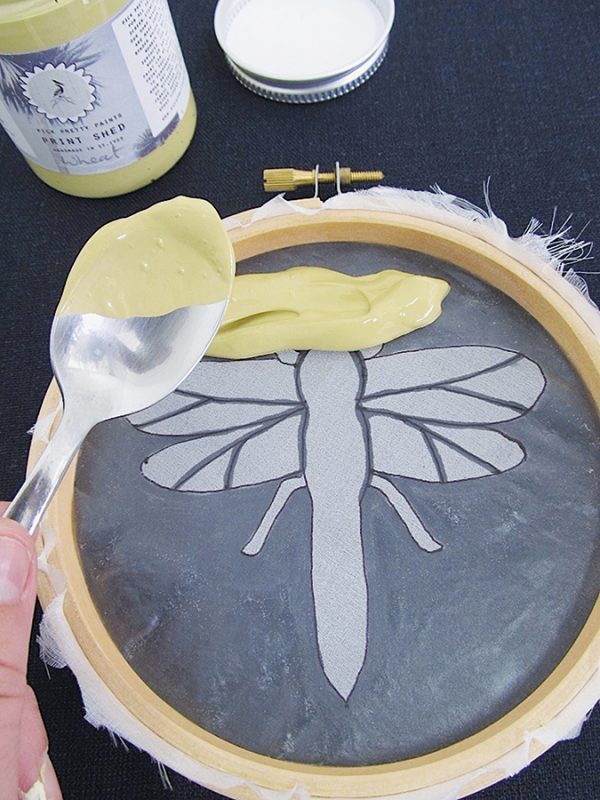
To print, lay a plain cushion cover right side (RS) up on a flat surface and place the hoop screen face down in the position you want the motif to appear. Apply a small amount of fabric printing paint at the top of the hoop.
Step 6
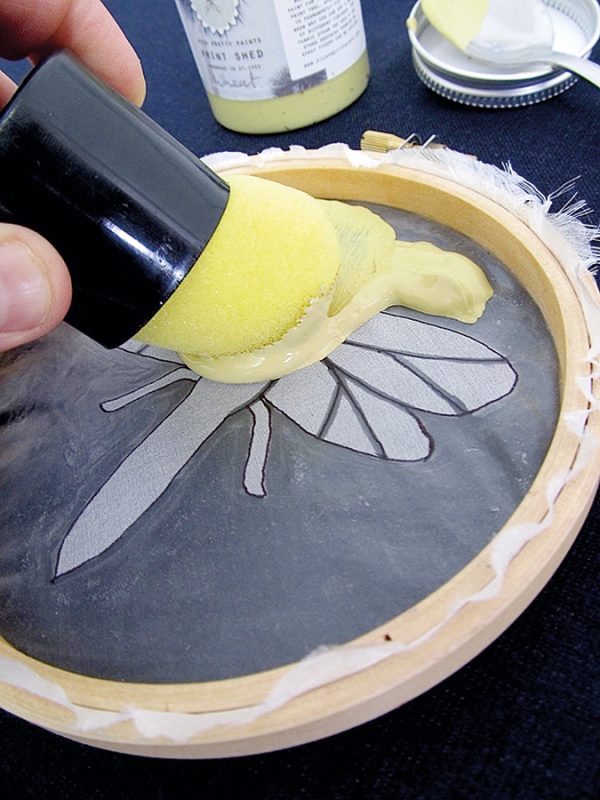
Using the foam paint dabber, pull the paint down across the surface with a medium pressure. Carefully lift the hoop from bottom to top, revealing the design. This prevents mess and gives you much more control over the screen.
Step 7
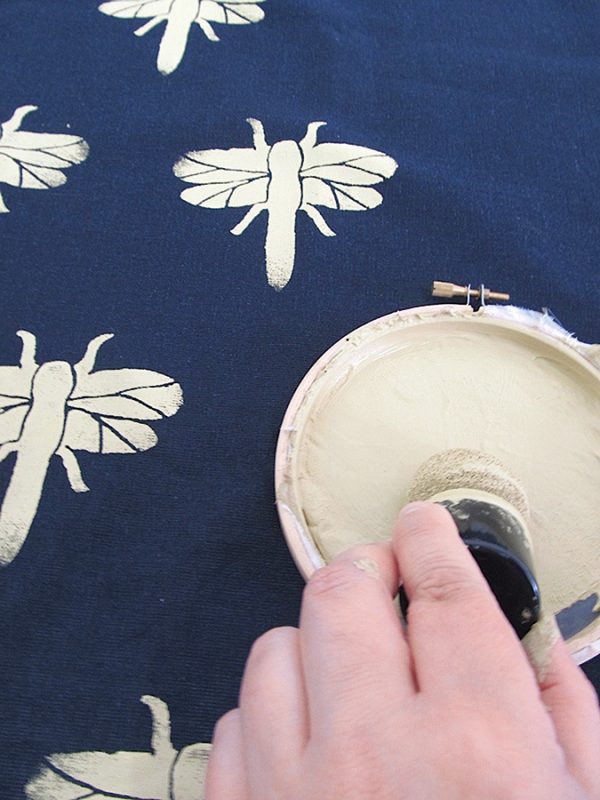
To create an even repeat pattern, repeat Steps 5-6, lining up the hoop screen with the position of the last printed shape. If the screen becomes blocked, wipe away the paint from the screen before continuing.
Once you’ve finished printing, wash out the hoop screen with water and leave it to dry in an airing cupboard. To fix the printing paint onto the fabric, leave the piece to dry, then carefully steam the area with an iron.


