Step 1
Cut 36 2.5m (98 1/8") lengths of twine. Set aside 18 of the twine lengths and one bag handle. You’ll start with the remaining 18 lengths.
Step 2
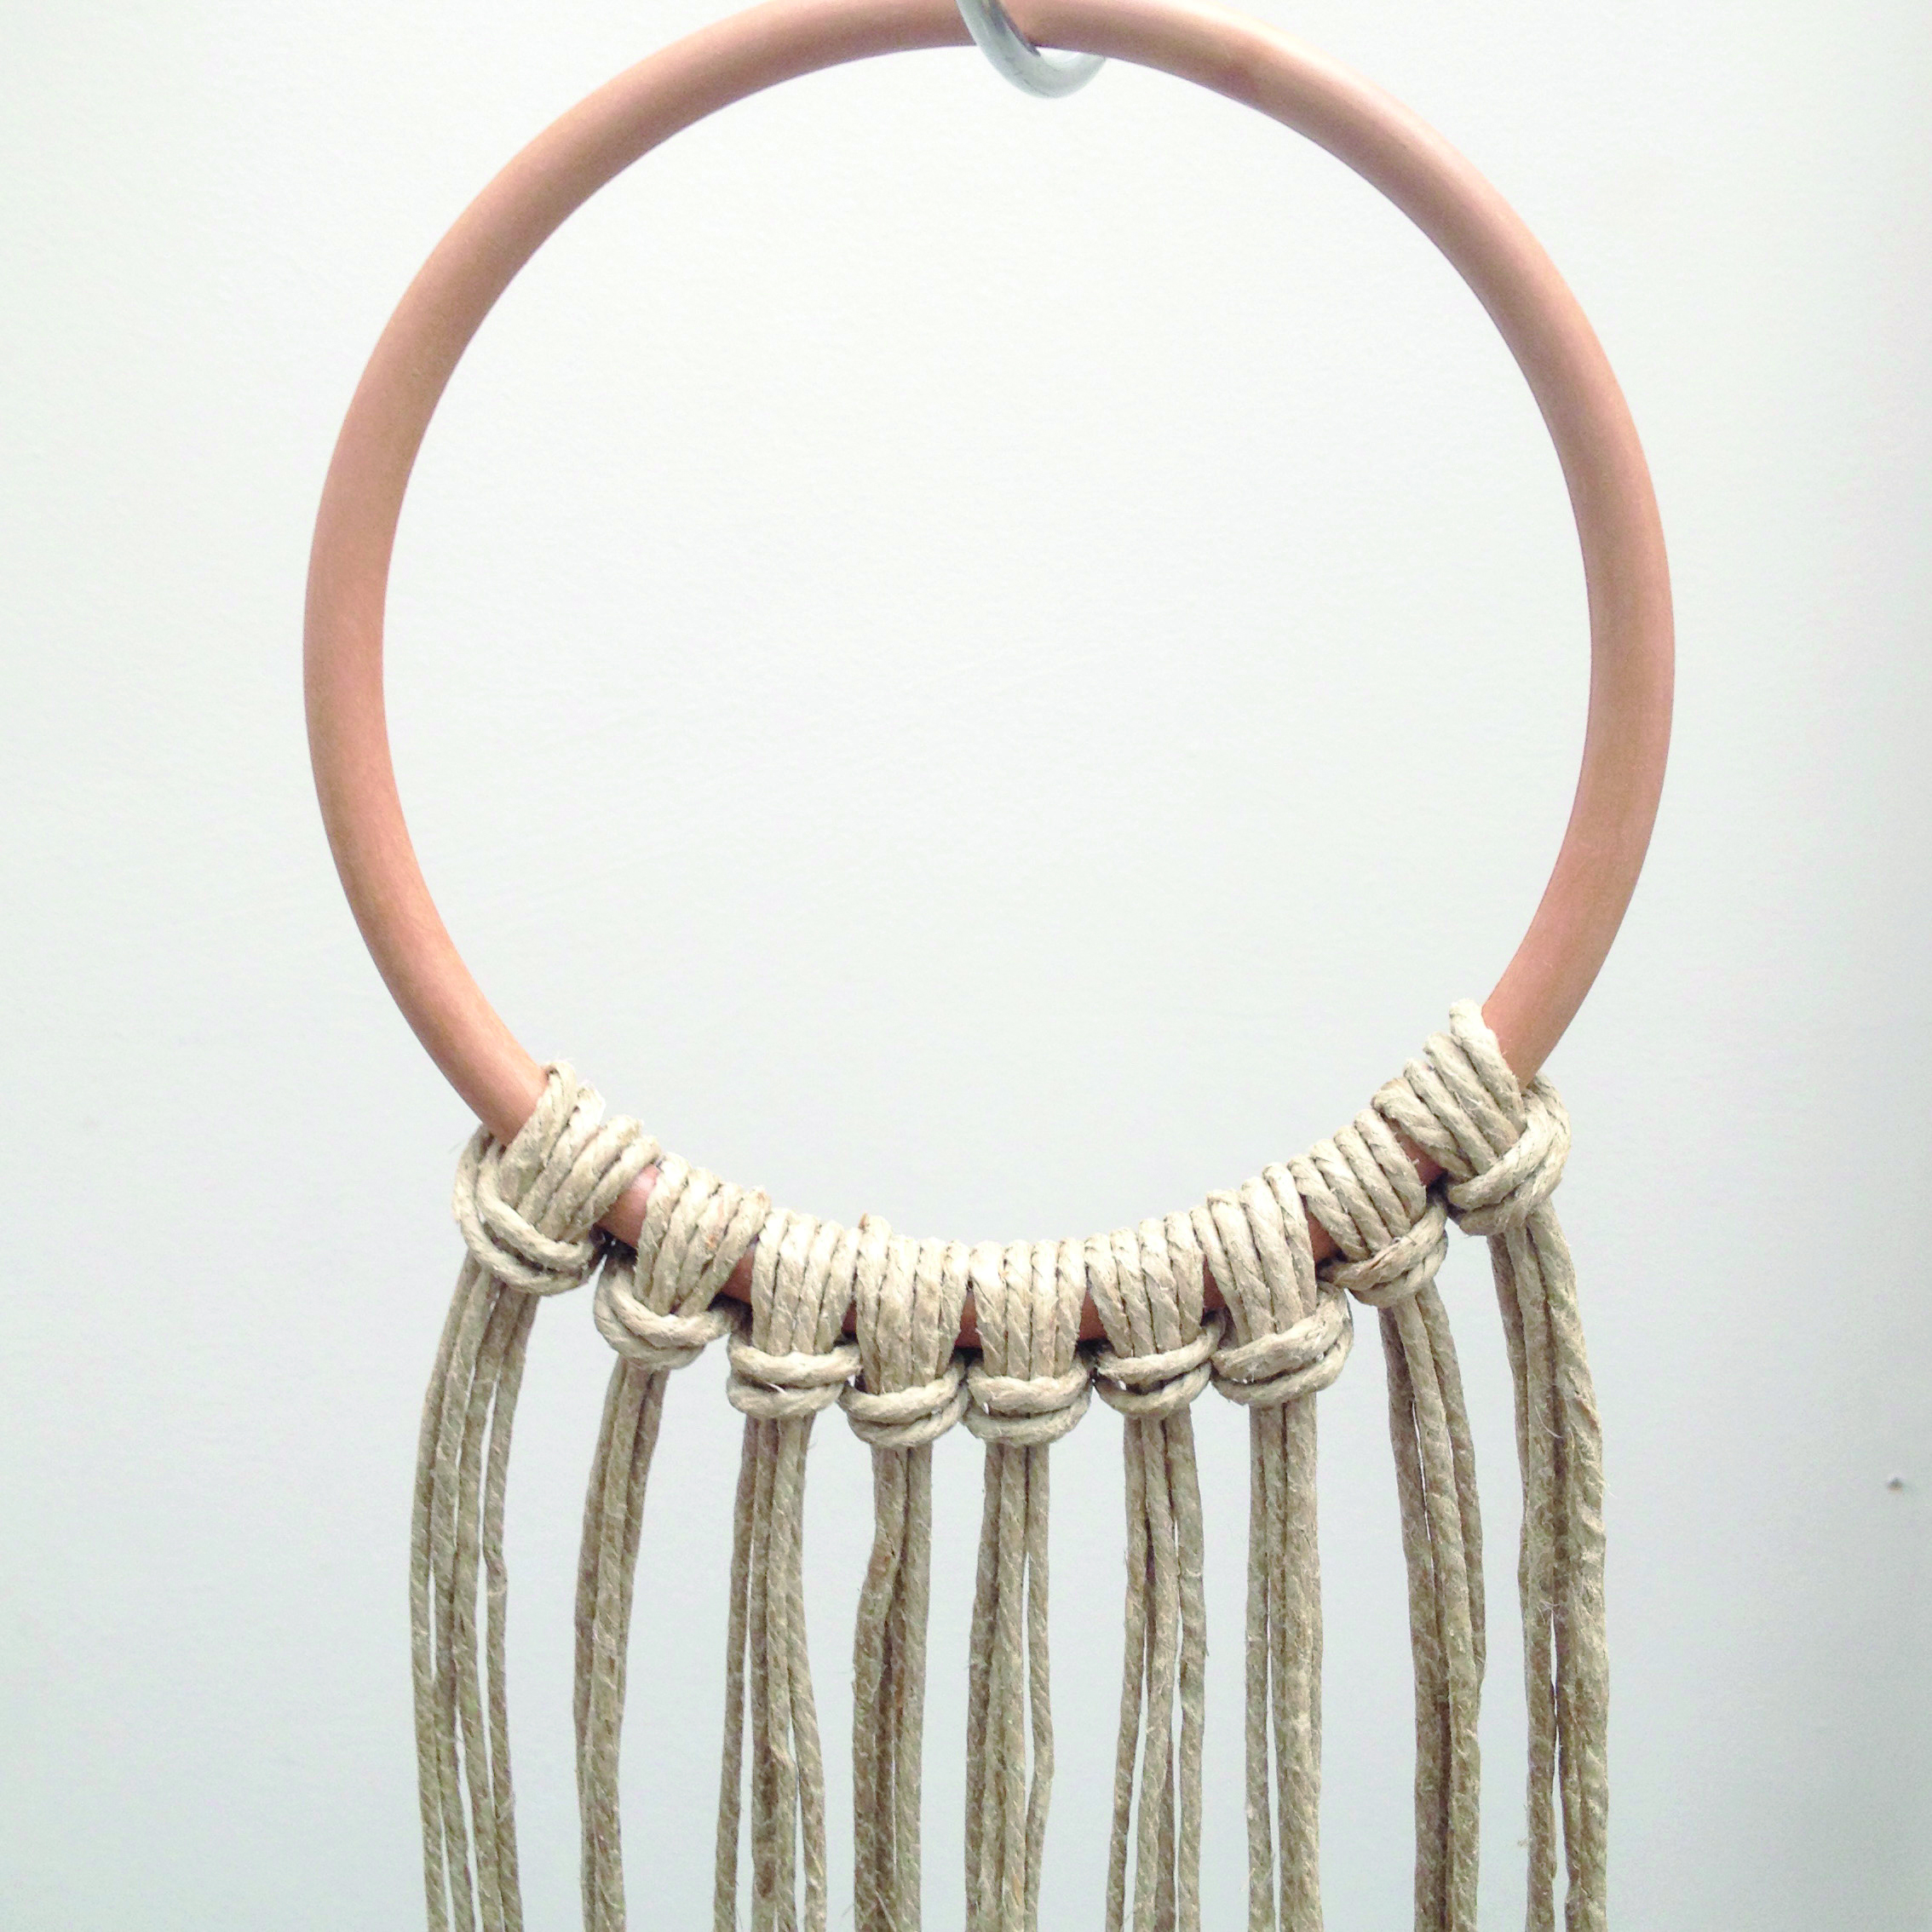
Hang the remaining bag handle from the S-hook or masking tape it to a flat work surface. Take two of the lengths of twine held together and make a lark’s head knot on the handle. Repeat this with the remaining 16 cords until you have nine lark’s head knots in total on the bag handle, as shown.
Step 3
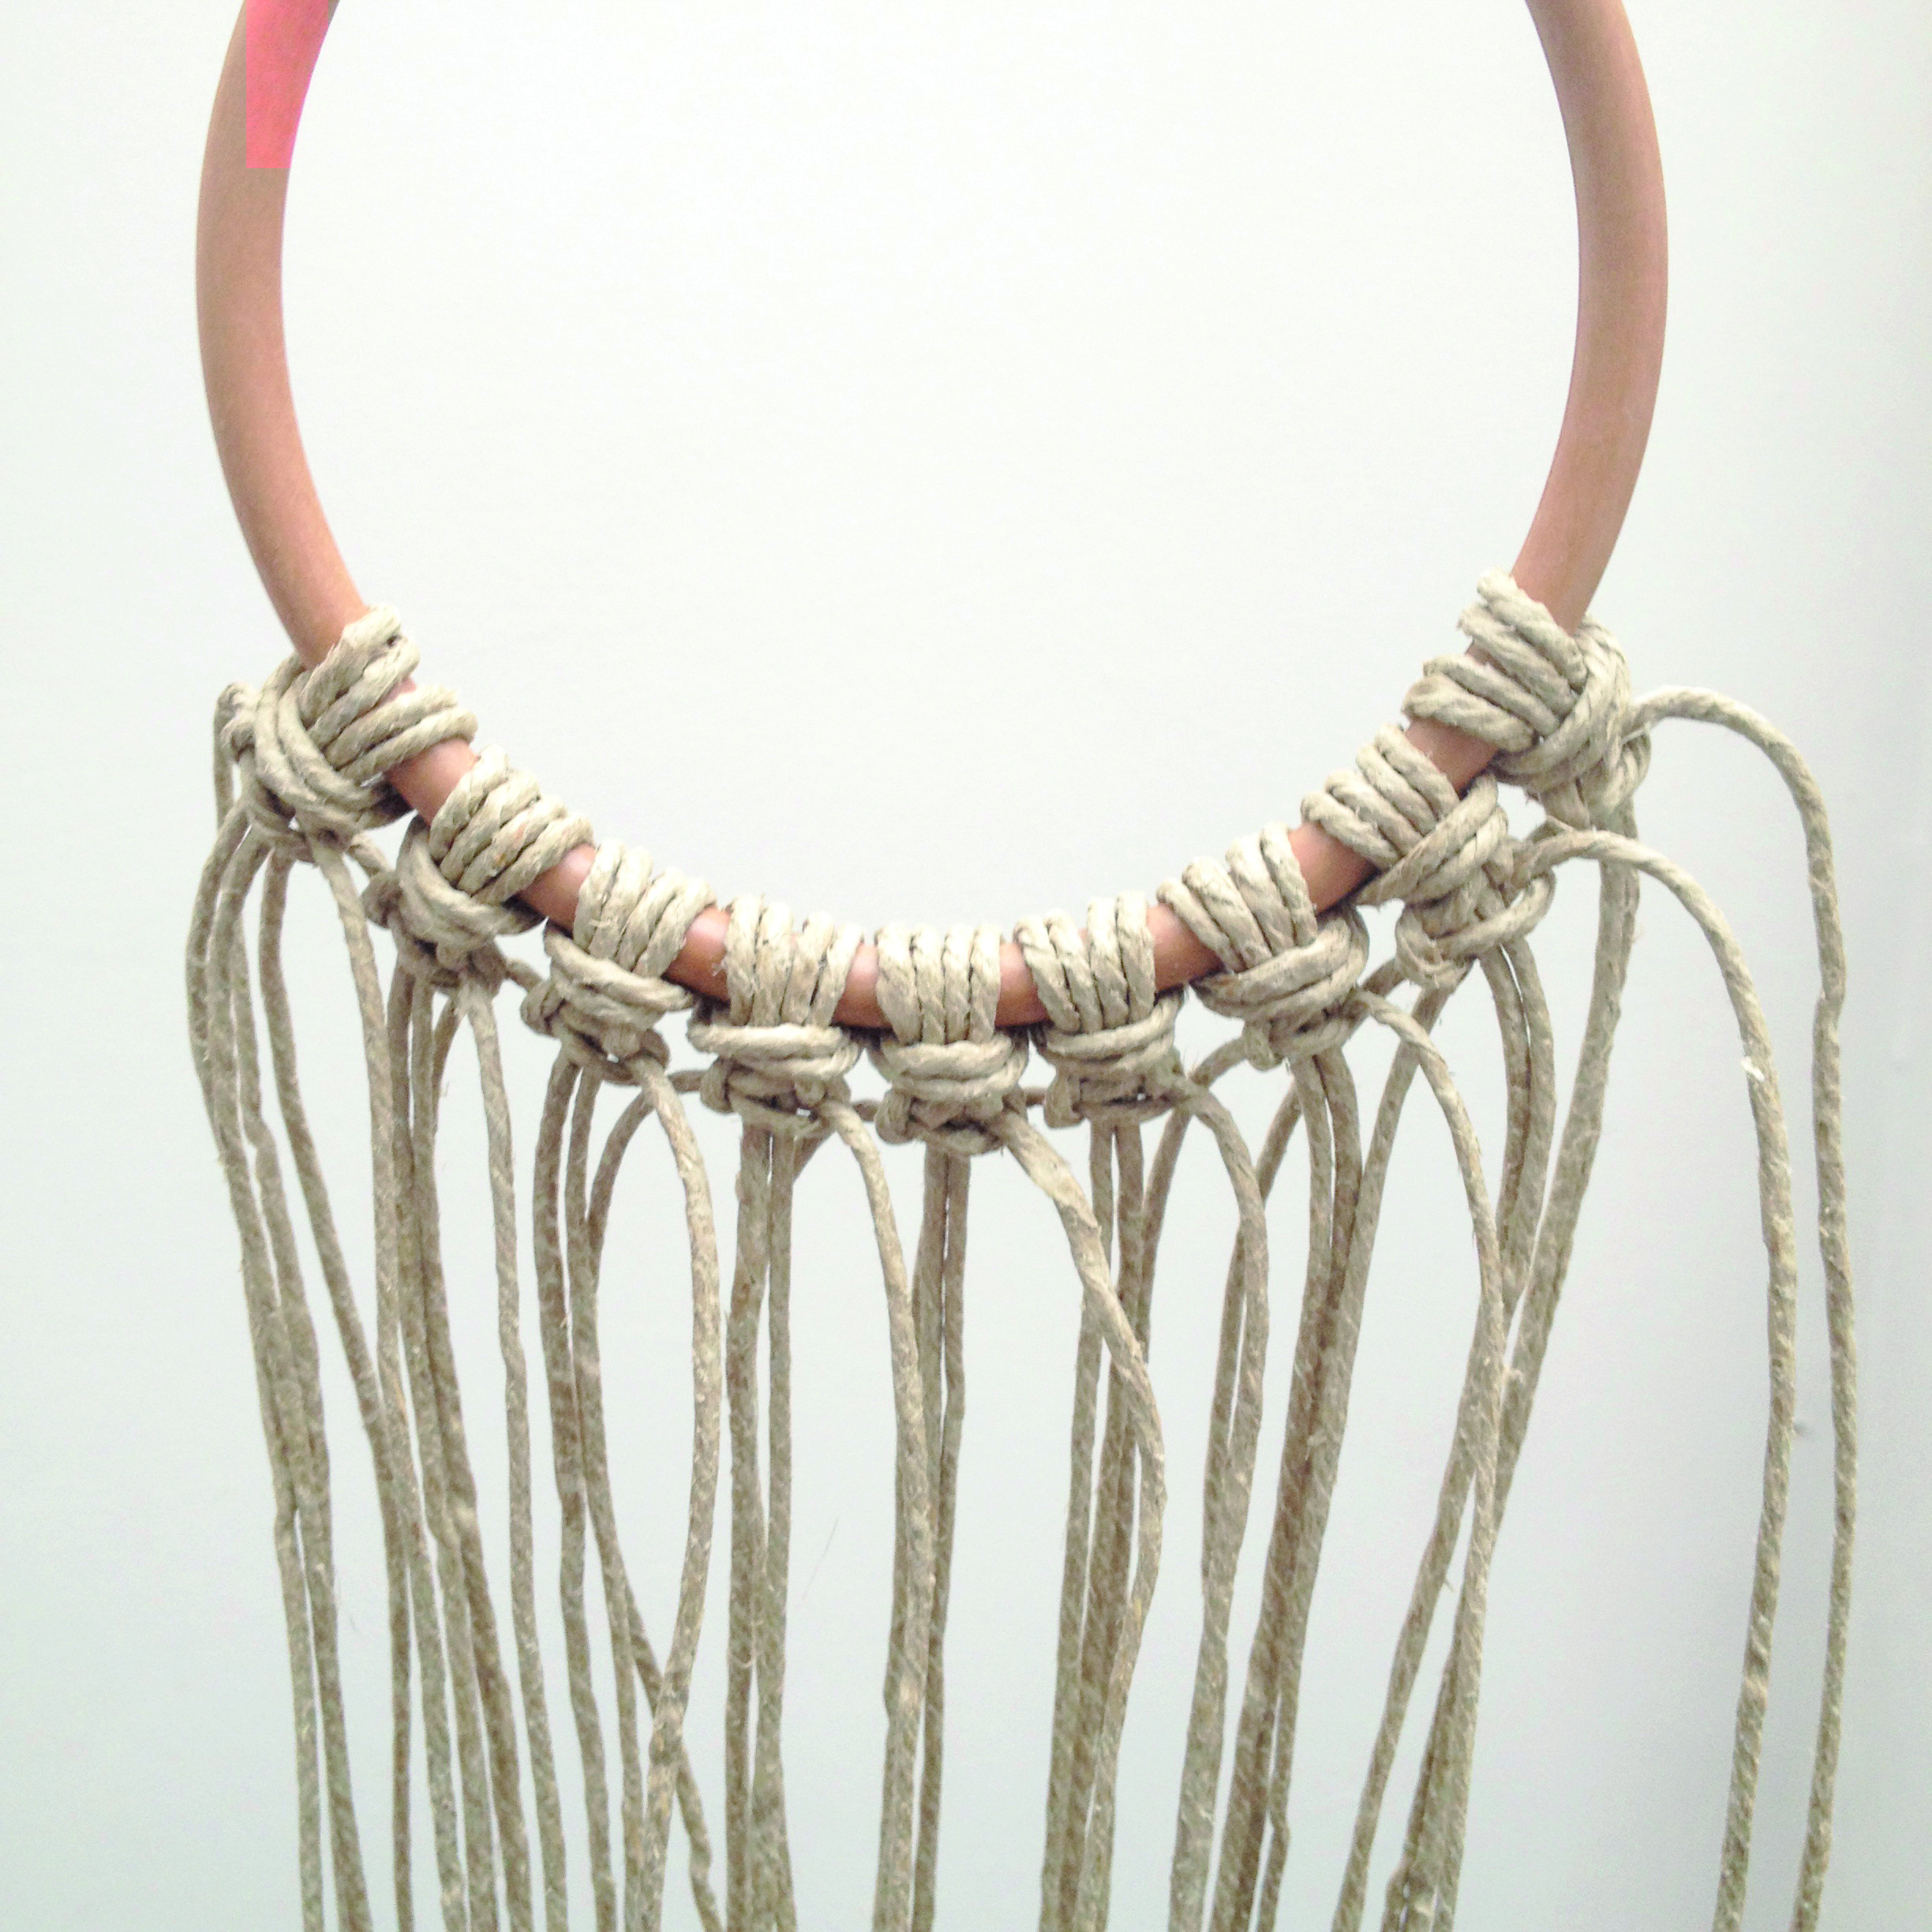
Next, take the four cords from the first lark’s head knot and tie a square knot. Repeat this with the other cords from the lark’s head knots until you have a row of nine square knots altogether.
Step 4
Starting from the left, take the third and fourth cords from the first square knot and the first and second cords from the second square knot and make a new square knot. Repeat this from left to right until you have a row of eight square knots.
Step 5
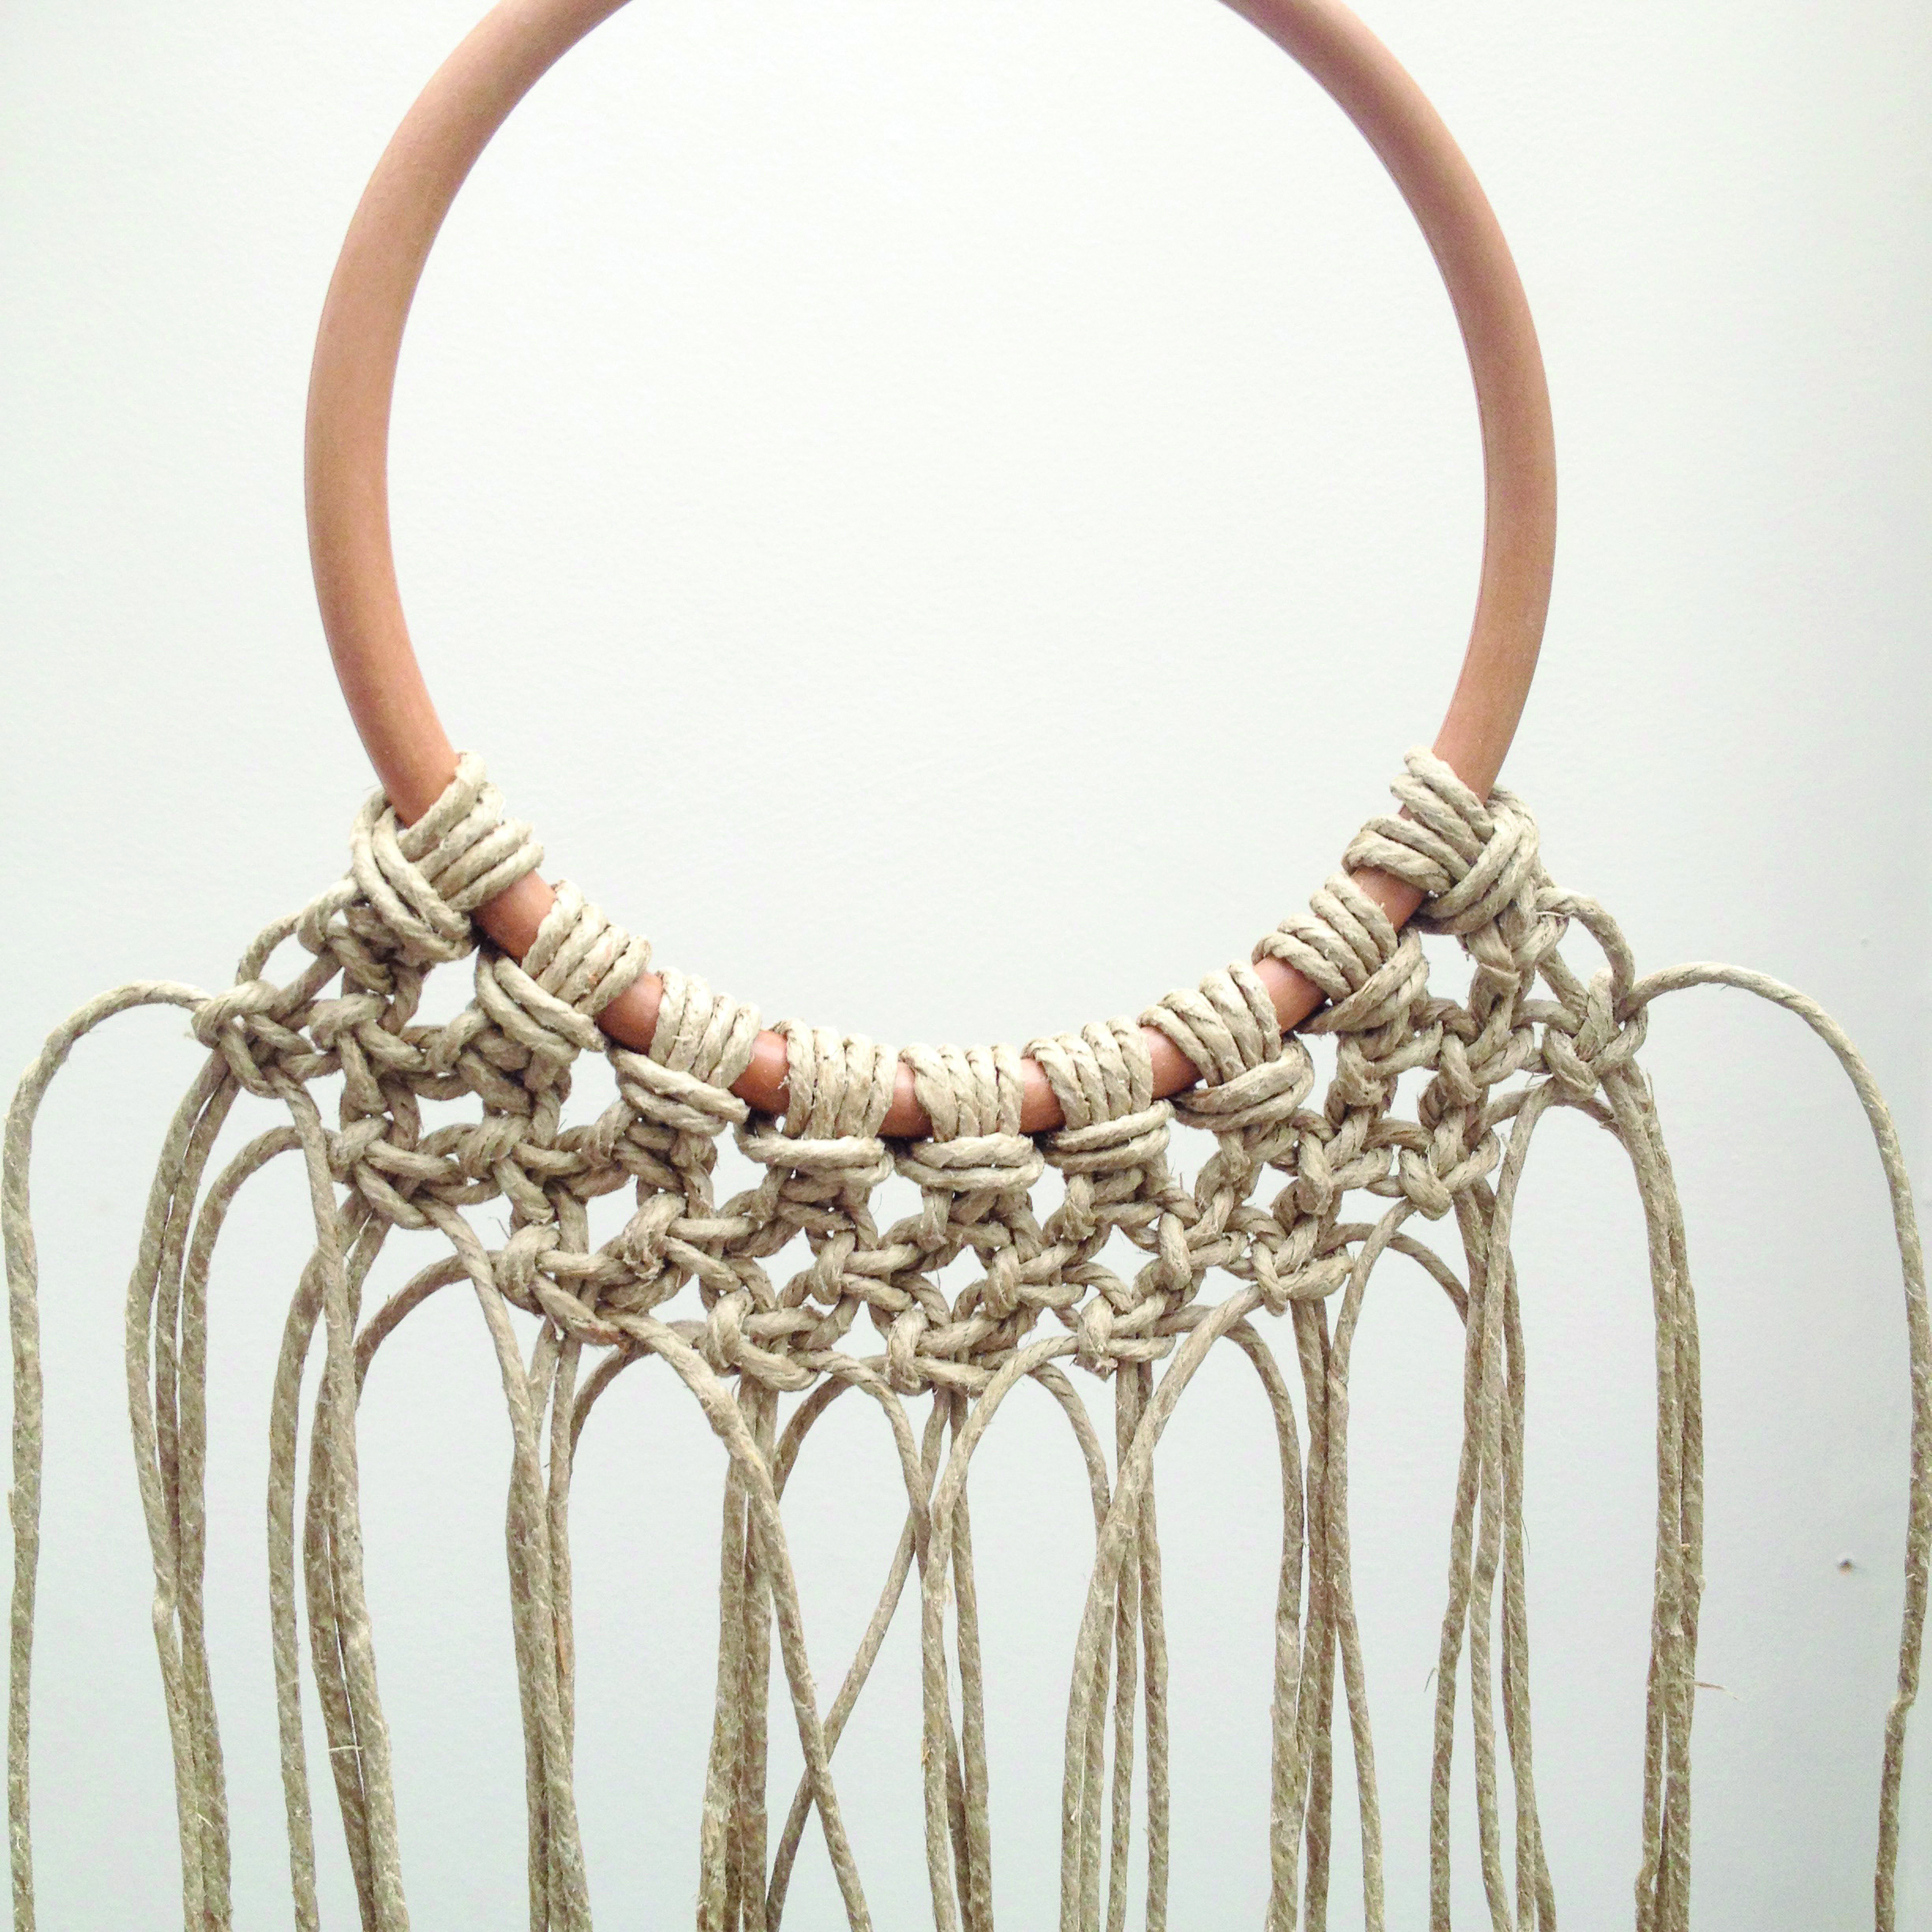
Next, start from the left again and make a row of nine square knots, as per Step 3.
Step 6
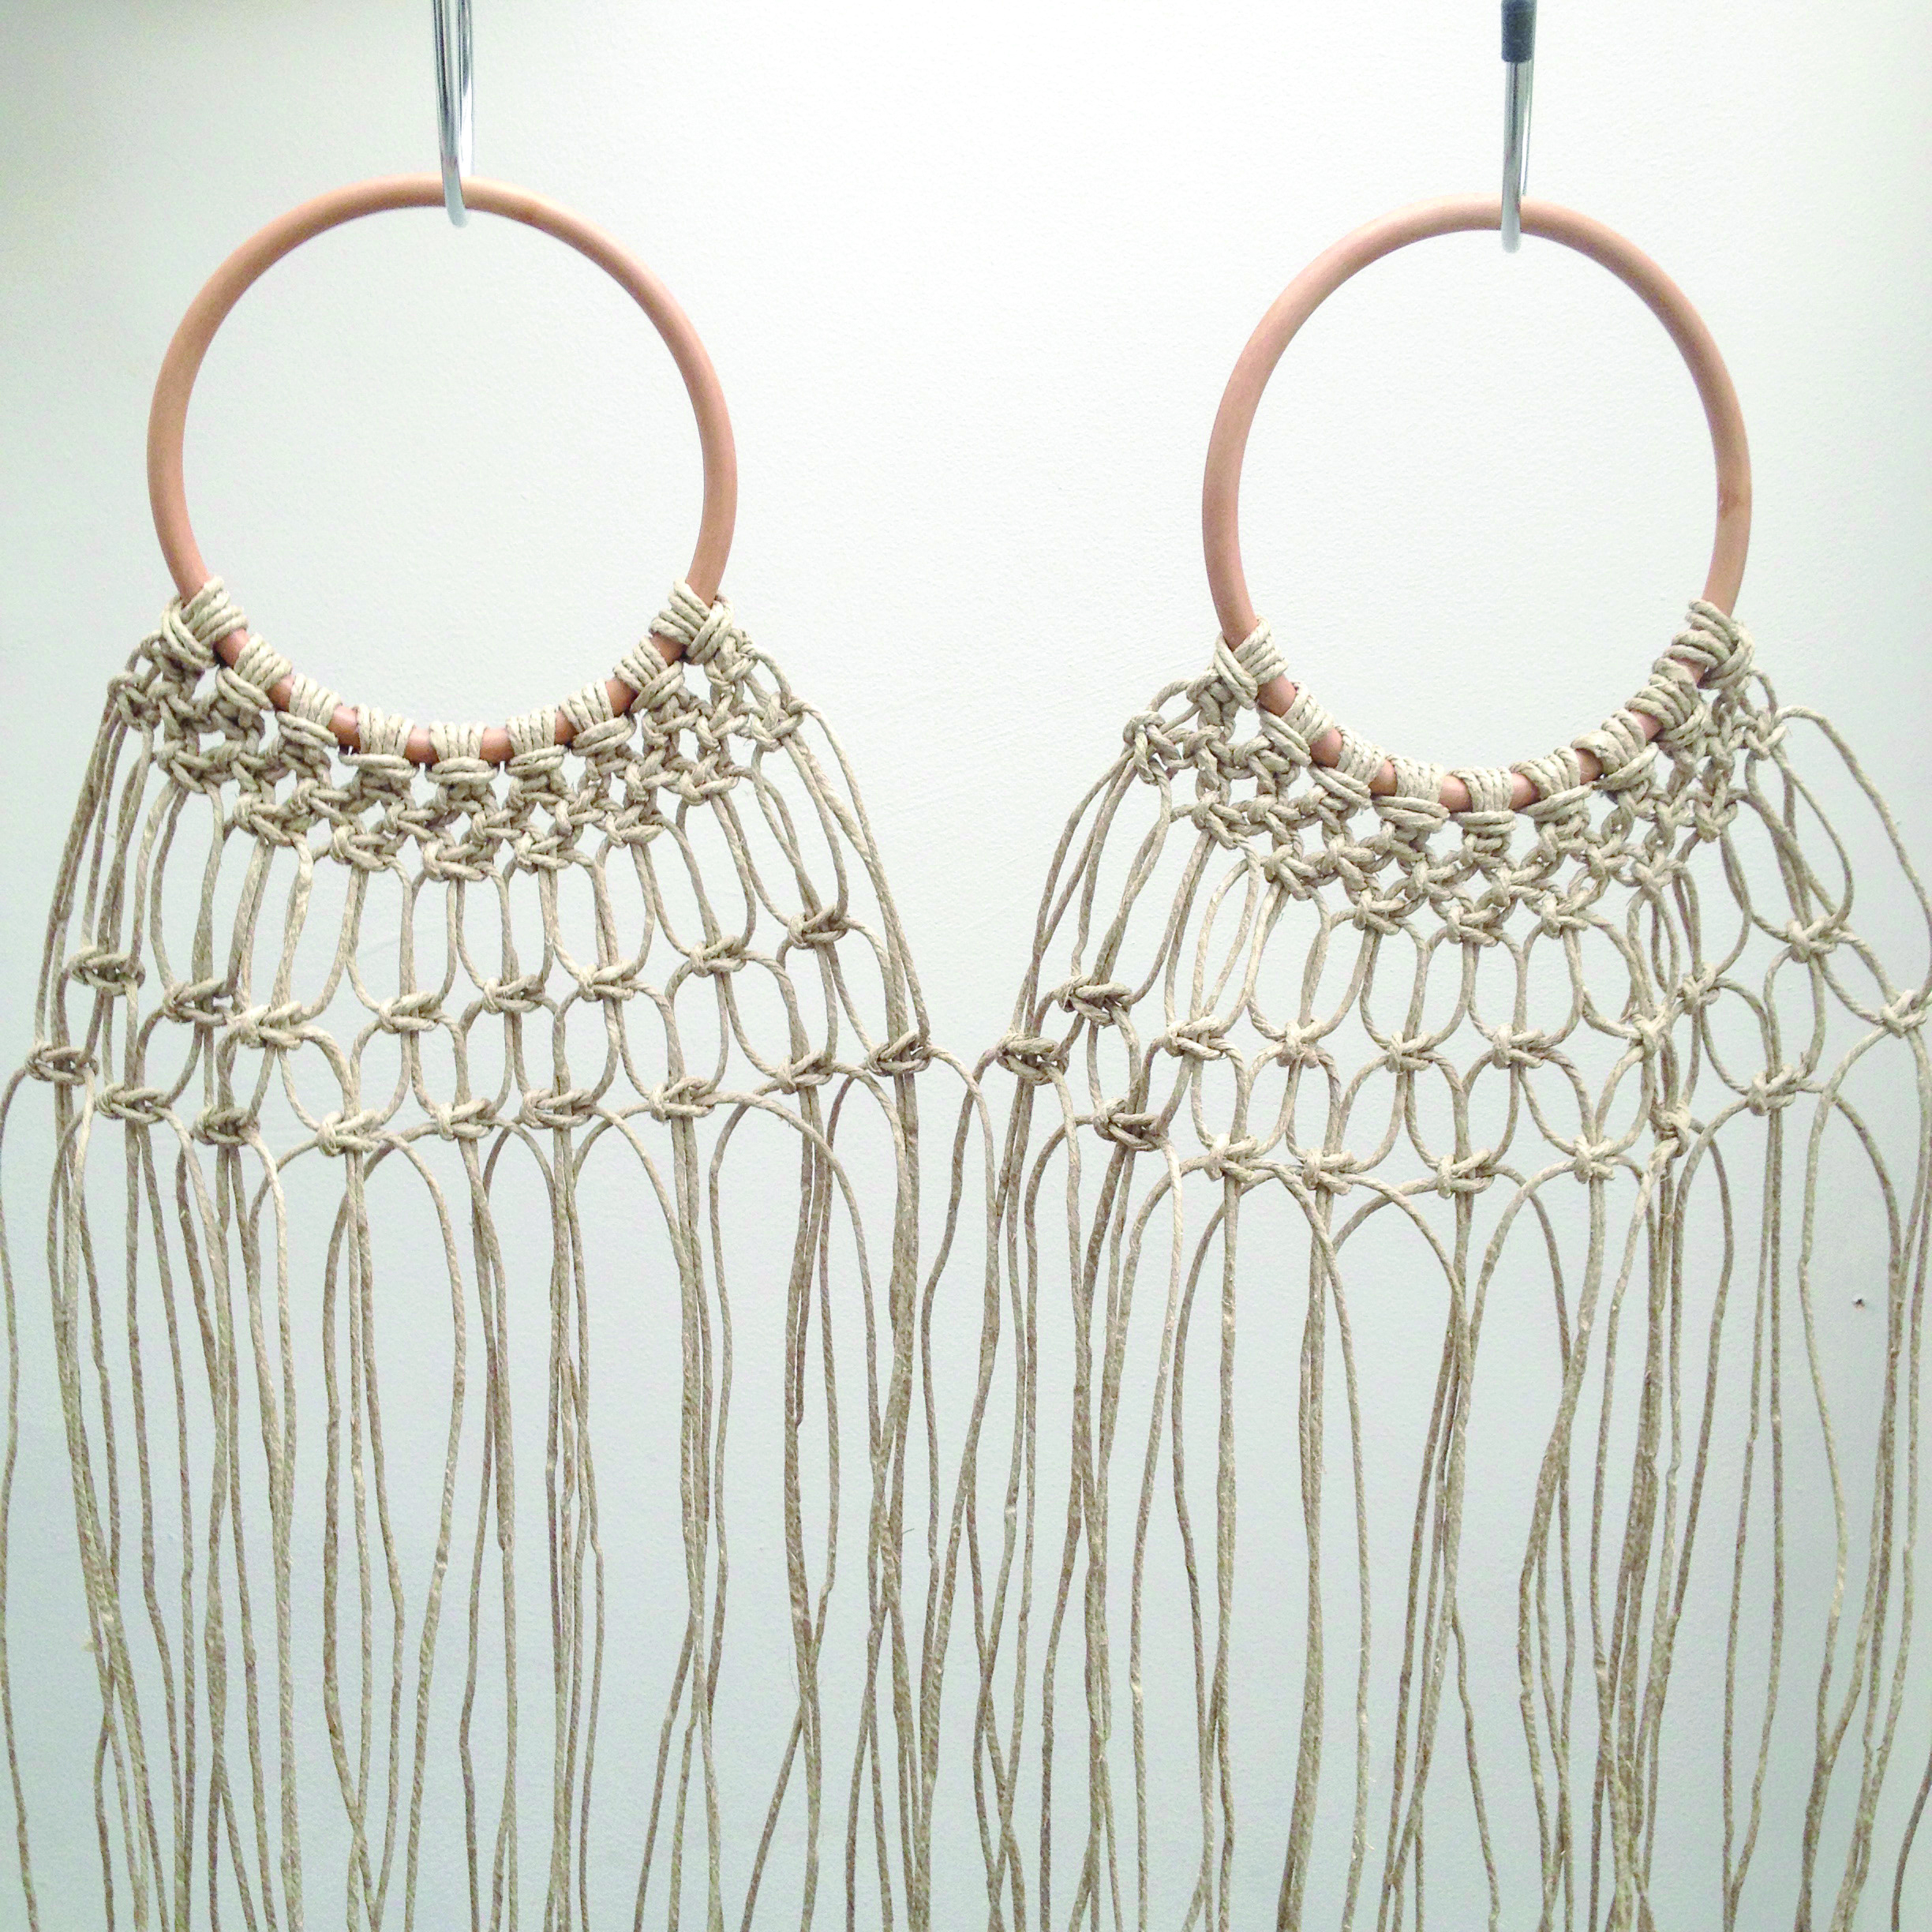
Leave a gap of about 1cm (3/8"), then make a row of eight square knots below as per Step 4. Leave a gap of about 1cm (3/8") and make another row of nine square knots. For the second half of the bag, repeat Steps 1-6 with the second bag handle and the 18 twine lengths set aside in Step 1. Place them next to each other.
Step 7
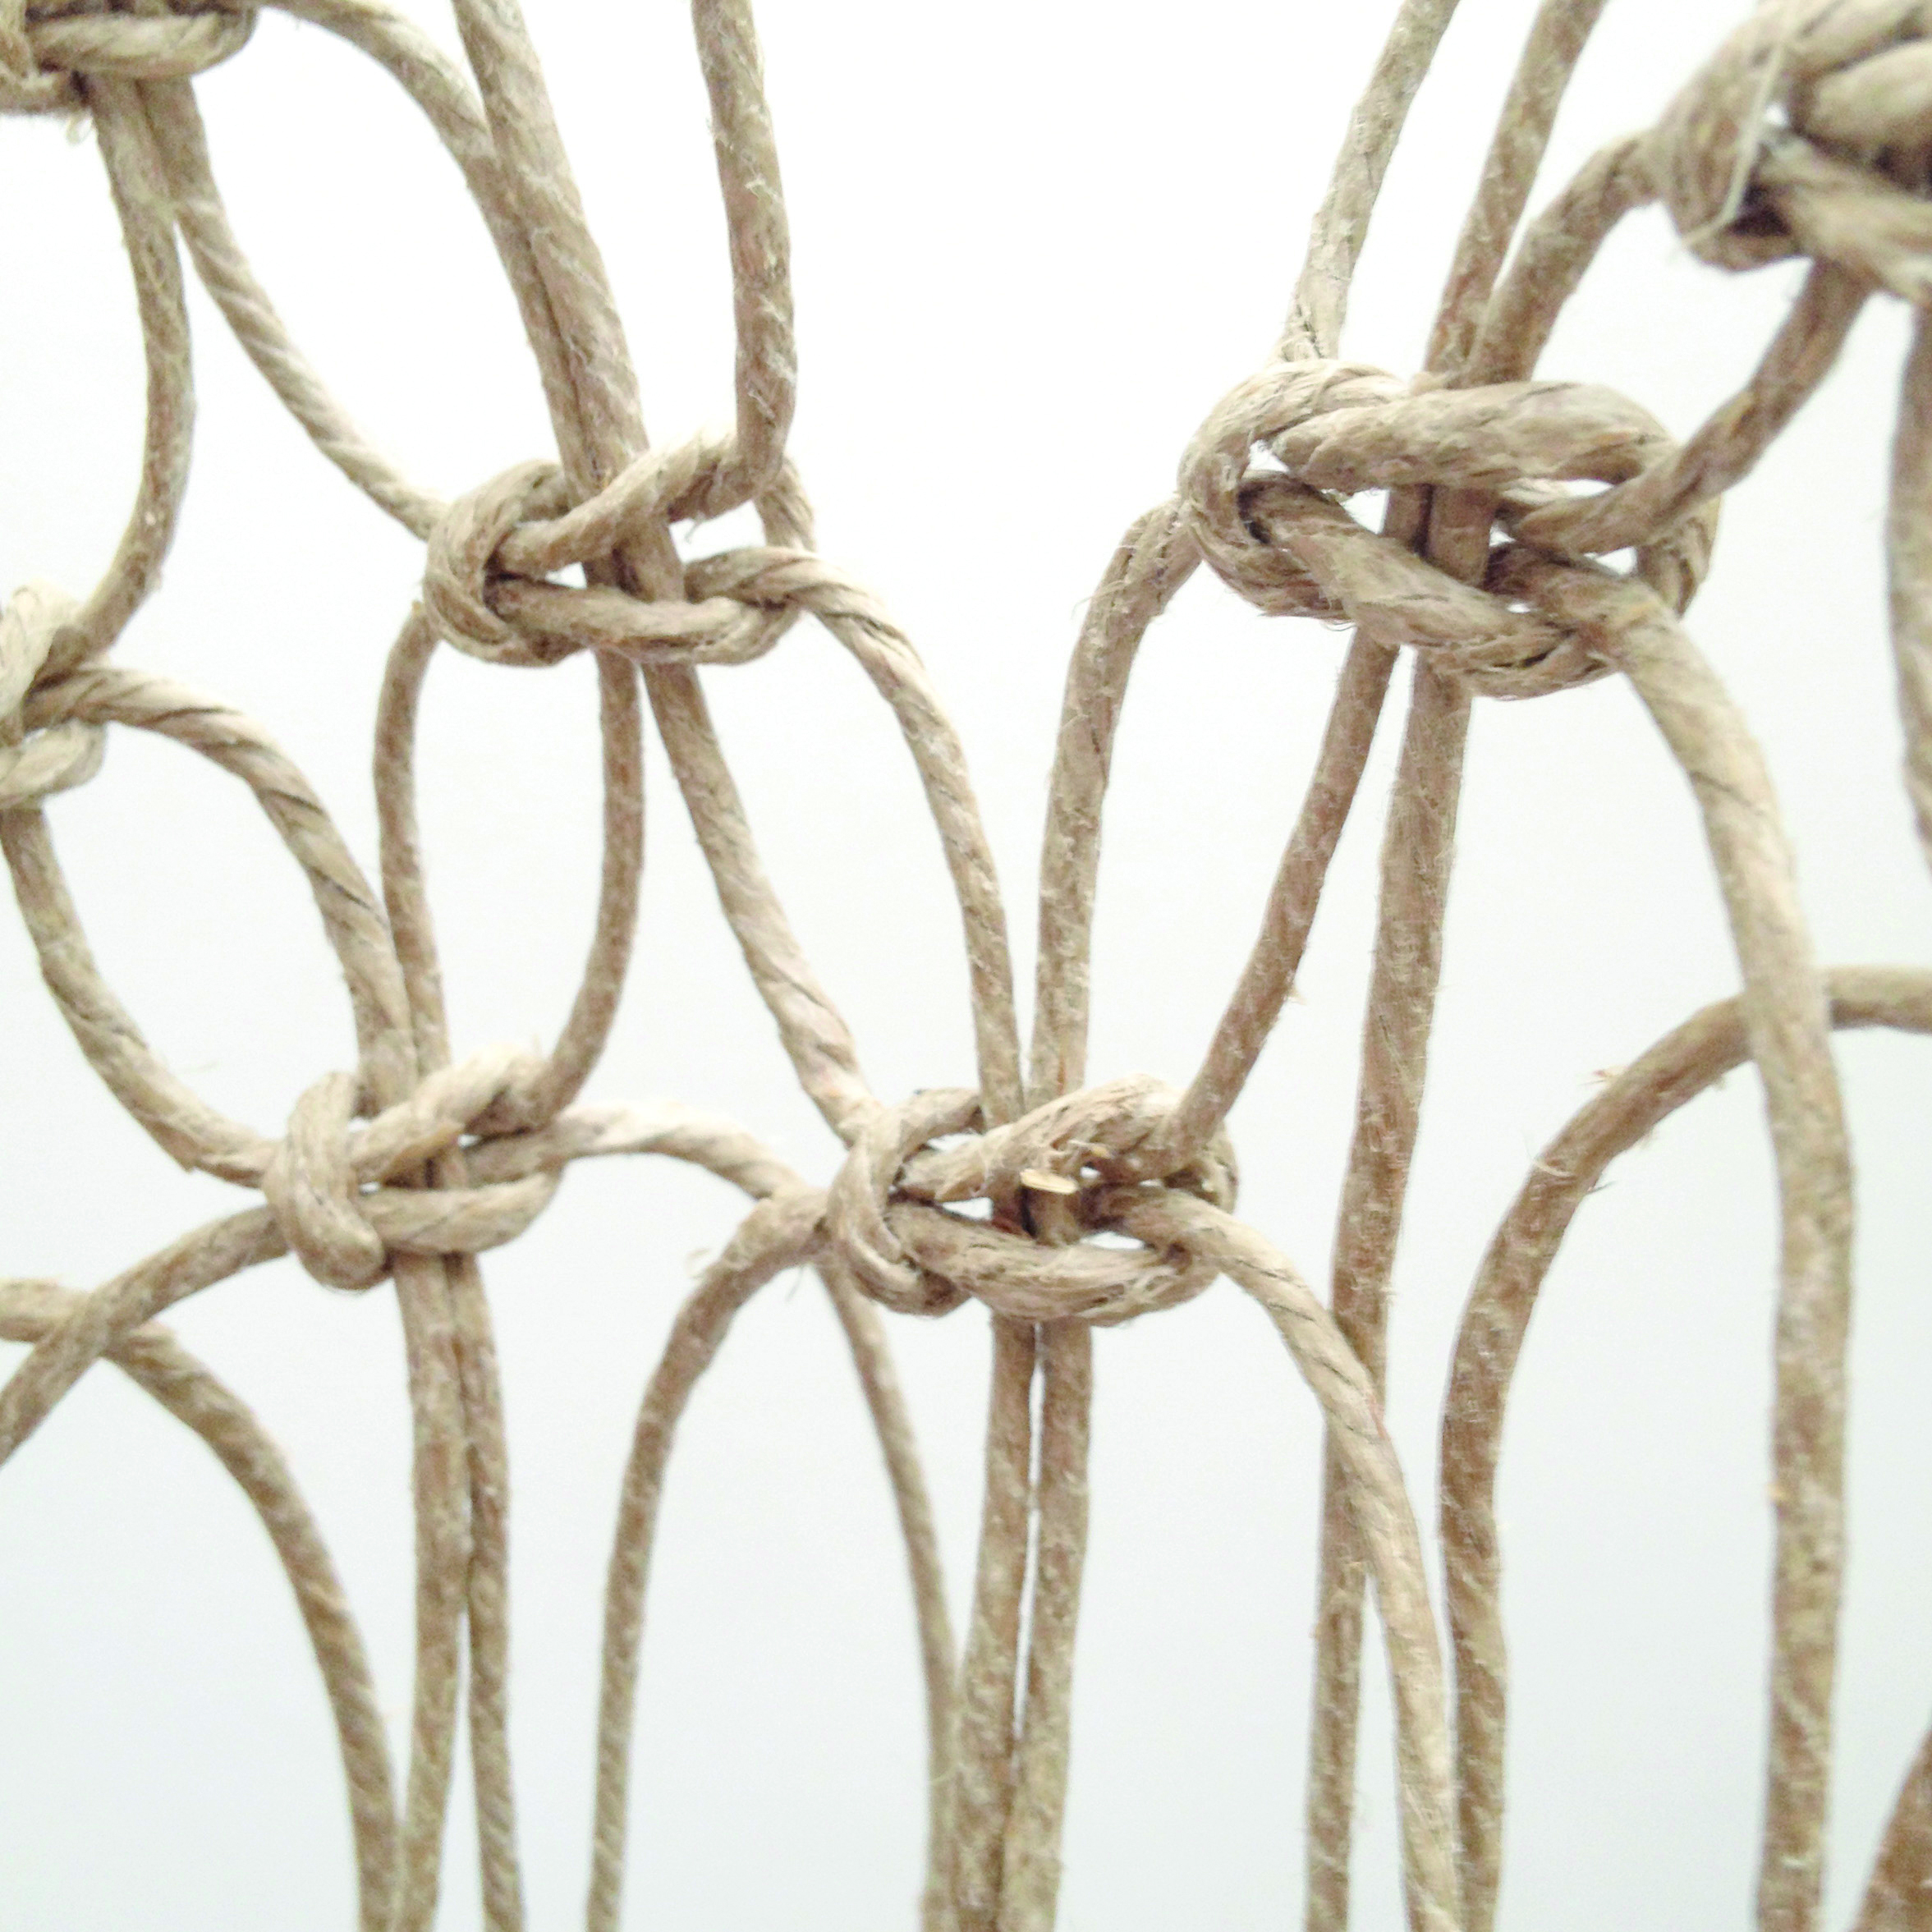
To begin joining the two sides of the bag, take the third and fourth cords from the last square knot from the first half of the bag and the first and second cords from the second half of the bag, leaving a gap of about 1cm (3/8"), and make a square knot.
Step 8
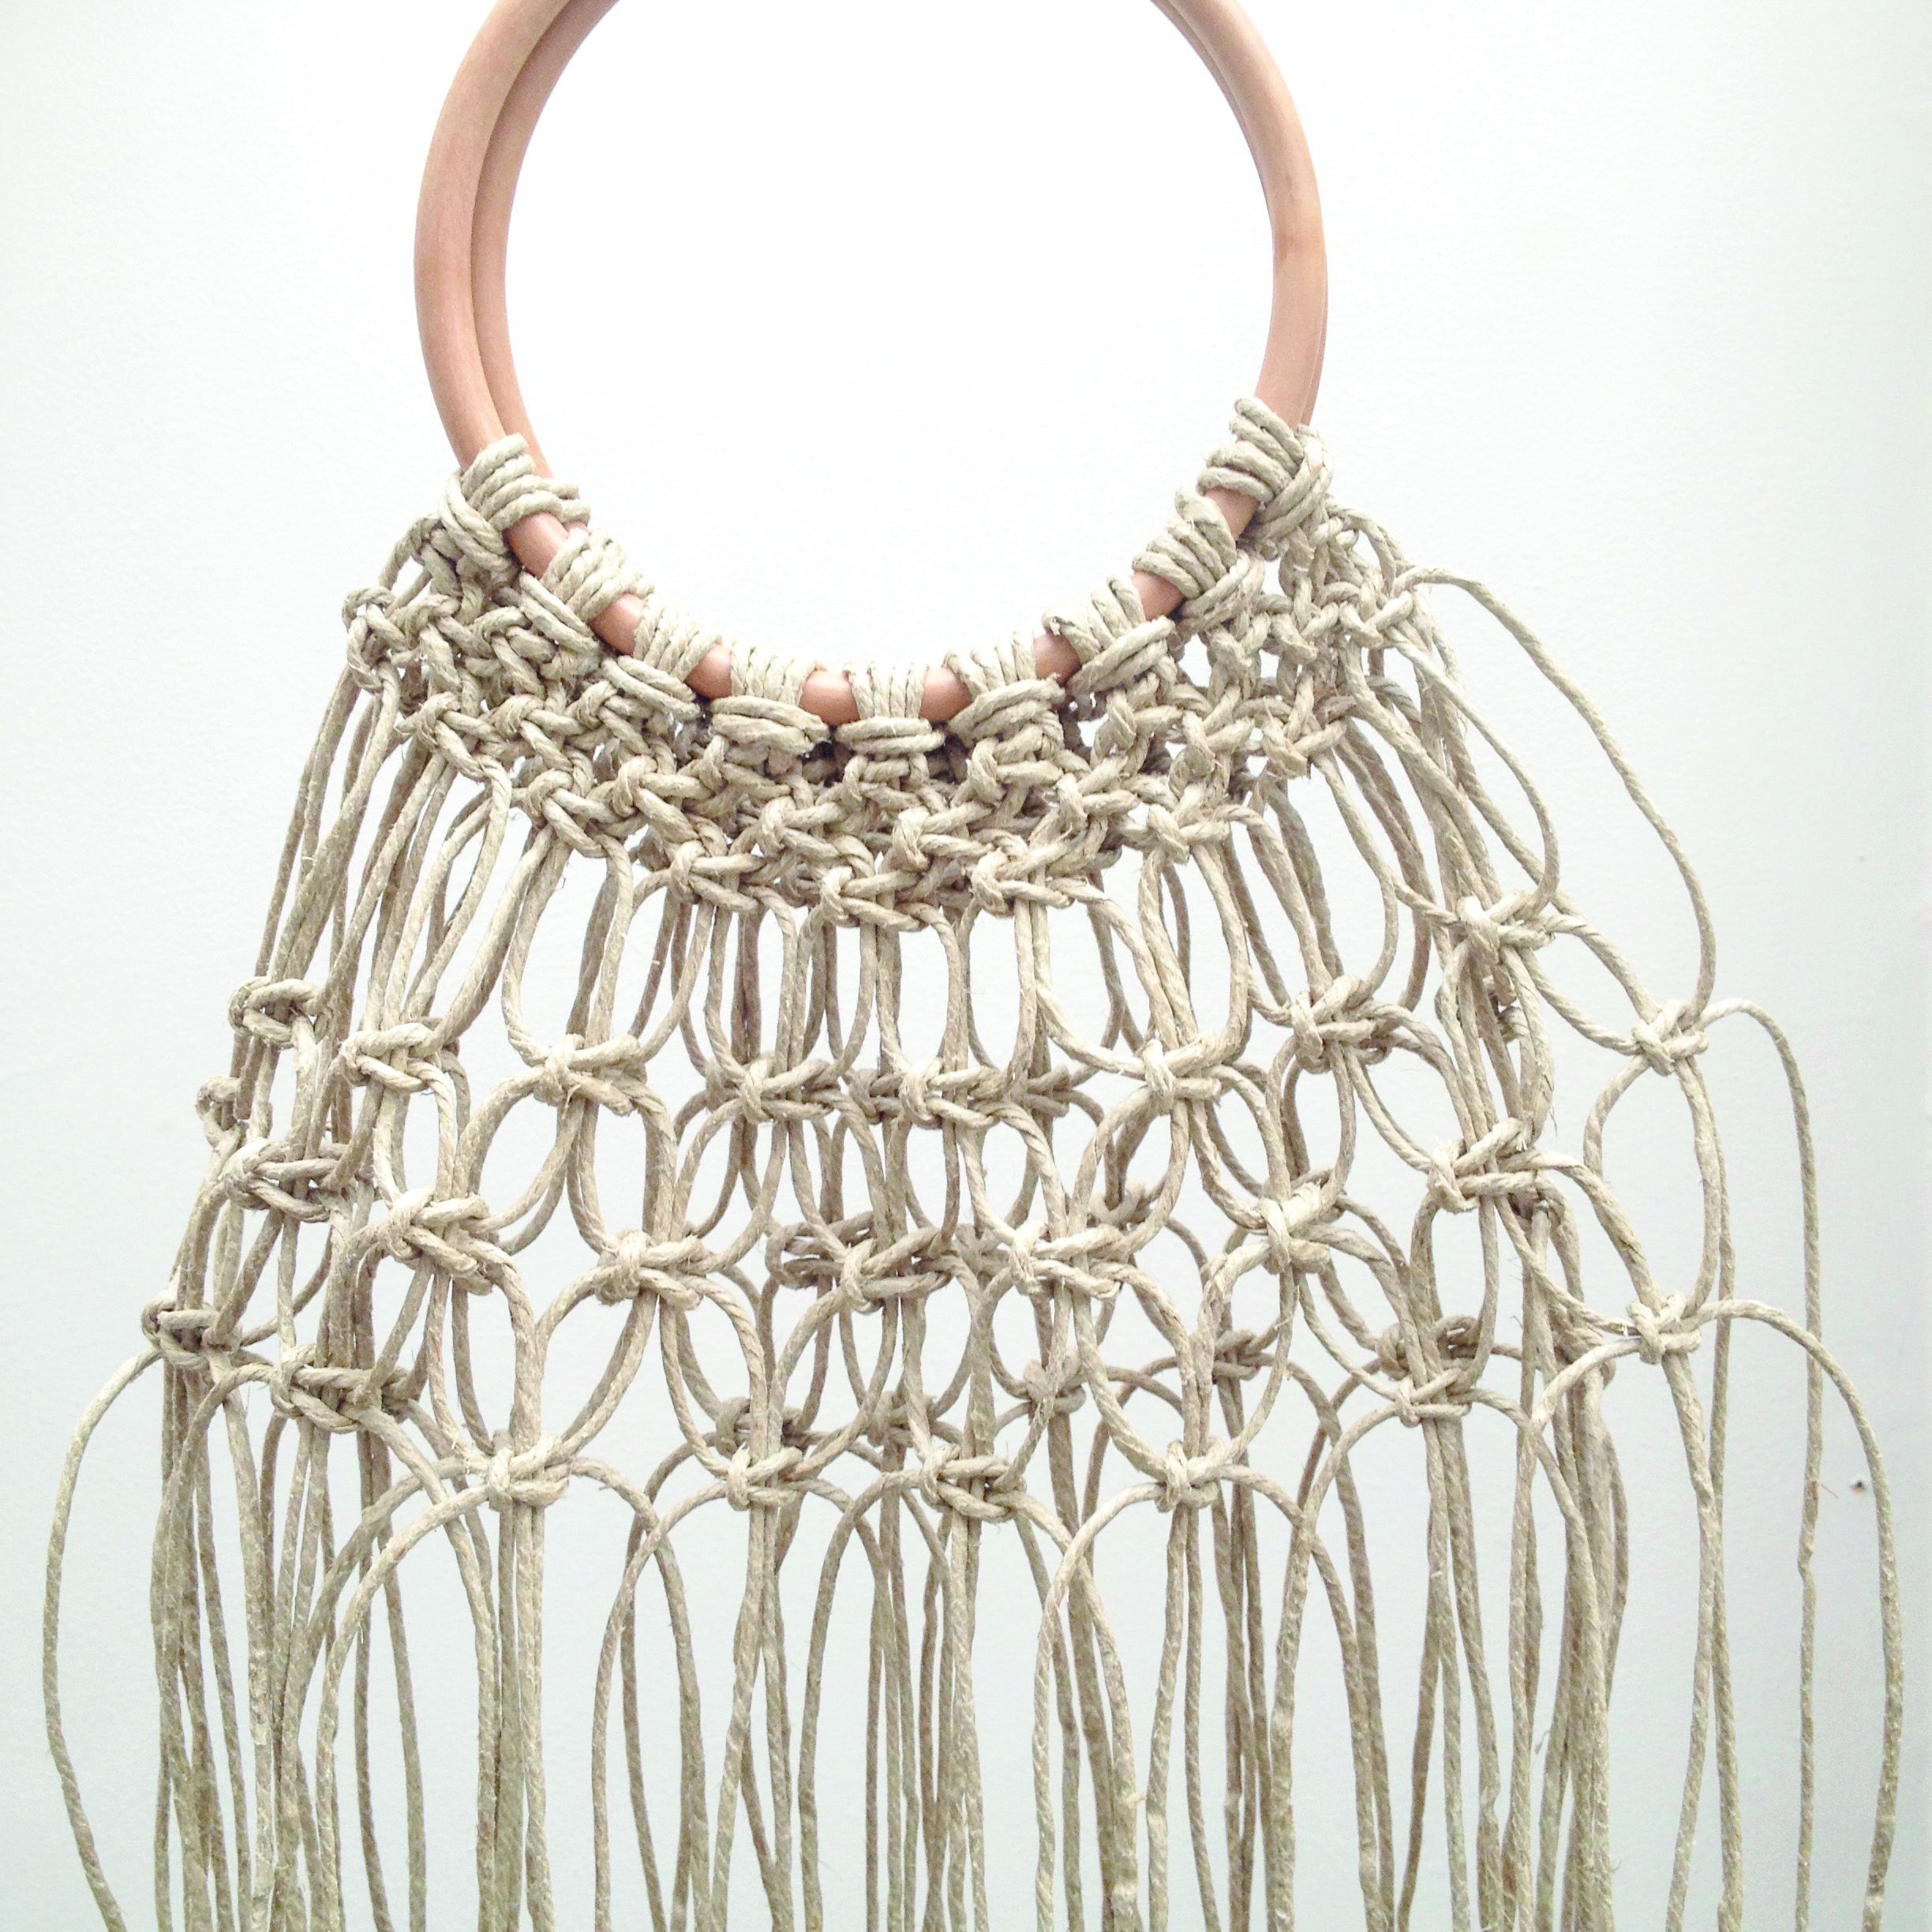
Continue making square knots in a row, on the left and on the right of the square knot, until you have two cords left on each end. Overlap the two bag halves and make one last square knot with the remaining four cords.
Step 9
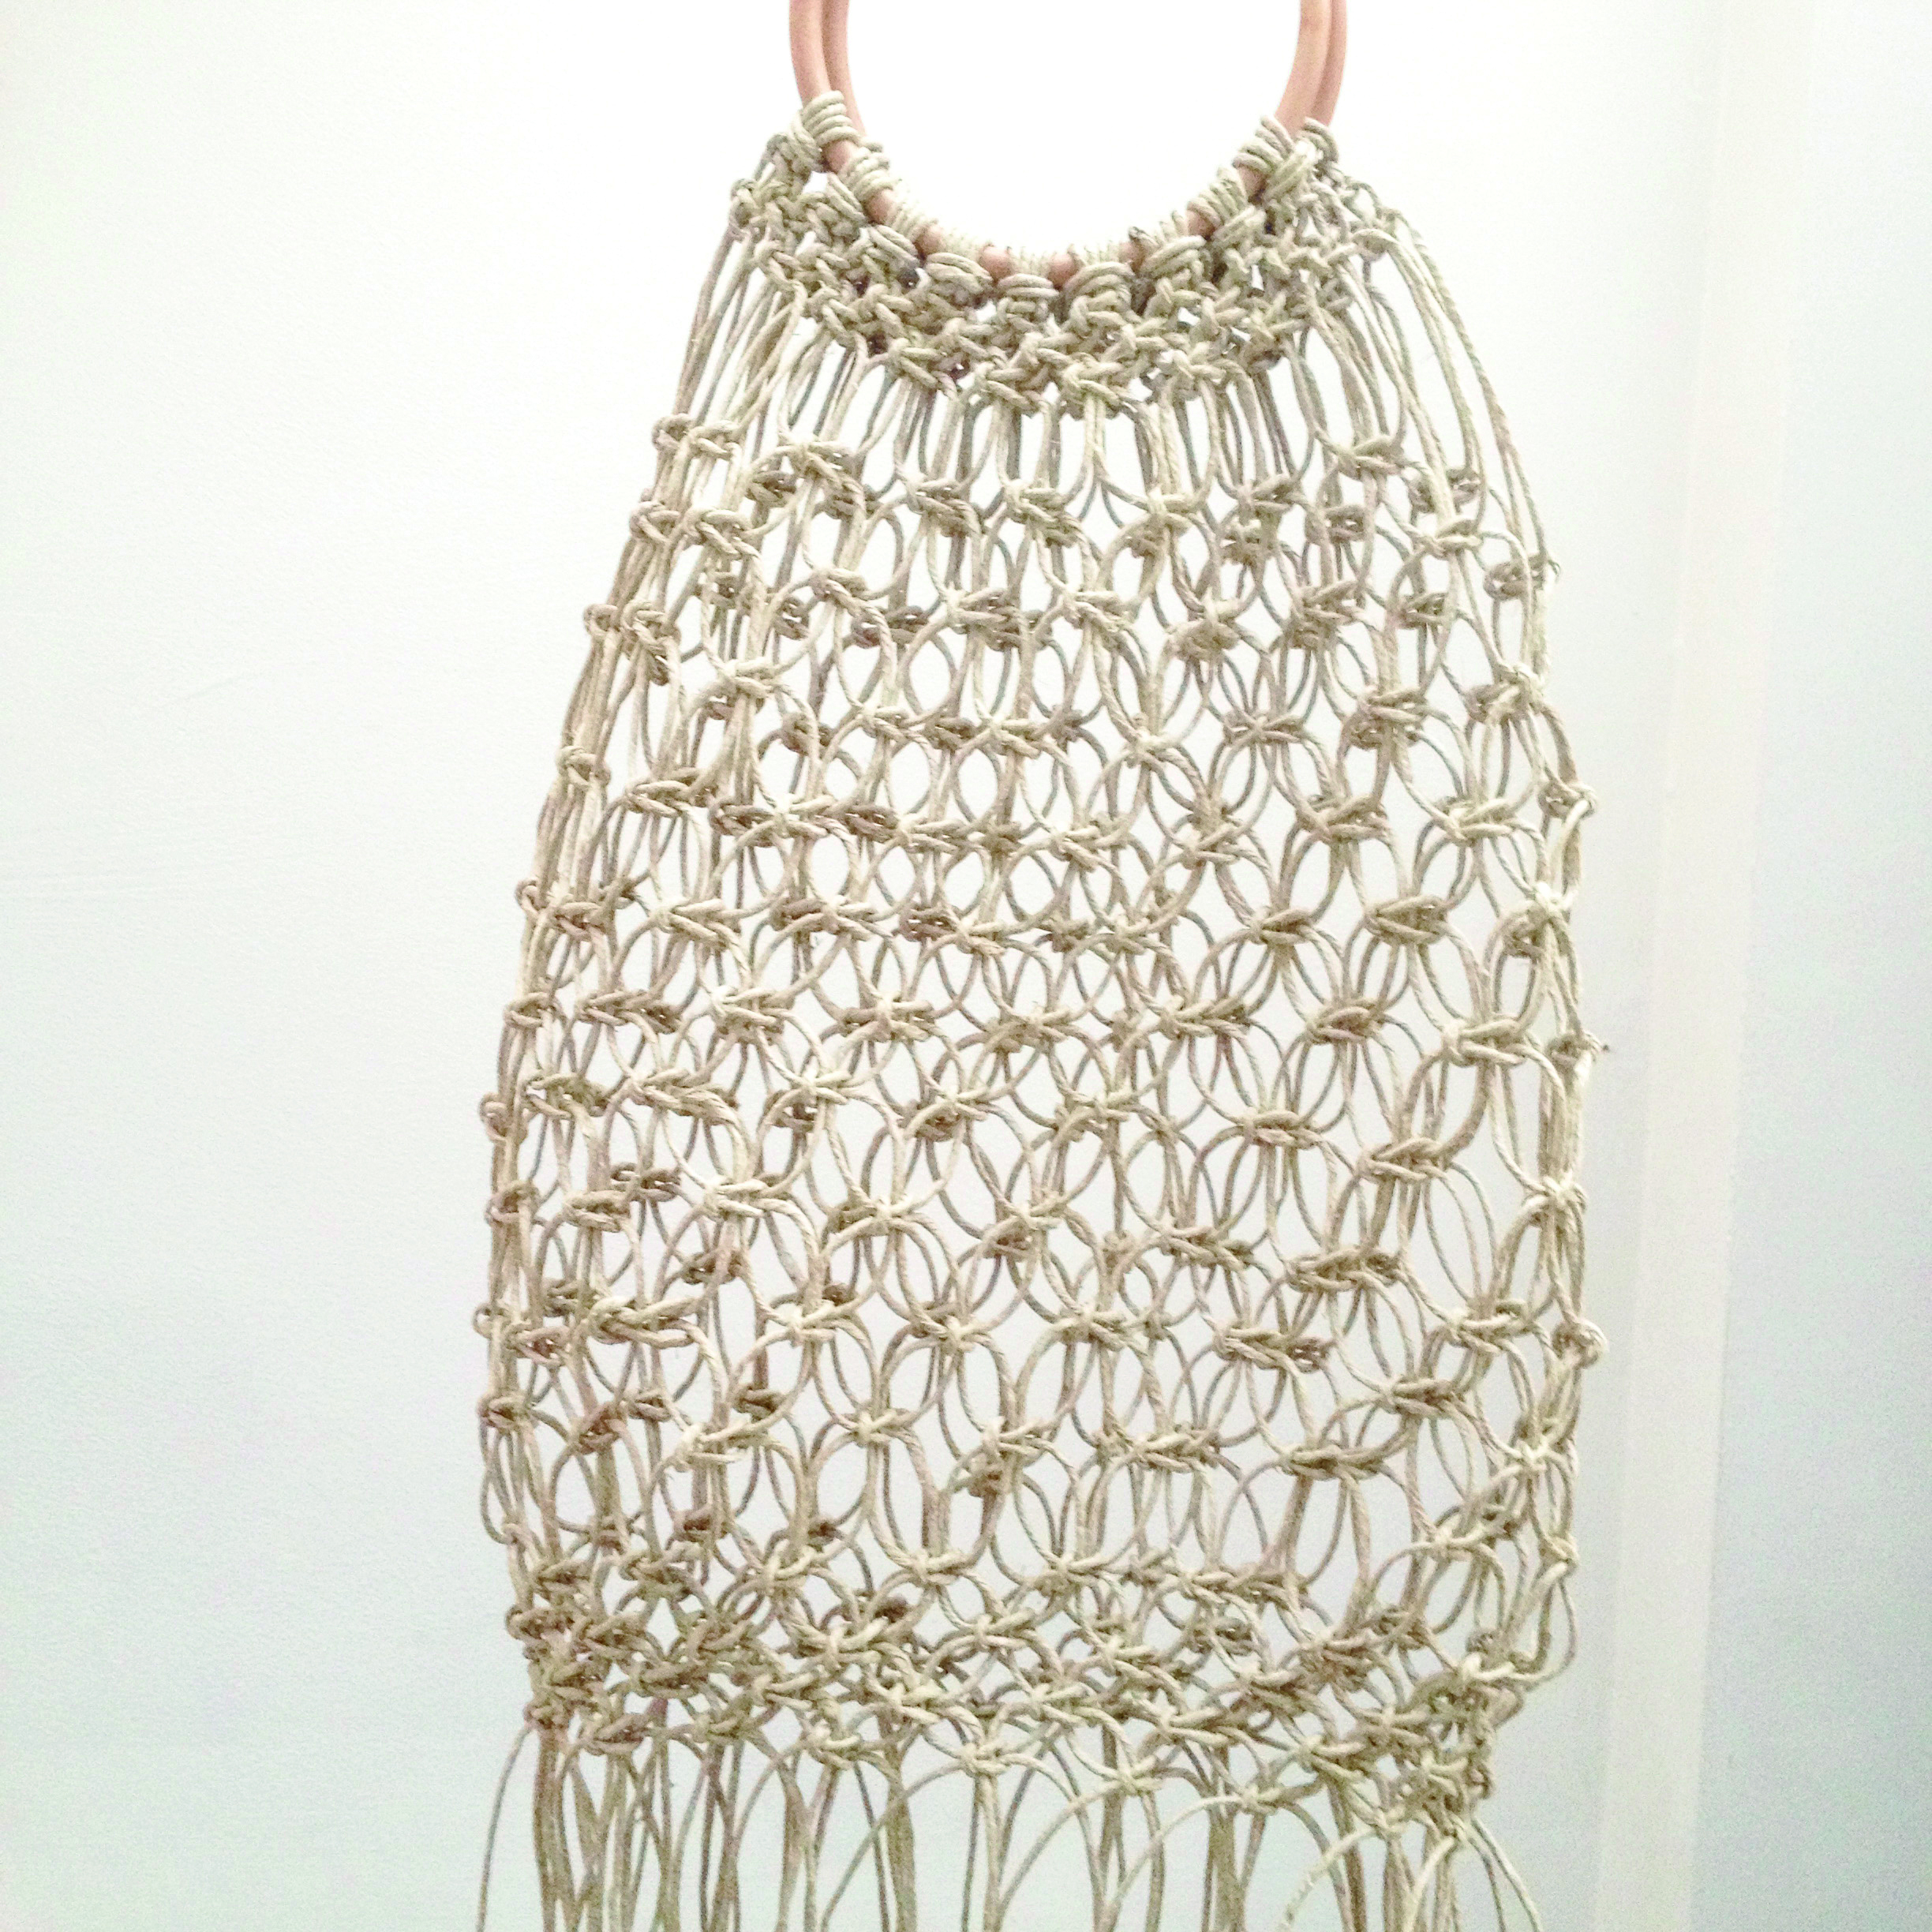
Continue making new rows of square knots with a similar gap in between until you have 11 rows. From Rows 12 to 14 keep the gap between the rows to about 0.5cm (1/4"). Make sure the knots on the last row are really tight.
Step 10
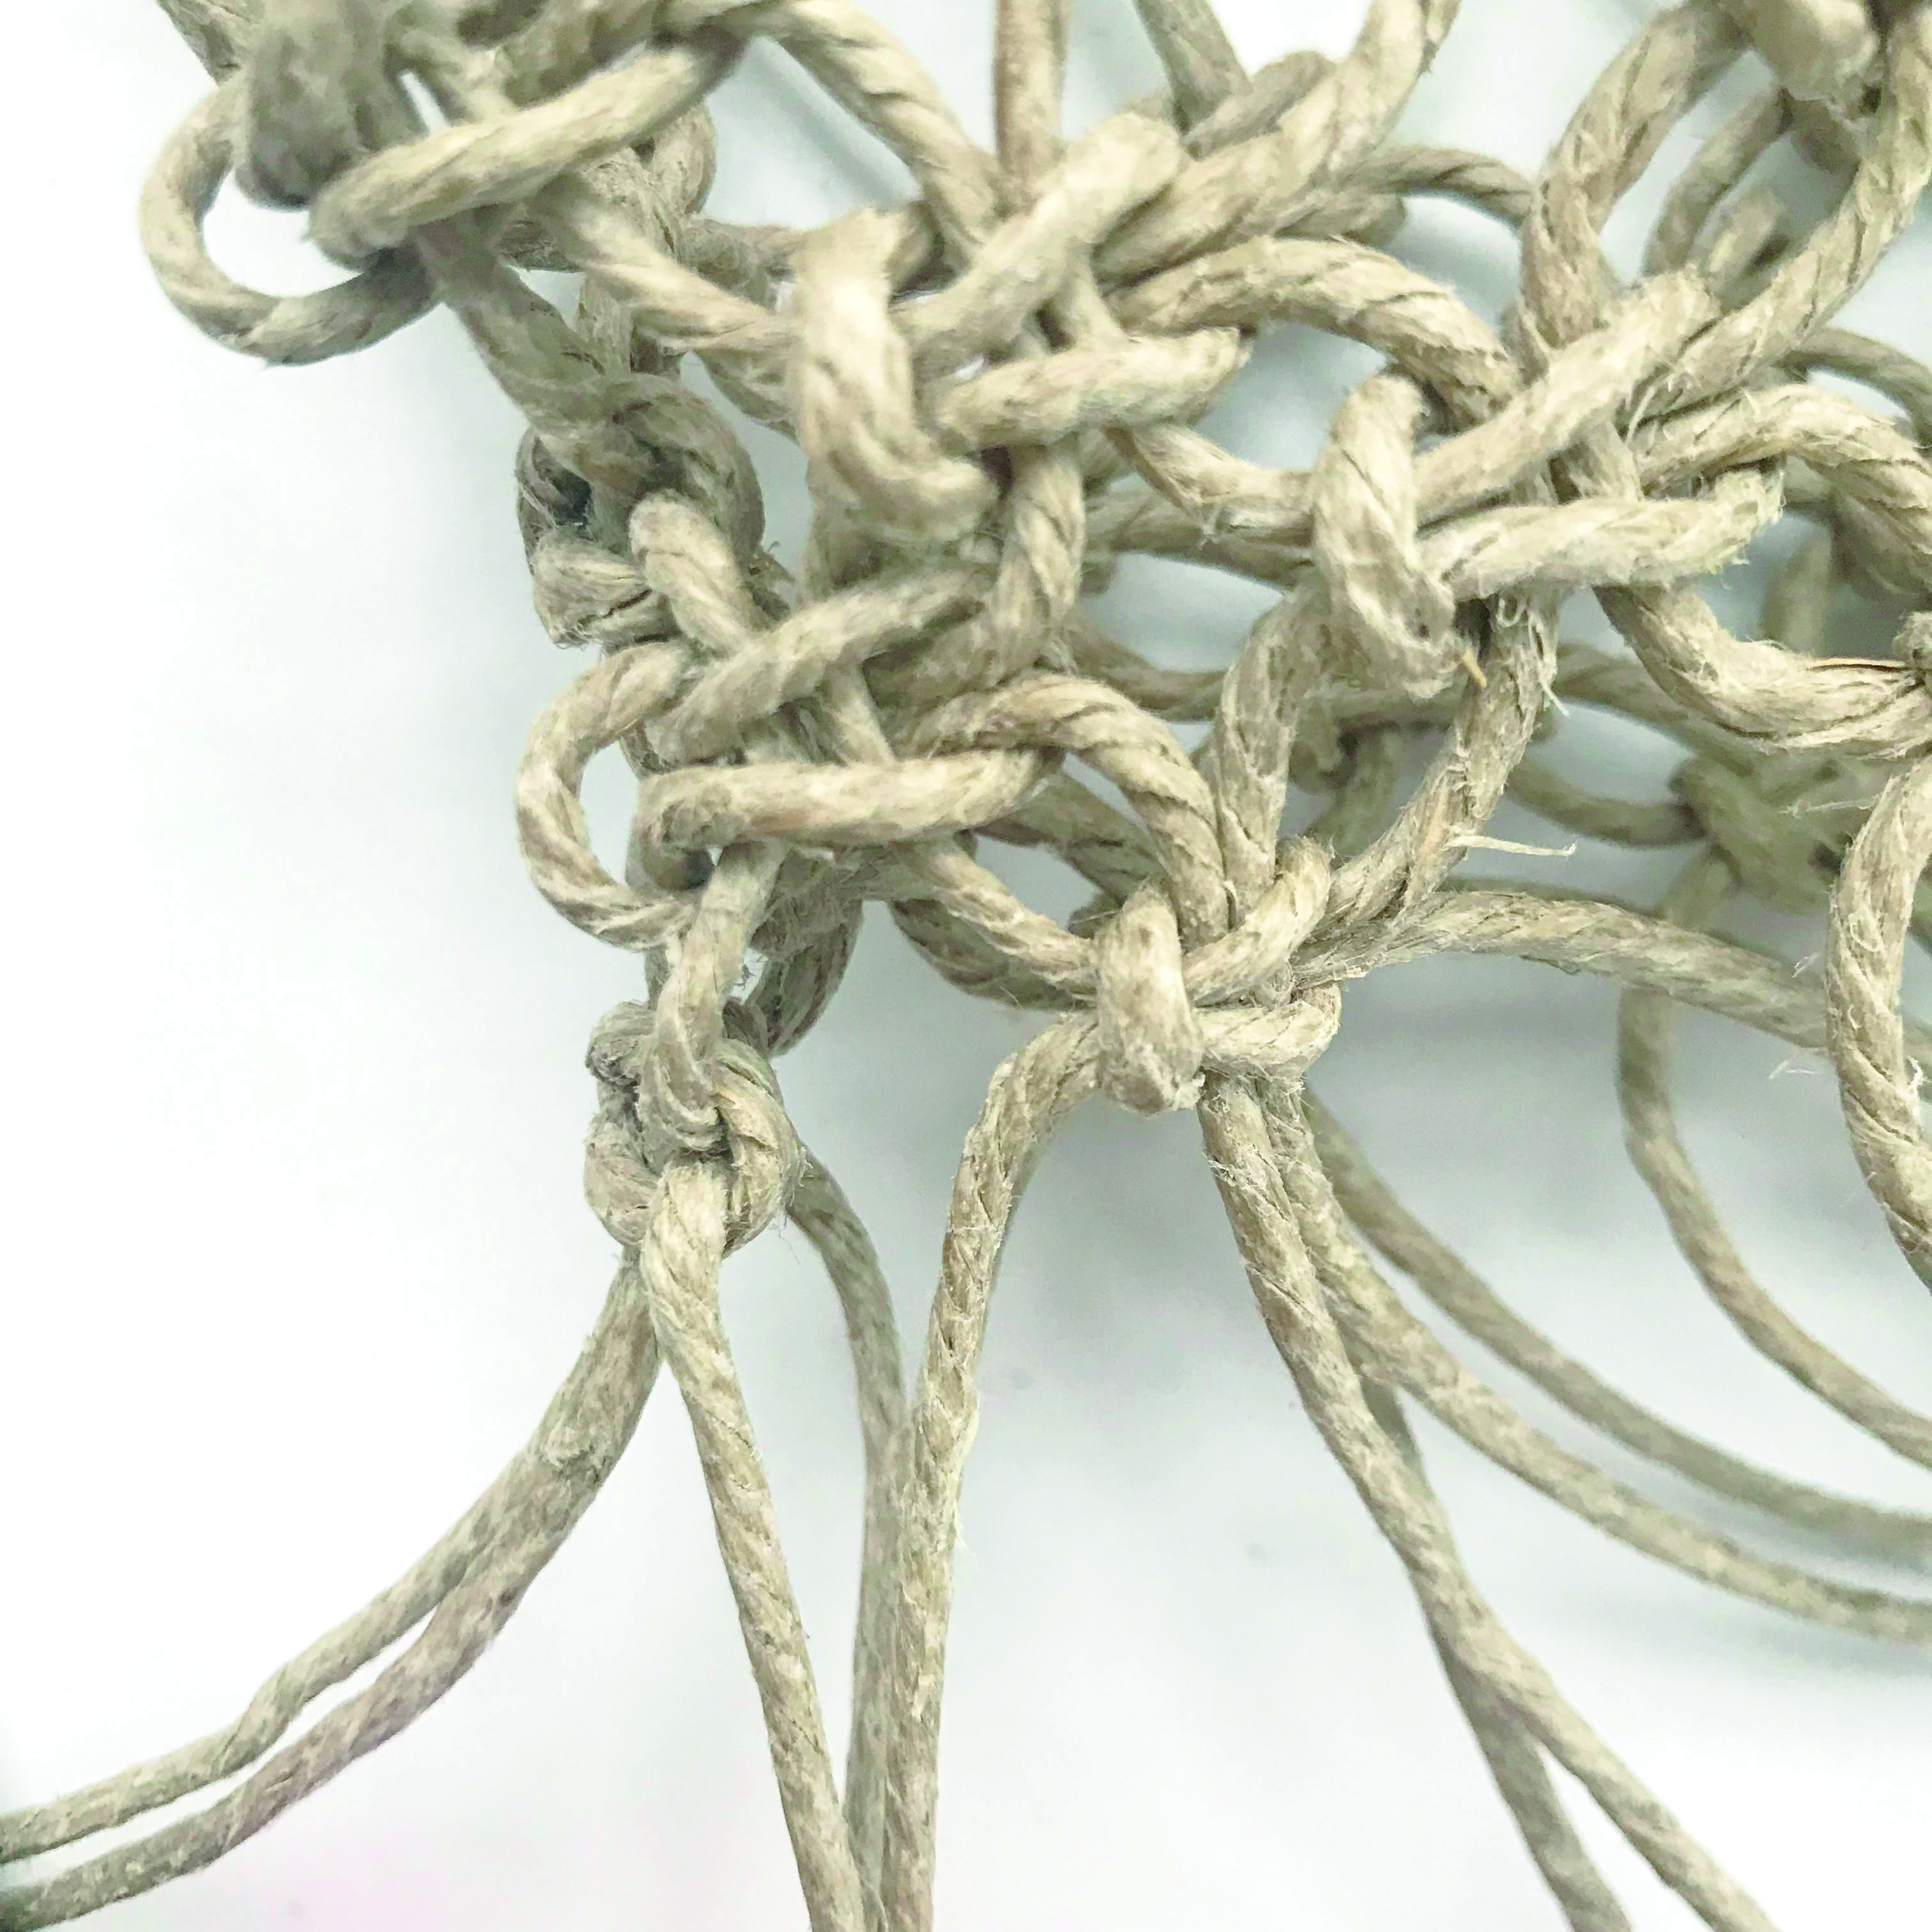
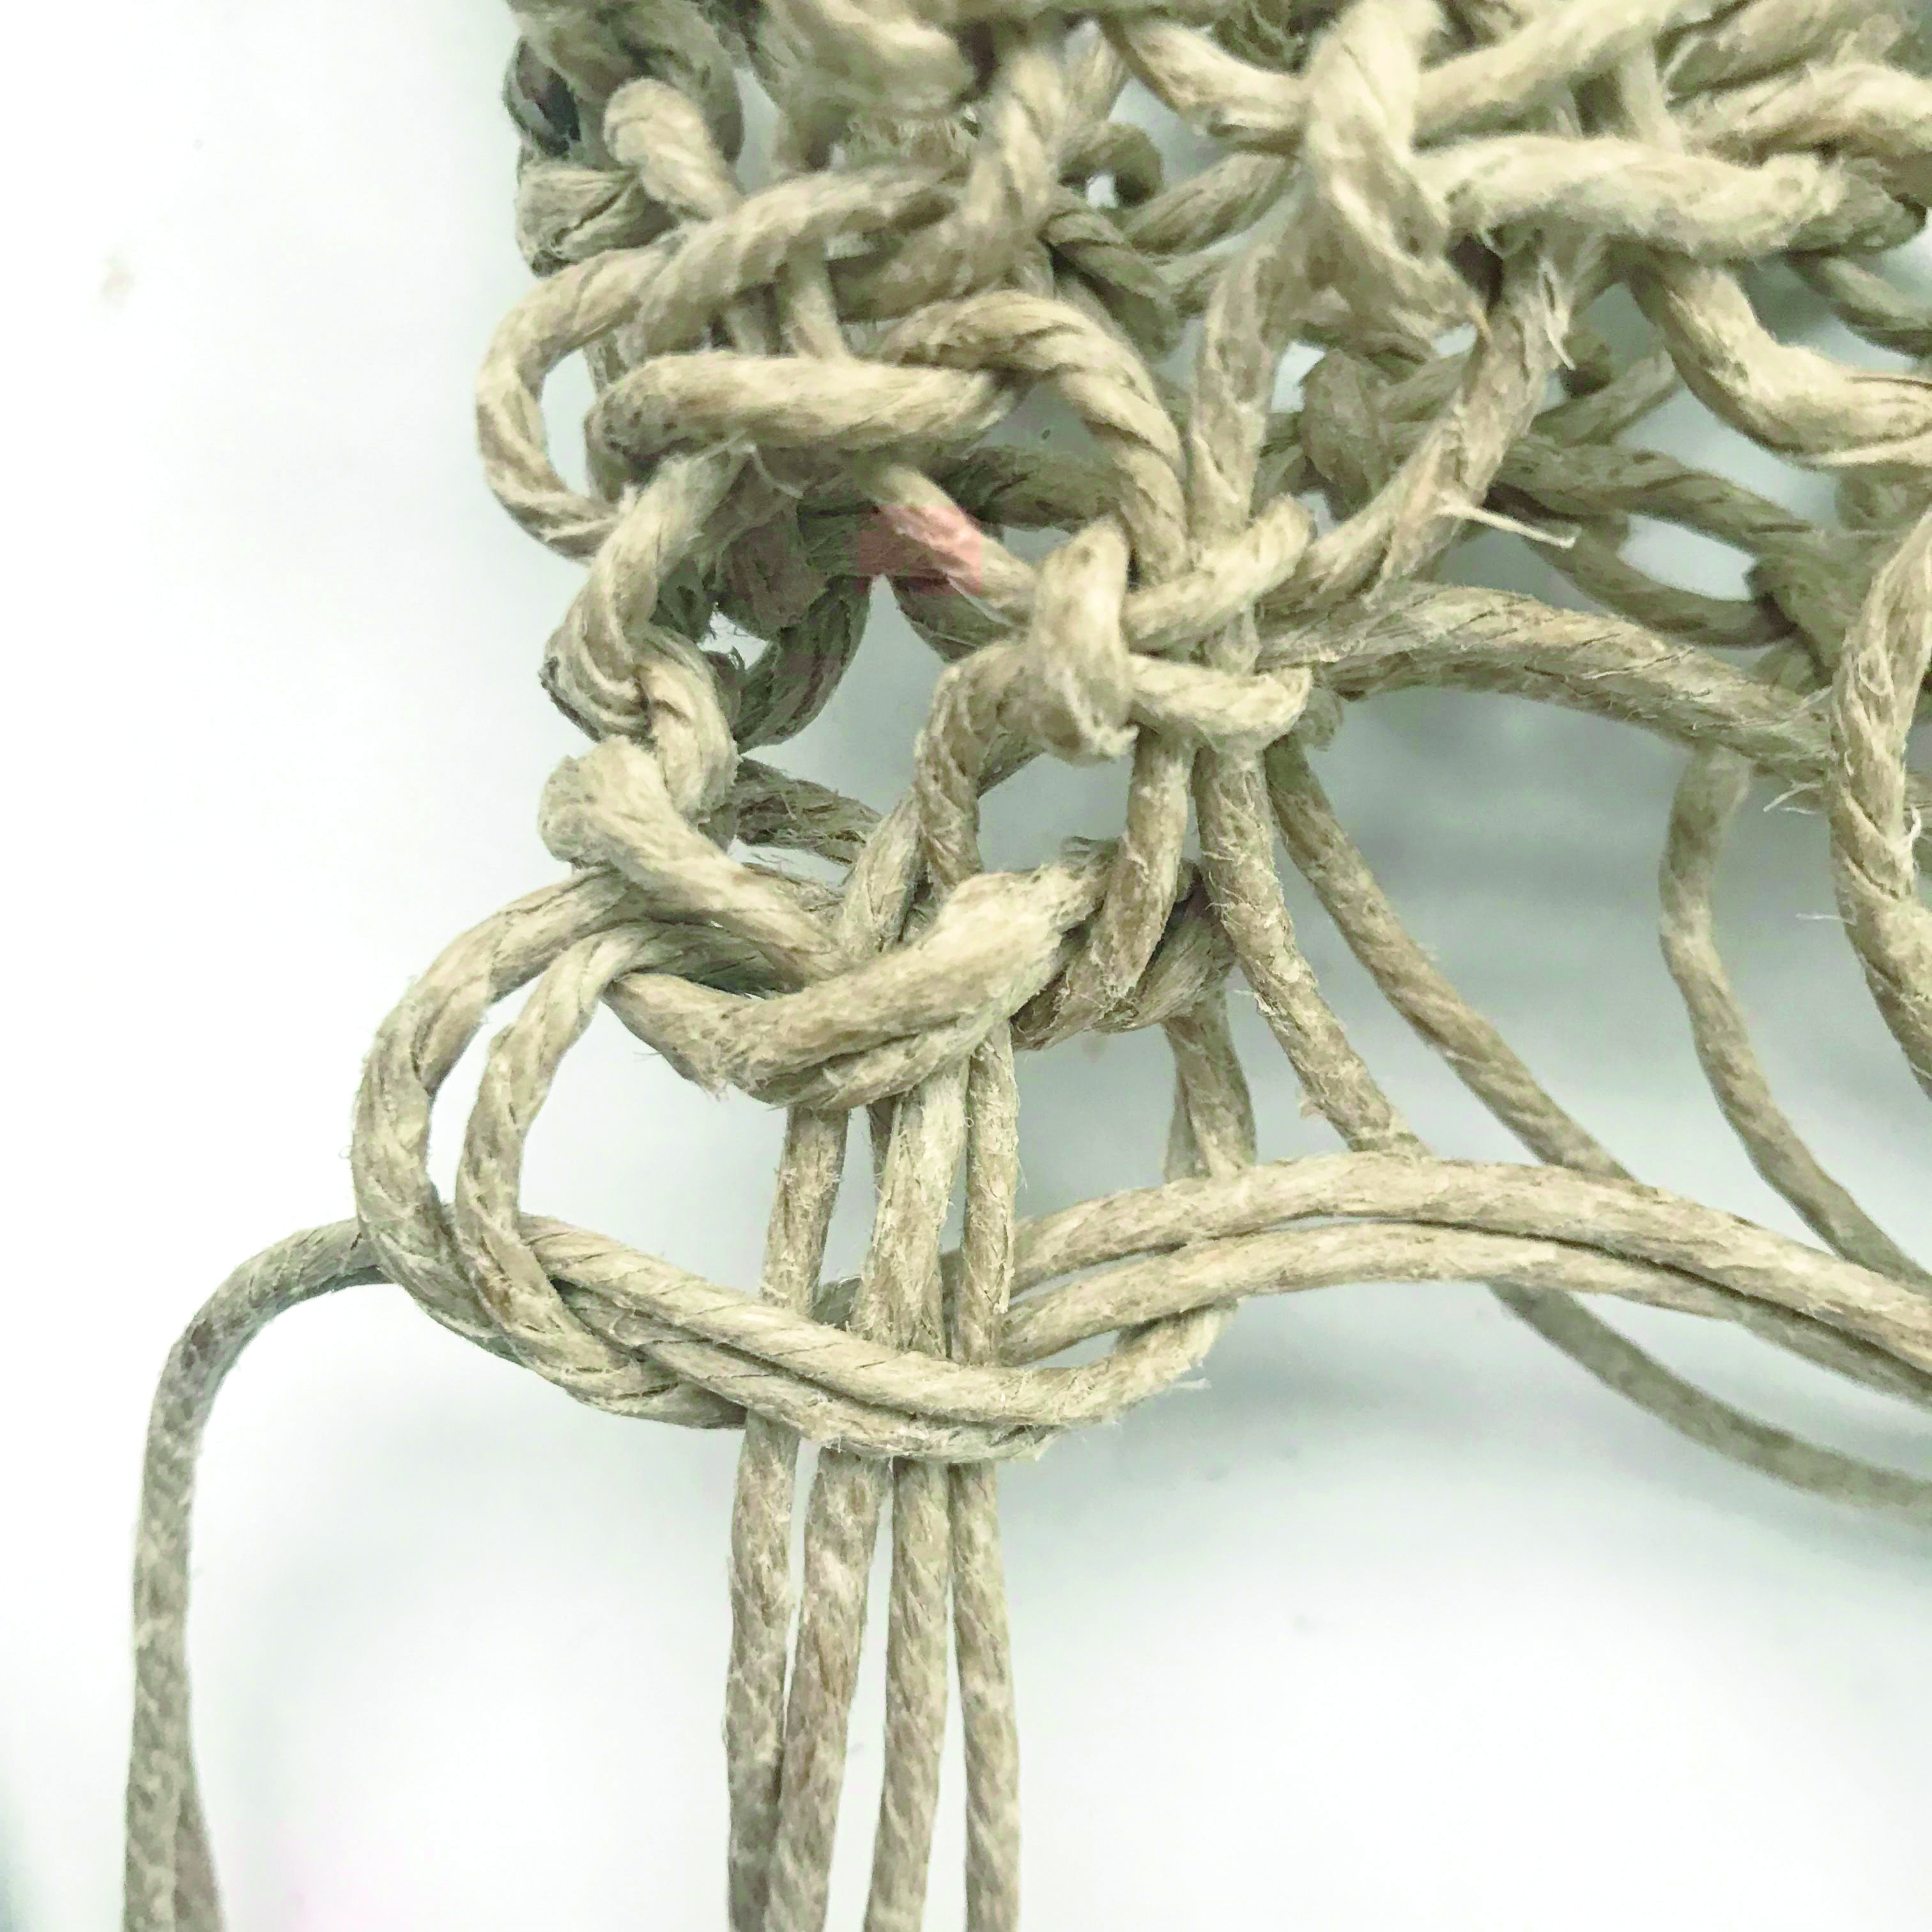
Turn the bag wrong side (WS) out. Overlap the two halves of the bag so the central eight square knots are on top of each other. You’ll have one single square knot at each end. Group the second and third cords from the single square knot on the left and the first and fourth cords from the same knot. Then group the two first cords from the two square knots overlapping next to it. Lastly, group the two second cords from the two square knots overlapping. Tie a square knot.
Step 11
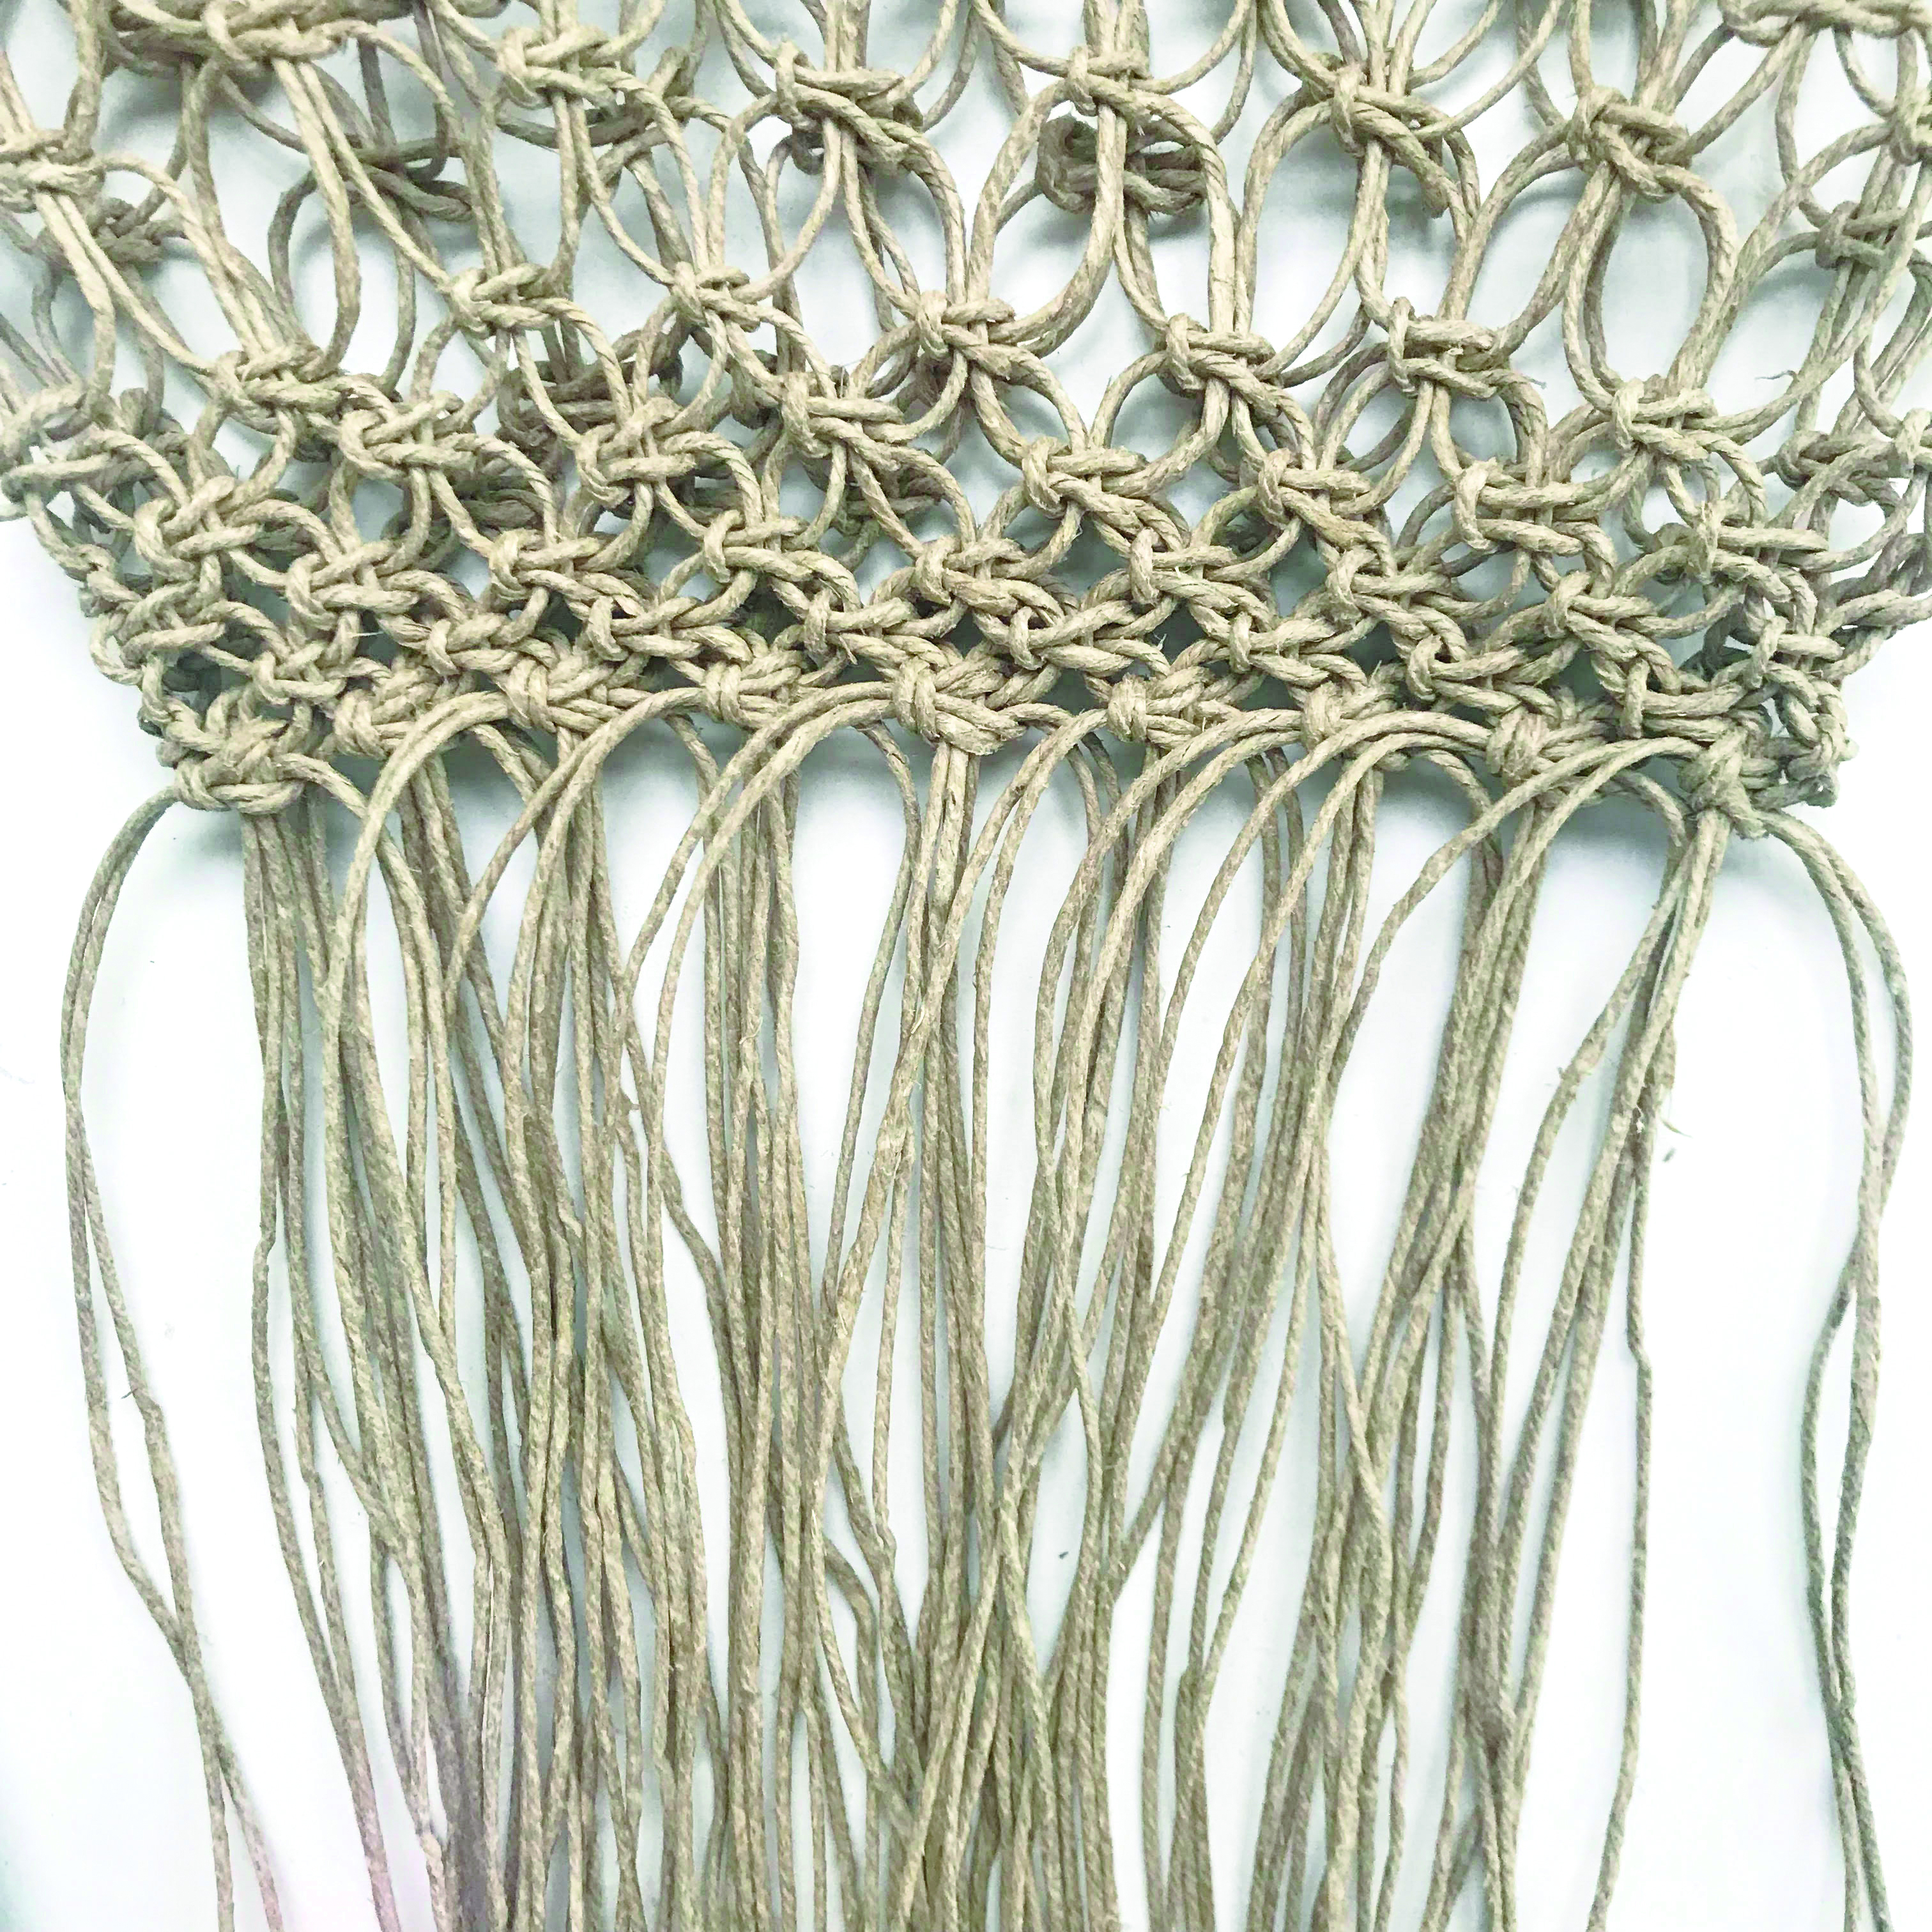
Repeat until you have nine square knots and the bottom of the bag is completely closed.
Step 12
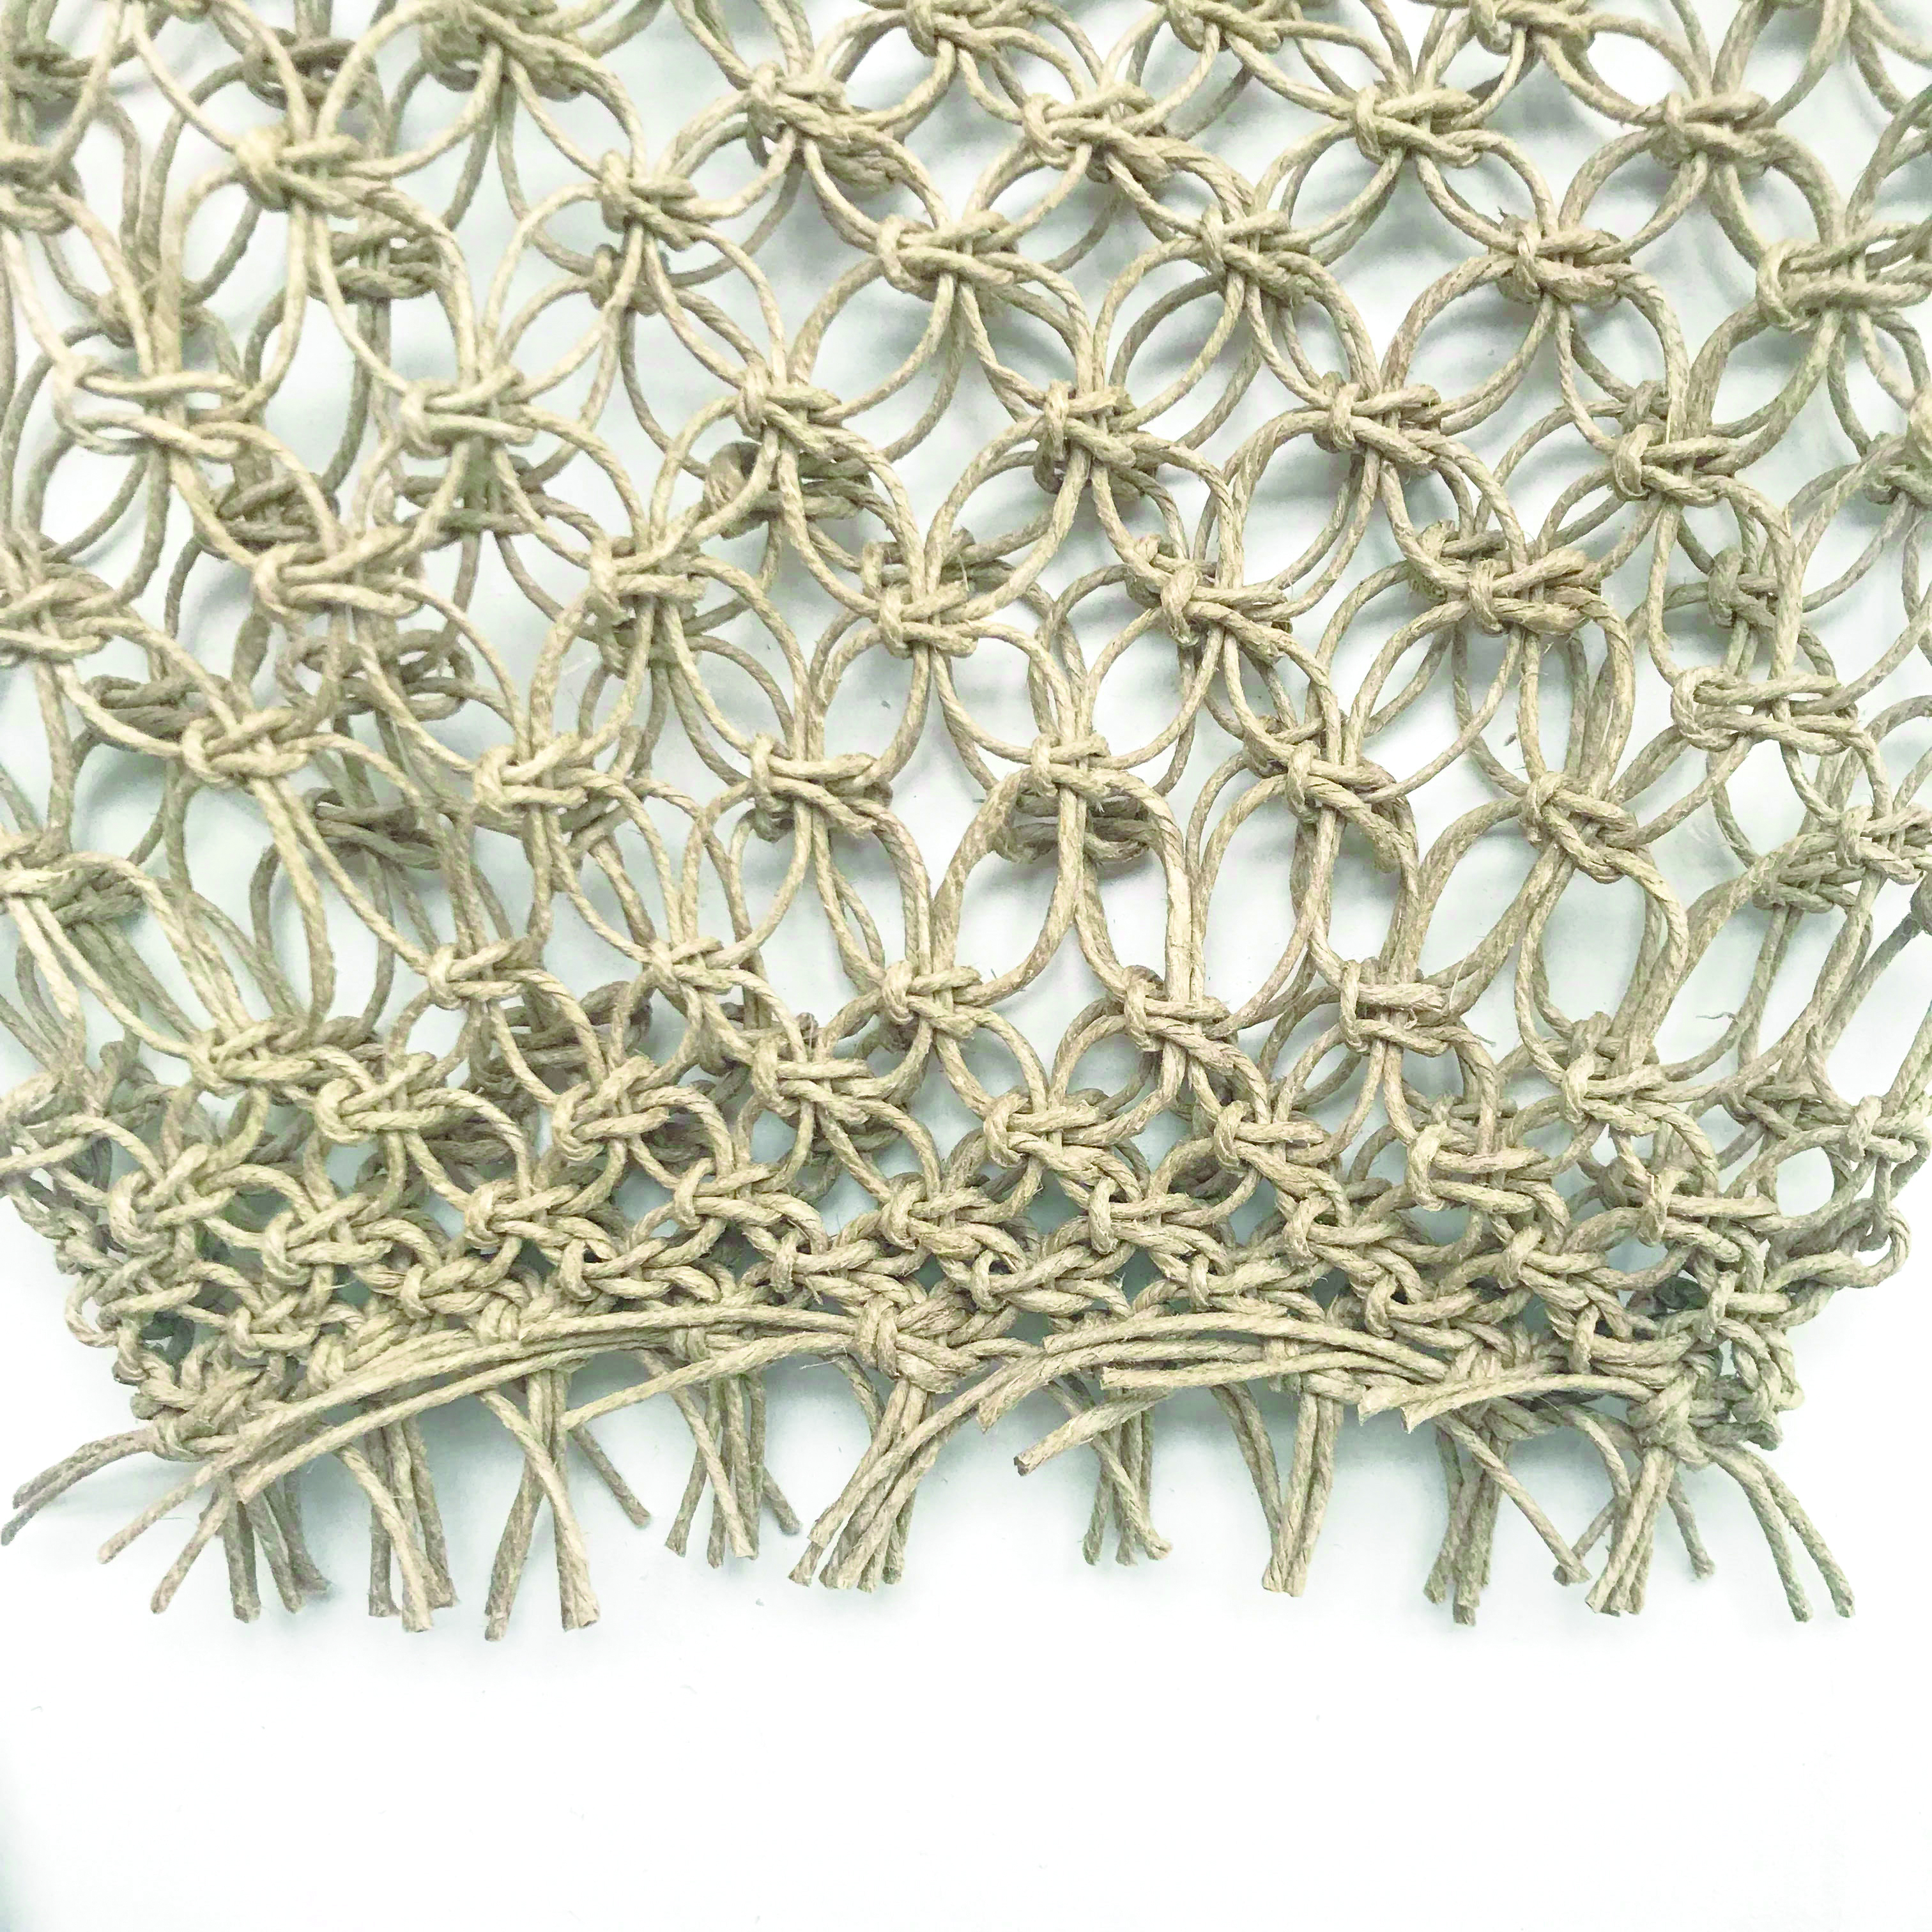
Cut the leftover twine to approximately 5cm (2").
Step 13
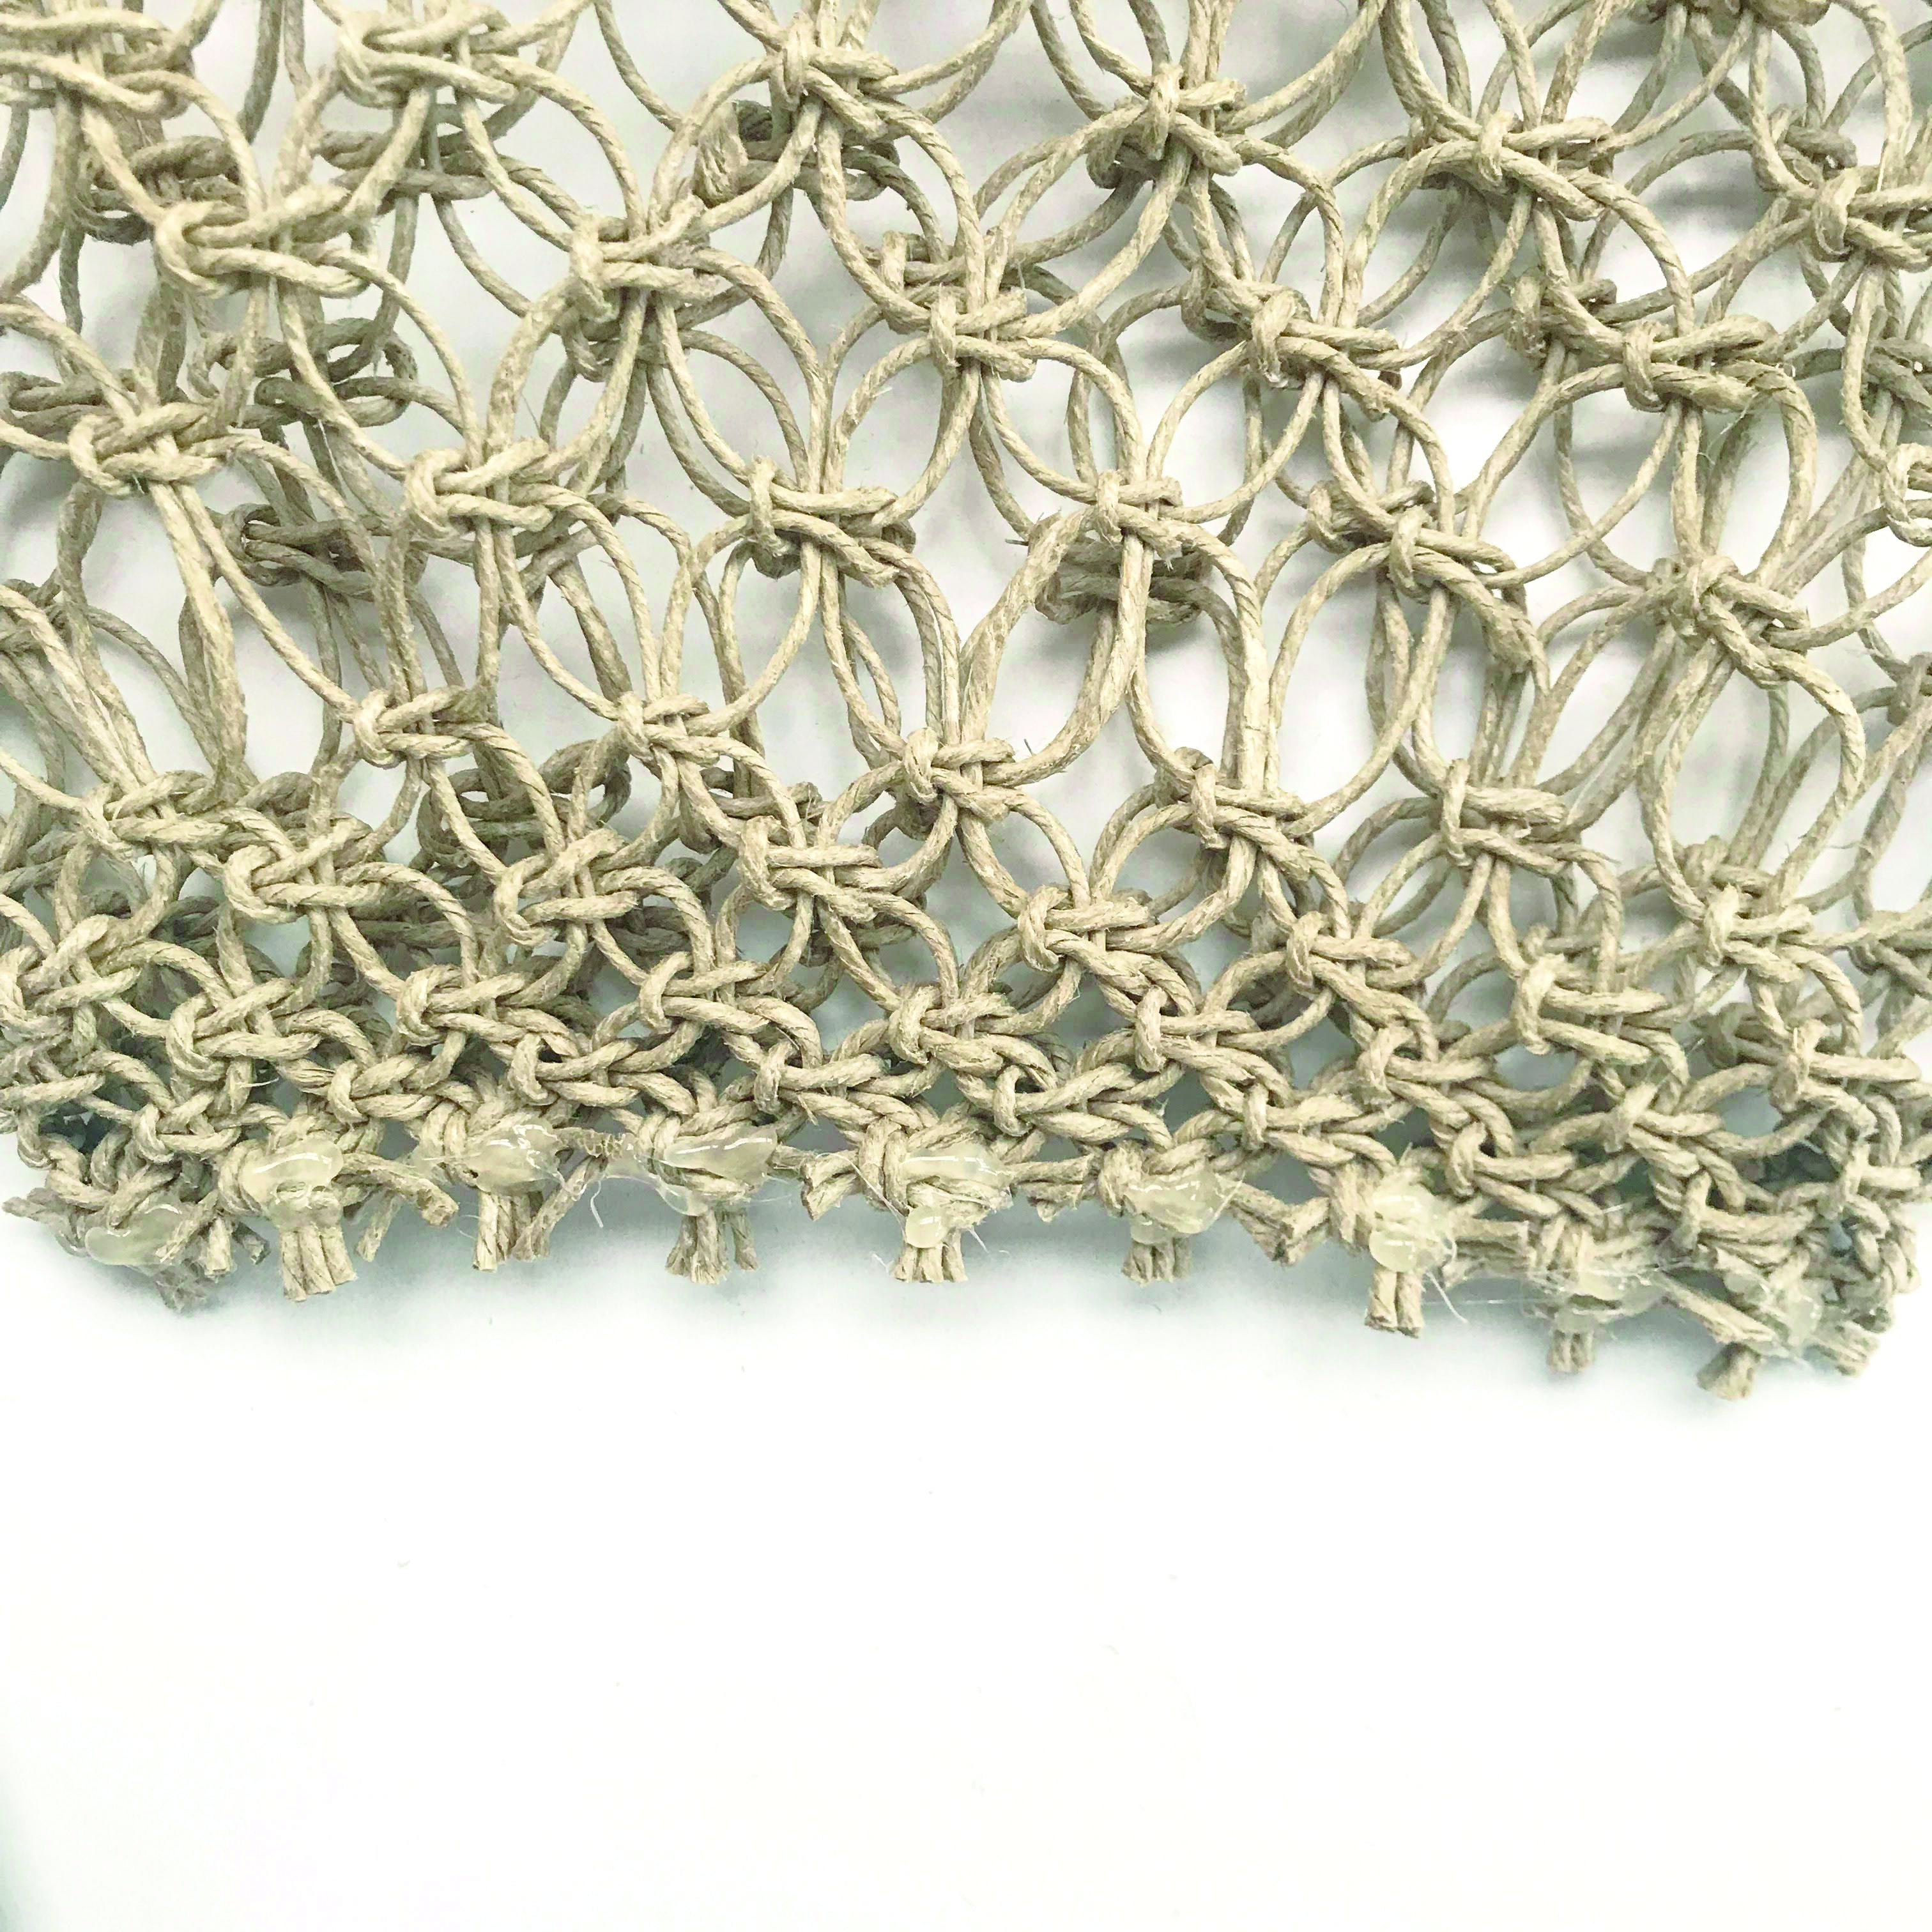
Using the glue gun, add a drop of glue in the middle and at the side of each of the nine square knots. Once the glue is dried, repeat on the other side. Once this glue is dry, trim the leftover strings again. Turn the bag through to the right side (RS) to finish.


