How to make a latch hook rug!
All products were chosen independently by our editorial team. This review contains affiliate links and we may receive a commission for purchases made. Please read our affiliates FAQ page to find out more.

How to make a latch hook rug!

Rediscover latch hooking with Emily Ashbourn’s how to make a latch hook rug tutorial!

Try 6 issues of your choice of craft magazine from just £9.99

Published: July 22, 2021 at 7:24 am

Latch hooking is the latest craft trend and it's fighting its way back into the spotlight. Emily Ashbourn has designed this fab latch hook rug which is a far cry from the old school wobbly golden retrievers or village scene latch hook designs! This latch hook rug is all about bold graphic design, modern shades, and playful texture.

Dip your toe in (kinda literally) with a straightforward mat to start with, using just two colours. Follow the chart or create your own word or slogan design on graph paper before you get started. Make sure you also check out our rug hooking tips for beginners to pick up some expert advice.

This project was created by Emily for Mollie Makes magazine – for more easy-make craft projects and creative inspiration, subscribe to Mollie or click here to find out more.

Materials

  • Bobbiny 3mm Cotton Rope, 100% cotton, 100m/109yd per 300g, five spools in Peach (Yarn A) and one spool in Charcoal Grey (Yarn B)
  • Paintbox Yarns Simply Aran, 100% acrylic, 184m/201yd per 100g, one ball in Slate Grey (YarnC)
  • 1m x 50cm (393/8 x 193⁄4") latch hook canvas
  • Latch hook
  • Black marker pen
  • Long scissors
  • Darning needle
  • Hot glue gun
  • Chart in issue 97 of Mollie Makes templates

How to make a latch hook rug

You will need:

  • Cotton Rope
  • Paintbox Yarns
  • Latch hook canvas
  • Latch hook
  • Black marker pen
  • Long scissors
  • Darning needle
  • glue gun

Step 1

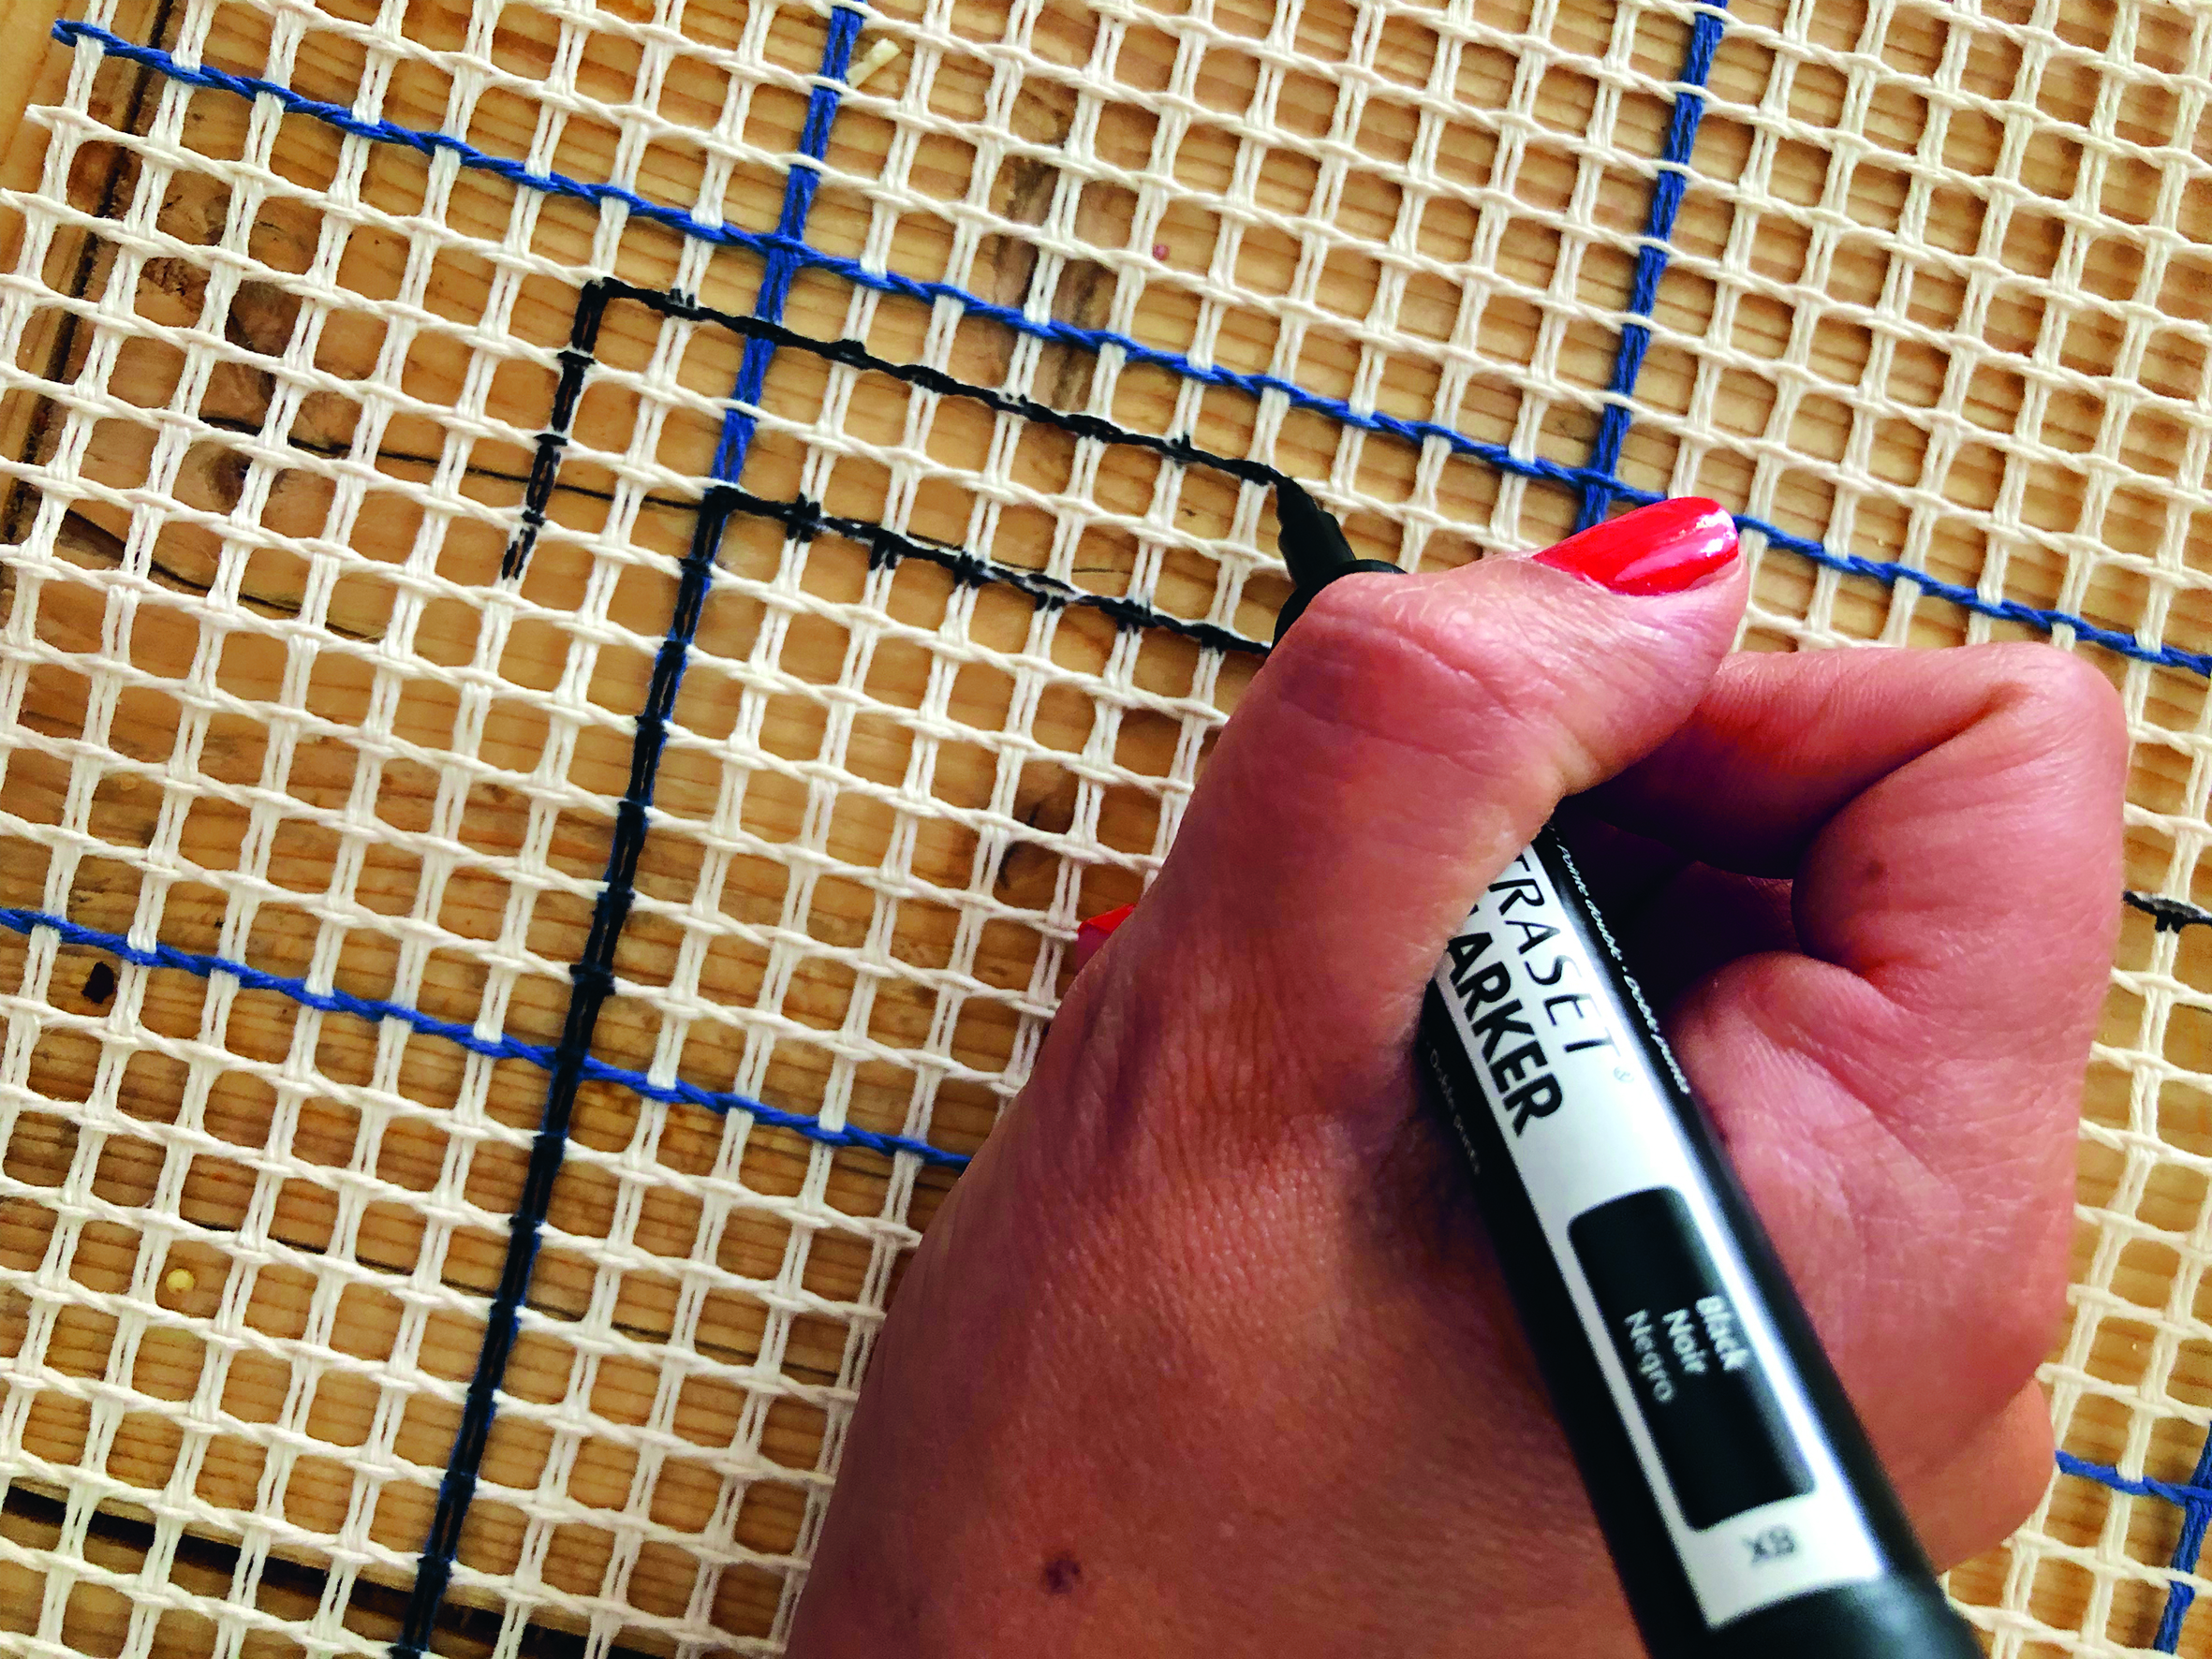
How to make a latch hook rug Step 1Use the chart from issue templates 97 of Mollie Makes as a reference, take a black marker pen and mark the outline for the mat, 85 squares by 50 squares centrally on the latch hook canvas. Next, add a two square border allowance around the marked rectangle and mark this out with the black pen.

Step 2

How to make a latch hook rug Step 2

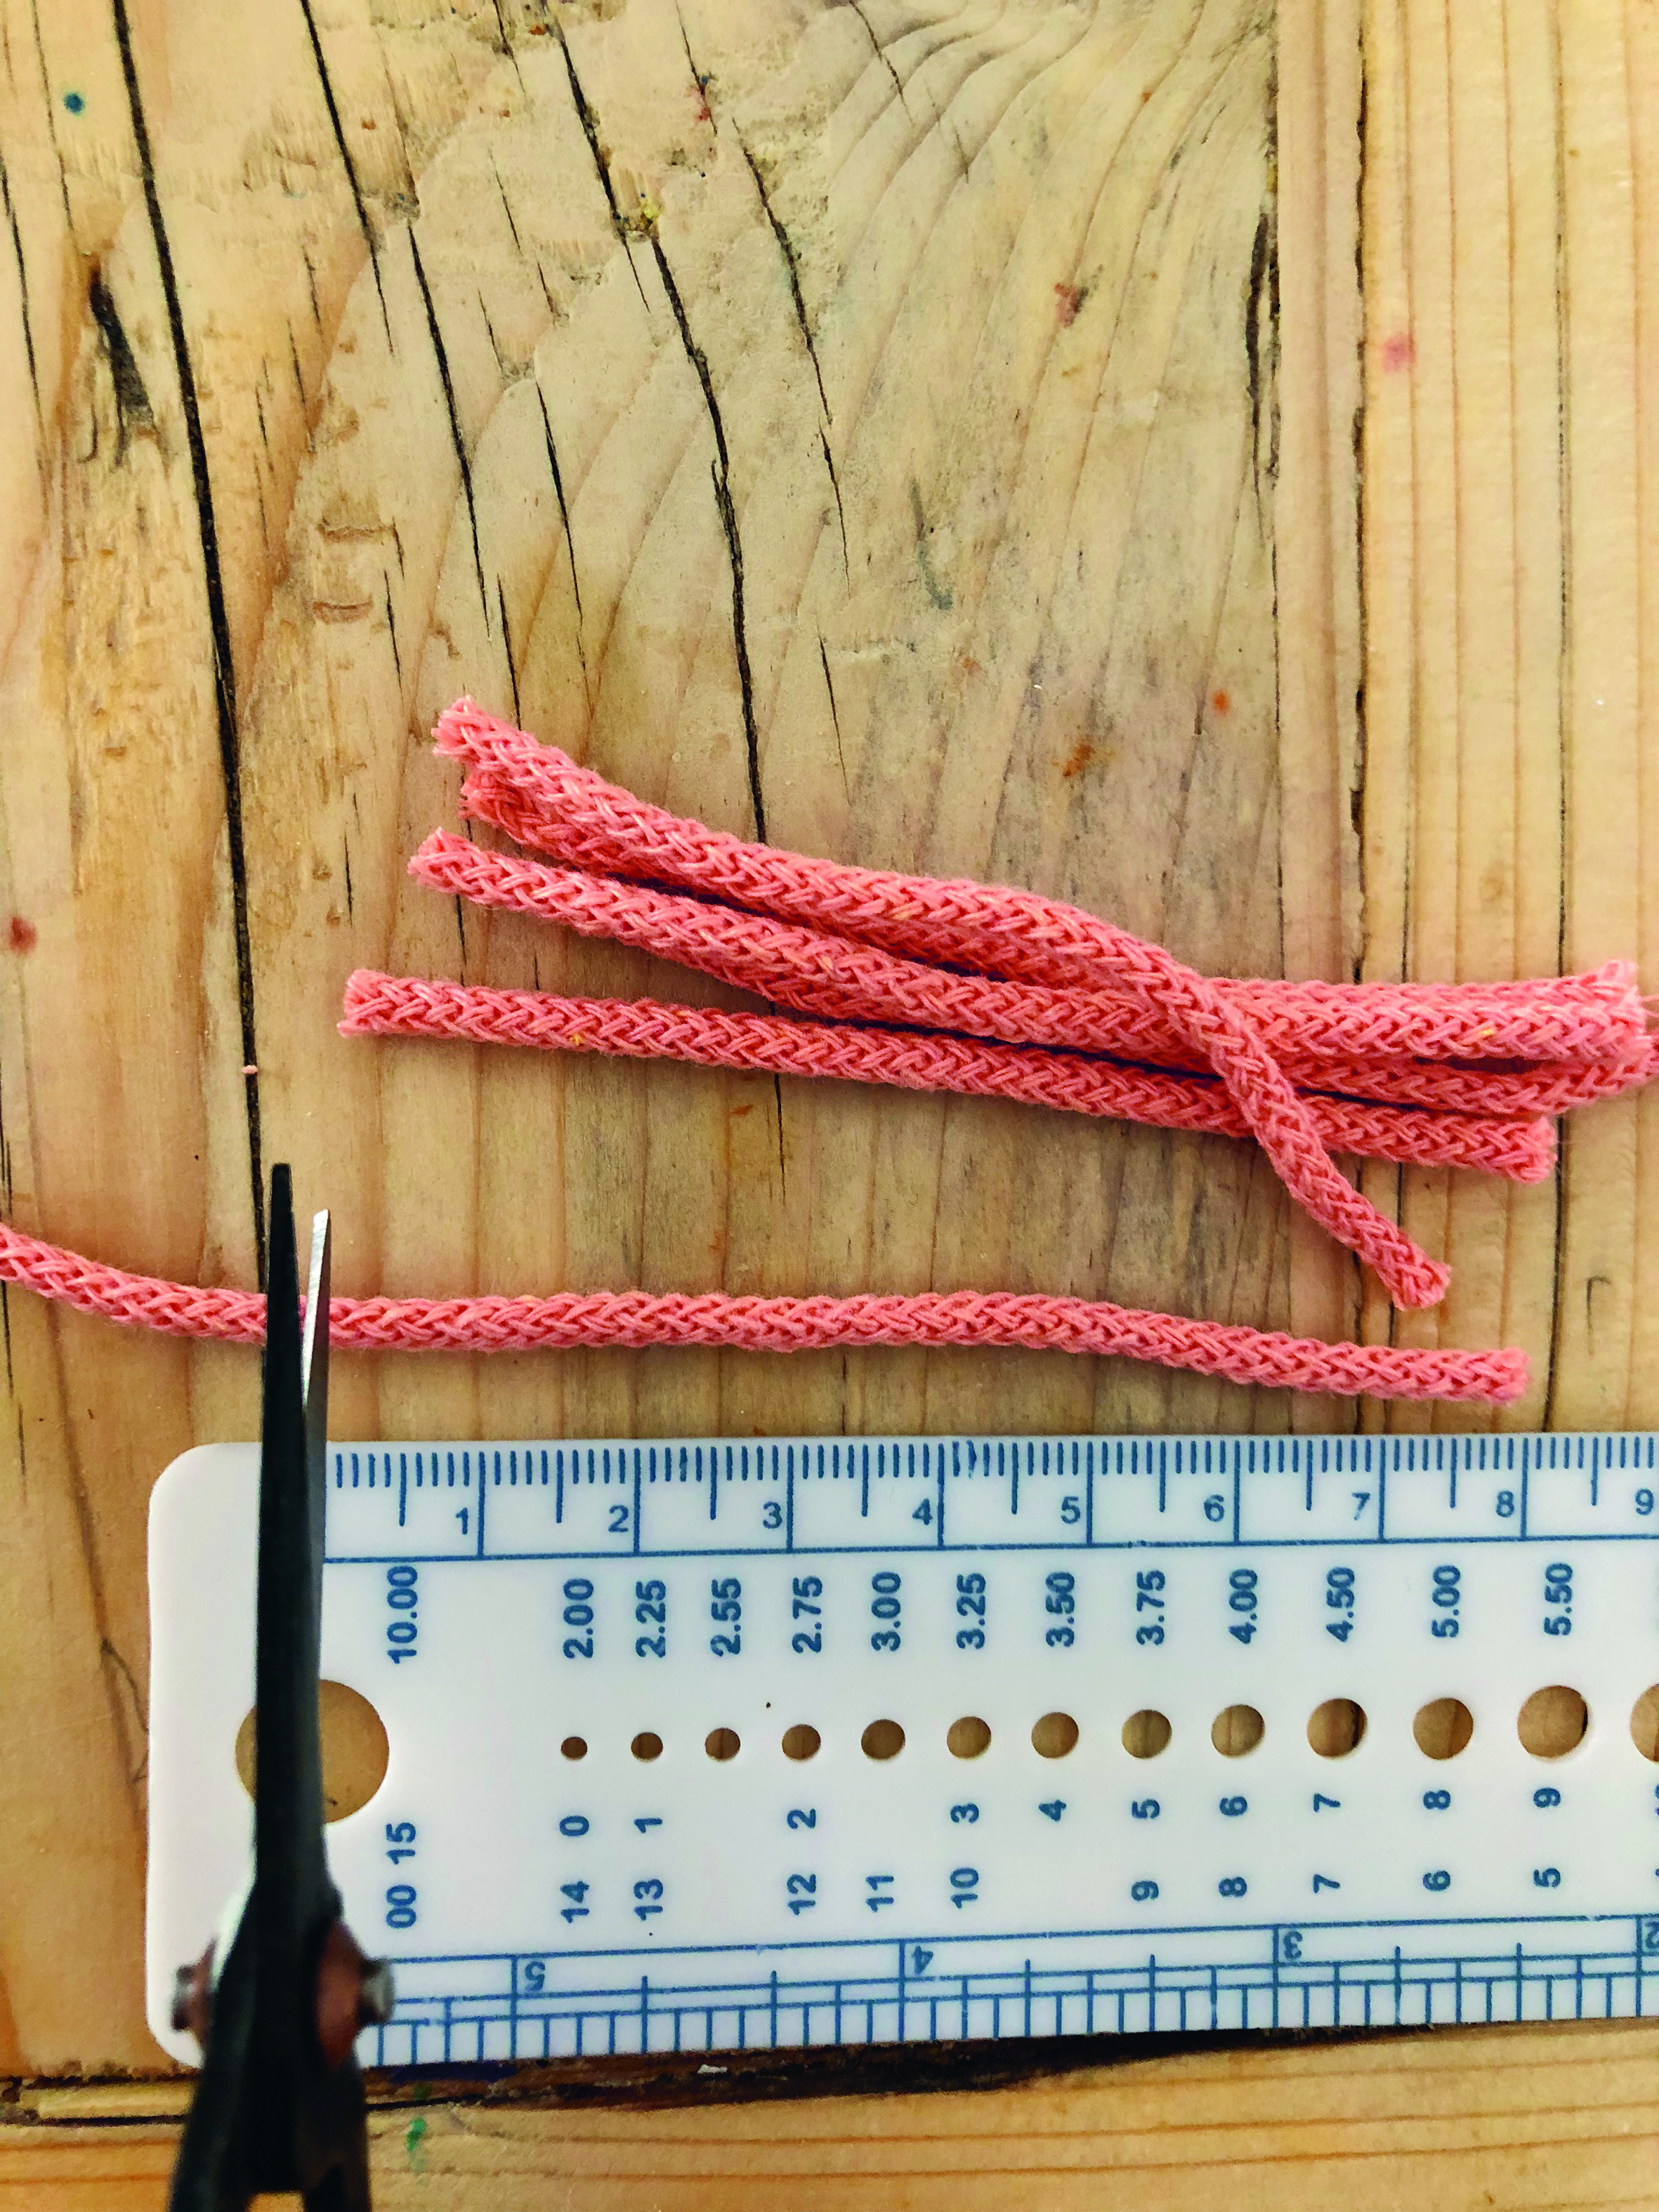
Cut all of Yarns A and B into even 8cm (31/8") lengths.

Step 3

How to make a latch hook rug Step 3

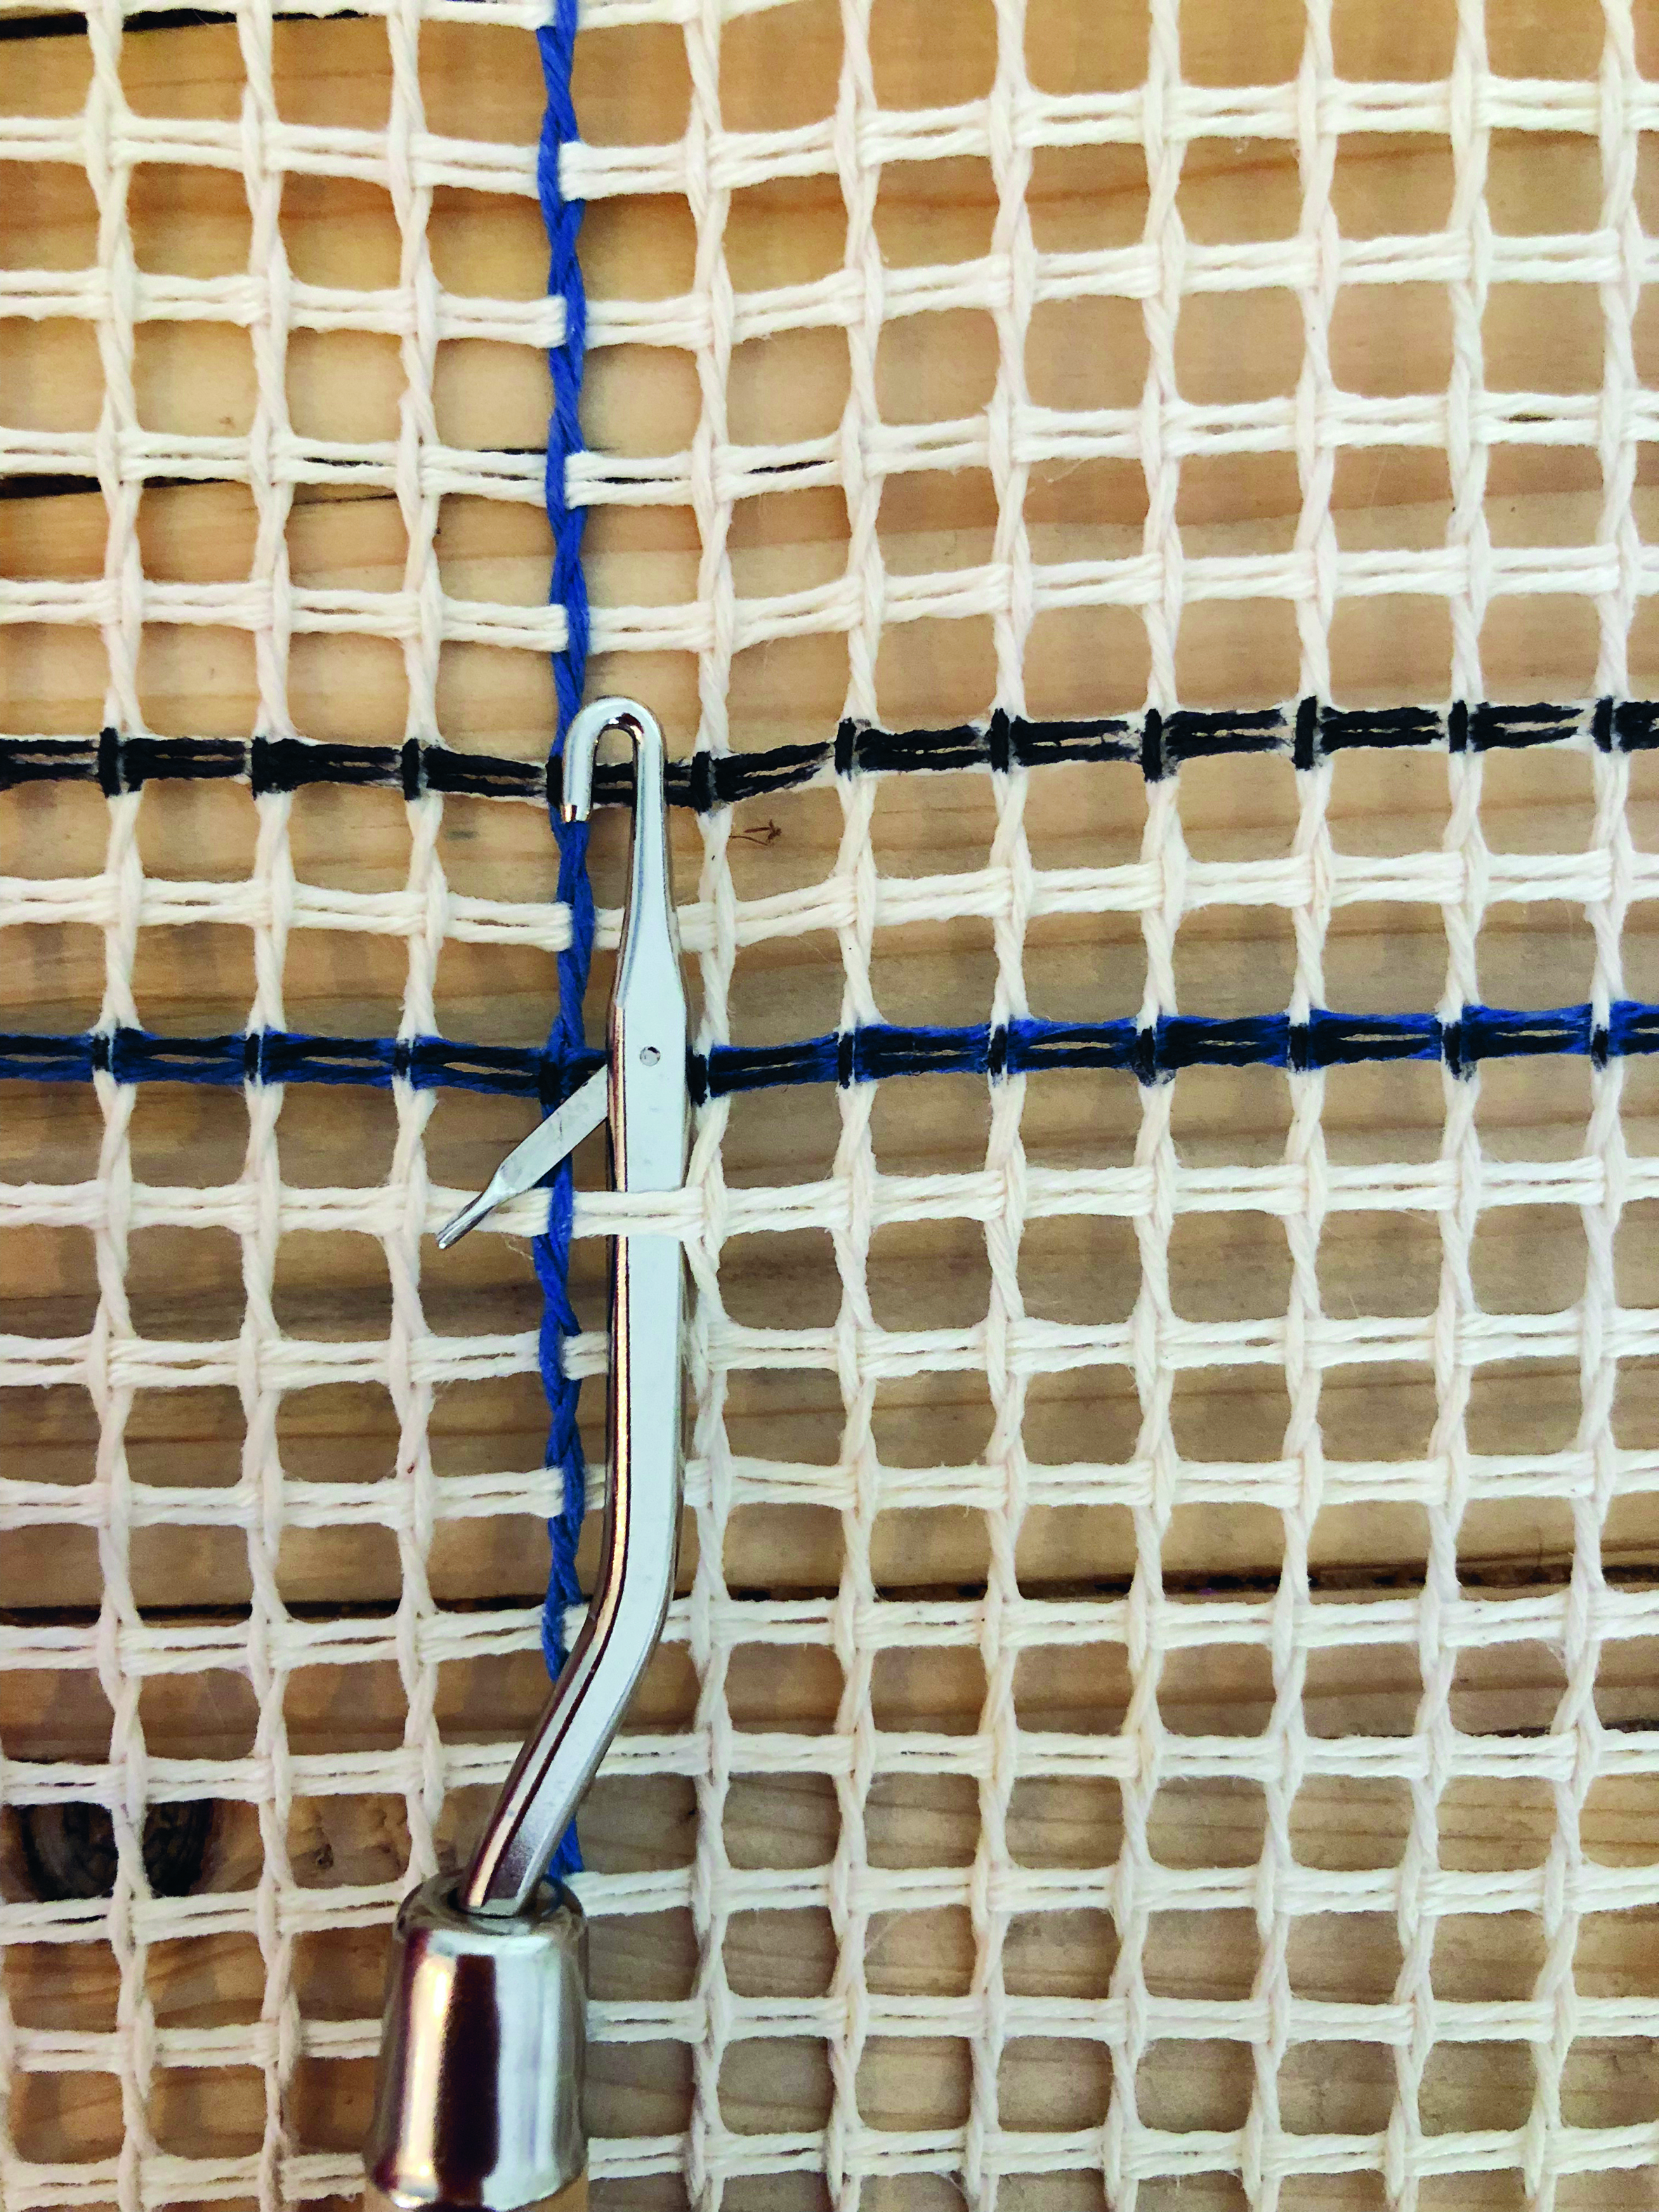
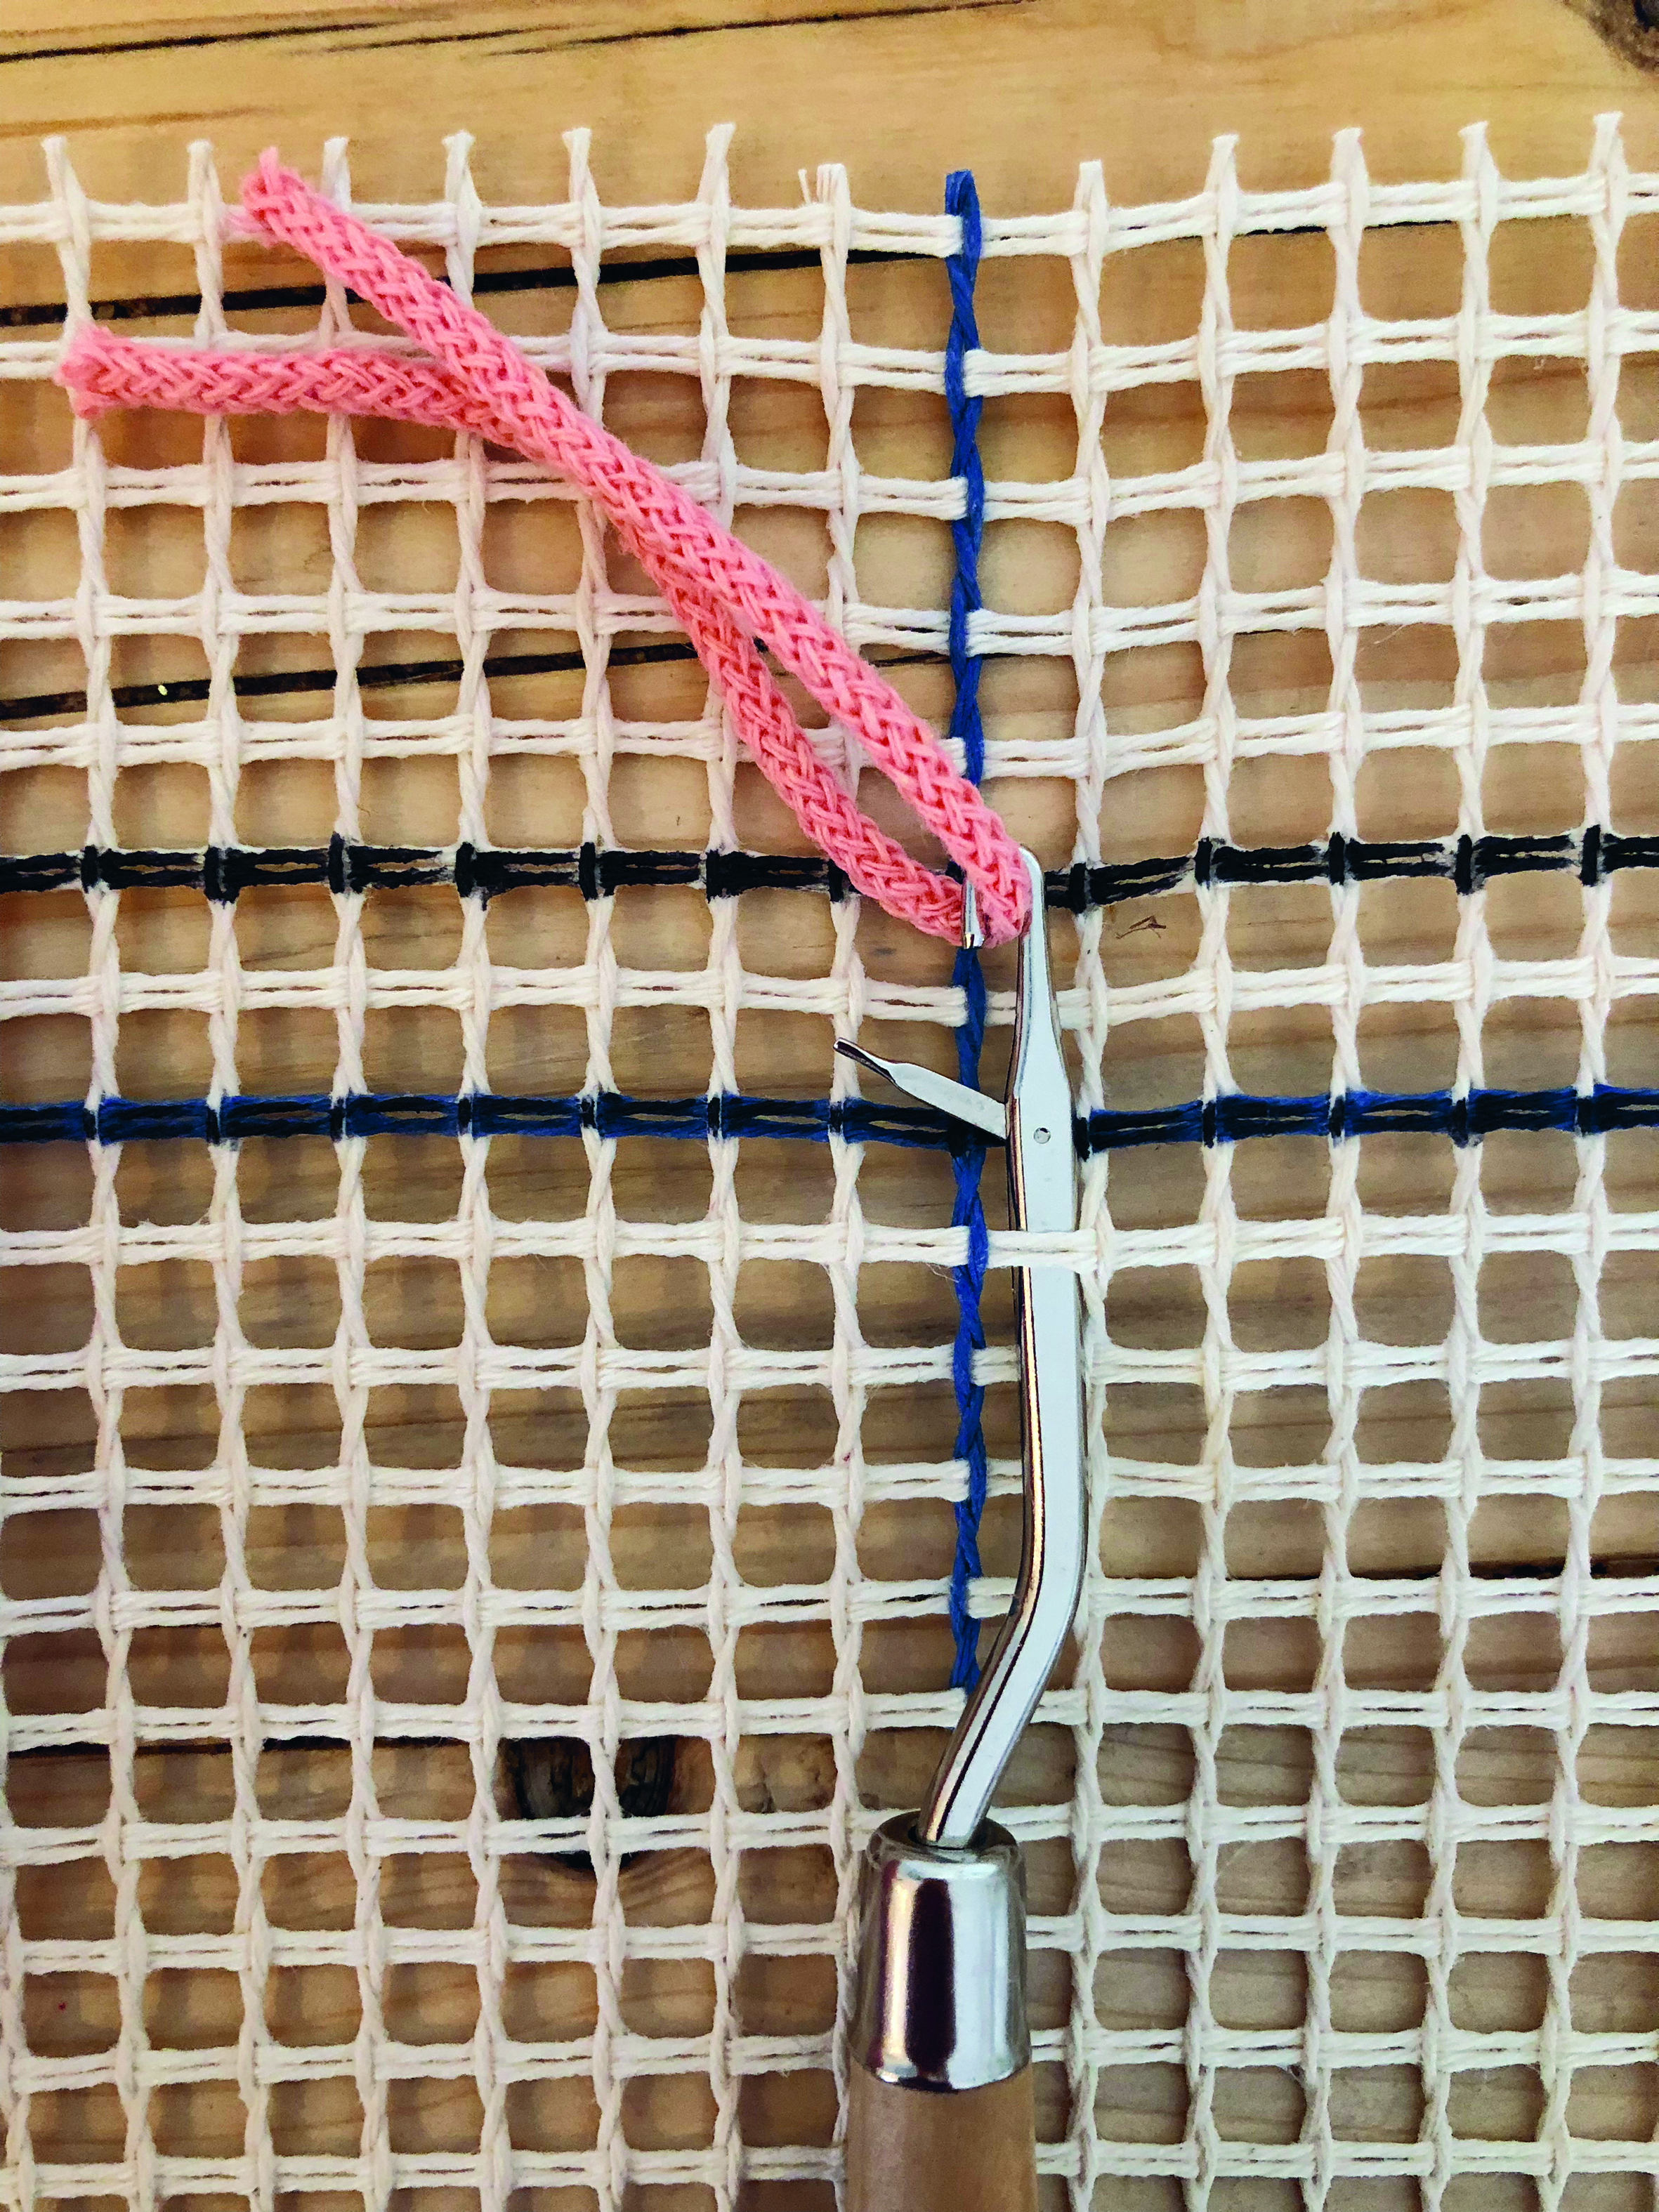
Starting at the top left hand side of the latch hook mat, insert the latch hook under the bar at the bottom of the first square you’re working in.

Step 4

How to make a latch hook rug Step 4

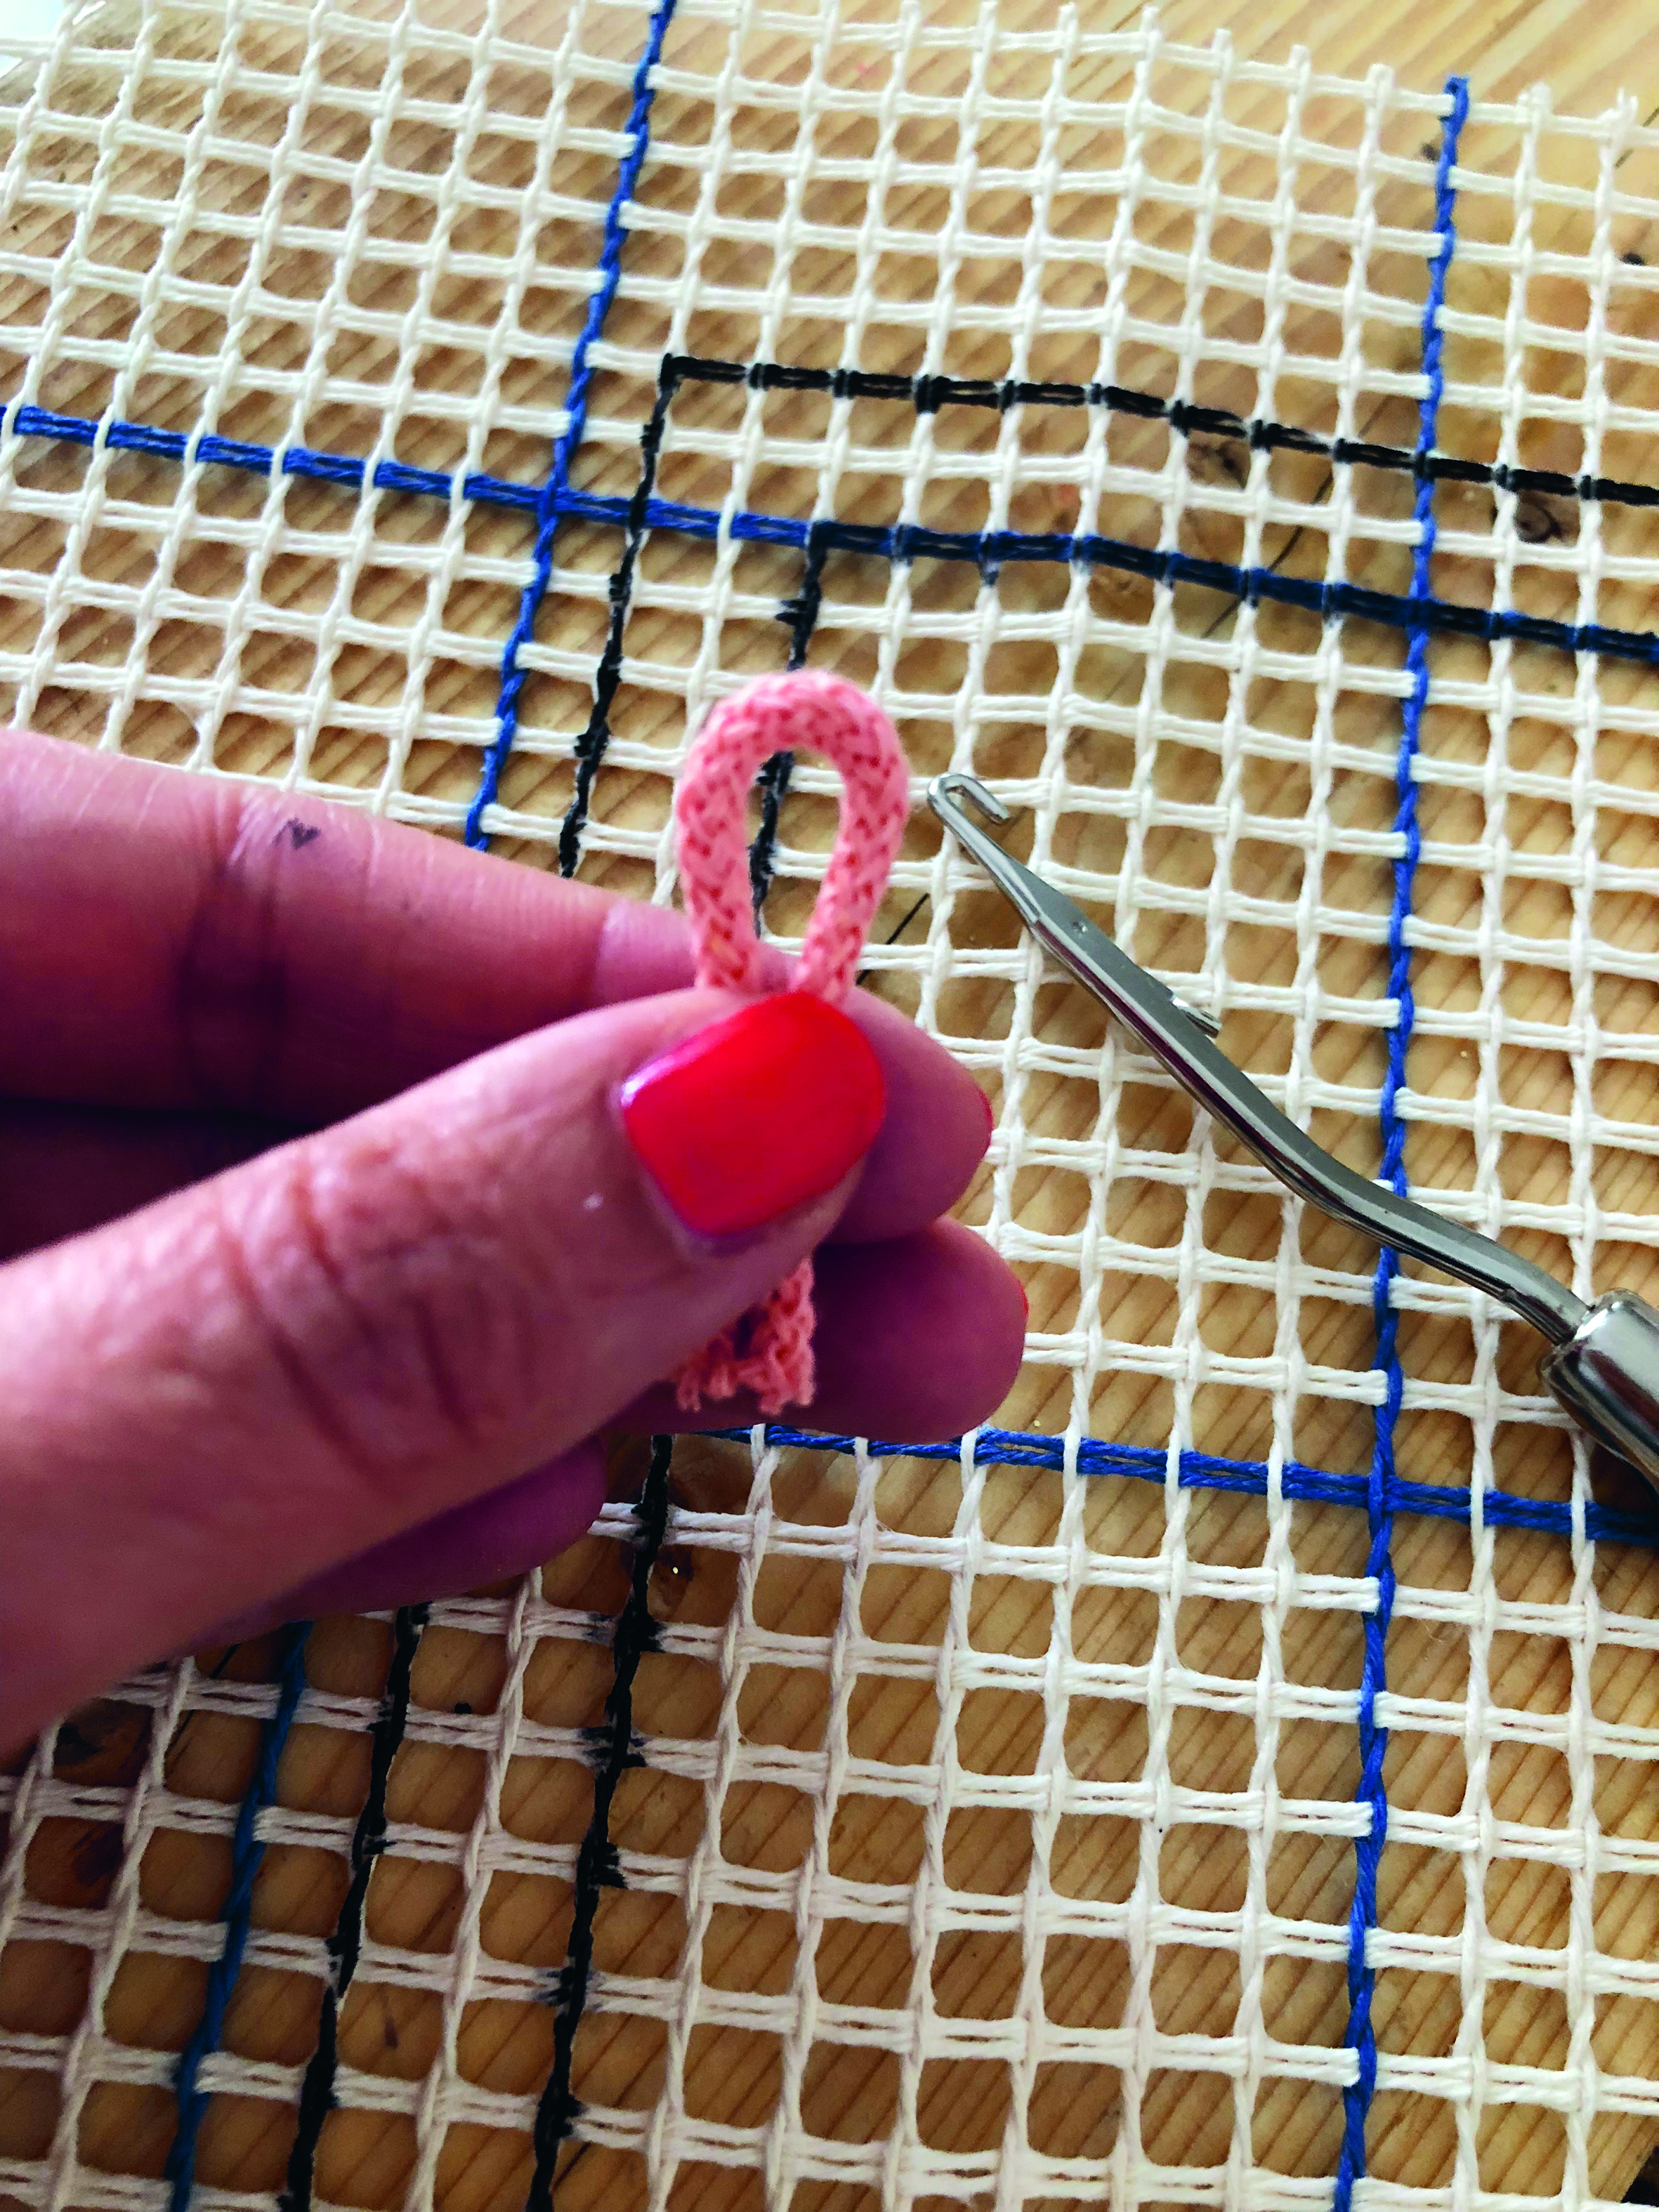
Take a cut length of Yarn A and fold it in half, holding the ends between your finger and thumb.

Step 5

How to make a latch hook rug Step 5

Catch the loop of the folded yarn in the hook of the latch hook, holding the ends away from you.

Step 6

How to make a latch hook rug Step 6

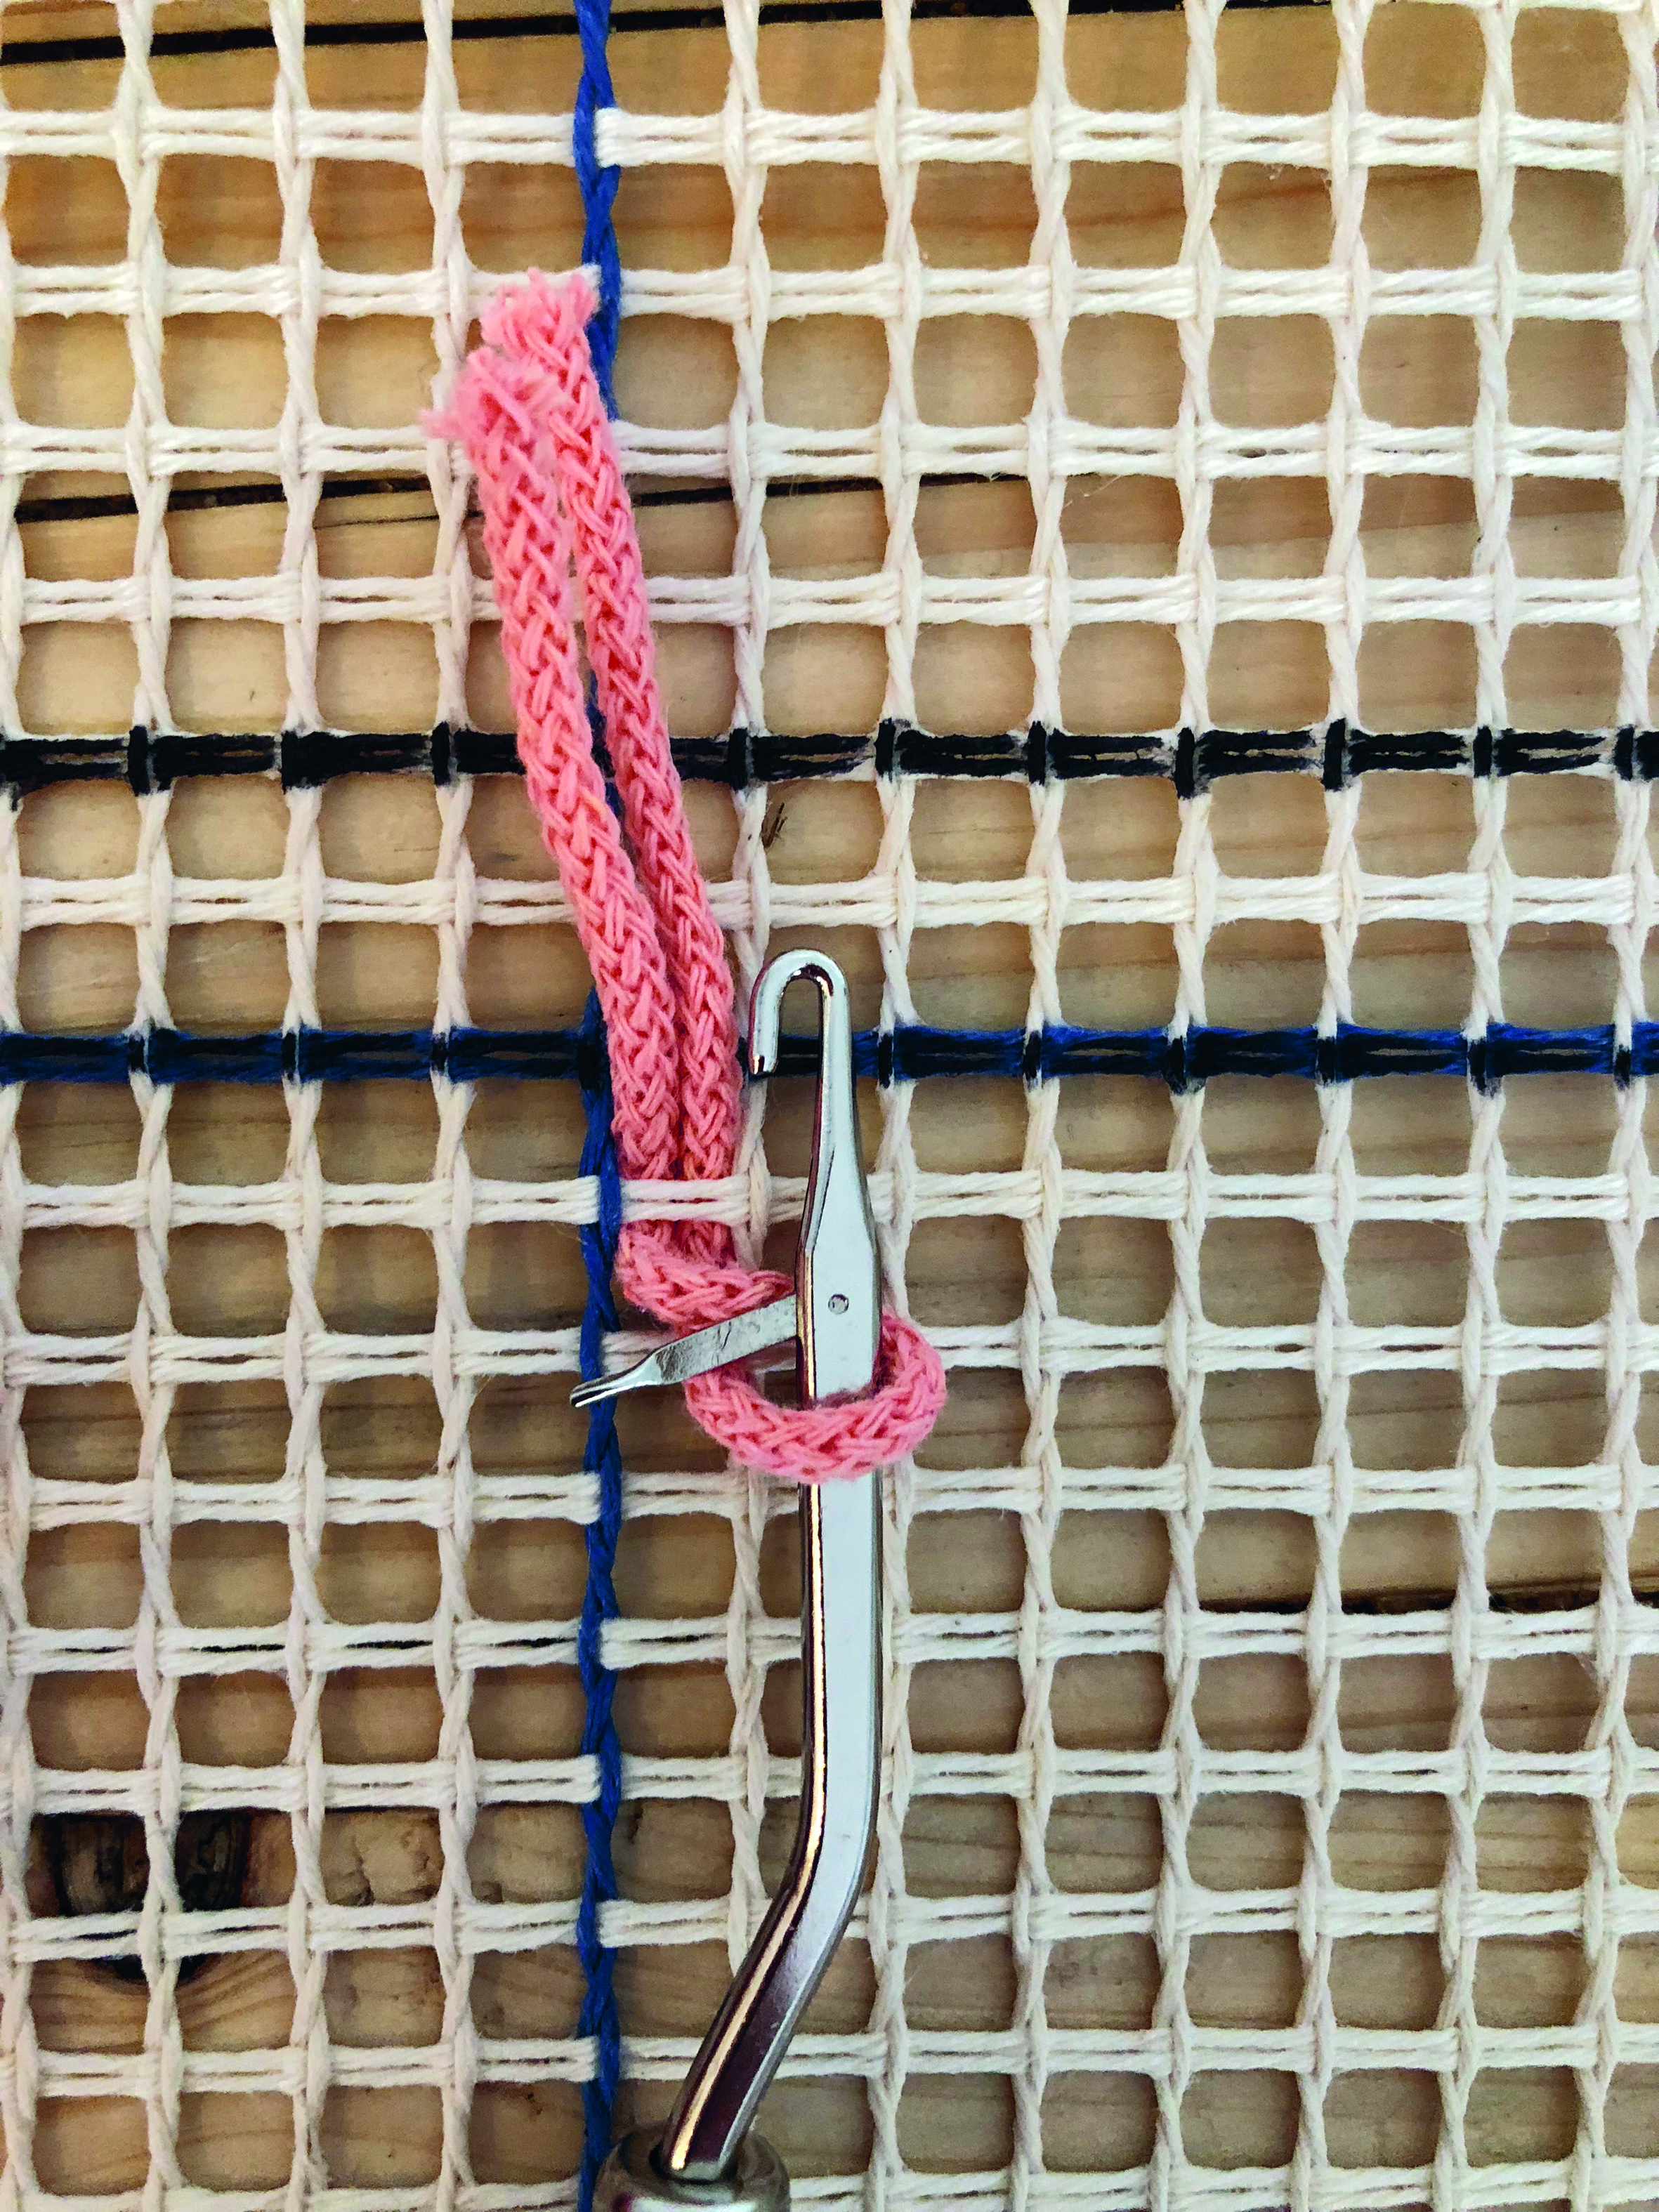
Pull the yarn loop through and under the bar of the canvas, making sure to leave the ends sticking out the other side.

Step 7

How to make a latch hook rug Step 7

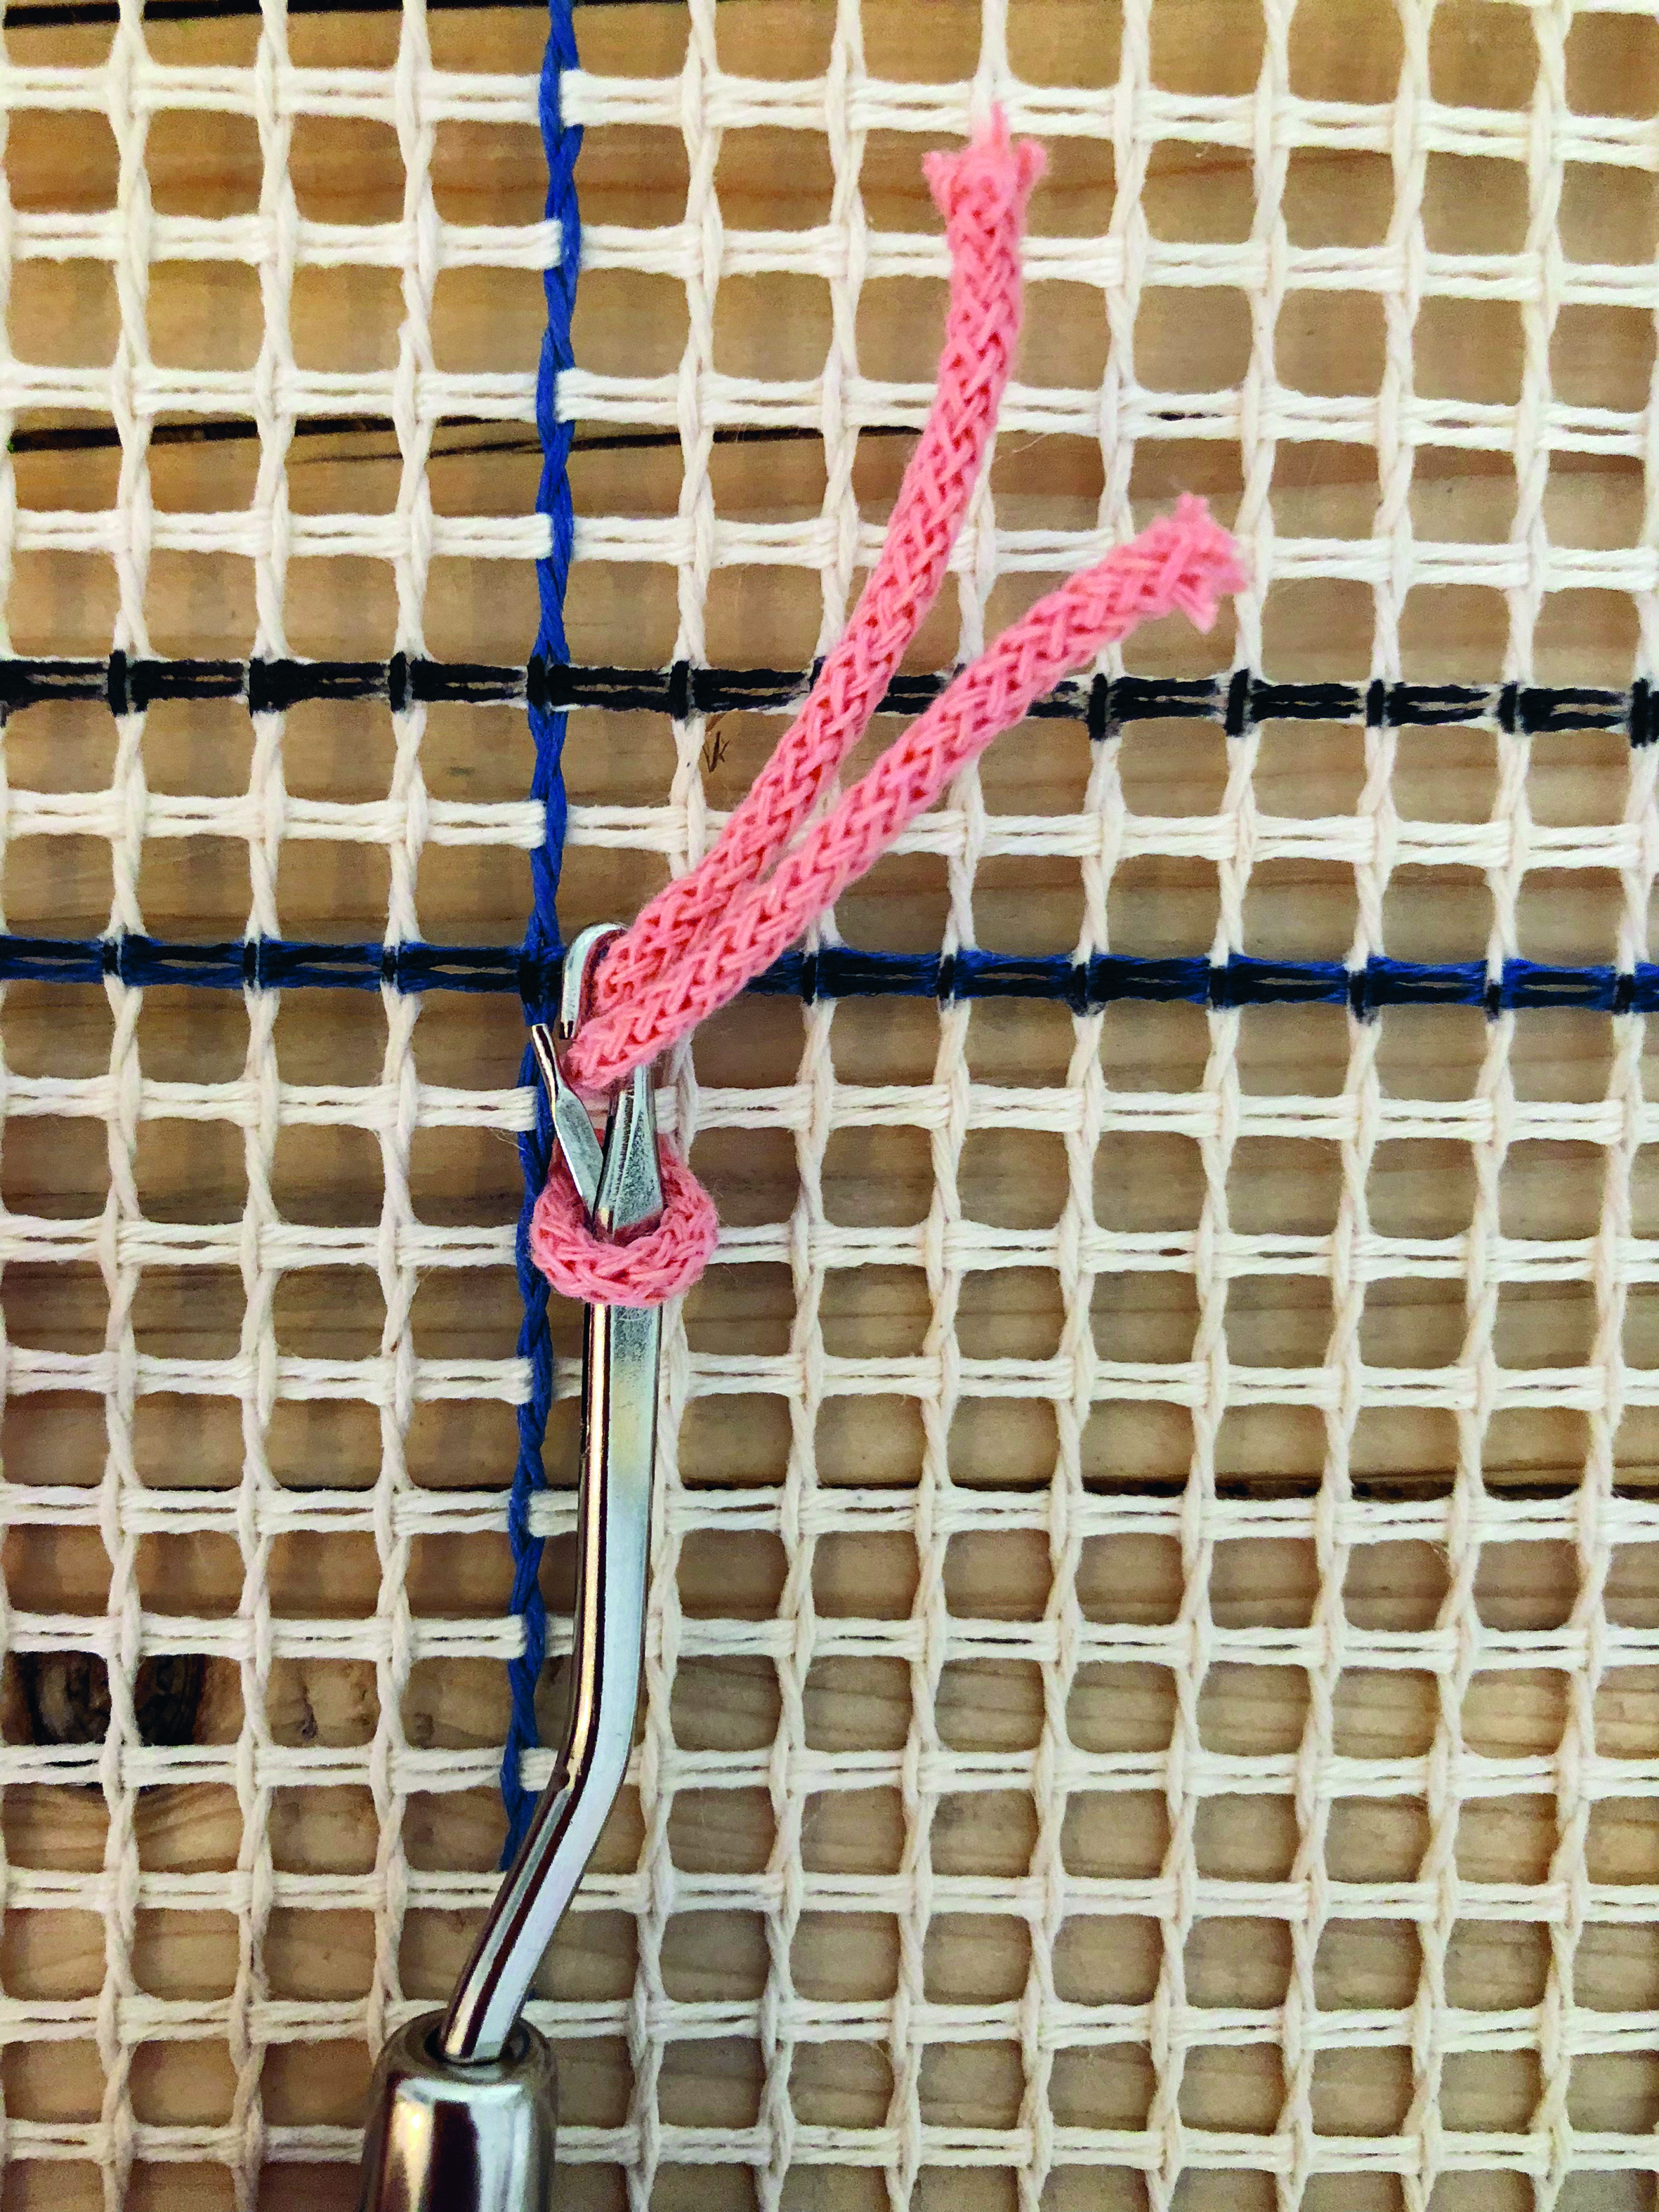
Push the latch hook away from you towards the ends, making sure the latch part of the hook tool is pushed open as you slide through the loop. Catch the ends in the hook part of the tool.

Step 8

How to make a latch hook rug Step 8

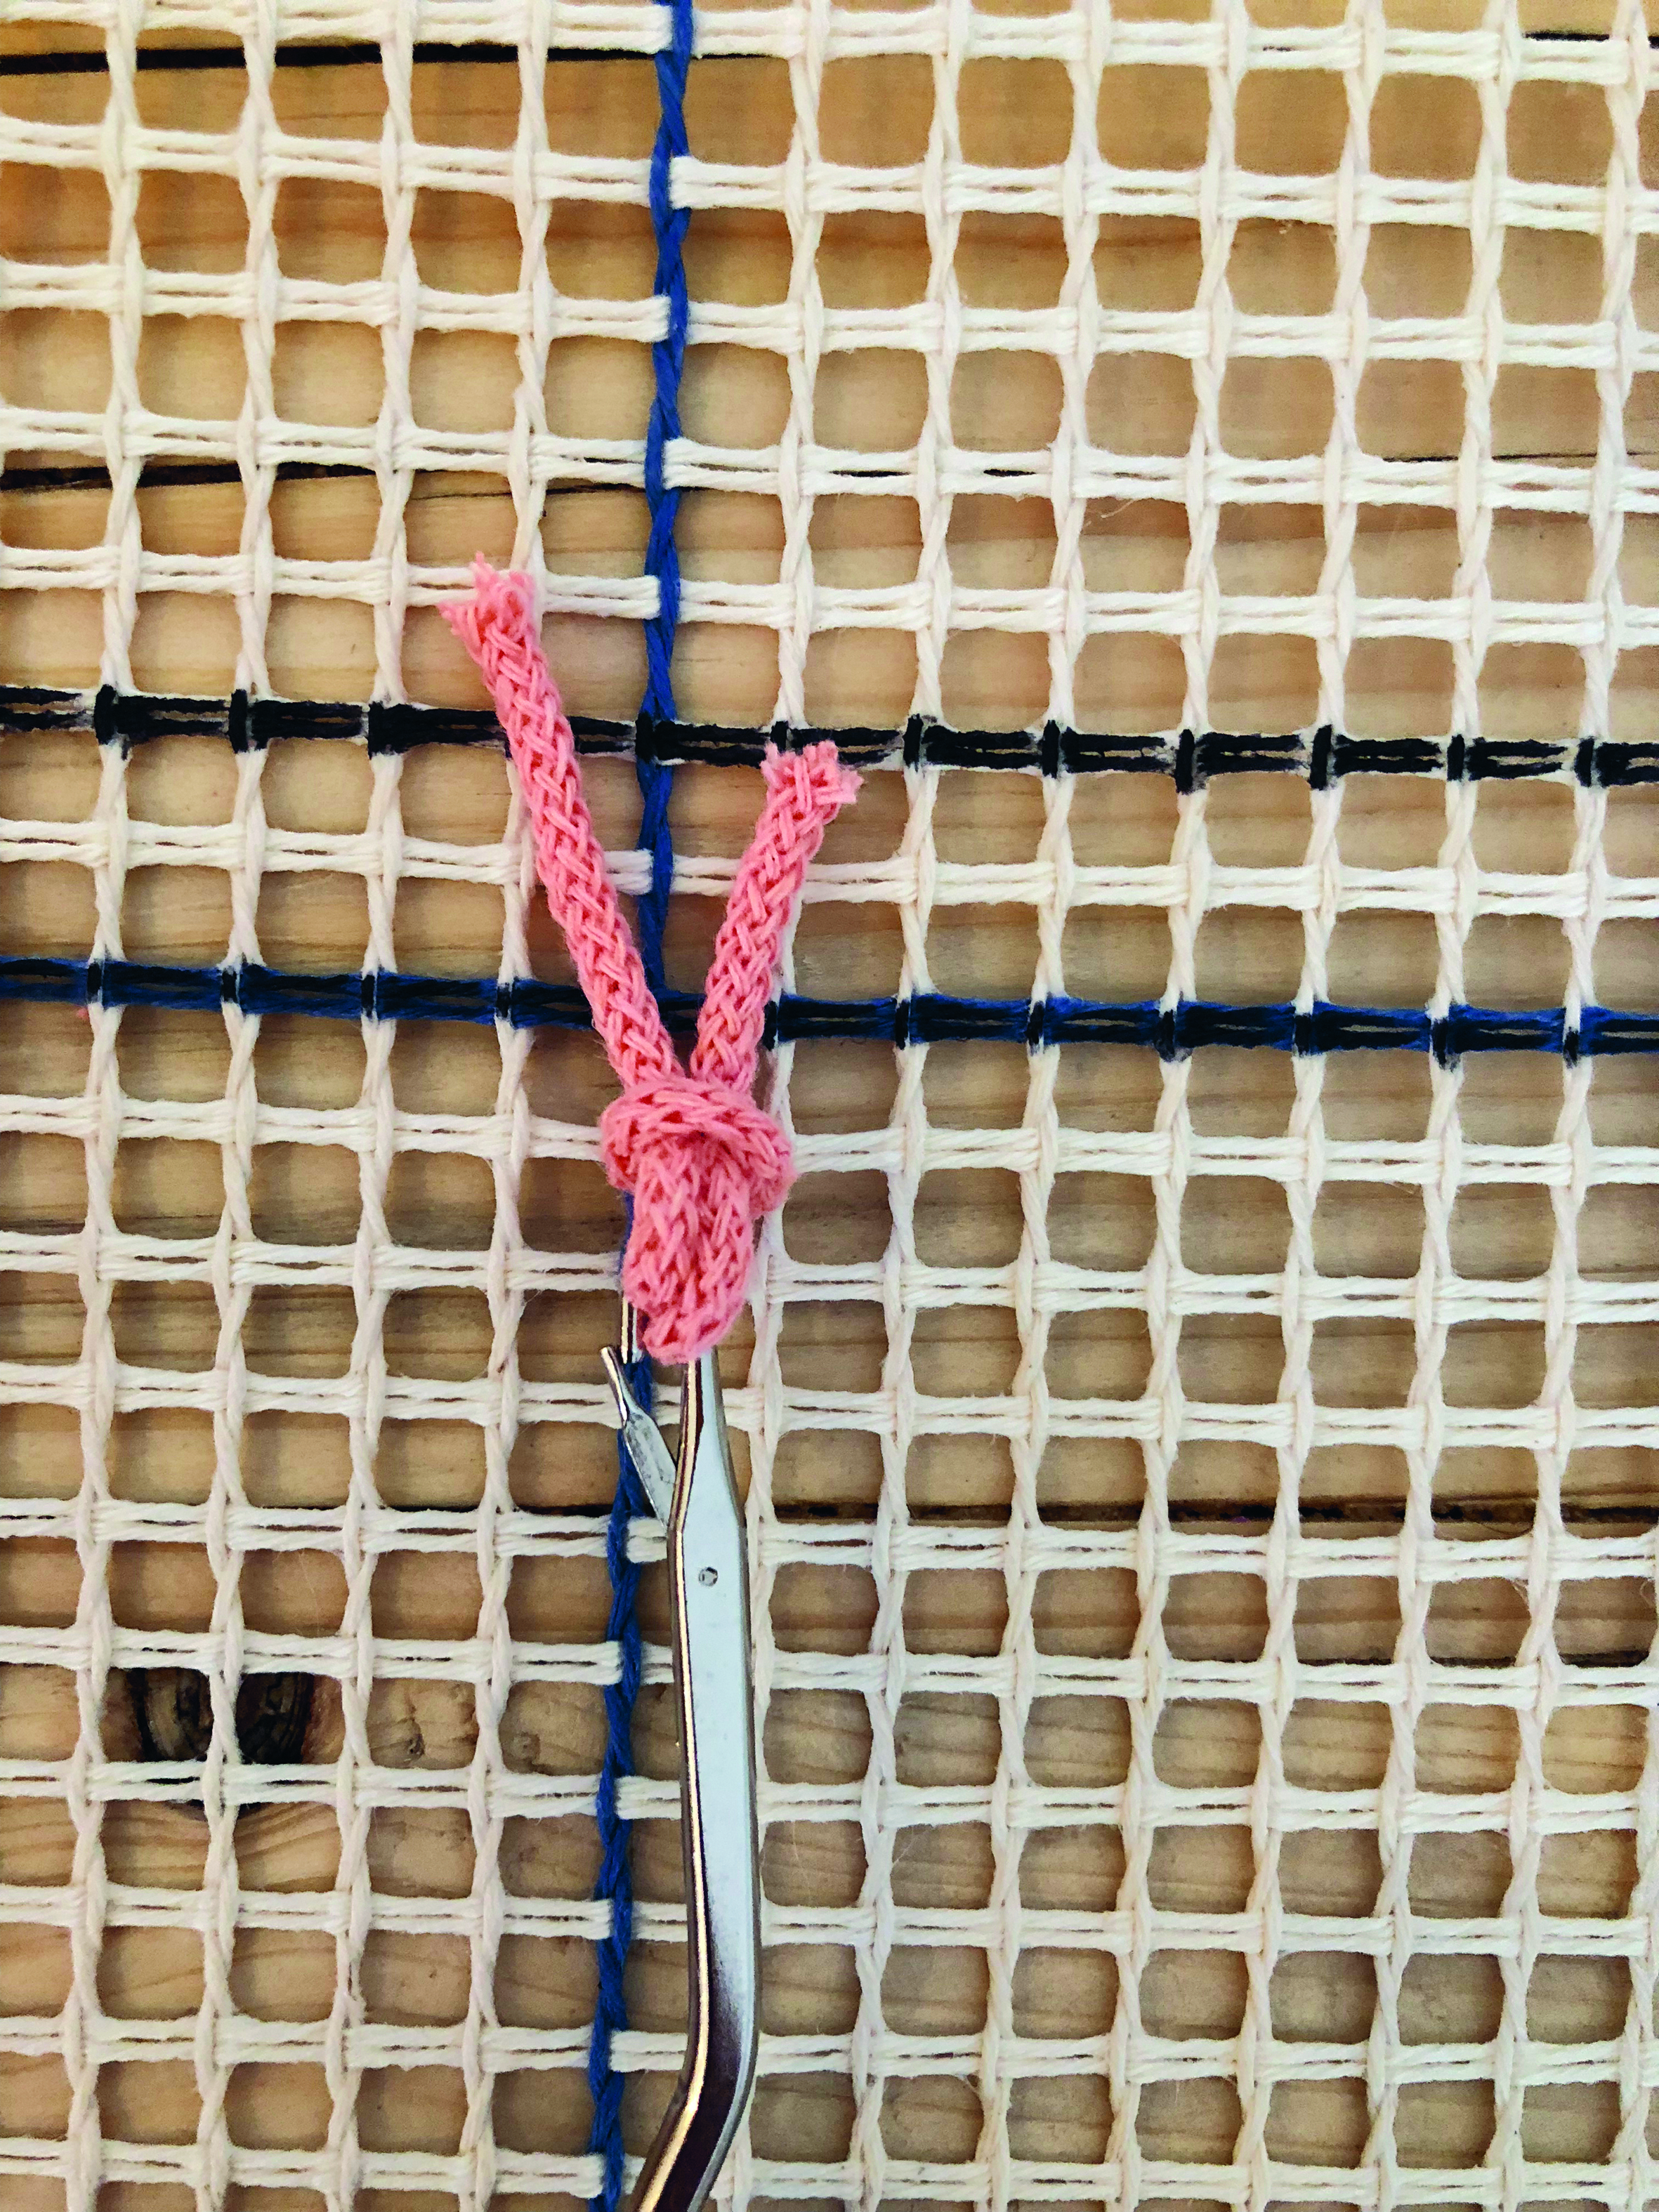
Slide the ends through the loop by pulling the latch hook tool towards you. The latch will close as you slide the hook through the looped end, keeping the ends together. Repeat Steps 3-8, following the chart for the colour changes.

Step 9

How to make a latch hook rug Step 9

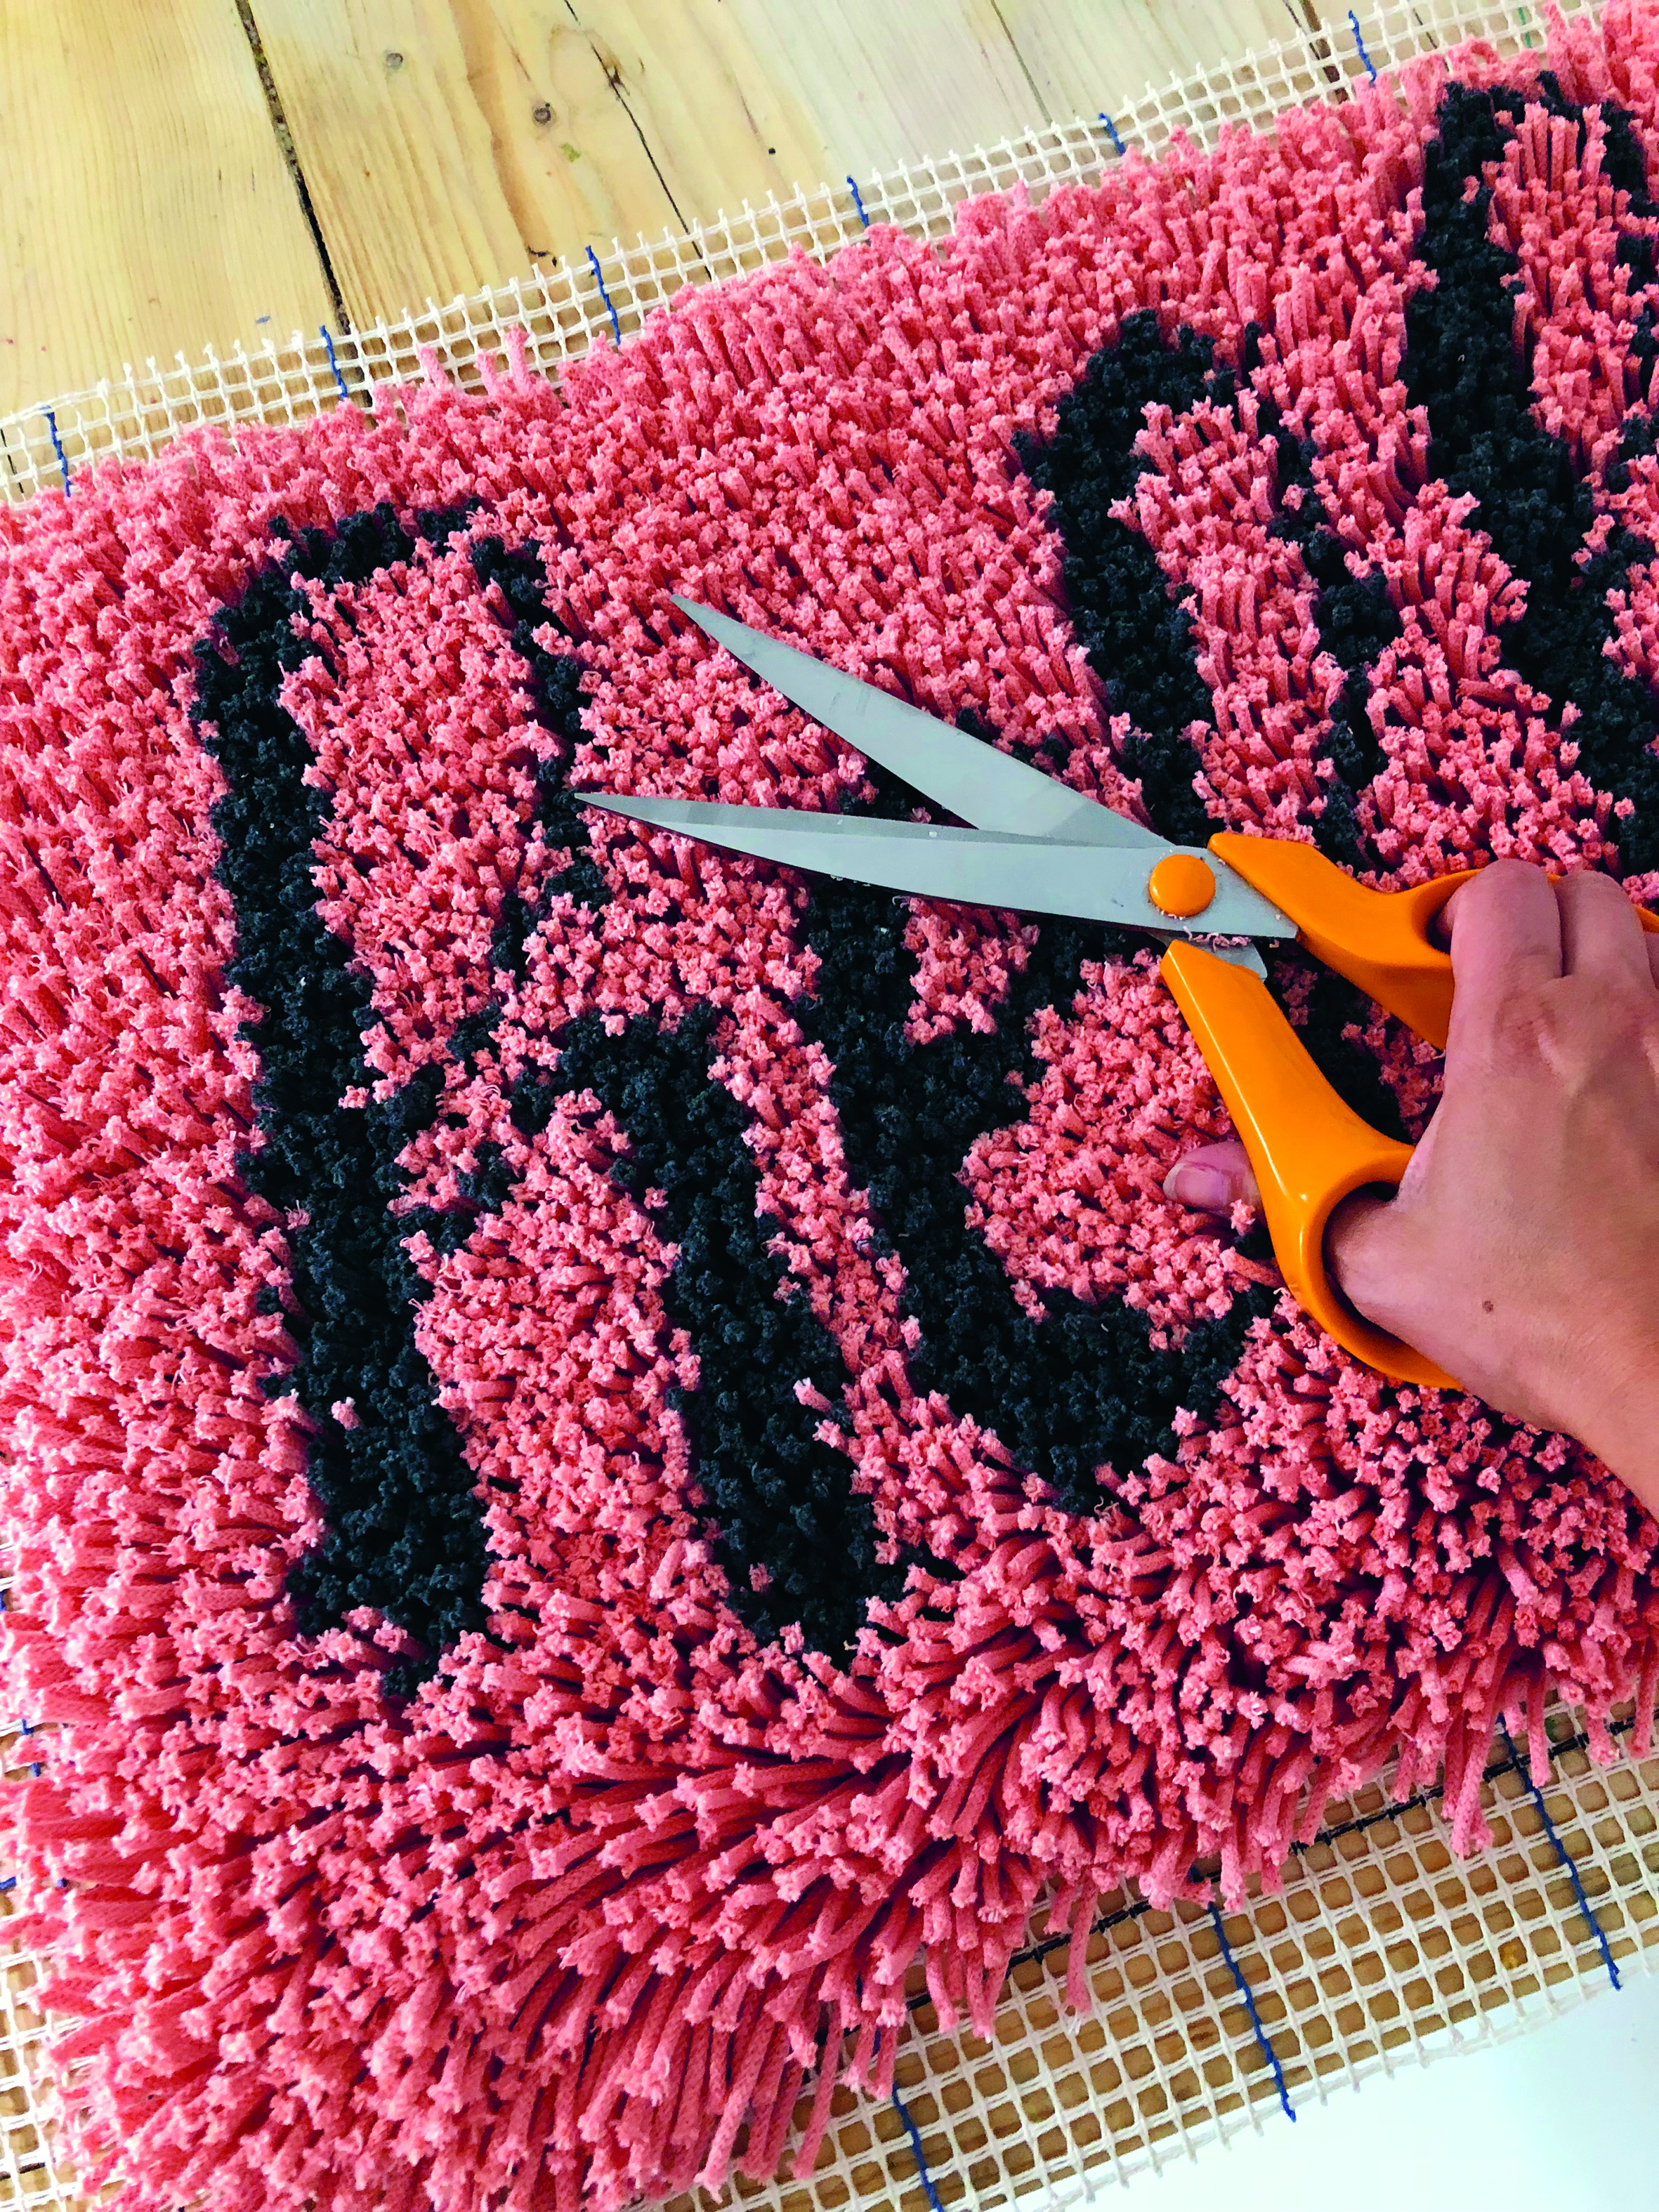
Once the rug design has been completed, trim the yarn lengths down to sharpen up the design detail. Holding a pair of long scissors horizontally, trim the work until you’re happy with the effect. Don’t overtrim – leave at least 2.5cm (1") of yarn height.

Step 10

How to make a latch hook rug Step 10

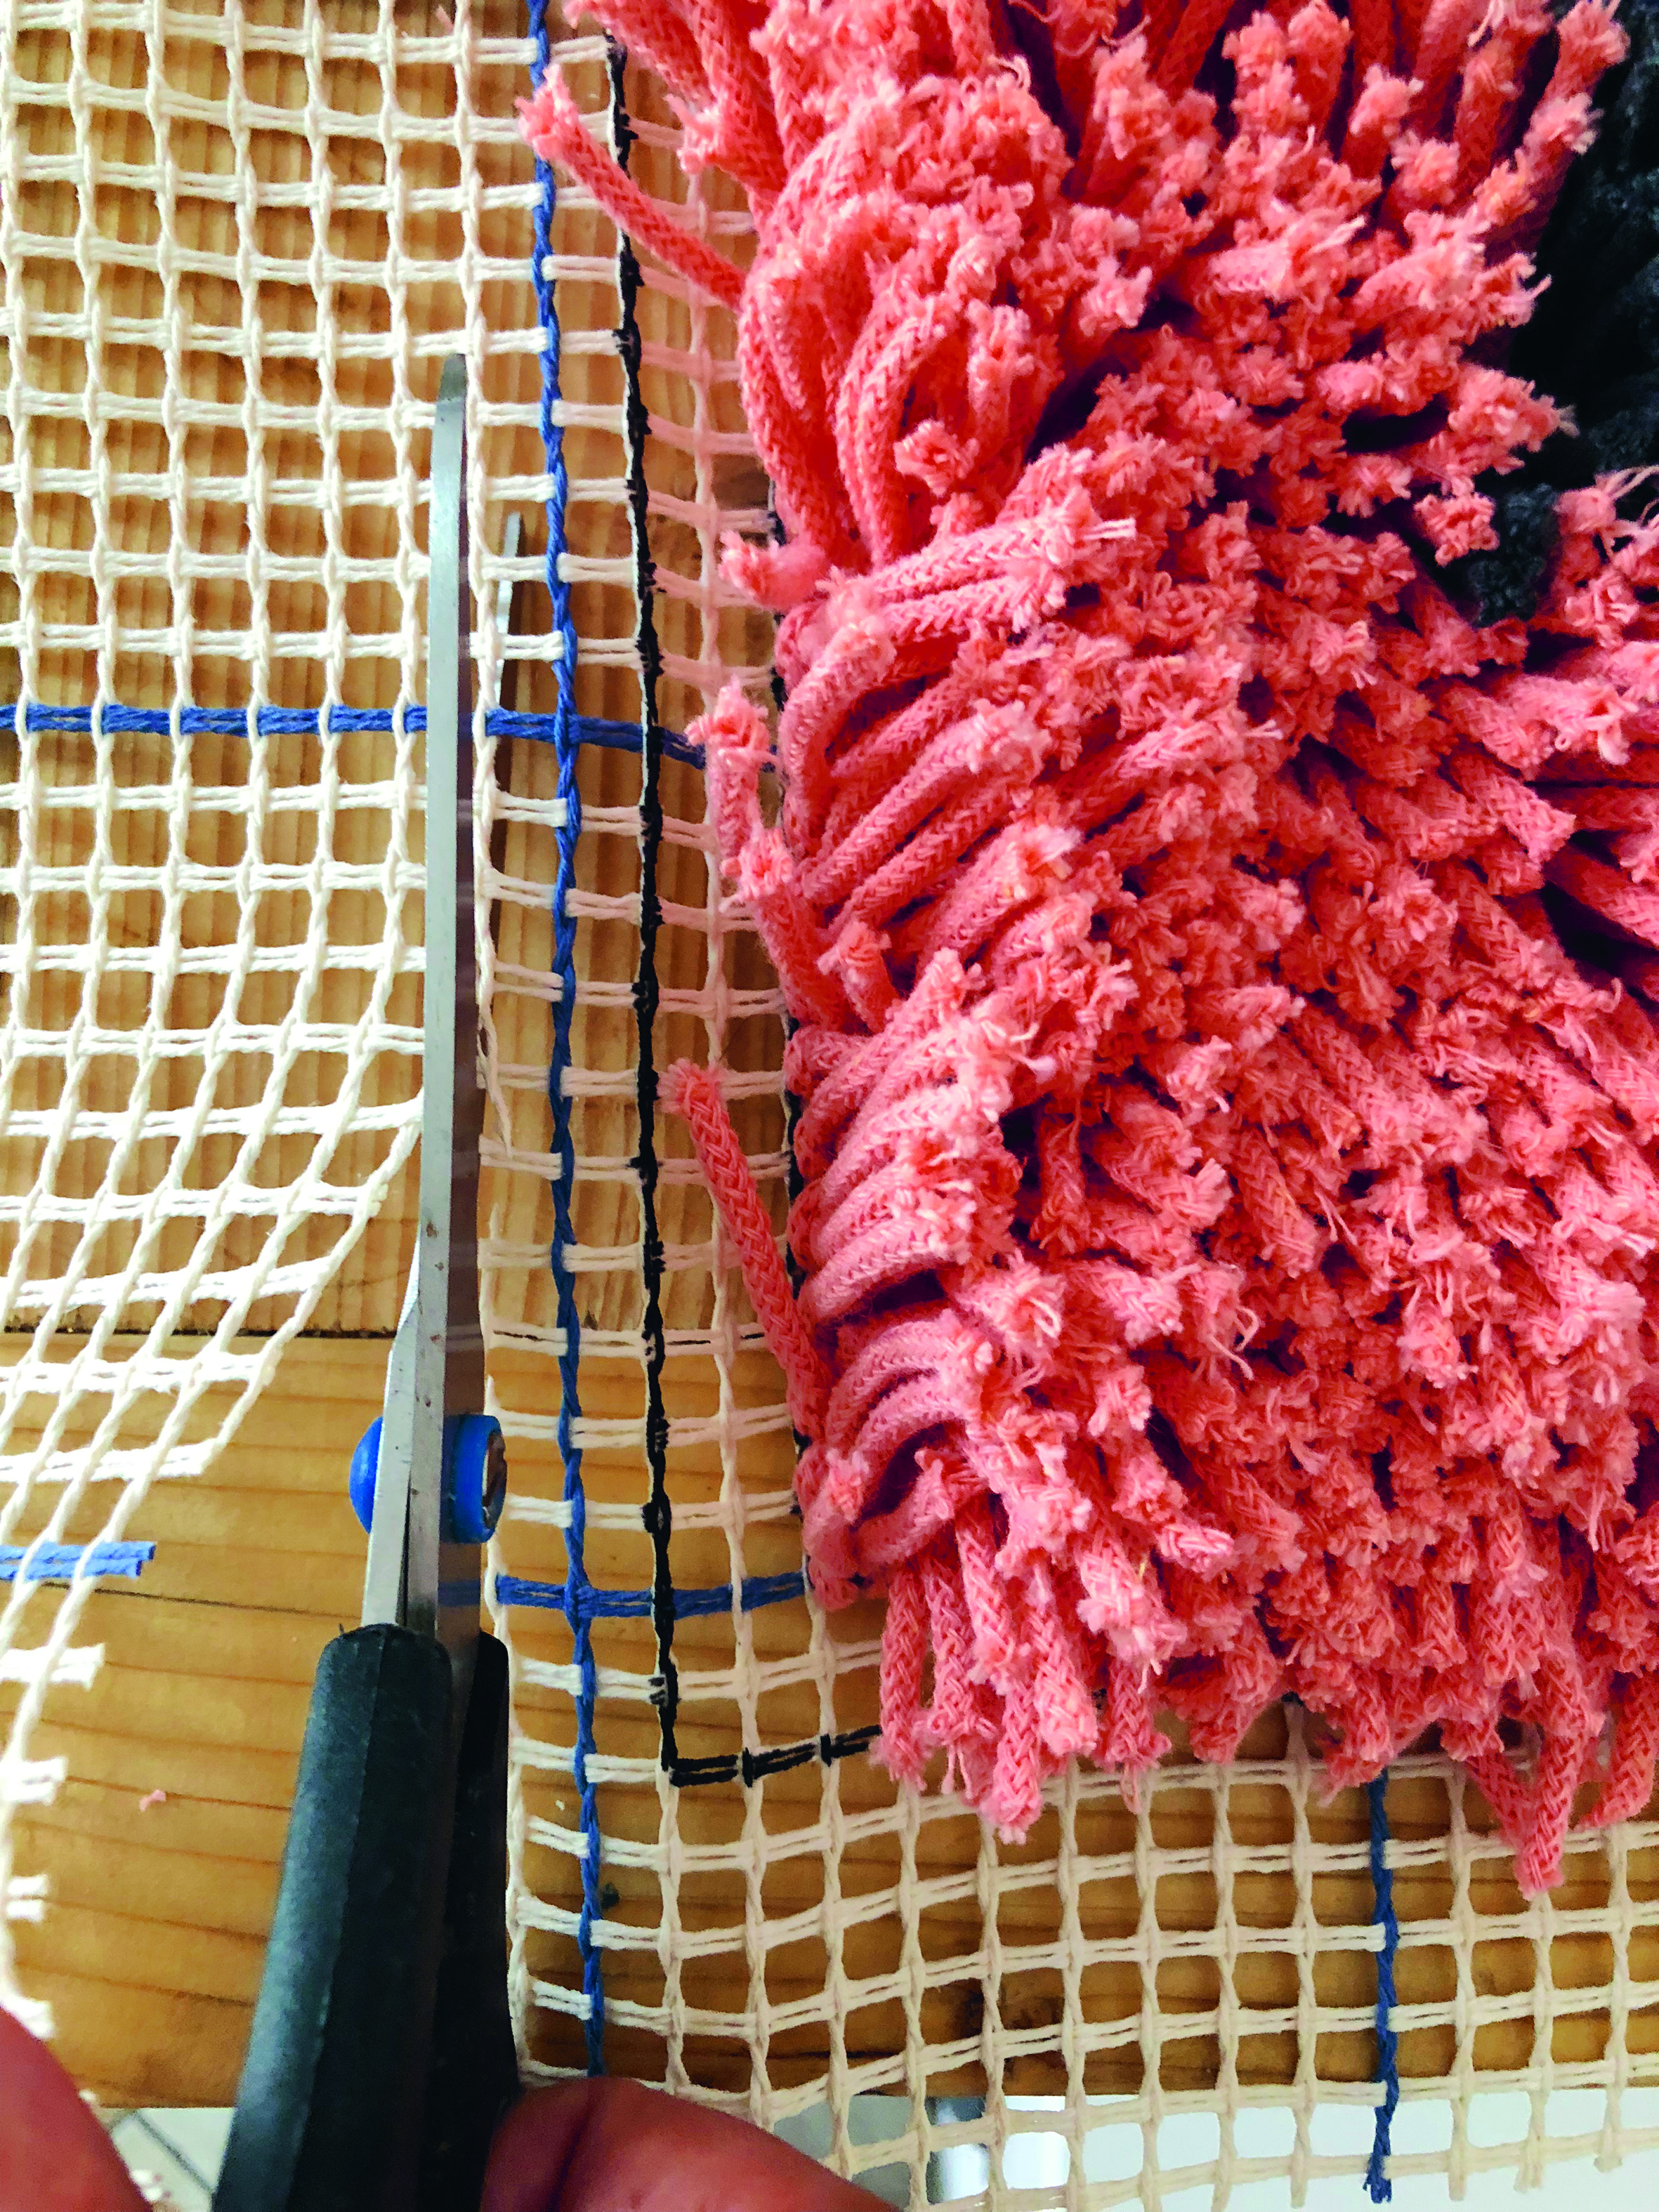
Using the marked outside line as the border, cut the canvas two squares outside of the border line all the way around.

Step 11

How to make a latch hook rug Step 11

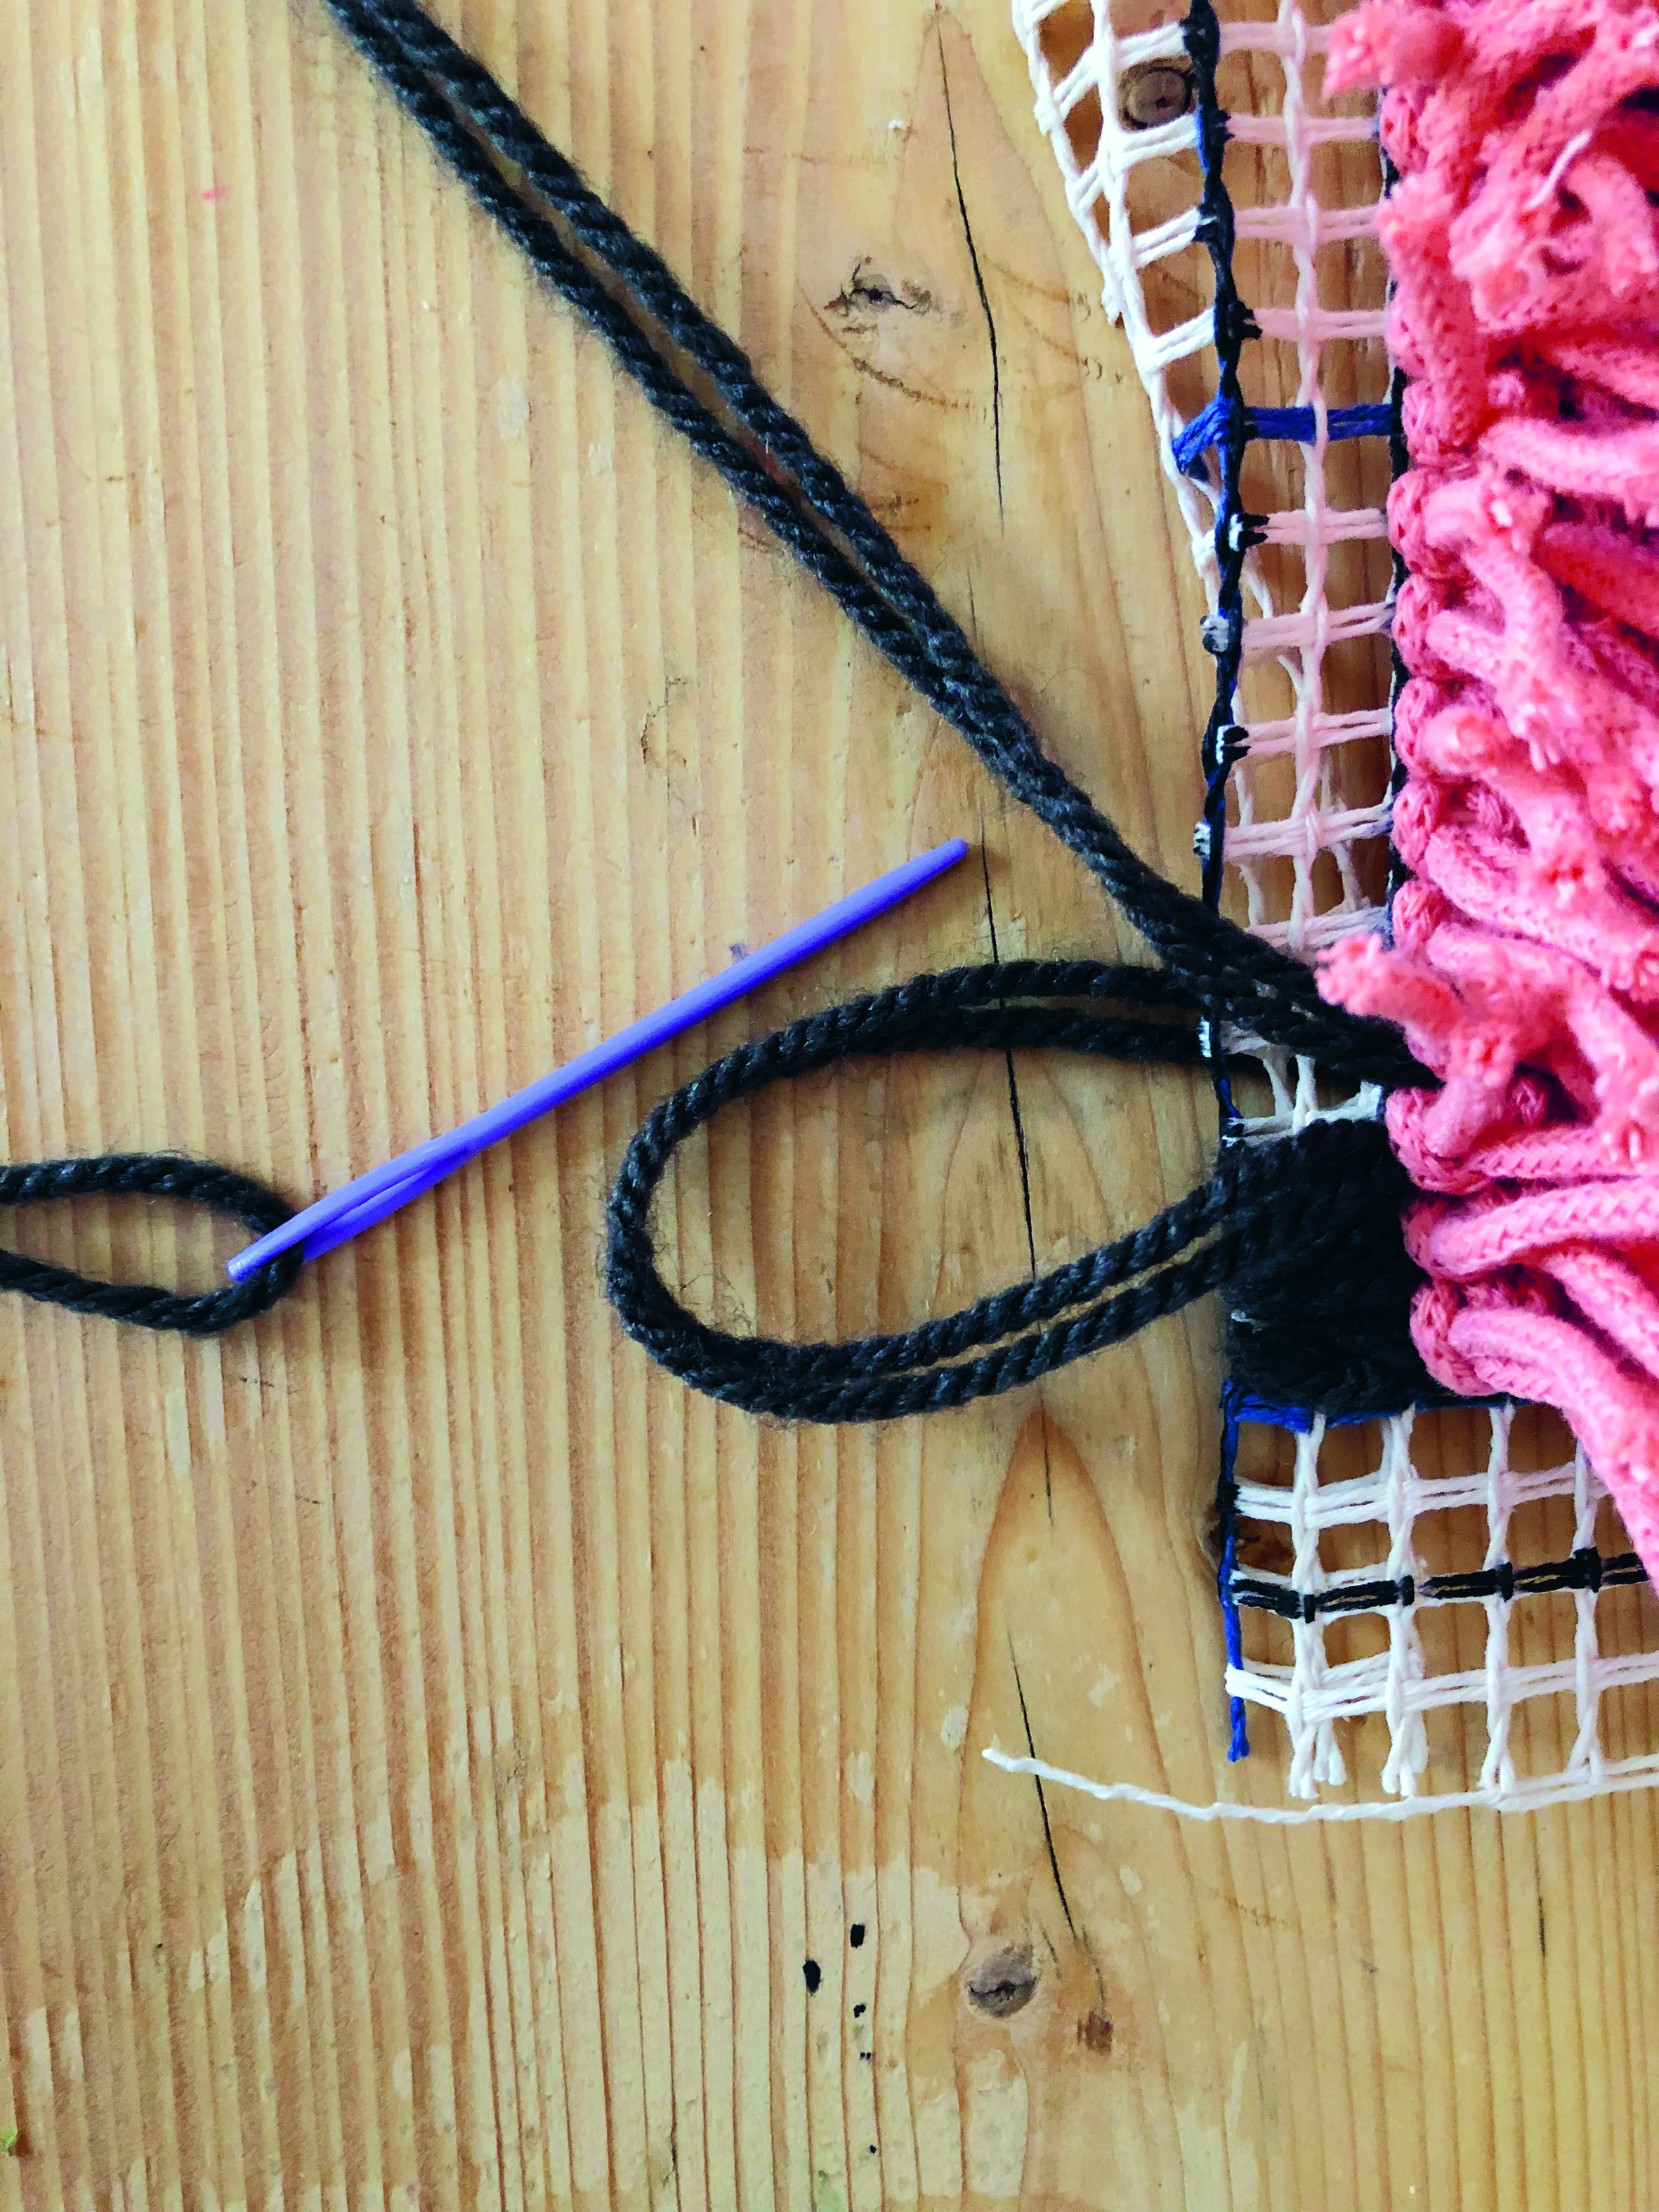
Fold the edge of the canvas over to the wrong side (WS) along the border line. Thread a darning needle with a good length of Yarn C. Attach the yarn to the canvas and whip stitch around the folded border, making sure to keep a good tension. Don’t pull the yarn too tightly or it’ll buckle the border, and if you leave it too loose it’ll create bulges. Continue all the way around and trim the ends.

Step 12

How to make a latch hook rug Step 12

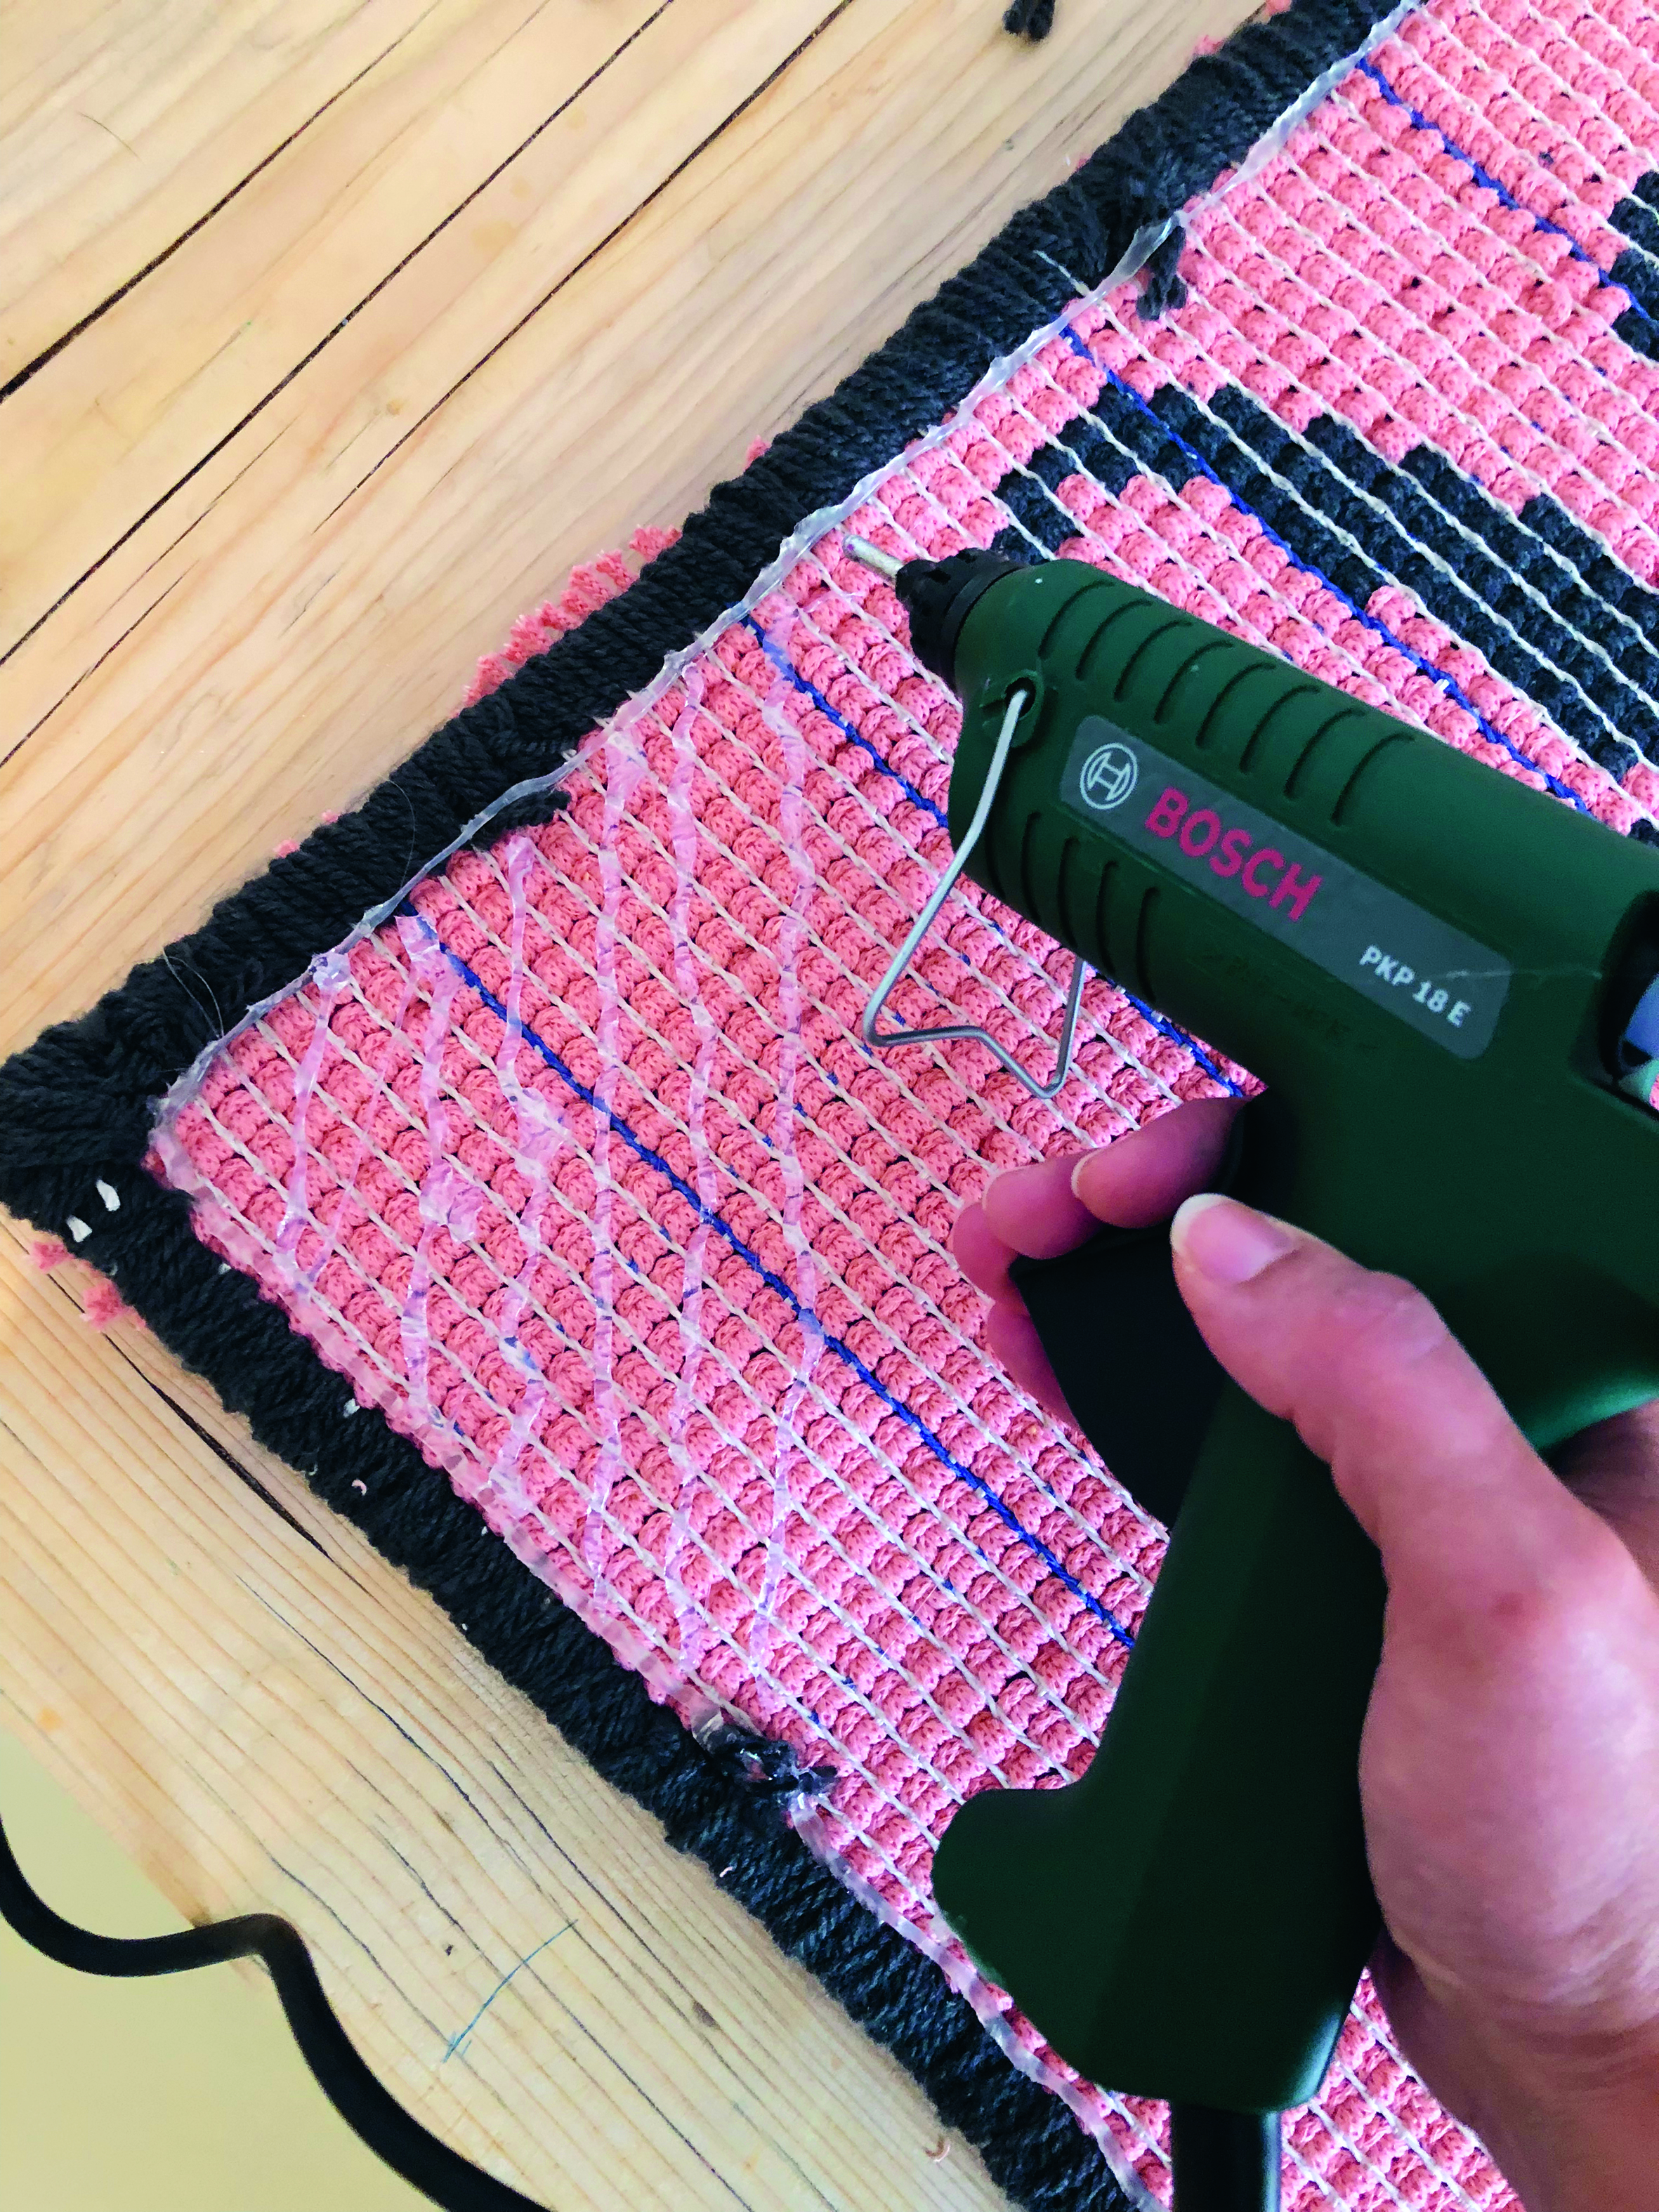
To finish, turn the mat over and use a hot glue gun on the WS to give the mat a non-slip back, outlining the rectangle edge first and then filling in the shape with diagonal lines, as shown.

We hope you’ve enjoyed making your new latch hook rug! For another fun project make our rug hooking wall hanging and check out our free craft patterns for lots of exciting crafts.