How to make polymer clay earrings
All products were chosen independently by our editorial team. This review contains affiliate links and we may receive a commission for purchases made. Please read our affiliates FAQ page to find out more.

How to make polymer clay earrings

Combine clay and thread with Kelly Chapman’s how to make polymer clay earrings!

Try 6 issues of your choice of craft magazine from just £9.99

Published: February 20, 2022 at 10:07 am

Why save statement earrings for best when you can rock them on the daily? Kelly Chapman is here to show you how to make polymer clay earrings for yourself and all your pals. We’re fully in favour of all the tassels, all the time, and these danglers will look equally amazing if you’re going out-out, or with your daytime stripes and denim. It’s about adding a playful handmade touch to any outfit. These polymer clay earrings would make great gifts for pals and you could make them all a pair in their favourite colours. We also love that polymer clay is kind of like playdough for adults, and with this project you get to break the rules a bit, mixing all the colours together to create marble style painterly patterns. We've created a guide on how to use polymer clay if you need some extra help using this material but it's really straightforward forward we promise!

We also have a guide all about jewellery making supplies as this project requires a little knowledge on making jewellery. Once you've caught the jewellery-making bug head over to our DIY jewelry making ideas which are full of lovely projects like our DIY tassel earrings and square pendant necklace. But for now it's over to Kelly who's going to teach you how to make polymer clay earrings!
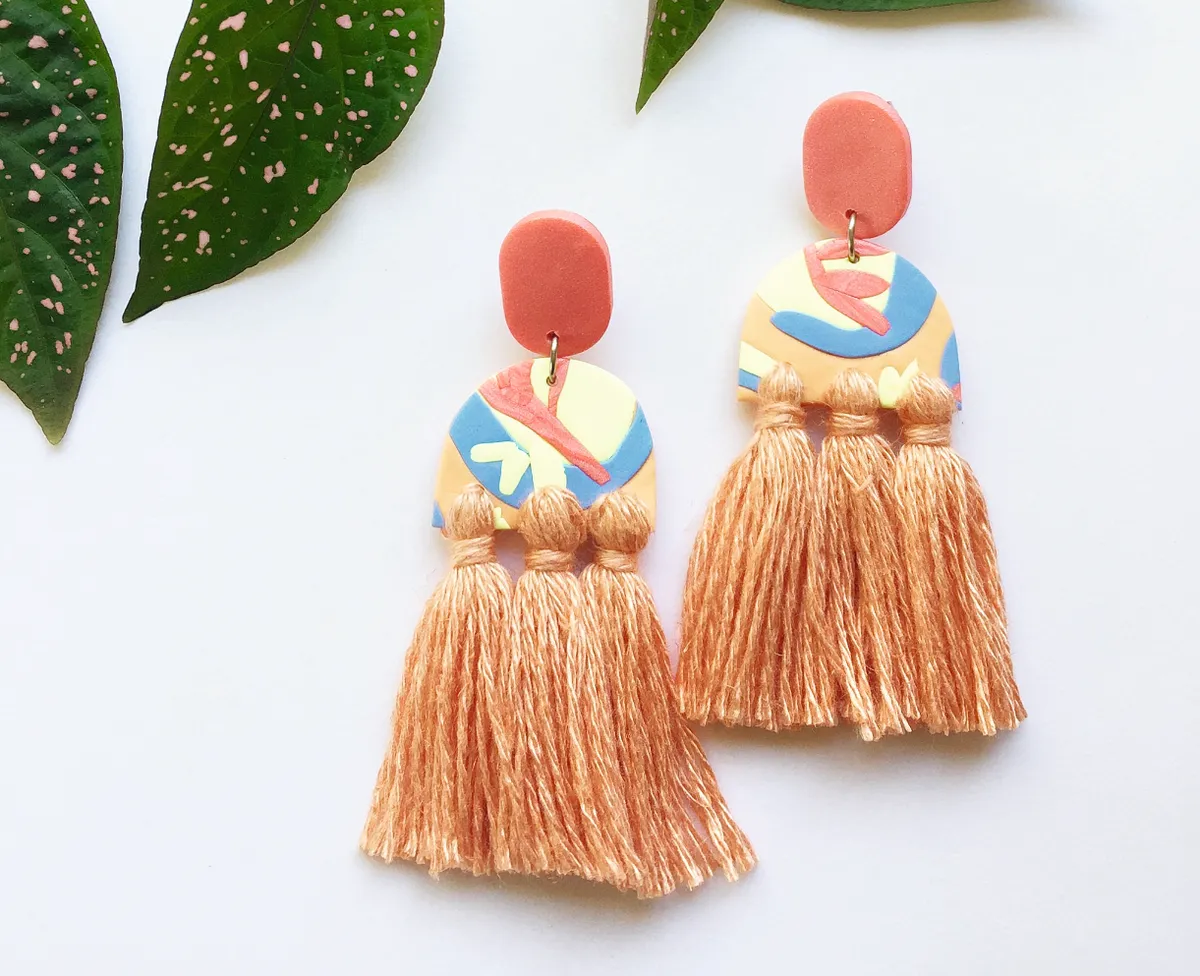
You will need:

  • Polymer clay in yellow, white, coral and blue
  • Acrylic roller
  • Small lozenge-shaped clay cutters
  • Power drill or hand drill
  • Fine-grade sandpaper
  • Baking paper
  • Pliers
  • Two jump rings
  • Two earring studs and backings
  • Peach embroidery thread or 4 ply linen yarn
  • Superglue
  • Sewing needle

How to make polymer clay earrings

You will need:

  • Polymer clay
  • Acrylic roller
  • Clay cutters
  • Power drill
  • Sandpaper
  • Baking paper
  • Pliers
  • jump rings
  • Earring studs and backings
  • Peach embroidery thread
  • Superglue
  • Needle

Step 1

How to make polymer clay earrings step1

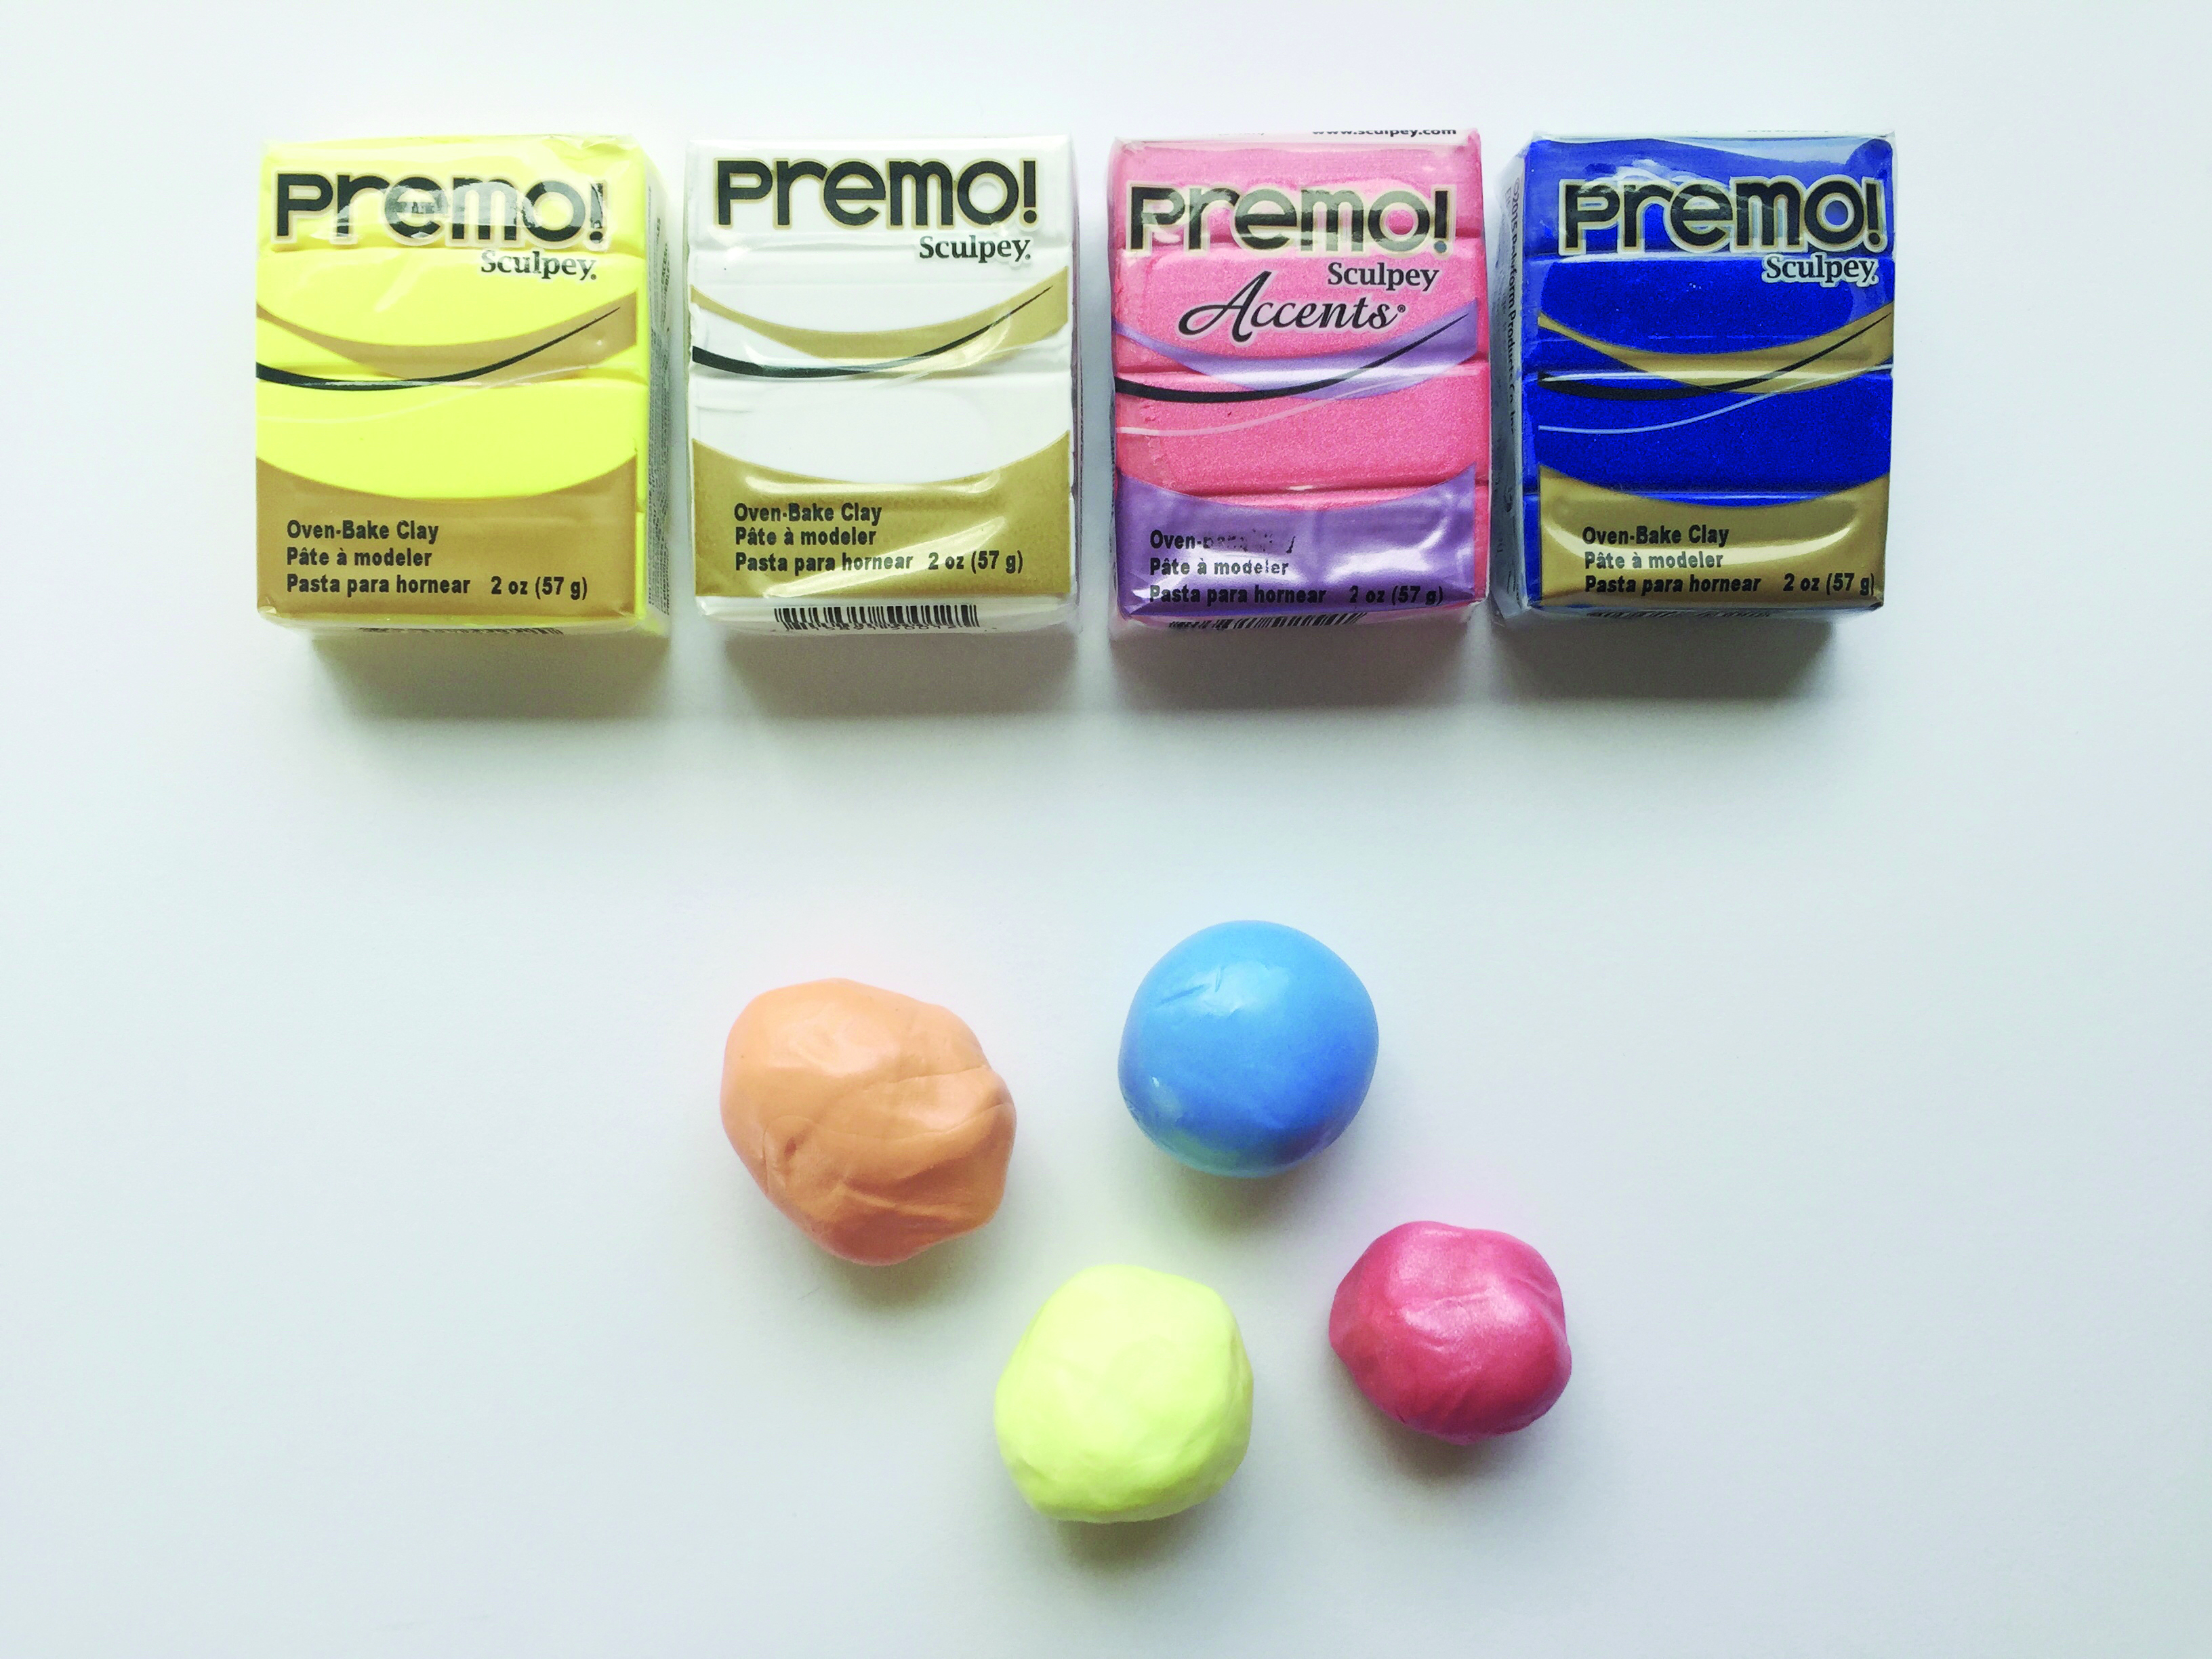
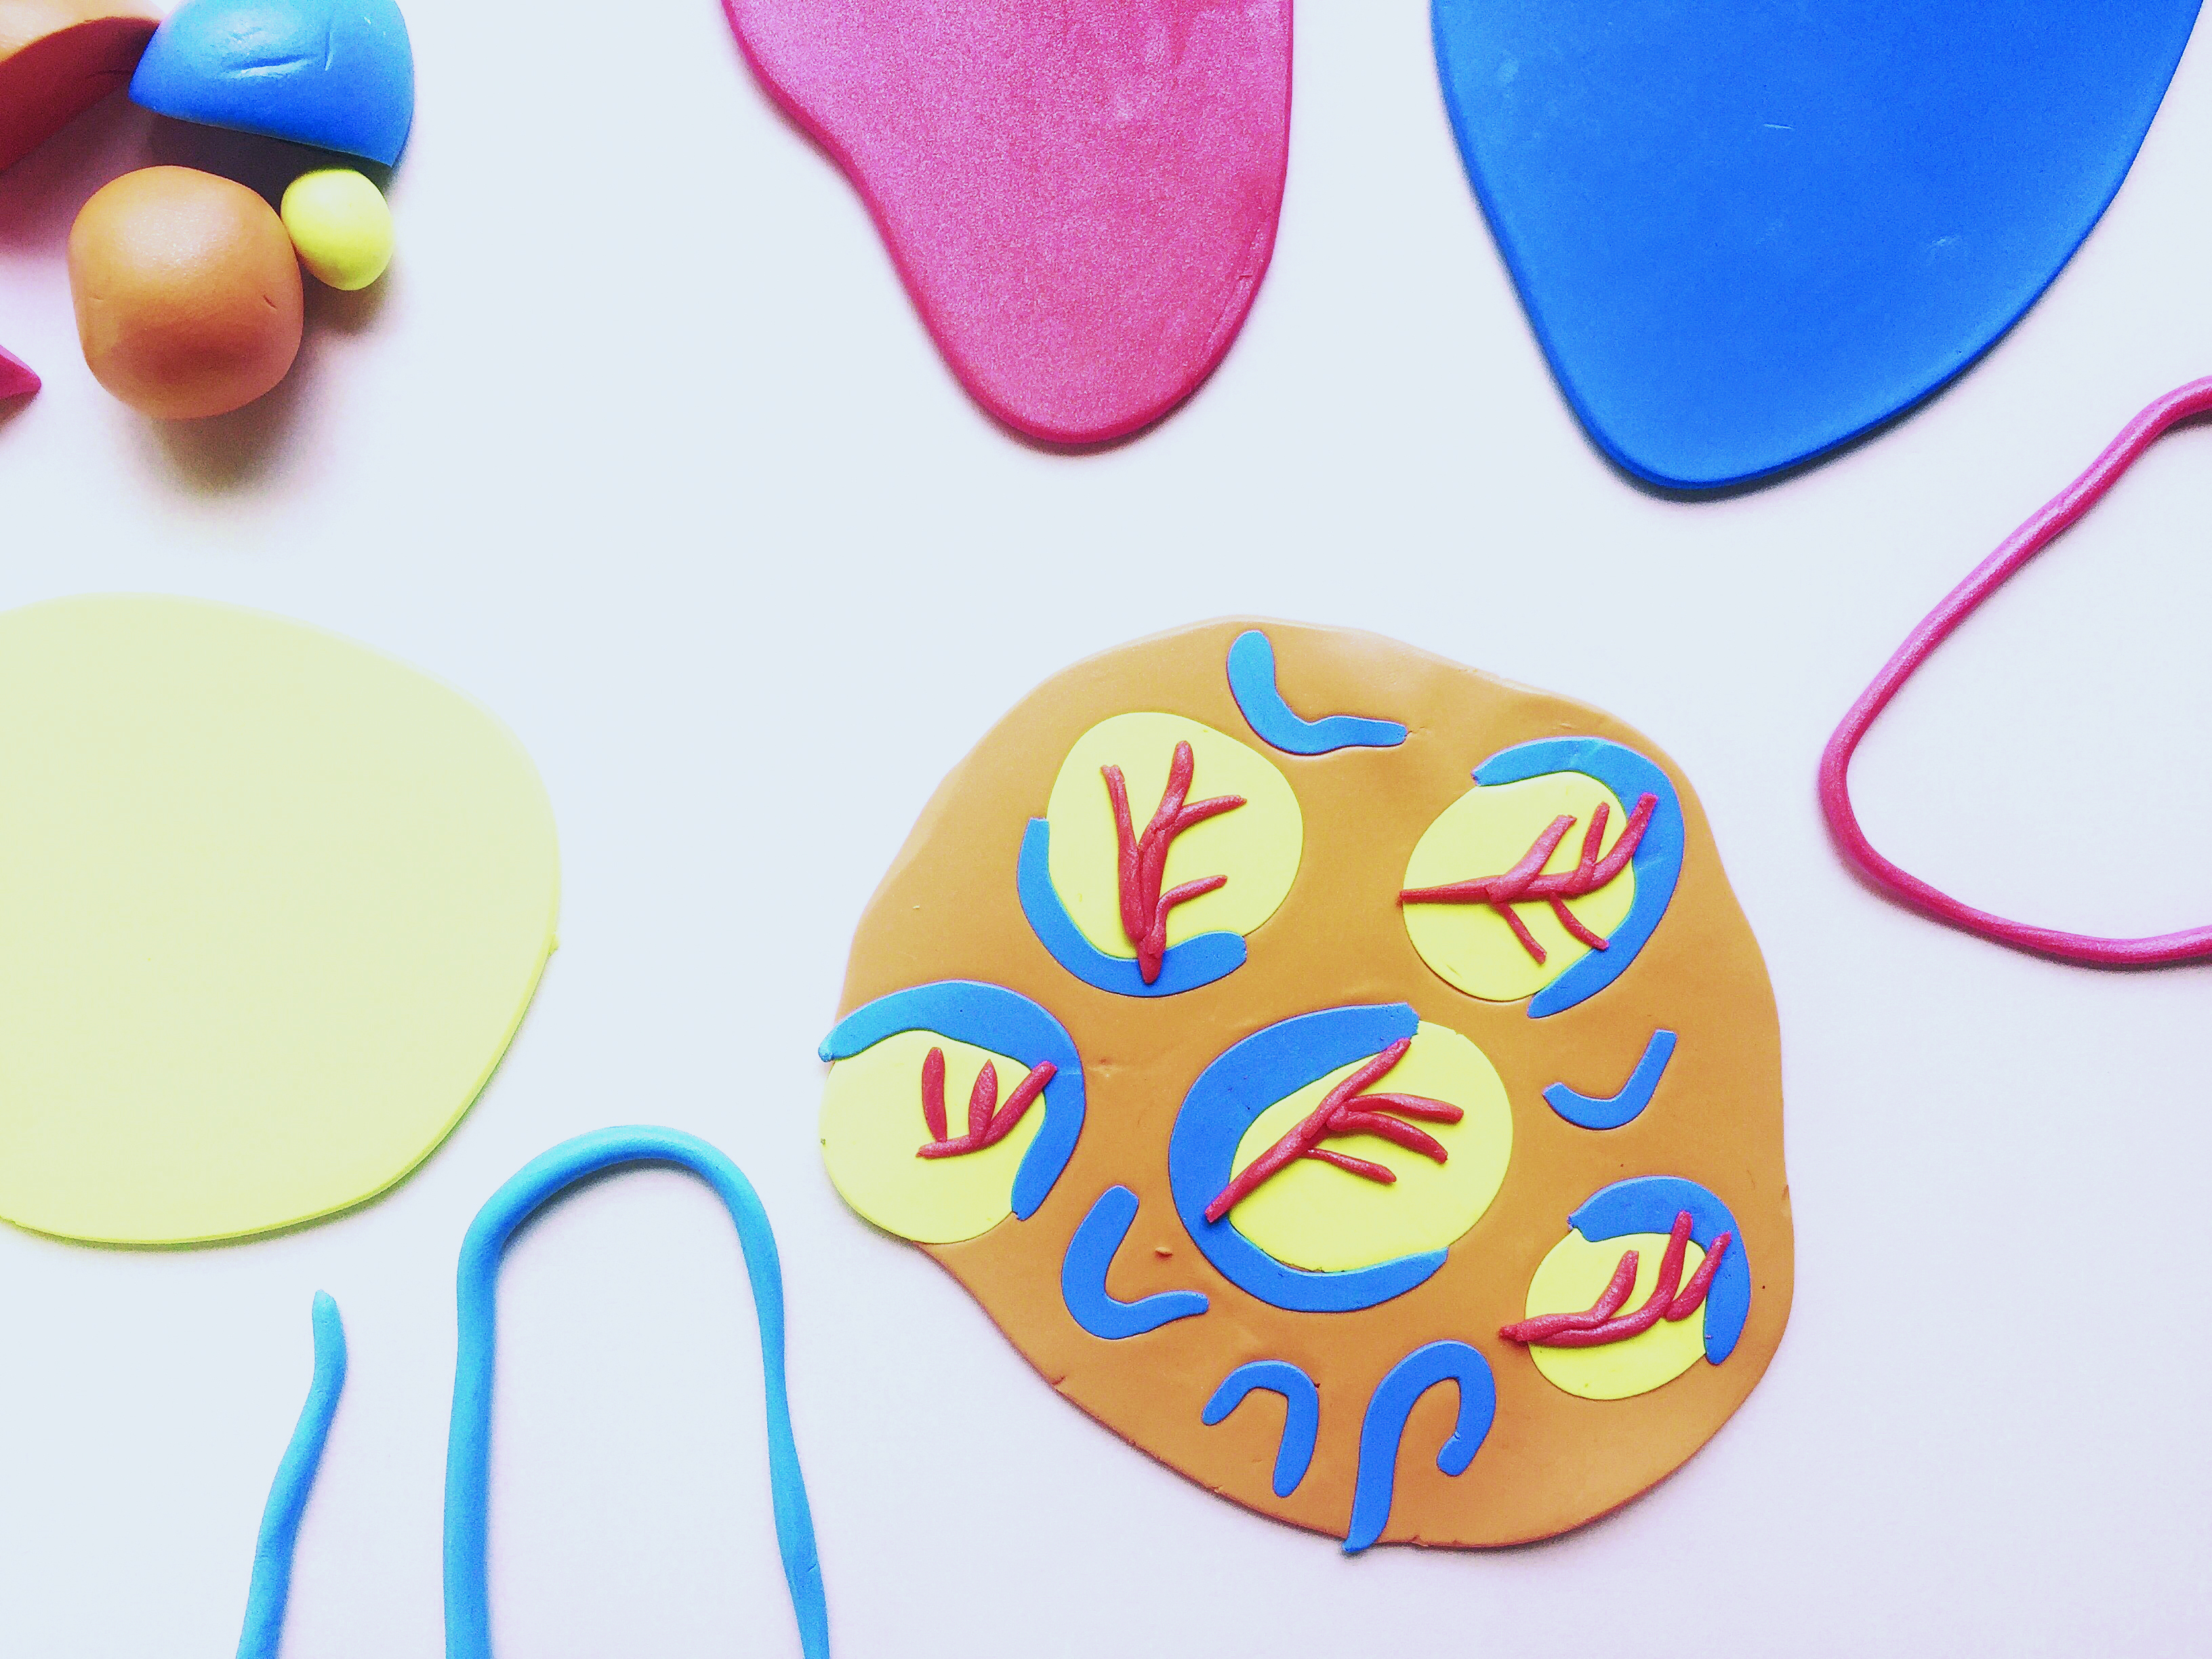
Condition the polymer clay by rolling it in your hands to ensure it’s soft and easy to work with. Blend two or more colours with the white to create the right yellow, orange, coral and blue tones for the project, as shown.

Step 2

How to make polymer clay earrings step2

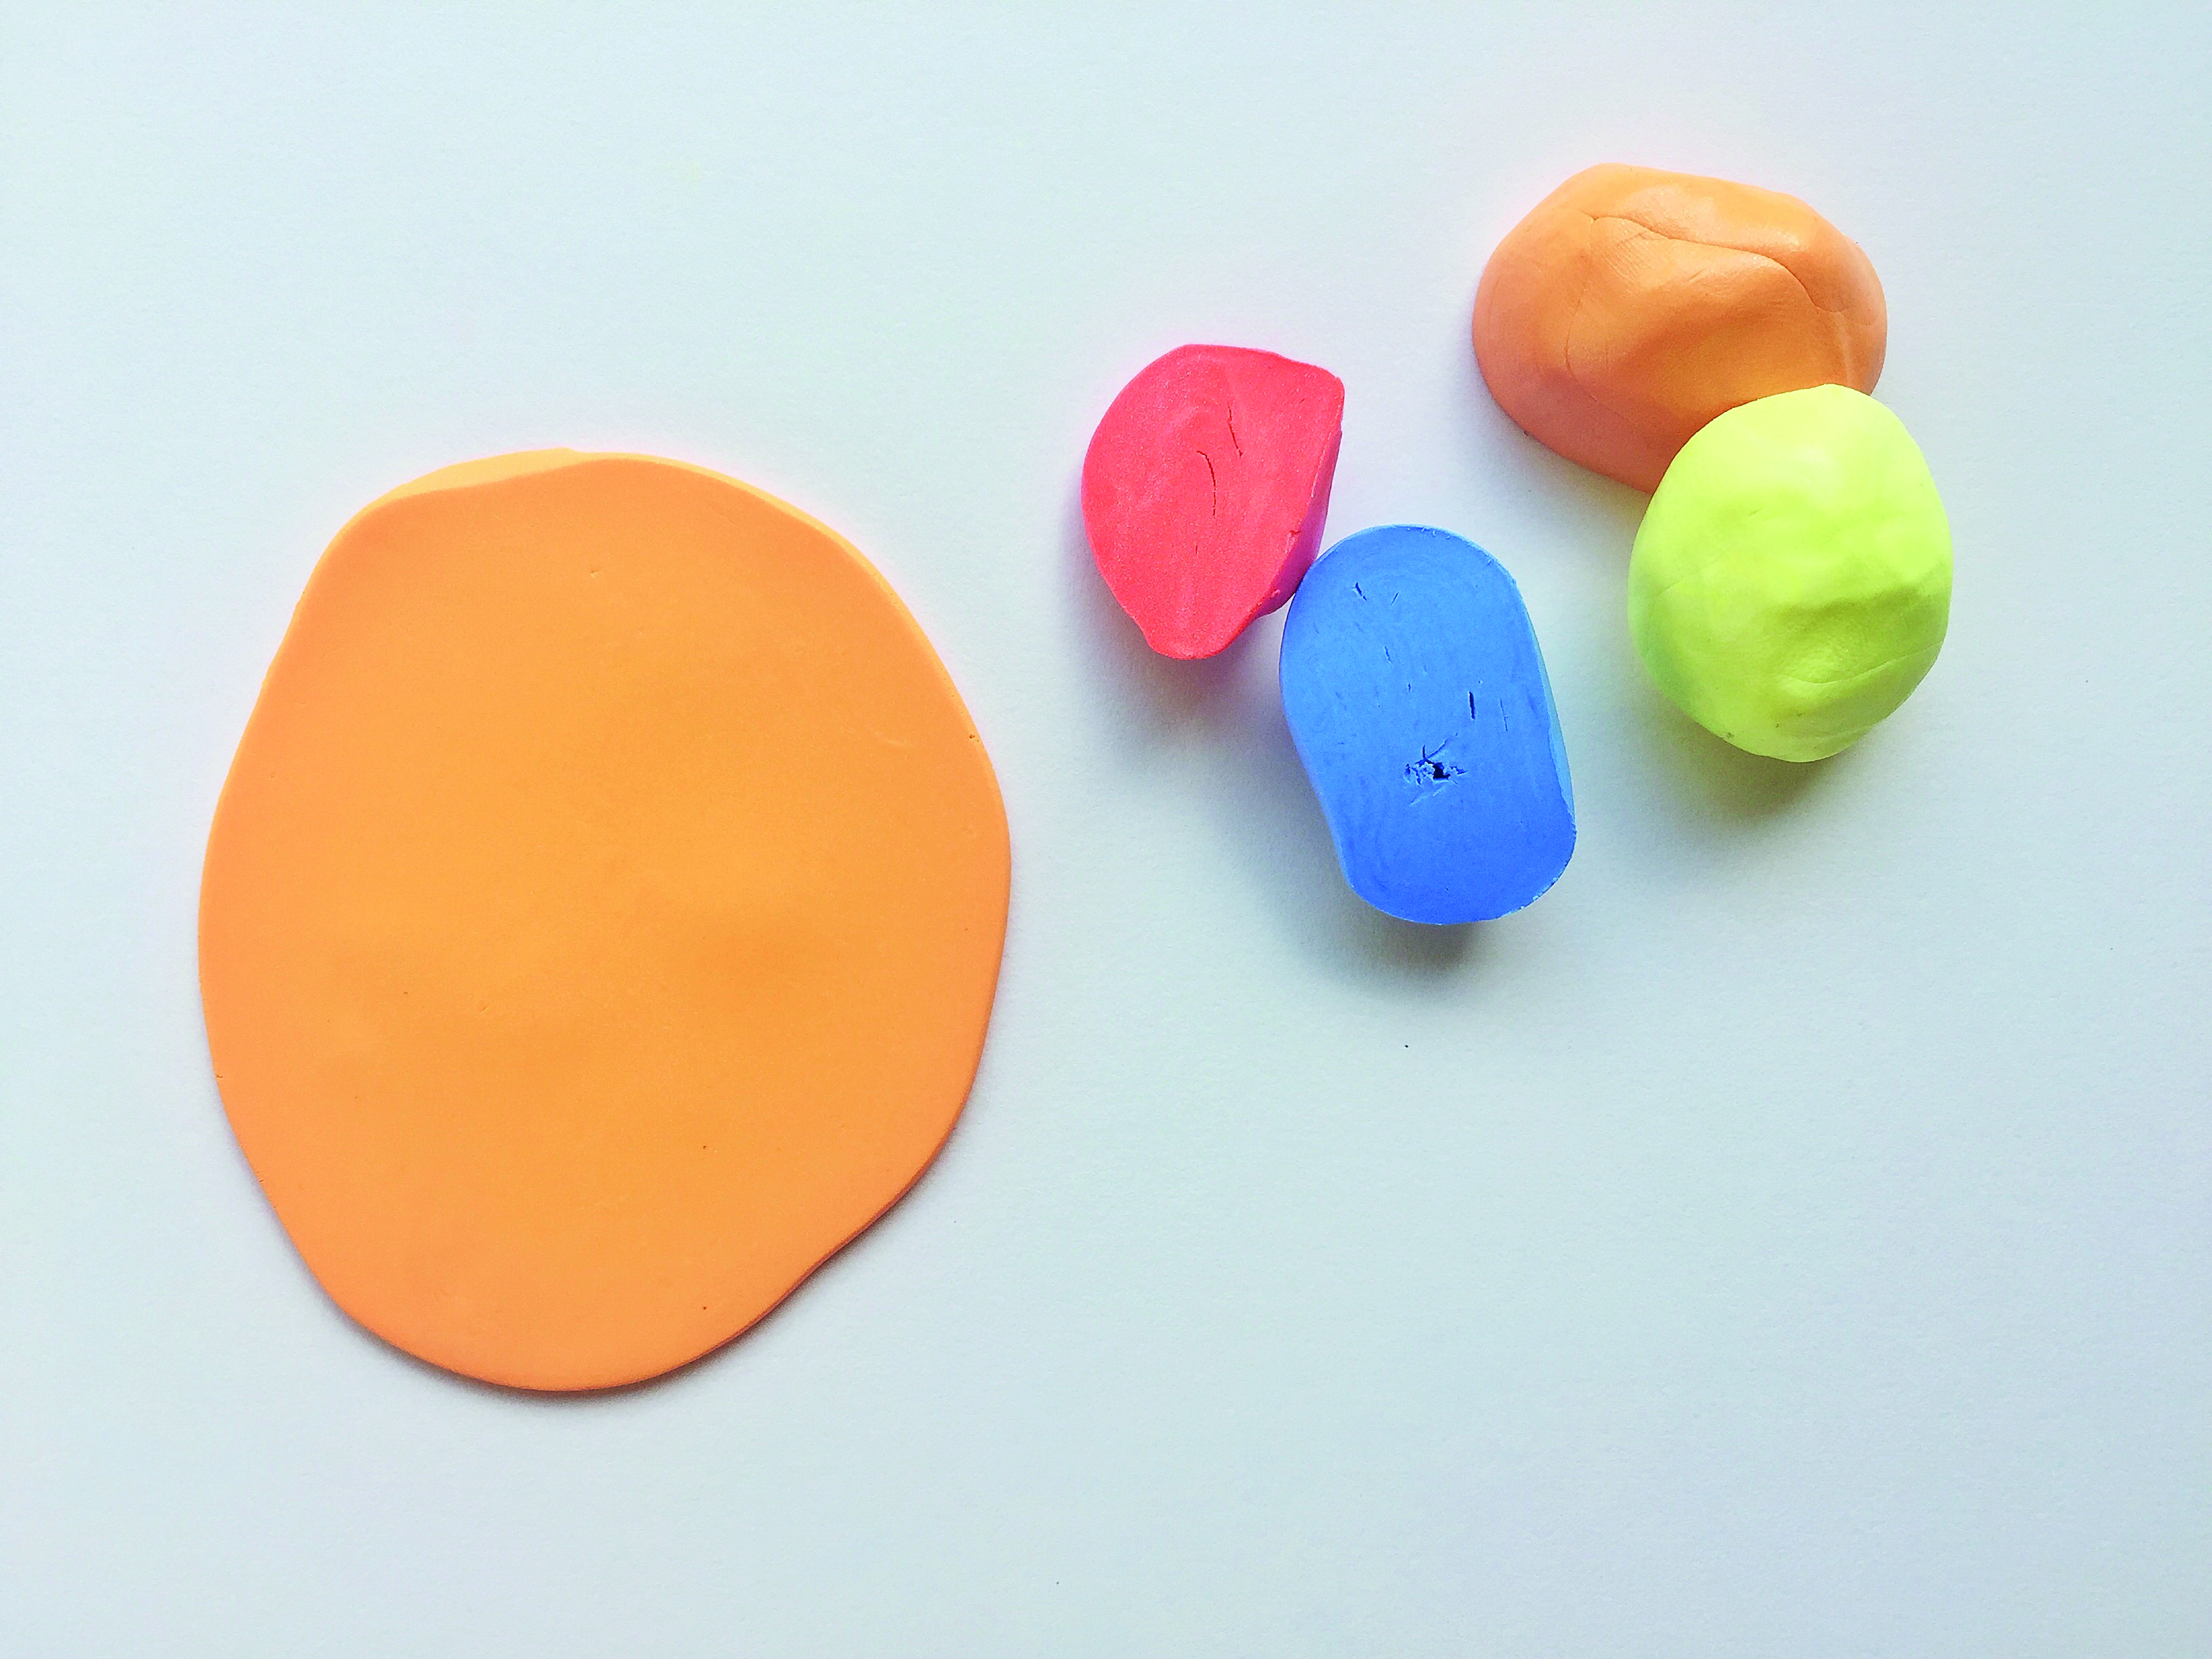
To form the base, roll the orange clay out onto a piece of baking paper to ensure it doesn’t stick to the working surface. The base should be 0.5cm (1/4") thick.

Step 3

How to make polymer clay earrings 3

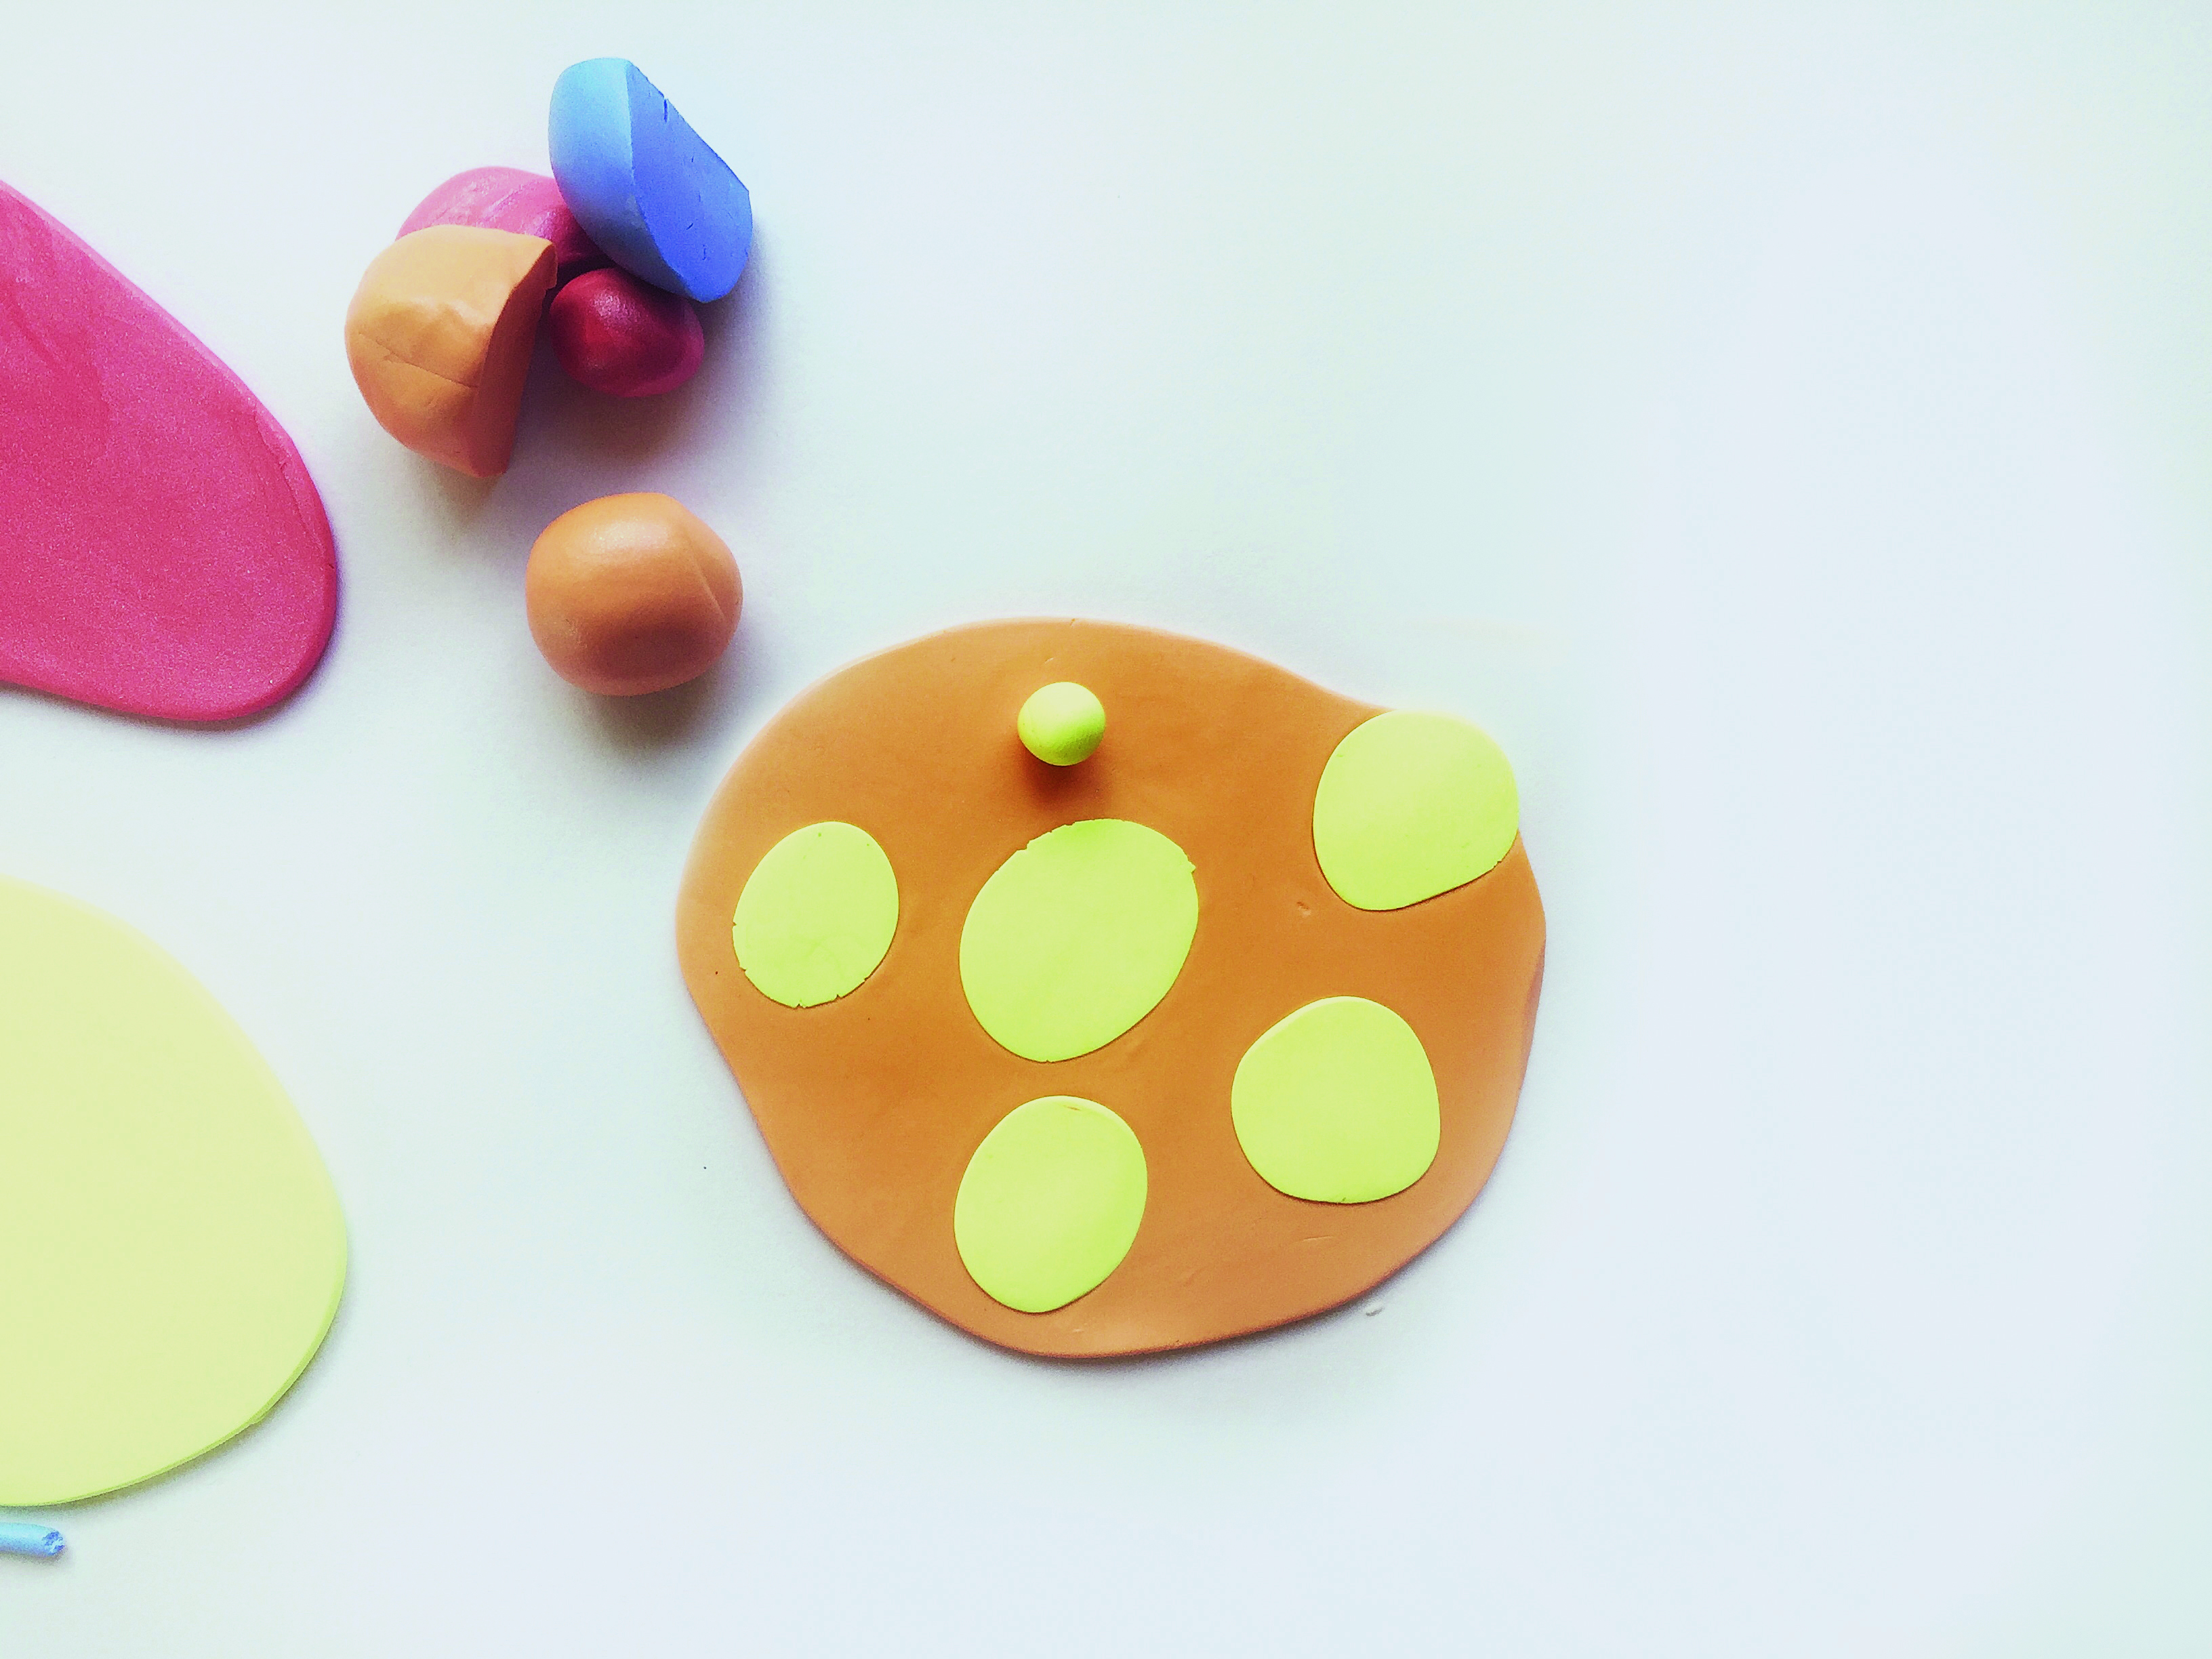
Roll the yellow clay into small balls and place them on the base. Roll these balls flat so they’re the same thickness as the base.

Step 4

How to make polymer clay earrings 4

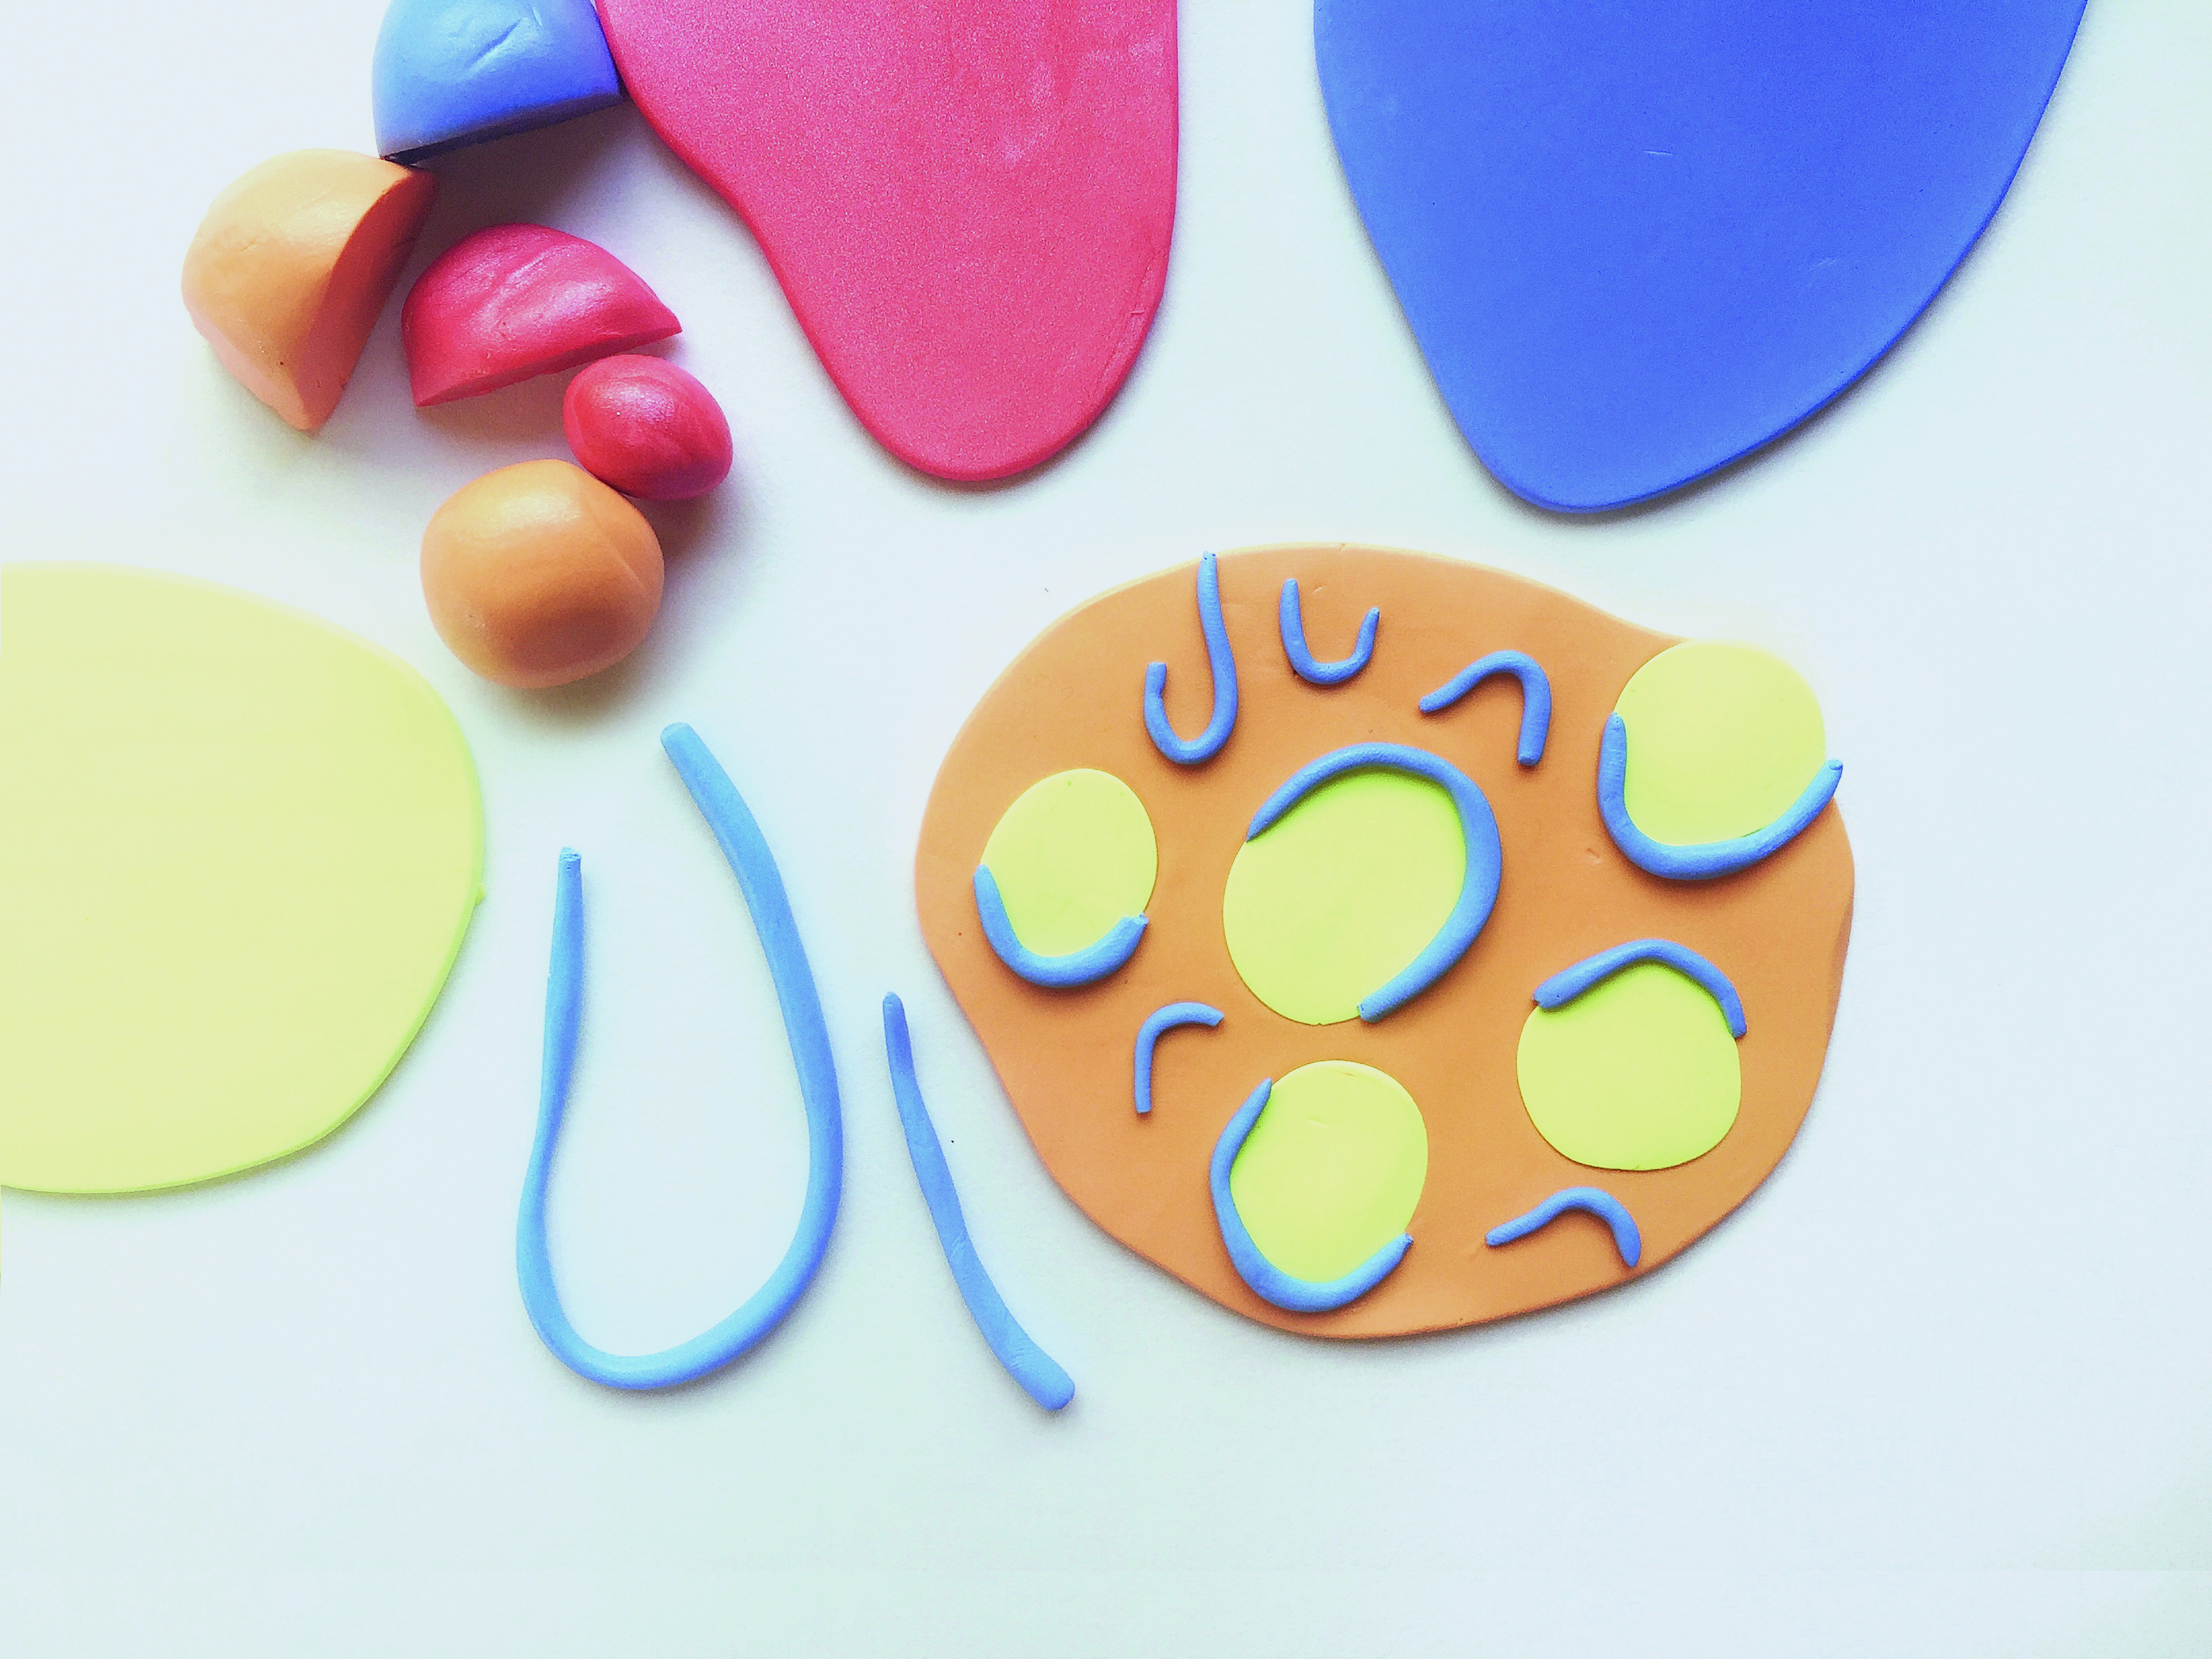
Roll the blue clay into long snake-like shapes, and arrange them on the base. Again, gently roll these flat onto the base.

Step 5

How to make polymer clay earrings 5

Using the image as a guide, continue adding more clay colours and shapes and rolling them flat into the base until you have a composition you’re happy with.

Step 6

How to make polymer clay earrings 6

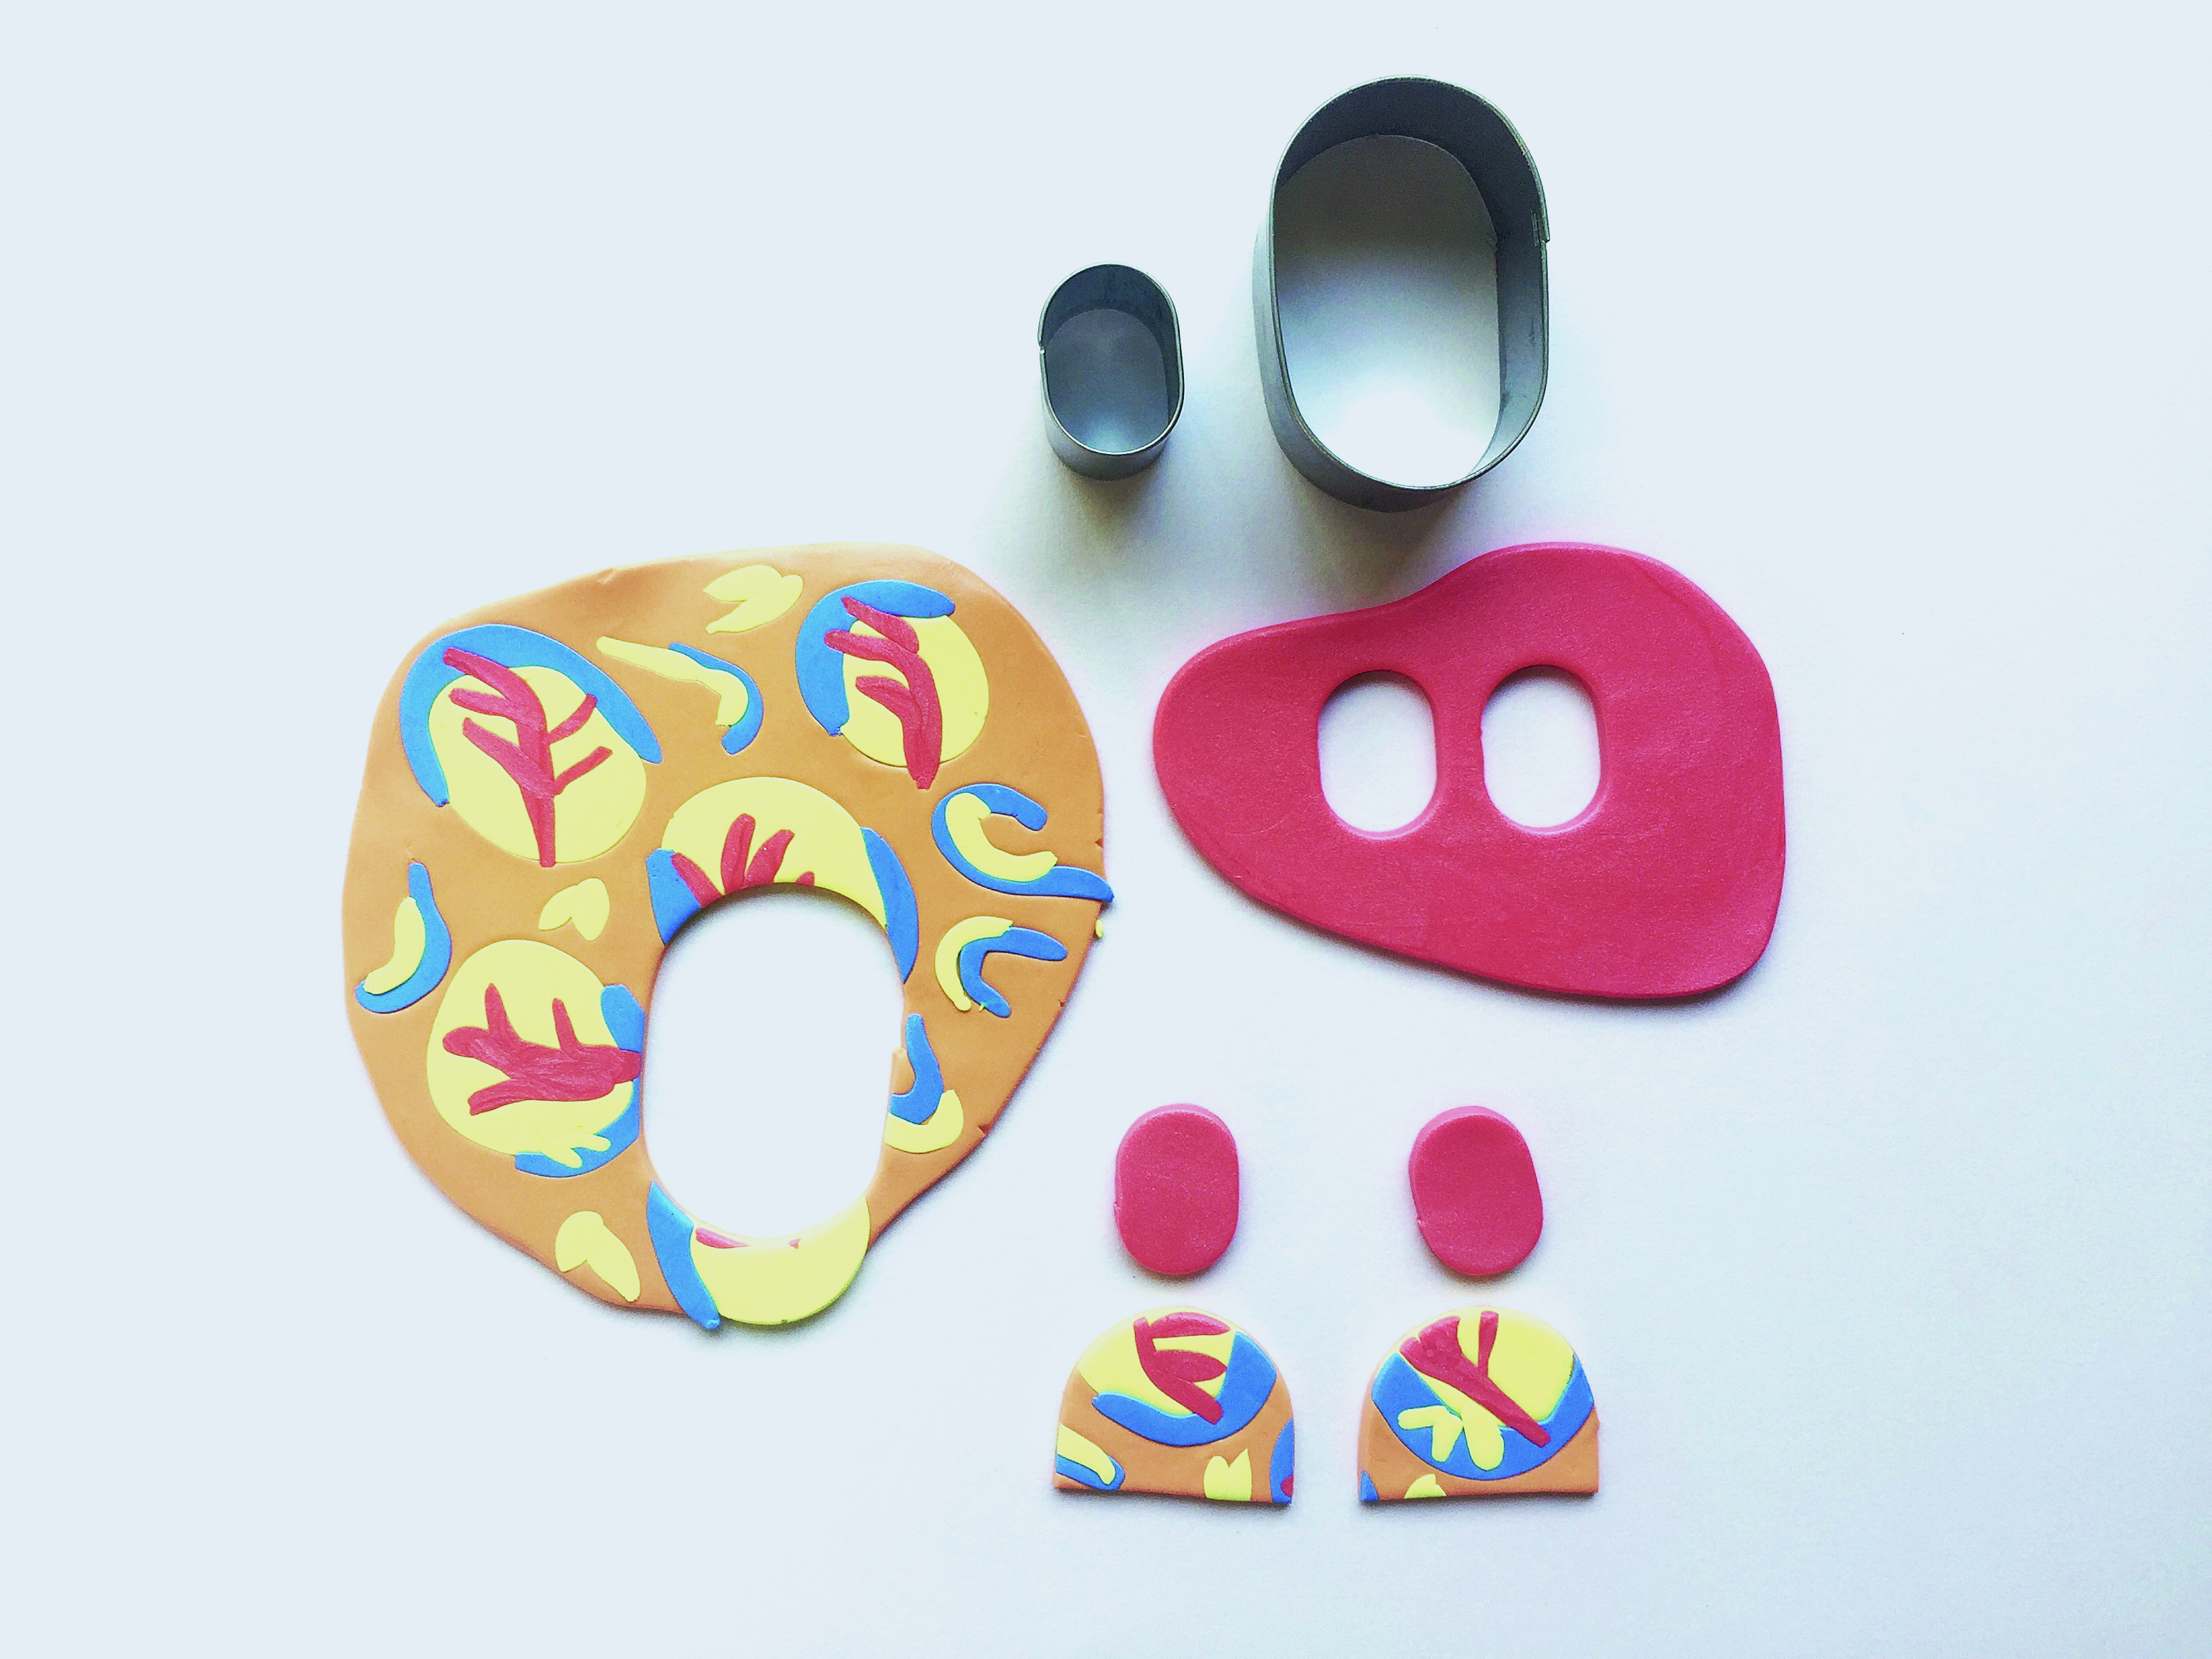
Roll out a small amount of coral clay to 0.5cm (1/4") thick. Using the cutters, cut two small lozenges from the coral clay and one large lozenge shape out of the patterned clay base. Cut the large lozenge in half across the width. These shapes will make up the components for the earrings. Following the manufacturer’s instructions, bake the shapes in the oven.

Step 7

How to make polymer clay earrings 7

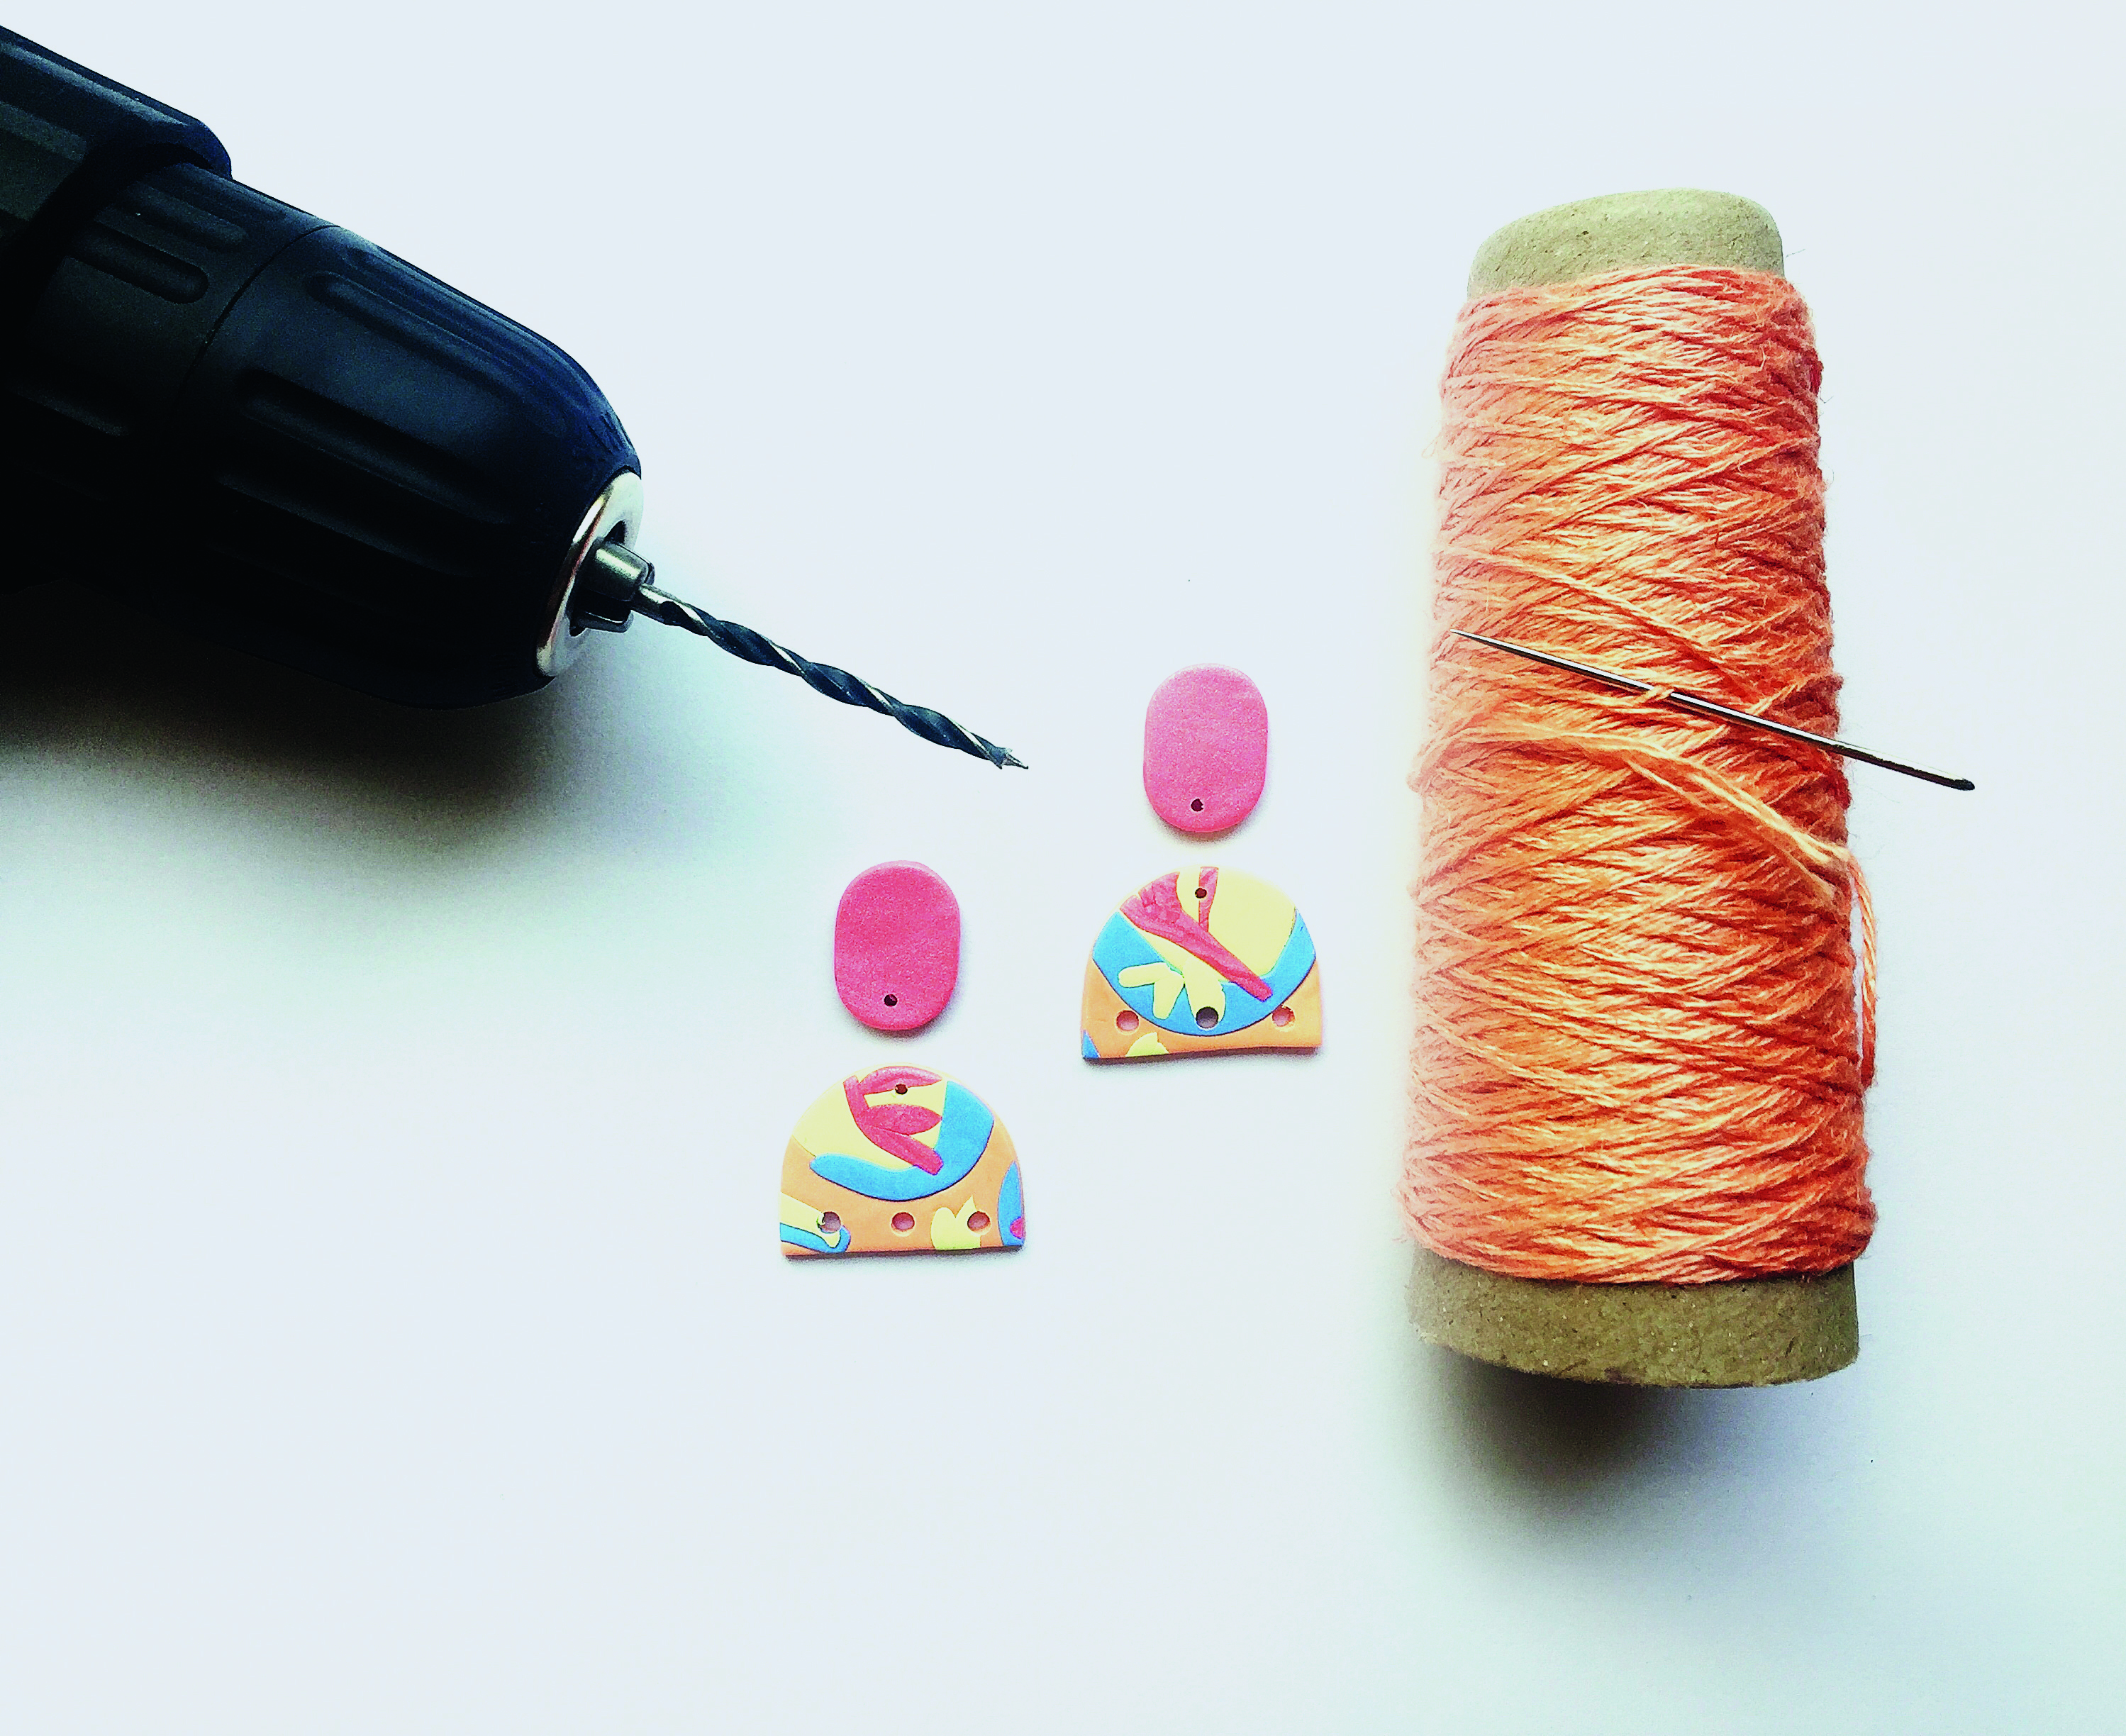
Once cooled, drill a small hole into each shape to hold the jump rings, using the image as a guide. At this stage, you can also use a fine-grade piece of sandpaper to neaten the edges of the components. Using a bigger drill bit, drill three holes at the bottom of the patterned semicircle earring piece to accommodate the tassels.

Step 8

How to make polymer clay earrings step8

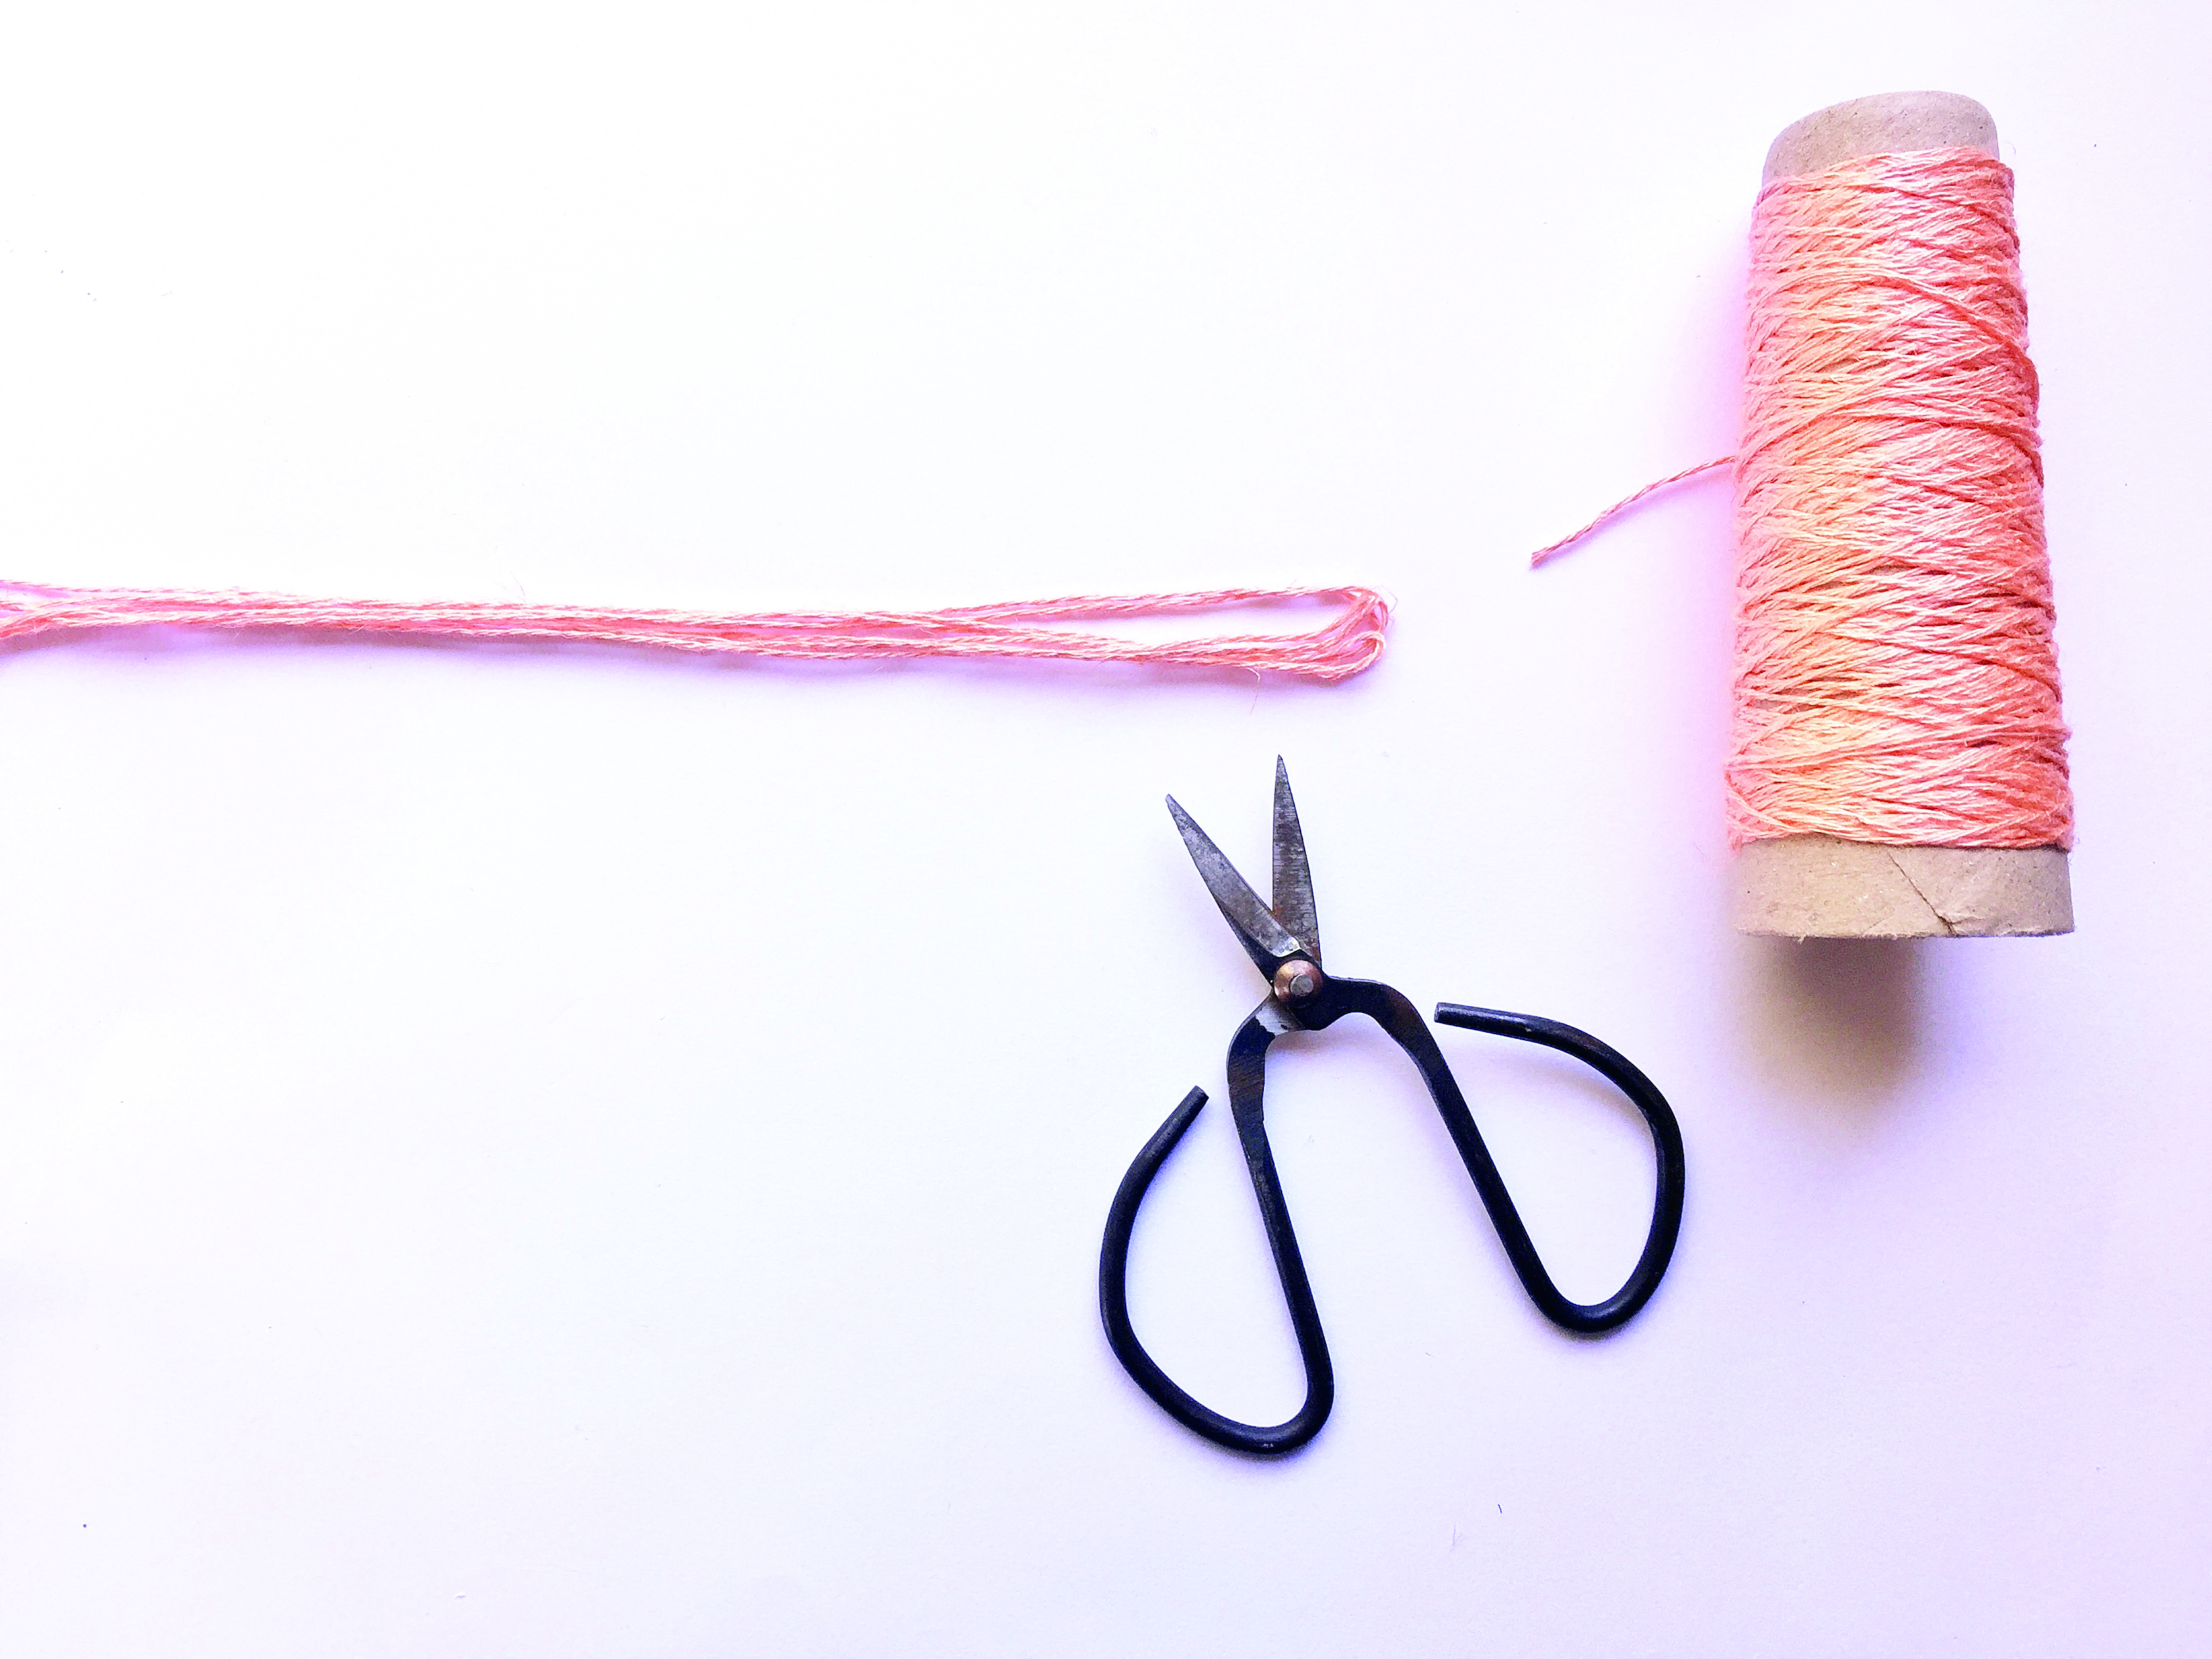
Cut a length of thread for each tassel. The length of thread you’ll need depends on the thickness of the thread. We used 2m (783/4") per tassel, but you might need more if you’re using a finer thread.

Step 9

How to make polymer clay earrings 9

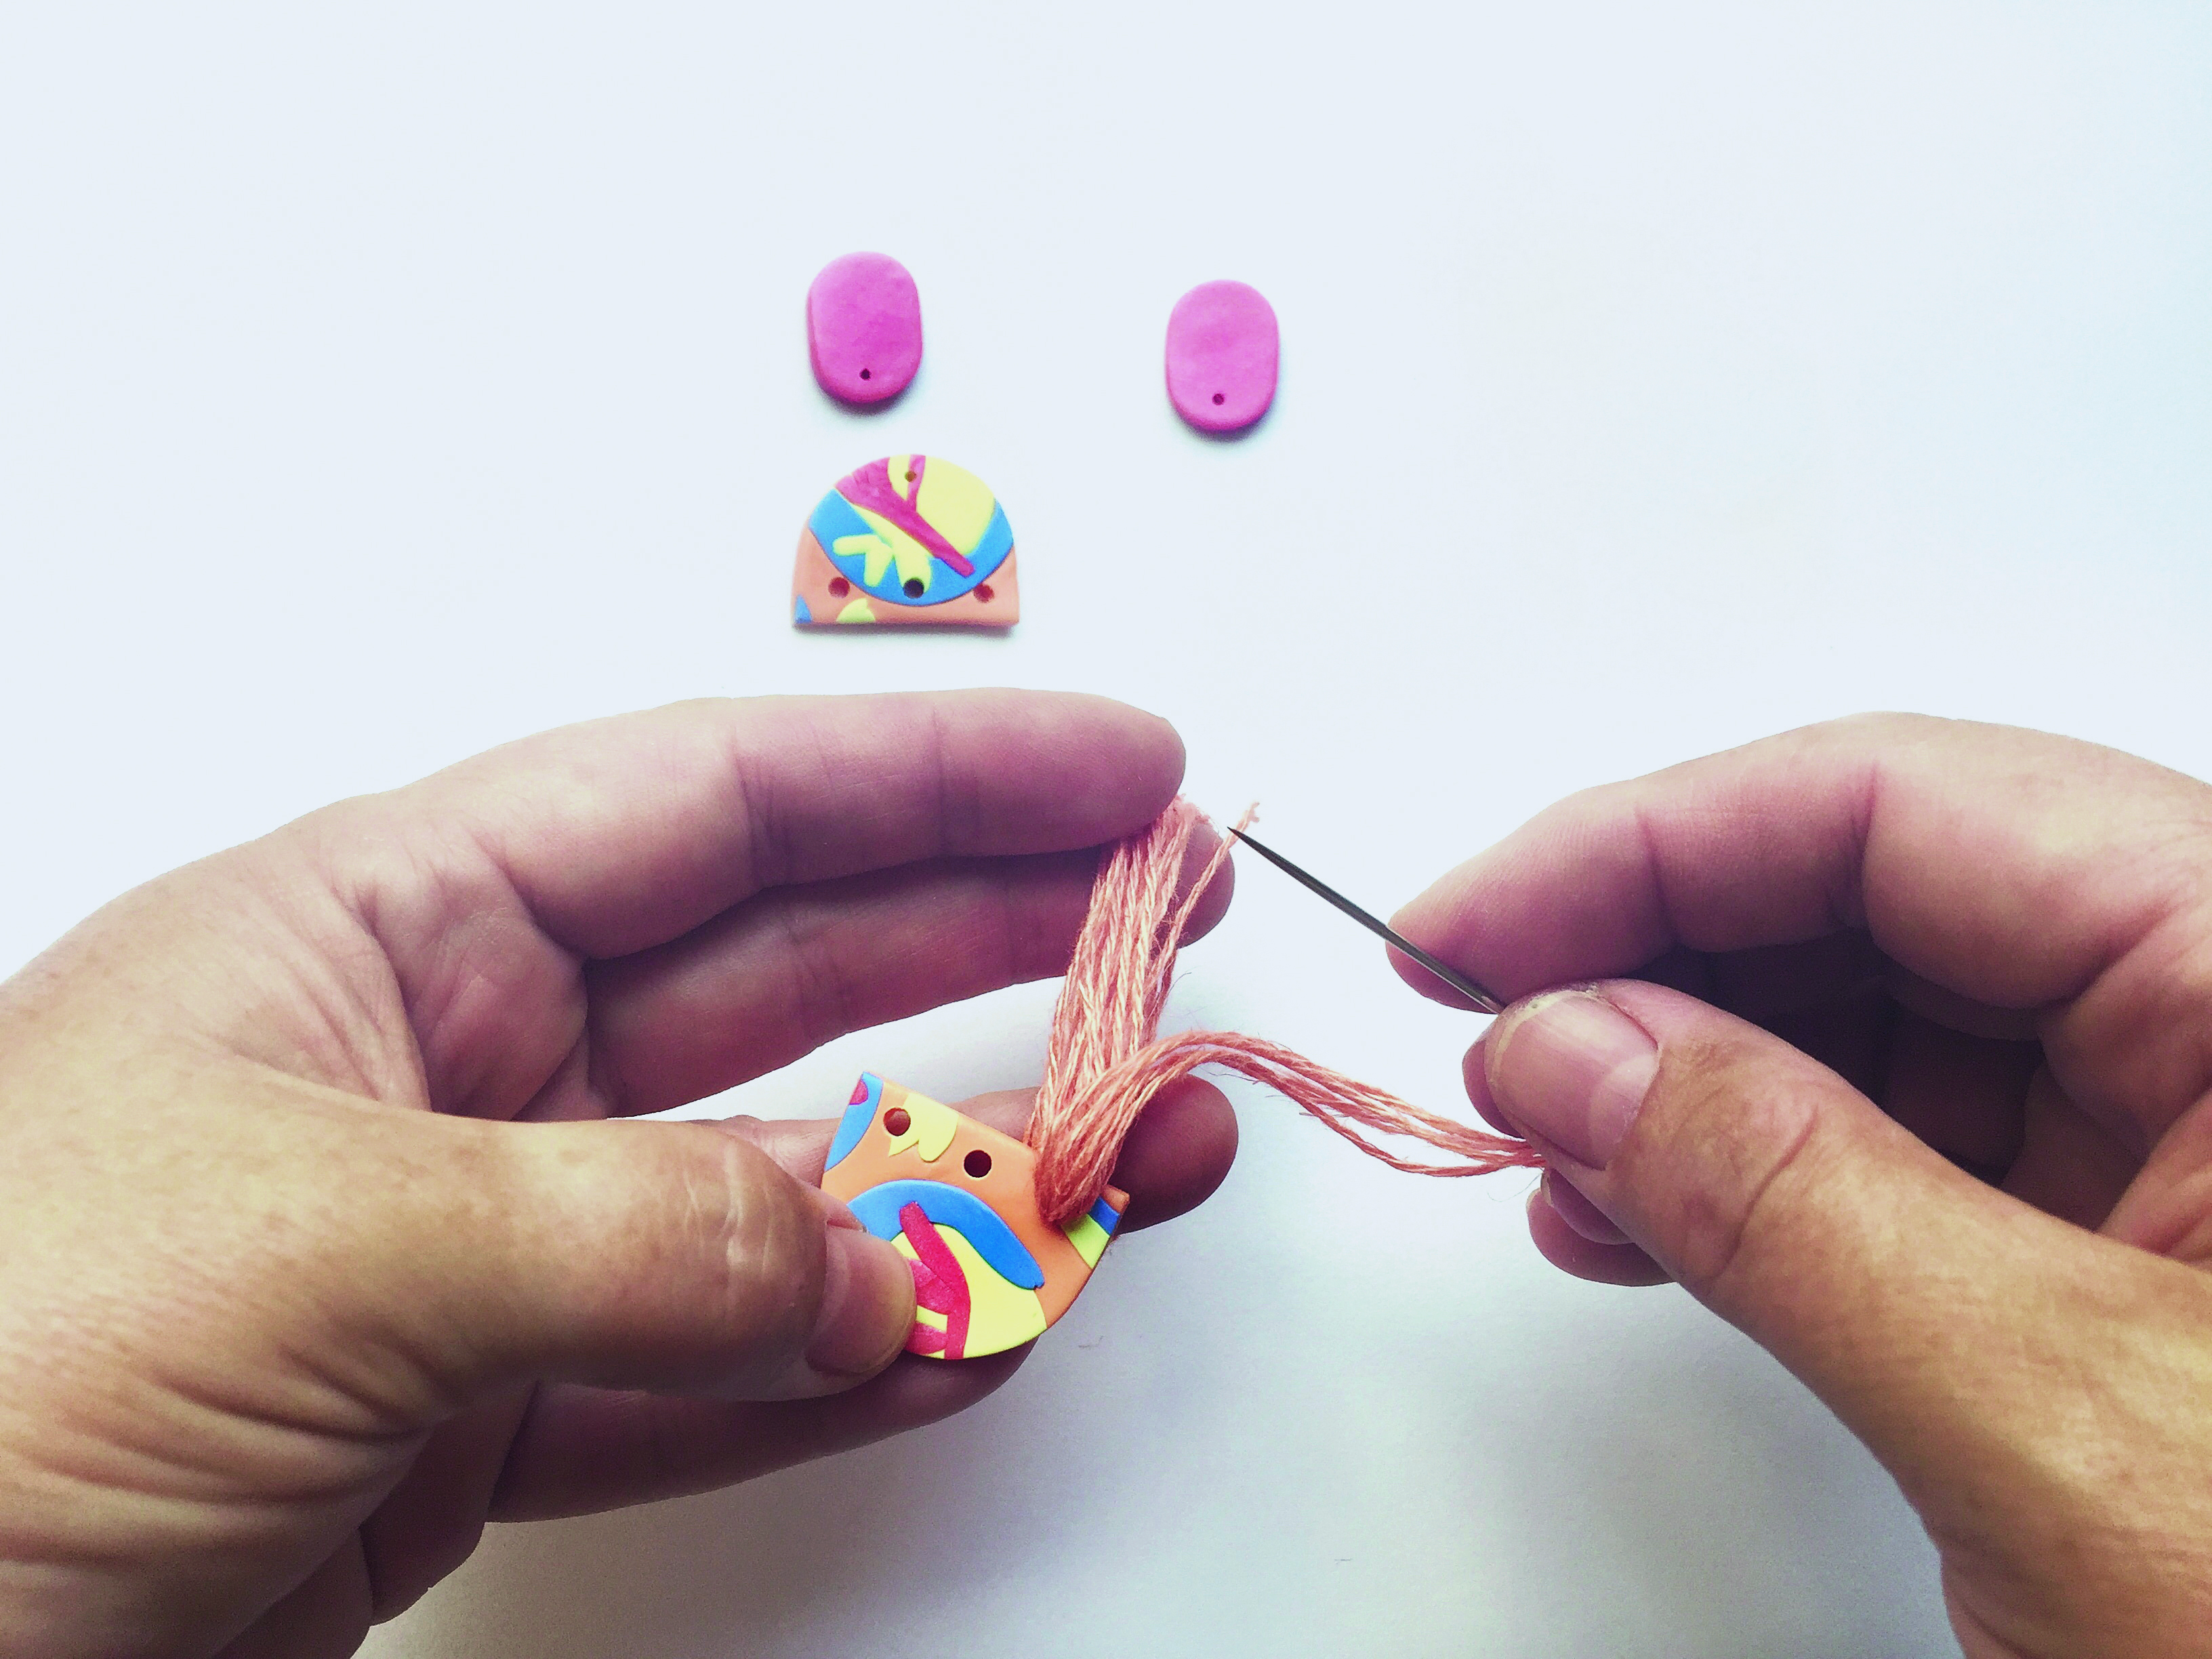
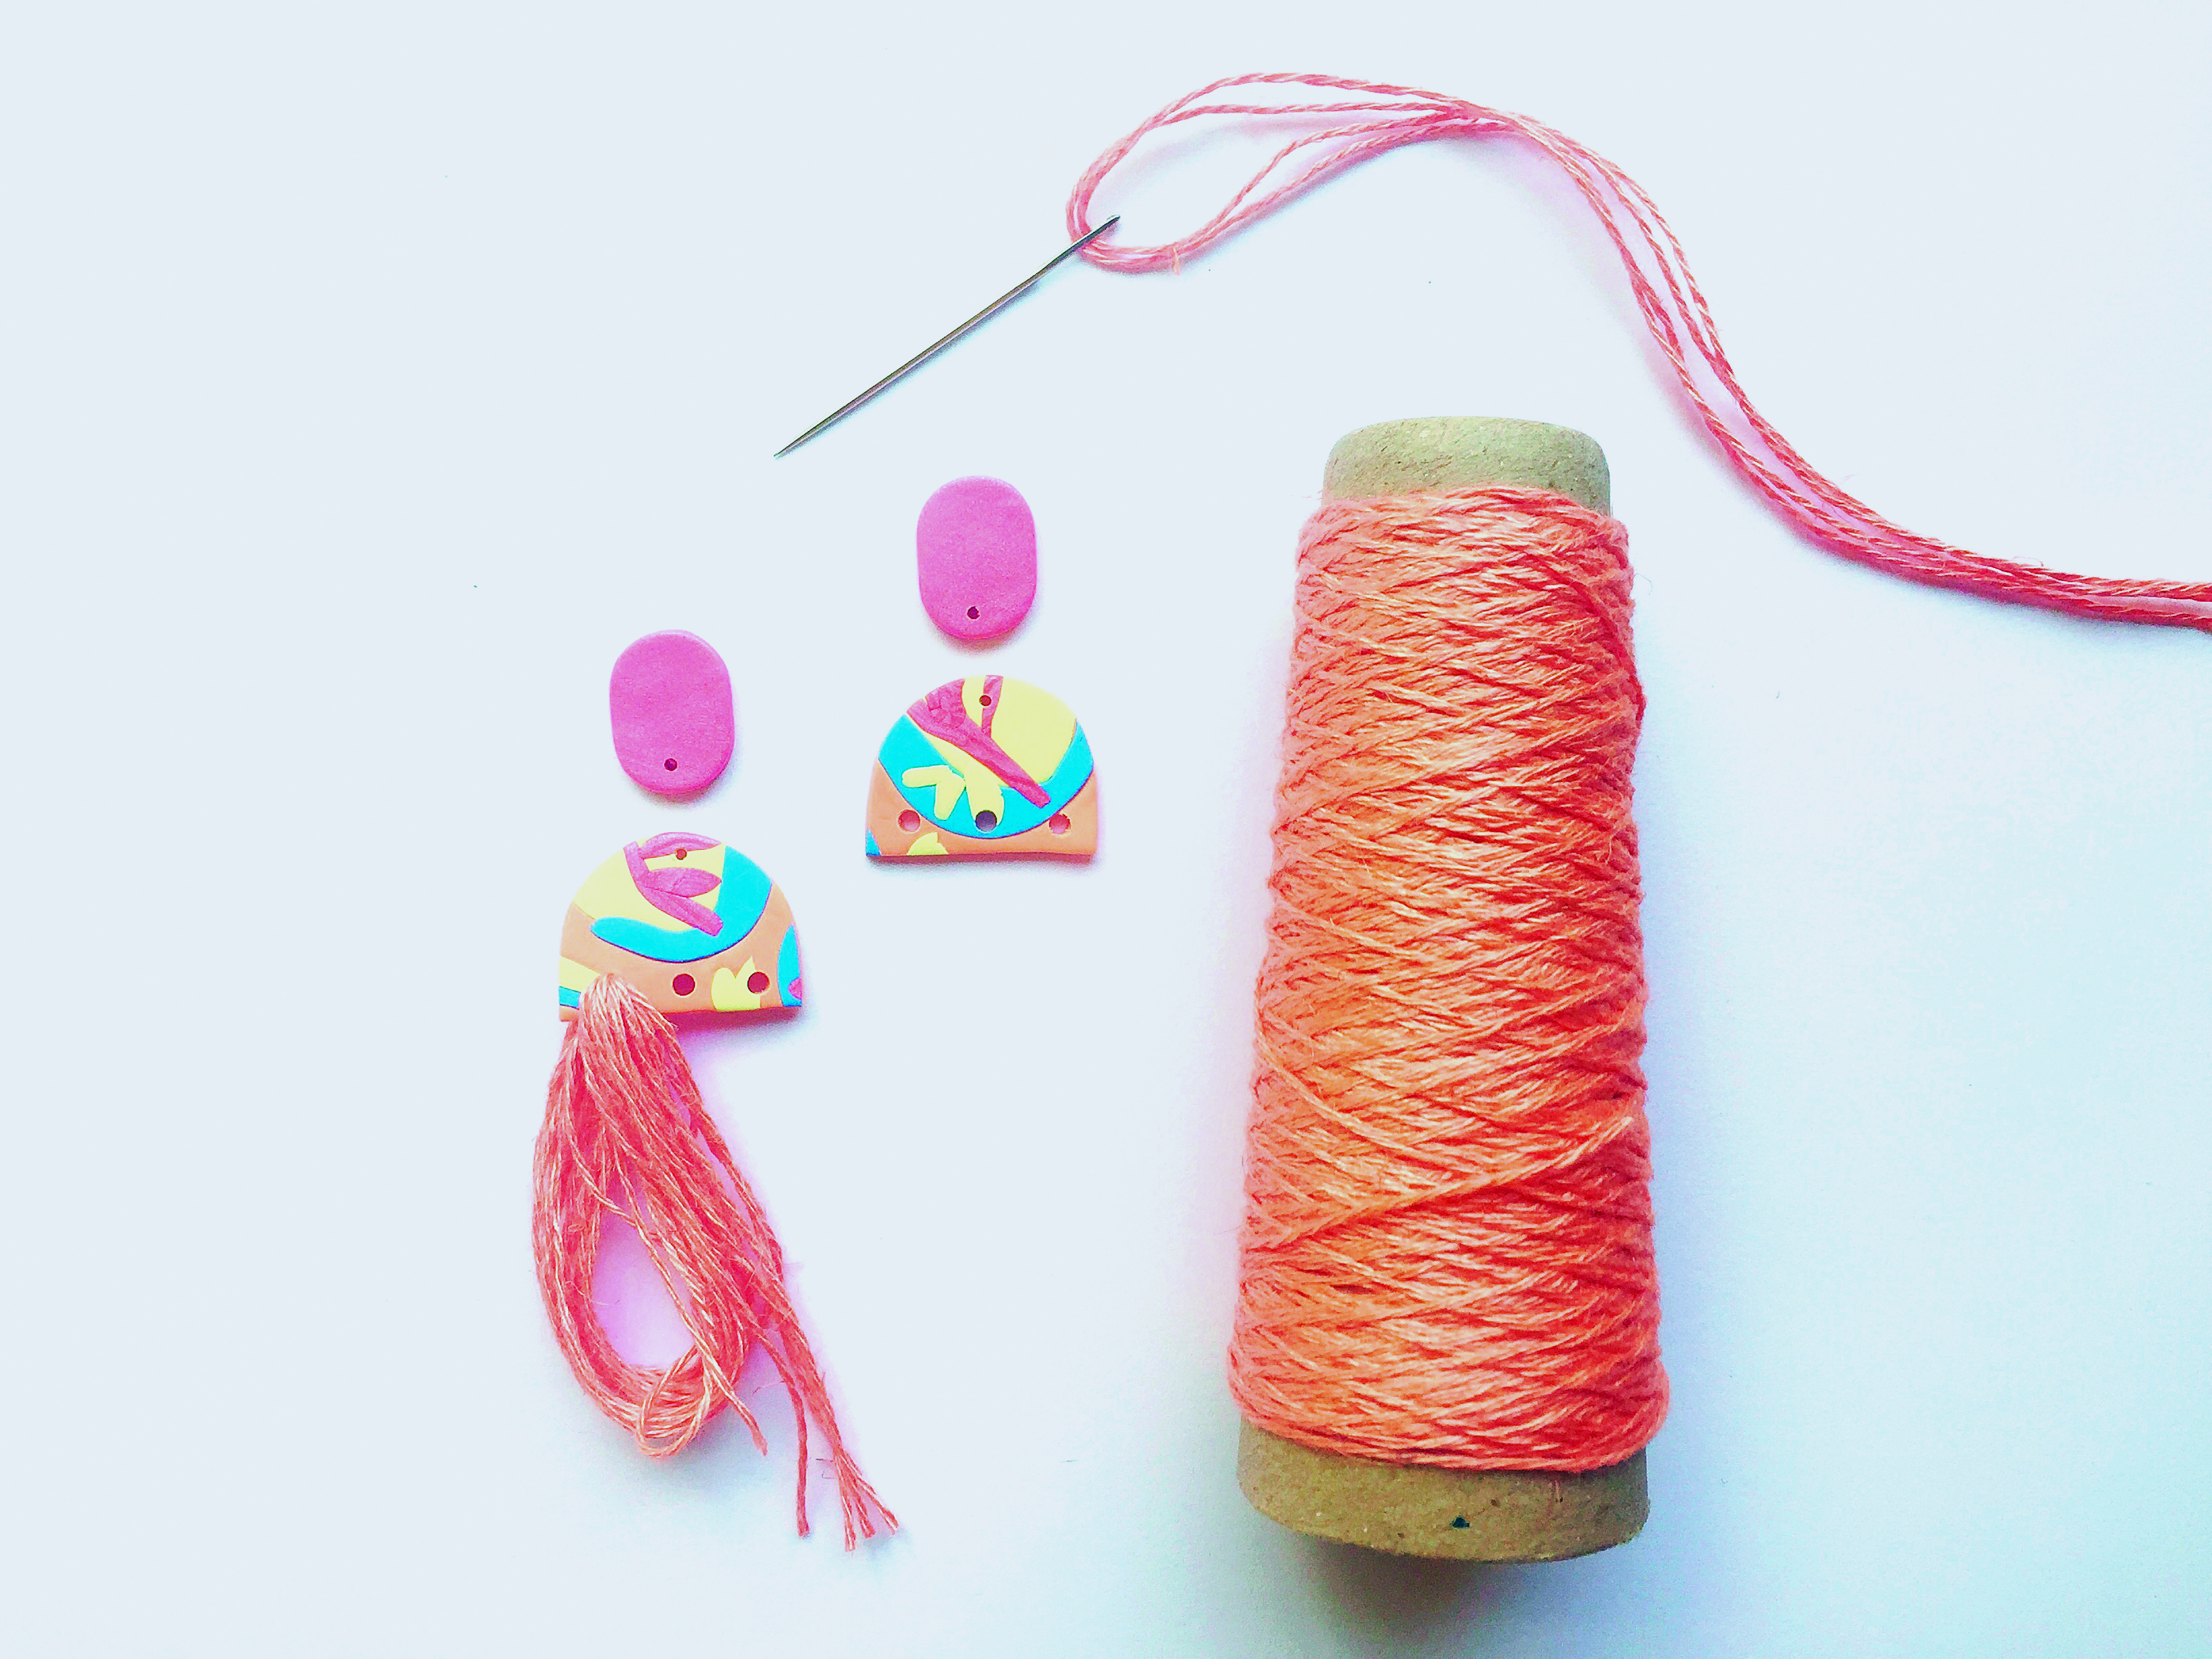
Fold a length of thread in half and thread it into a needle. Sew through one of the holes on the patterned semicircle earring piece, securing the end of the loop with your fingers. Continue sewing loops of the same length until you reach the end of the thread.

Step 10

How to make polymer clay earrings 10

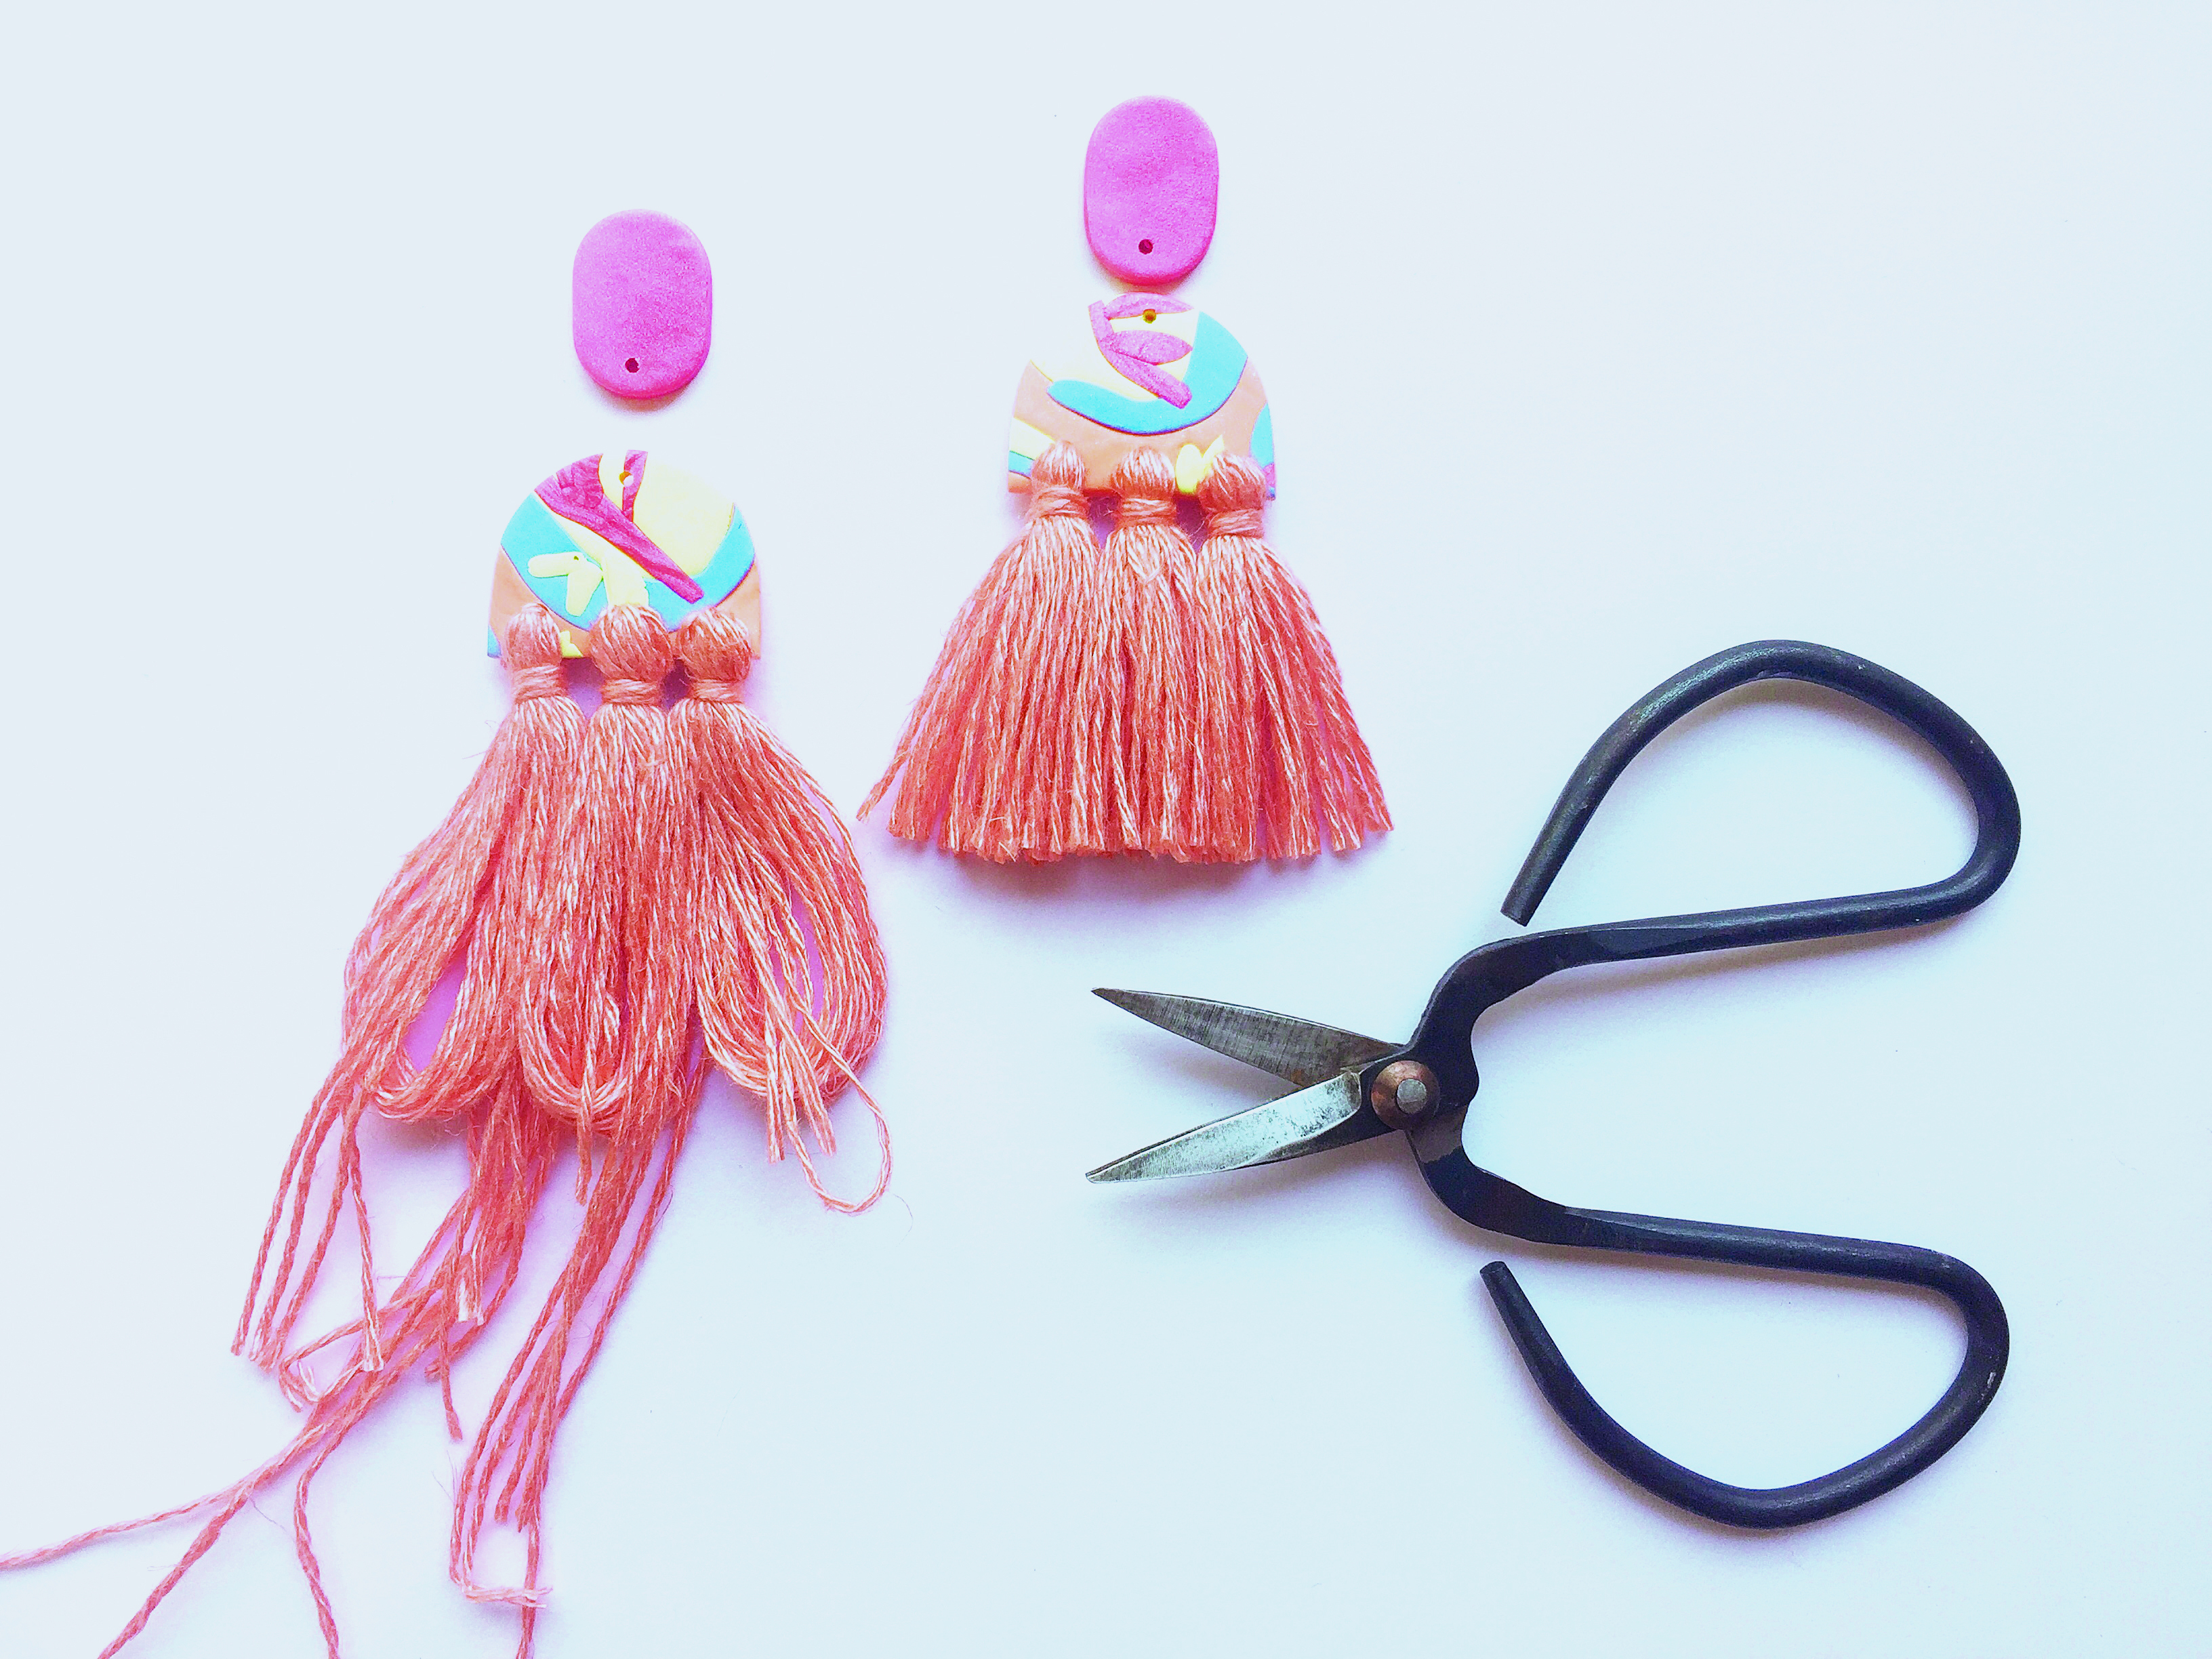
Take another shorter length of thread, and tie in a knot at the back of the earring component. Wrap the thread around a few times around the top of the tassel, and then tie another knot.

Step 11

How to make polymer clay earrings 11

Repeat Steps 8-10 so you have three tassels on each earring. Trim the tassels, and stitch any loose threads back into the tassel.

Step 12

How to make polymer clay earrings

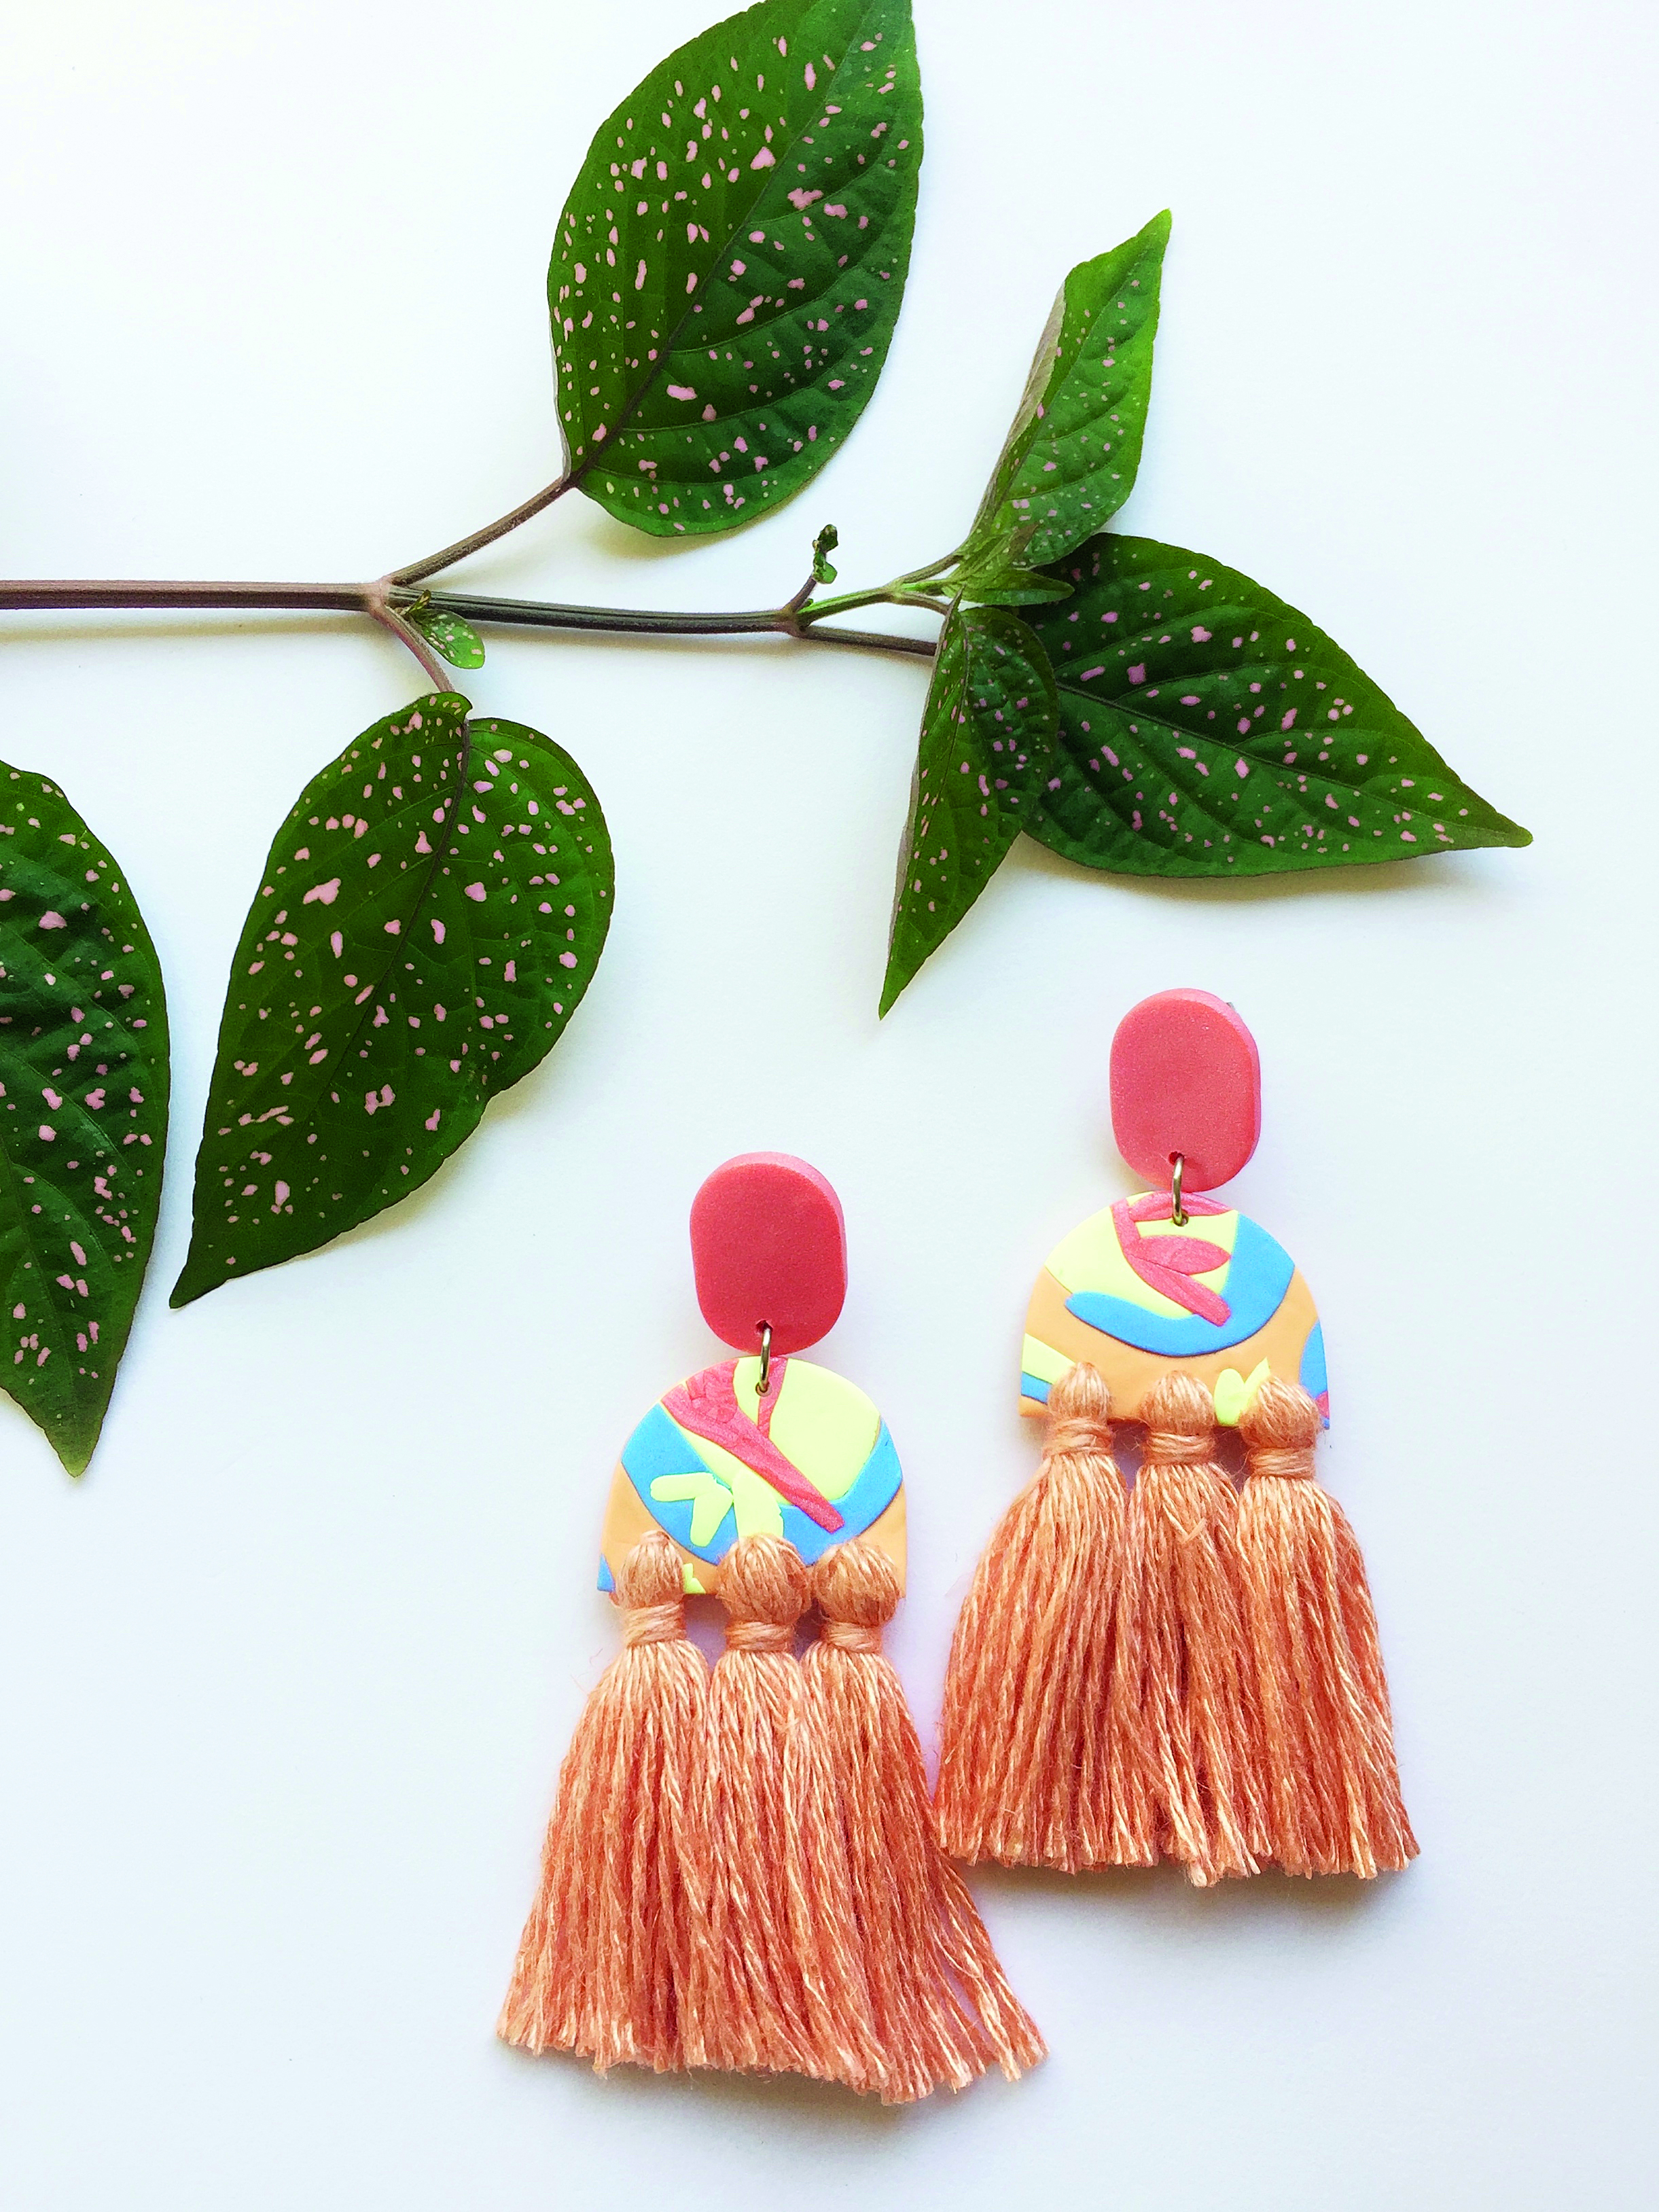
Using the pliers, secure a jump ring to each earring to connect the components, as shown. Finish the earrings by attaching the two earring posts to the back of the earrings with superglue.

We hope you’ve enjoyed learning how to make polymer clay earrings! For more fun polymer clay tutorials head over to our clay trinket dish DIY and clay salt spoons tutorial.