Step 1
Drawing your earring shape
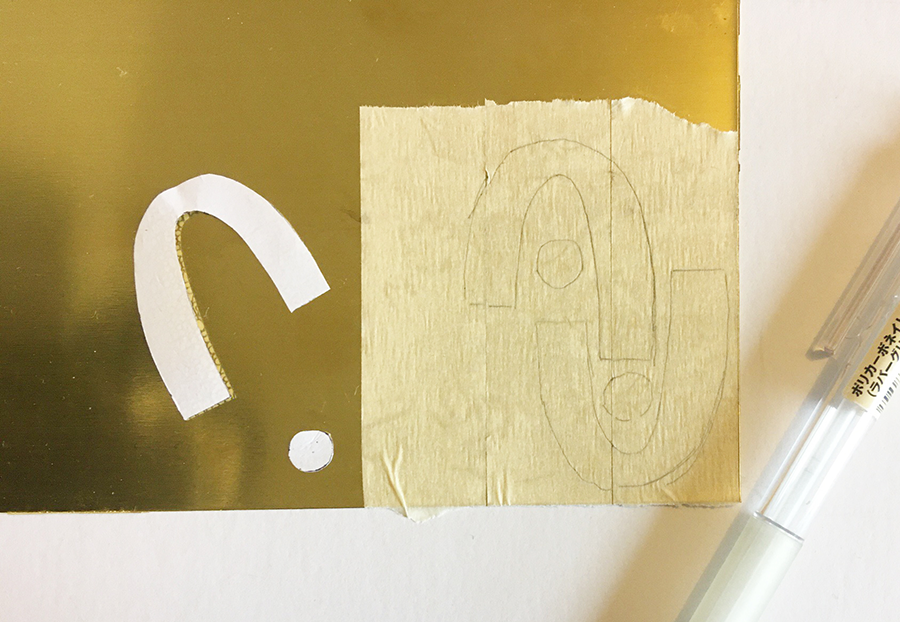
Stick tape over a section of the brass sheet, then draw on the shapes for the earrings. Use the main image as a guide or choose your own design.
When planning your design, bear in mind that curves can be tricky to cut.
We went for a more abstract look, but to create two identical earrings, draw out a template first.
Step 2
Cutting out your brass earrings
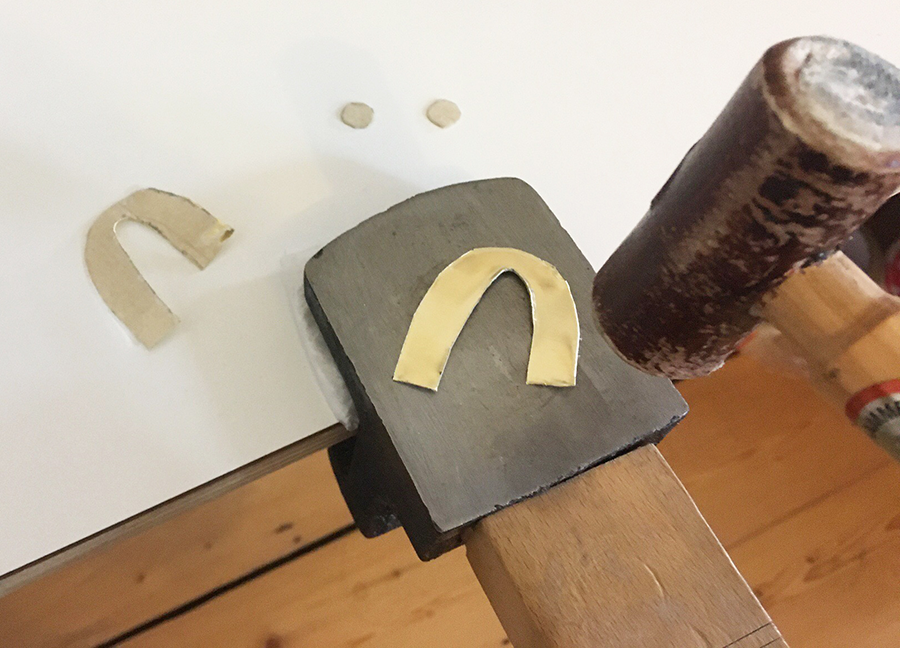
The brass sheet will have sharp sides, especially after cutting, so wear protective gloves while handling it.
Use the shears to cut around the drawn shapes, taking extra care around the curves. Once cut, use the rawhide hammer to flatten out the shapes on a bench anvil.
Remove the tape.
Looking for more jewellery-making projects?
If you’ve enjoyed learning how to make metal earrings then you’ll love these jewellery-making kits. There’s everything from resin to wire bangles.
Step 3
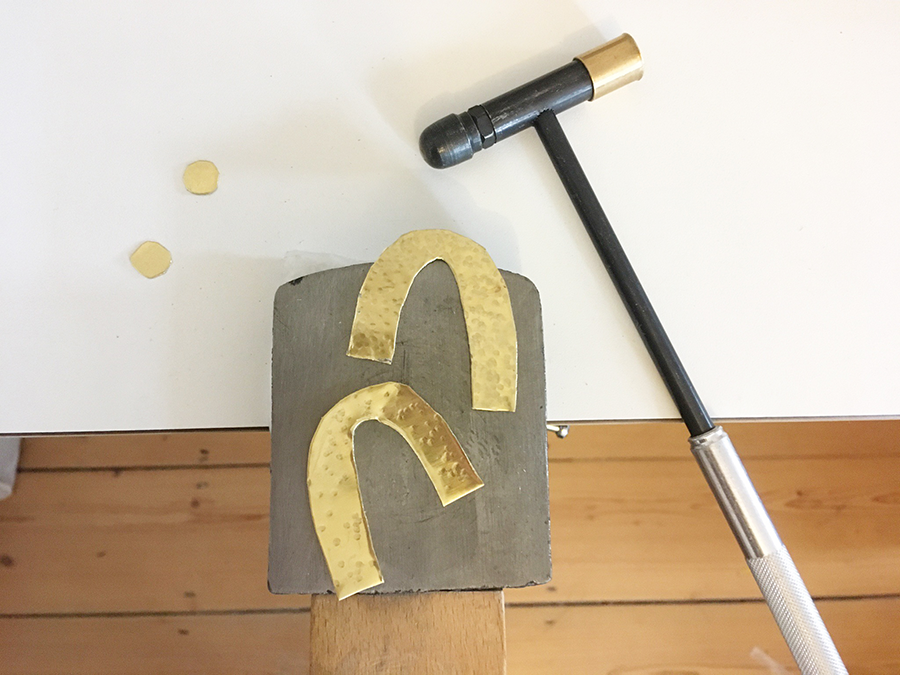
Place one U shape on the anvil, right-side up. Using the ball hammer, hammer the shape to create indents.
Hammering will slightly bend and distort the brass, so turn the piece right-side down and flatten using the rawhide hammer.
Repeat with the second shape.
Step 4
Now let’s file your brass shapes
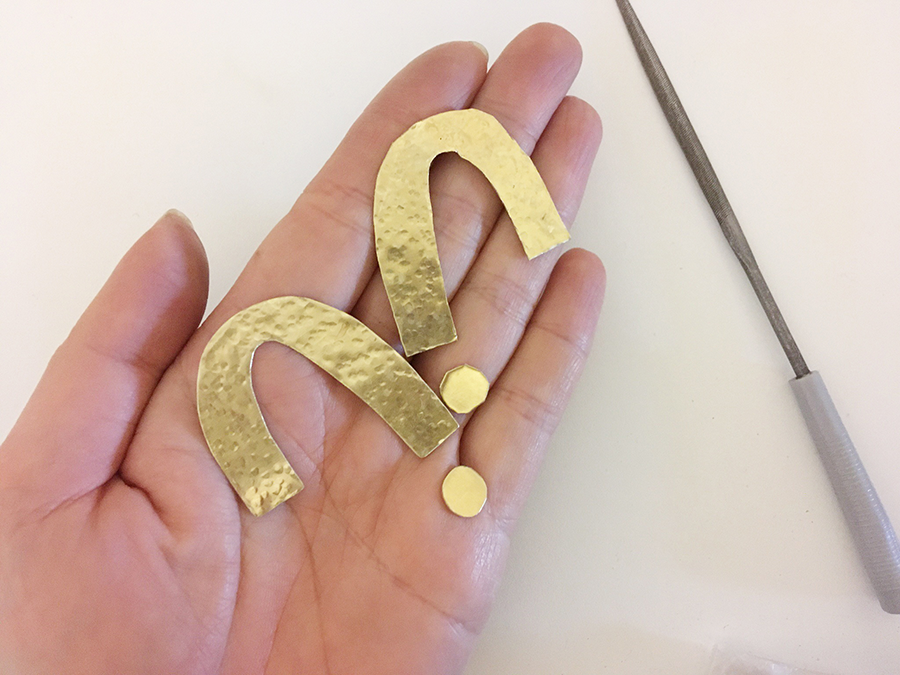
Using the needle file, and wearing gloves if necessary, round off the sharp edges until they’re smooth enough to run your finger over.
Step 5
Time to turn your metal shapes into earrings!
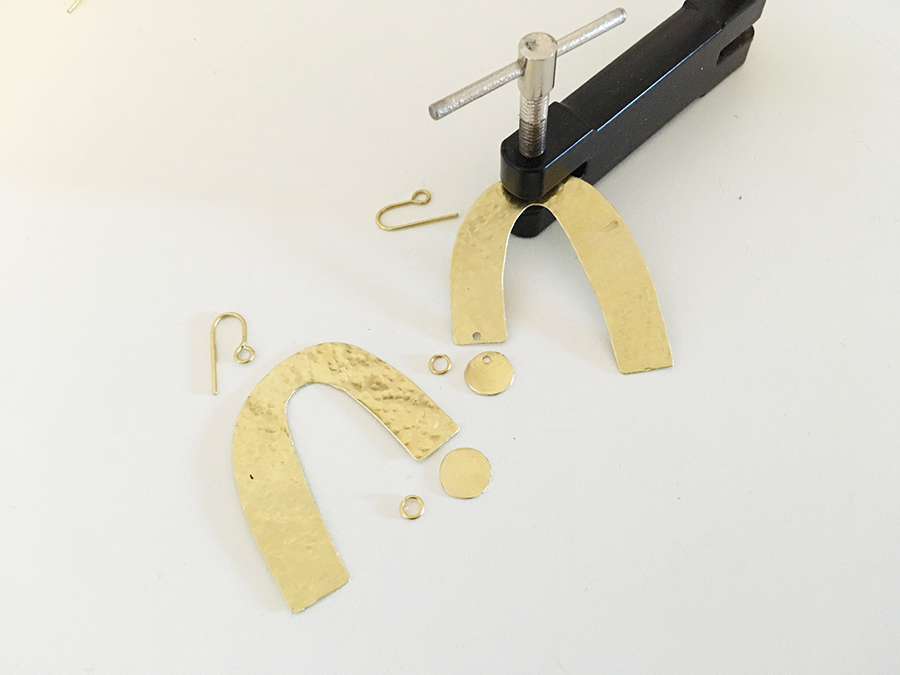
Create a small hole about 2mm (⅛") from one edge of the U shapes and circles using the metal punch. The jump rings will go through these holes to connect the pieces.
Create another hole at the top of the U shape for the ear wire.
Step 6
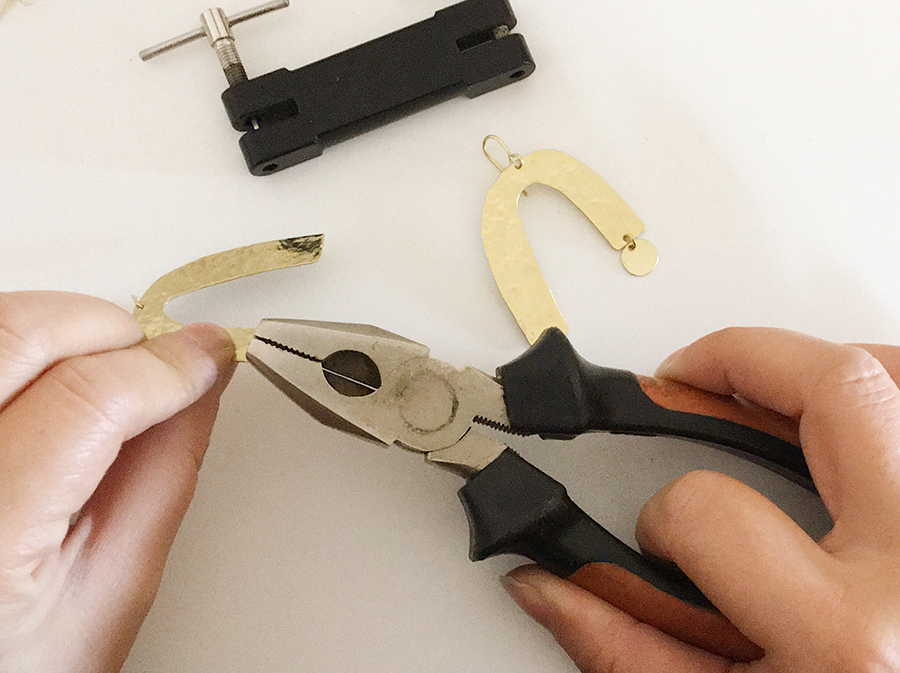
Open the jump rings with the pliers, then thread a U shape and a circle onto each one.
Close the jump rings, then hook on the ear wires at the top in the same way.
Step 7
Give your earrings a finishing touch
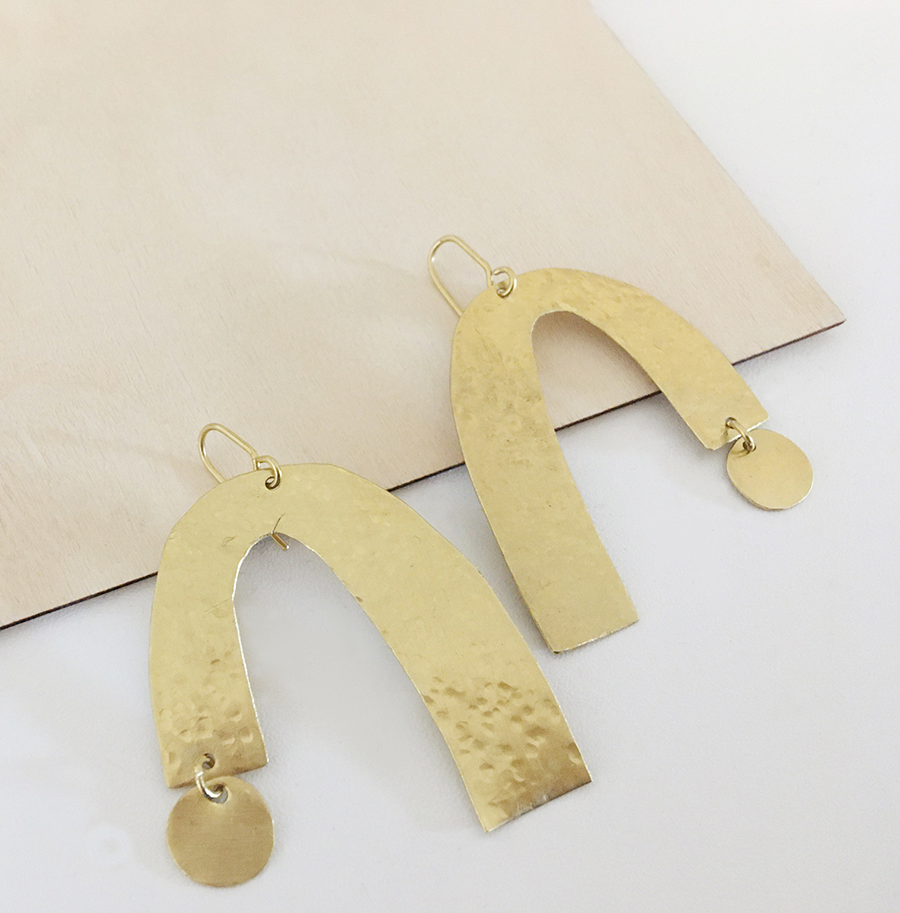
To finish, use a tiny amount of brass polish on a soft cloth to clean up the earrings and make them shine!


