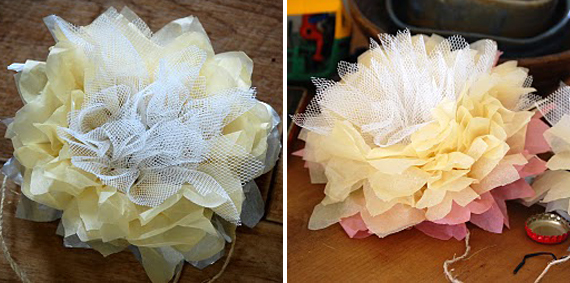
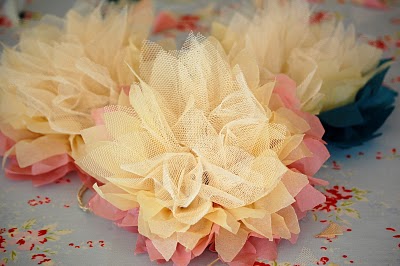
Step 1
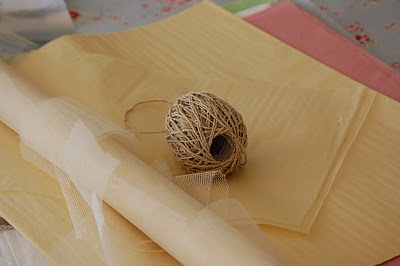
Cut two rectangles of each colour and two rectangles of tulle. The flower I have made used 38cm x 25.5cm sheets but it doesn’t really matter, just so long as the pieces are all rectangular and of the same size.
Step 2
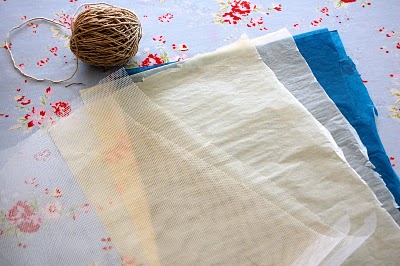
Lay the six sheets on top of each other. If you’re using colours, I tend to put the darker sheets on the bottom, lighter ones in the middle and tulle on top. However, living in the creative world we do, don’t let me stifle you. Line up their edges and begin to fold them back and forth in a concertina. My folds were about 3cm wide but once again, don’t let me rain on your parade.
Step 3
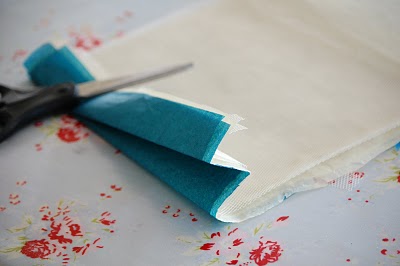
Once the folding is complete, bend it in half like a fan and tie it tightly in the middle with string.
Step 4
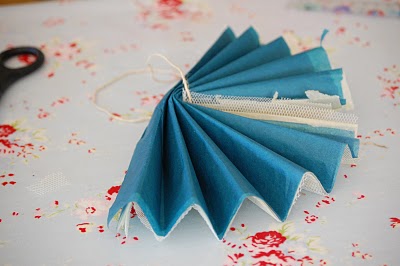
Snip the ends with scissors to make a petal shape.
Step 5
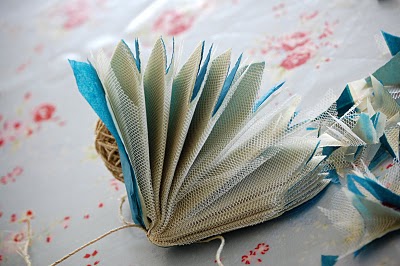
Fan out one side into a half circle.
Step 6
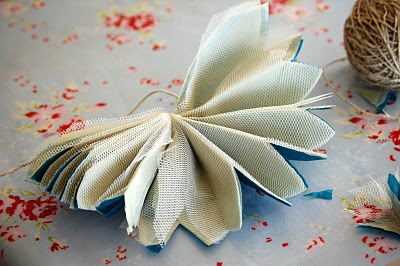
Delicately begin separating the layers, taking care not to ruin the pleats or tear the tissue paper. If this happens, don’t cry… I sort of just shove it back in and hope no one notices.
Step 7
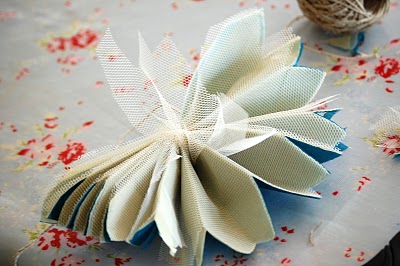
Continue separating and…
Step 8
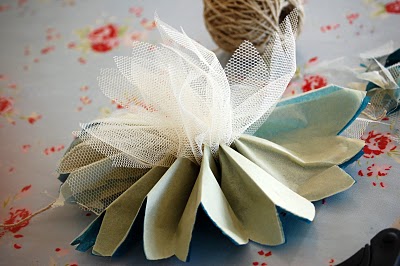
Lifting and zshoozshing (an extremely technical term that may or may not have or have originated just two minutes ago).
Step 9
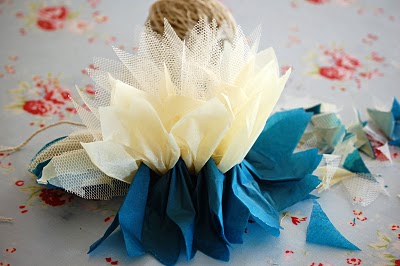
Unfurl the other side and continue in the same way, separating, lifting and zshoozshing.
Step 10
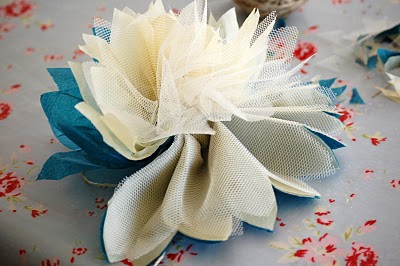
Finally, scrunch and zshoozsh to manipulate it into a pleasingly floral shape. But once again, don’t let my need for a chaotic symmetry suppress your inner urges. If you want it to sprout in one particular direction, don’t let me tell you it is not regular enough. And you’re done. Tulle flowers for all, tulle flowers for any occasion.


