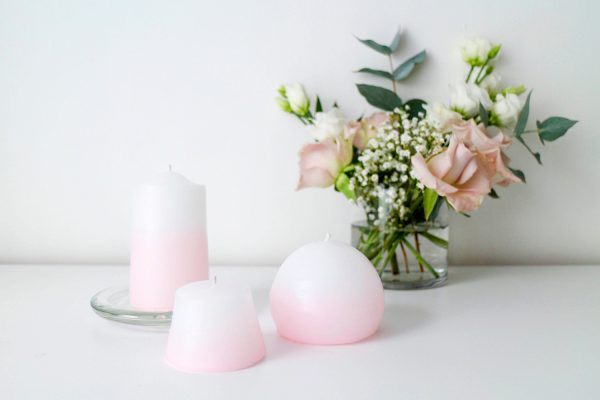
Step 1
Start by preparing your mould. Make sure it’s clean and dry on the inside. The size of the wick you use depends completely on how large your mould is — candles of up to 5cm (2”) diameter need a thin wick, 5cm-10cm (2-4”) need a medium-sized wick, and 10cm (4”) plus require large wicks. You can learn how to make your own candlewick here on Gathered too. Choose the appropriate size, and cut a piece that’s 10cm (4”) longer than the mould.
Step 2
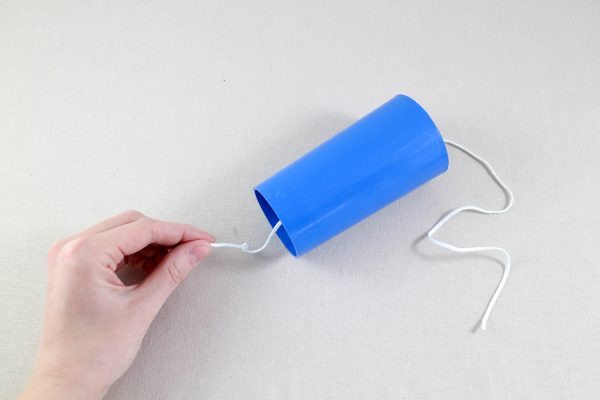
Thread your wick through the hole at the bottom of the mould and tie a knot.
Step 3
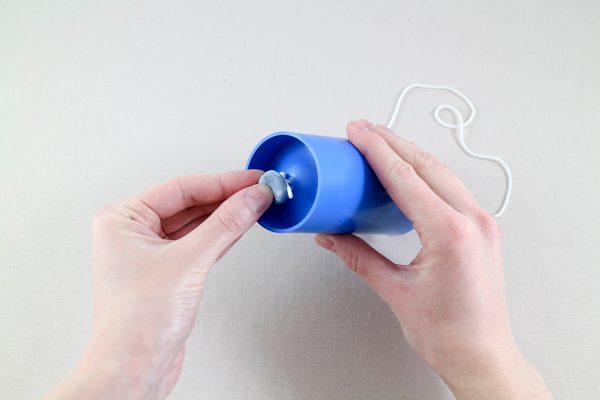
With around 1.25cm (1/2”) of the wick showing, seal the hole with mould sealant — Blu Tack is ideal for this.
Step 4
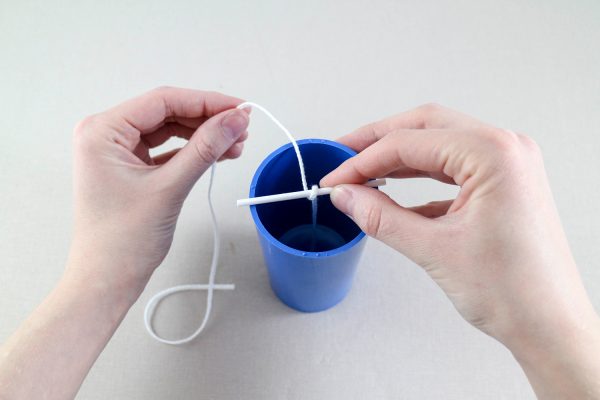
Rest a wick rod across the top of the mould, and tie the other end of the wick to it. Make sure it’s centred and taut.
Step 5
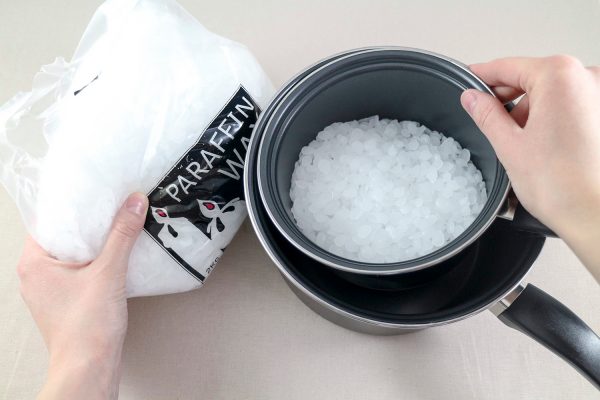
Weigh your wax according to the instructions and pour it into the smaller of the two saucepans. Add boiling water to the larger saucepan, then simmer at a low heat. Place the smaller saucepan inside the larger saucepan, to act as a double boiler.
Step 6
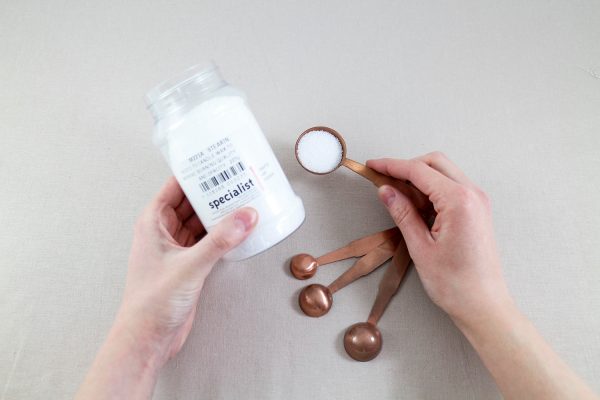
Once the wax starts to melt, add the stearin. This isn’t a necessity, but it helps increase the opacity of paraffin wax, makes it easier to remove the wax from the moulds and helps the candle burn for longer. There aren’t any set rules about measurements, but adding three tablespoons of stearin to 454g of wax is a good starting point.
Step 7
Use a thermometer to monitor the heat of the wax. Once it’s fully melted and has reached 90°c, remove the wax from the heat and pour it into a jug. Leave it to cool to between 40 and 60°c.
Step 8
Tilt the mould slightly and pour the wax into it, making sure it runs down the inside of the mould. This helps to prevent bubbles appearing on the surface of the candle.
Step 9
Once poured, stand the mould in a bowl of cold water — this will help it to cool more quickly, and make removing the candle from the mould much easier. As the wax cools it will contract, and you might find there will be a slight dip at the top. If this happens, heat more wax and carefully fill the area up to a smooth finish.
Step 10
Once the mould is completely cool, you can remove the mould sealant and the candle should slide straight out. To give your candle a more professional finish, dip it in hot wax or boiling water and leave it to dry.
Step 11
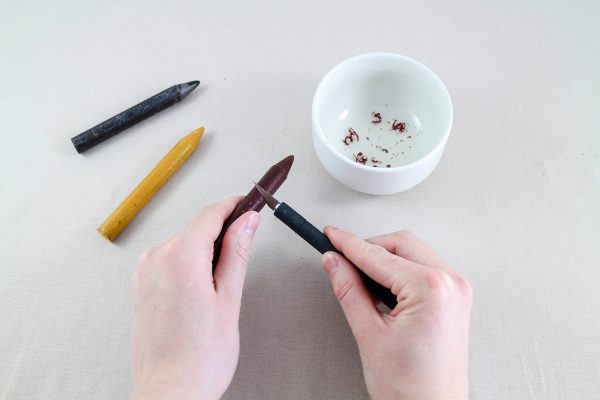
Create your coloured wax ready for dip dying by shaving a little off one of the candle dyes, and adding it to a pan full of hot wax. I used the red dye from the kit to create the pink. A little dye goes a long way, so it’s best to add it in small amounts, increasing the colour as you go. To test the colour, drop a little into a jar of cold water — it will set immediately and the colour will be one or two shades lighter than it will appear on the finished candle.
Step 12
Hold your candle firmly by the wick, and gently dip it into the coloured wax. To build up colour and create the ombré effect, repeat the dipping process, immersing slightly less of the candle into the wax each time.


