Step 1
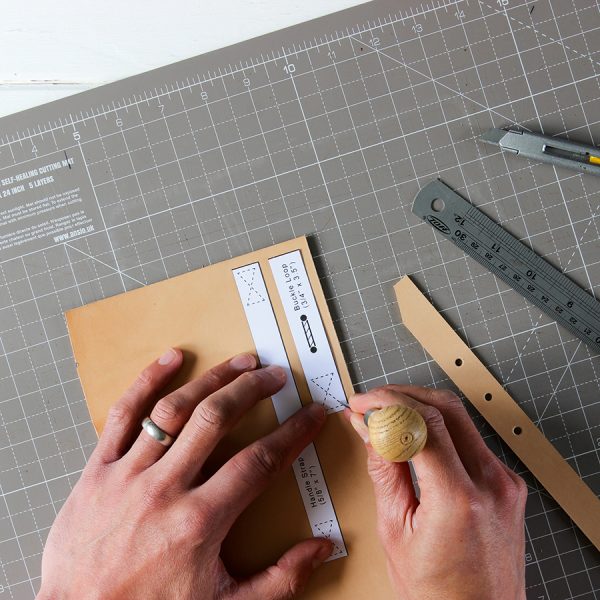
Using the template here, cut out the bag piece from the cotton canvas. Mark the four U shapes for the buckle loop, handle strap and over-top strap placement onto the right side (RS) of the canvas with the chalk.
Using the relevant templates, cut the buckle loop, handle strap and over-top strap pieces from the leather with a craft knife and metal ruler. Use an awl (or a needle) to transfer the stitch lines and the buckle holes onto each piece, punching a series of holes through the template into the surface of the leather. For the stitch lines, remove the template, then use a pencil and ruler to join the pierced dots. Make the buckle holes using the 0.3cm (1/8“) punch. To make the buckle loop, cut out a slot between the two holes.
Step 2
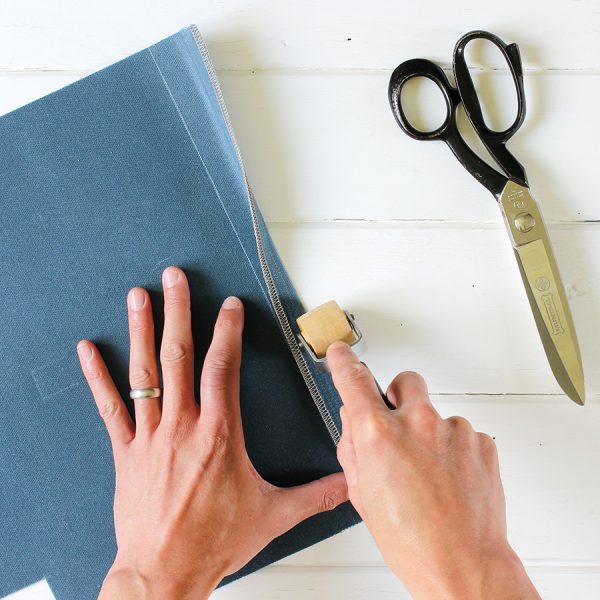
Mark a line 4cm (15/8“) down from both top edges on the wrong side (WS) of the canvas, then overlock (or zigzag stitch) the edges – this will prevent them from fraying. Fold the top edges down to the marked line on the WS of the canvas, use the seam roller to press them in place, then clip to secure.
Step 3
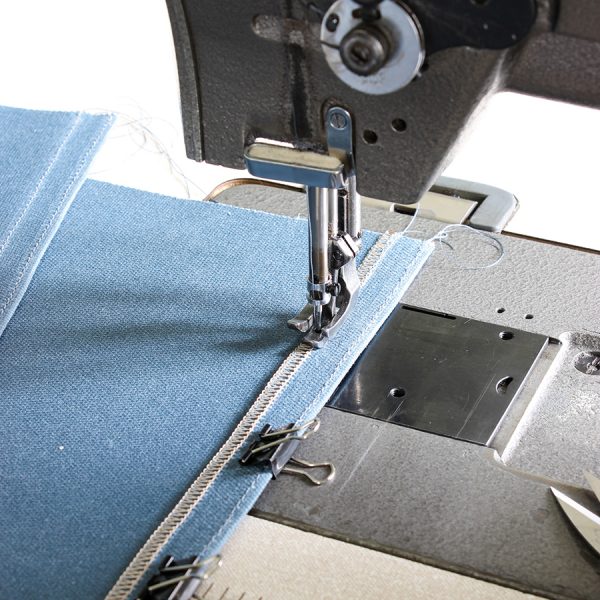
With the canvas WS up, sew two lines along the length of both these hems; one 0.25cm (1/8“) in from the fold, and one 0.25cm (1/8“) in from the sewn edge.
Step 4
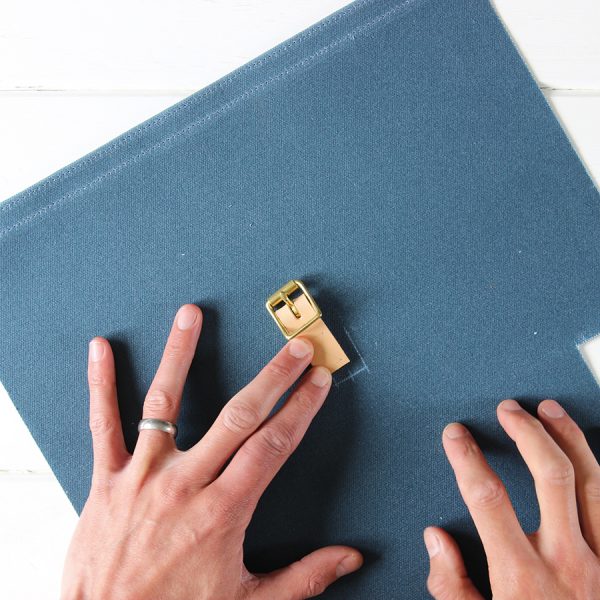
Fold the buckle loop in half along the length with RS together. Slide in the central bar of the buckle so the tongue of the buckle fits through the slot. Line up the ends of the buckle loop with the U-shaped mark on the RS of the canvas and sew, following the marked stitch lines. You may want to turn the sewing machine wheel by hand, as sewing through the leather can be difficult.
Step 5
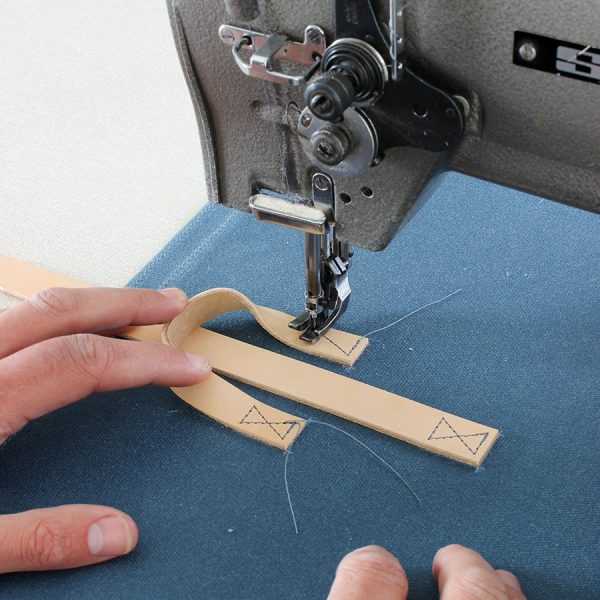
Align the pre-punched end of the over-top strap with the U-shaped markings on the canvas and sew, following the marked stitch lines. Flex the handle strap to help it bend, then align one end at a time with the placement markings on the canvas and sew.
Step 6
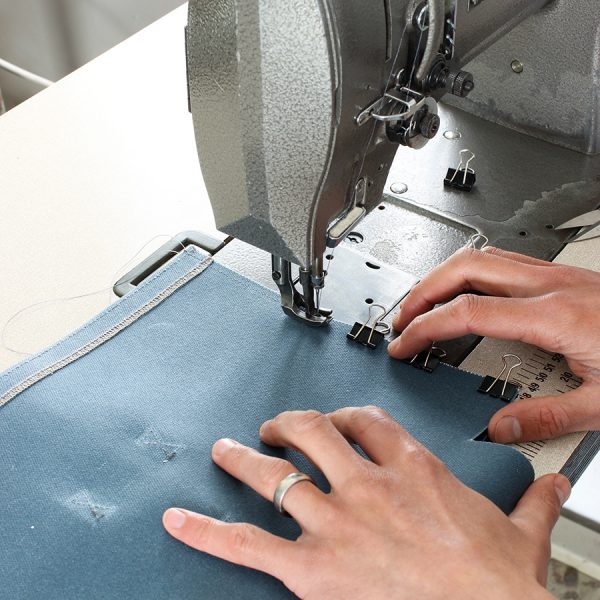
Fold the canvas in half across the centre with RS together and aligning the top edges. Use clips to hold the sides in place, then sew both side seams, working from the top edge downwards, and using a 0.5cm (¼”) seam allowance. Overlock or zigzag stitch both side seams, then press open the seams with your fingers.
Step 7
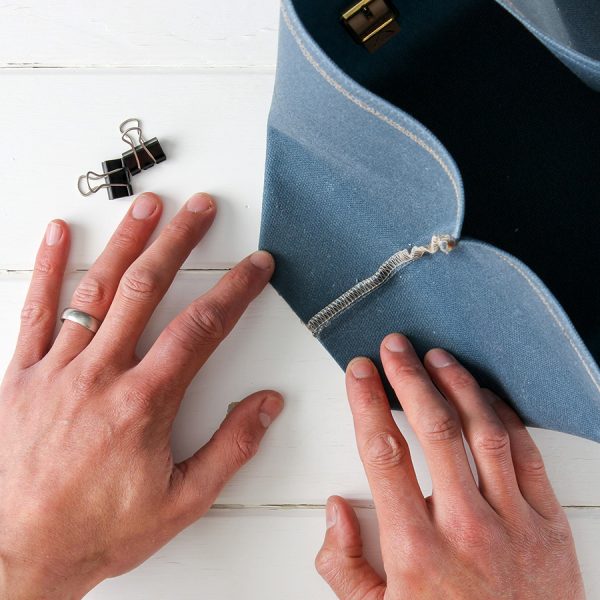
Form a box corner by flattening out the base of the bag, aligning the bottom of one side seam with the middle of the base.
Step 8
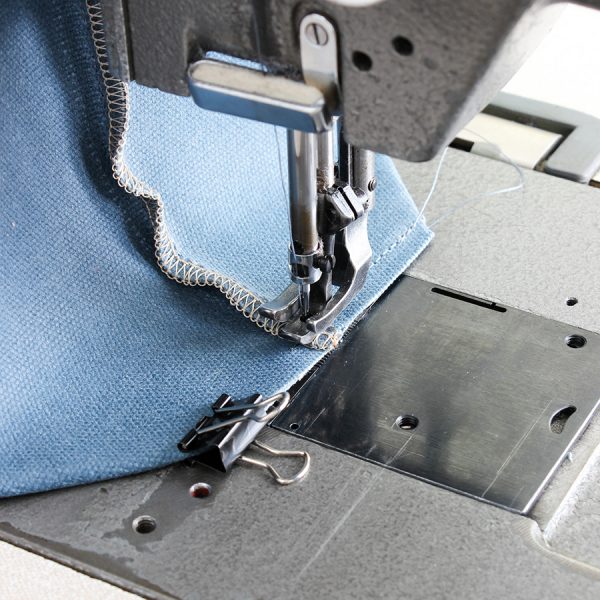
Clip along the fold to hold the canvas in place, then sew using a 0.5cm (¼”) seam. Repeat on the opposite side of the bag, then overlock or zigzag stitch the two seams.
Step 9
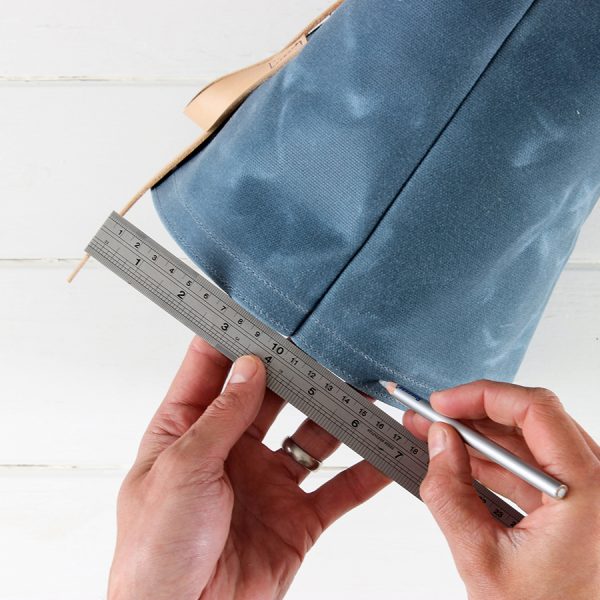
Turn the bag RS out, using your fingers to press open the seams as you go. Make two marks along the top edge of the bag, 5cm (2″) out from either side of one side seam. Repeat on the opposite side of the bag with the second side seam.
Step 10
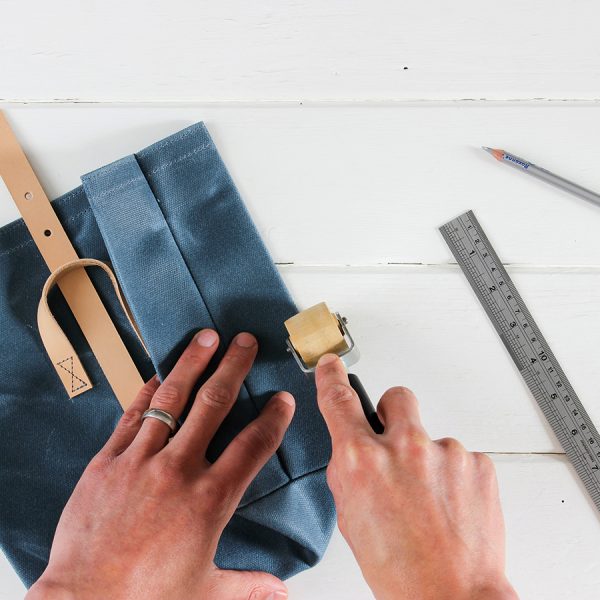
At each of the four marks, make a hard crease in the top seam, continuing the crease down the length of the bag to meet the bottom corner, and keeping the crease line parallel to the side seam.
Step 11
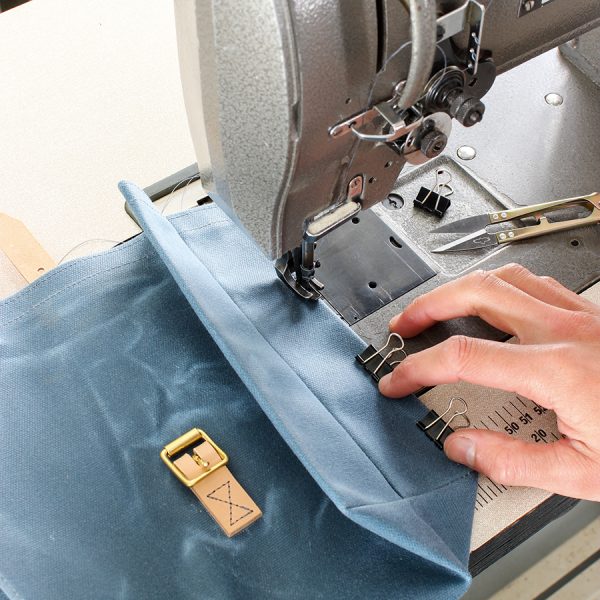
Clip in place, then topstitch all four of the creases, 0.5cm (¼”) in from the fold.
Step 12
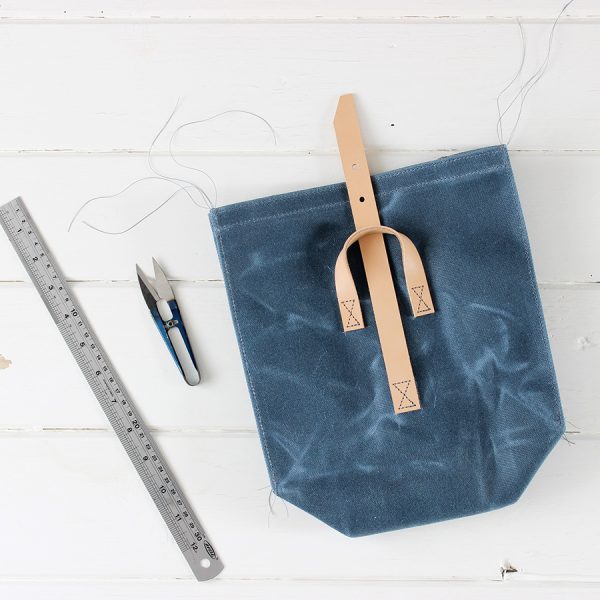
To close the finished bag, roll down the top towards the front and buckle in place to secure.


