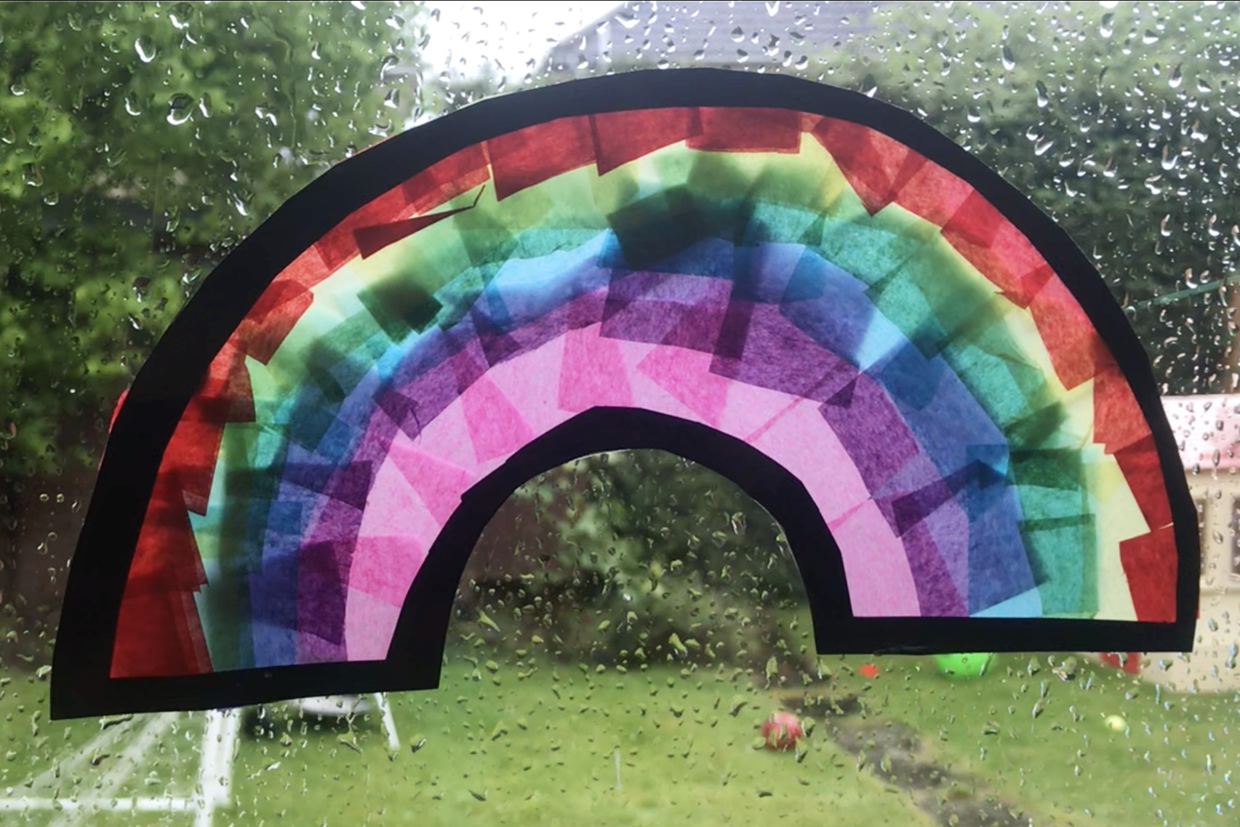
Children love a bright and colourful rainbow (and of course us adults too), so we've made this simple rainbow sun catcher tutorial that you can easily make with just some basic supplies. It creates a fab stained window effect, and you can be as neat or messy as you like with it (so it's great for making with both toddlers and older children), then once you're done just pop it in your window with some blue tack!
How to make a rainbow sun catcher
This cheery project will brighten up windows and is a great kids craft activity.

You will need:
- Card (A4 black card) (2 sheets)
- Contact paper
- Tissue paper (several colours)
- Scissors
- Pencil (white)
- Large circular plate
- Small cup
- PVA glue (optional)
Step 1
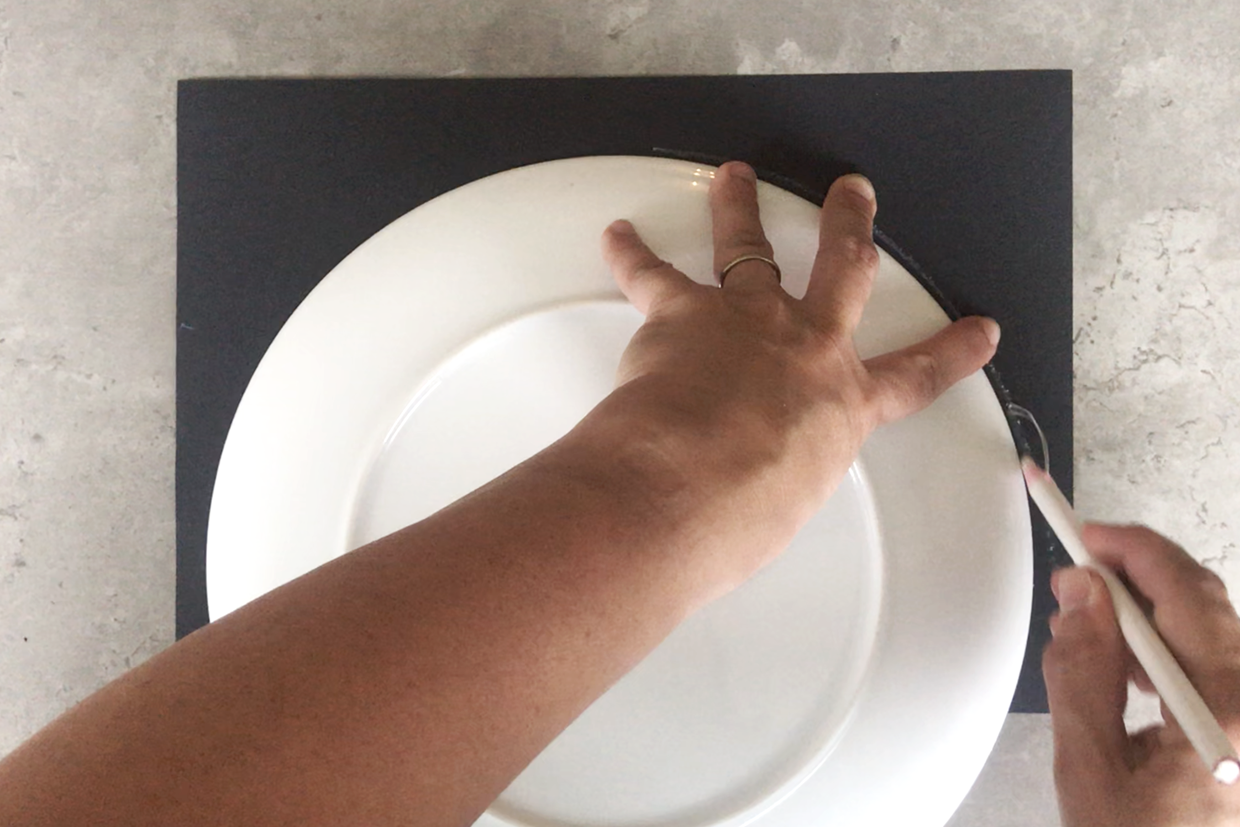
Place a large plate so it lies half on top of a sheet of A4 black card to create a semi-circle shape and trace around the edge to create the outer rainbow shape.
Step 2
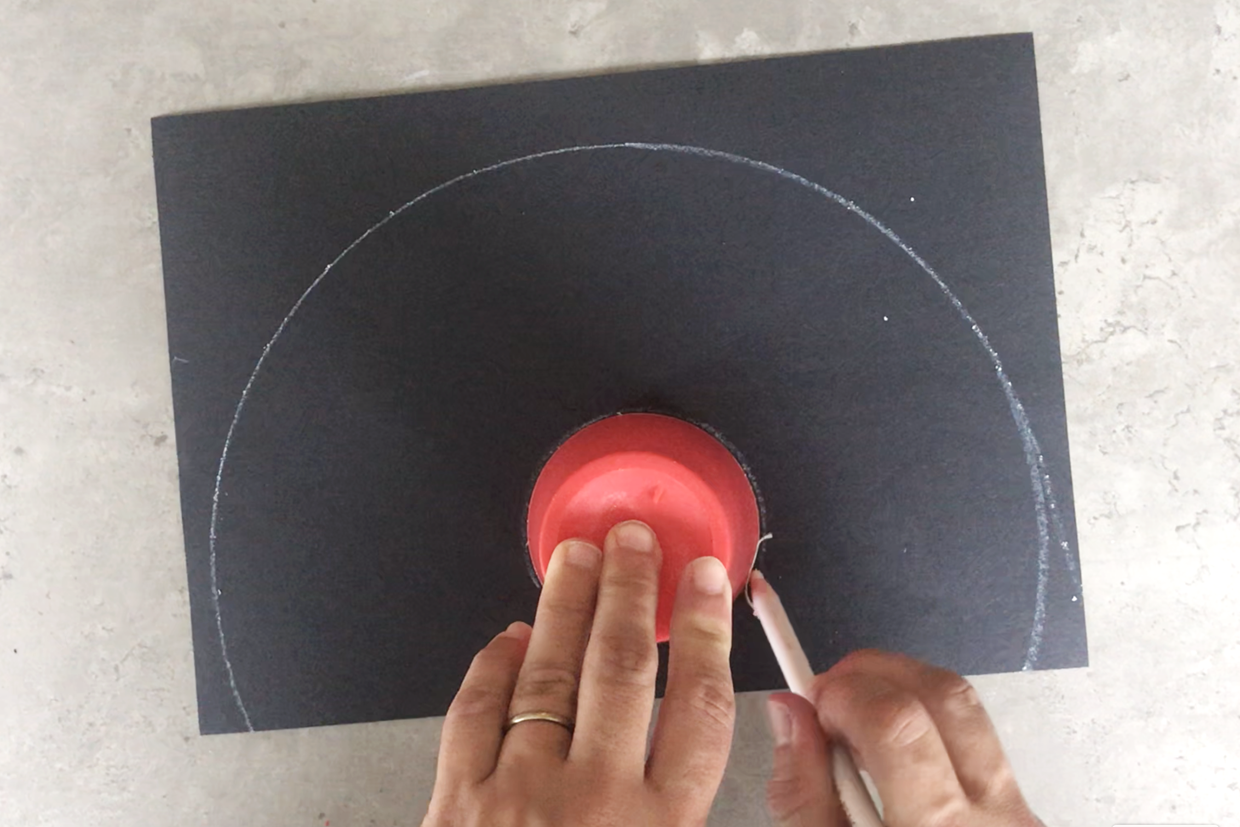
Now repeat with a small cup in the centre of the bottom edge to create the rainbow shape.
Step 3
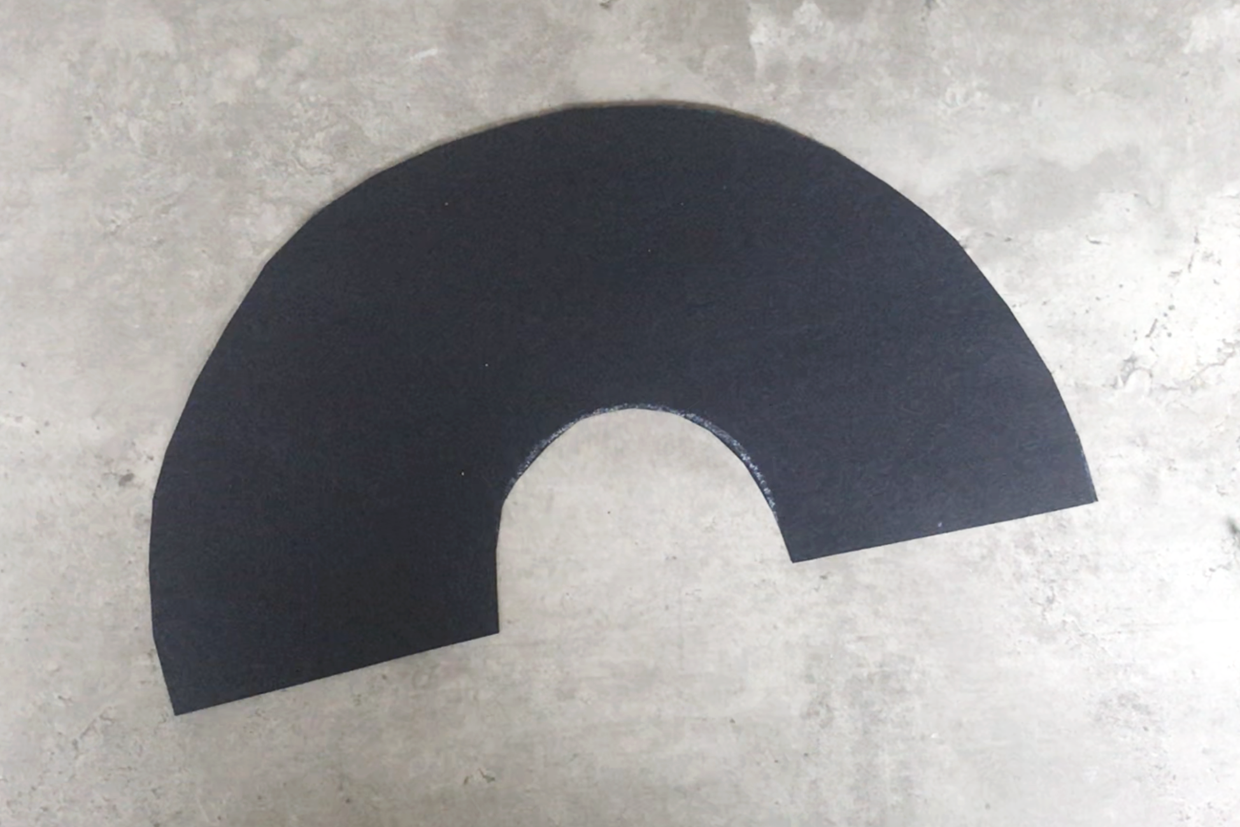
Repeat to make 2 rainbows and then cut them out.
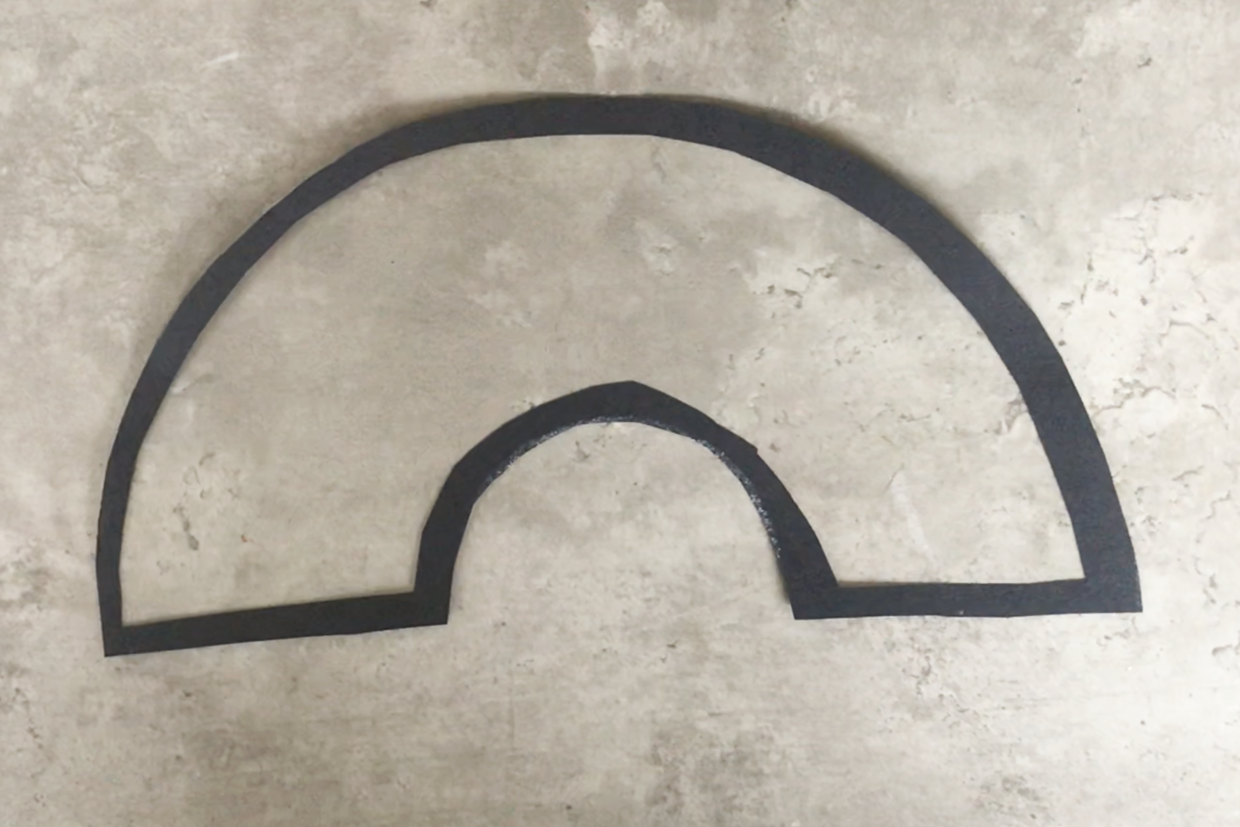
With adult supervision, cut out the inner space within each rainbow using scissors to leave a black card outline of the outside of the rainbow x 2.
Step 4
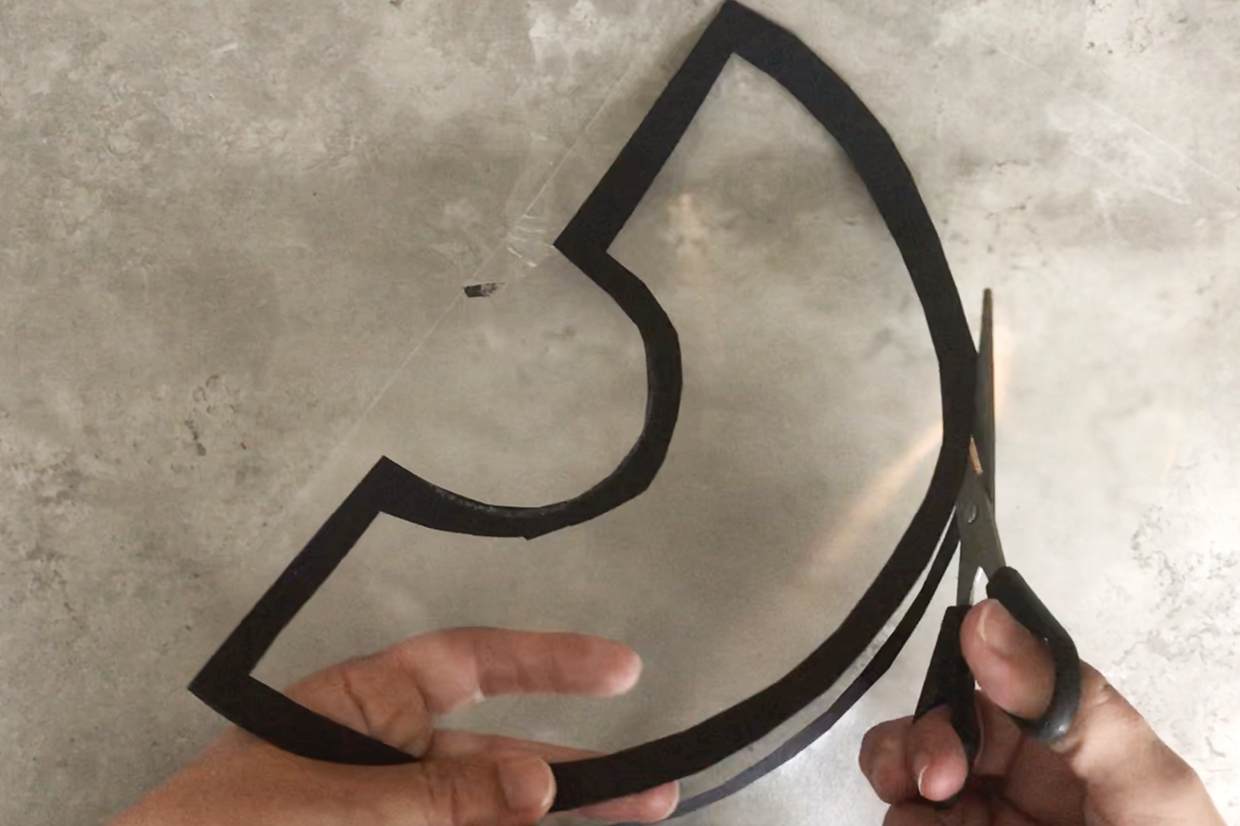
Take a sheet of sticky transparent contact paper and stick one of the rainbows on top of it.
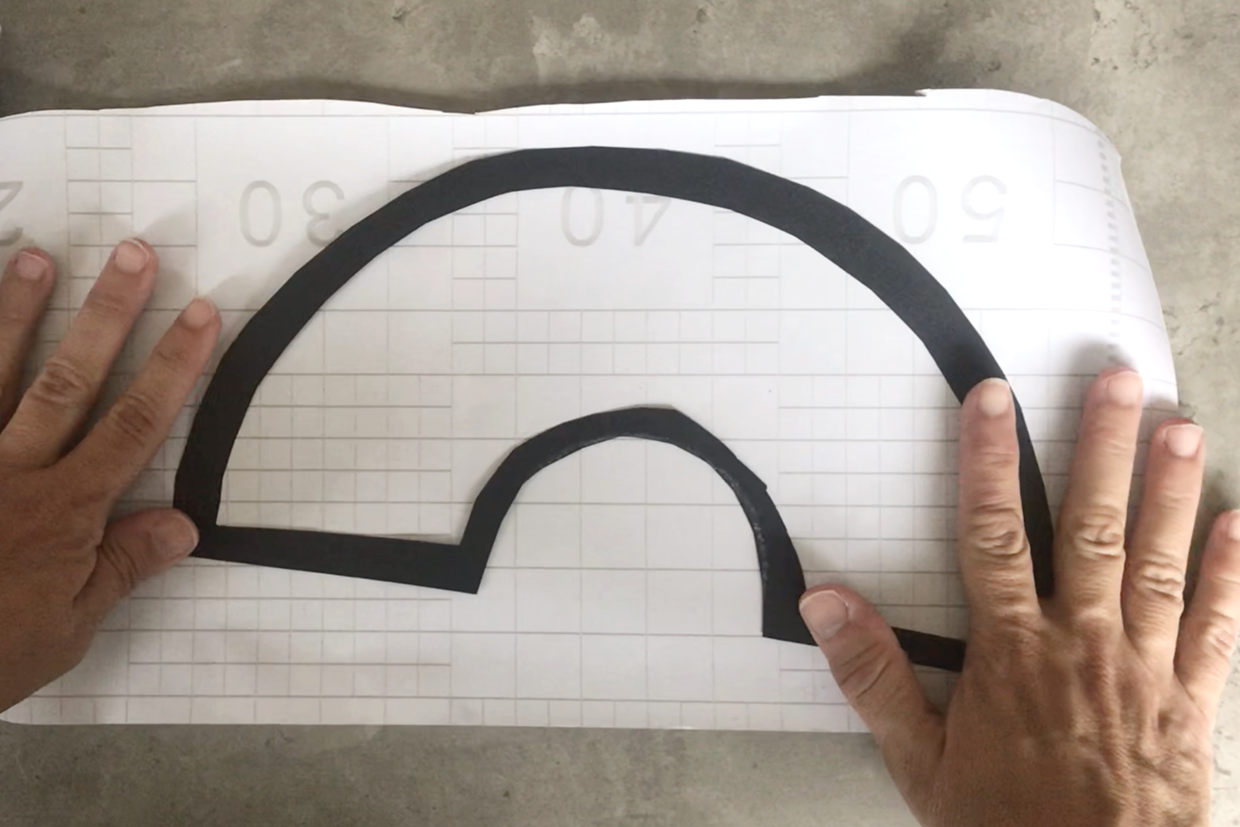
Then cut off the excess sticky transparent contact paper.
Step 5
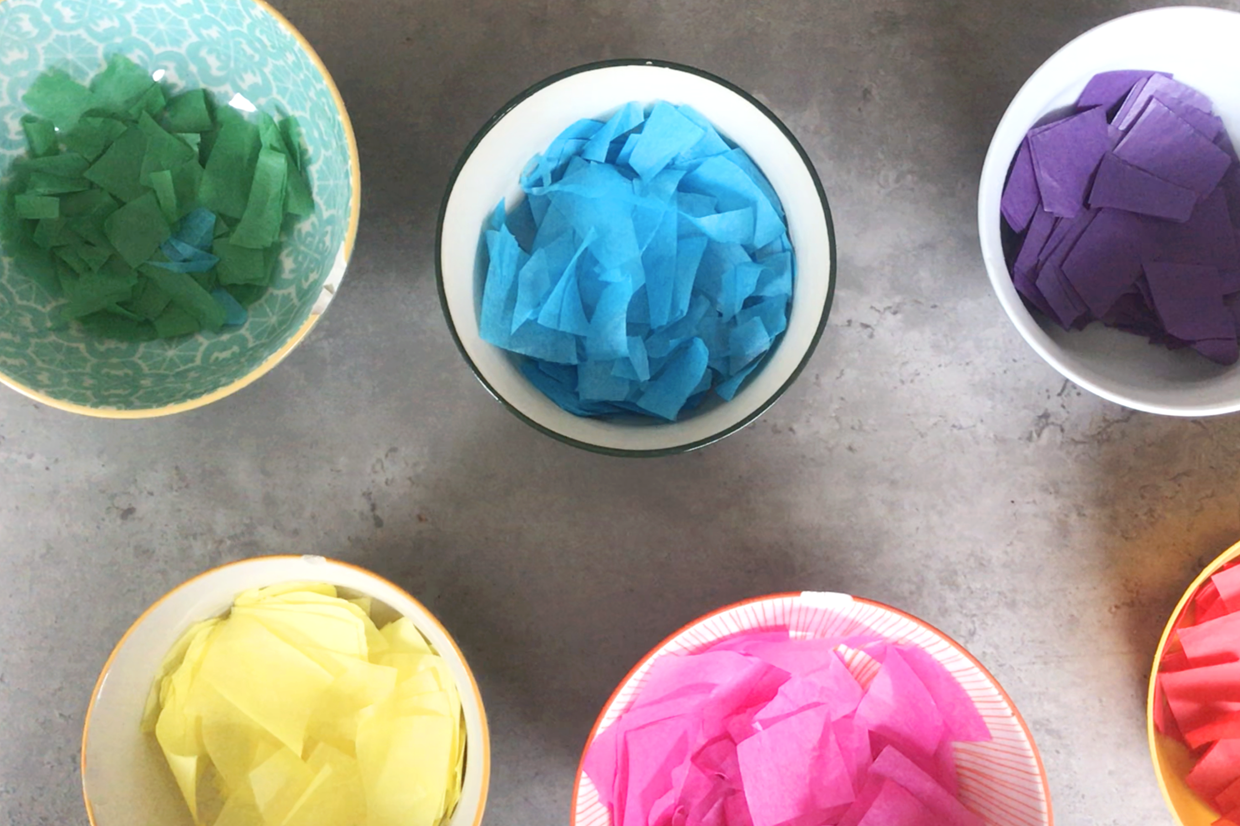
Take a few sheets of brightly coloured tissue paper and snip them into small squares. Kids will love helping with this bit with child-friendly scissors. Don’t worry about being too neat. You can go large and scrappy for younger children or cut small, precise squares if older children want to try a mosaic effect.
Step 6
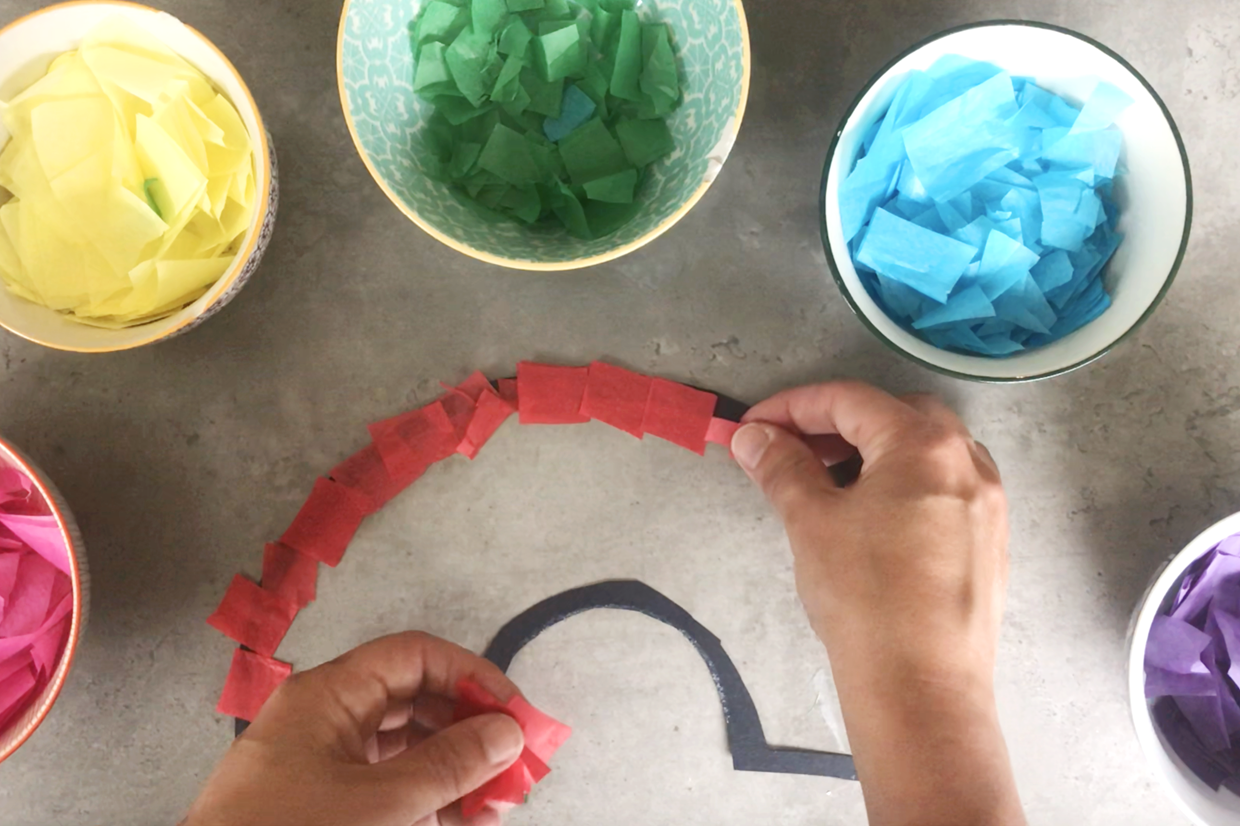
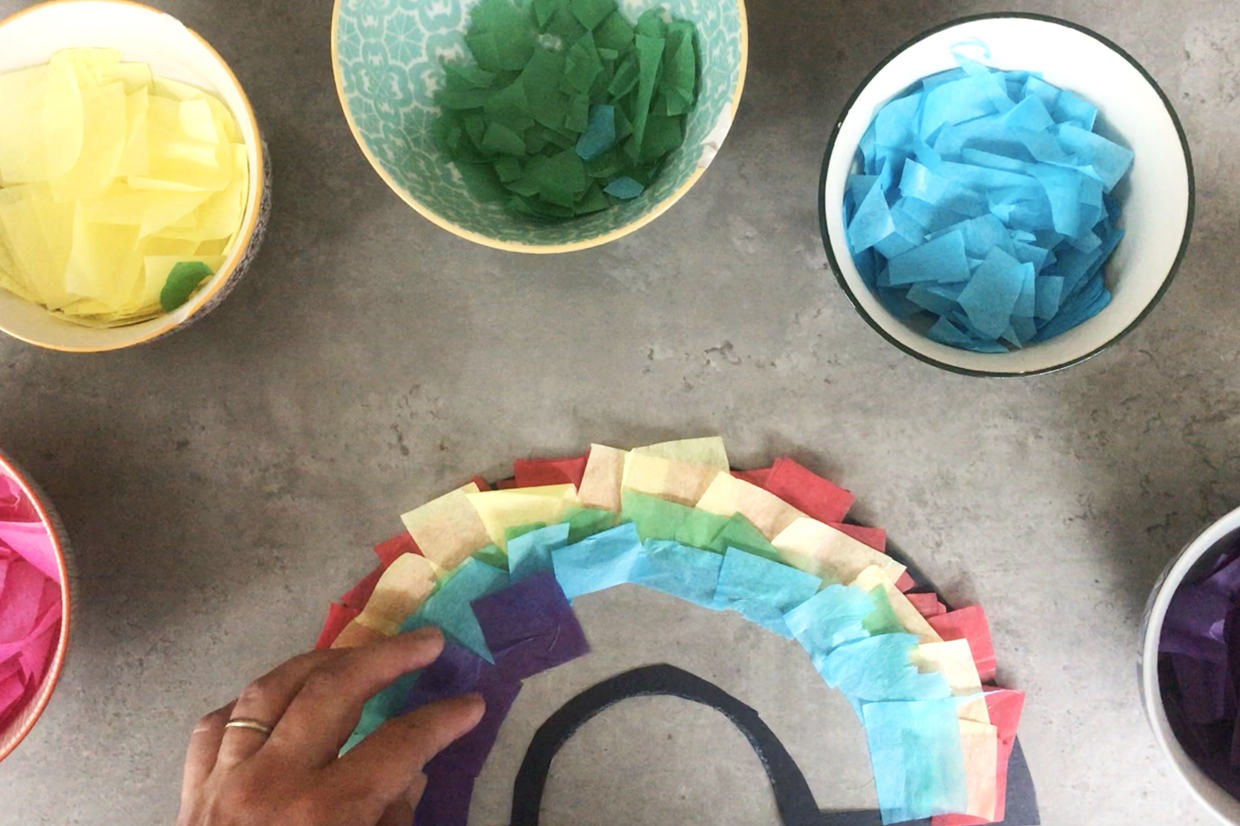
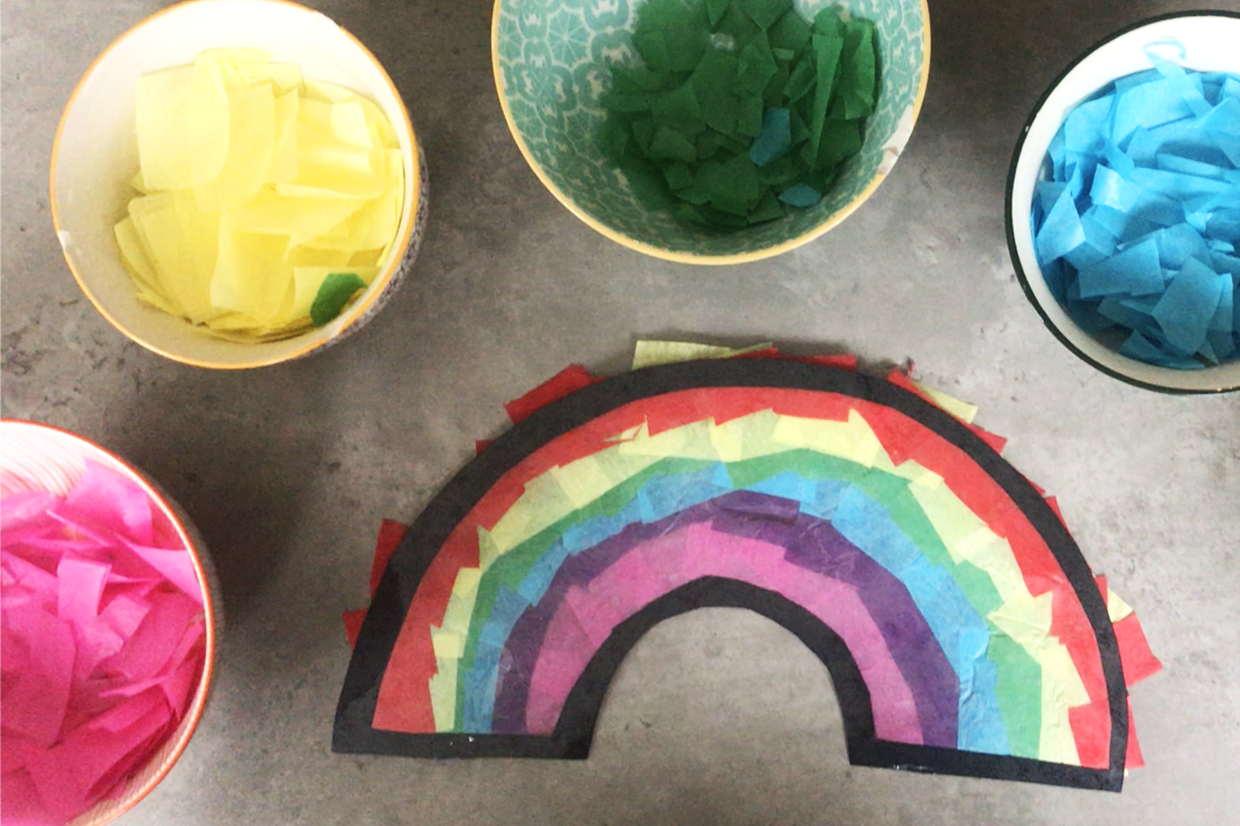
Stick the tissue paper squares to the contact paper sticky inside area of your rainbow to fill it in with colour.
Step 7
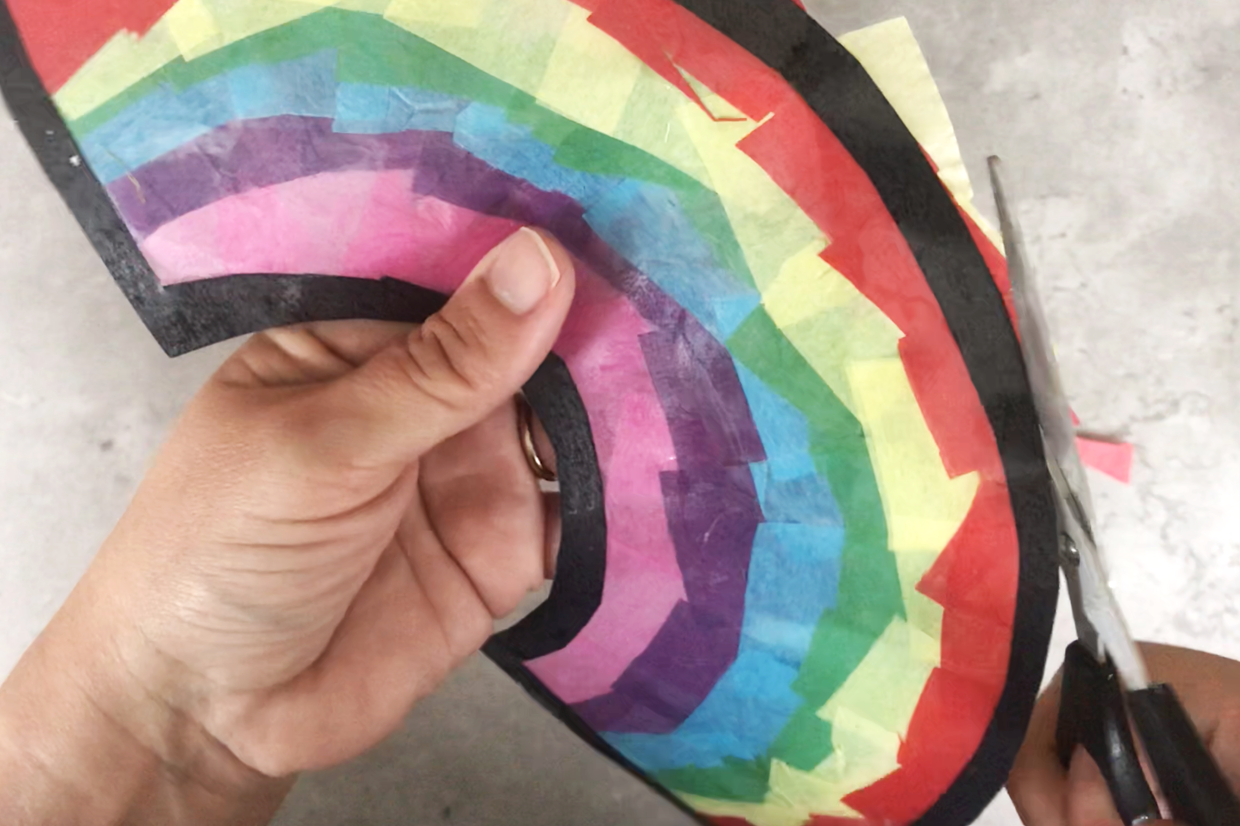
Trim around the edges of the rainbow to remove any bits of tissue paper that overhang the outline.
Step 8
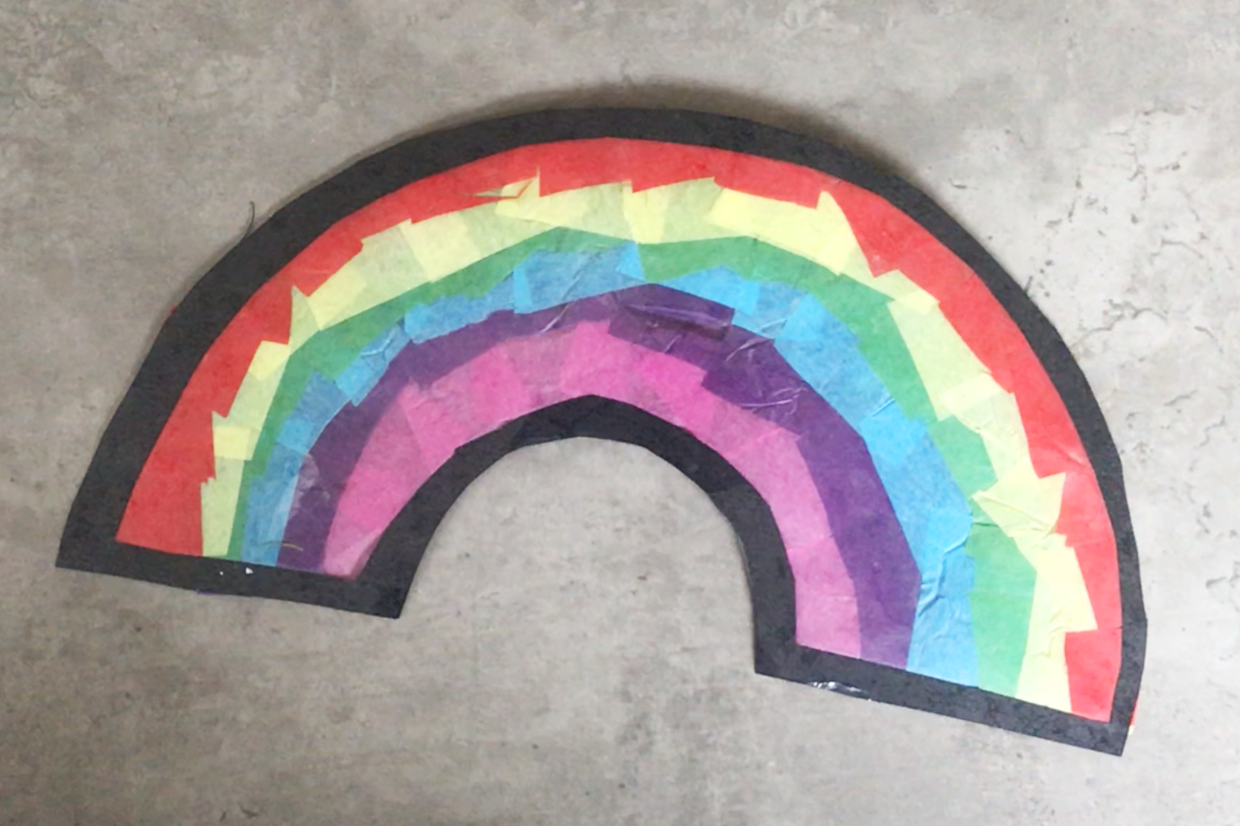
Optional – Use PVA glue to stick the second black outline to the back of your rainbow for a neat finish.
Step 9
Use blue tack or tape to stick your rainbow your window.
If you fancy trying some more fab craft projects to make with your kids, then make sure you check out our list of fun craft ideas for kids to make at home or try our easy salt dough recipe.

