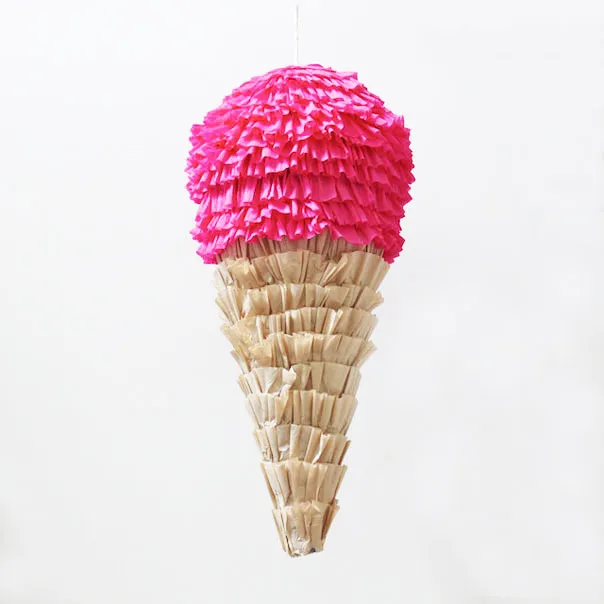
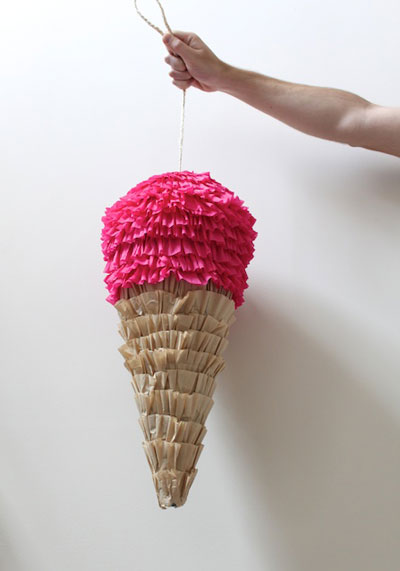
Step 1
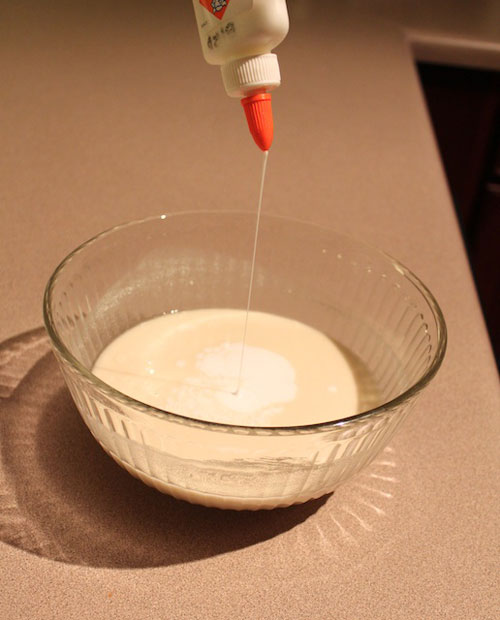
Combine the flour, water and glue to make your adhesive. Mix well and do your best to get as many of the lumps out as possible. We go more into depth on how to make paper mache in our blog post.
Step 2
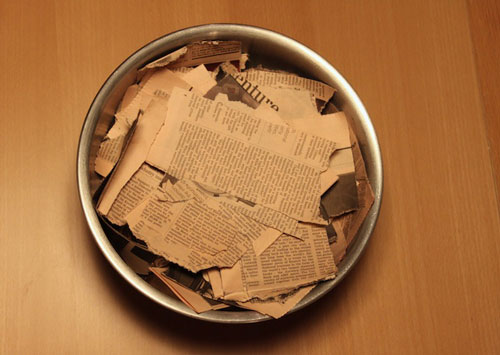
Tear your newspaper into 2-inch strips. Don’t worry, it doesn’t have to be perfect.
Step 3
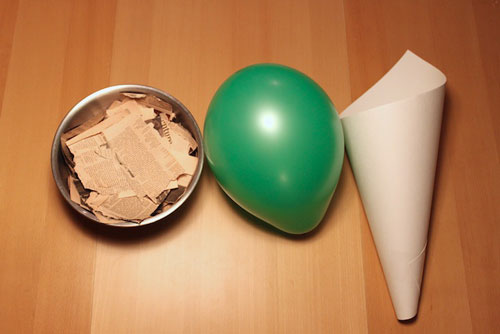
We’re going to tackle the cone of the piñata next. Take your poster board and cut the length in half. Roll it into the shape of a cone and tape together with packaging tape. Blow up the balloon and use that to measure the opening of the cone. Trim the top of the cone so that it’s even [pictured below].
Step 4
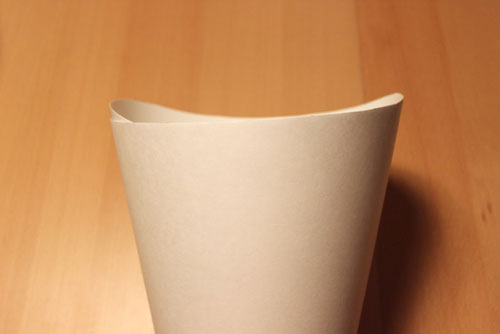
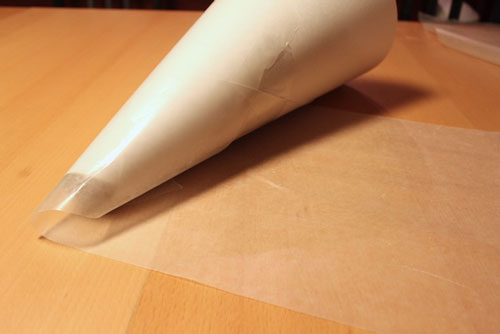
Cover the cone in wax paper. This is so the poster board cone and wax paper can be removed later. Tuck the wax paper in at the top and bottom of the cone [pictured below].
Step 5
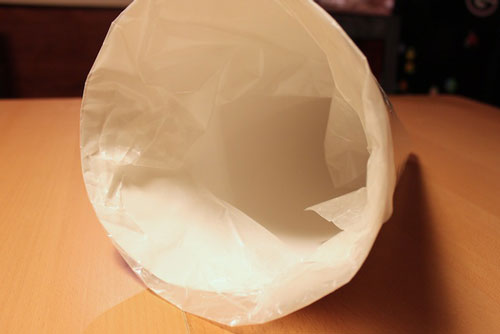
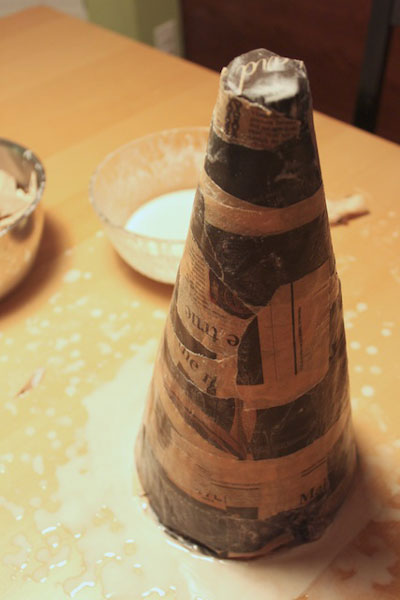
Now it’s time for papier måché! Start by dipping a piece of newspaper in the adhesive mixture. It’s best to stir the mixture often because the flour and glue settle.
After you dip the paper, run the paper between two fingers to remove any excess. Cover the cone from top to bottom one layer at a time. Allow each layer to dry fully before moving on to the next.
Please note Don’t do more than three layers. Any more than three layers will make it too hard for the kids to hit open.
Step 6
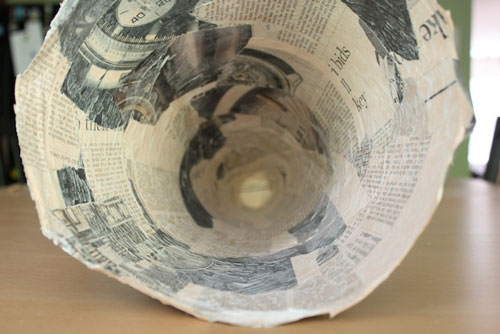
Allow to dry for 24 hours then remove the poster board and wax paper from the inside of the cone. The wax paper should peel right off the papier måché.
Step 7
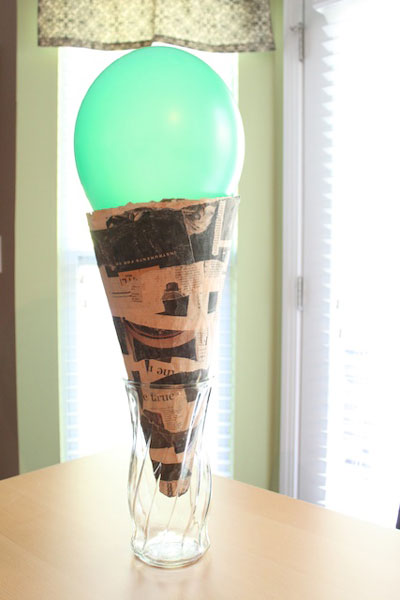
Blow up the balloon and set it on top of the cone. Stand the cone in something to keep it steady, such as a large vase. Then papier måché the ‘ice cream’.
Apply three layers like you did with the cone section, allowing each layer to dry fully before applying the next one. Papier måché over the cone to connect the ice cream with the cone. Allow to dry for at least 24 hours.
Step 8
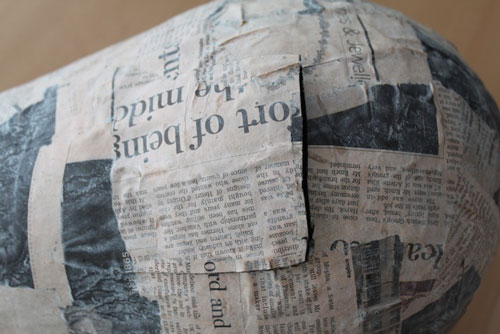
Once everything is fully dry, cut an opening flap with the craft knife (remember to only cut three sides) on the ice cream part of the piñata. Make sure the opening is big enough for you to stick your hands through. As you cut the opening, that should pop the balloon. Remove the balloon.
Step 9
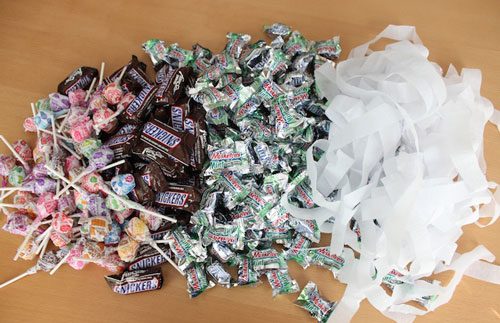
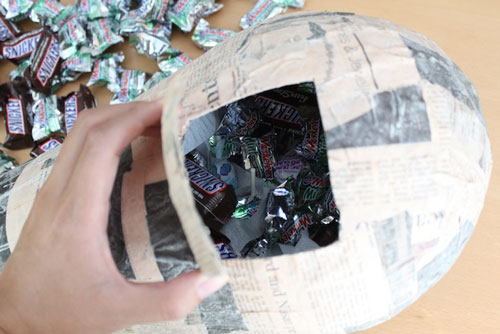
Stuff the inside of the piñata with sweets, treats and crepe paper so the goodies don’t all settle at the bottom.
Step 10
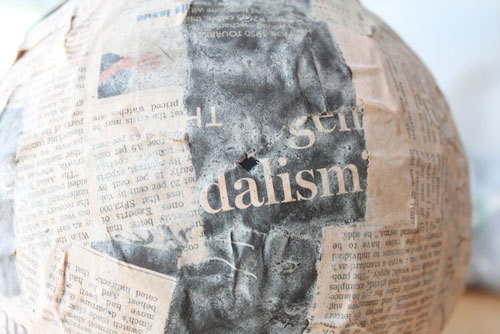
Using the knife again, cut an ‘X’ at the top of the ice cream for the rope.
Step 11
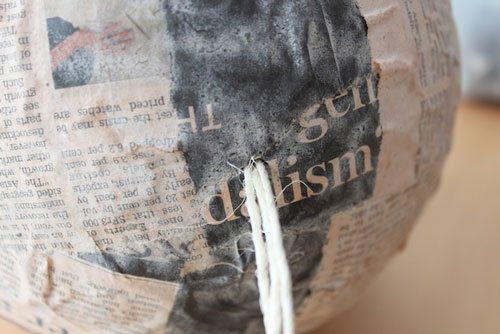
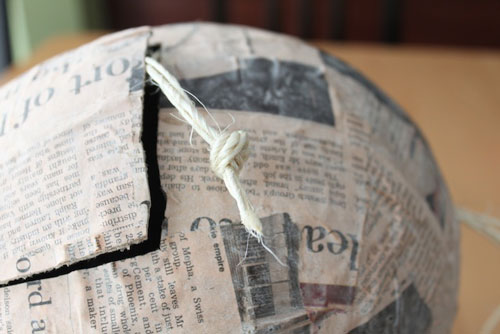
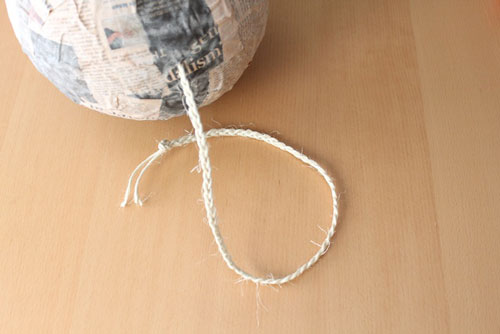
Thread the rope through the hole and tie a knot on the inside of the piñata. Make sure the knot is large enough that it doesn’t pull through the hole. You may need to double knot it. You could also use twine and braid it to make it stronger.
Step 12
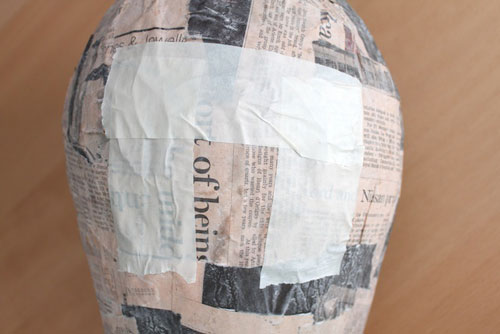
Next tape the three sides of the opening with masking tape (clear packaging tape doesn’t stick to this surface).
Step 13
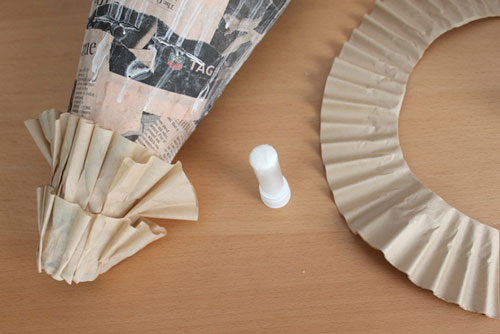
Cut the bottoms of the unbleached coffee filters so you only use the ruffled sides. Using strong glue sticks, secure them to the cone section of the piñata. You’ll find it easier to work from the bottom up.
Step 14
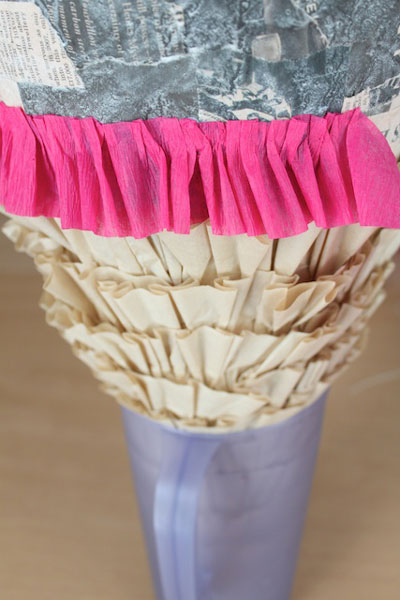
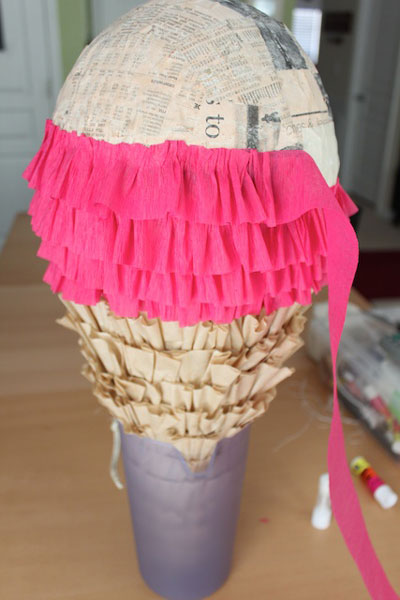
Once you reach the ice cream portion of the piñata, start decorating with the crepe paper and secure with the glue stick. Work your way up to the rope… and you’re done!
