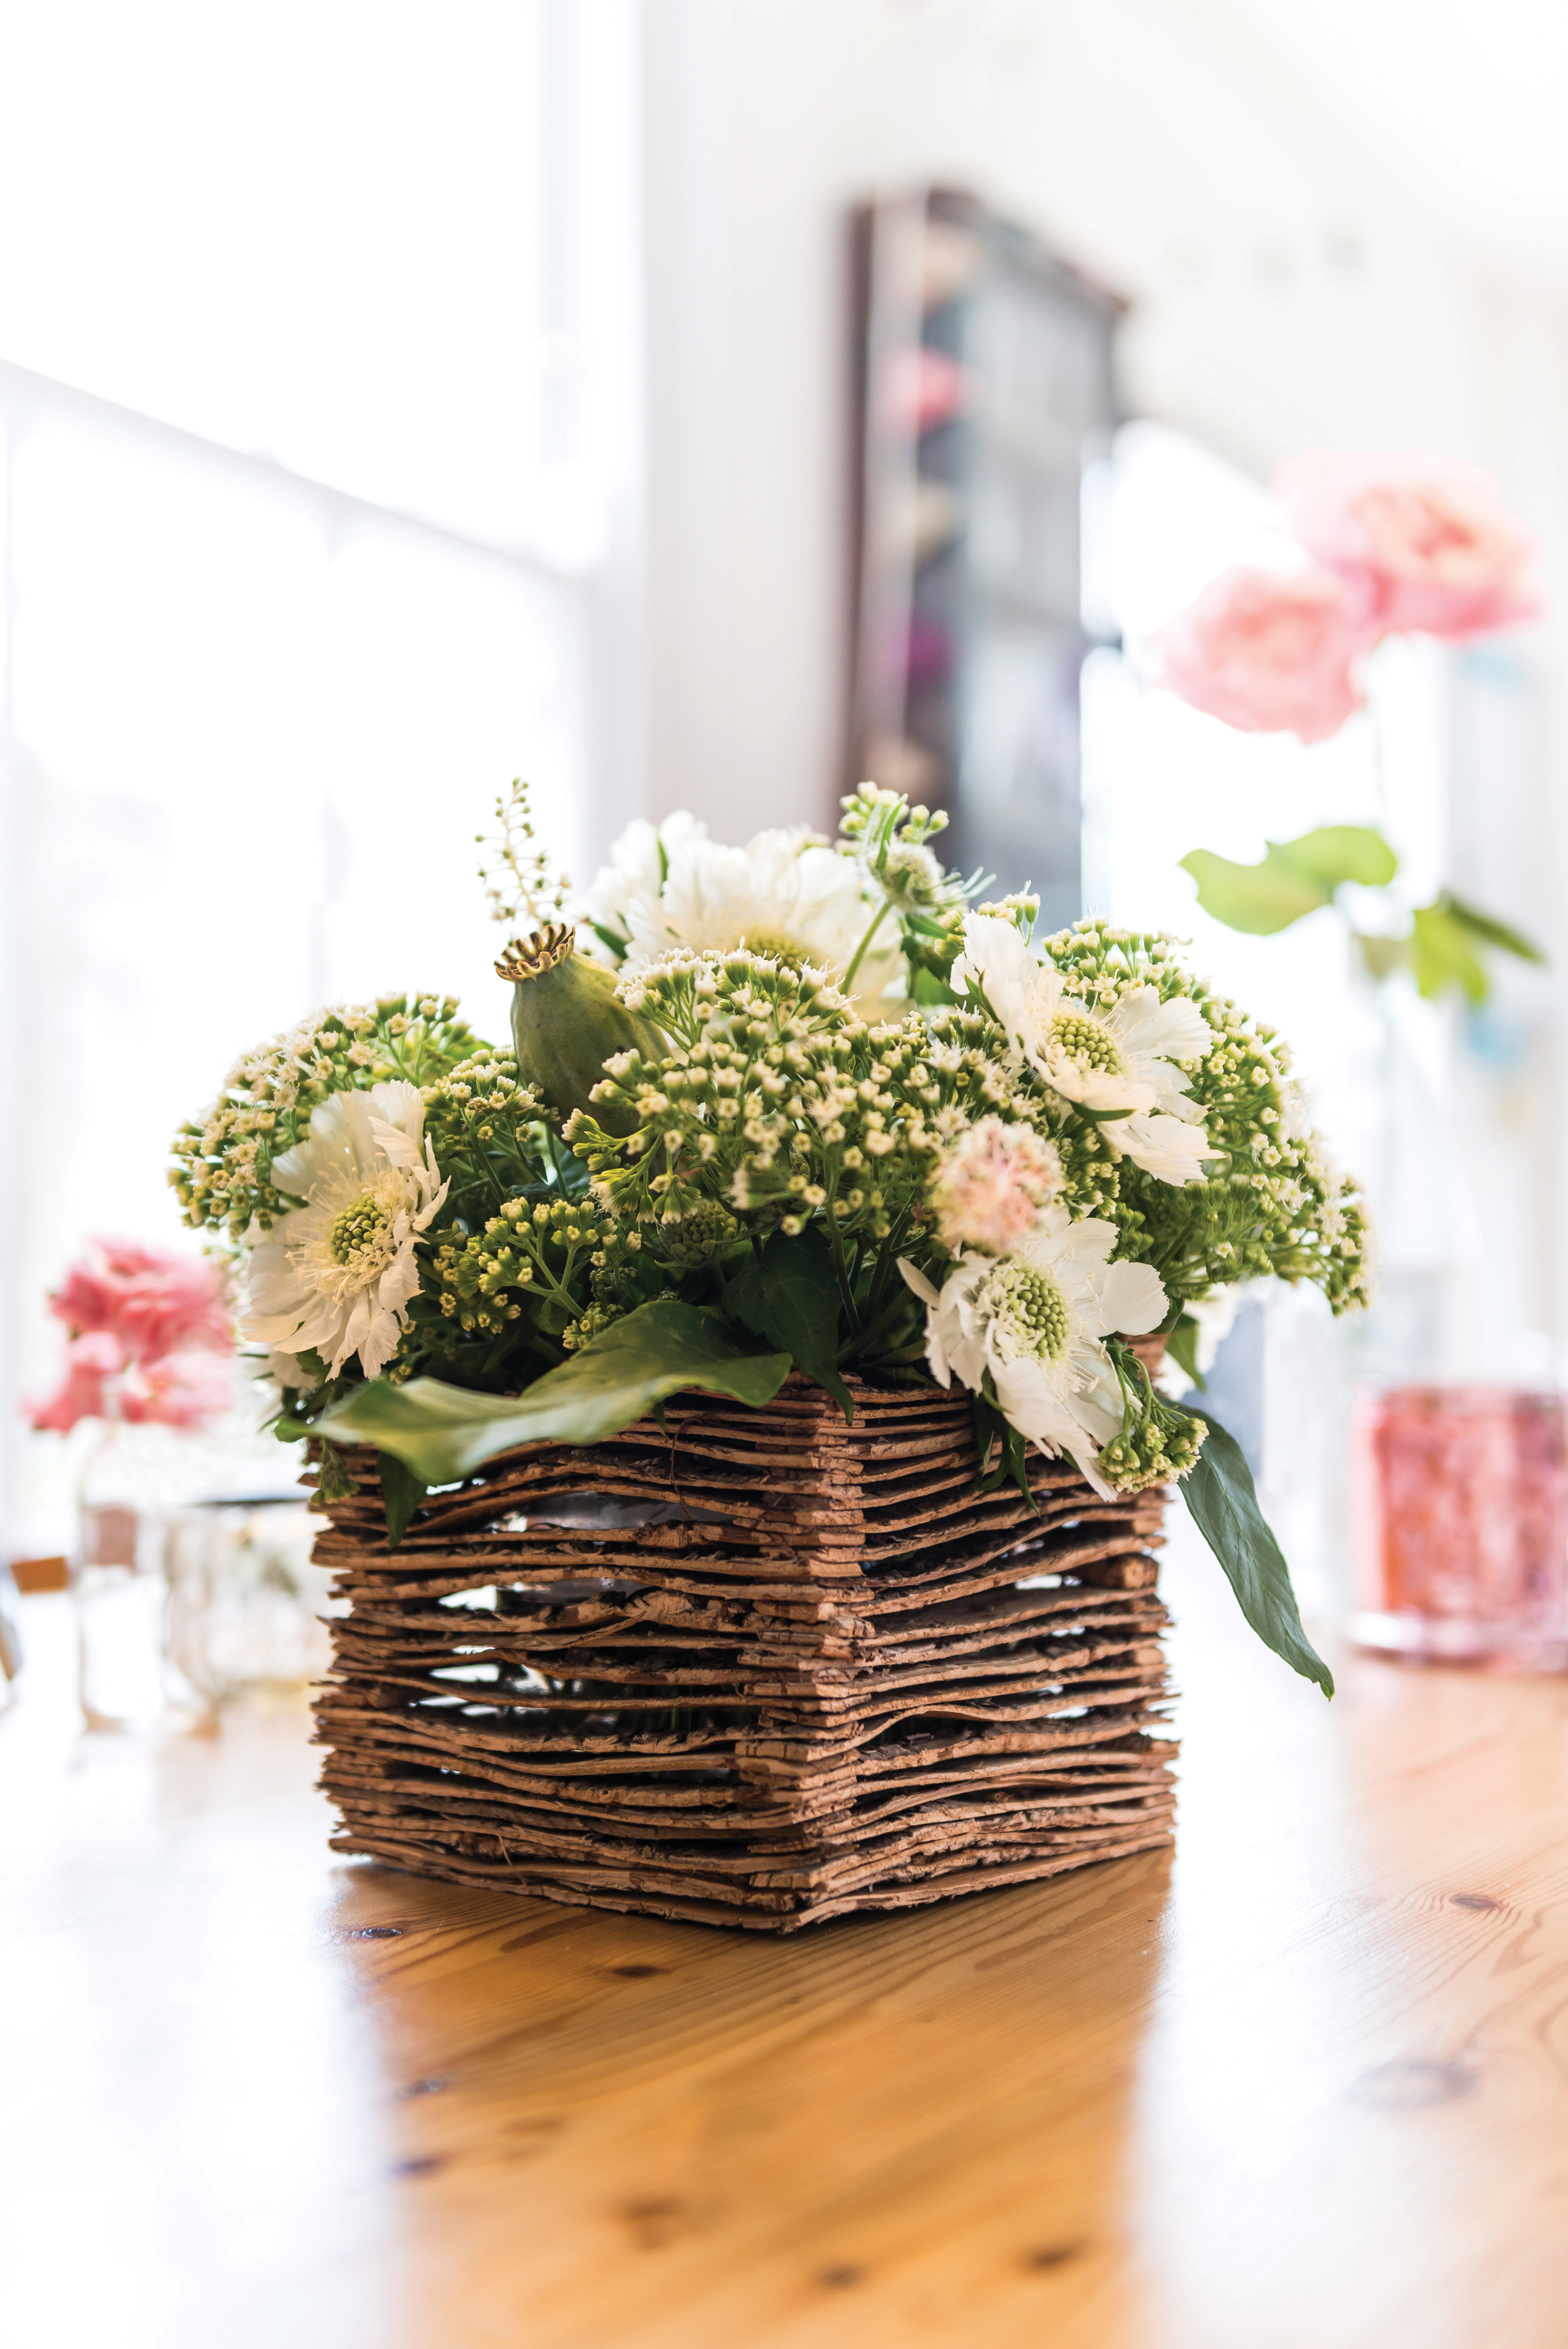
Gorgeous table centres can make a huge impact at a special dinner, or just set a warm, friendly tone for a casual lunch with the girls.
This simple yet stylish centrepiece is easy to make, but it has a professional look that’ll bring the orders flooding in.
You can buy a ready-made vase cover, or create your own with strips of bark you gather yourself and dry or buy online. We used three types of flower along with some seed heads in our arrangement and opted for a white-hot colour scheme.
But if you fancy something different you can dramatically change the effect by choosing different colours, flowers and textures to create something totally unique!
If you want a longer- lasting table centre, use silk flowers instead of real ones
This project, how to make a floral centerpiece, was designed by Pembrokeshire florist Marie Parie, of By The Sea. Bookmark her page, By The Sea Flowers, if you’re after beautiful wedding flowers, sympathy flowers or floral gifts – she runs floristry workshops, too!
And if you like this project, have a look at our other floristry articles by Marie Parry - we love this DIY terrarium - or how about this gorgeous planter box made from an upcycled toolbox!
We love seeing your projects, so don’t forget to share your floristry projects with us on Facebook and Twitter, too!

To make a floral centerpiece you will need:
- Small square glass vase
- Bark strips or bark vase cover
- Flowers (we used scabious, poppy seed heads, phytolacca and eupatorium)
- Sellotape
How to make a floral centerpiece
Size
25 x 25cm (10 x 10in)


