All products were chosen independently by our editorial team. This review contains affiliate links and we may receive a commission for purchases made. Please read our affiliates FAQ page to find out more.

How to make a felt letter board

It’s positive vibes only for 2022 with Emma Jewell’s jazzy letter board.

Try 6 issues of your choice of craft magazine from just £9.99

Published: May 29, 2022 at 8:42 am

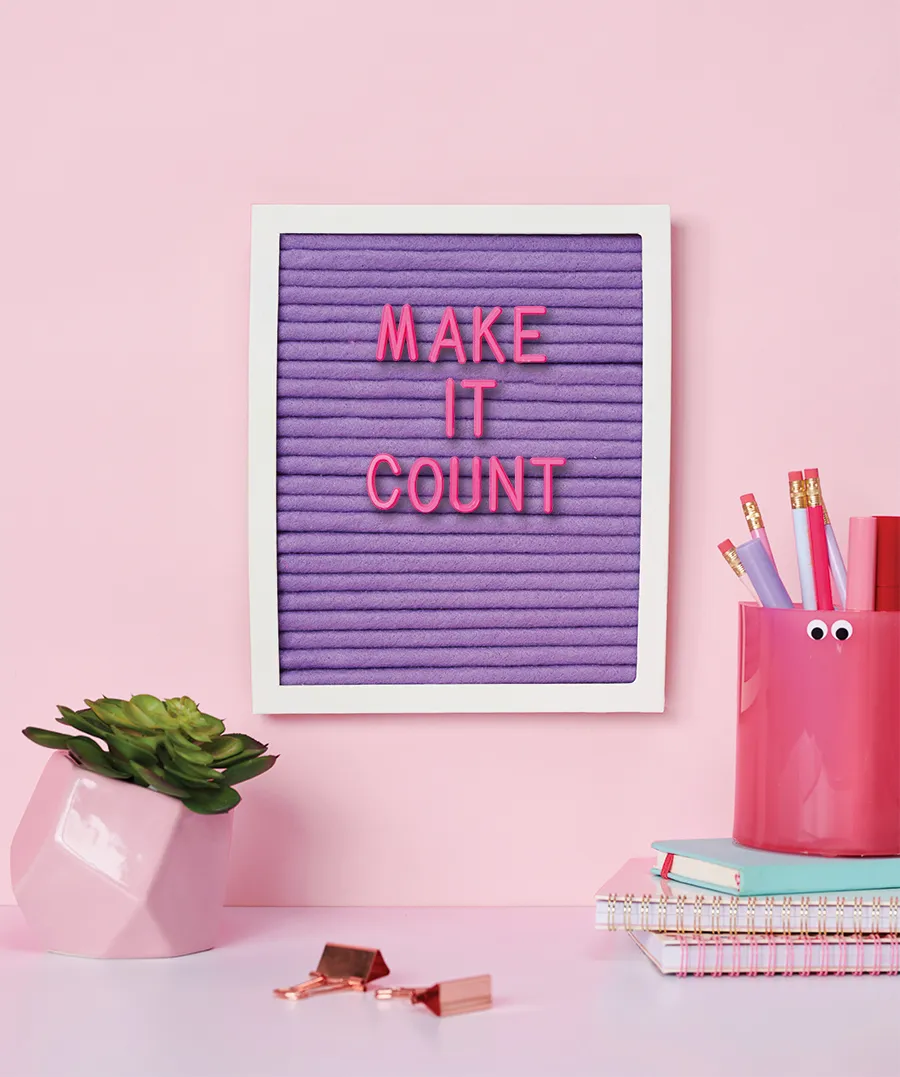
Letter boards are where it’s at for punny slogans and motivational quotes, but why should they only come in monochrome or millennial pink? Upcycle a picture frame with felt to make your own version in the colour palette of your dreams. Emma Jewell is here to show you how to make your own felt letterboard! We went a bit unicorn on this one, but it’s up to you which direction you take it in – muted pastels, glitter extravaganza or rainbow crayon brights.

Use your bright new letter board to freshen up your craft space, desk or inspiration corner ready for 2022. Spacing is everything with this project – evenly spacing out the wooden pieces will make for a better hold on the letters. It's the perfect project for getting organised! Make our DIY desktop tidies and DIY card organiser to keep your space extra clean.

You will need

  • A4 picture frame
  • Letter board letters
  • White paint
  • Neon pink spray paint (ours was from Rustoleum www.makeityours.co.uk)
  • 8m (8.75 yd) pine trim, 6 x 6mm
  • Lilac felt
  • Glue gun
  • Craft knife
  • Cutting board
  • Paint brush
  • Sandpaper

How to make a felt letter board

You will need:

  • A4 picture frame
  • Letter board letter
  • White paint
  • Neon pink spray paint
  • Pine trim
  • Lilac felt
  • glue gun
  • Craft knife
  • Cutting board
  • Paint brush
  • Sandpaper

Step 1

How to make a felt letter board 1

Open up the picture frame and remove the backing board. Use it as a guide to cutting the pine trim pieces – they need to be a few millimetres shorter than the width of the backing board. Mark the lengths with pencil.

Step 2

How to make a felt letter board 2

Cut the pine trim at the marked measure points using a craft knife and cutting board. You’ll need enough of them to fill the picture frame. Sand off any rough edges with sandpaper.

Step 3

How to make a felt letter board 3

Paint the picture frame white and leave it to dry.

Step 4

How to make a felt letter board 4

Cover the work surface, then lay out the letters, ensuring all of them are face up. Always use spray paint outside or in a well-ventilated area. Following the manufacturer’s instructions, spray the letters with neon pink spray paint. Lightly spray them a few times from different angles to get even coverage all over. Leave to dry.

Step 5

How to make a felt letter board 5

Lay out the pine trim lengths along the right side (RS) of the backing board parallel to each other, using the letters to find the correct spacing. The letters should fit comfortably. Mark the position of each pine trim length with pencil as you work your way down.

Step 6

How to make a felt letter board 6

Stick the pine trim lengths down in their marked places using a glue gun to secure them.

Step 7

How to make a felt letter board 7a
How to make a felt letter board 7b

Cut a piece of felt the same width as the backing board and twice the length. Glue the top edge of the felt to the top of the first piece of pine trim using the glue gun, as shown.

Step 8

How to make a felt letter board 8

Next, push the felt fabric in between the first pine trim wood pieces with a ruler or credit card, as shown, ensuring it’s pushed evenly into the gap.

Step 9

How to make a felt letter board 9

Repeat Steps 7 and 8, working your way down until the whole backing board is completely covered with the felt.

Step 10

How to make a felt letter board 10

Neatly cut away any excess felt from the bottom of the board.

Step 11

How to make a felt letter board 11

Replace the frame onto the front of the board. If it no longer clips in, stick the frame to the front of the board using the glue gun.

Step 12

Arrange the letters on the board as desired, lining them up so they slot into the grooves.

We hope you’ve enjoyed learning how to make a felt letter board! For more fun craft projects check out our best candle making kits, best rug making kits and our 20 tie dye patterns.