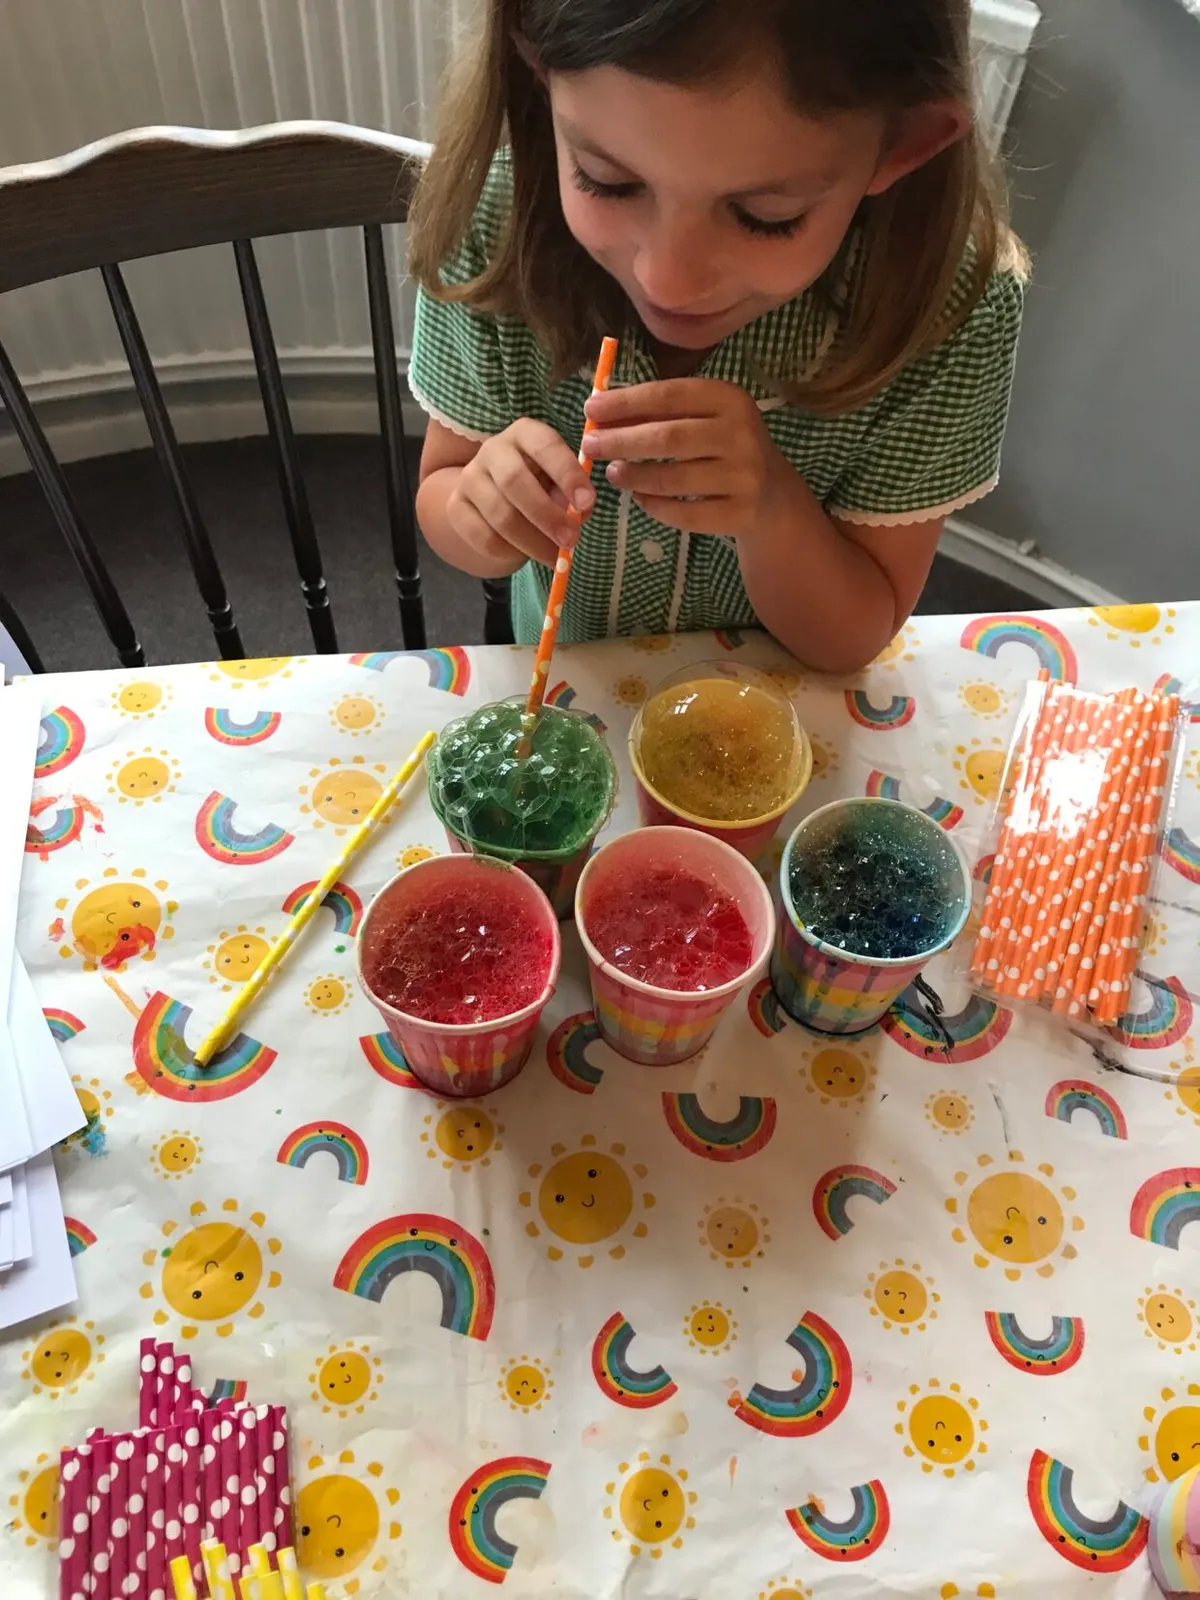
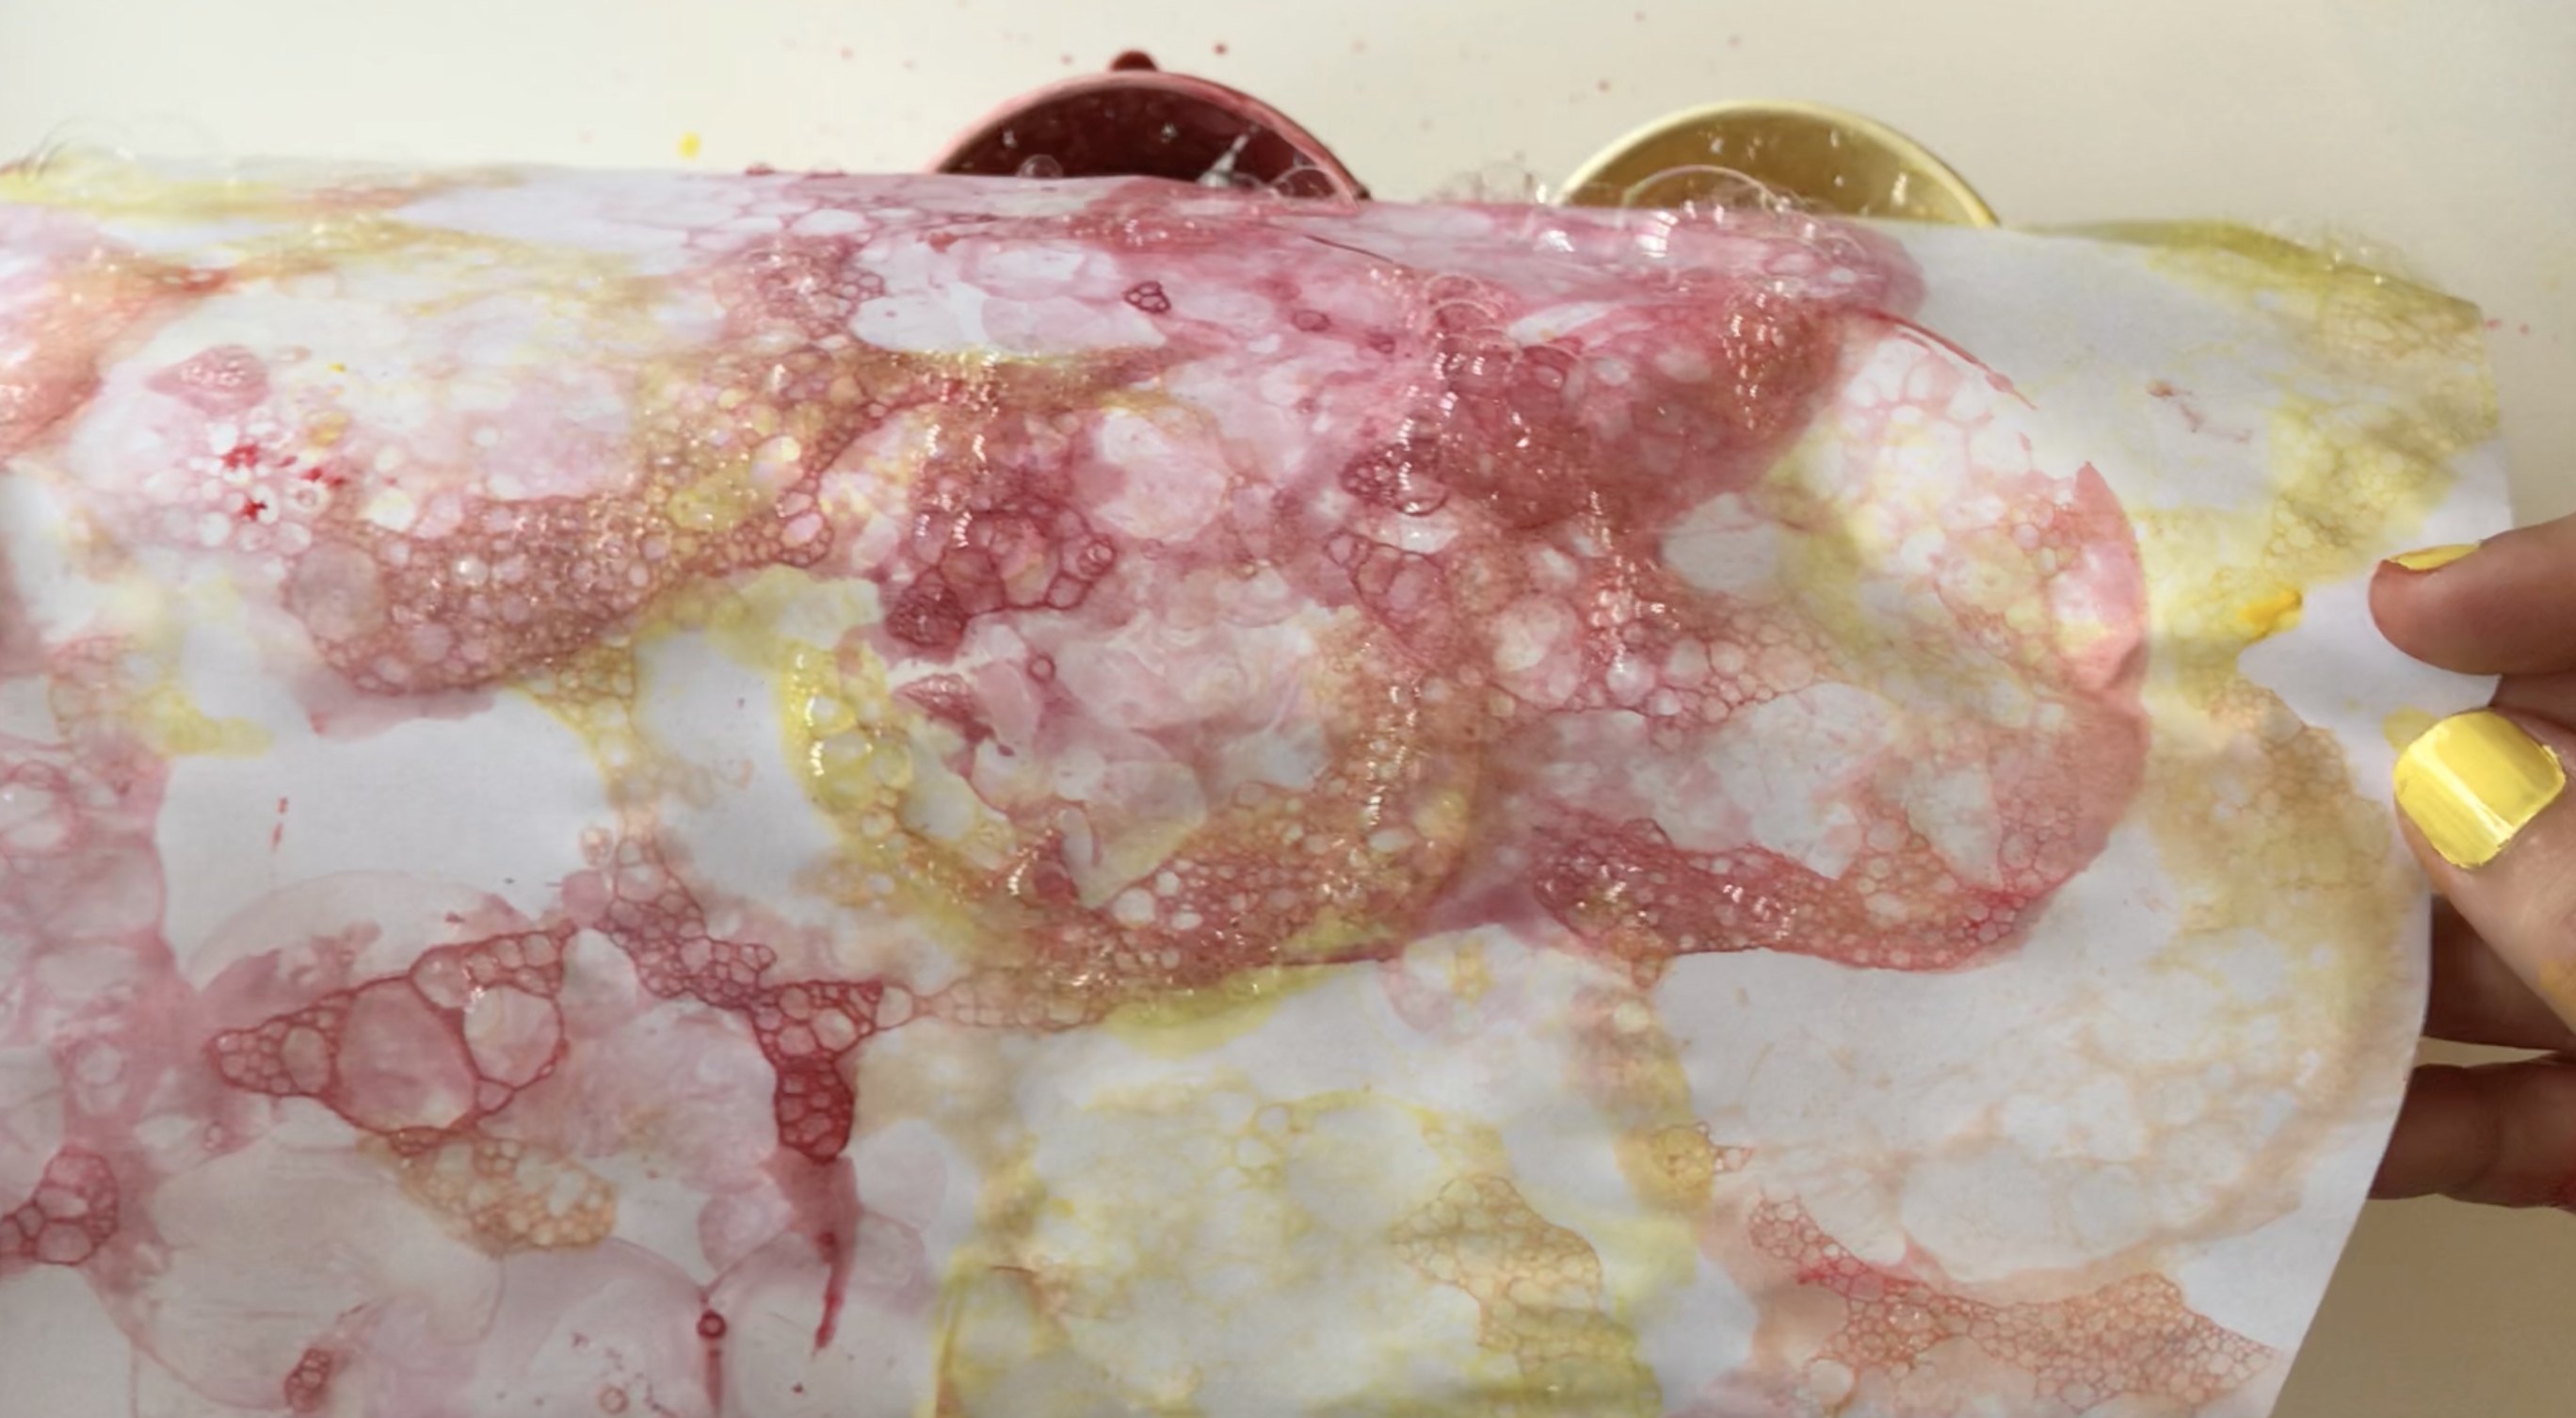
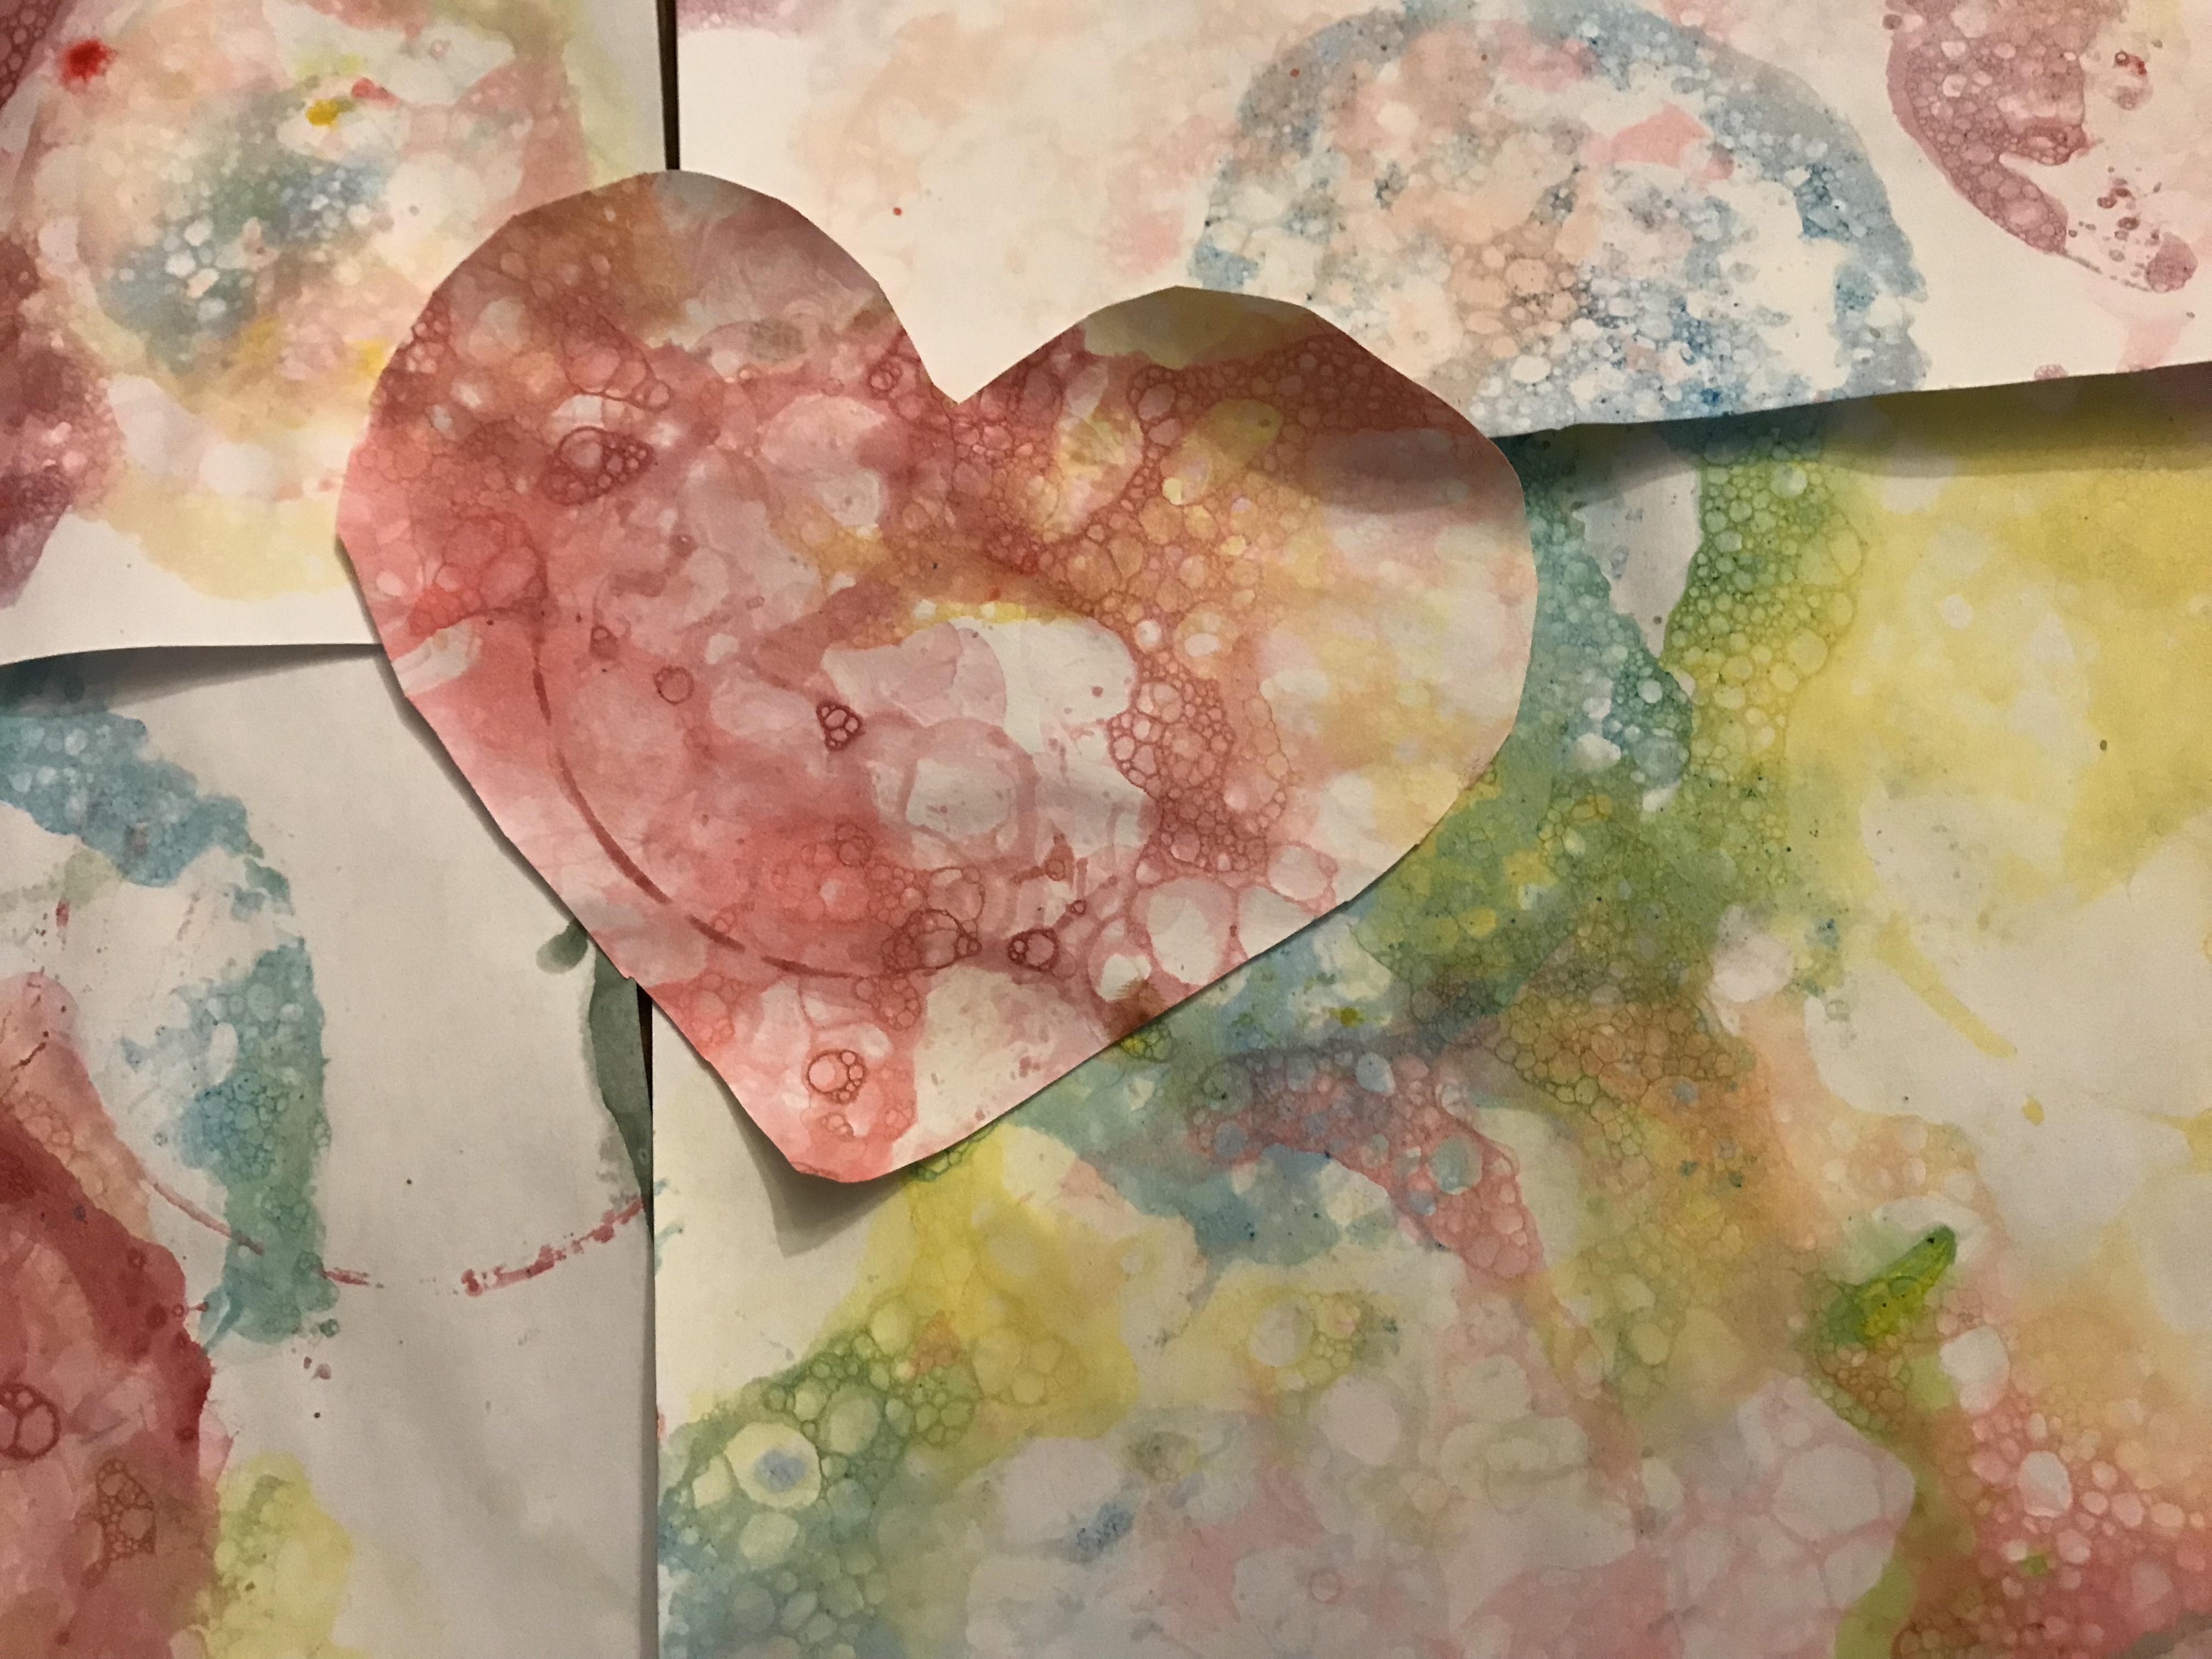
Bubble painting is one of our all-time favourite kids craft activities for rainy days. Bubble art is quick to set up and a guaranteed way to keep kids happy. I've tried it with children of all ages and have found toddlers to teens are fascinated.
For younger children, bubble painting is a magical sensory play activity. They're delighted to blow the straw and touch the bubbles. You just need to watch out in case they try and suck on the straw and use a child-friendly, non-toxic paint just in case.
Pre-schoolers and school children will enjoy mixing the colours and experimenting with different effects (this tutorial was tested on my own children who are at primary school). It can be surprisingly therapeutic for teenagers too – they can use bubble-painted paper to decorate DIY gift wrapping or create marble-effect notebook covers.
One of the great things about bubble painting is that you'll probably have most of the supplies you need already at home.
It's one of the messier kids' crafts out there, so cover your work surface with a wipe-clean tablecloth before you start. Dress kids with aprons if you're worried about paint getting on their clothes. It will get everywhere and that's part of the fun.
I first tried bubble art when I was in pre-school. I remember it fondly as my mum was also my preschool teacher, and she'd test out messy play ideas on us at home. I've continued the habit with my own children. We've tried everything from making our own play dough to rainbow rice.
Bubble painting video tutorial
Which paint should you use for bubble painting?
You can use most everyday or liquid kids' types of paint for bubble painting. Use a child-safe, non-toxic paint like tempera paint or any water-based paint. Most non-toxic, child-friendly paints will work just fine.
Scola Artmix Rainbow Paint set
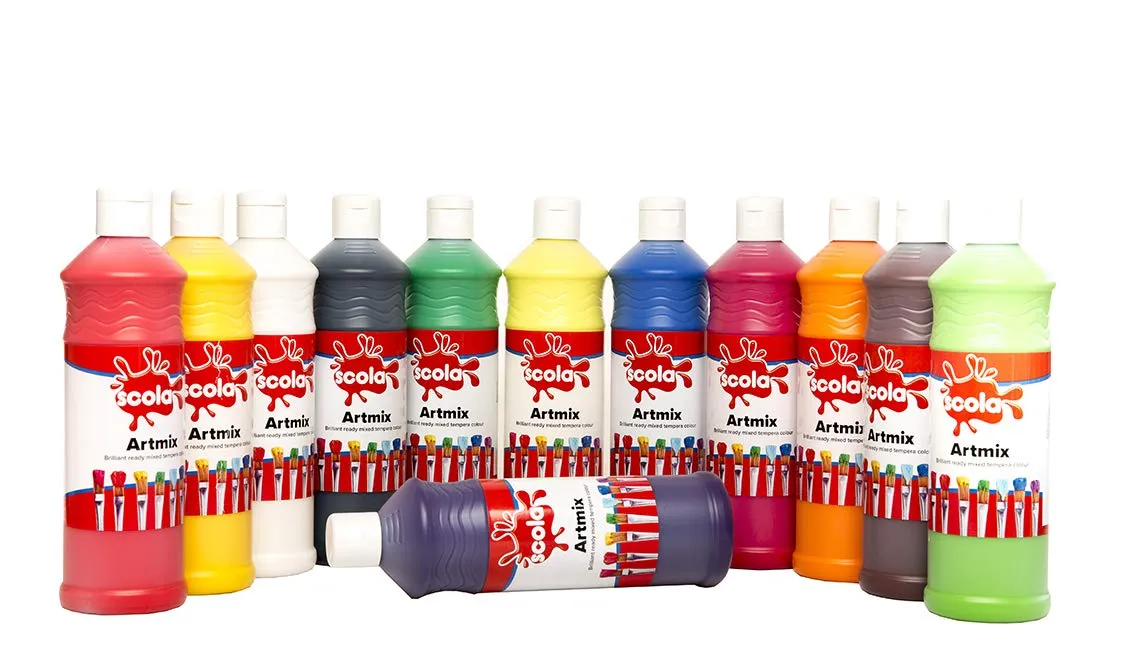
We used Scola Artmix water-based paint in this tutorial. Scola is a brilliant, kid-friendly brand that my family has been using for years. They sell everything from paints and clay to glue and crayons. They're a one-stop shop for all things crafting.
These paints are non-toxic, wheat and gluten-free and safe for children 3+. They're affordable too with a good range of paints included in the bundle. Rainbow paints can be used for a huge range of crafts, not just bubble painting. Use them to paint these easy finger-painting ideas and our Halloween crafts for toddlers.
If you need to stock up on paints, here are the types of brands we love and trust for kids' crafts in my family:
- Crayola Washable Paints – Assorted colours (pack of 10 small pots) – Amazon, £7.68
- Rainbow Colours Ready Mix Paint Set (8 x 600ml bottles) – Baker Ross, £13.95
- Primary Colours Paint Set (5 x 150ml bottles) – Wilko £4.30
Can you use food colouring for bubble painting?
Yes, you can use food colouring to do bubble painting. It works in exactly the same way as using paint does. You may need to use quite a lot of colouring, or try extra strong food colouring, to give your bubbles a bright-enough colour.
We tested both paint and food colouring for this tutorial and preferred the effect we got from paint, but why not try bubble painting out with food colouring? If you like it, you can invest in a set of paints.
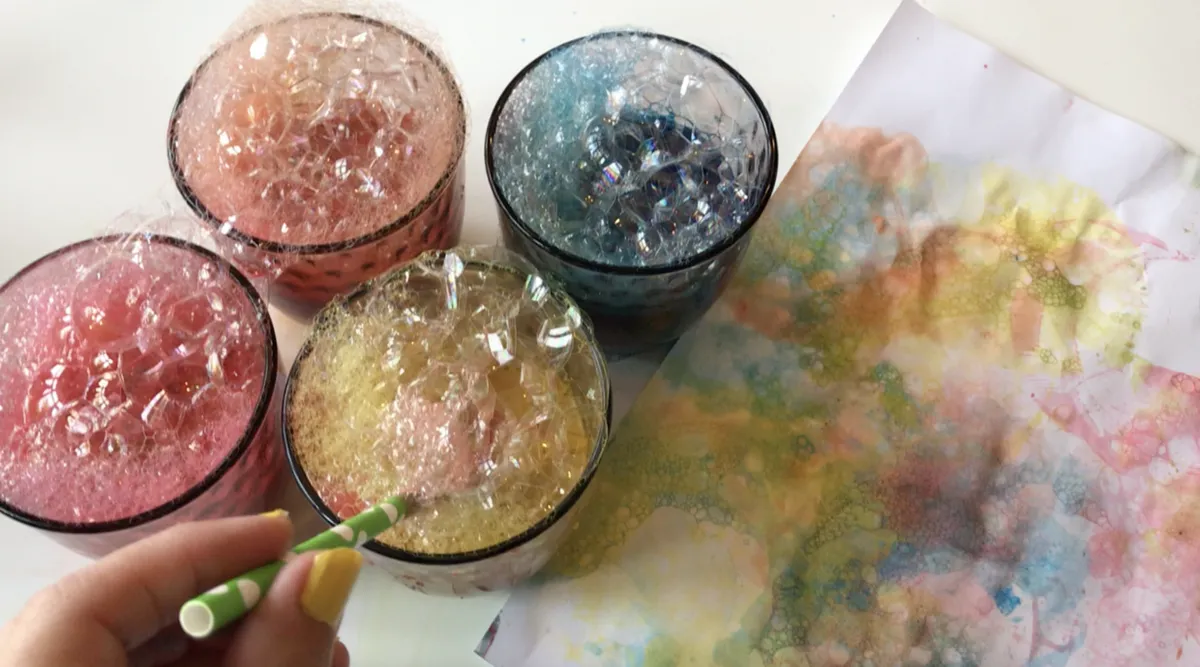
How to do bubble painting – easy method
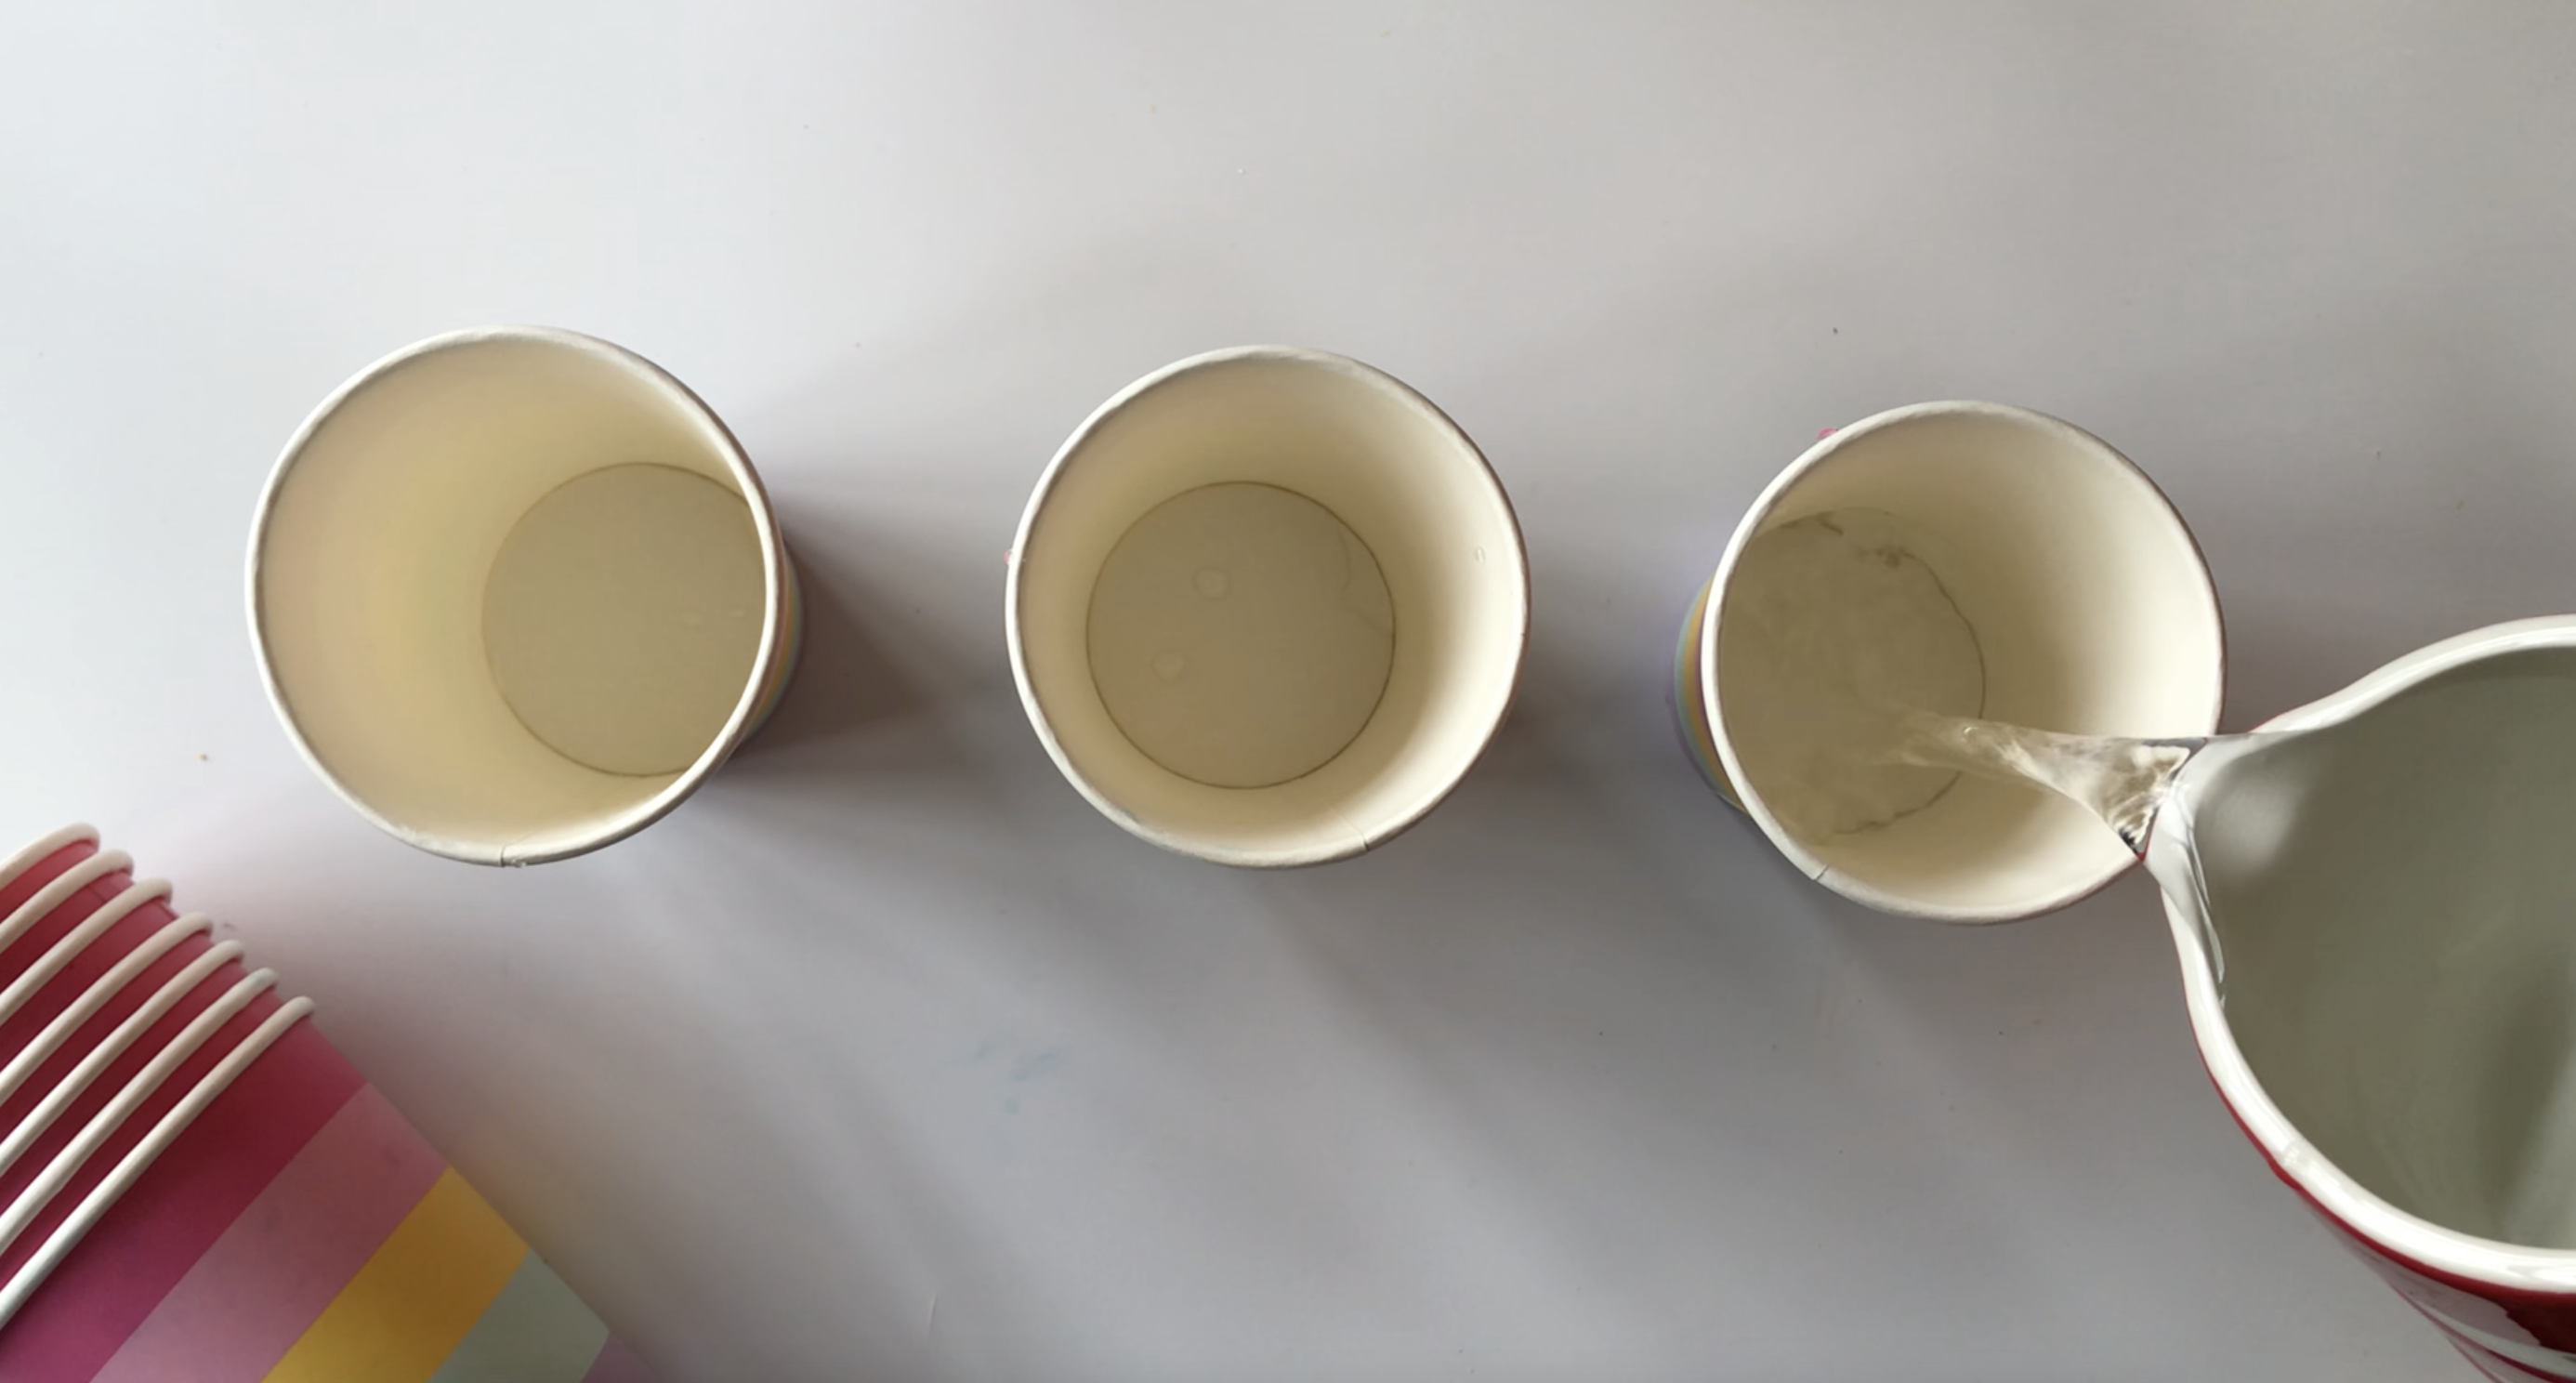
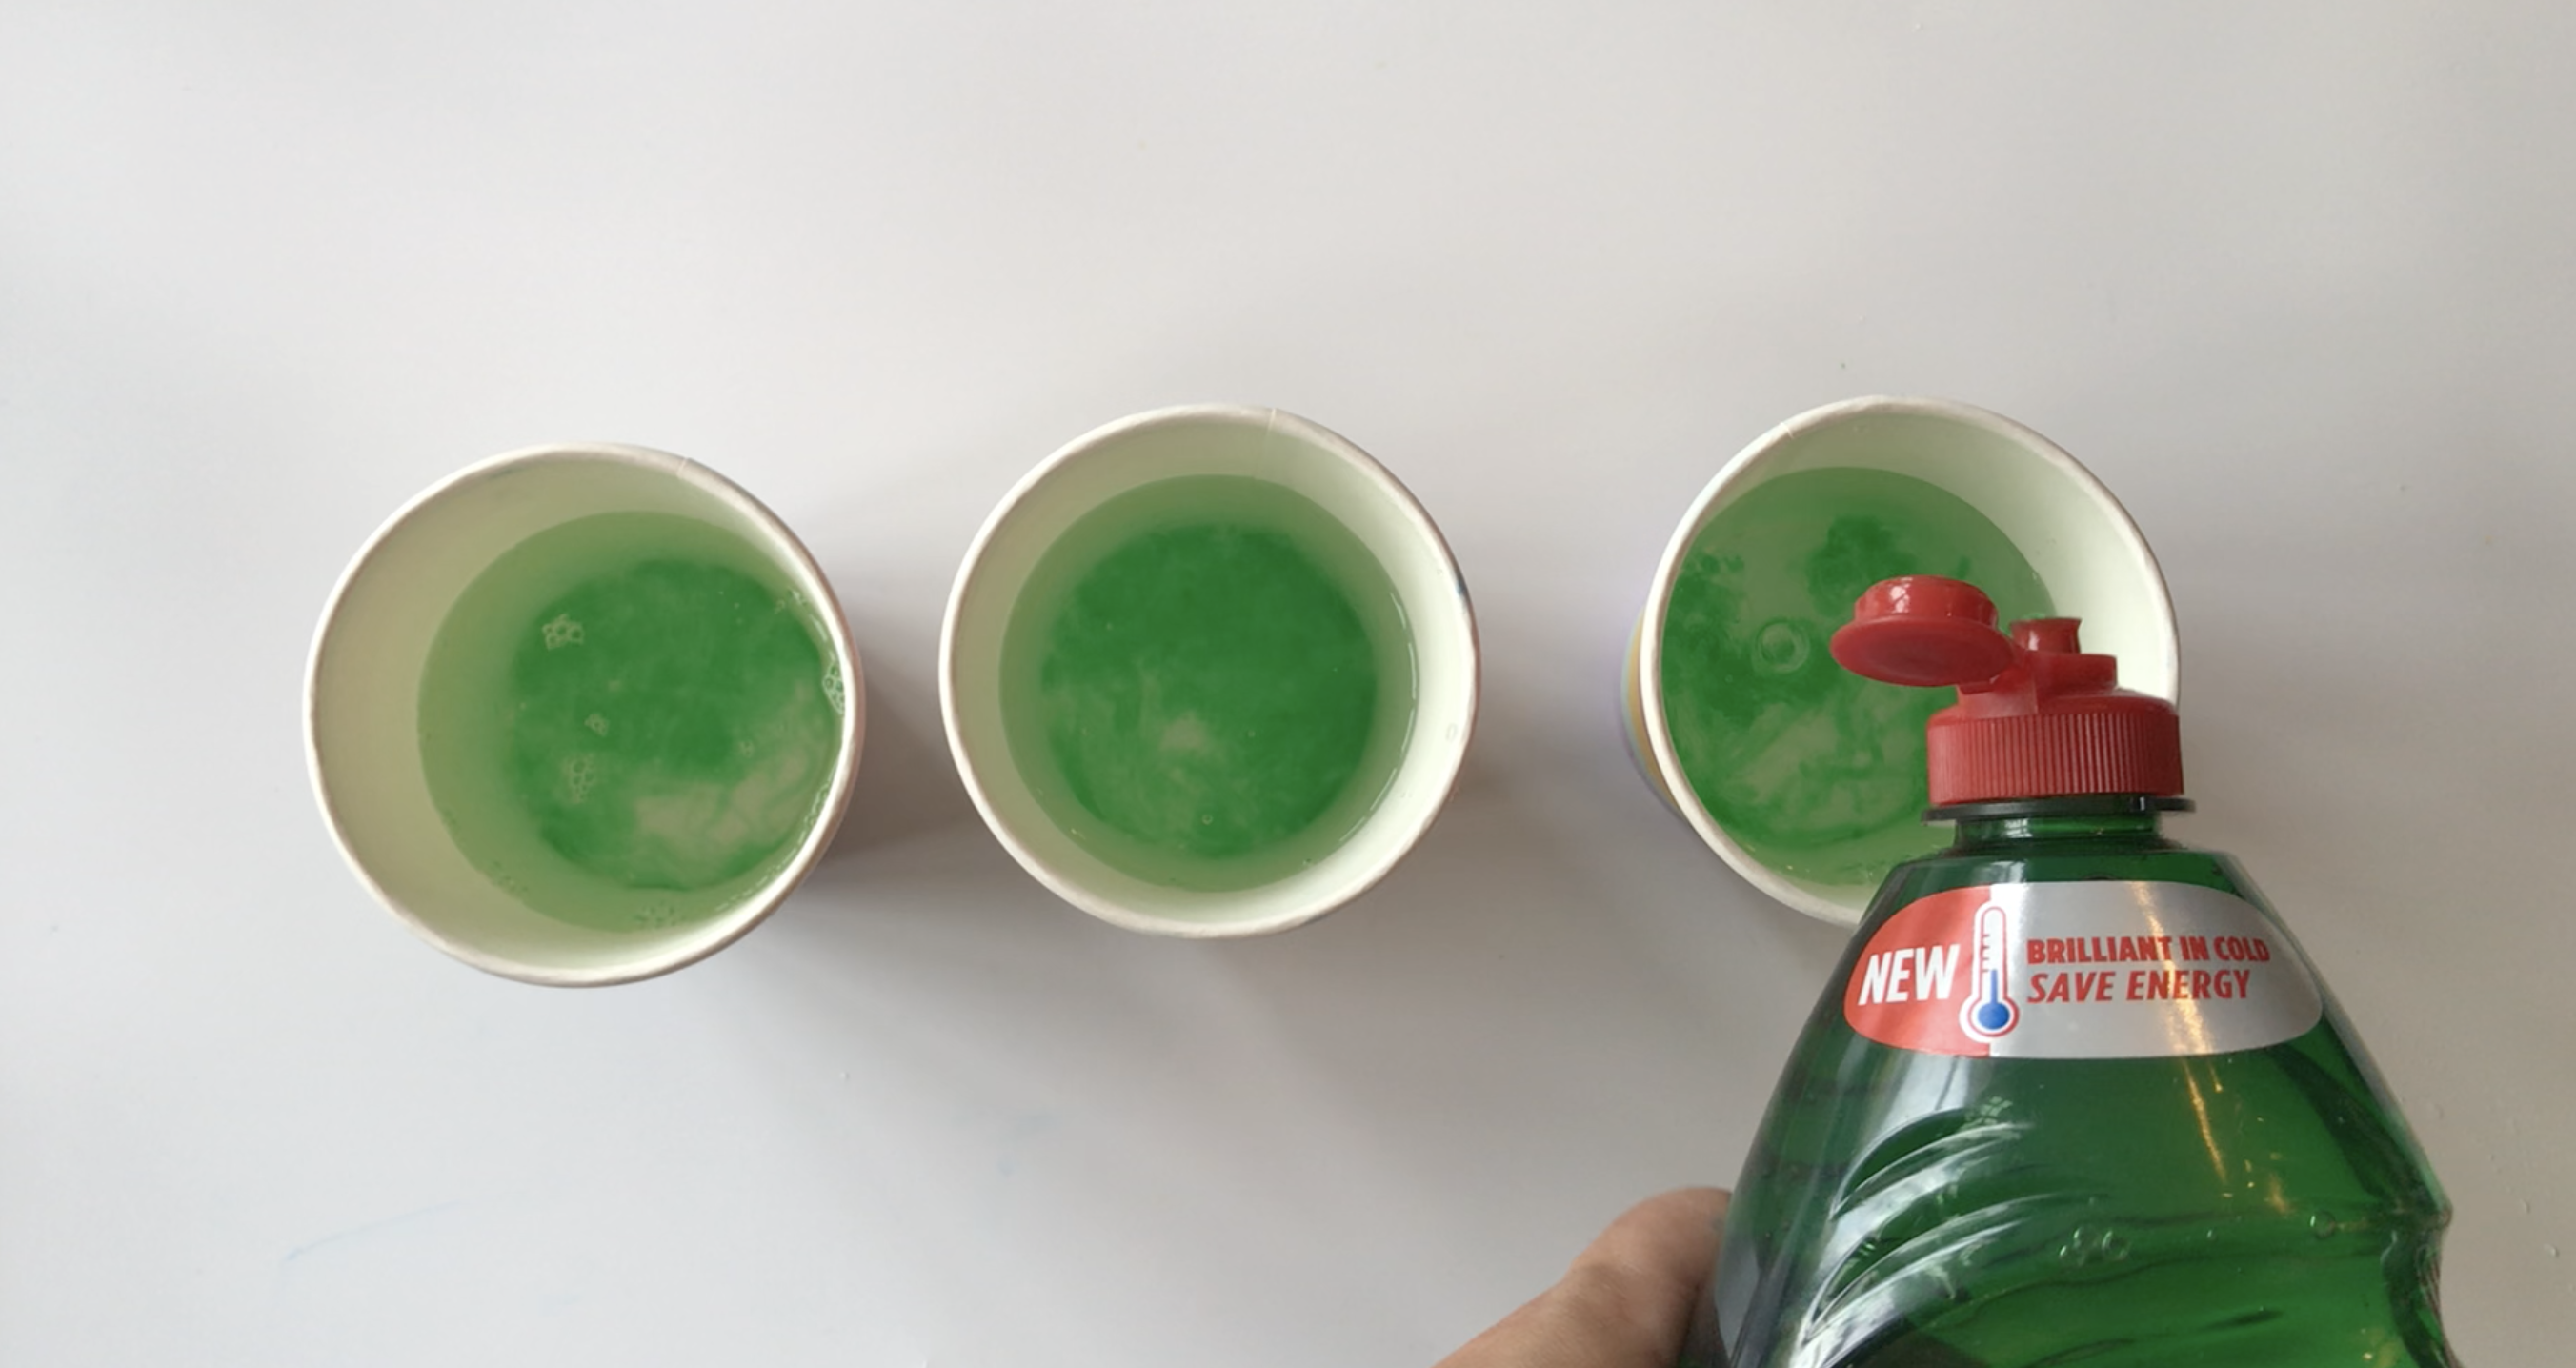
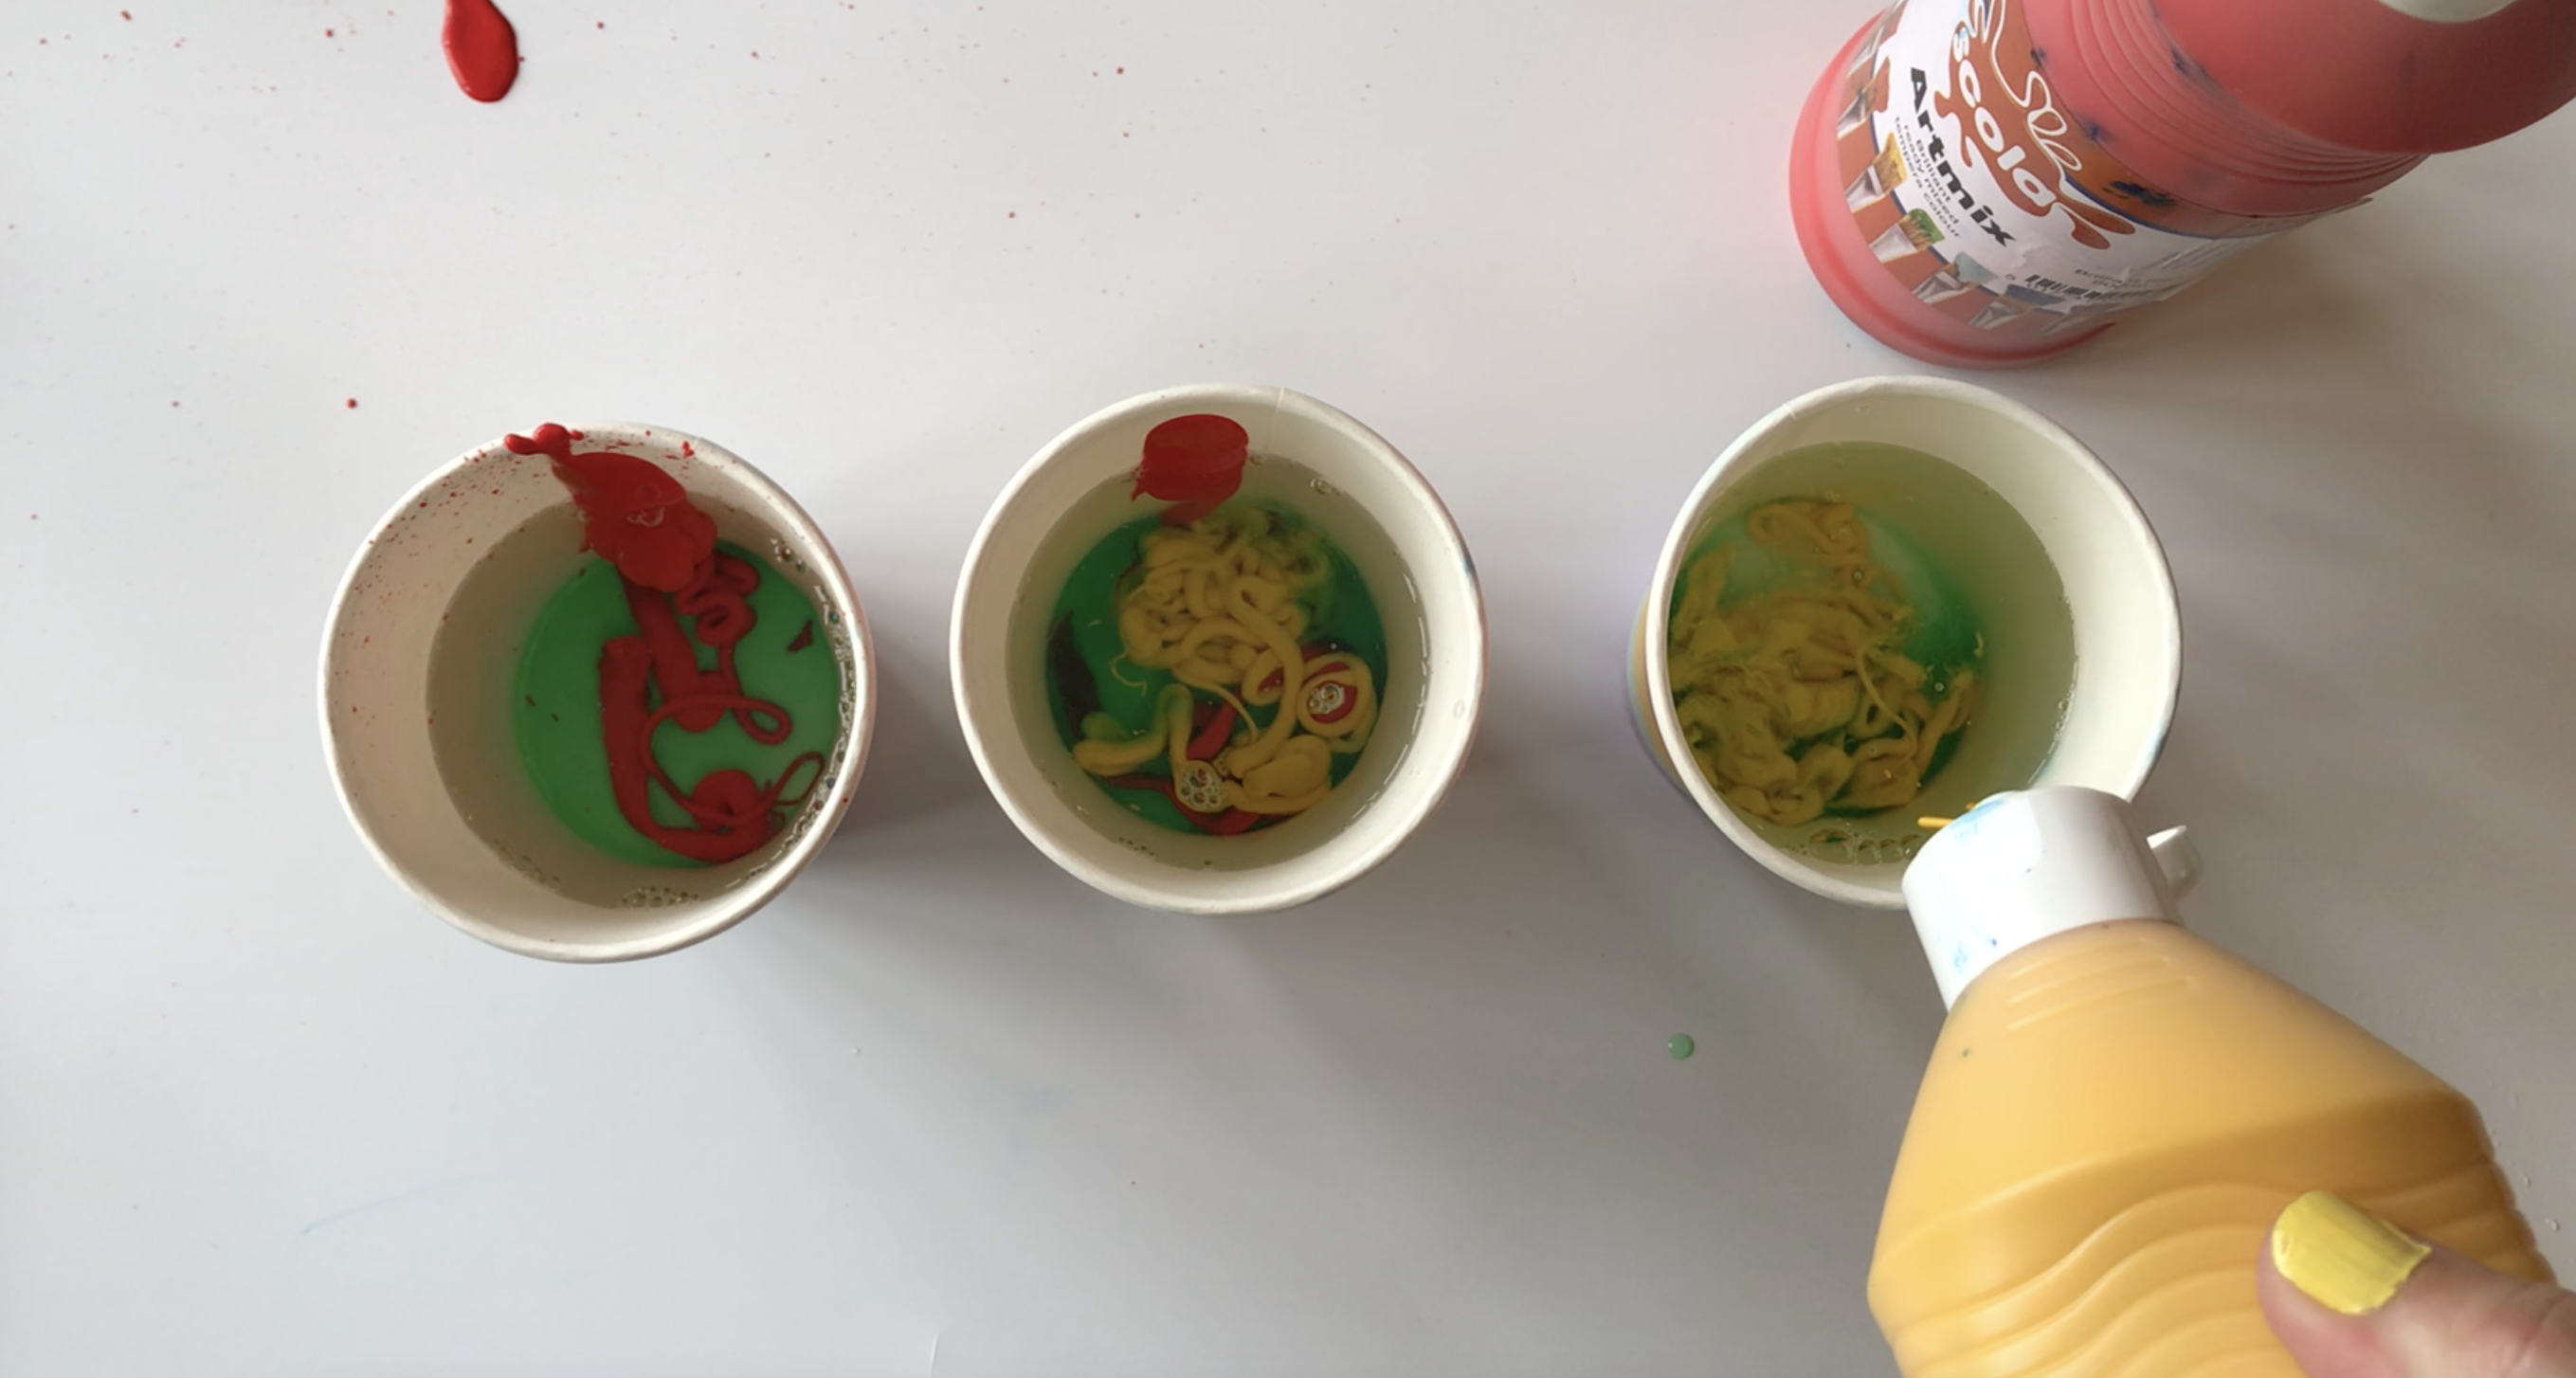
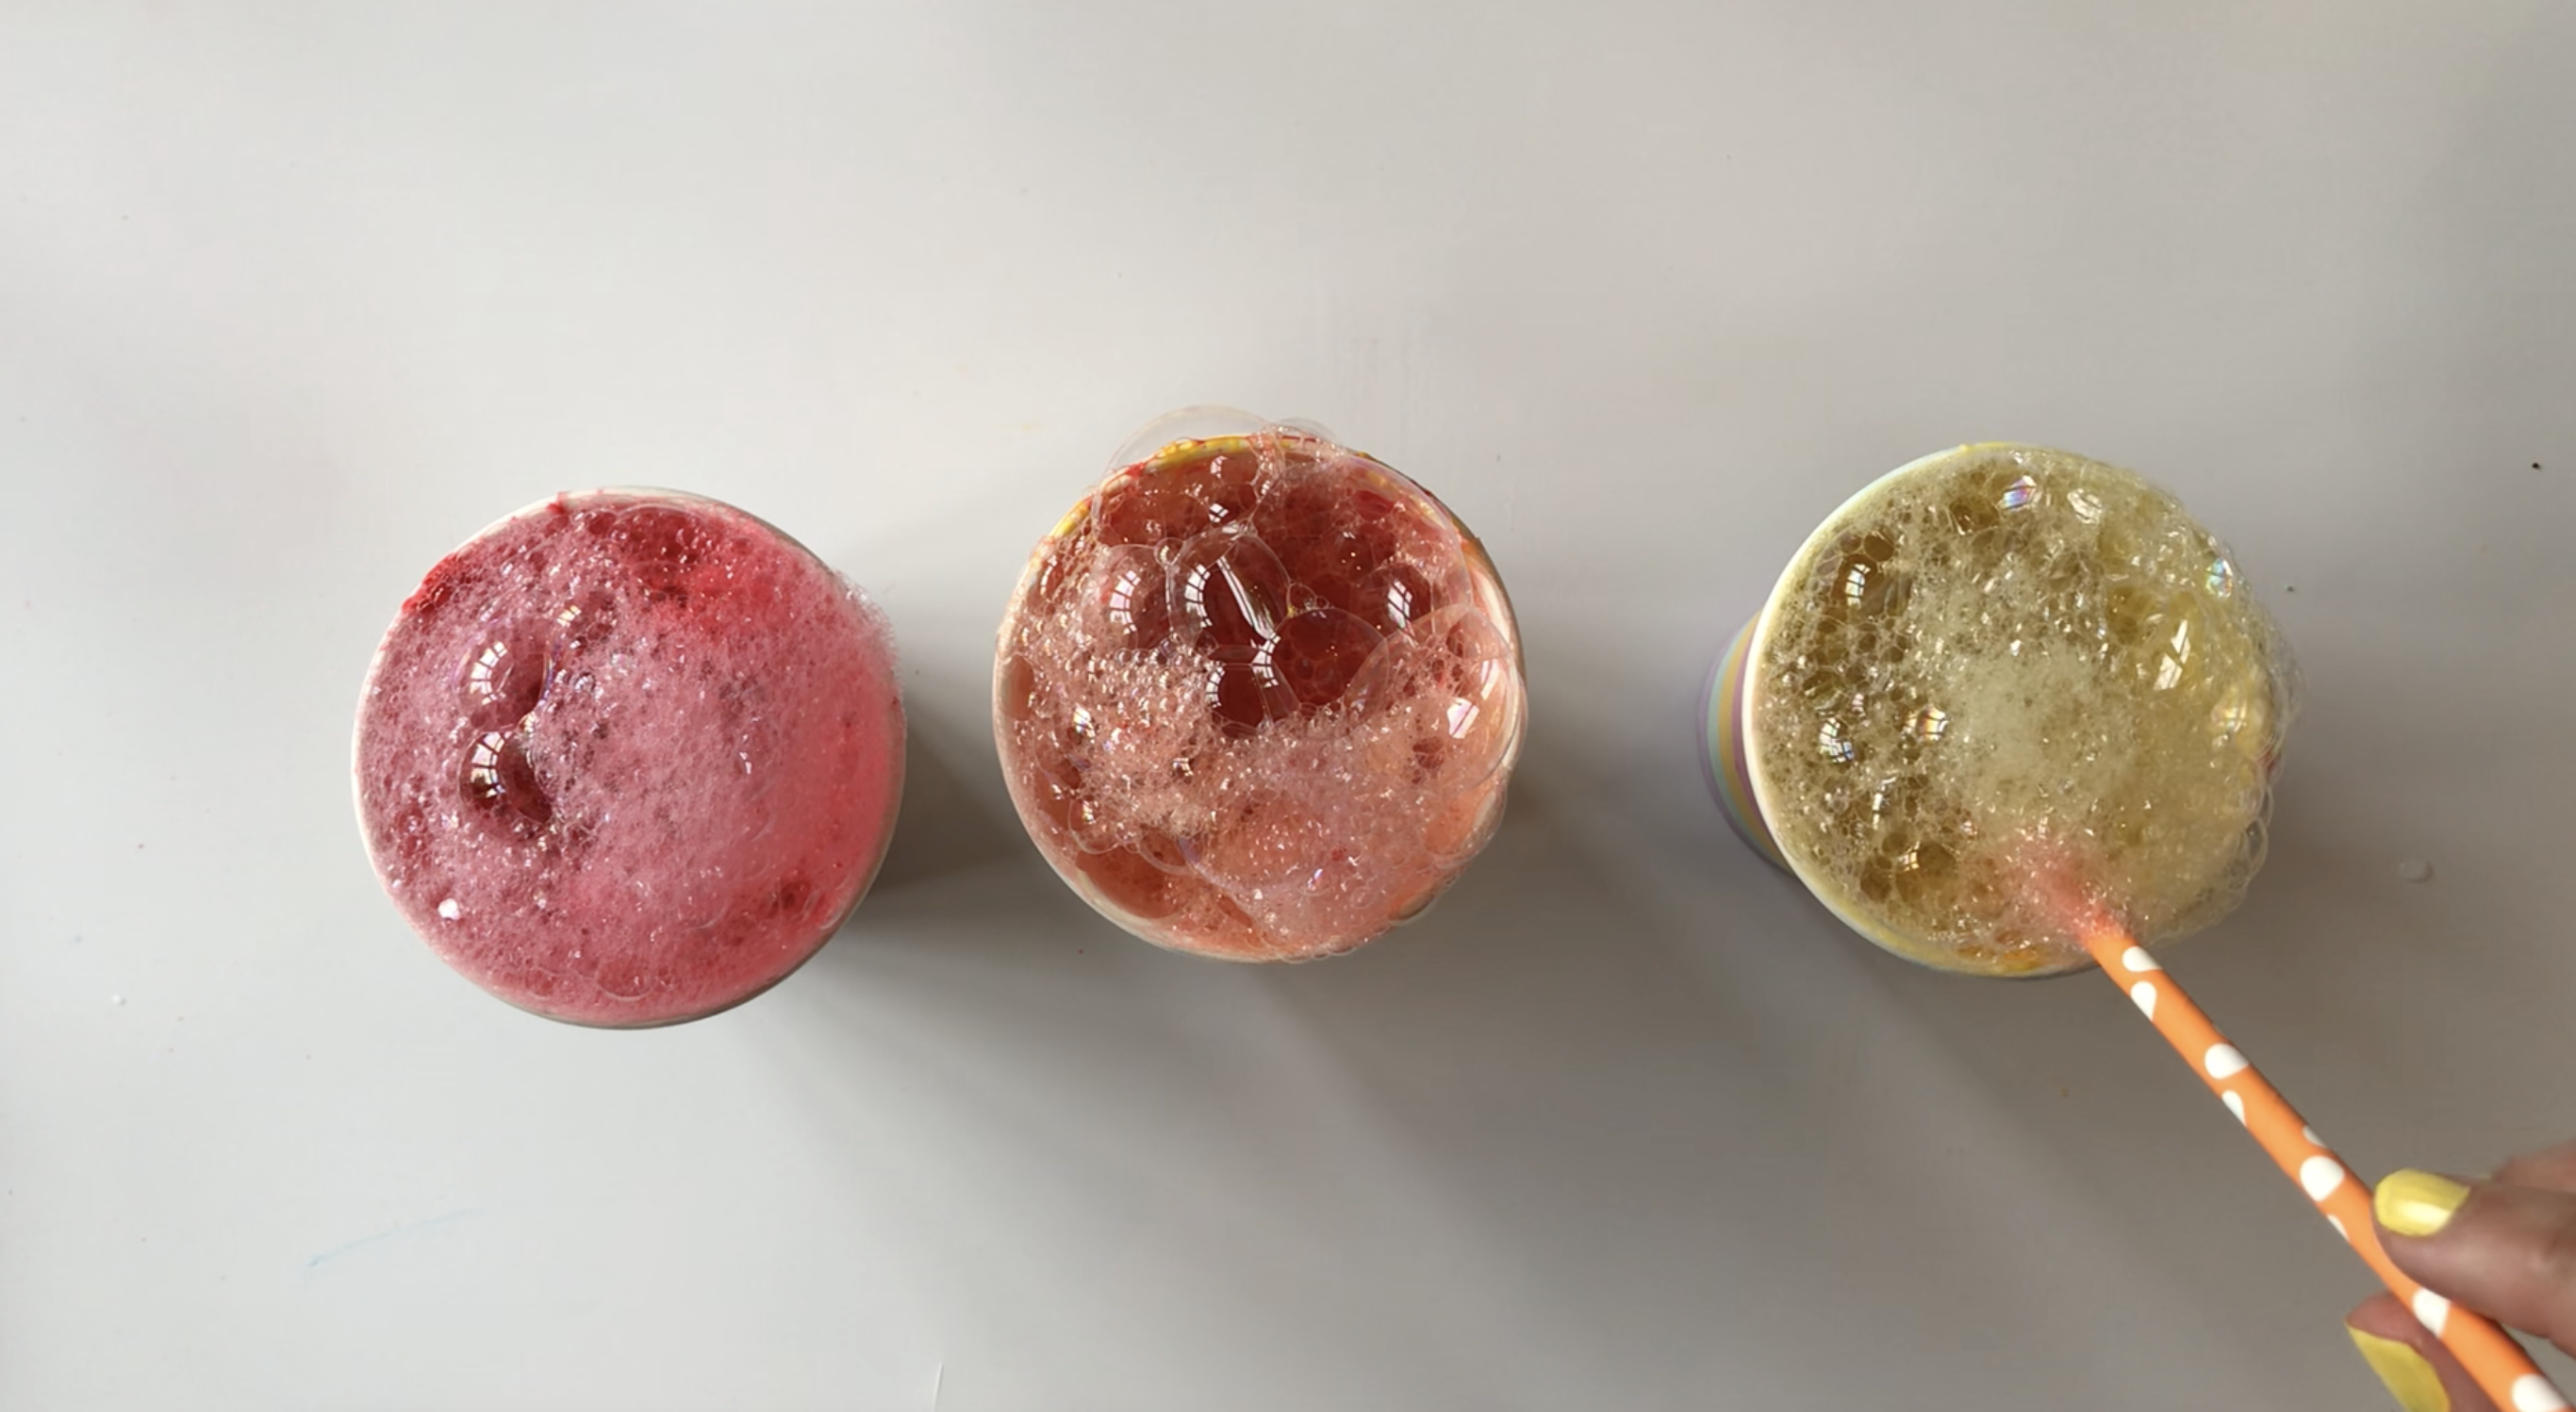
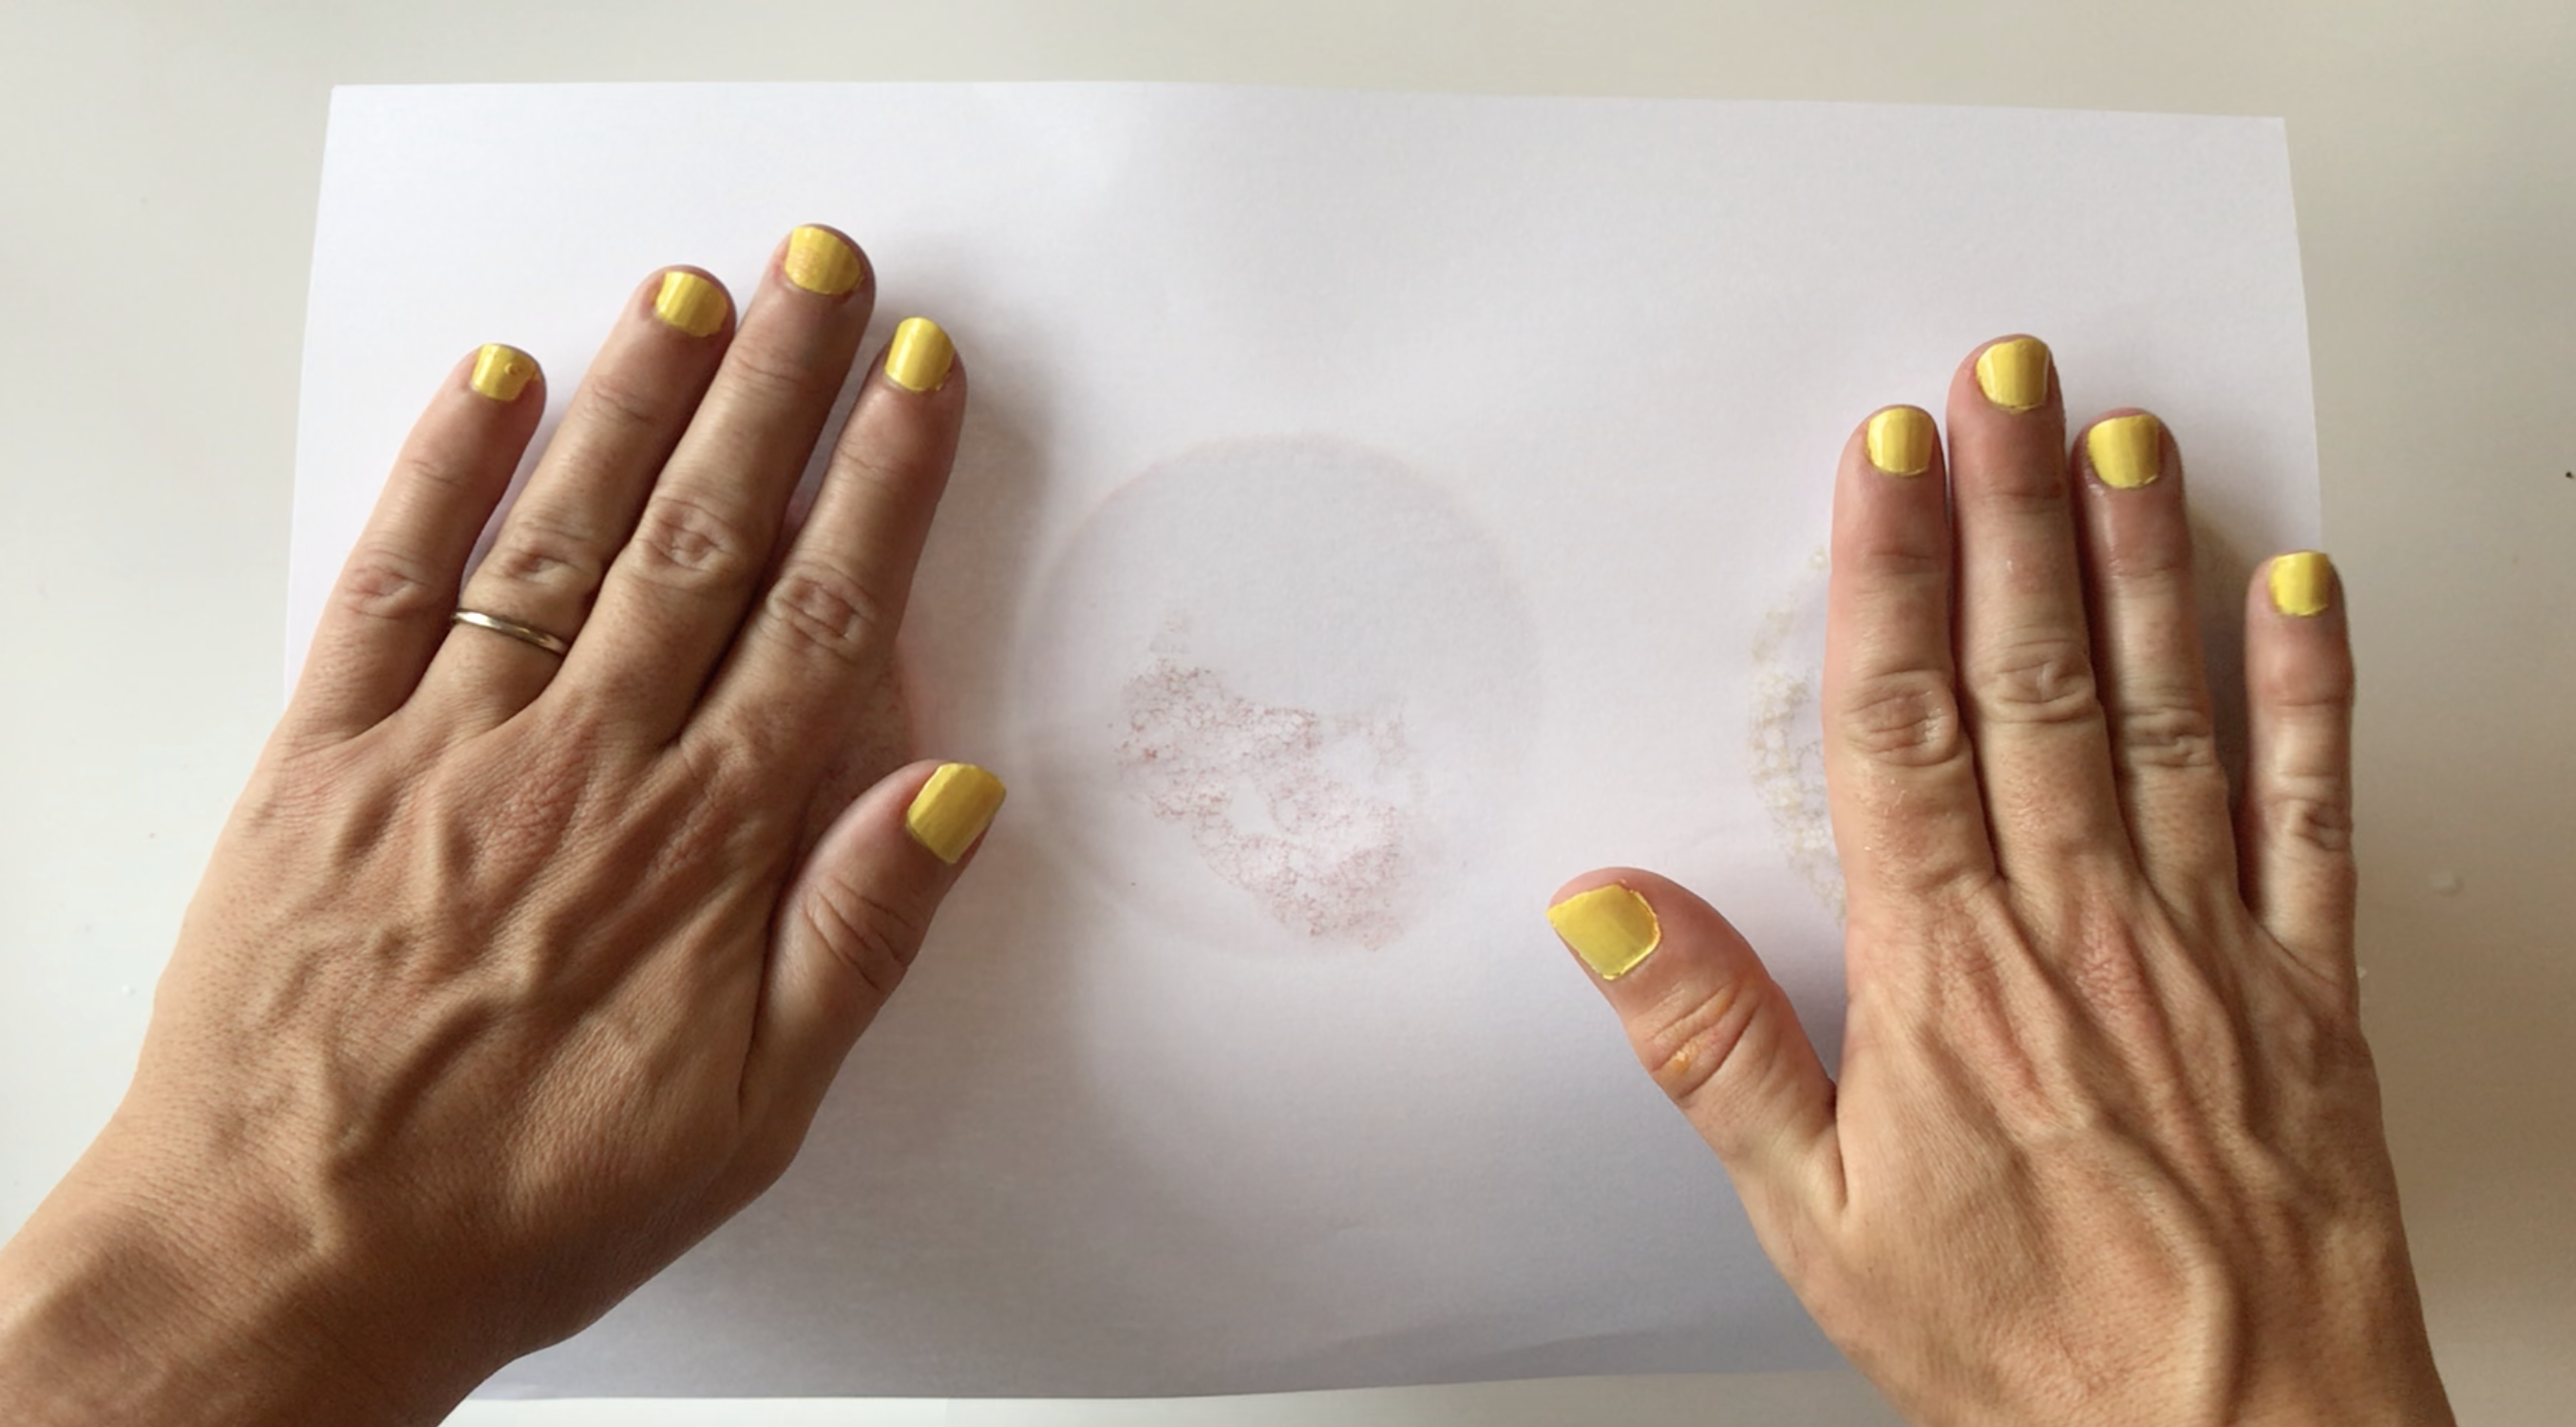
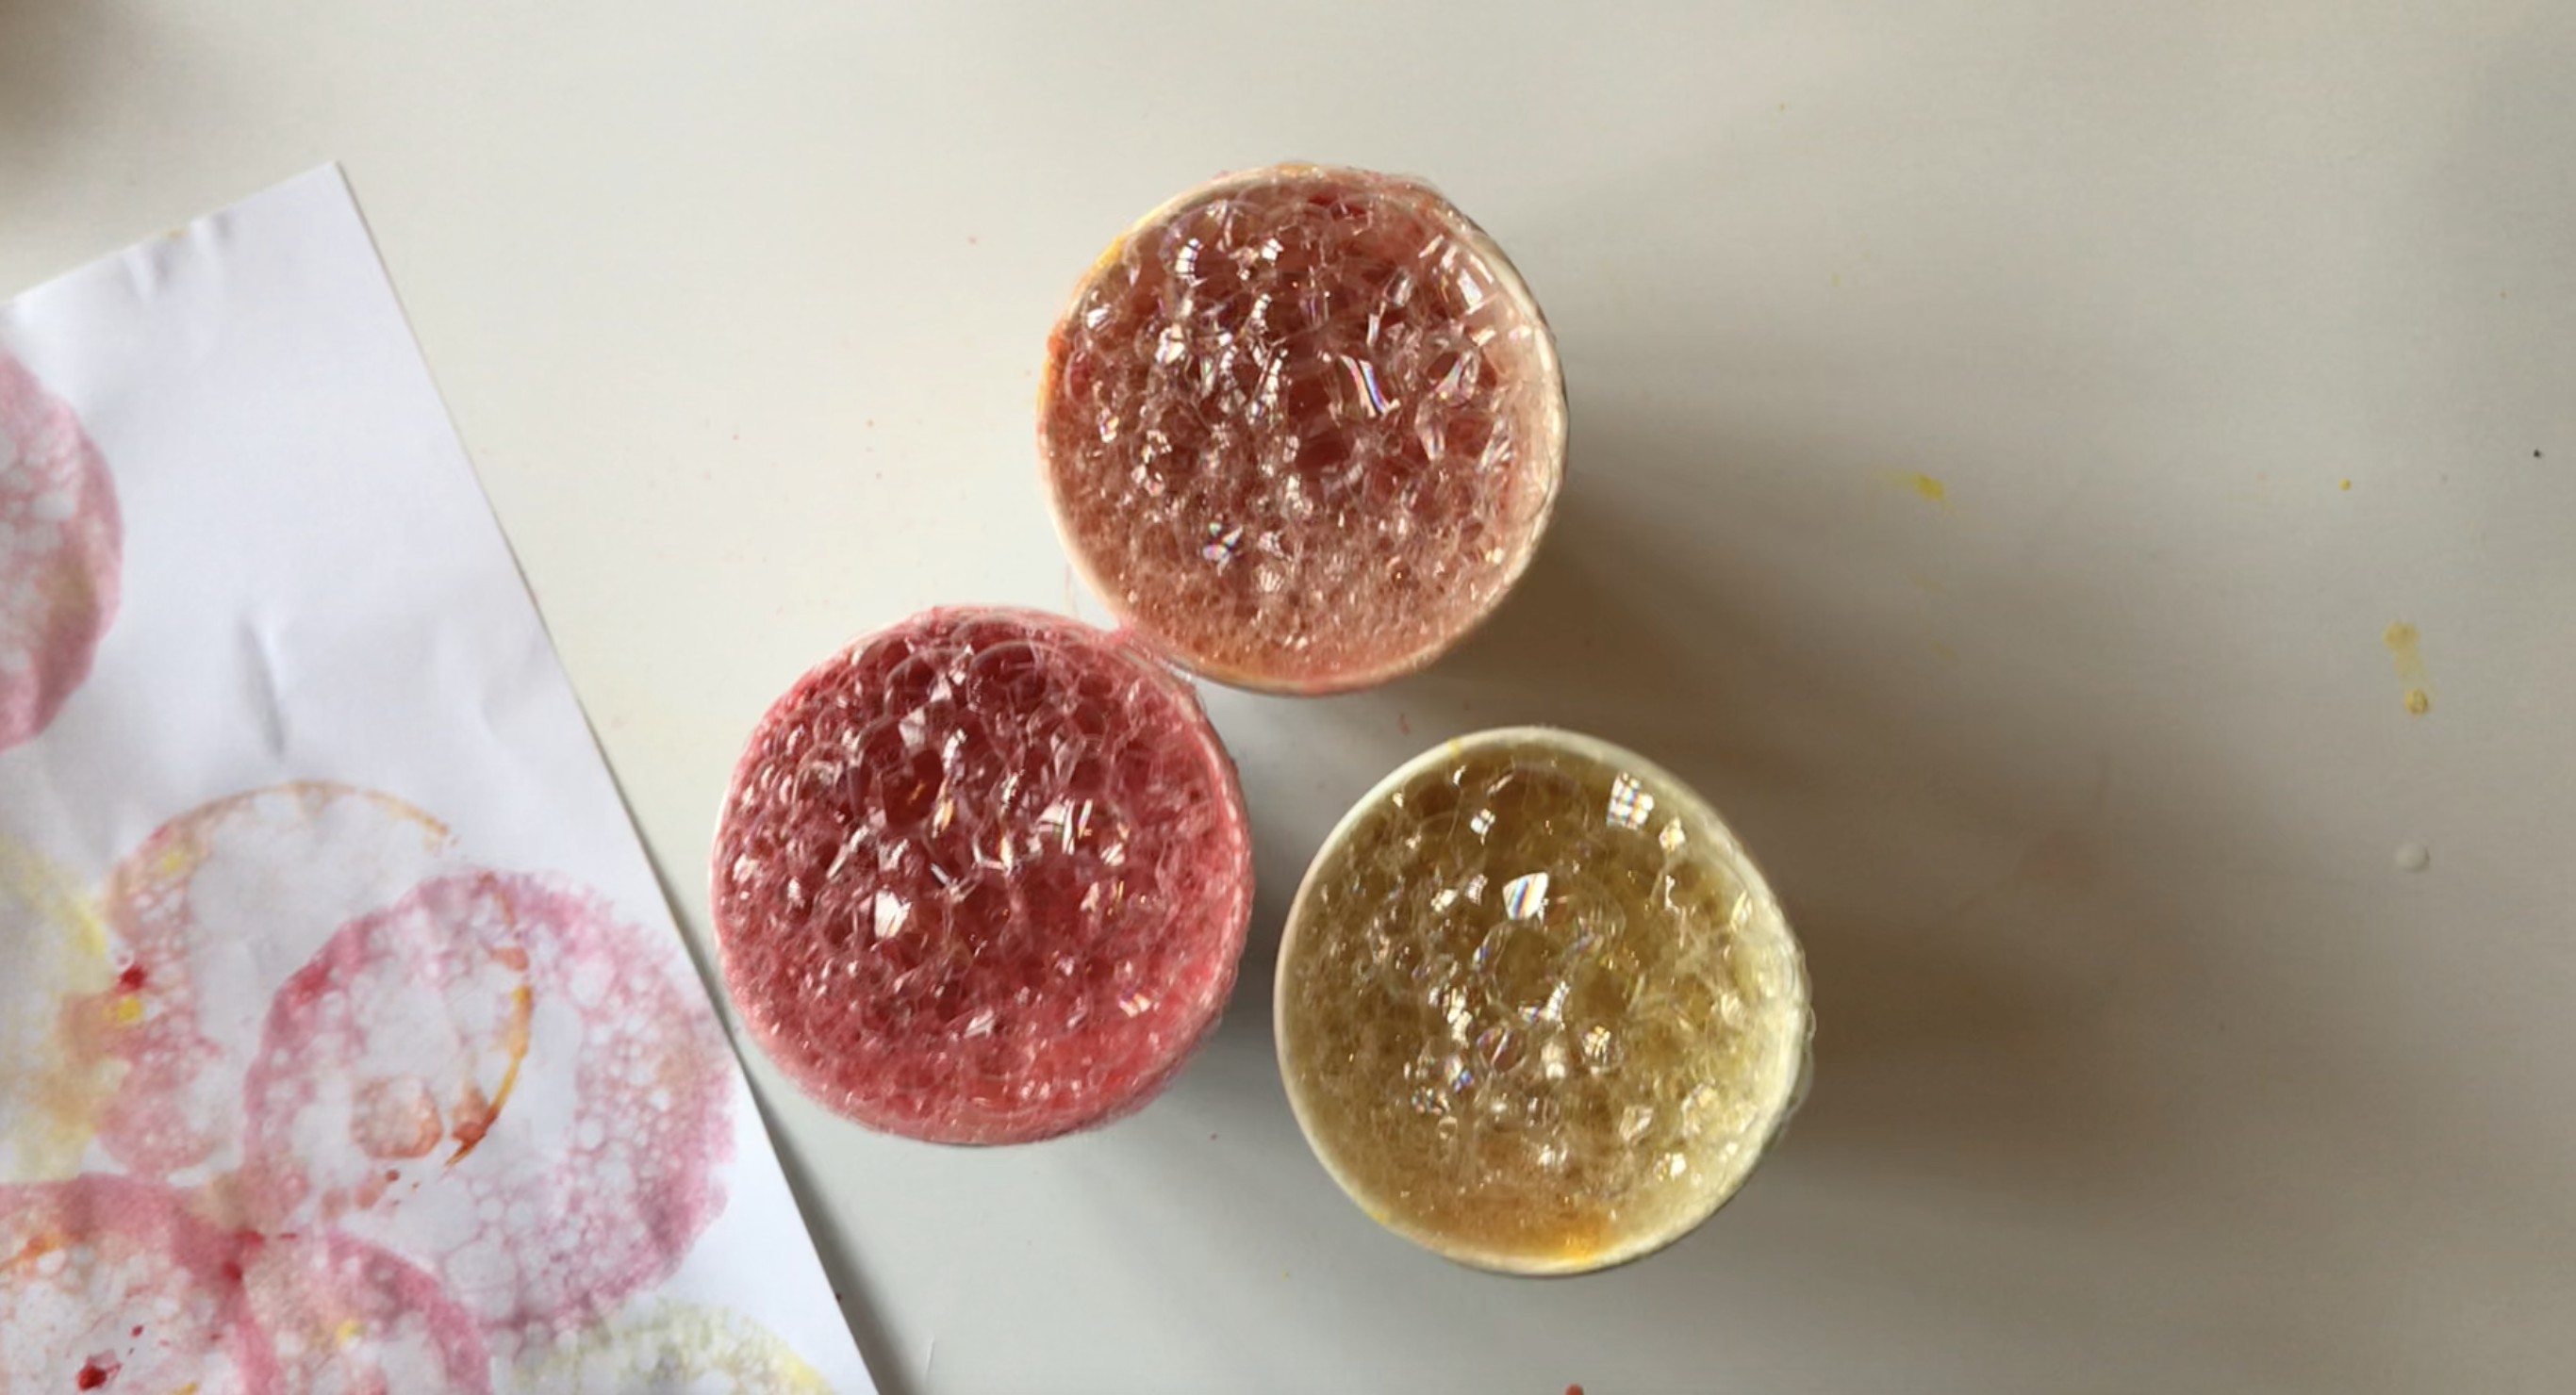
All you need to do bubble painting is something to mix the paint in, a splash of washing-up liquid, a straw and some paint. Plus a piece of paper to do your bubble painting onto.
I've used paper cups and straws in this guide. They worked well but the cups started to split after about an hour – this delighted my children who found the paint-filled mess glorious to play with. We switched to glass tumblers from the kitchen after that and the paint washed easily away when we were finished, so we could use them for drinking again.
The paper straws also got a bit soft after a while, but as I picked up a pack of 150 straws for £5.99 on Amazon we didn't come close to running out.
