If you’ve already gained some soap making experience, hot process soap making is the natural next step.
Hot process soap is best suited to more advanced soap makers because it requires more technical knowledge. If you’ve only made melt and pour soap before, we’d recommend trying cold process soap making before attempting the hot process method.
In this guide, we’ll explain how the hot process technique works, answer some frequently asked questions and ways to tackle some common problems.
We’ll also guide you through the materials you'll need and share a hot process soap recipe for you to try at home.
What is hot process soap?
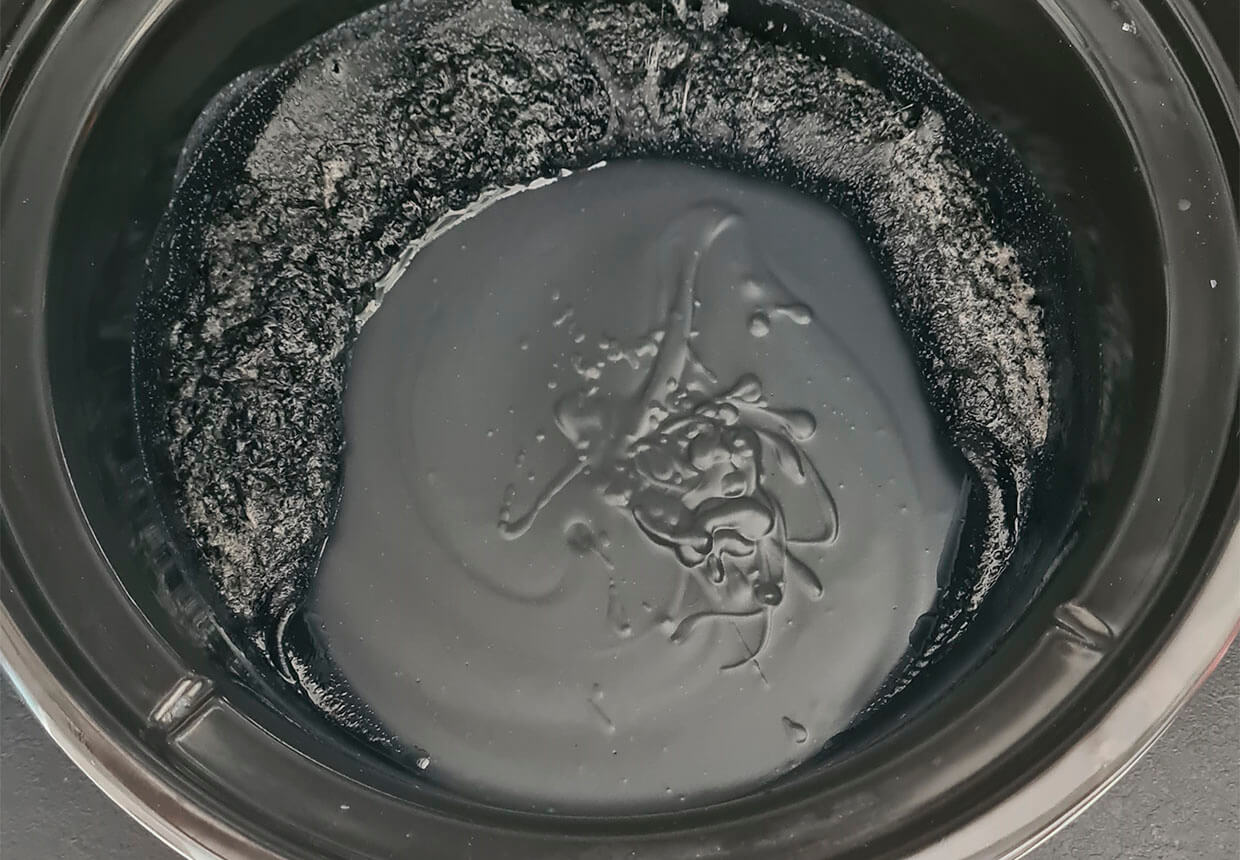
Hot process soap is made by combining oils with sodium hydroxide (lye). The mixture is heated, usually in a crockpot or slow cooker, which accelerates the saponification process.
Saponification is the chemical reaction which converts the oils into soap. It’s an exothermic reaction, so a lot of heat is generated in the process.
Due to the temperatures involved, you need to take safety precautions when making hot process soap. The soap can get up to 104℃ (220℉), so there’s a risk of serious burns. It’s a good idea to wear goggles and protective gloves when making hot process soap.
Hot process soap making also involves the use of sodium hydroxide, which is caustic and can cause burns if it comes into contact with skin. The fumes are also dangerous, so you’ll need to make sure that your workspace is well ventilated when you’re making your soap.
Thanks to the external heat source, the hot process soap method is much faster than the cold process soap method . The soaps can be cut and used after 24 hours, unlike cold process soap which needs to be left to cure for 4-6 weeks before it’s ready. However, you can leave hot process soap to cure for up to four weeks.
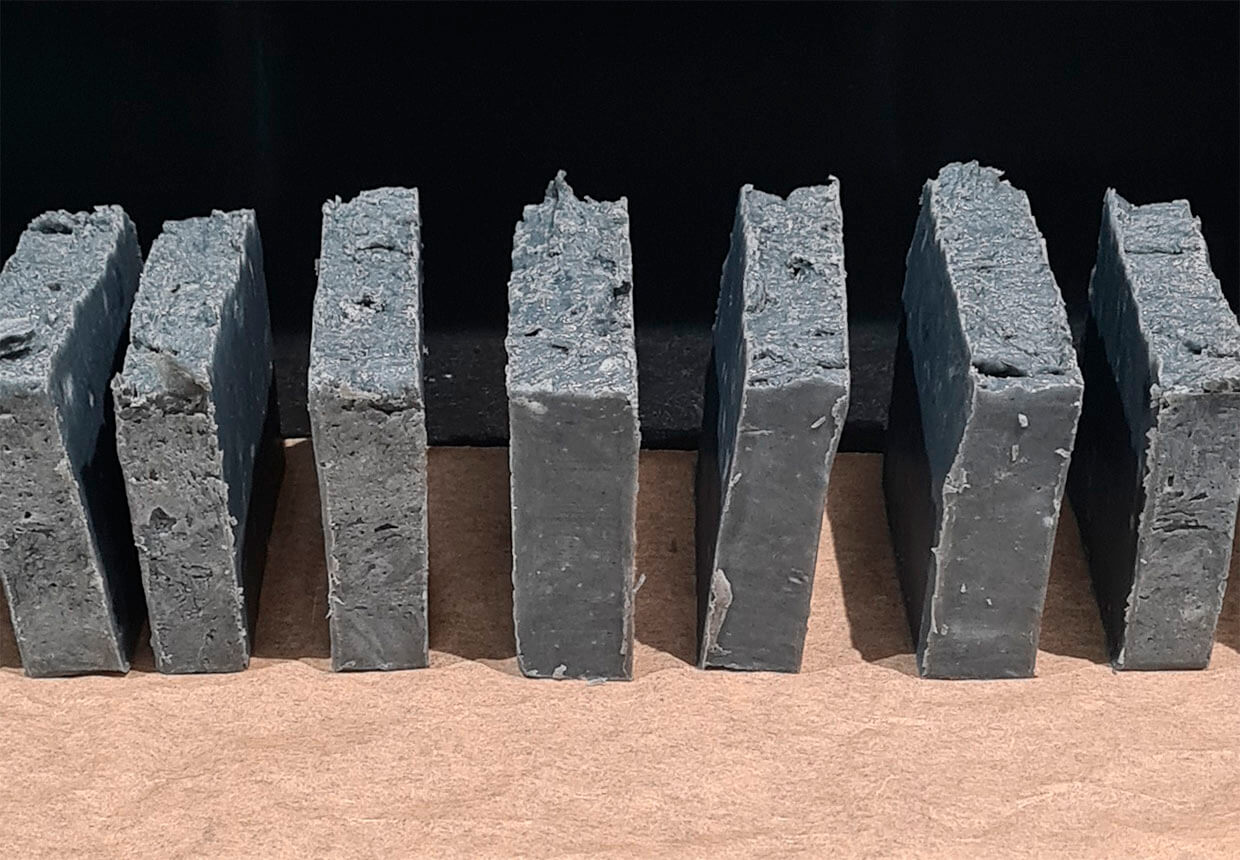
The finished hot process soap has a more rustic appearance than cold process soap, but it’s still very attractive – and many people like that rougher, handmade look!
If you’re new to soap making, we’d recommend that you try the melt and pour soap method before attempting to make hot or cold process soap. It’s much safer for beginners as there’s no need to work with sodium hydroxide.
Hot process soap benefits
The biggest benefit of hot process soap is its speed. You can make a batch of hot process soap and it’s ready to cut within a day. This is a big advantage over cold process soap, which takes weeks to cure.
Hot process soap can look less pristine than cold process soap, but this is all part of its charm.
There are other advantages to hot process soap. For example, colours tend to be more stable and you’re less likely to see fading or any drastic colour changes.
It’s also easier to add fragrances to your soap, because you add them after the soap has already saponified.
Another benefit of hot process soap making is that you can superfat your recipe. Superfatting is a technique that involves adding extra fats or oils to your soap so that there is some left over after the saponification process. This makes the soap more hydrating, which is better for your skin.
Cold process vs hot process soap
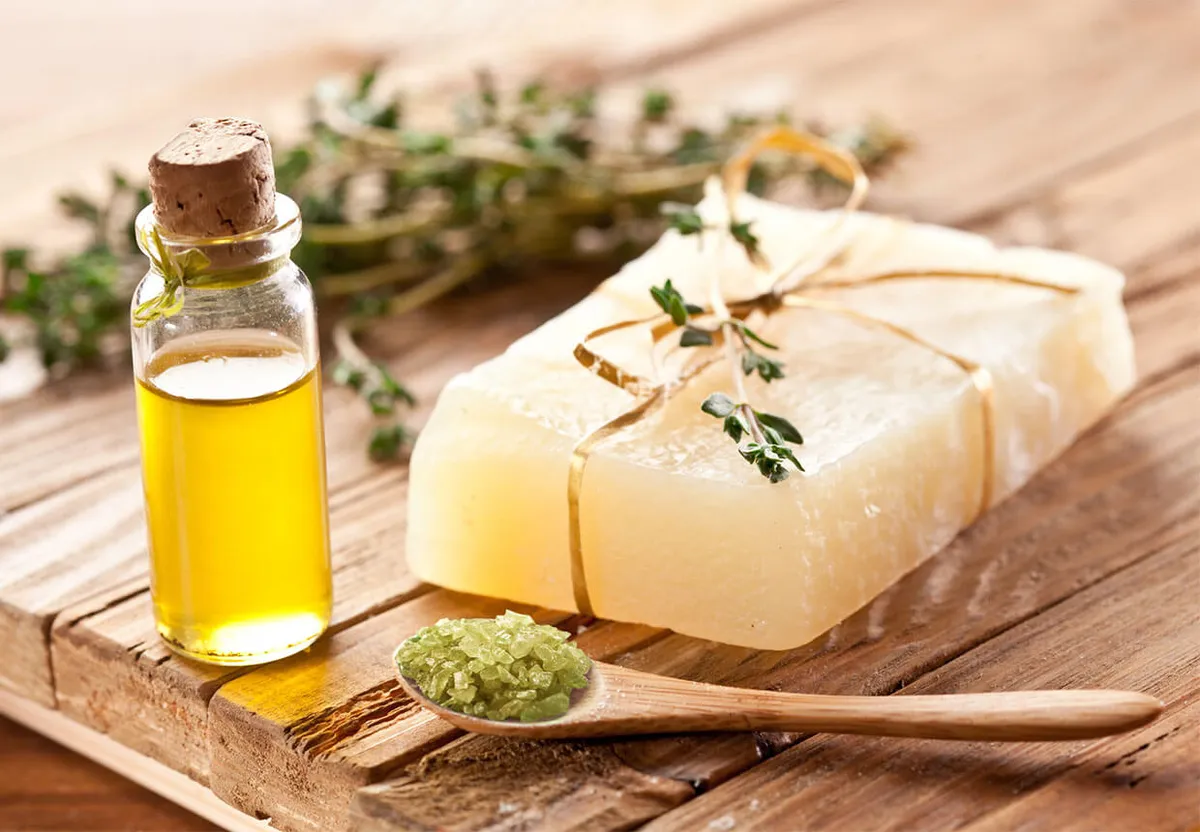
Still unsure which type of soap to make? We’ve weighed up the pros and cons of cold process soap and hot process soap to help you make your decision.
Cold process soap pros
- The cold process soap method is fairly quick
- You can easily customise the recipe by adding your own fragrances and colours
- There are lots of creative techniques you can try to make your soap look pretty
- You can incorporate skin-loving ingredients to make your soap nourishing and moisturising
- You don’t need to use any heat in the process
- Easy to use with moulds, because the soap batter flows into all of the cracks
Cold process soap cons
- It takes a long time to cure before it can be used
- Colours are less stable and can change during the process
- Adding fragrances or essential oils can lead to unpredictable results
- The soap can sweat if it’s not stored correctly
- You can superfat the soap, but you can’t control which oil in the recipe the superfat will be
Hot process soap pros
- Very quick to make, as it’s ready to use with 24 hours
- Fragrances are more stable, as they’re added at a later stage in the process
- Colours also tend to be more stable and are less likely to change during the production process
- You can superfat the soap to make it more hydrating
Hot process soap cons
- More rustic in appearance than cold process soap
- Less ways to decorate your soap
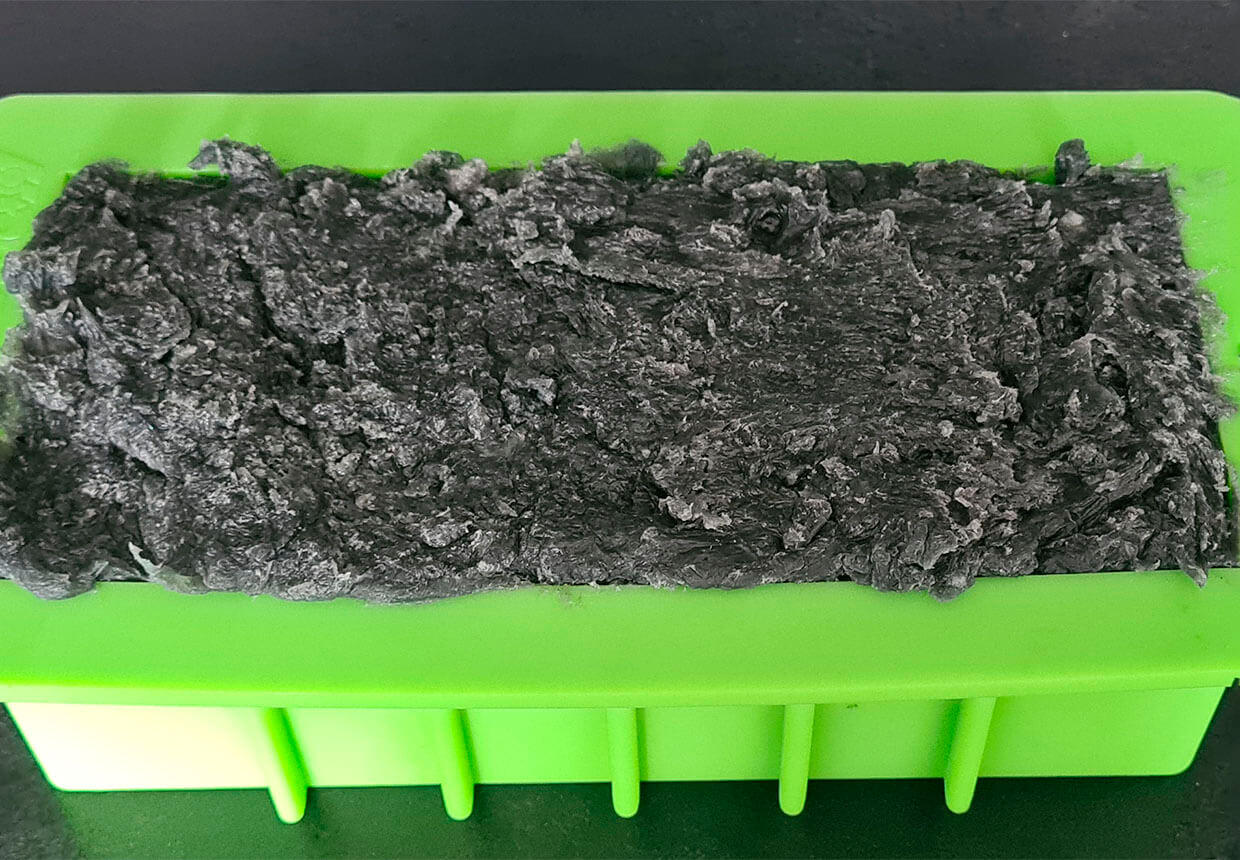
- Harder to pour into moulds due to its consistency
- It’s more difficult to include additives such as milk because they can burn
Your complete guide to soap making
Want to learn more about the art of soap making? Take a look at Gathered’s in-depth soap making guide, which covers everything from soap making supplies to frequently asked questions.
Frequently asked questions about hot process soap making
How long does hot process soap take to cure?
Hot process soap takes around 24 hours to cure and is ready to use immediately after that.
How long does hot process soap take to make?
It normally takes hot process soap between 30-60 minutes to cook, but the overall process takes longer as you need to factor in the time needed to prepare your ingredients and blend them to reach the trace stage. This is when all of the streaks of oil have disappeared and the soap is beginning to thicken.
Do you need lye for hot process soap?
Yes, lye (sodium hydroxide) is needed because it triggers the saponification reaction, which is necessary to convert the fats or oils into soap.
Do you stir hot process soap?
No, you don’t need to stir it. We’d recommend leaving it alone during the cooking process. It shouldn’t bubble over if you haven’t overheated the oils or left your slow cooker on high.
Hot process soap troubleshooting
It can be incredibly frustrating when a batch of soap goes wrong, as you can feel as though you’ve wasted time and ingredients.
Here are some solutions to common hot process soap problems that you might encounter.
How to make hot process soap pourable
What should you do if your hot process soap won’t pour? Some soap makers like to add yoghurt to their hot process soap to make it more pourable.
Adding some sodium lactate to your lye water may improve the pourability of the soap and make the finished bars firmer.
How to make hot process soap smooth
Adding yoghurt to your hot process soap can also make it smooth and creamy. The yoghurt needs to be added after the soap mixture has been cooked and cooled. The recommended amount is one ounce (28g) per pound of your base oils (454g).
Why is my hot process soap separating?
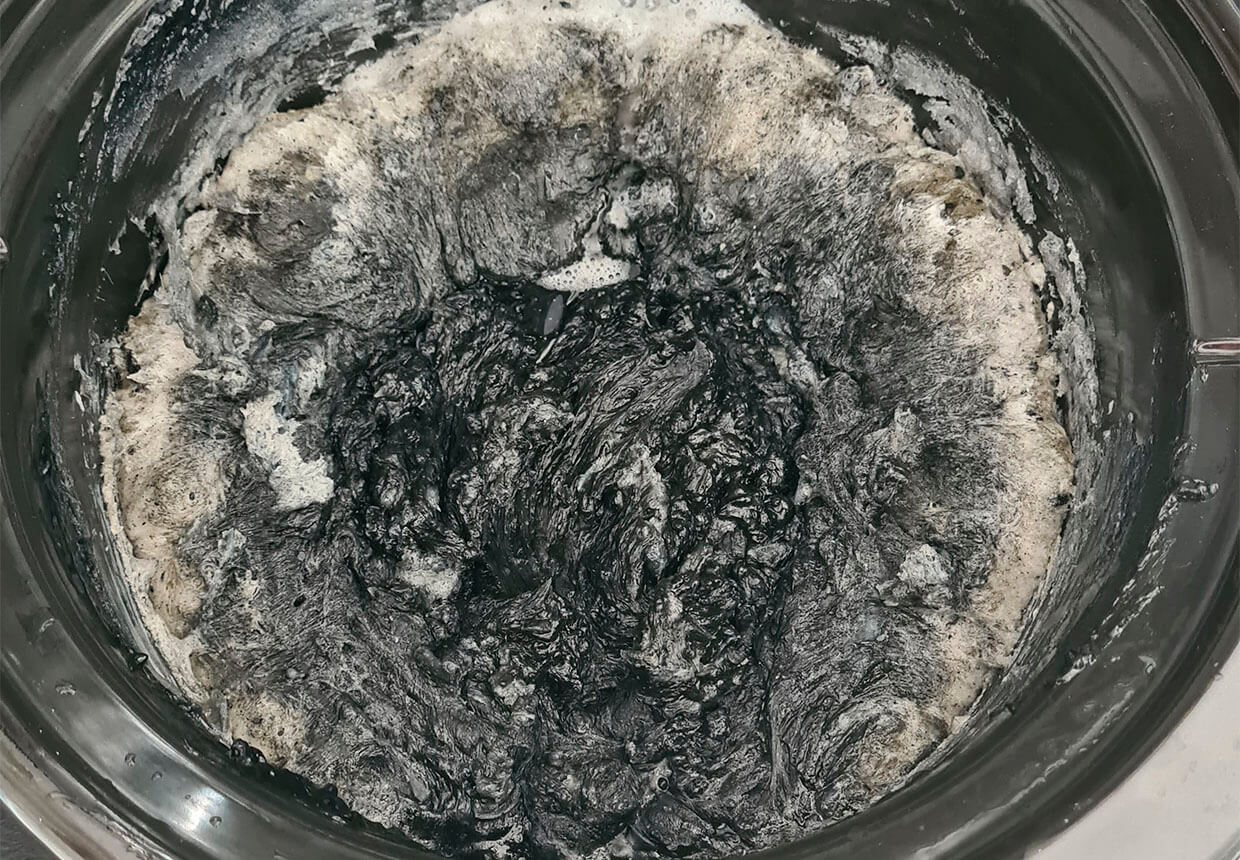
Hot process soap can look as though it’s separating when it reaches the applesauce stage. It’s called this because it’s exactly what the mixture looks like! Continue to stir it occasionally and trust the process. When the soap starts to look like mashed potato then it’s cooked.
Separation can also occur when fragrance oils fail to combine with the soap. You can try blending it again to see if that fixes the problem, but it may be unsalvageable. The problem can be caused by too much lye in the soap, which you can test using a PH strip.
Why is my hot process soap crumbly?
If your hot process soap is crumbly, the problem is likely to be that you’ve added too much lye. Use a PH strip to test the soap and find out if it has too much lye.
You shouldn’t use soap that contains too much lye as it will irritate your skin.
Hot process soap supplies
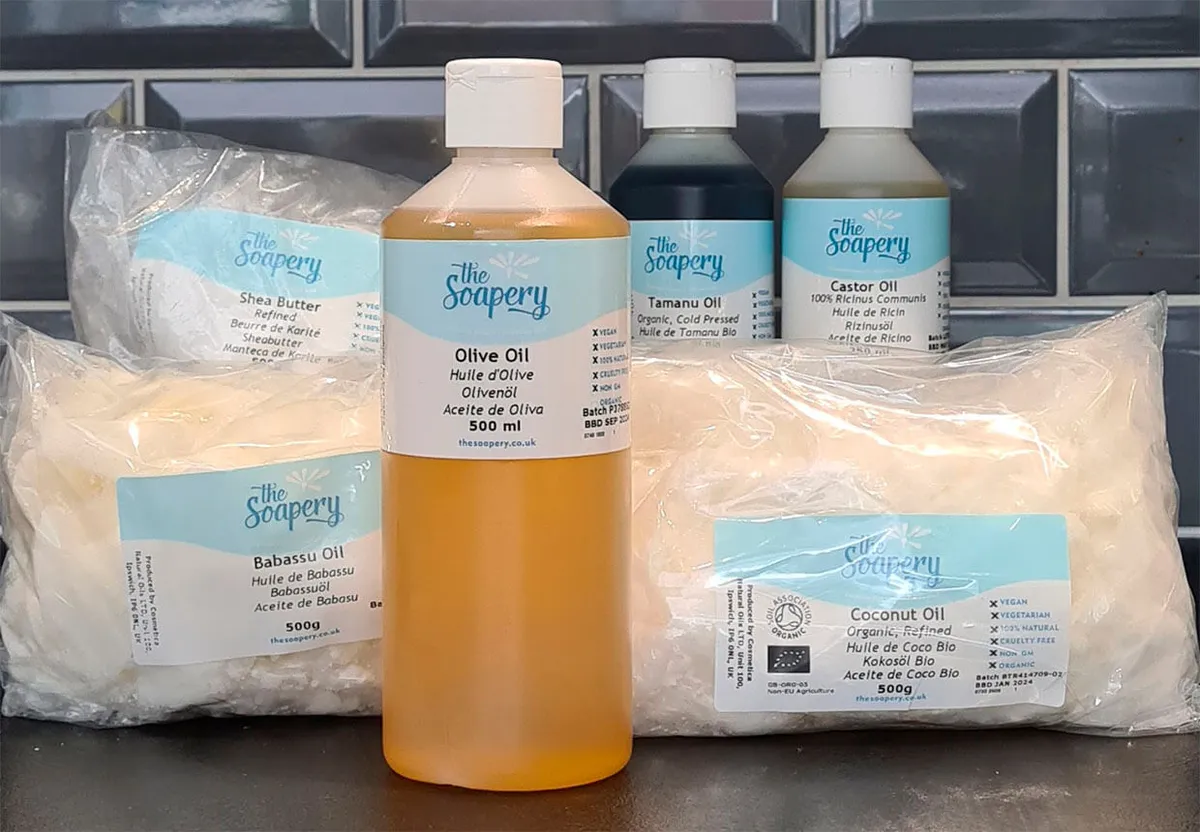
Ready to have a go at making your own hot process soap? We’ve got a free hot process soap recipe for you to try below and here are the ingredients you’ll need to make it.
Olive pomace oil
Olive pomace oil is great to use in soap making because it has a neutral fragrance, meaning that it won’t overpower any other scents that you choose to add. It’s a golden, slightly greenish oil that’s extracted from olive pulp after the first press.
It’s known for its moisturising properties and it’s very soothing for dry skin. It contains a high level of vitamin E, which helps your skin to stay healthy and looking its best.
Refined coconut oil
Keep your skin feeling soft and nourished by adding refined coconut oil to your soap recipes. Coconut oil has a creamy consistency and is rich in essential fatty acids. It will keep your skin hydrated and healthy.
Unlike unrefined coconut oil, refined coconut oil has no scent, so it’s a good choice if you don’t want your soap to have a coconut fragrance.
Babassu oil
If you haven’t encountered babassu oil before, it’s worth getting to know this very special ingredient. Babassu oil comes from the kernels of the babassu tree, which originates in Brazil.
This skin-friendly oil is packed with antioxidants and fatty acids, which are brilliant for dry skin.
Babassu oil is often used to soothe conditions such as eczema and psoriasis. It also has a low comedogenic rating, meaning that it won’t clog your pores.
Castor oil
Castor oil is a golden-coloured oil that makes a great base for any soap recipe. It has no smell and an enviable fatty acid profile.
It’s perfect for making soaps and works well in homemade hair products too.
Refined shea butter
Shea butter originated in West Africa and has been used to moisturise the skin for centuries. It’s extracted from the nuts of the shea tree.
The refining process leaves the butter completely odourless, while retaining all of shea butter’s best qualities.
Tamanu oil
Tamanu oil is precious and hard to come by, as each tree can only produce 5kg of oil per year. It’s made from the fruit of the tamanu tree, which is found in many tropical regions around the world.
This oil is thick in appearance, but absorbs easily into the skin. It’s brilliant for anyone with extra sensitive skin to use.
Sodium hydroxide
Sodium hydroxide (sometimes called lye or caustic soda) is the magic ingredient that transforms oils into soap. However, it is highly caustic so it needs to be handled with care and stored out of reach of children.
Always make sure that you wear protective clothing when using sodium hydroxide and ensure that the room you’re working in is well-ventilated.
Charcoal powder
Activated charcoal powder is known for its detoxifying properties, so it’s often used in facial cleansers, face masks and even in toothpaste. It’s great for cleansing clogged pores, leaving you with a fresher complexion.
This charcoal powder is made from ground coconut shells, which are then heated to over 1000℃ and purified with steam. As a result, it’s pharmaceutical grade charcoal powder which is ideal for soap making.
Tea tree essential oil
Tea tree essential oil is antibacterial and antifungal, plus it’s brilliant for inflammation. The tea tree plant has been used by Australian aborigines for centuries for its medicinal qualities.
It has a bright, warm fragrance and it makes a brilliant addition to any soap recipe.
Never use undiluted tea tree oil as it can cause irritation and check with a doctor before using it if you’re pregnant.

