How to make Bunny Easter jars
These Easter jars by Hobbycraft aren't just adorable, they're also ideal for storing all the chocolate eggs and sweets that will inevitably fill your kitchen cupboards come Easter.
Plus, they're a unique way to bring spring to life in your home, and lots of fun to make. You could even take things a step further and decorate a selection of jar sizes to create a gorgeous family of bunnies!
Make your Easter jars today and get creative with your whole family. For more fun Easter projects check out our easter crafts for kids which includes loads of spring-themed activities.
How to make Easter jars
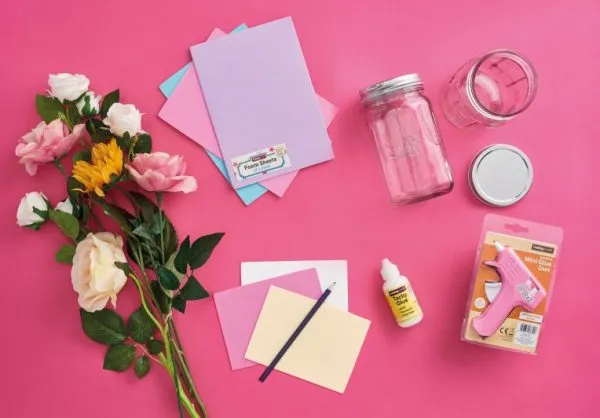
You will need:
- Scissors
- Pencil
- Glass Preserving Jar (we used 500ml jars)
- Faux Spring Flowers in pink, white, yellow and blue
- Foam Sheets A4 in pink, white, yellow and blue
- Tacky Glue 300ml
- Hot Melt 7mm Mini Glue Gun & Glue sticks
- Uni Paint Black Bullet Tip Permanent Marker

For the ultimate Easter craft activity, you can't get more classic than learning how to make Easter eggs.
Easter Jars tutorial

Step 1
Start by making the bunny ears and nose for your Easter jar. On a foam sheet, draw around an ear shape. Repeat to make the other ear.

Step 2
Draw a nose shape onto the same piece of foam as the ears.

Step 3
Using scissors, cut out the ears and the nose. Make sure to cut two small lines at the bottom of each ear, so you can fold it later.

Step 4
Using a different colour foam, draw around a smaller ear shape, and repeat, before cutting both shapes out.

Step 5
Using the tacky glue, stick one of the smaller foam ear shapes into the centre of one of the larger foam ear shapes, and then repeat to create the second ear.

Step 6
Take the Easter jar lid and, using the hot glue gun, stick one of the faux flowers onto it. Repeat with another flower and a bit of foliage, making sure they’re all facing the same direction and there’s enough space for the ears to be glued behind them.

Step 7
Now fold the bottom of an ear so it can be glued onto the Easter jar. To do this, take the two outer flaps and fold them so one is on top of the other, then stick together. Repeat for the second ear.

Step 8
Stick the flat bottom of one of the ears onto the jar lid behind the flowers, holding it in place until the glue dries and it can stand up. Repeat with the other ear.

Step 9
Next, using the hot glue gun again, stick the nose onto the jar.

Step 10
Finally, using the permanent marker pen, draw a pair of eyes above the nose along with a few whiskers either side of it. Your Easter jars are complete and looking super cute.

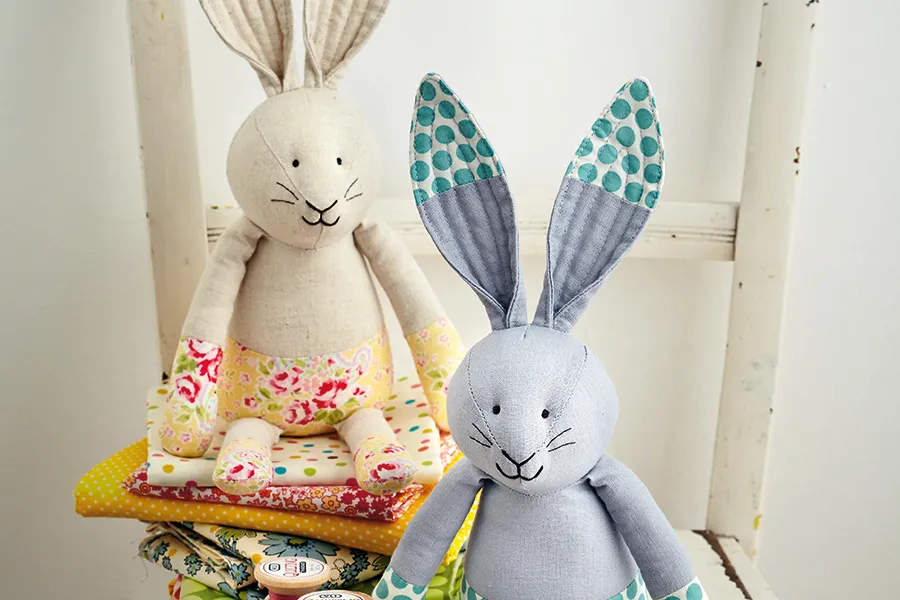
Try a bit of seasonal sewing and stitch up our adorable bunny sewing pattern for Easter too!
What will you put in your Easter jars?
These bunny Easter jars are great for storing chocolates and mini eggs, but you could also use it as a great gift container too. Fill it with homemade treats or healthy snacks to make a lovely Easter gift.
Find more creative Easter crafts
We love spring projects, so you're spoilt for choice here at Gathered – take a look at our collection of 50+ easy Easter craft ideas to make this weekend.
