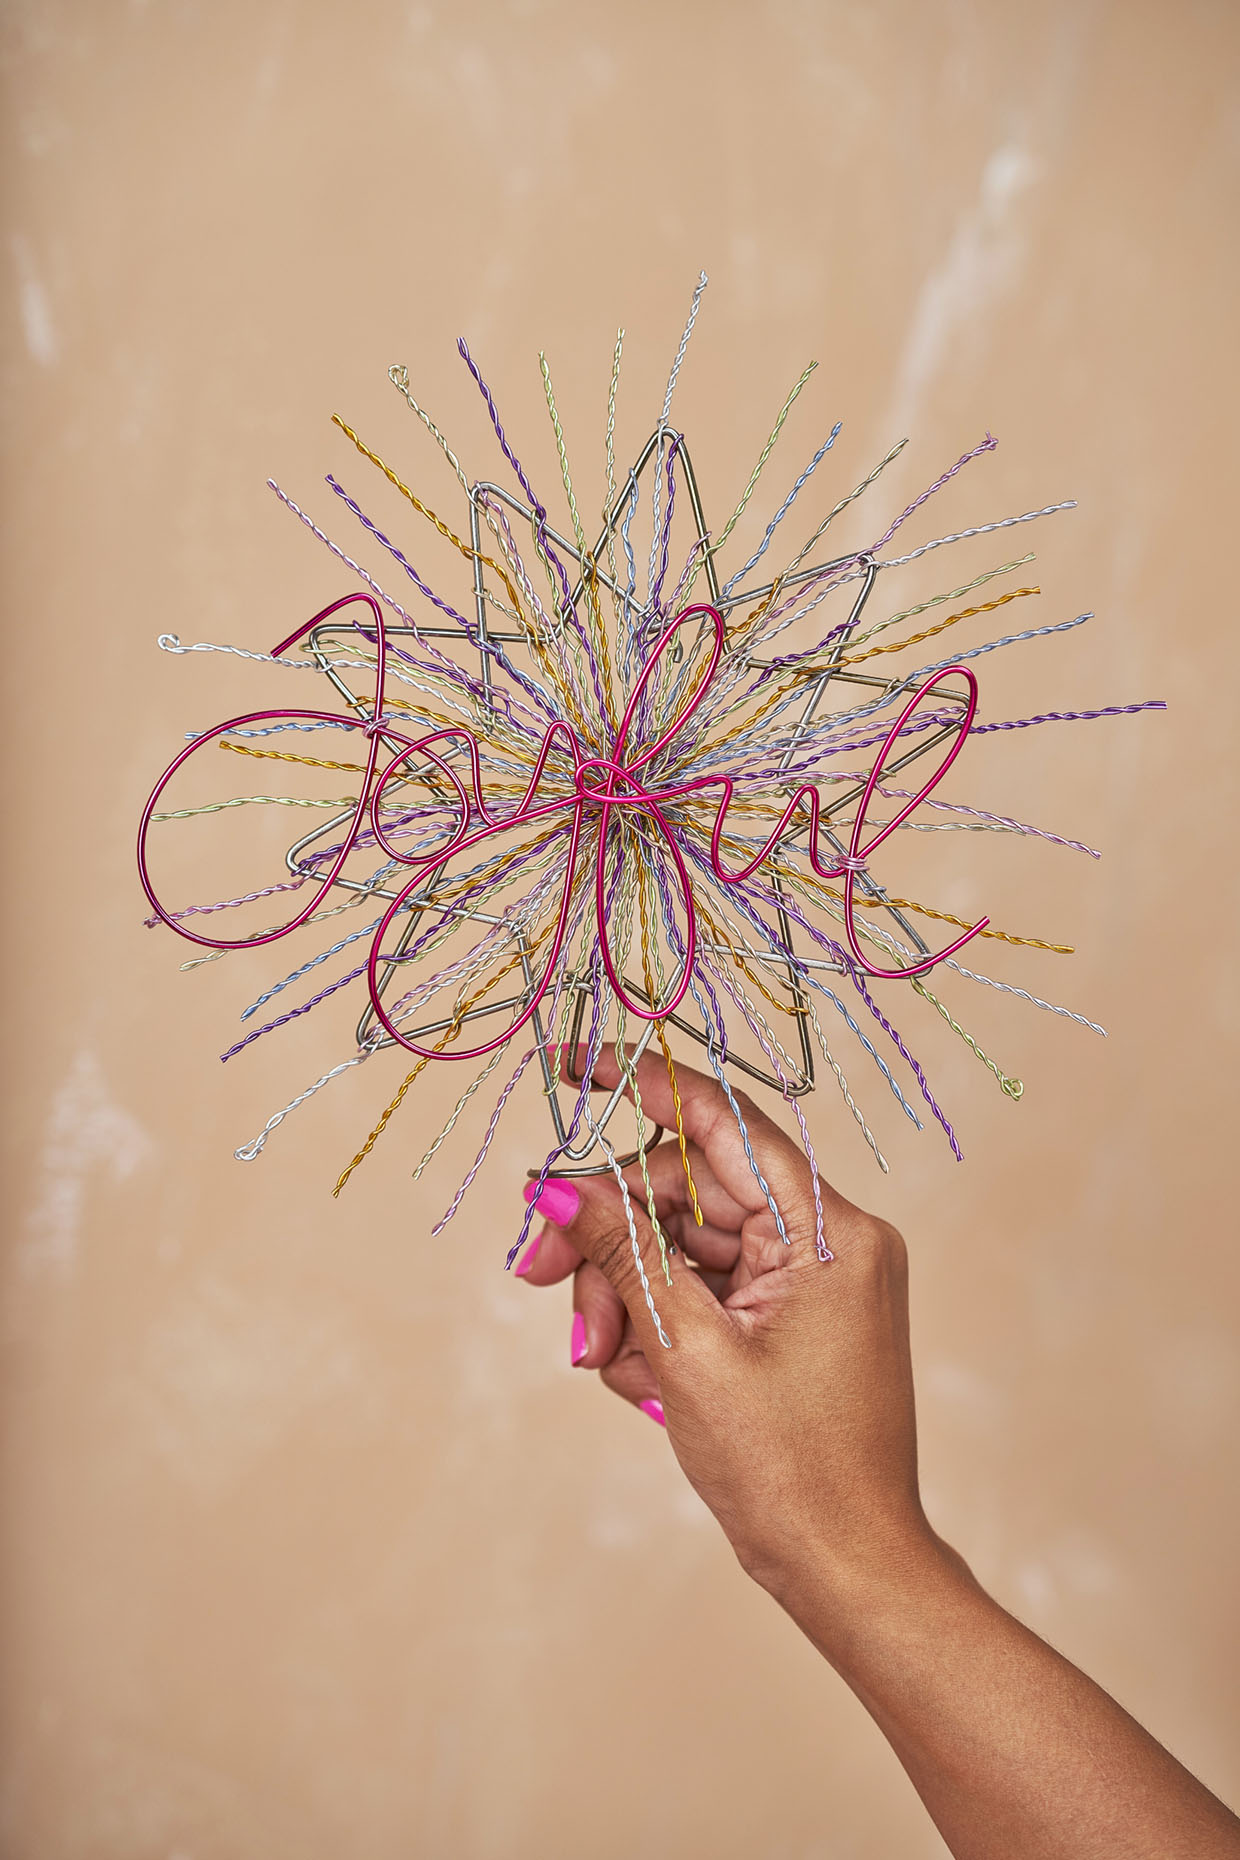
Step 1
Shaping the base stars
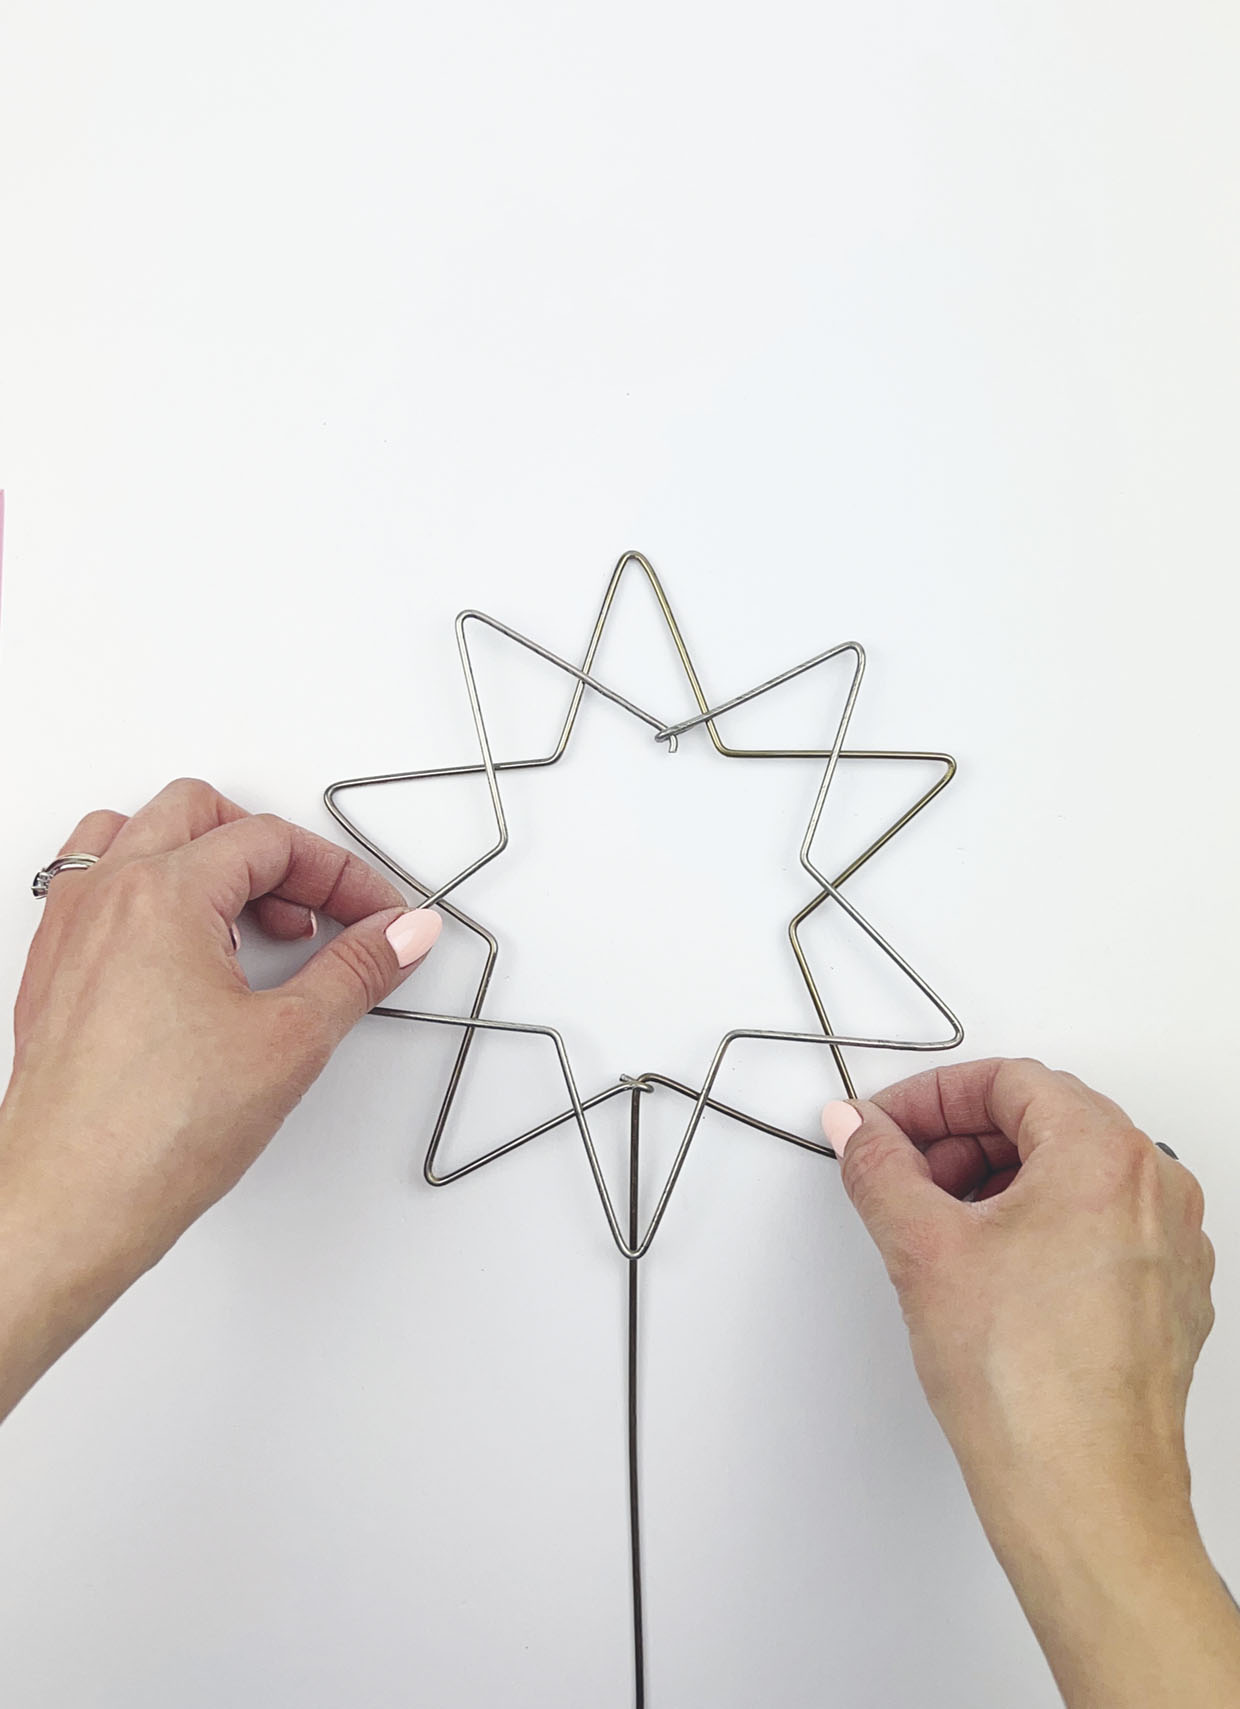
To create the two base stars, remove the hooks from the two hangers with wire cutters.
Using pliers, bend one of the hangers into a star shape, measuring 6cm for each side as you go.
Leave any remaining wire at the length it is, as this will become the topper which attaches to the tree.
For the second star, bend the remaining hanger in the same way, but make sure the first and last lines are approximately 9cm, which will give you enough excess wire to secure the star into shape. Do this by bending the wire around the end point. Trim any excess wire.

Step 2
Securing the stars in place
To secure the stars, place the second star (without topper piece) on top of the first star.
Cut three pieces of your 1mm aluminium craft wire around 5cm long, and use this to tie the stars together. This is important, as when you begin to attach the starbursts, the stars like to move about!
How to make a DIY Christmas tree
If you’re bored of traditional Christmas trees (or don’t have room for one), take a look at Gathered’s DIY Christmas tree ideas to find amazing alternatives.
Step 3
Bending the starbursts into shape
Now to make the bursts. Cut 42 pieces of 1mm wire into 50cm sections. Ours uses seven different colours, so six pieces of each colour.
Starting at an inner corner of one star, fold a piece of 1mm wire in half and twist it around the corner, heading in a straight line to the opposite point of the same star.
As you approach the inner corner of the other star, wrap the wire around the corner and continue twisting.
Do the same twisting action when you arrive at the point of the star and keep twisting until the entire piece is used up (you will trim them into a more uniform look later).
Step 4
Creating the radiating starbursts
Continue twisting the pieces of wire around the stars in this way. Every corner and point should have wire attached between them, with bursts radiating out.
You will find that the wire begins to double up, and that’s great – this gives substance to the centre of the star.
As you move around the points of the star, you will also need to wrap and twist around the centre point, too.
Step 5
Building up the bursts
Next, add extra bursts – one either side of each star point. This is a fiddly bit, but it gives the topper more impact.
Continue until you are happy with the arrangement of the bursts and then measure 5cm from the edge of the star to the tip of the burst, and trim. Do this for all bursts, straightening them by pulling them gently outwards.
Add some curls to the ends of the bursts, by bending the tips over with your pliers.
Step 6
Curl wonderful wire letters
Lay your topper onto a blank piece of paper and mark the edges of the widest points. Remove the topper and write a word in between the two marks.
We chose ‘Joyful’, as it’s easy to make with wire, due to the cursive nature of its letters. Sketch out your words and use this as a template, using your 2mm wire to create the word in wire.
Once complete, attach it to the topper using any remaining 1mm wire.
Finally, using your pliers, curl the long piece of wire on the first star into a spiral to place on top of your Christmas tree.
