Decoupage tray DIY

Decoupage tray DIY

Upcycle your leftover gift wrap into a sleek party server using Suzonne Stirling's decoupage tray DIY.

Try 6 issues of your choice of craft magazine from just £9.99

Published: July 5, 2024 at 9:47 am

We all know us crafters have a habit of squirrelling away used wrapping paper for our to-be-confirmed future projects – so here’s a good way to actually put those scraps to use.

These florals (ours came from Rifle Paper Co mint floral gift wrap) look oh-so-elegant when anchored on a black background and framed with a gilded rim. Just the thing for serving up a trayful of cocktails this New Year’s Eve.

This project was created by Suzonne for Mollie Makes magazine – for more easy-make craft projects and creative inspiration, subscribe to Mollie or click here to find out more.

Materials

  • Tray
  • Floral gift wrap
  • Sharp scissors
  • X-acto knife (optional)
  • Decoupage medium in matte finish (we used Mod Podge)
  • Flat paintbrush
  • Gold leaf sheets
  • Gilding adhesive
  • Cotton gloves
  • Stiff brush (such as a stencil brush)

Decoupage tray DIY

Check out our upcycling projects and papercraft projects for more creative projects.
Step 1

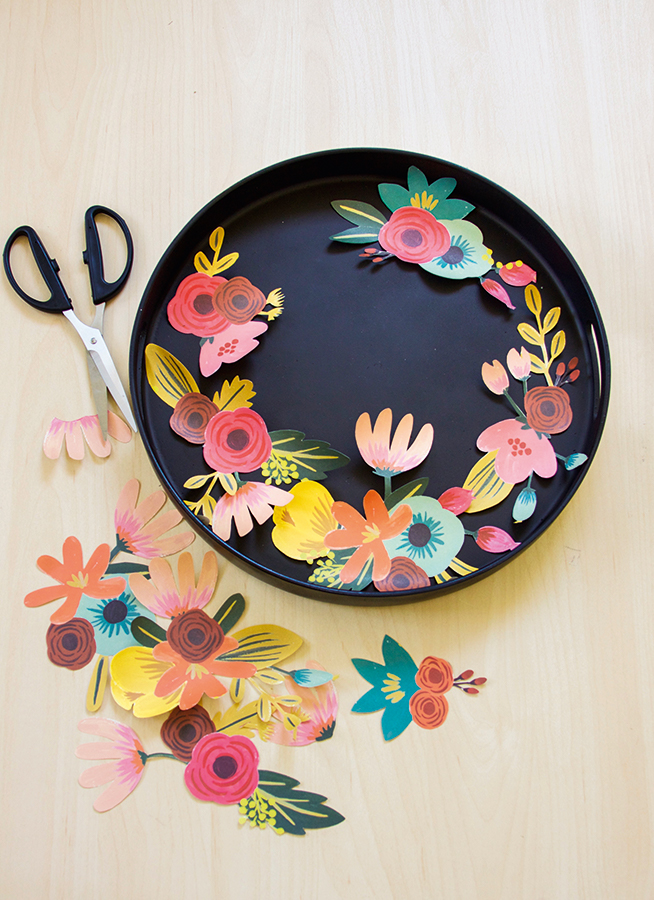
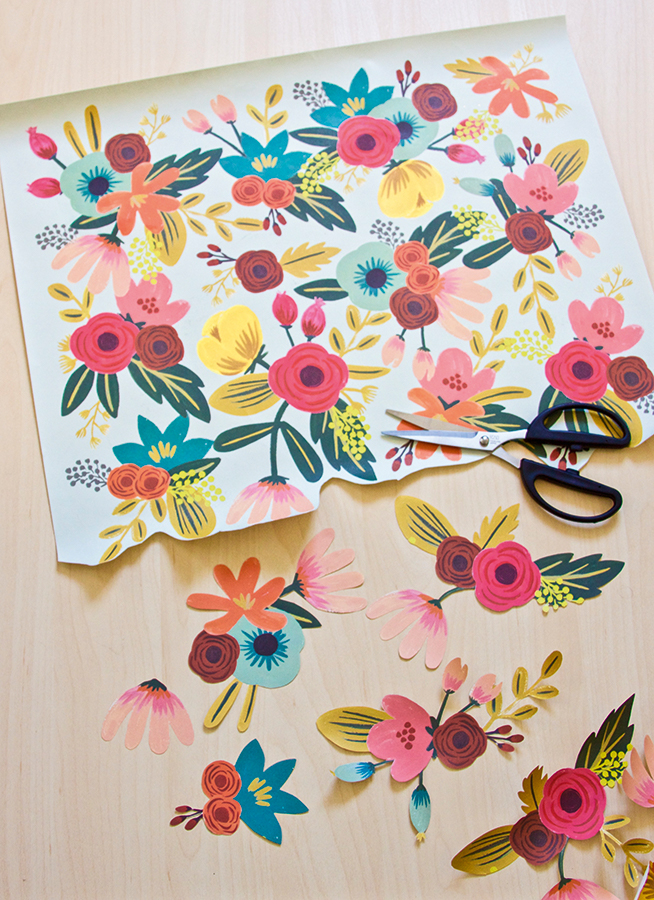
Decoupage tray diy Step1REDecoupage tray diy Step1REPaint your tray, if you wish – we spray-painted ours black. Cut the floral elements out of the gift wrap sheet using sharp scissors. You can use an X-acto knife to cut out small interior sections, if need be. Our tray needed five cut-outs, plus some additional leaves and smaller pieces.

Step 2

Decoupage tray diy Step2RE

Arrange the cut-outs on the surface of your tray. Concentrate on the larger floral elements for now – you can go back later and add additional layers if needed.

Step 3

Decoupage tray diy Step3RE

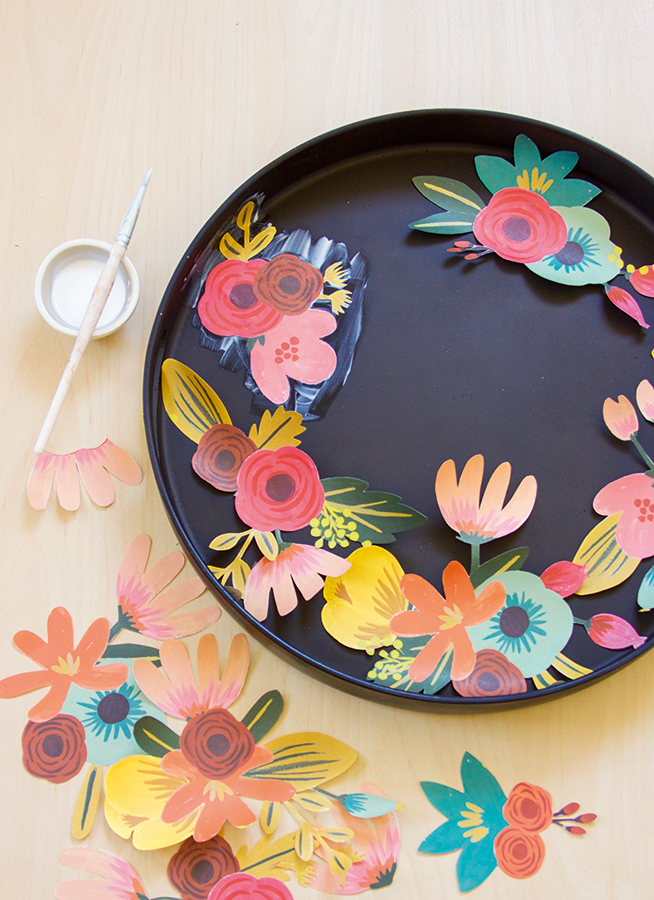
Typically, when decoupaging, decoupage medium is applied to the back of the paper cut-out. But when working with many delicate pieces, it’s easier to apply the decoupage medium to a small area of the tray and place the dry paper cut-out directly on top. Smooth out any air bubbles with fingers. Repeat with each cut-out.

If you have any large air bubbles, apply decoupage medium over the cut-out as well and use your fingers to push the bubbles out. It’s easier to work with the paper when it’s wet.

Step 4

Decoupage tray diy Step4RE

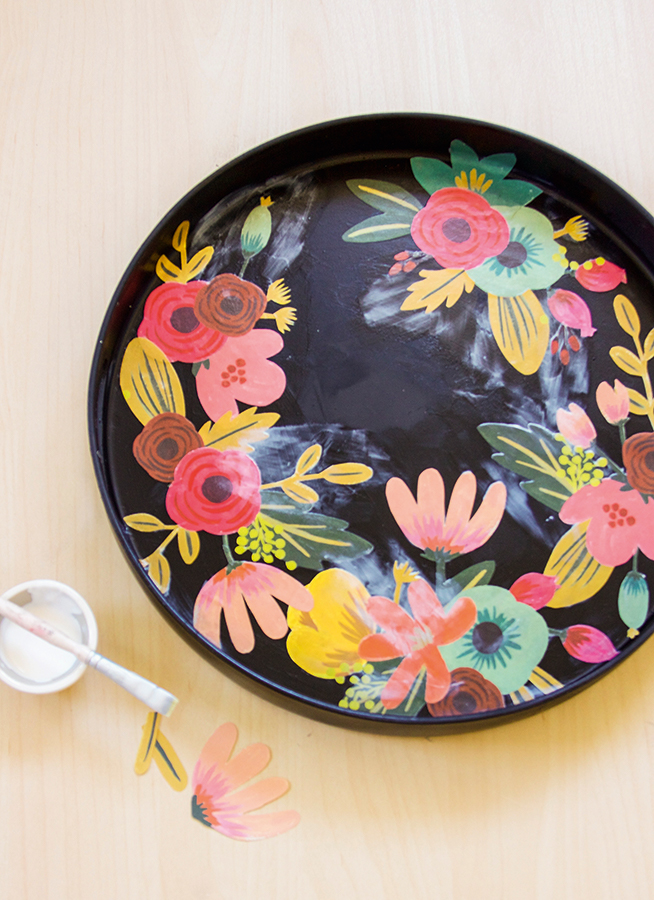
Once the major floral elements are in place, go back and add smaller elements, if needed. On this tray, extra leaves were added to the top right cut-out, as well as the left and right areas in the bottom section.

Step 5

Decoupage tray diy Step5RE

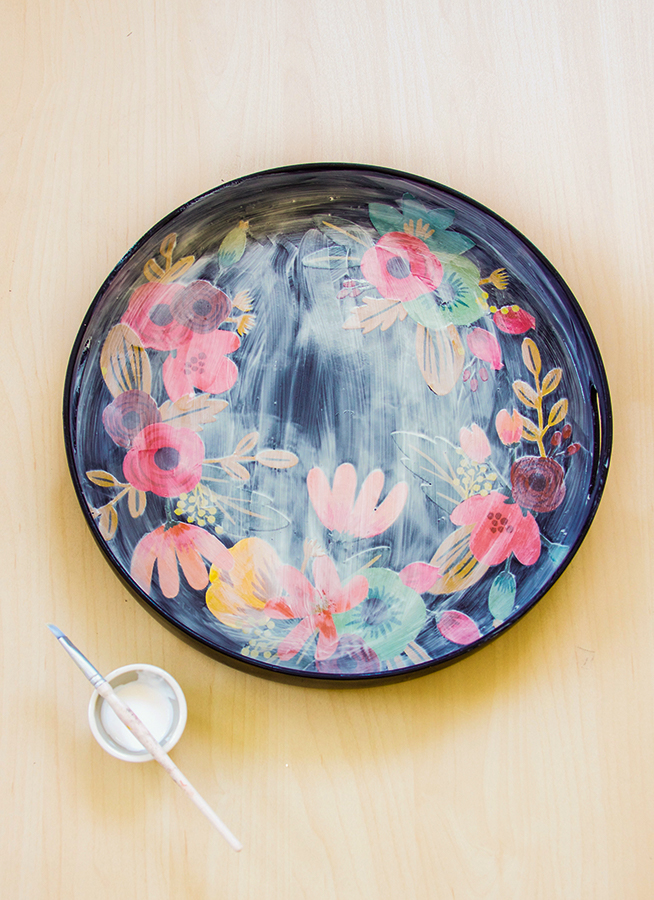
Cover the entire surface of the tray with decoupage medium. Allow it to dry fully, then repeat with a second coat.

Step 6

Decoupage tray diy Step6RE

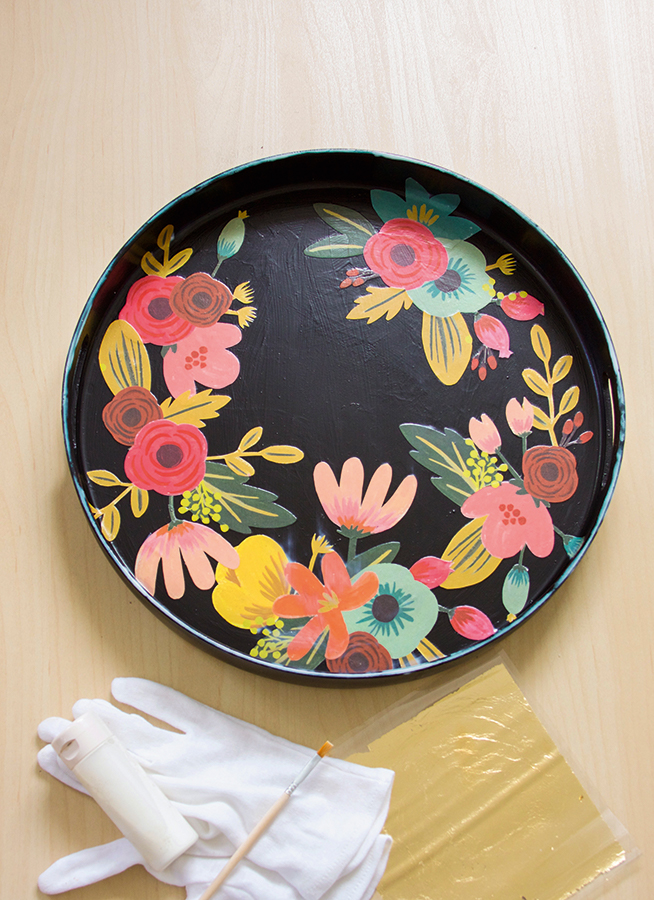
When the tray is fully dry, apply gilding adhesive around the rim of the tray and let it dry until tacky (usually 20-30 minutes, depending on the brand).

Step 7

Decoupage tray diy Step7RE

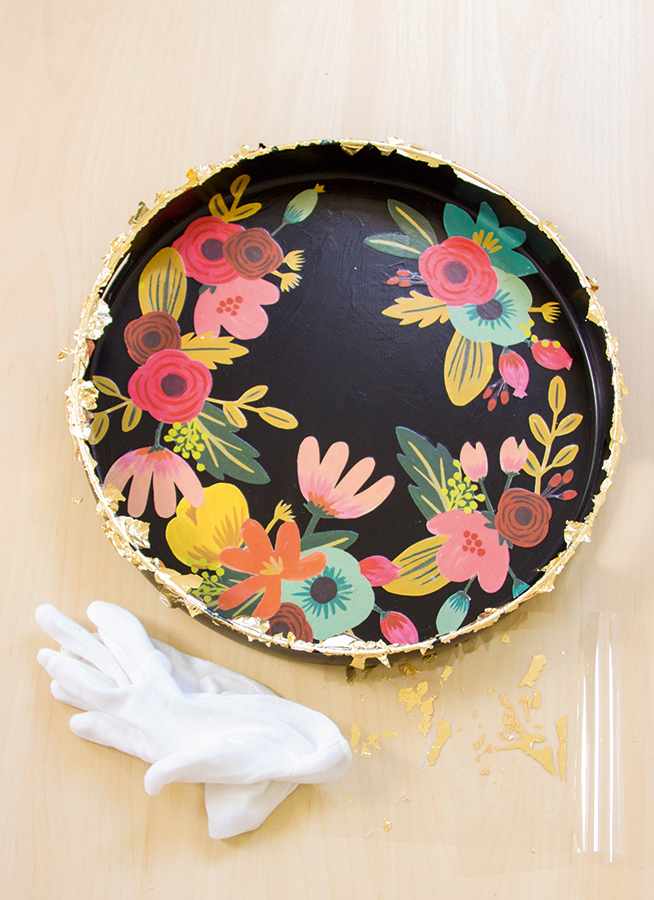
Wearing cotton gloves, press the sheet of gold leaf around the edge of the tray. It will cling to the tacky adhesive. If it doesn’t grab onto it immediately, it means the adhesive isn’t ready and needs to dry longer.

Step 8

Decoupage tray diy Step8RE

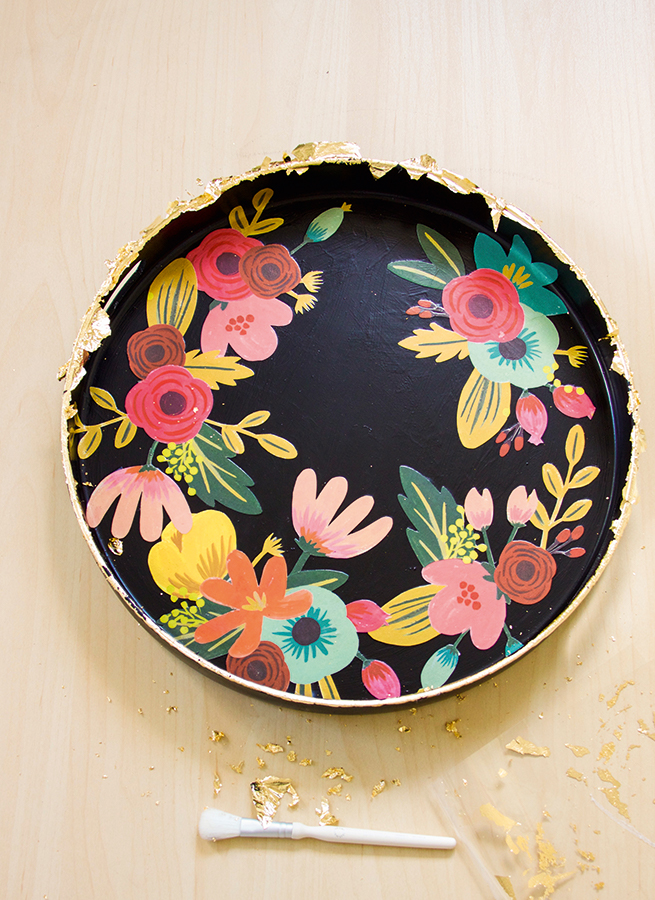
Brush the excess gold leaf away using a stiff brush, until just the rim is covered. Any bare spots can be left as is, or touched up using additional adhesive (dabbed on with a brush) and more gold leaf. Don’t throw away the leftover flakes – store them in a container to use later.

We hope you enjoyed making Suzonne’s project. Share a picture of your decoupage tray DIY with us on Instagram using #molliemakers, and don’t forget to subscribe to Mollie Makes to get creative inspiration delivered to your door every month!