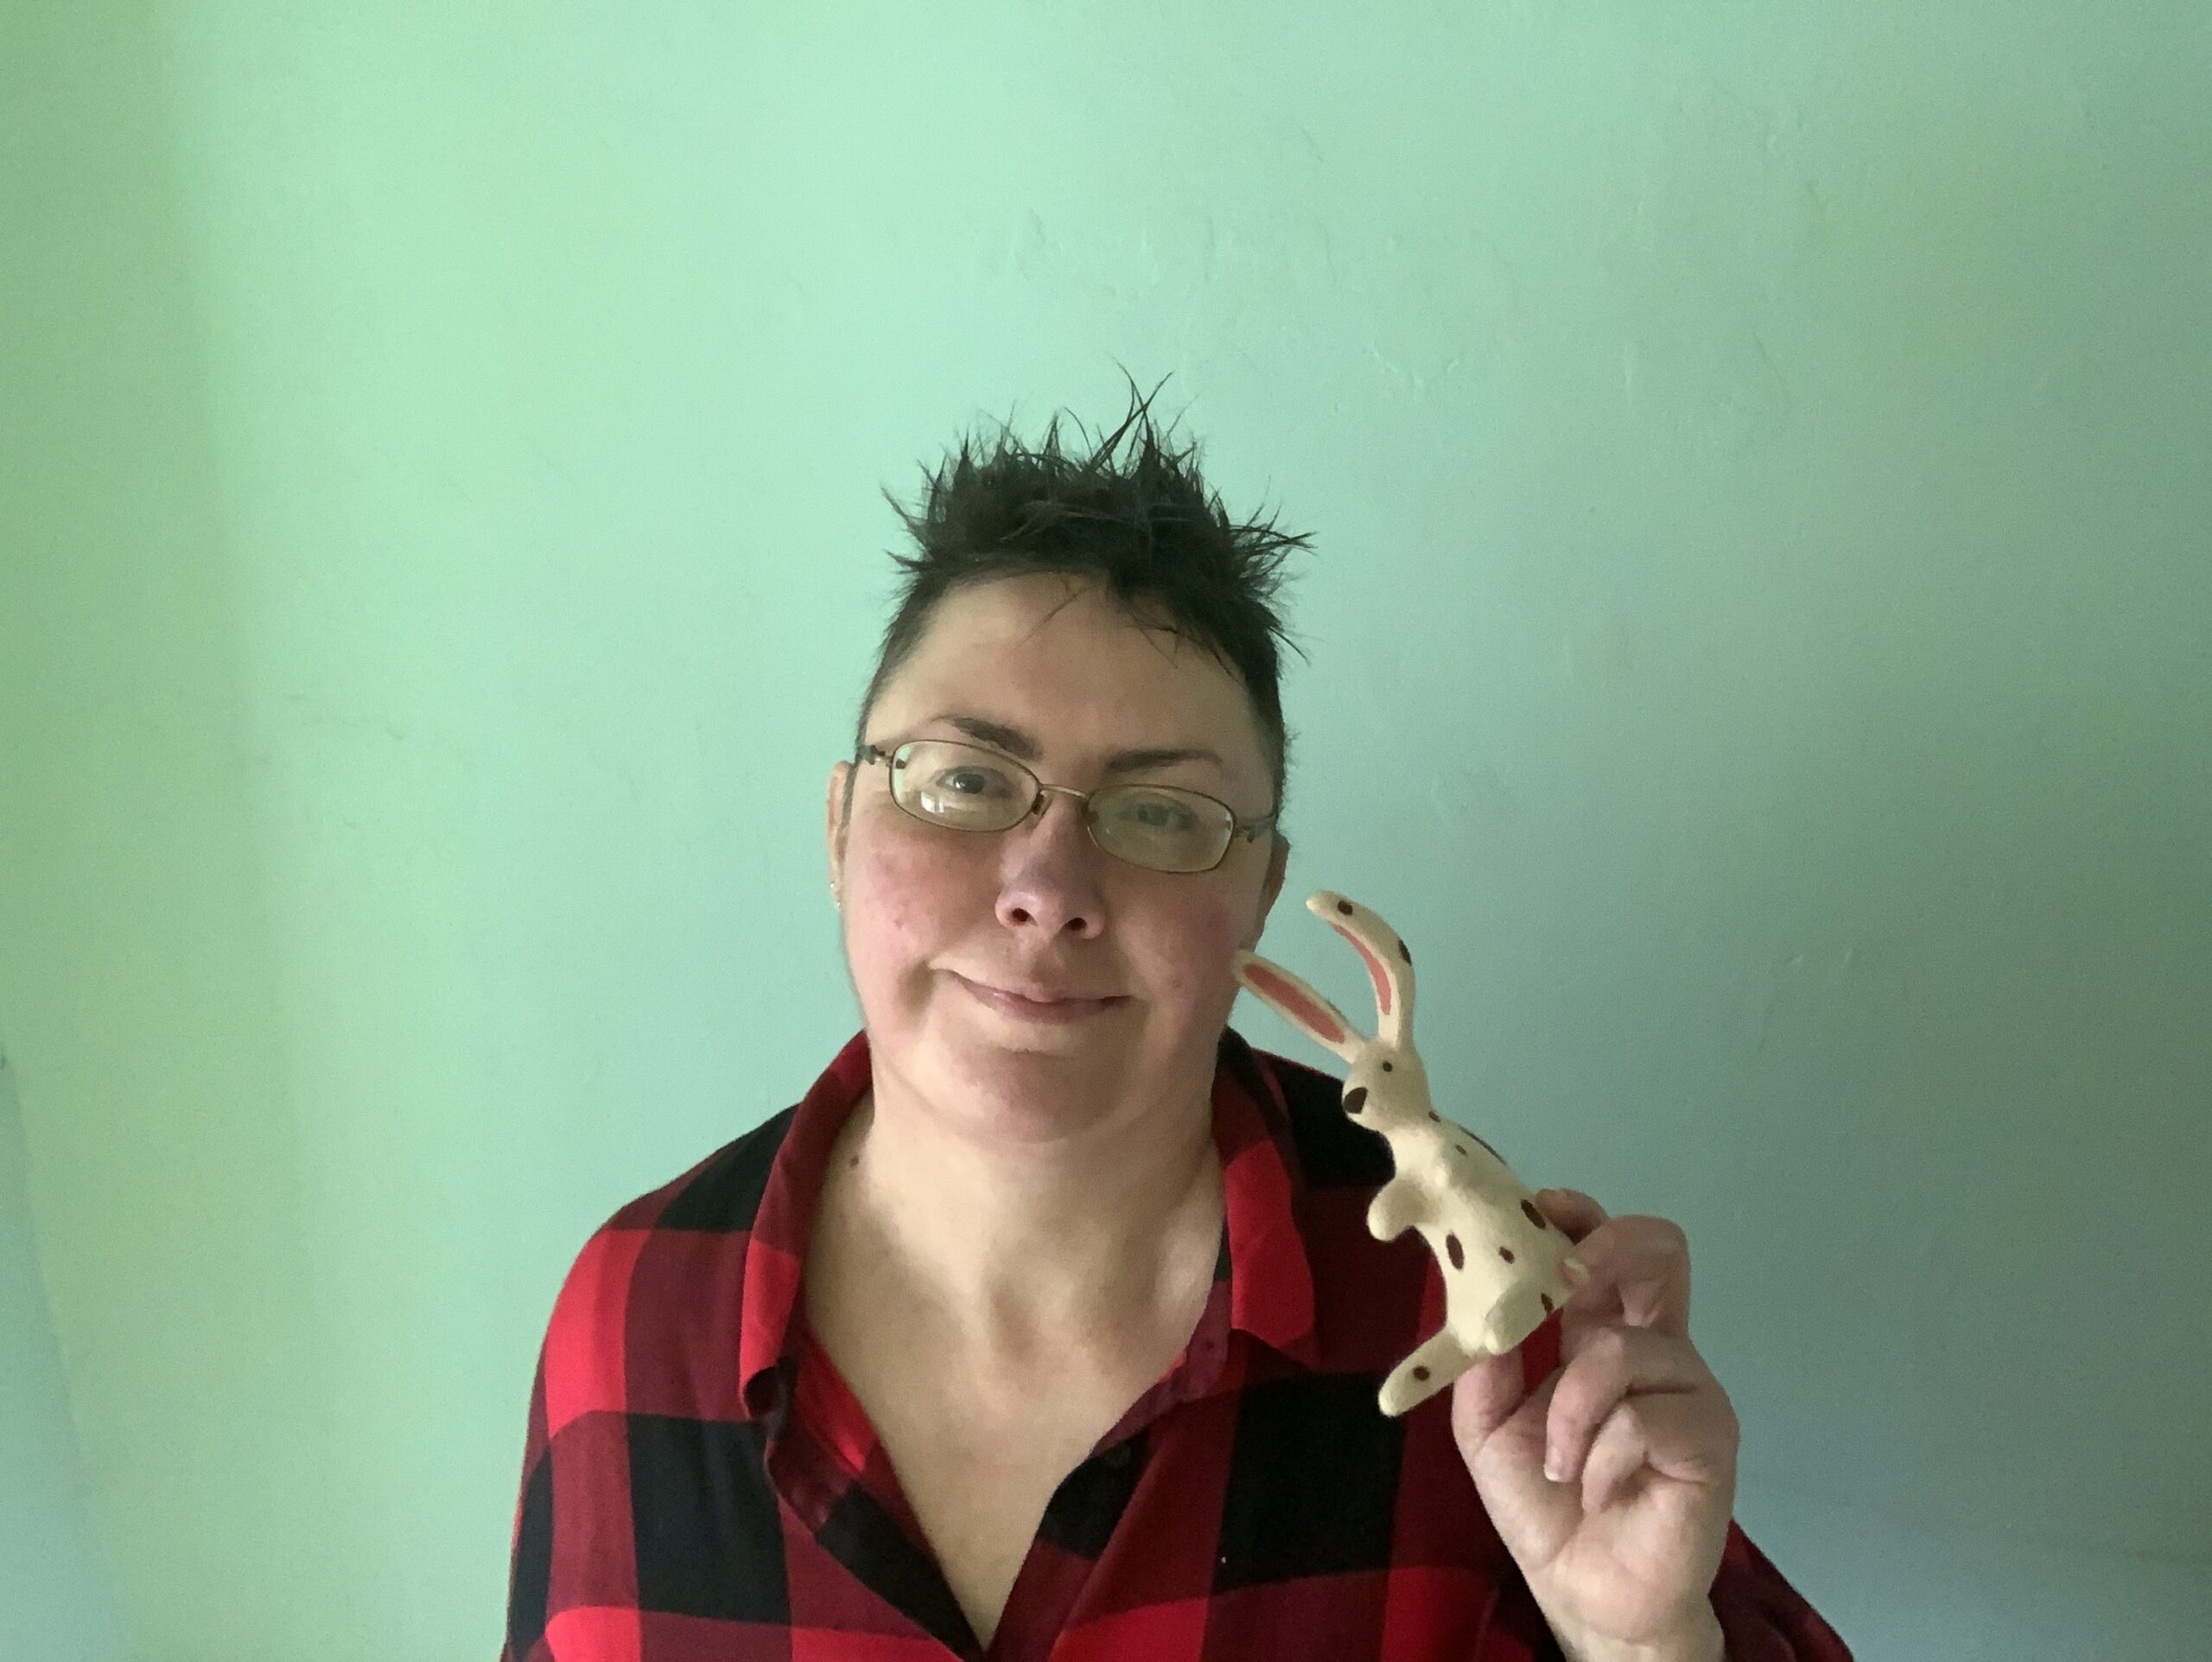
We invited the expert needle felter Gretel Parker to come onto Gathered and teach you all about needle felting. Here's her beginner's guide to needle felting. Enjoy!
I began needle felting at the beginning of 2008 when it was still a little known craft in the U.K. The first thing I made was a small rabbit of my own design and as soon as he was complete, I sat him in the palm of my hand and knew that I had found ‘my’ craft. At the time I was working as a freelance children’s illustrator, but from that day on, I devoted myself to needle felting and began selling my little animals and birds on Etsy.
In 2009, I was commissioned to illustrate two picture books which included my needle felted characters ‘Mrs Mouse’s Cupcakes’ and ‘Penny’s Lost Pennies’ and later in 2012, I designed my popular needle felt animals for Mollie Makes, going on to create many more patterns for them over the years.
My first needlefelt book ‘Little Needle-Felt Animals’ was published in 2014, and since then I’ve enjoyed teaching workshops, continuing to develop my own design range and finding new ways to use and expand the craft. I’ve found needle felting to be the most rewarding thing to do and having made countless animals and birds, I am now more focused on small home décor objects. At present, I am working on my second needle felting book ‘Decorative Needlefelting Projects’, to be published by White Owl publishing later in 2021. It’s a collection of easy to make designs with extra techniques such as darning and patchwork and I cannot wait to share it with the world. Now you know all about me, here's your beginner's guide to needle felting!
What is needle felting?
In a nutshell, needle felting is simply sculpting with unspun wool, which is usually referred to as ‘roving’ or sometimes ‘tops’. It is also known as ‘dry felting’, because unlike the more well known ‘wet felting’, there is no water or soap involved – all you need to mesh the wool together is a single felting needle. The barbs in the needle pull the wool fibres together as you jab it, and this action firms the wool up as you sculpt it.
Although felting itself is an ancient craft, needle felting in this way is relatively modern. The first known instance of it being used is by an American fibre artist, Eleanor Stanwood and her husband David, who began experimenting in the 1980s with using just one felting needle from a machine, to shape loose wool. The trend gradually grew and it began arriving in the U.K. in the early 2000s, with the rise of craft blogging and Etsy.
The joy of needle felting is that it is easy to learn, has an affordable entry-level and is portable. To get started, you just need the basic needle felting supplies listed below. Usually, a needle felted object is quite small and can be popped into a bag, so you can carry it around with you. I find it to be a very calming craft and a great anxiety reliever. And then there is the pride when you have made your first ‘thing’ – a truly magical moment!
If you're a newbie to needle felting definitely check out our needle felting kits for beginners as they come with everything you need already inside. We also have a round up of the best needle felting books so you can learn more about this fabulous craft.
Your needle felting supplies
Wool
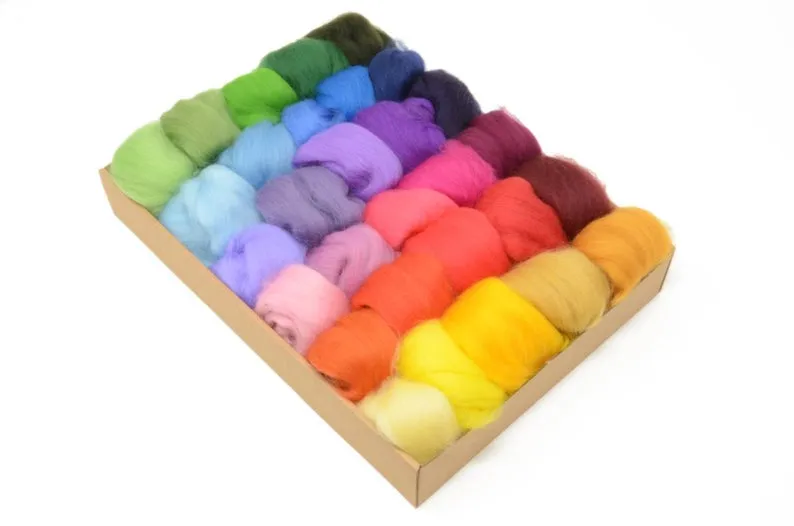
30 colour wool box from Wingham Wool on Etsy, £16.00
Most kinds of roving can be used for needle felting, but the most popular and the one that I use exclusively is merino, which has very fine fibres that suit small makes and can be smoothed down to a fine finish. If you want to give needle felting a test run, then a mixed box of small wool samples is a good purchase, such as this one from Wingham Wool, which has 30 gorgeous colours to play with. You get 200gm of wool in total, so enough to play with, without any waste. At £16.00 with free postage, it’s a good entry-level for your wool stash.
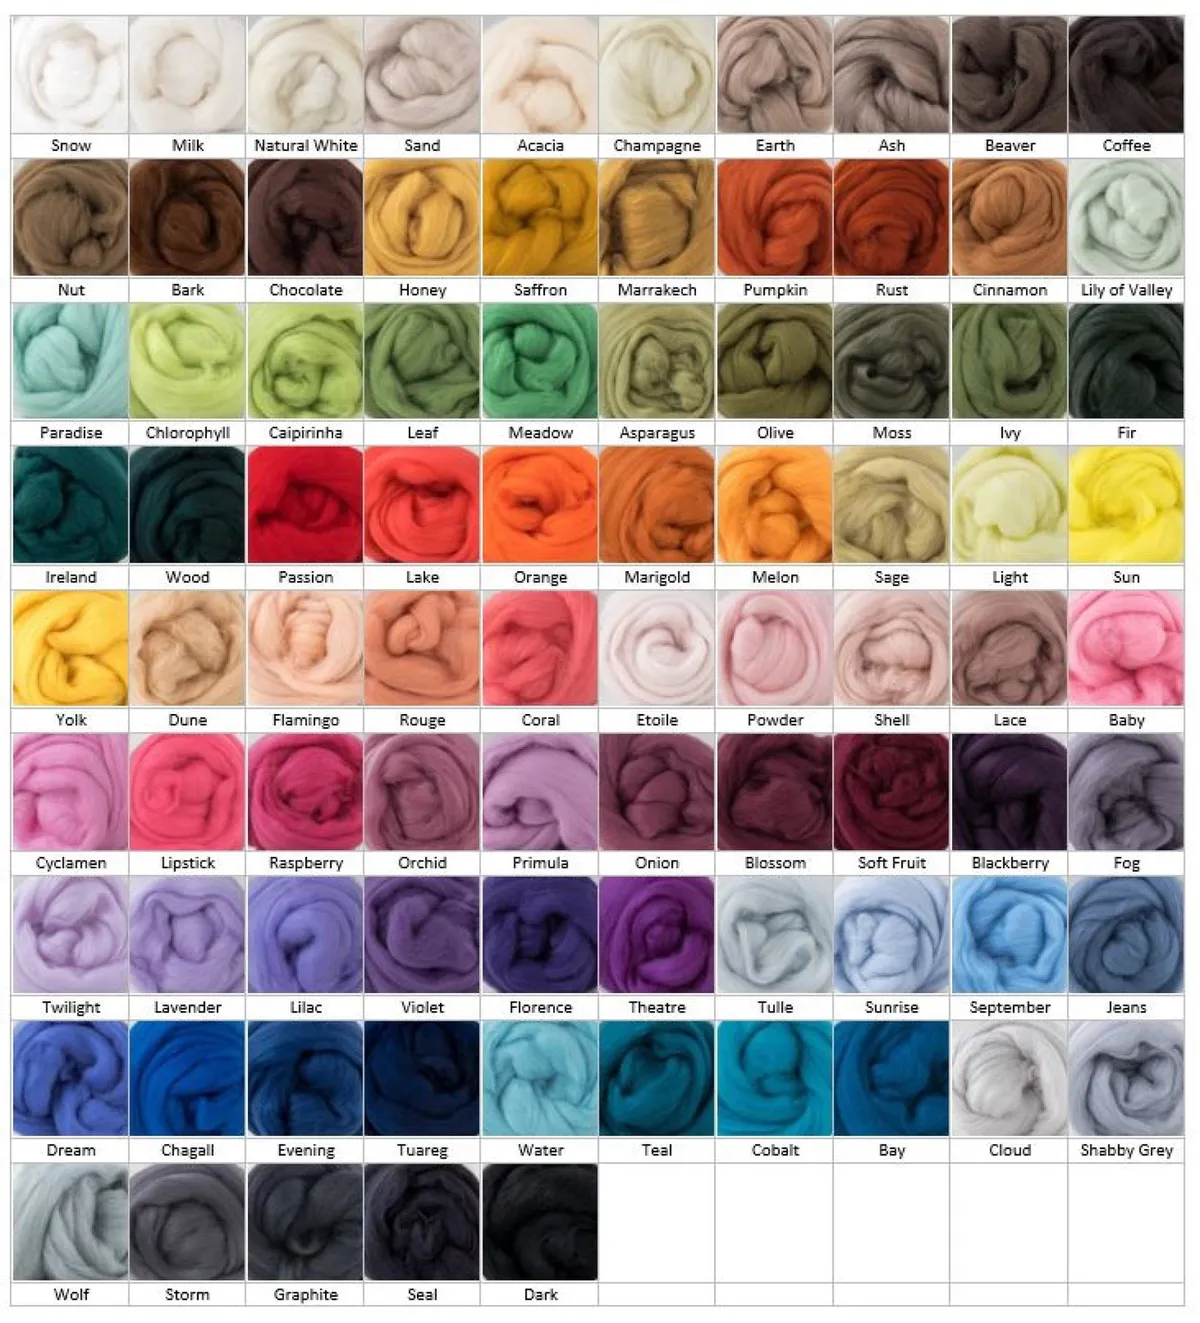
Single wool colours from the Nutwood Collection on Etsy, from £4.50
If you want larger amounts, then several shops on Etsy offer ‘pick and mix’ selections, such as this one in 50g amounts, starting at £4.50 for a single colour, saving money the more you buy, with free delivery.
Felting Mats
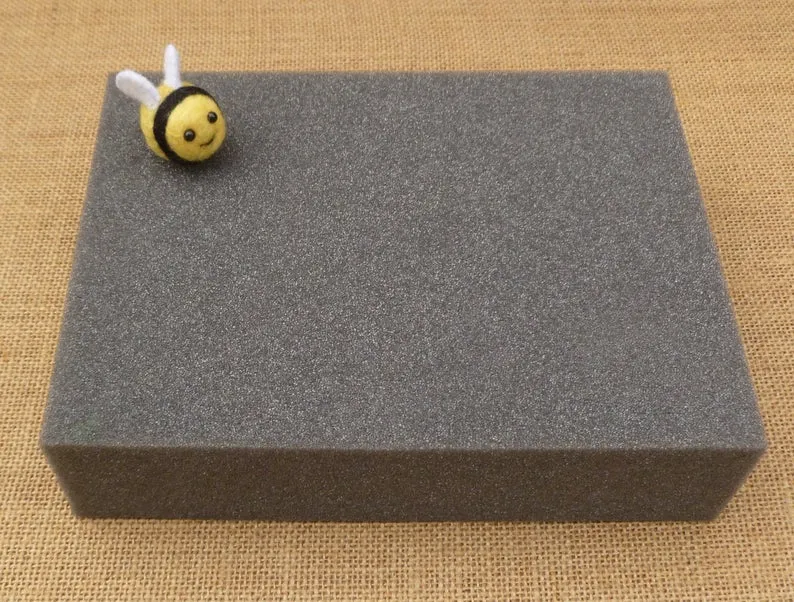
Foam felting mats from Sue’s Country Creations, from £3.41
A felting mat is used to protect yourself from the needle as you work. I use one at the start of a project when the wool is soft, but once the piece is formed and firmer, I will work with it in my hand.
The cheapest and most basic felting mat is a block of firm foam and I suggest getting one of these to begin with. This one is available in three sizes.
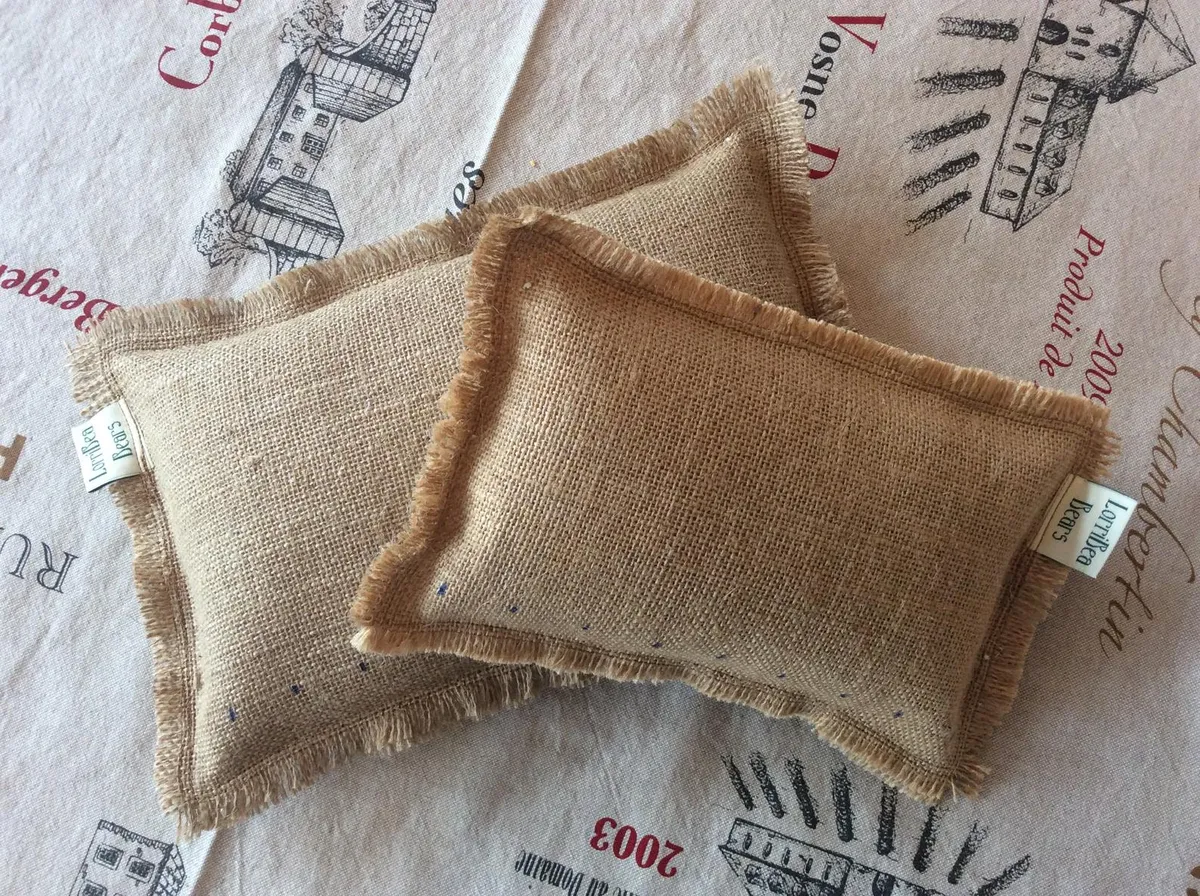
Eco-friendly 10”x7” needle felting pad made from jute from Lorribea Crafts, £6.50
If you’d like a more eco-friendly mat, then a hessian cushion that can be filled with rice may be more suitable.
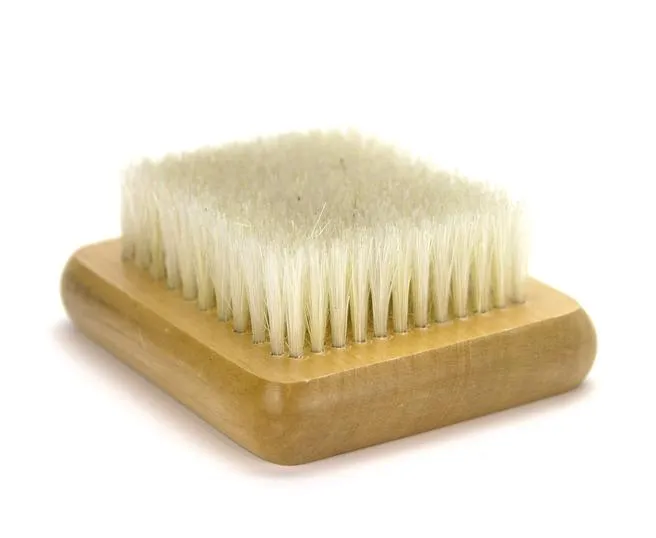
Felting Needle Mat from World of Wool, £8.99
If you decide to continue needle felting, then it’s best to invest in a bristle brush, which will last indefinitely. These come with plastic or wooden backs, like this one from World of Wool
Felting needles
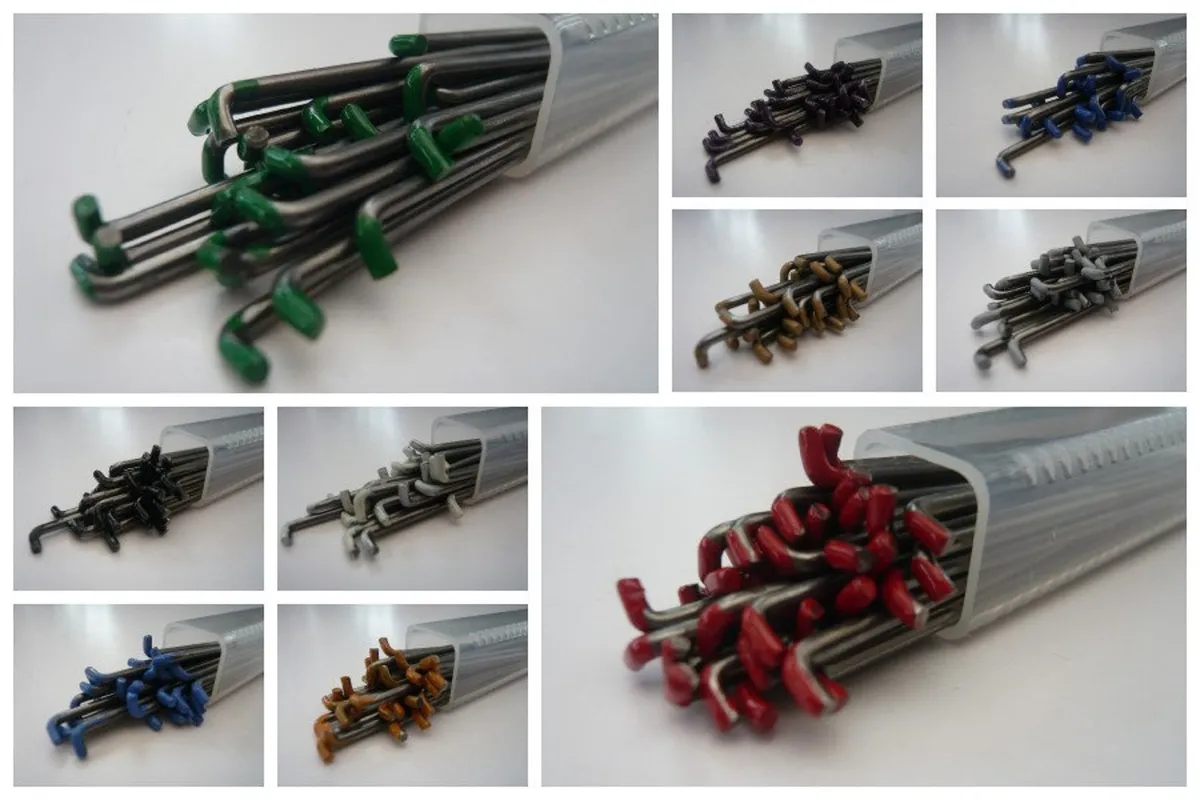
Felting needles from Heidi Feathers on Etsy, various size options from £3.99 upwards
There are several kinds of felting needles, distinguished by size and the shape of the shaft. The higher the size number, the finer the shaft is, so a size 40 is thicker than a size 42. If you are using merino wool, then I recommend that you use these sizes, as anything larger will be less effective on the fibres.
The most widely used needles are triangular, but look out for spiral (or twisted) needles too, as they glide in and out of the wool very smoothly. The best way to find out what suits you is to try a selection.
Needle Holders
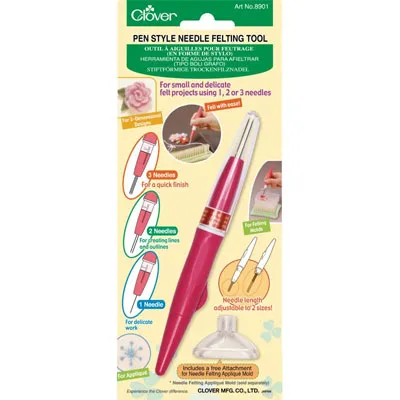
Clover pen style needle felting tool from Adelaide Walker, £10.00
Many people prefer using a felting needle on its own, however, if you have any kind of hand, wrist or arm joint issues, then a needle holder is a must. They come in many shapes and sizes and suit all budgets. As felting needles are generic, any holder will have a way of fixing the top latch of the needle into the handle, so you don’t have to worry that your needles won’t fit.
My favourite needle holder and a very popular one is the Clover ‘pen’. It is very comfortable to use, is well balanced and gives lots of flexibility when working. It can fit up to three needles if required and comes with pre-fitted needles.
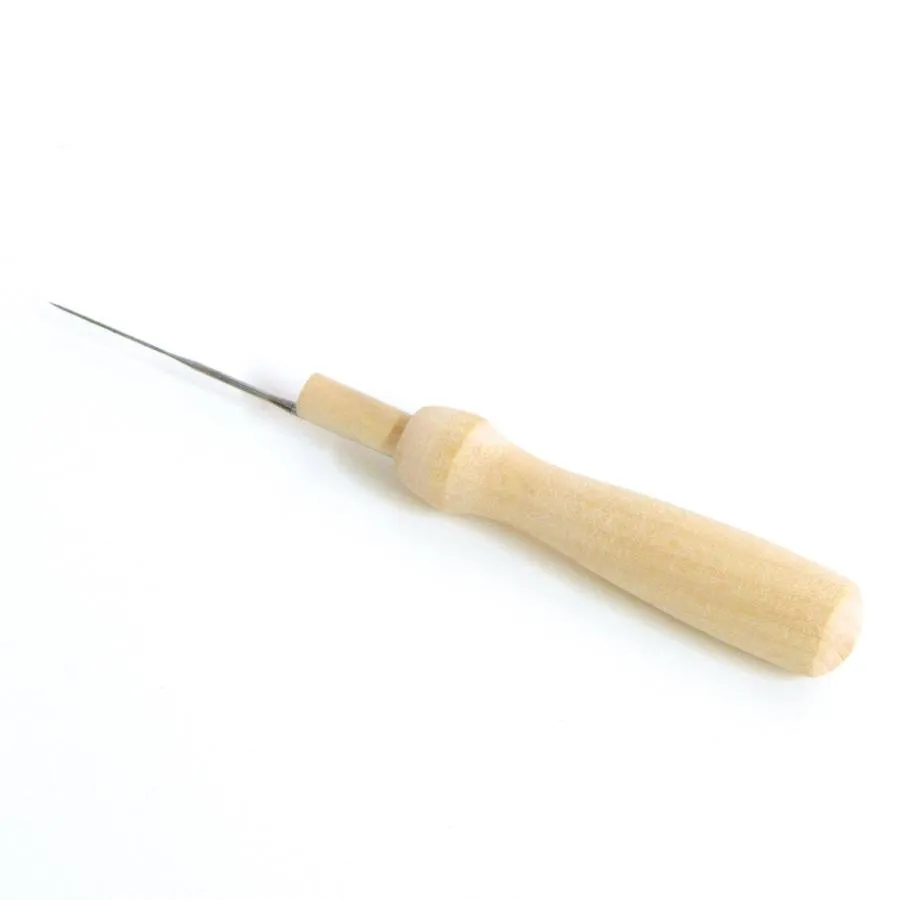
Wooden felting needle holder from Hawthorn Handmade, £3.00
The simplest type holds just one needle and is a very good, affordable alternative.
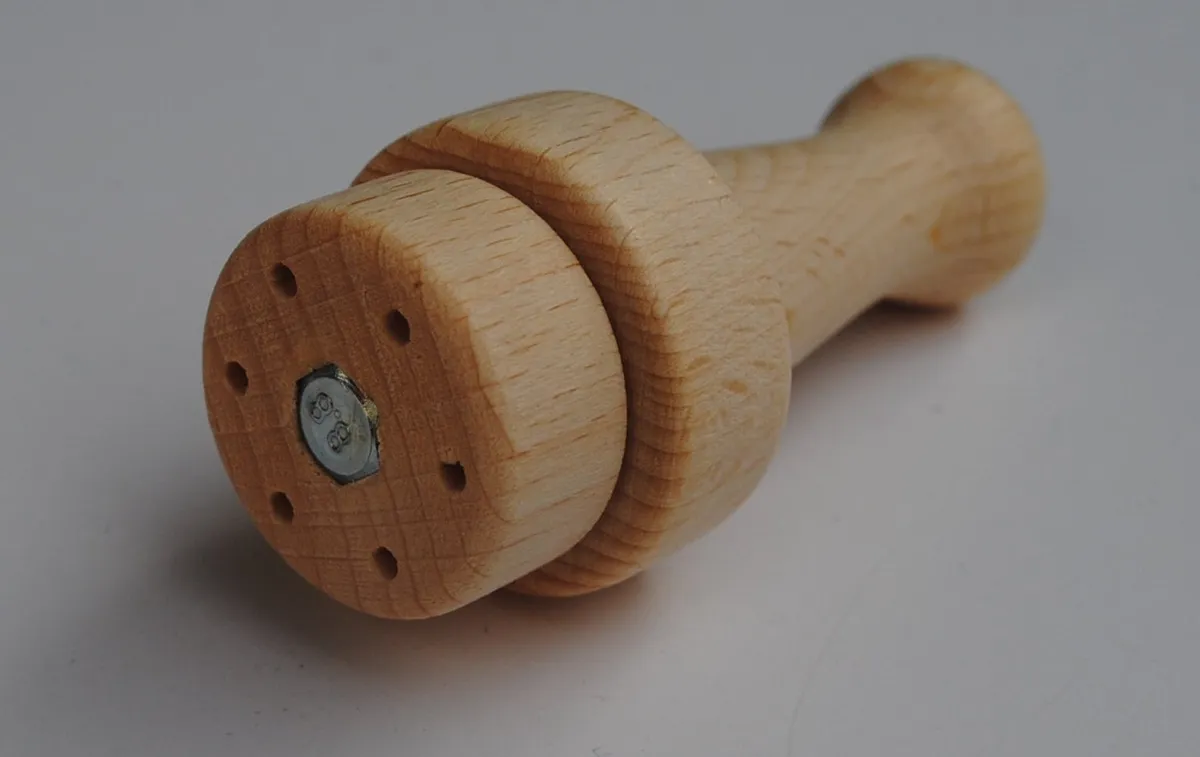
Wooden needle felting tool for six needles from Heidi Feathers, £8.99
This wooden holder can hold up to six needles and has a shorter, fatter handle which is good for grip.
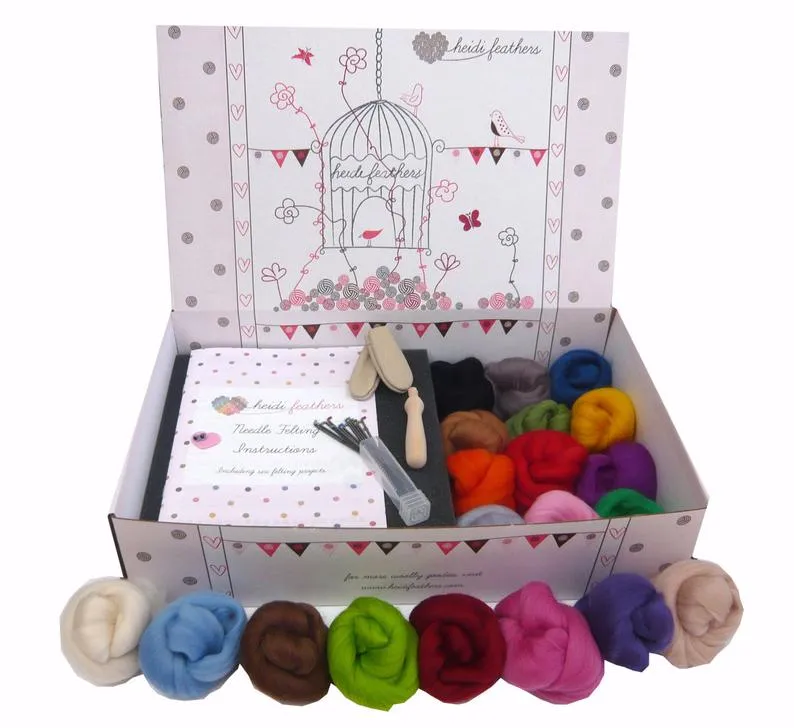
Heidi Feathers premium boxed needle felting kit, £26.99
Finally – if you’d like all your needle felting supplies in one easy purchase, then I recommend this premium needle felting kit from Heidi Feathers, which contains everything you need to get started: 200g merino wools in twenty colours, a foam mat, finger guards, a wooden needle holder, glass eyes, a good mix of felting needles and a booklet with six beginner needle felting patterns to get you inspired.
We have several needle felting projects here on Gathered for you to test your new tools out on. We have needle felted birds, as well as some adorable easy needle, felt egg cosies.
How to do needle felting - felting techniques
As with many art and craft mediums, every needle felt artist has their own particular method of working – there is no ‘wrong’ or ‘right’ way, it’s just a matter of finding what works for you.
Being a pattern writer, I have developed my own set of clear techniques, using enclosing, folding and layering, that people will become familiar with if they try a few of my projects, such as the ones here.
The following steps demonstrate the very basics of needle felting; I’ve chosen to make a simple ball so that you can see how the wool progressively firms up. It’s a good way to practise without the complication of a pattern – just pick up a needle, a bit of roving and start jabbing!
You will need –
- A handful of wool, merino roving used here
- A felting mat or sponge
- A size 40 or 42 felting needle, triangular 40 used here
Step 1
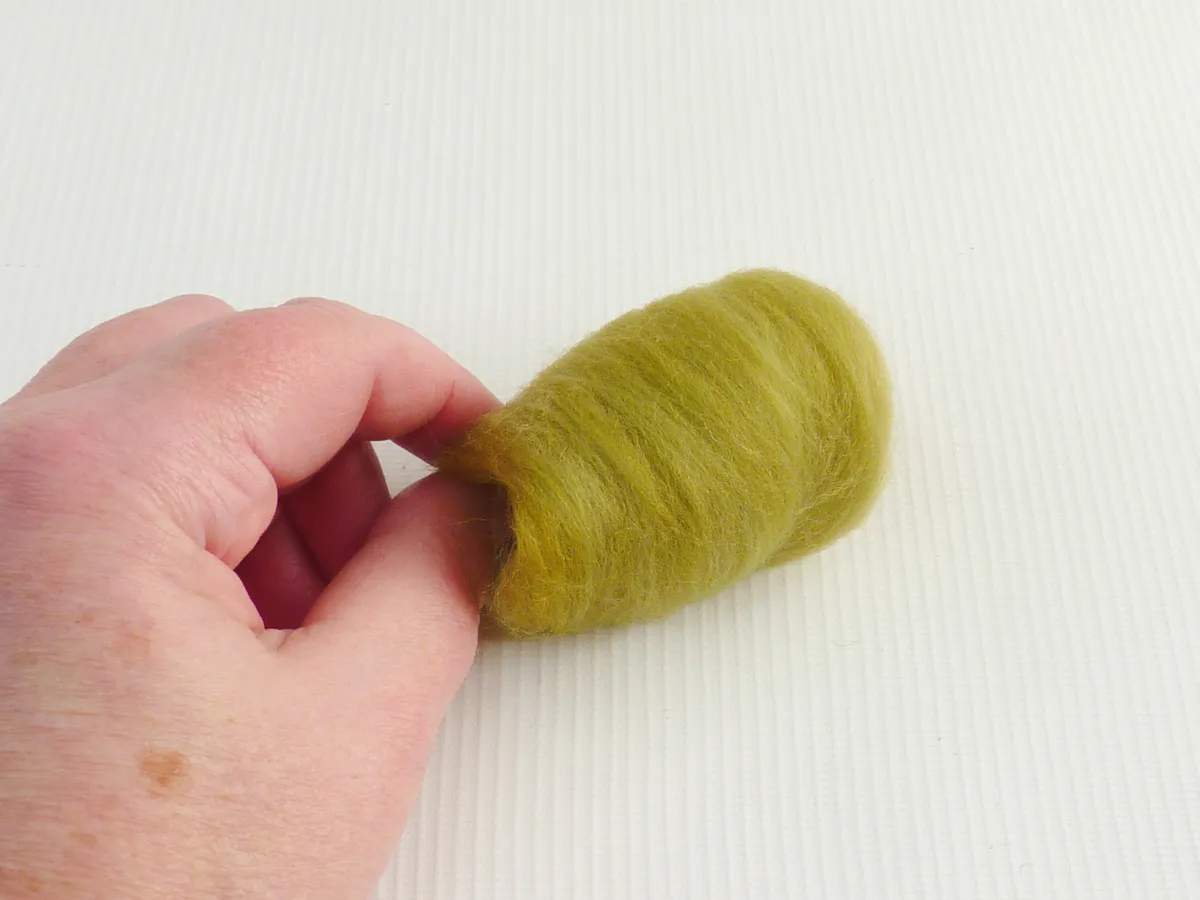
- Take a good pinch of wool and gently roll it up; I’ve used about 15cm here.
Step 2
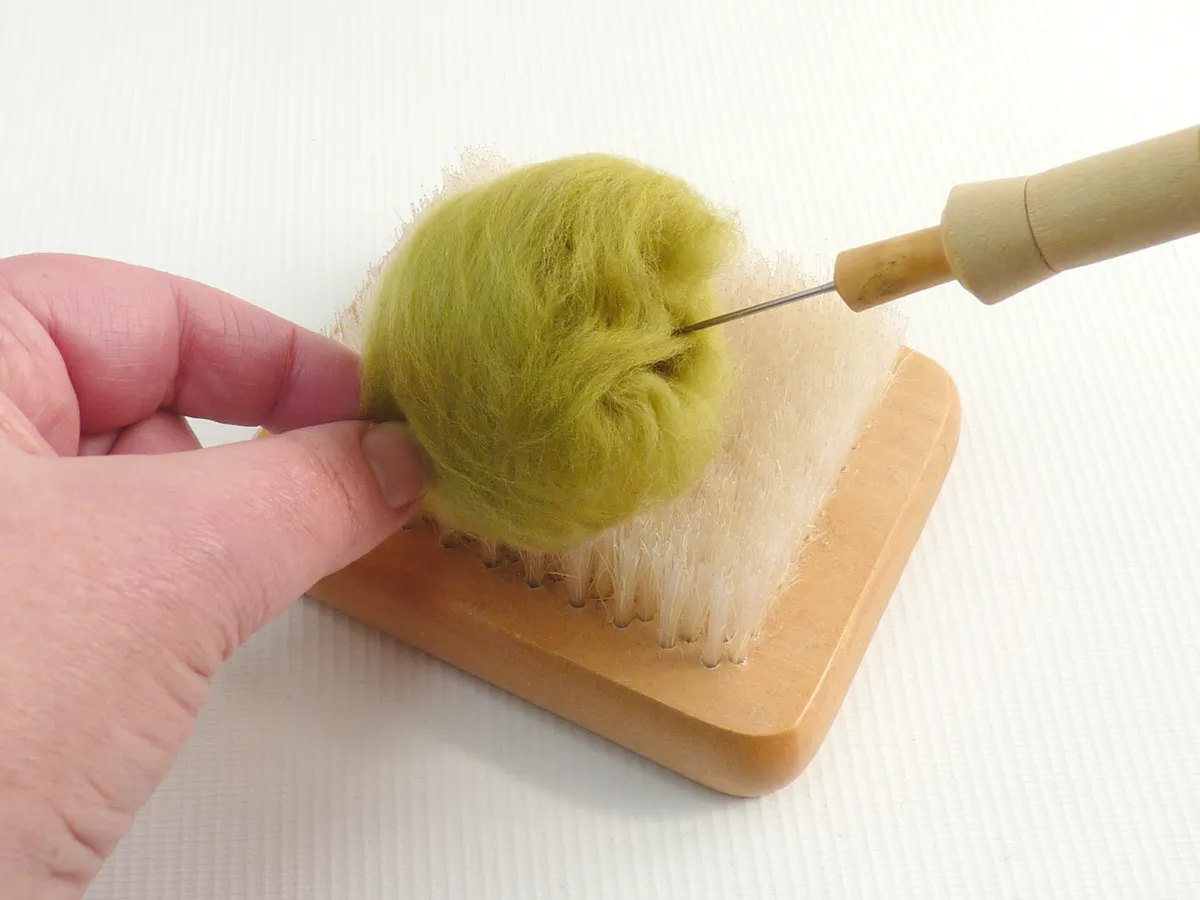
- Needle the wool, pushing the sides inwards, so that you start to get a round shape.
Step 3
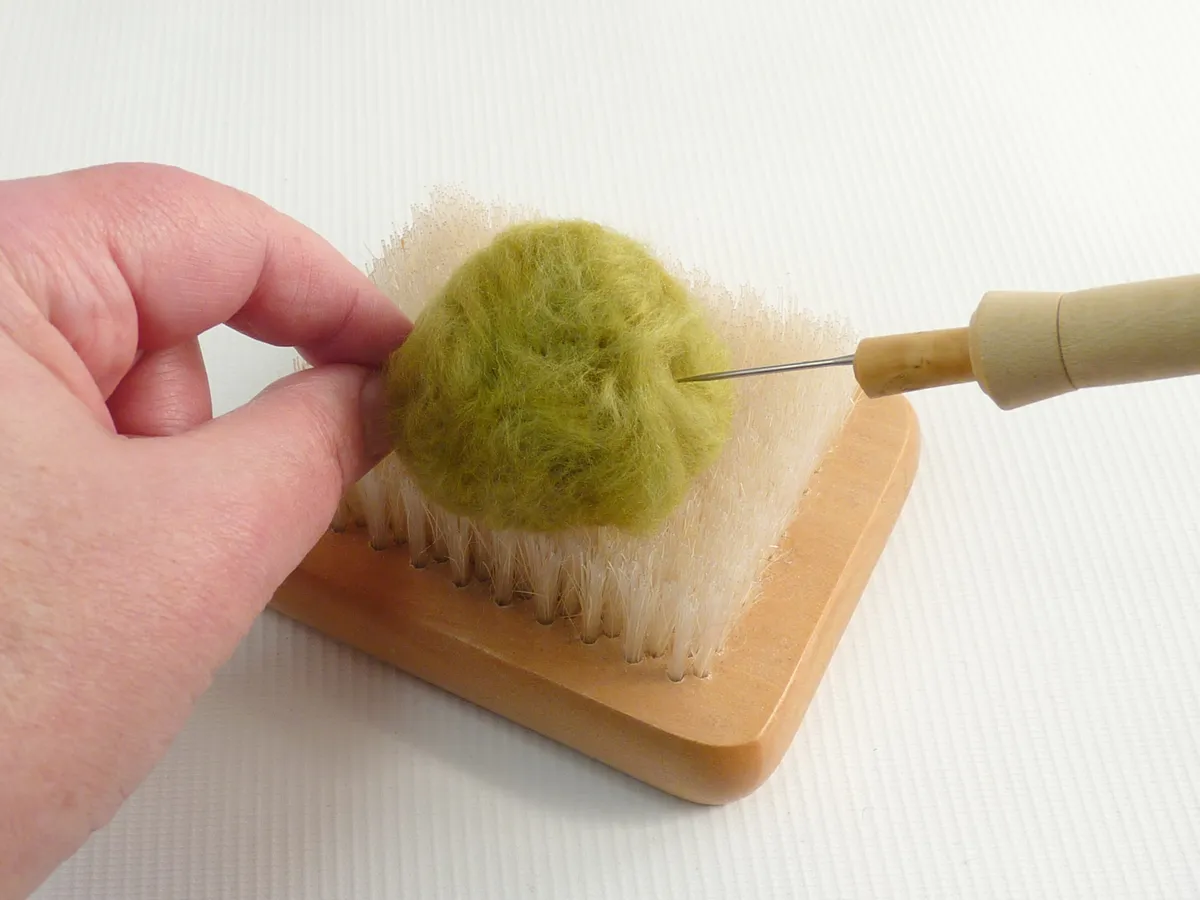
- It’s very important to turn your ball as you work, to keep it spherical.
Step 4
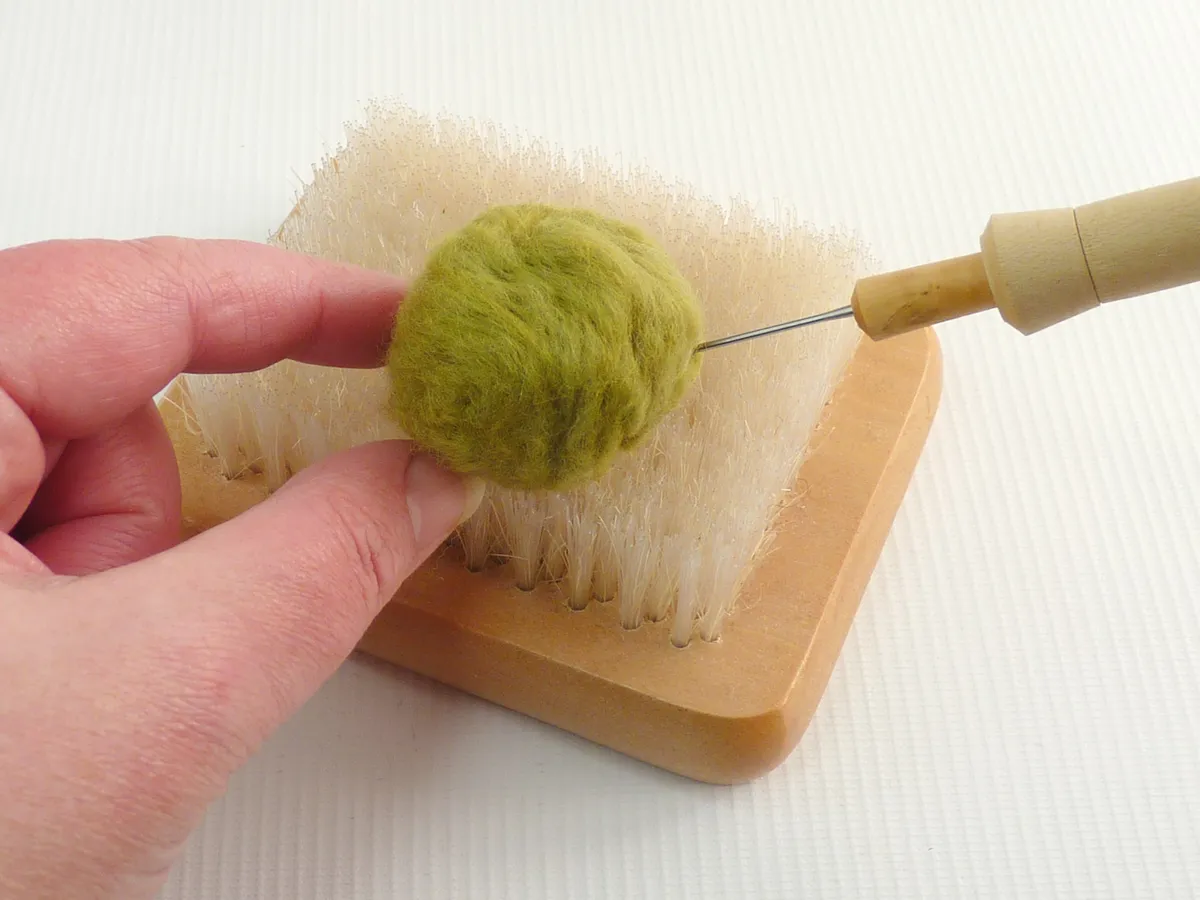
- After a while, you will start to feel the wool firming up, as the fibres stick together.
Step 5
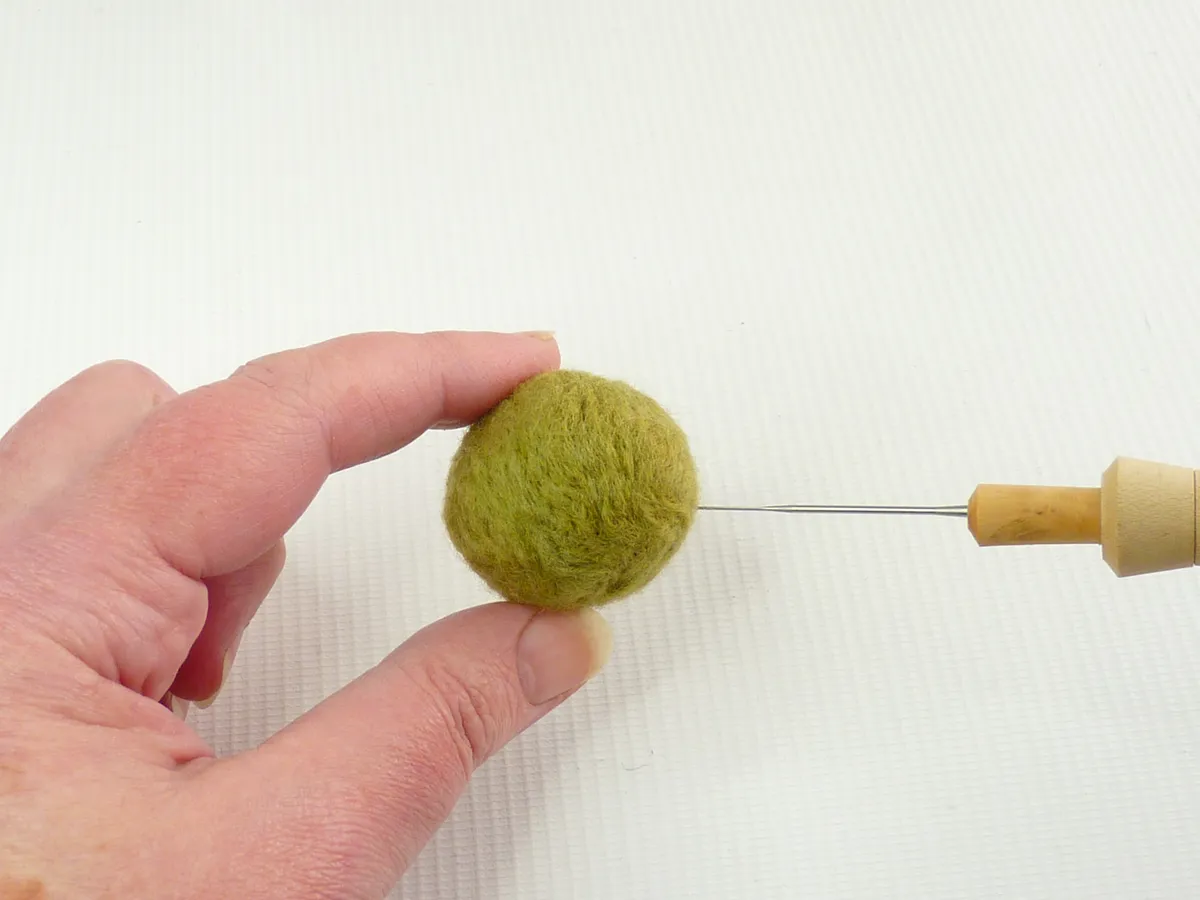
- Continue until the ball feels fairly firm. You can work with it in your hand if it’s easier.
Step 6
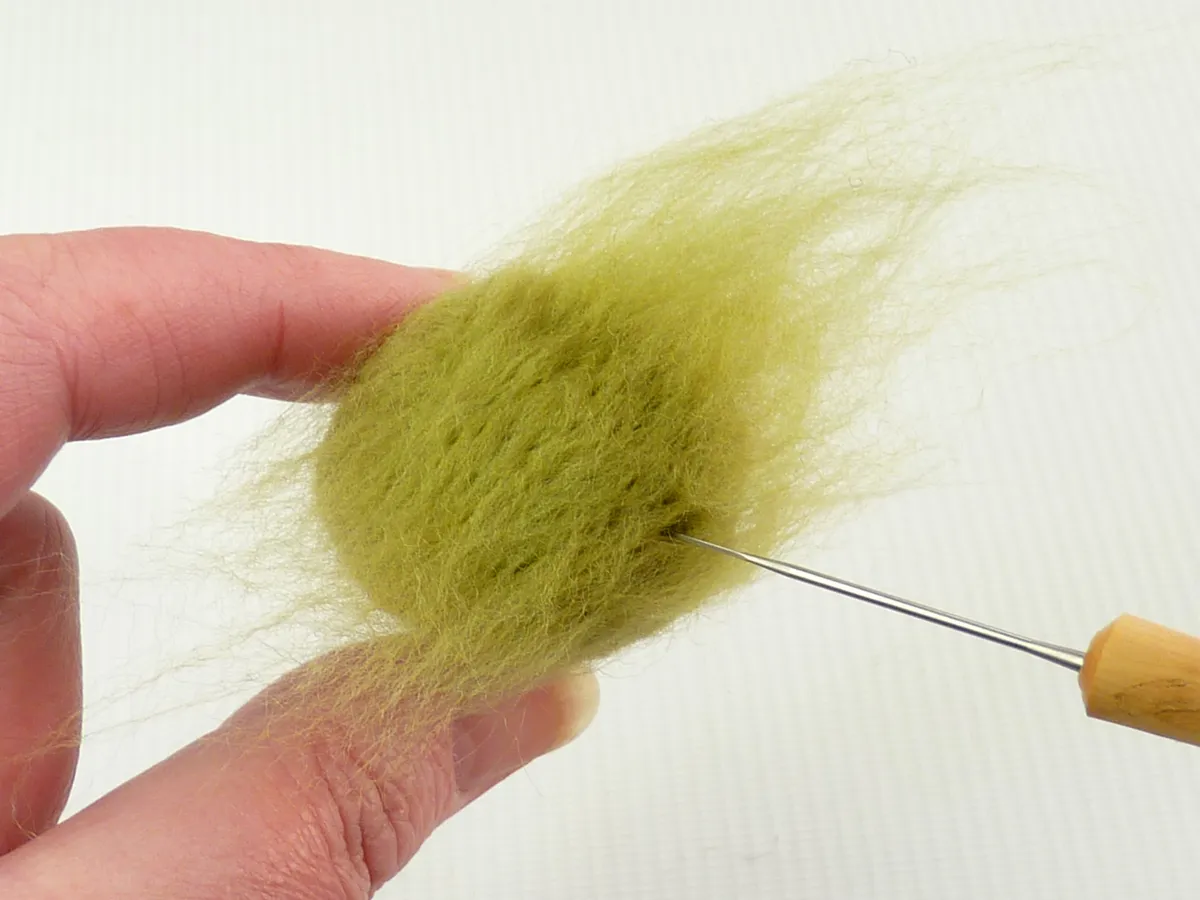
- Tidy up the surface by adding a very thin layer of wool, covering the ball all over.
Step 7
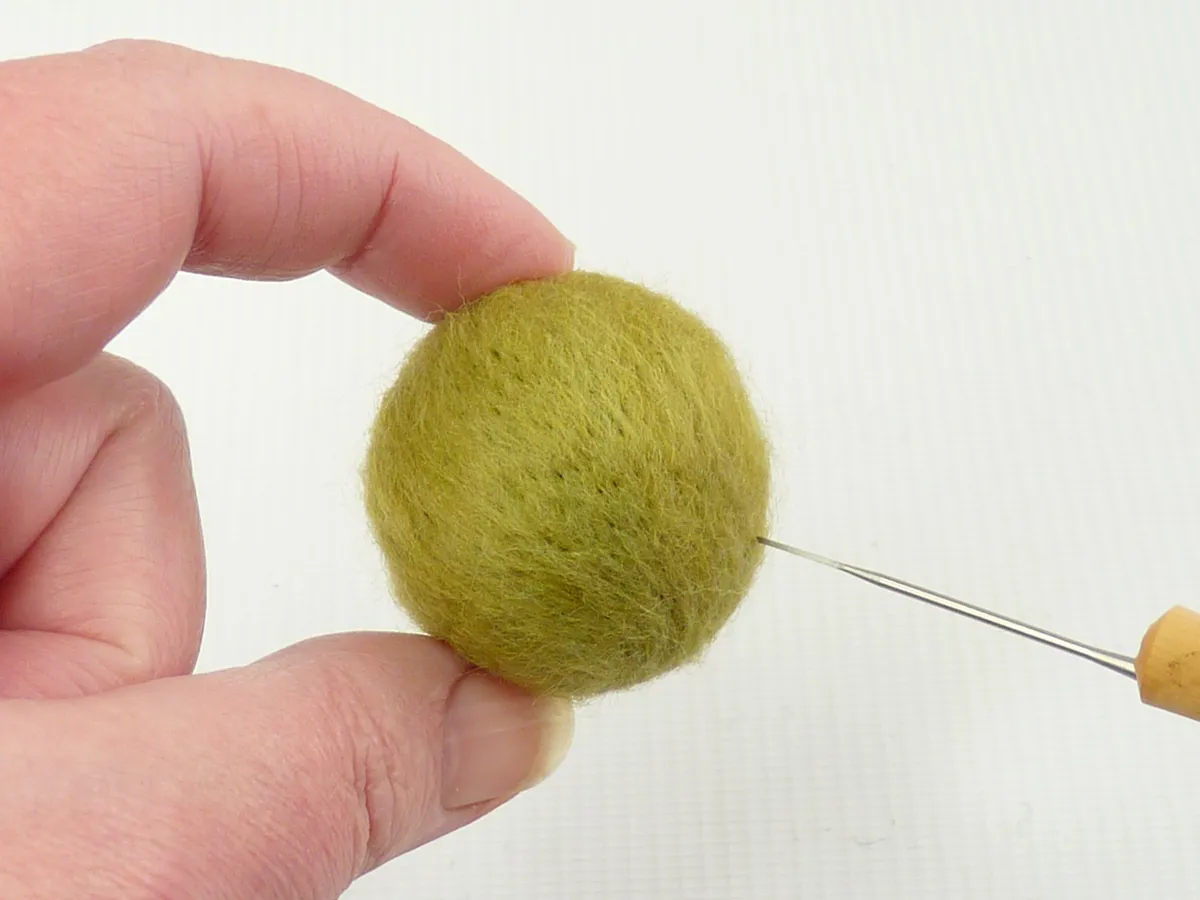
- Finish off, using shallow, close together jabs until the surface is smooth.
Step 8
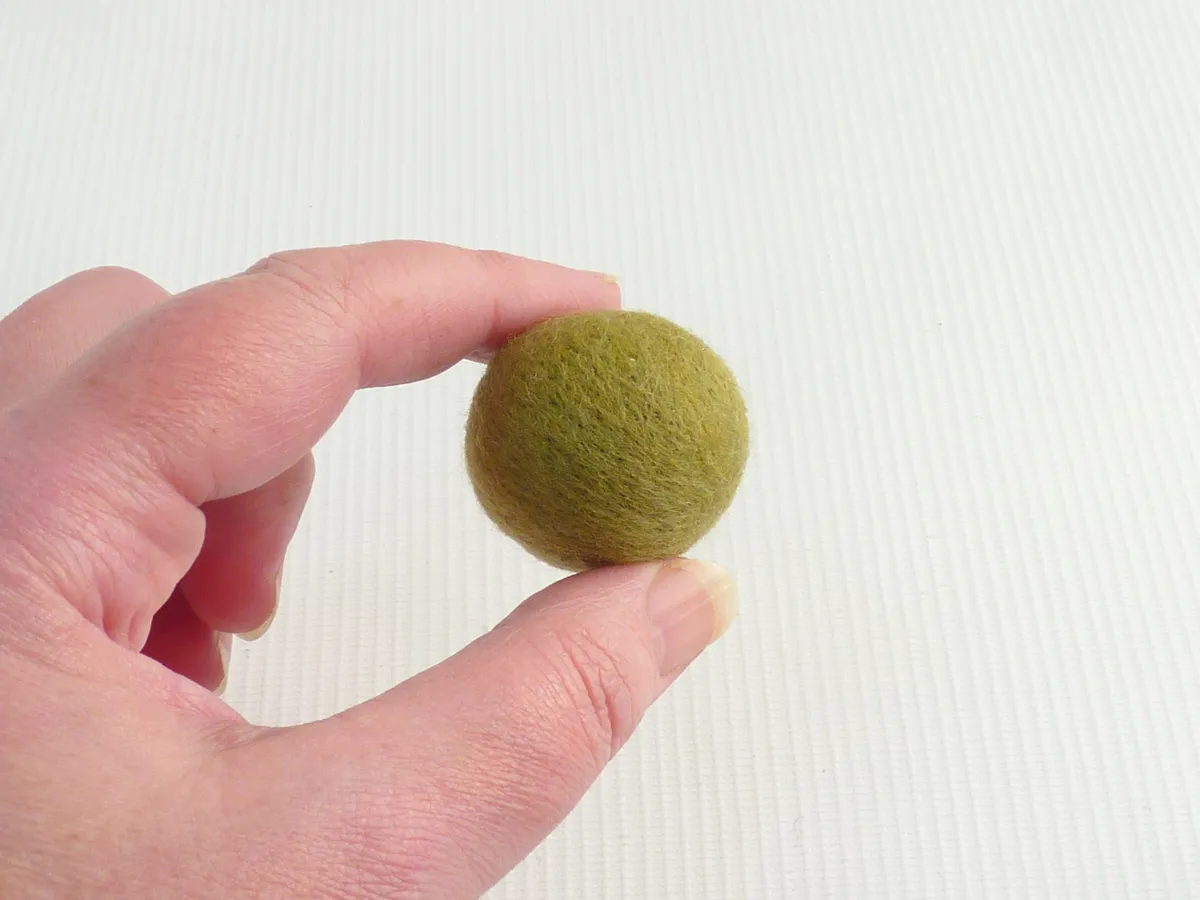
- That’s it – congratulations, you’ve made your first needle felted piece!
You're now officially a needle felter. We hope you've enjoyed our beginners guide to needle felting. For more needle felting projects check out our needle felt cherry keyring or teacup pincushion tutorial.

