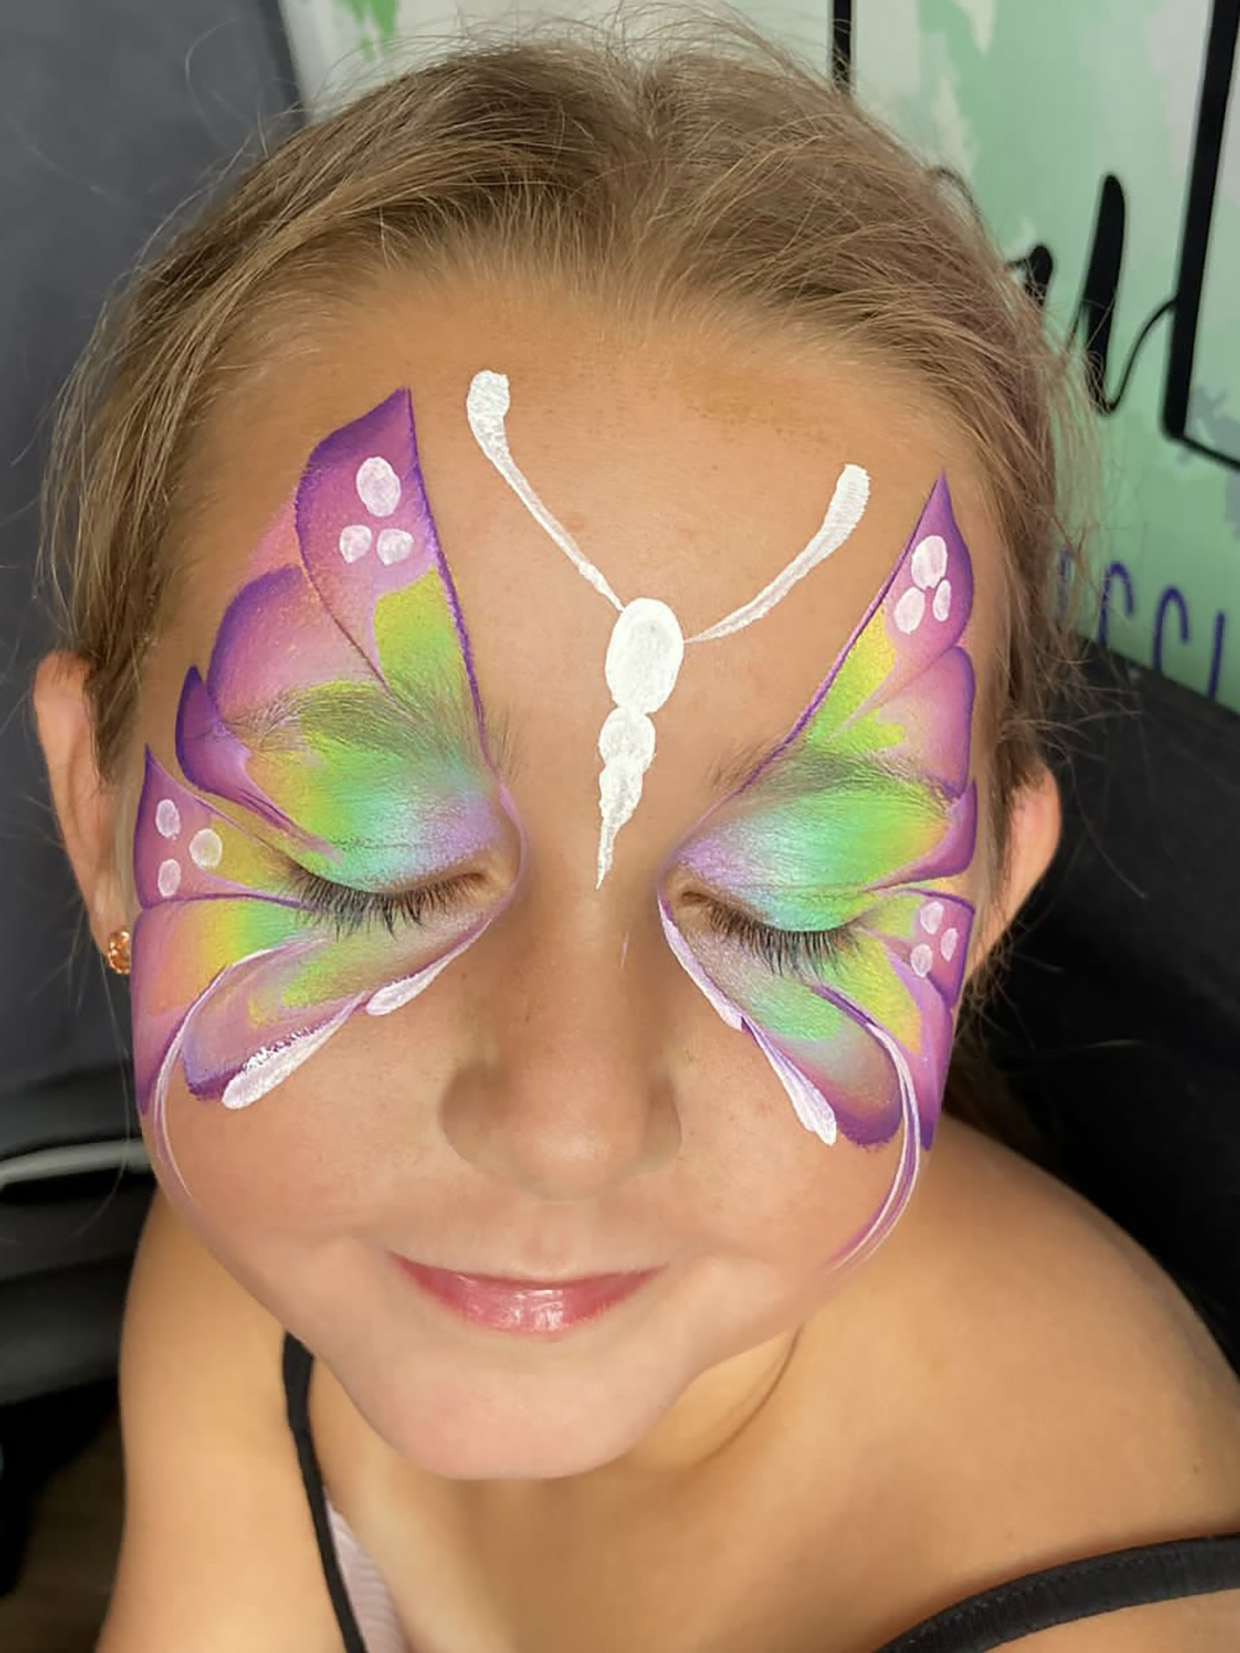
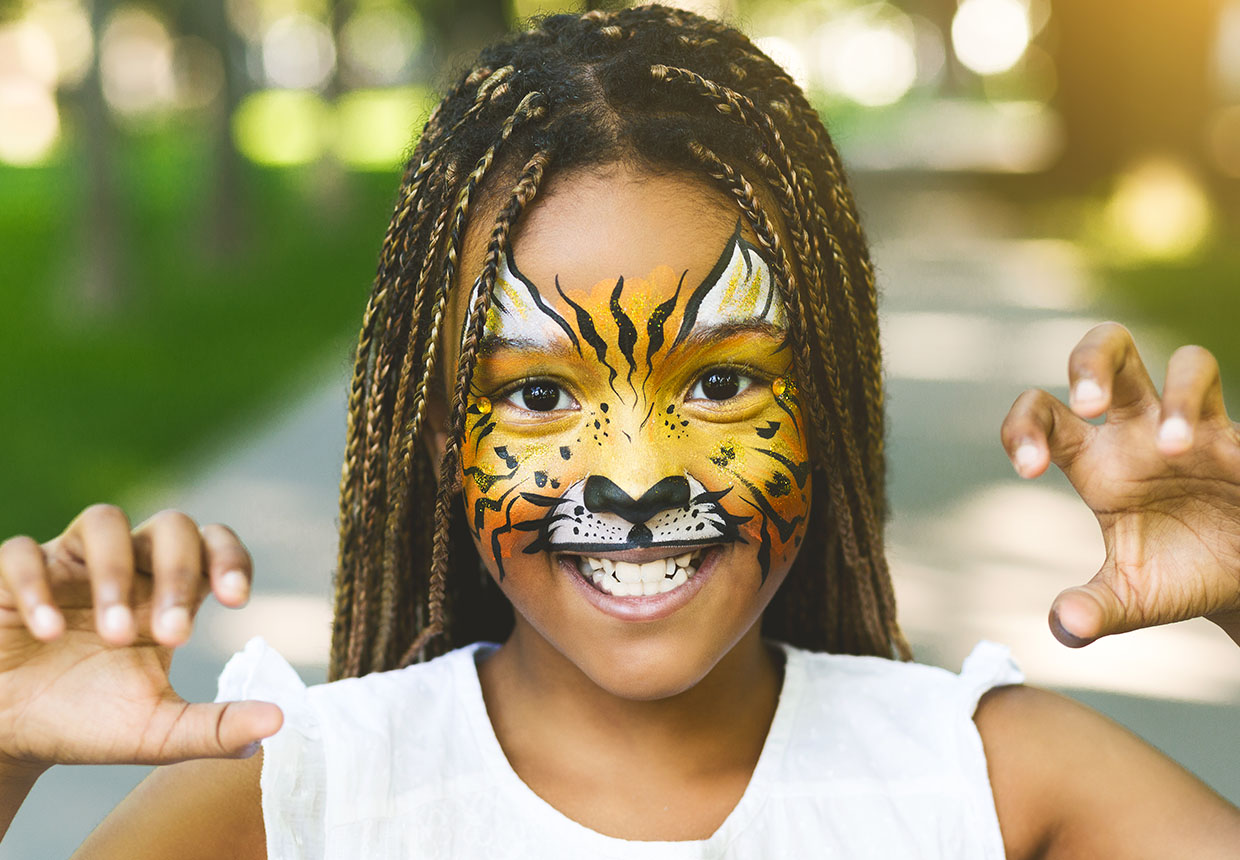
Step 1
Create your base colour
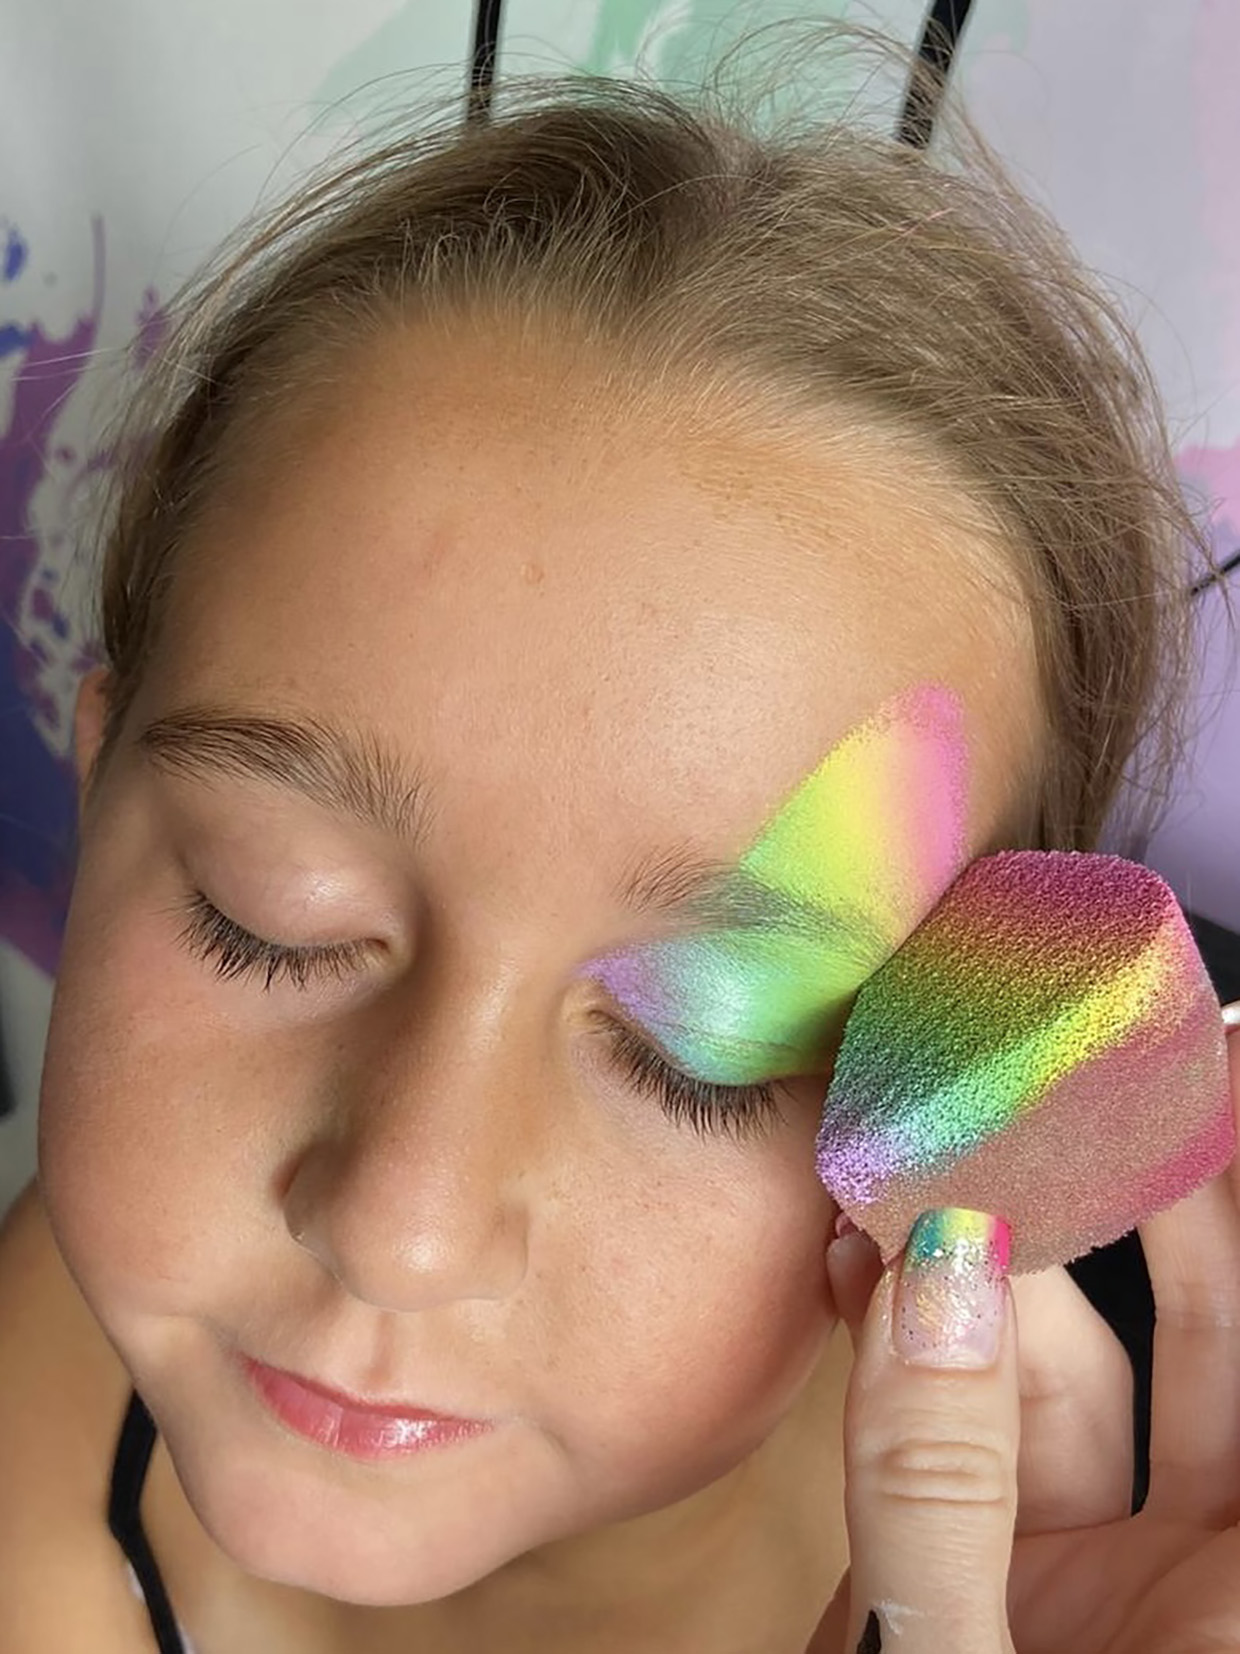
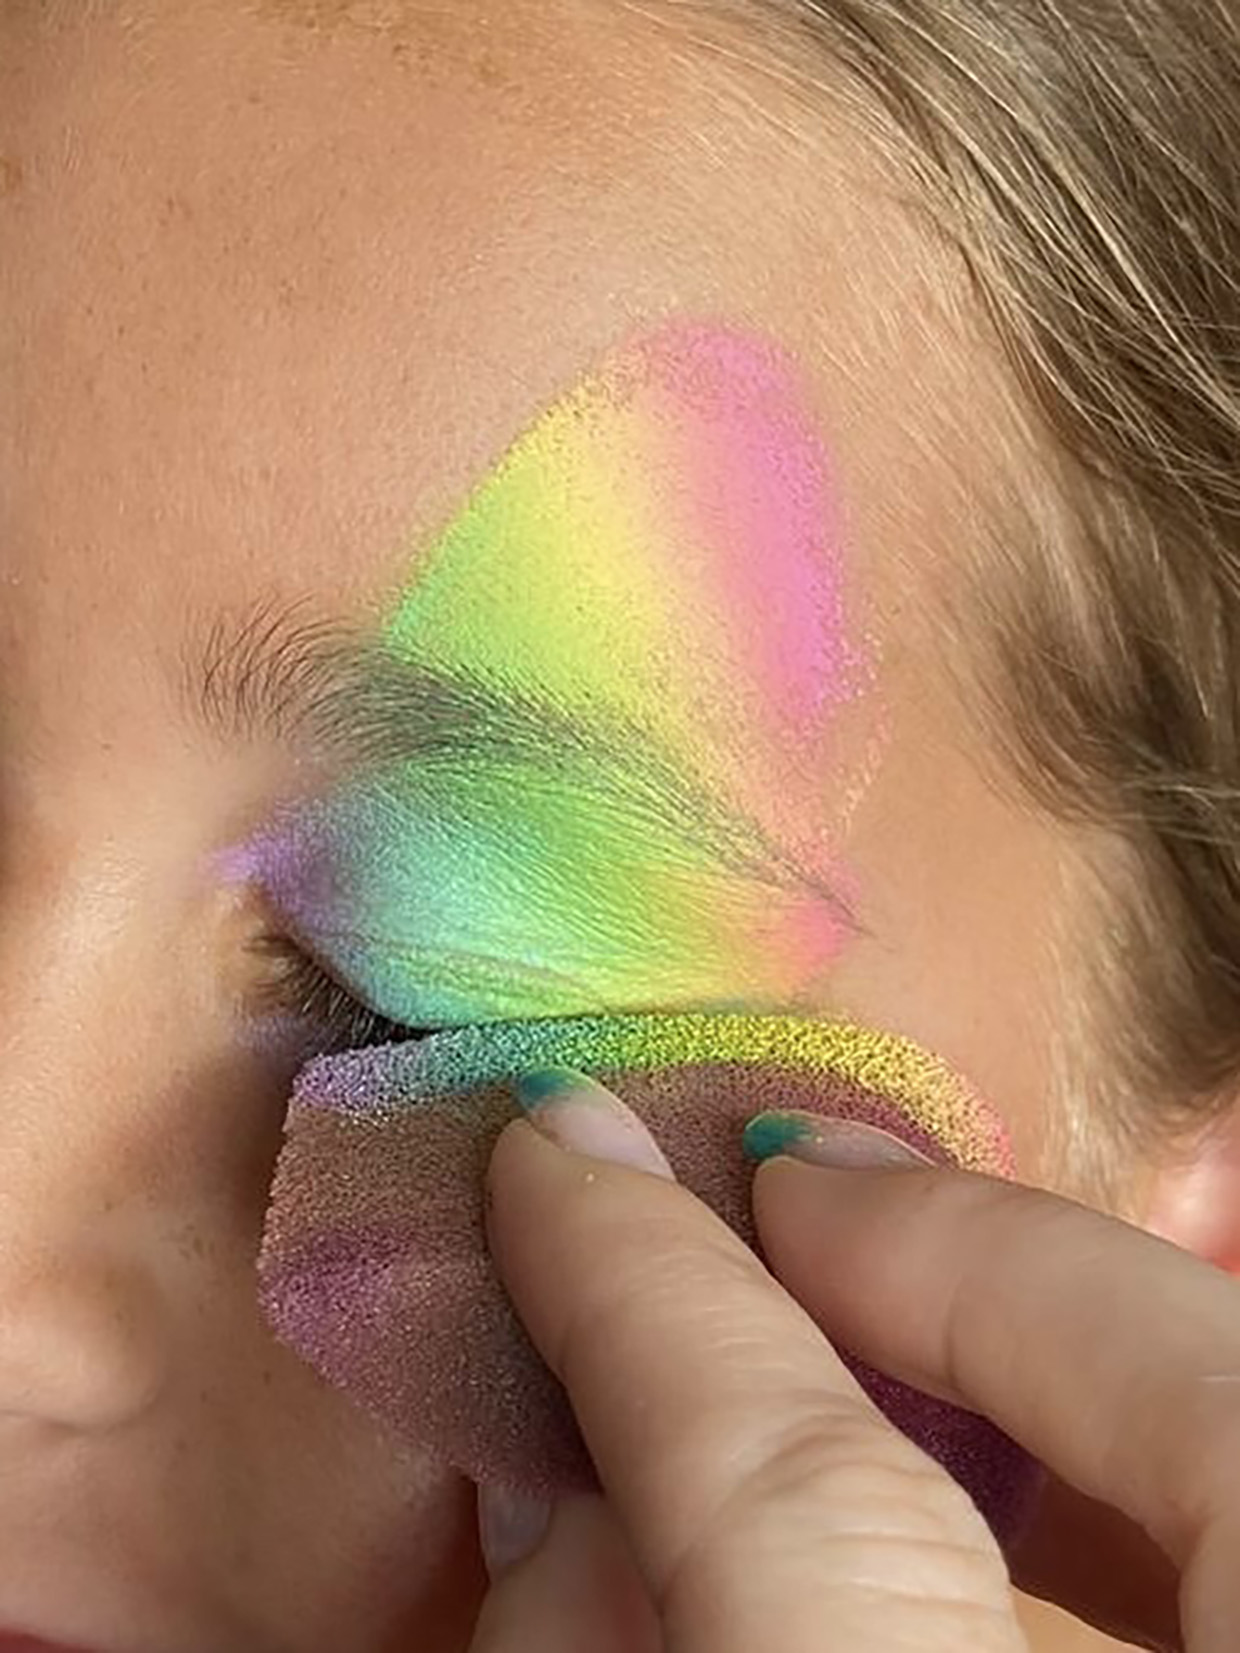
Take your petal-shaped sponge and lightly dampen it. Using forward and backward motion, pick up the colours on the large colourful split-cake.
Press the sponge over the eye, putting the colour down over the eyebrow and underneath the eye, to create a ‘wing’ effect. You may have to ‘dab’ the sponge a couple of times to blend the colours.
Repeat this on the other eye.
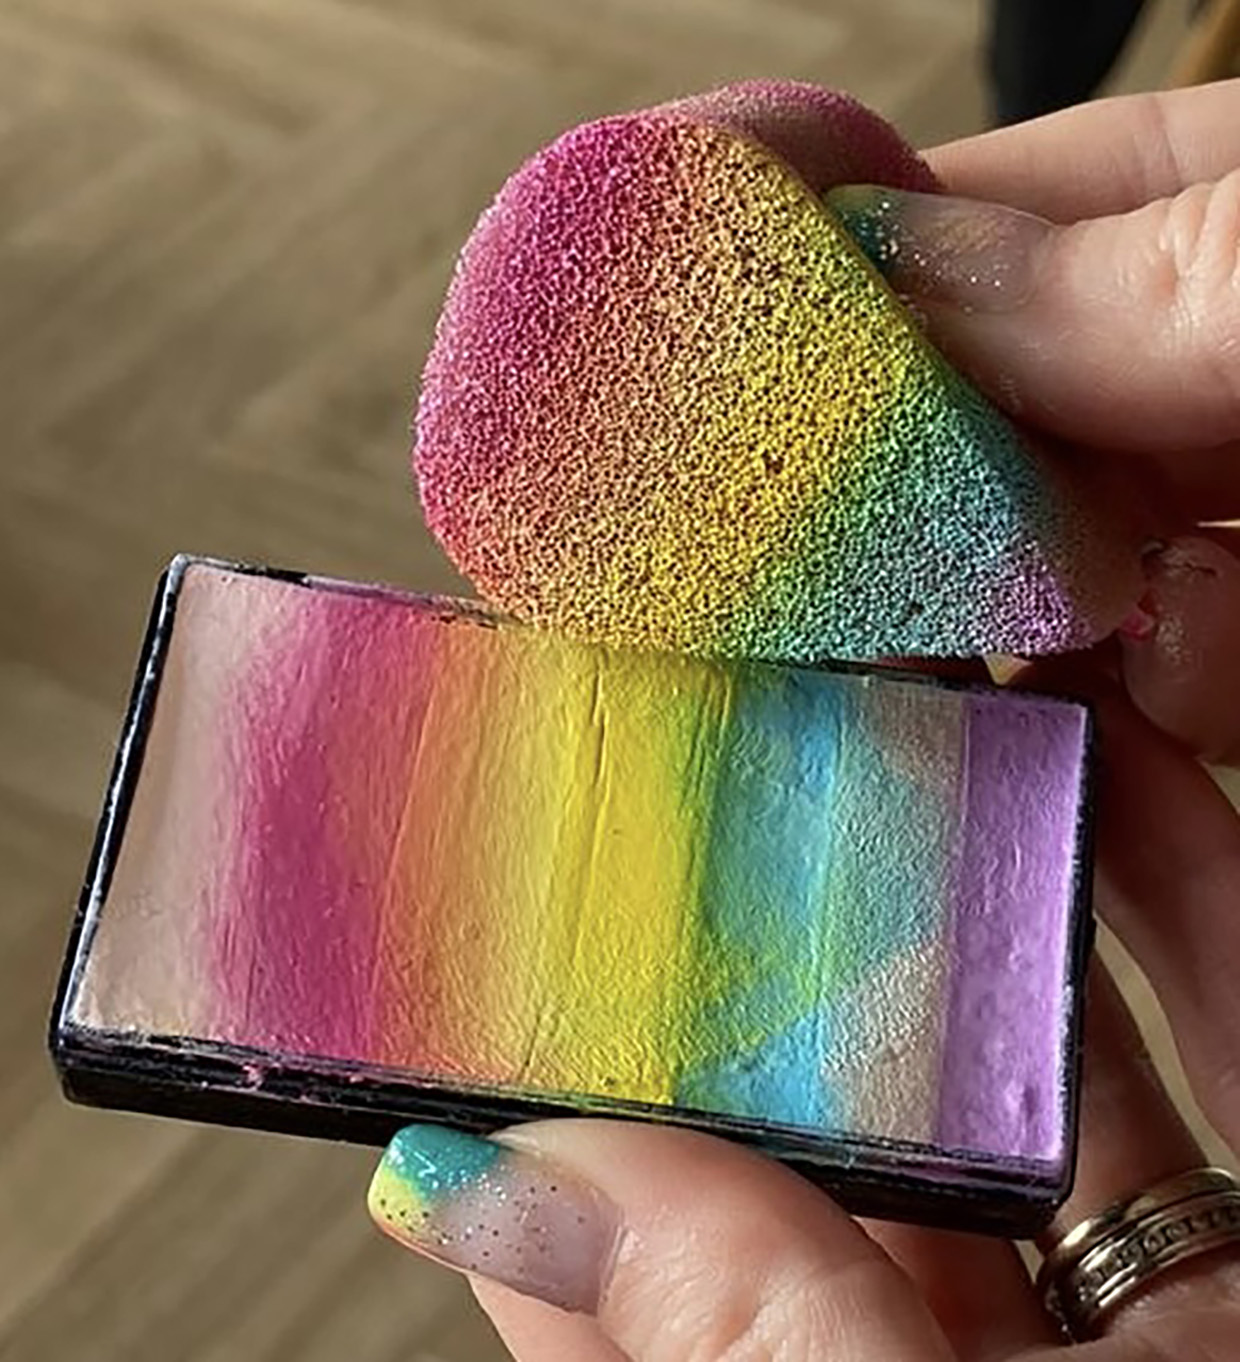
Step 2
Load up your flat brush
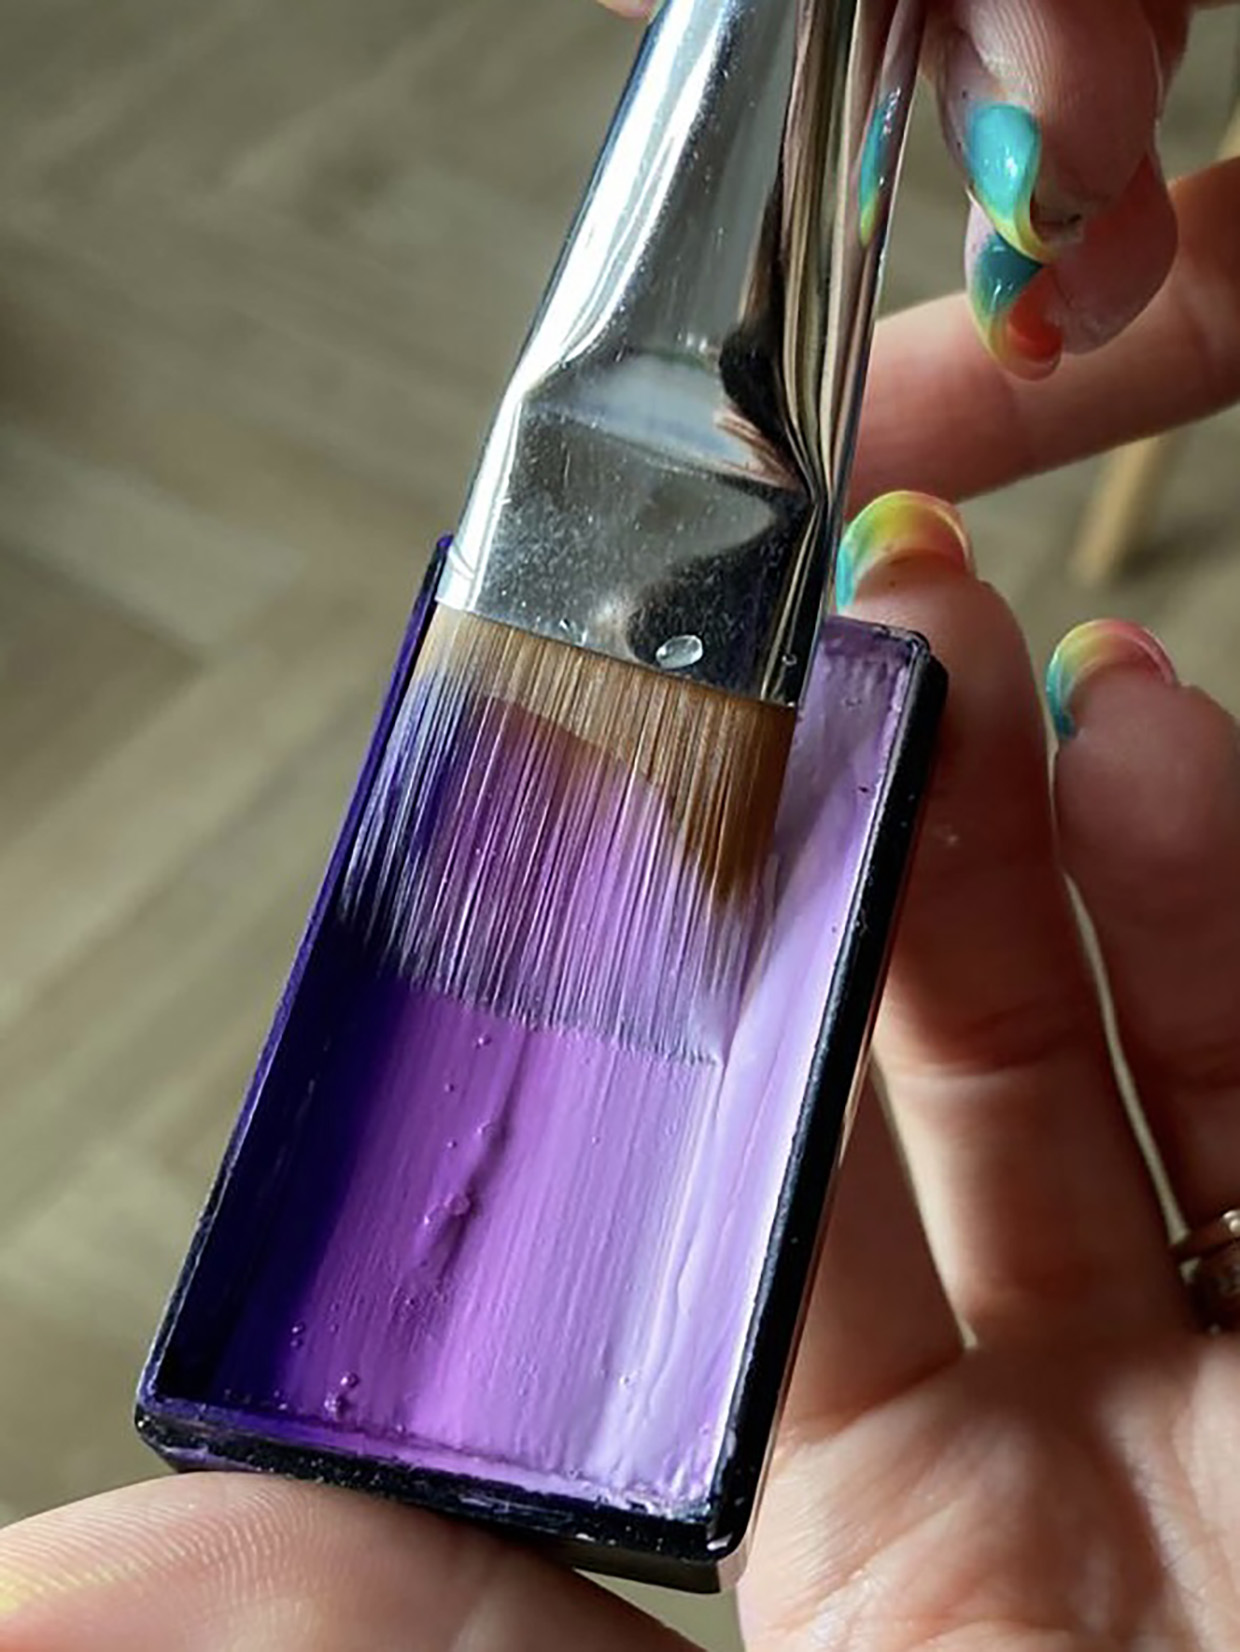
Take the ¾” Flat Brush and your chosen one-stroke face paint, and thoroughly wet the paintbrush.
Place the brush as flat as possible over the paint and load the brush on one side, then flip the brush to load the colours on the other side.
Make sure you marry the colours up!
Step 3
Add definition with lines
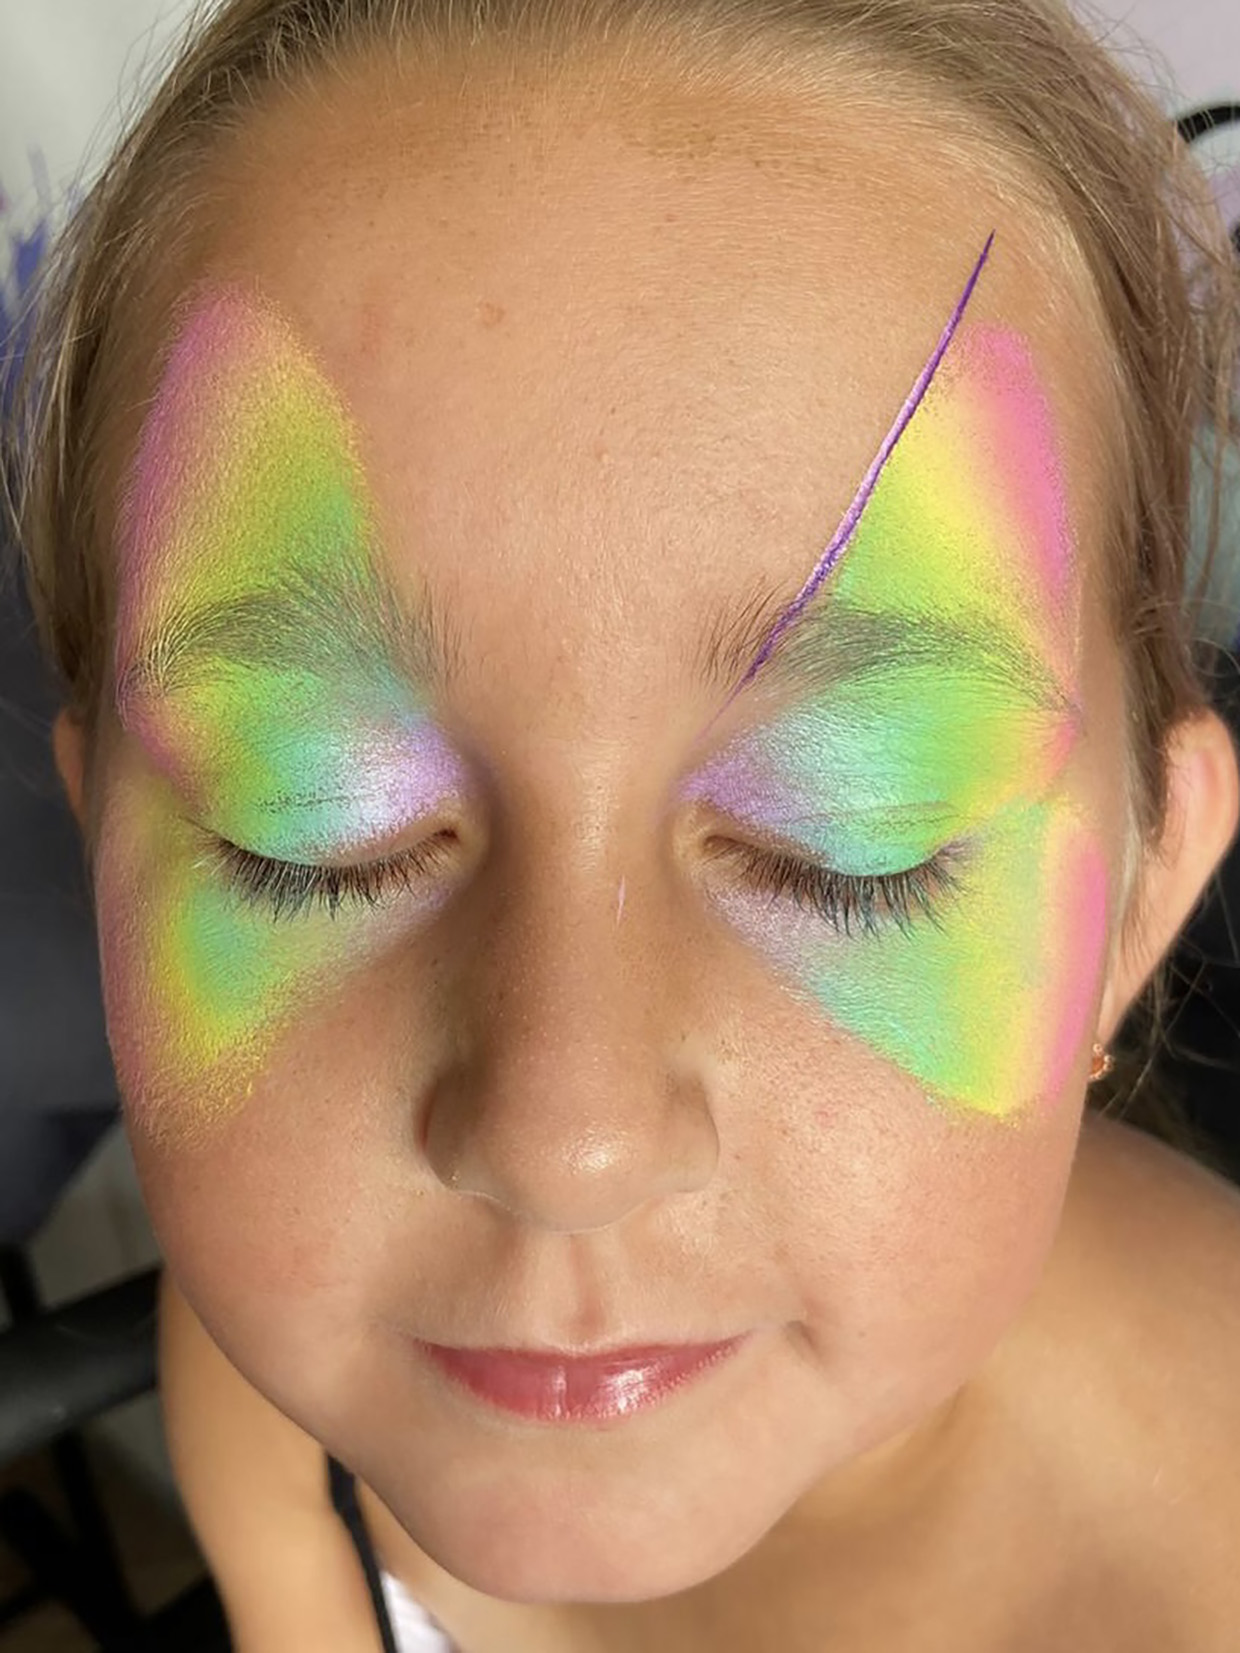
Using the very tip of the brush, paint a line along the edge of the base colour.
This will help guide you while painting with the one-stroke and help with symmetry.
Step 4
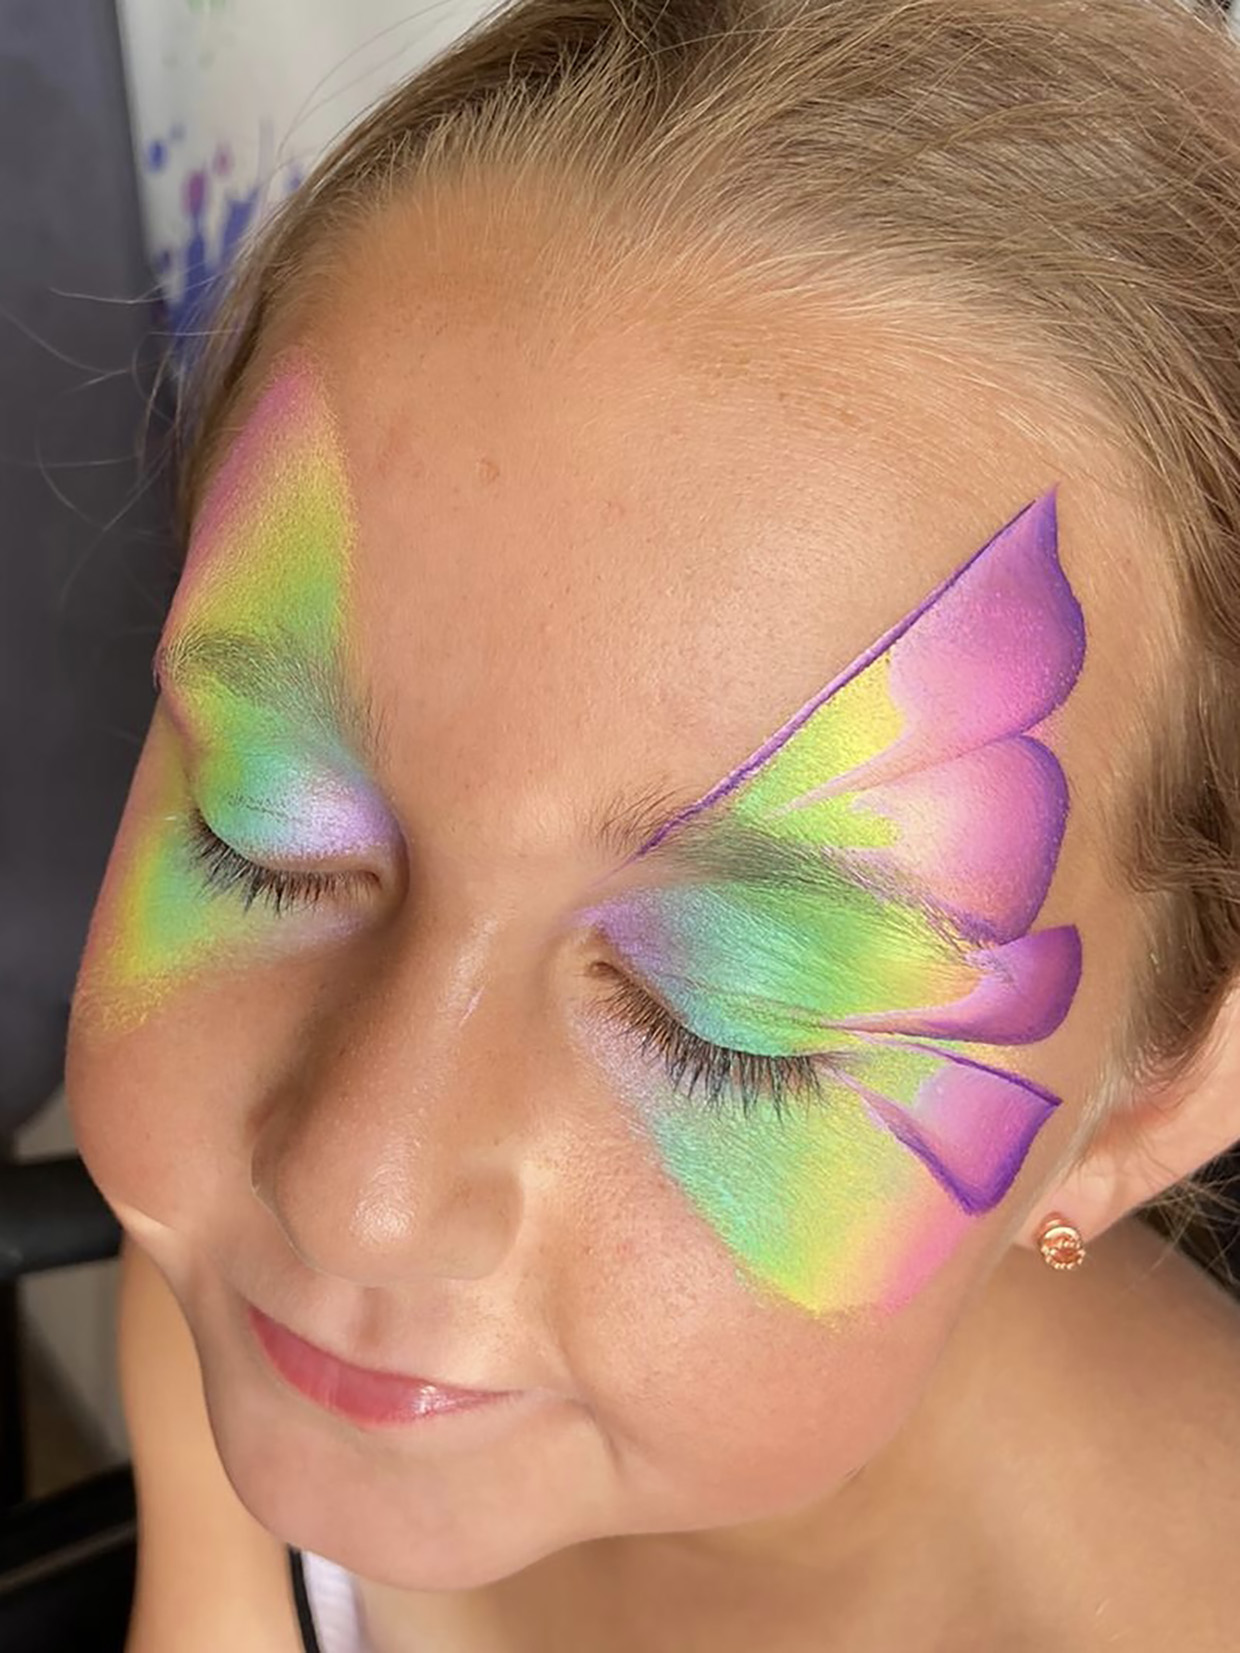
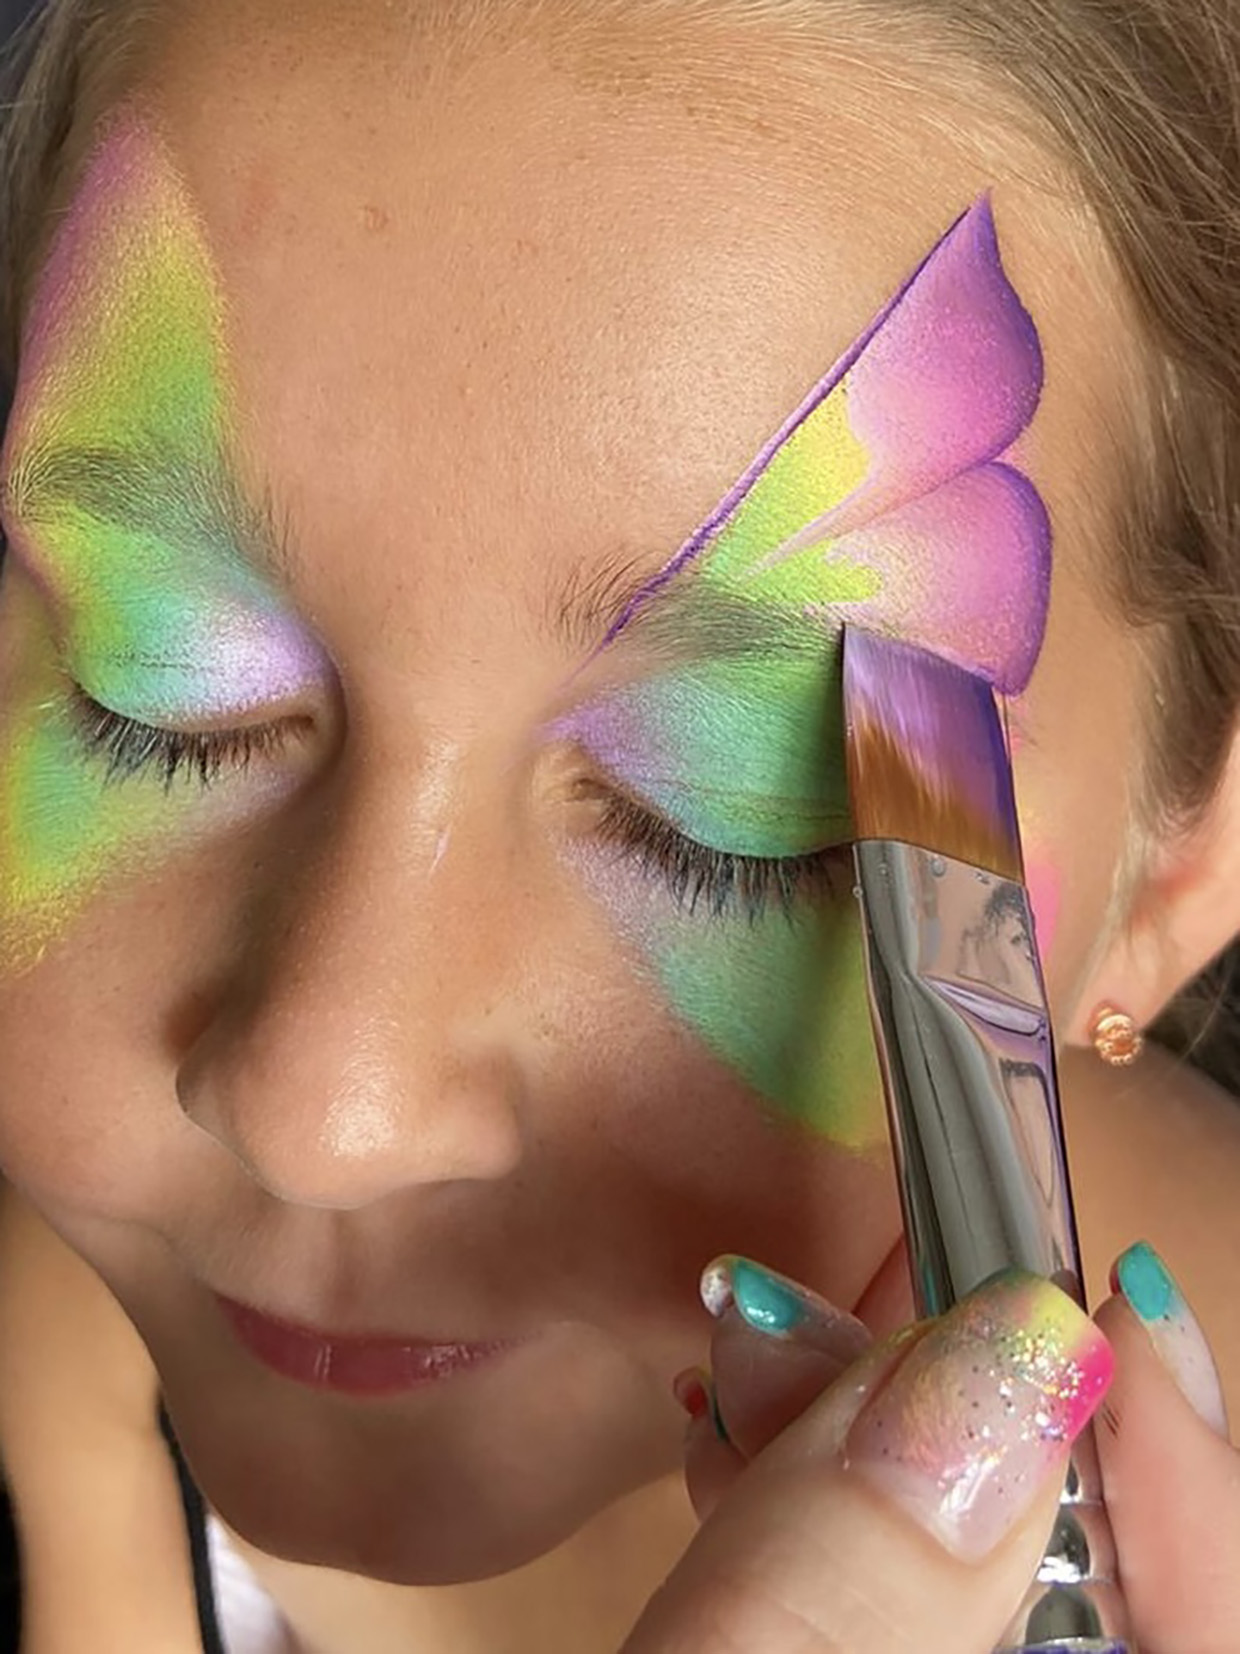
Start creating the wing shape
With the same brush, place it flat against the line and create a ‘U’ shape.
Top tip – Start your brush off flat down, then as you come to the end of the ‘U’ bring the brush up onto its tip, this will help create an effective wing. Make sure to step your second ‘U’ in from the first one, then step it back out on the third one.
As pictured here, you should have three ‘steps’ or ‘U’s’ of the top wing.
Remember to reload your brush with paint if it starts to dry out, or the brush starts to ‘drag’ – the paint should ‘glide’ on the skin.
Step 5
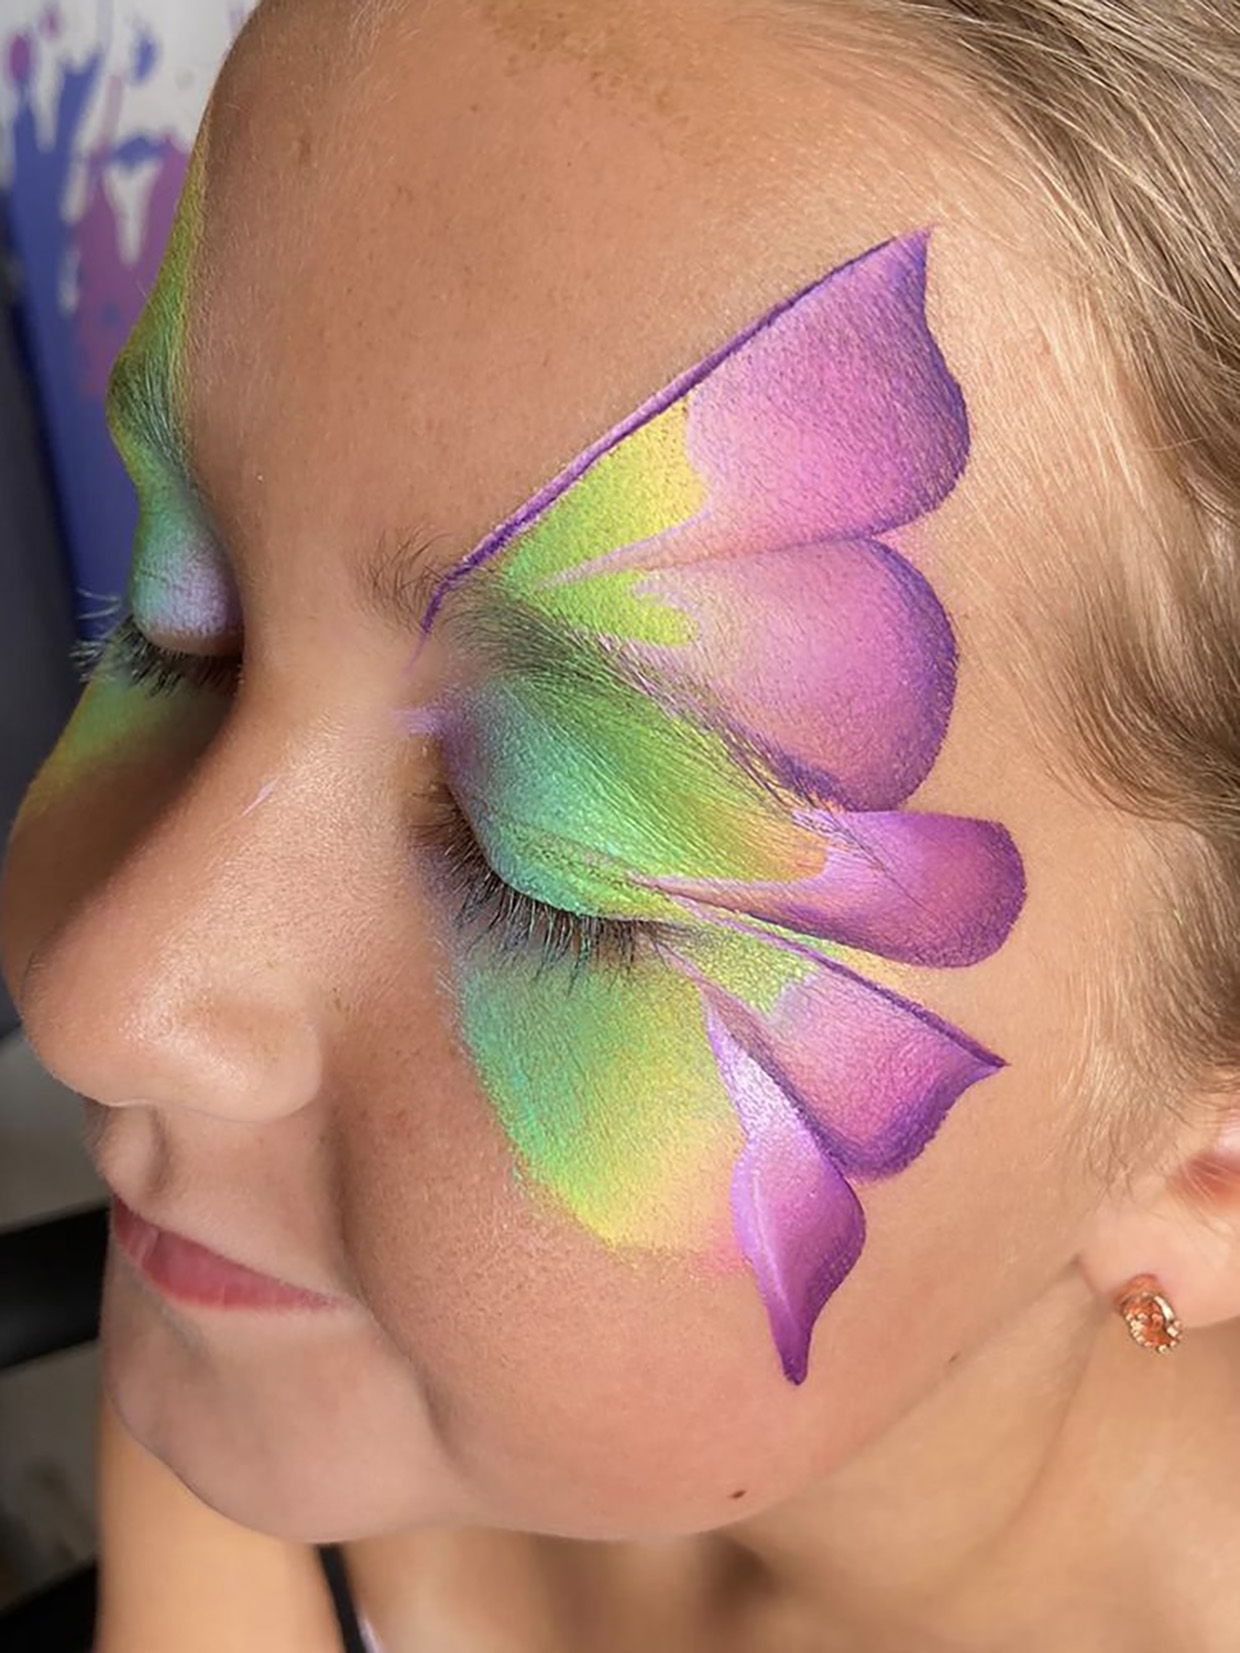
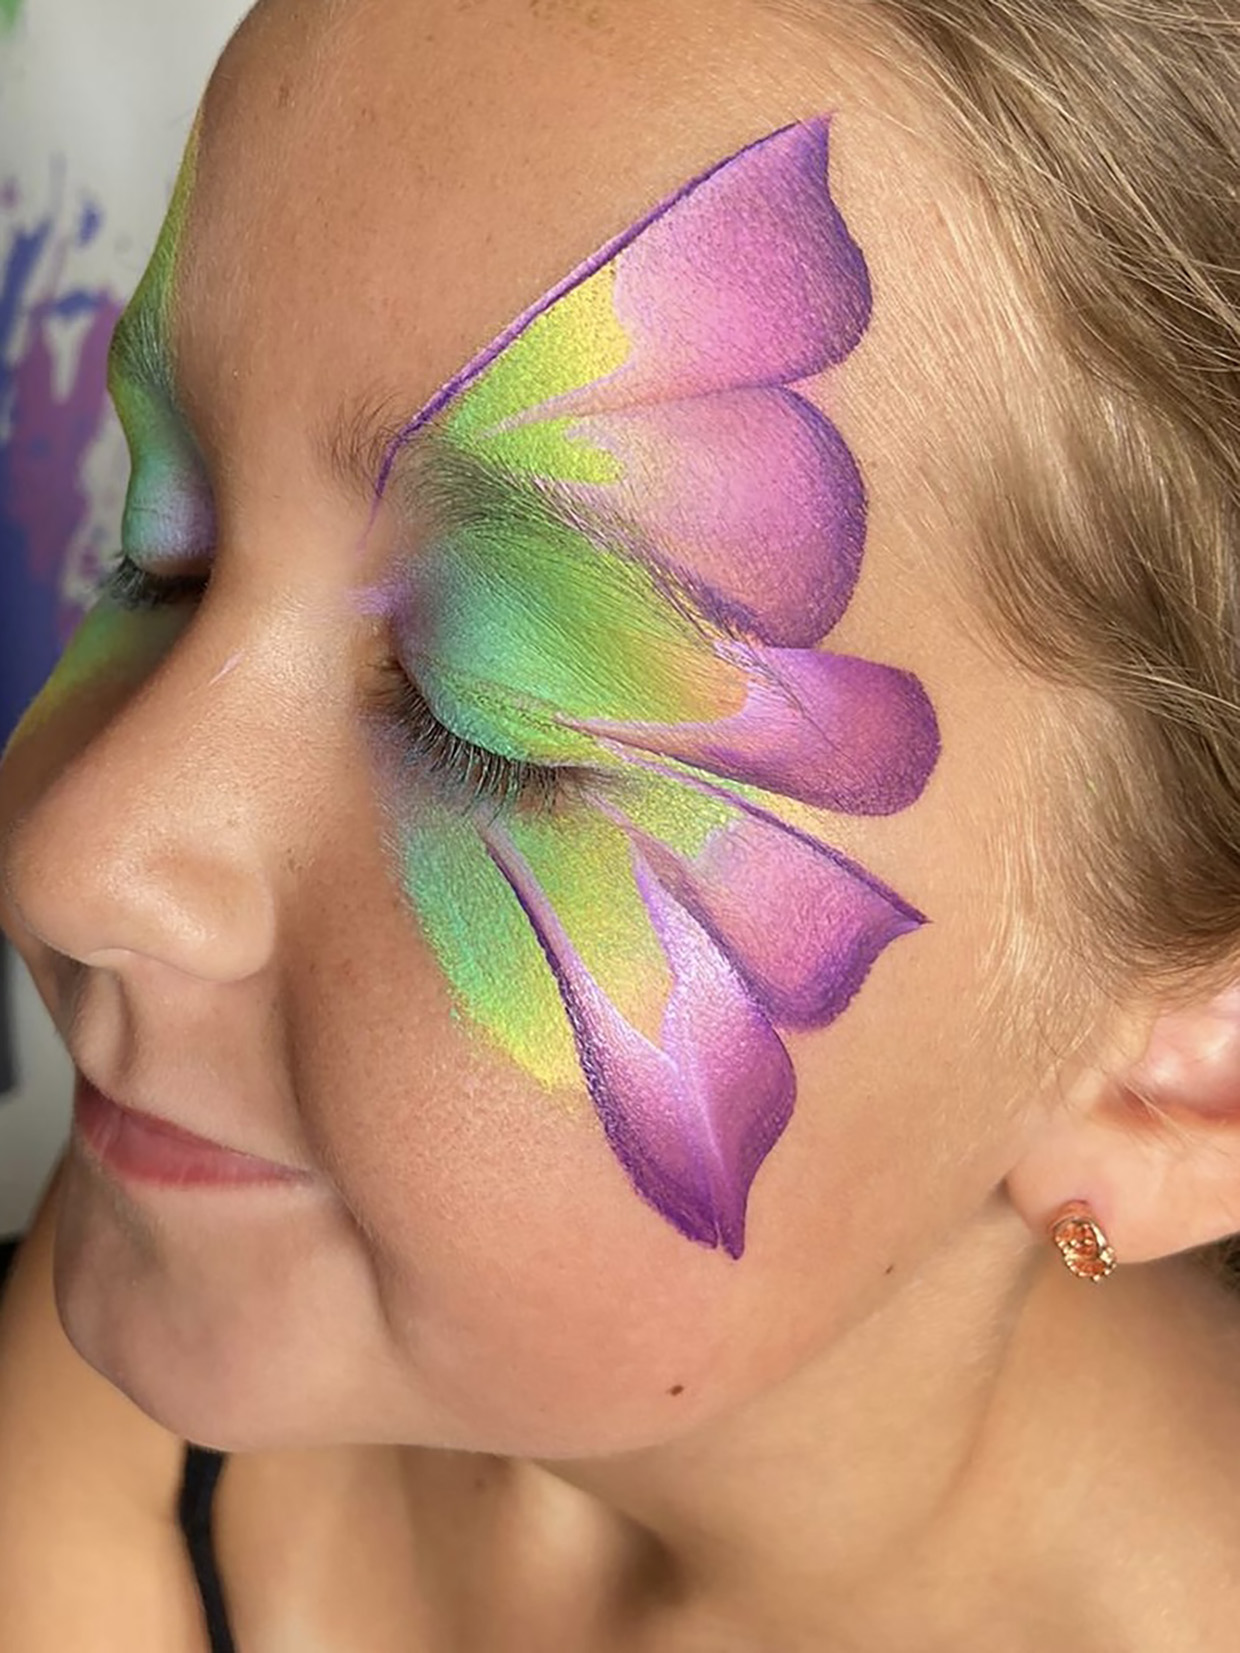
Create the bottom wings
To create the bottom wing, you will follow the same process as step 4, but in an upward motion, using the inner corner of the eye as the main focal point.
For the first step of the bottom wing, ensure there is a small, triangular gap from the top wing.
For the second step, bring the brush down to a point to create a ‘V’ shape.
Step 6
Join the wing up at the eye
For the final step of the bottom wing, all you need is one more simple ‘U’ shape bringing the tip of the brush into that focal point of the eye.
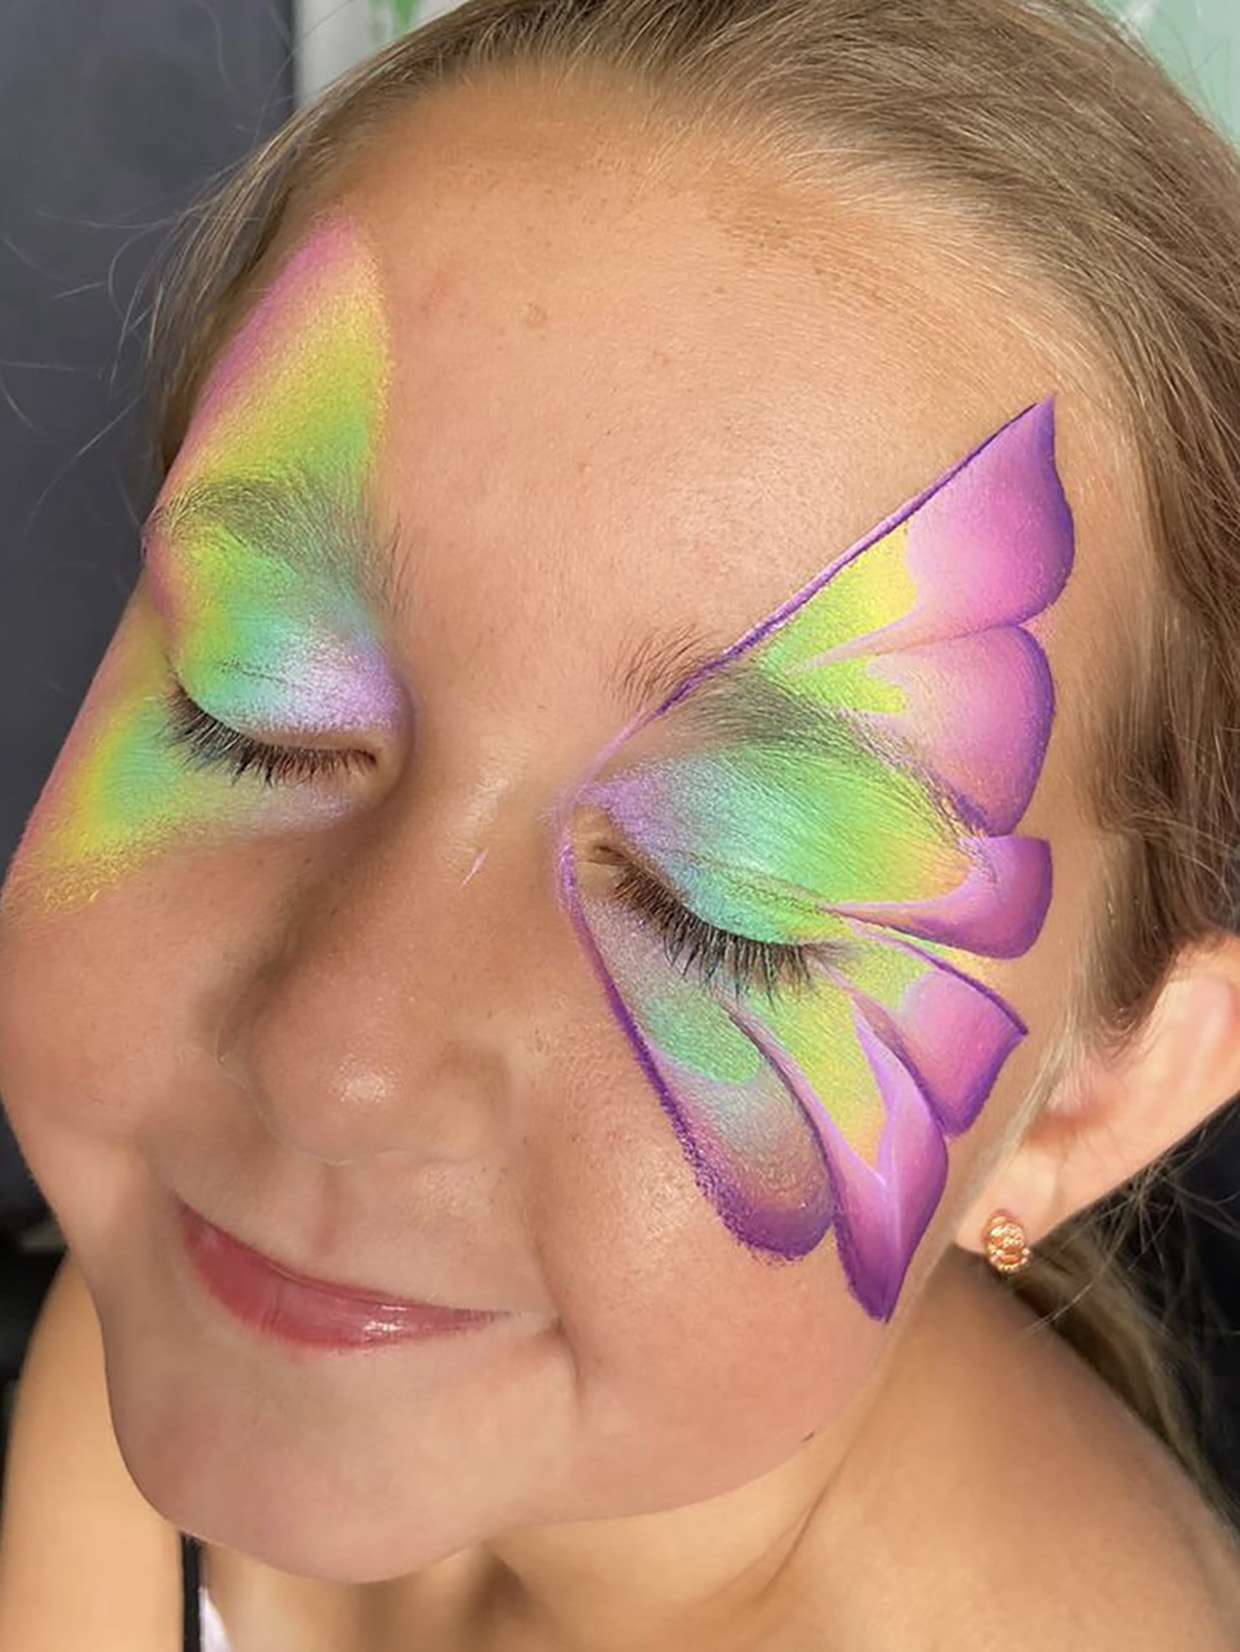
Step 7
Repeat to create the wings
Following the same process as the previous steps to create the wings on the other side. Adding fine, face glitter at this point is optional.
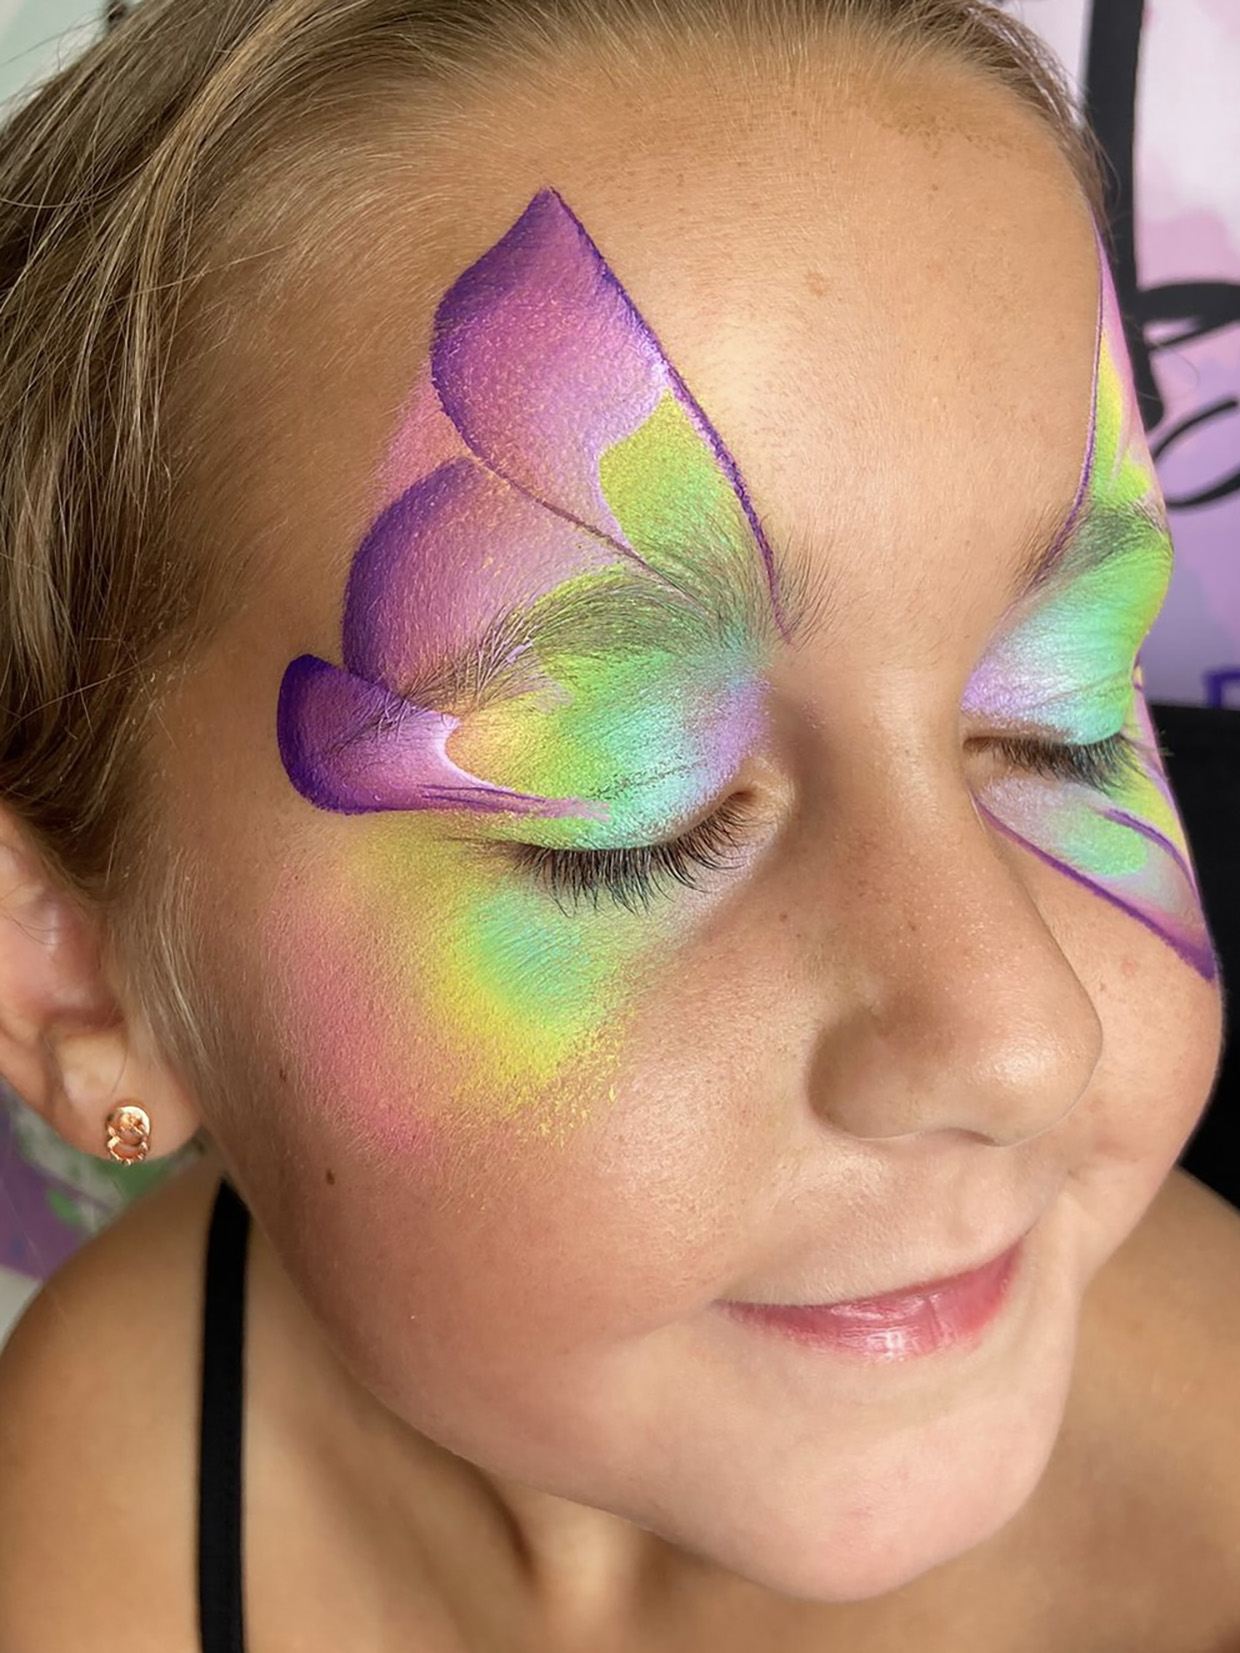
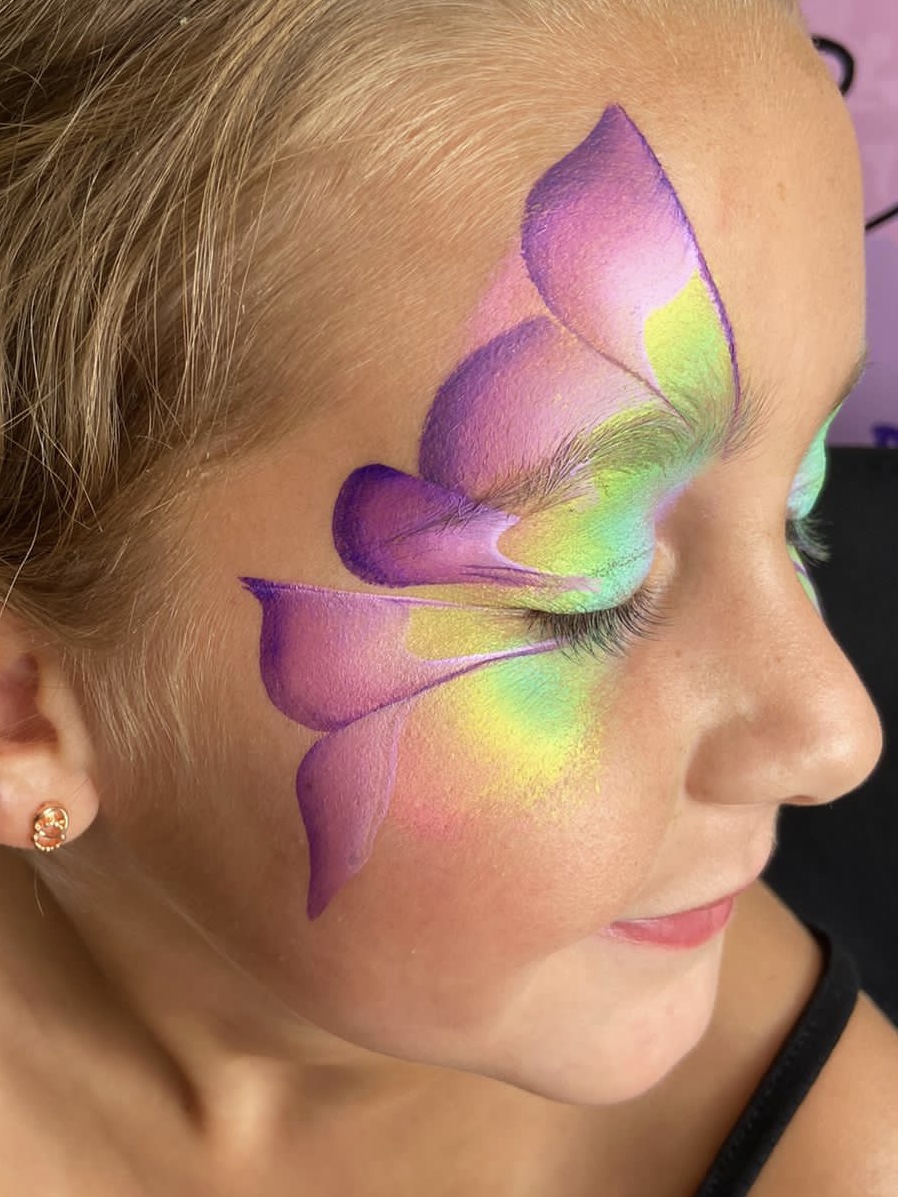
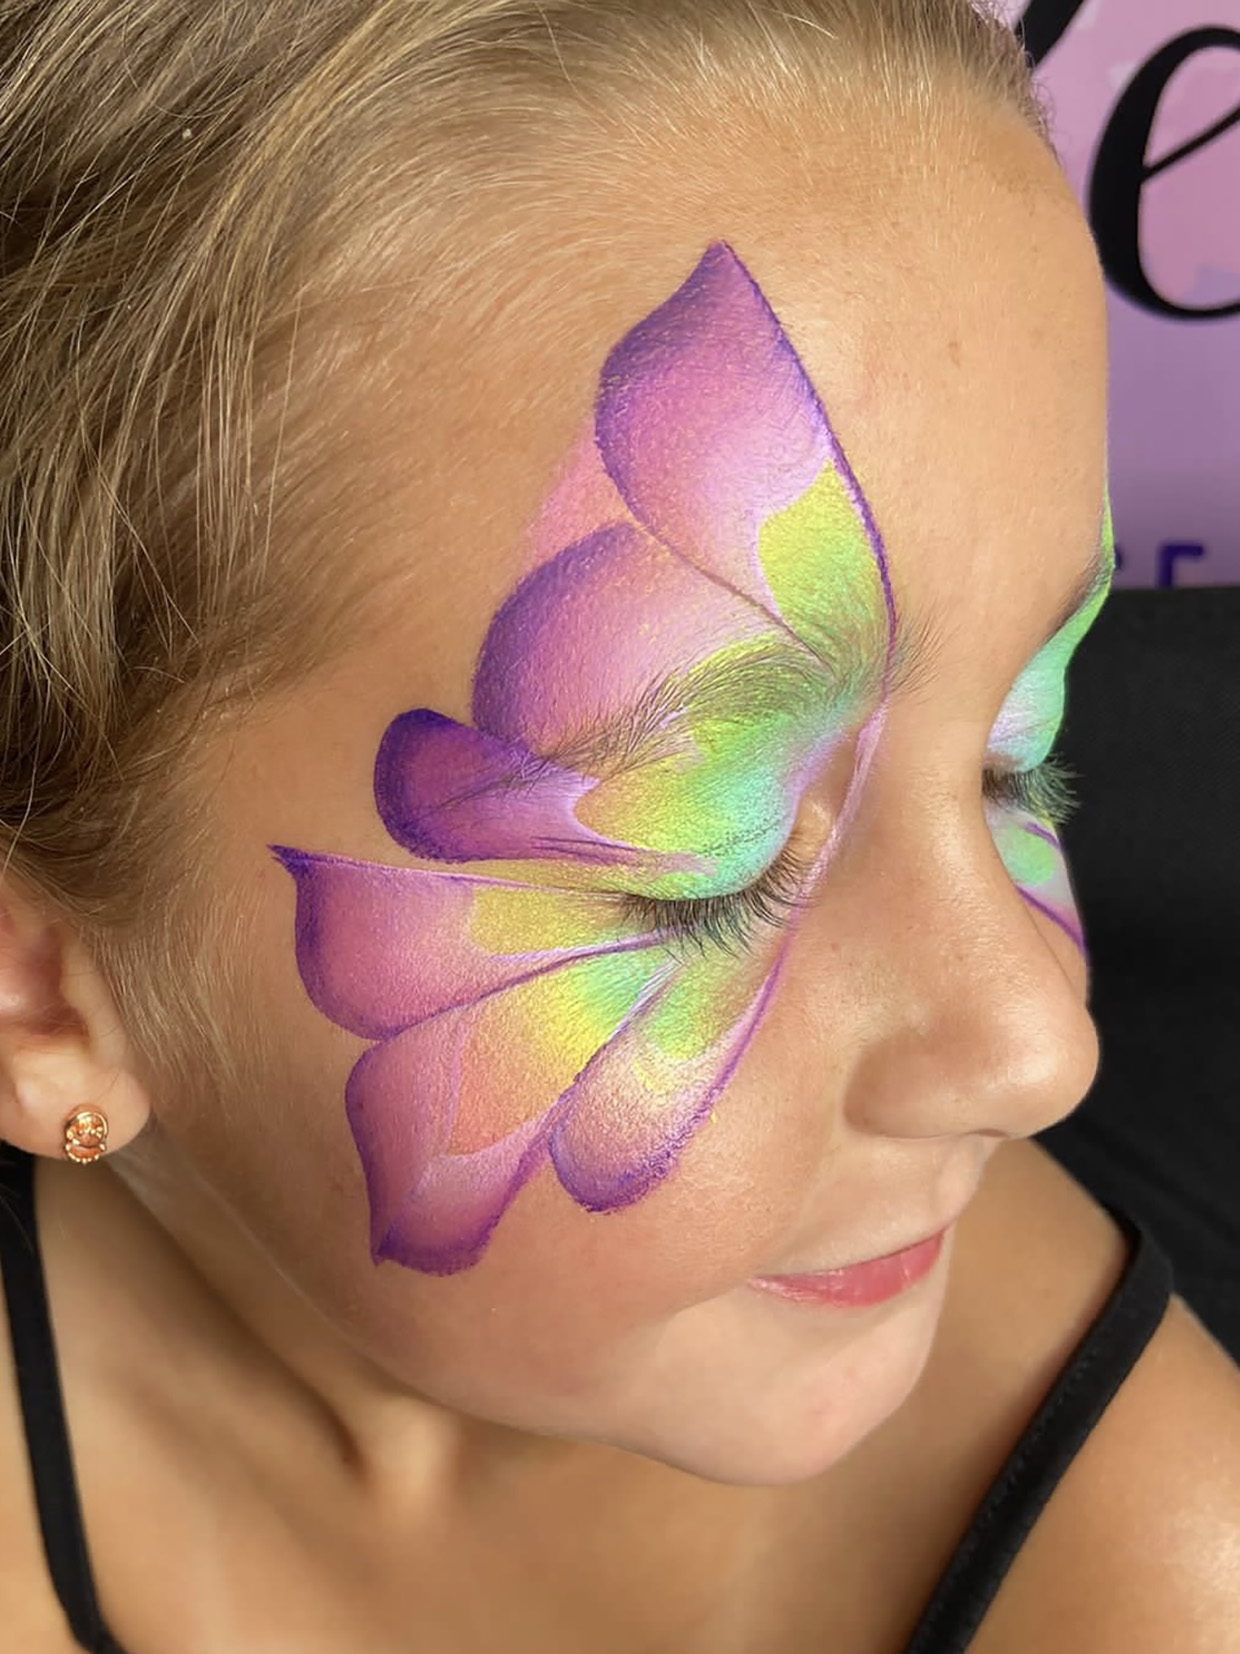
Step 8
The body of the butterfly
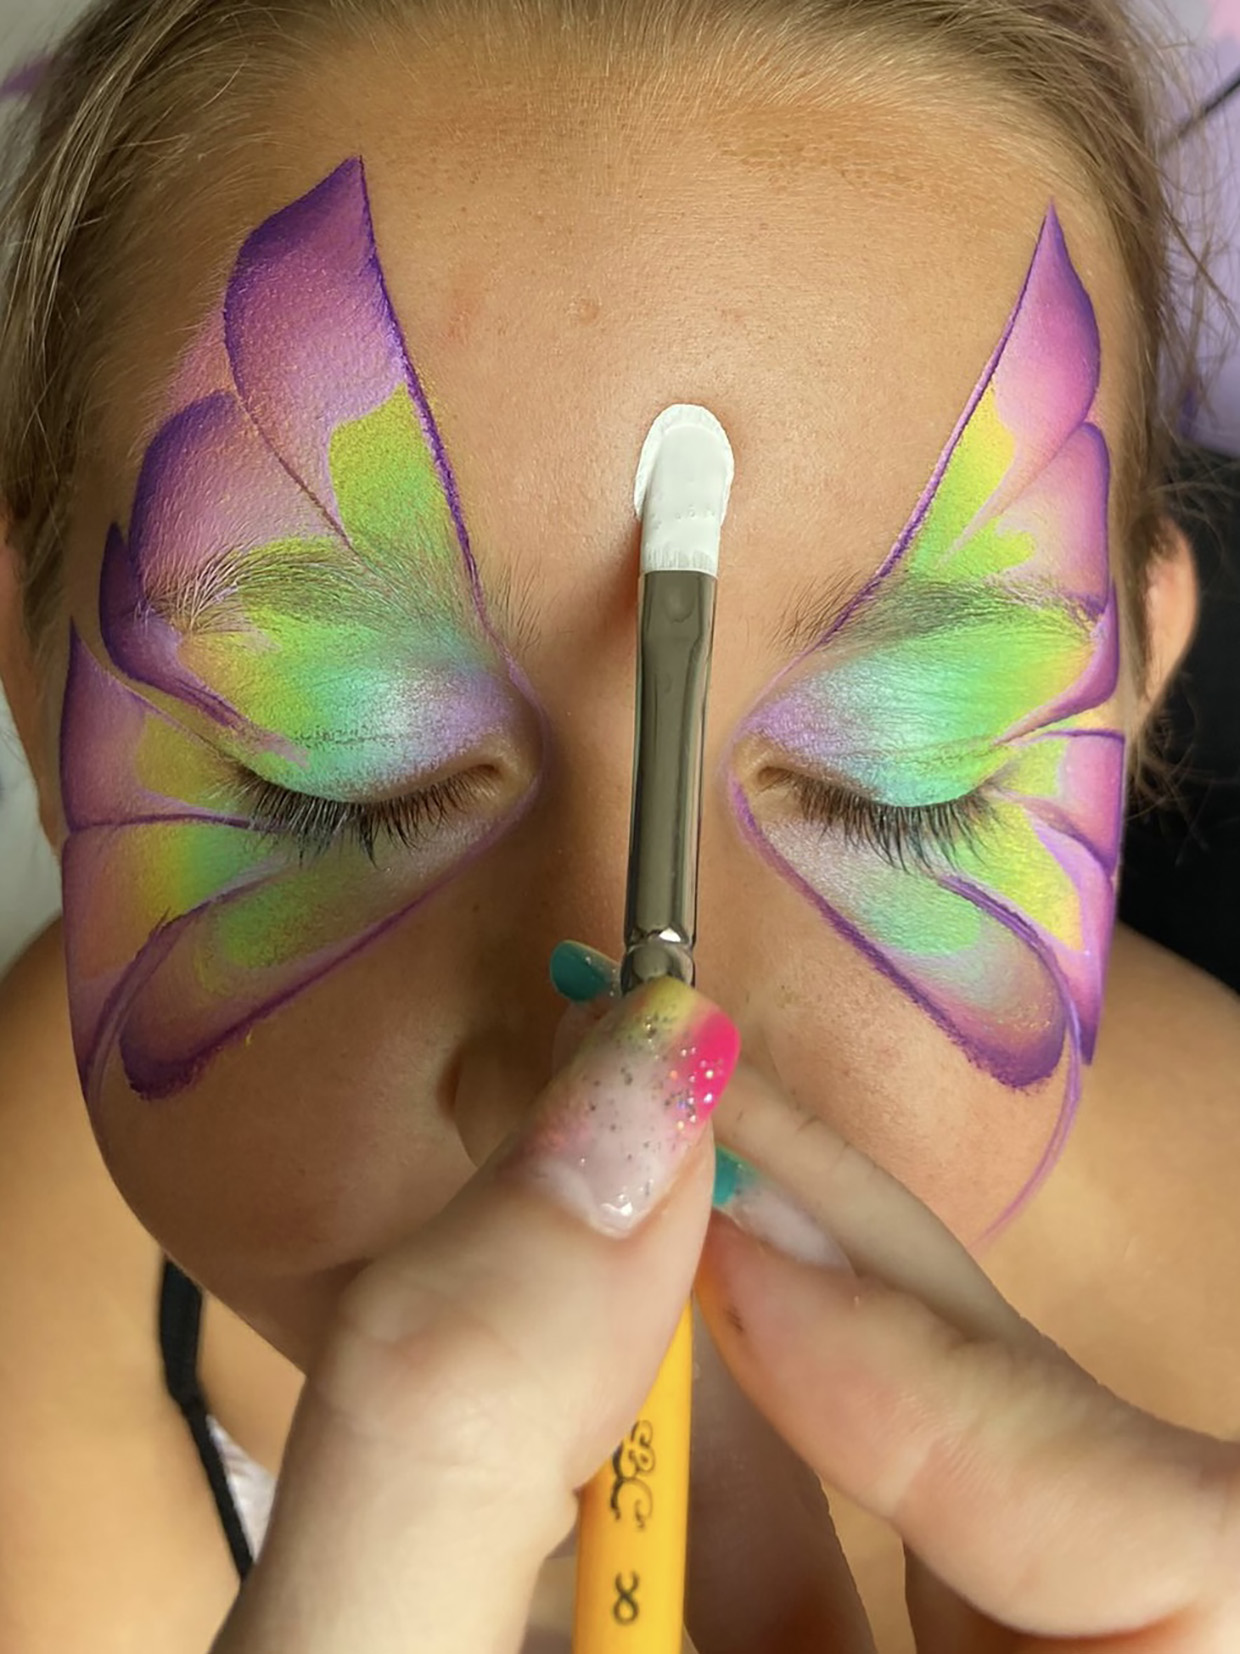
To create the body of the butterfly, take the white paint and the small filbert brush. Wet the brush thoroughly and load the white paint –
Top tip – The paint should have a ‘milky’ consistency – too much water on the brush will make the paint run.
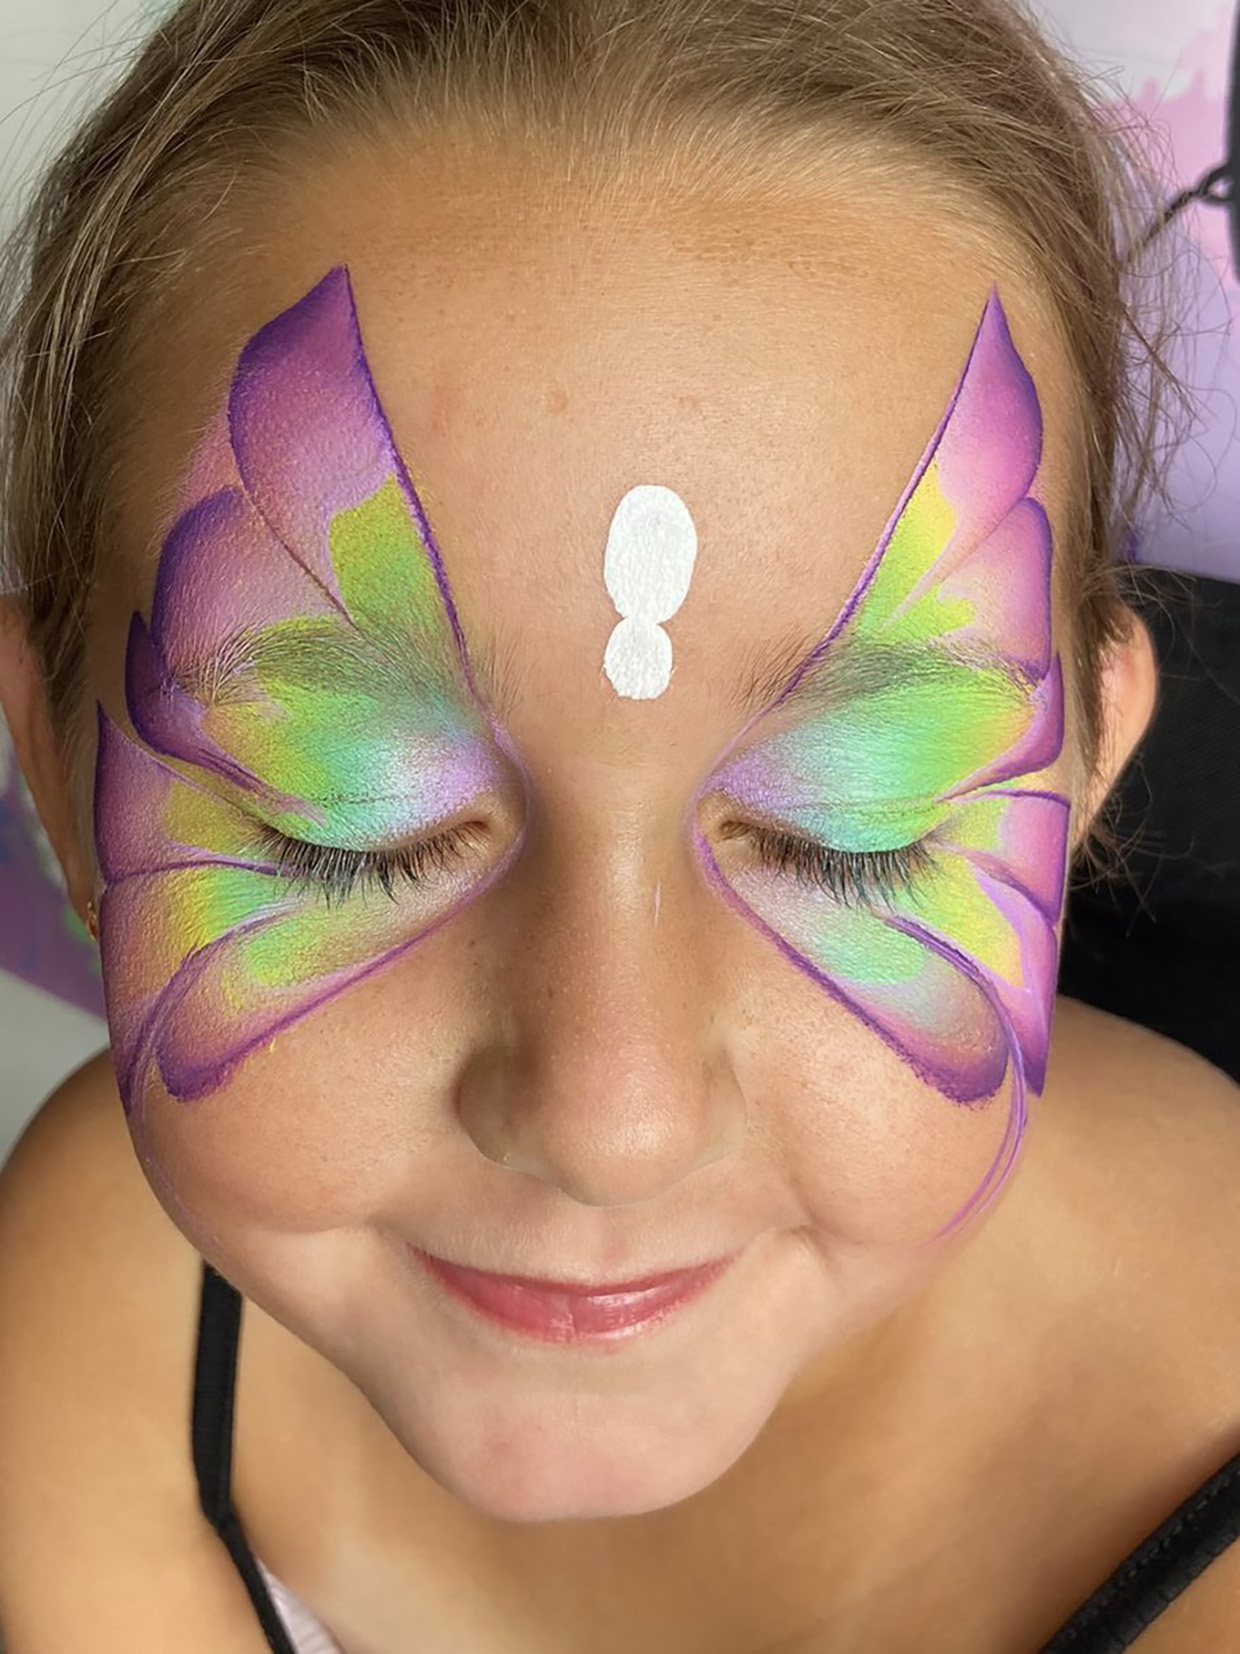
Place the brush in the centre of the forehead and of the wings. Press the brush all the way down against the skin.
Repeat this step under the first circle, but press the brush only halfway.
Step 9
Create the antenna
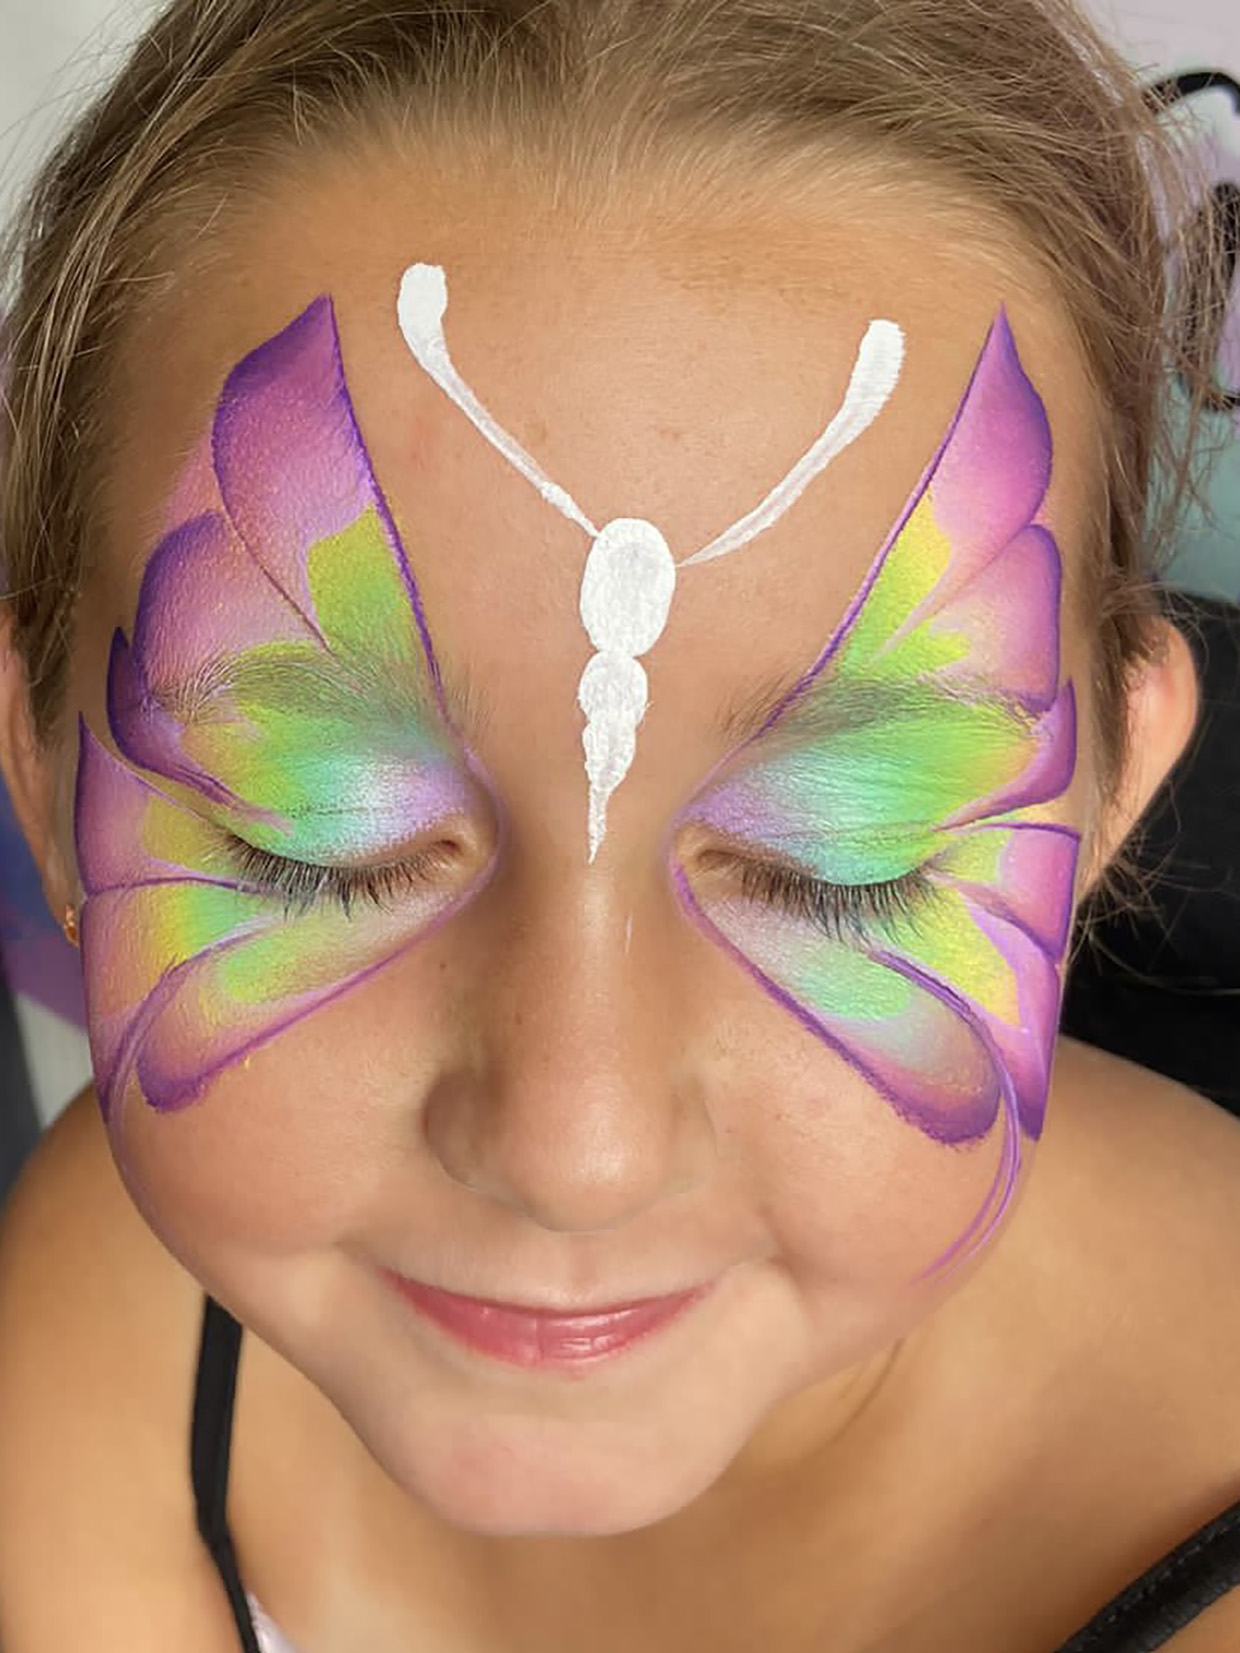
Using the tip and the side of the same brush, create the bottom part of the body and it’s antenna.
Step 10
Time for detail!
Optional step: Add the detail.
You can use the same brush and the white paint to create simple detail on your butterfly face paint, just add dots by pressing the filbert brush over the coloured wings in clusters of three.
