How to paint a watercolor galaxy
Step 1
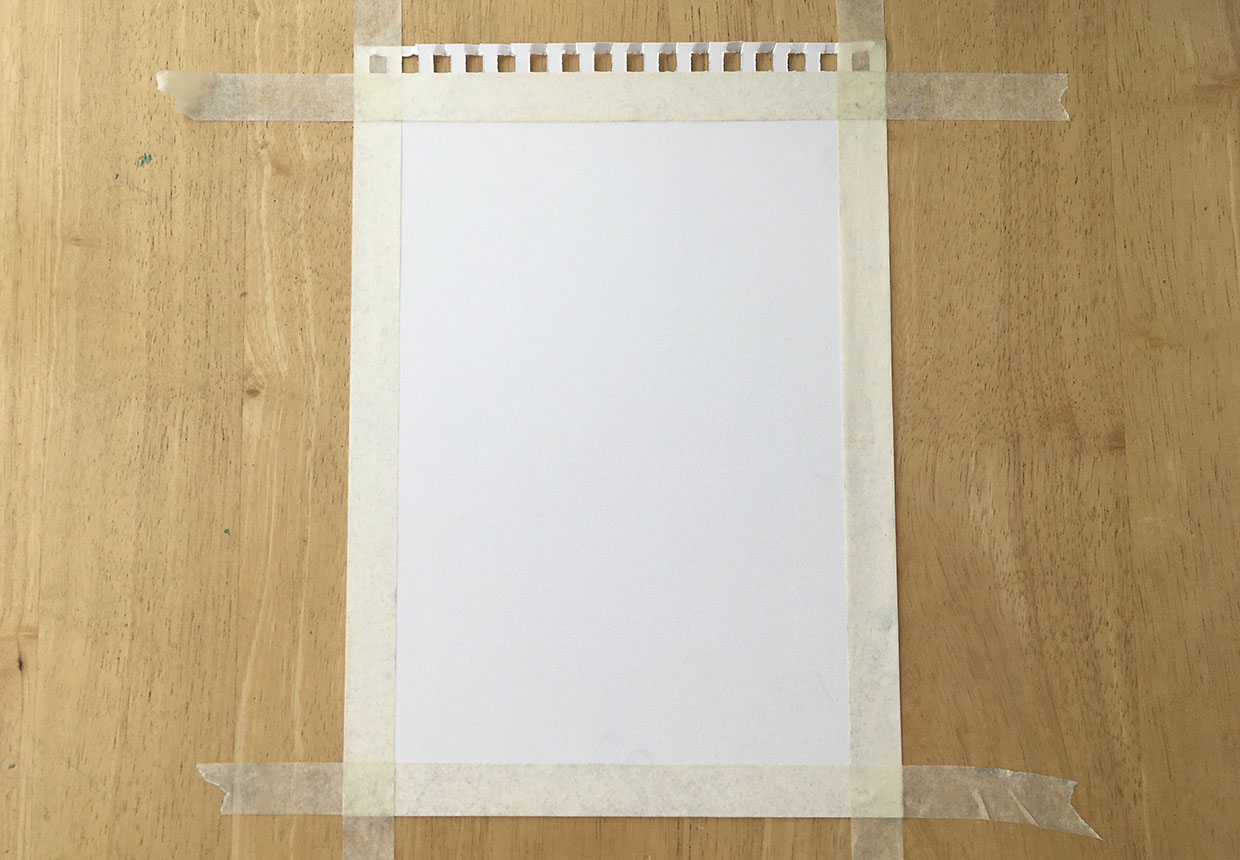
Start by preparing your watercolor paper. Use your masking tape to create a border around the edges – you can use the tape to secure your paper to the table top to stop the edges buckling if it gets too wet. Before you apply the tape, it’s a good idea to press it against some fabric before sticking it down to the paper even if the masking tape claims to be low-tack. If it’s too sticky, it could tear the paper when you peel it off, which will ruin the look of your finished watercolor galaxy painting.
Step 2
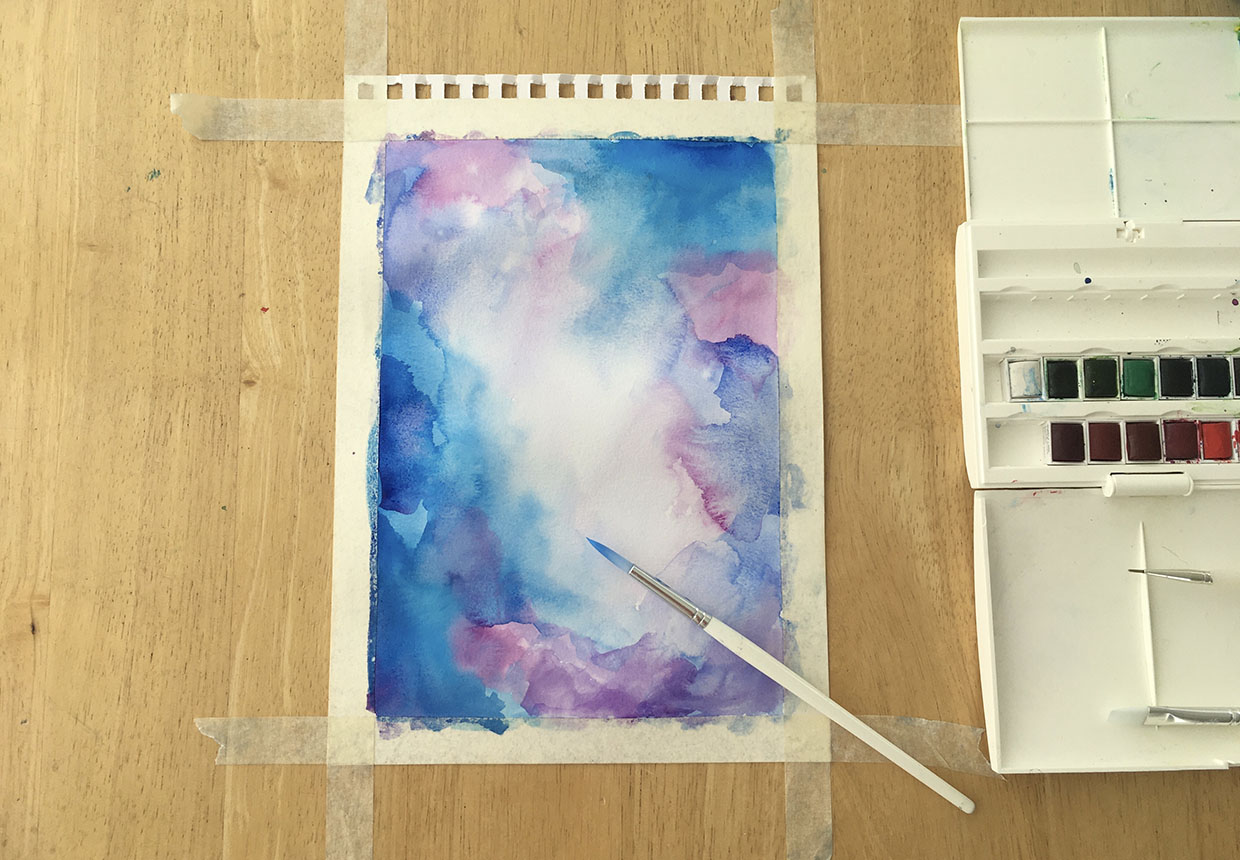
Apply a light layer (or wash) of water to the paper and then add some blobs of blue and purple watercolor paint. Keep your brushstrokes loose and untidy for a more natural look – I like to use a flat brush to wet the paper and a round brush to add the colors. Mix together different shades of blue to make your watercolor galaxy look vibrant. You can add a few dabs of pink or purple to bring your watercolor galaxy to life too.
Allow the colors to flow into each other for a blended look – this is known as the wet-on-wet painting technique. If you find that the paper is drying out and your brushstrokes have a clear edge, simply wet your brush and run it along the lines to create a blended look. Try to leave a lighter area across the middle of the painting to create your watercolor galaxy.
If you don’t have any white gouache paint to use for the stars, then you can leave some small spots unpainted to create a starry look. Leave the painting alone until it’s completely dry.
Don’t worry if it doesn’t look perfect at this stage – we’ll be adding more layers to build up the colors later. Make sure you change your painting water regularly as it may affect how the colors look – you don’t want lighter areas to end up with an unwanted blue tinge!
Want to lighten an area of your painting? Mix white gouache paint with a little water and brush it over the top. Leave the painting to dry before moving on to the next step.
Step 3
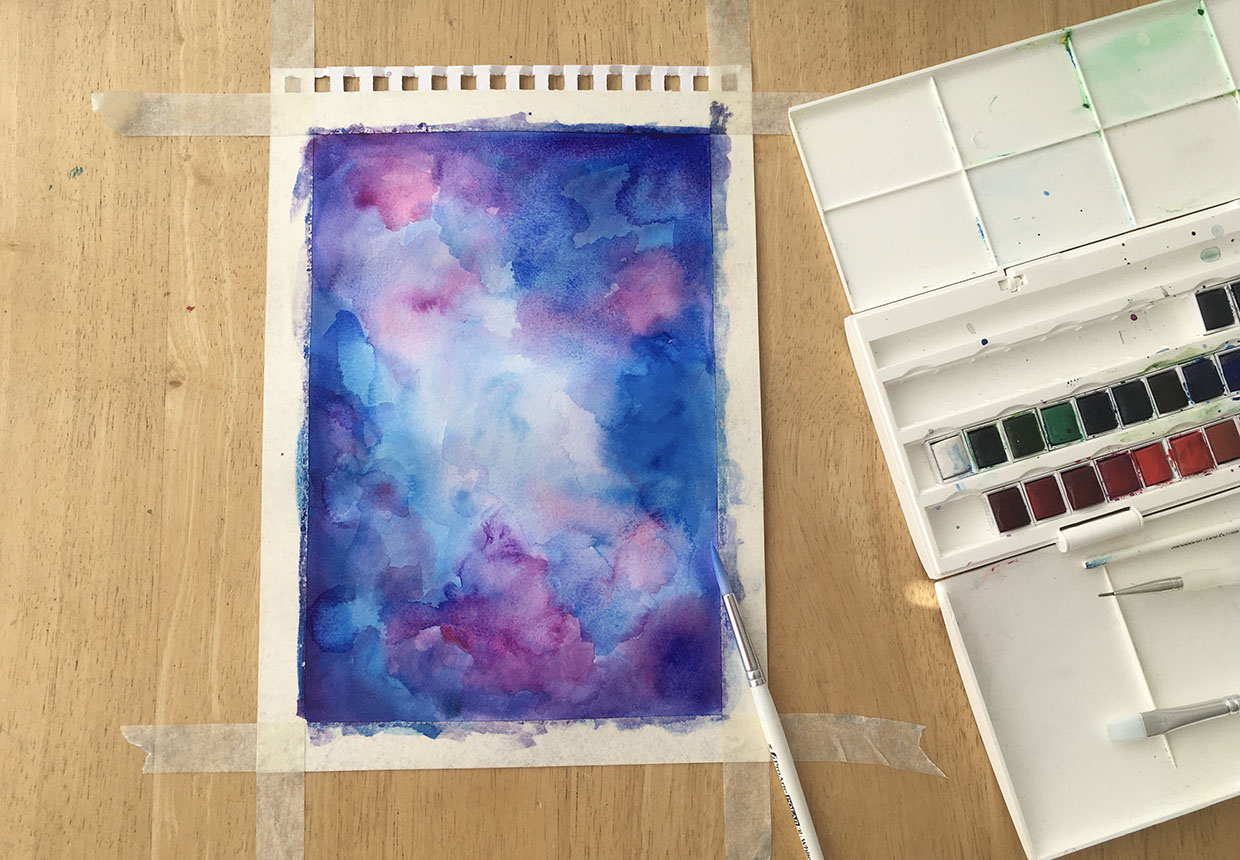
Next, add some darker layers to create the deeper colours of the night sky on your watercolor galaxy painting. You don’t need to wet the layer first this time: simply apply the paint straight on top of the first layer. Leave it to dry completely. Try to make the corners darker than the center of the painting and don’t be afraid to layer colors on top of one another. I’ve used dark blue watercolor paints to add depth, but you could use black watercolor paint for a more moody look.
If you want to create an interesting watercolor effect, try wetting a section of the painting and dabbing a color into one corner – the paint will bleed into the wet area giving a lovely texture.
If you find that you’ve added too much water and your paper is warping, try dabbing the saturated area with some paper towels – this can also be a good way to create a textured look on your painting.
Step 4
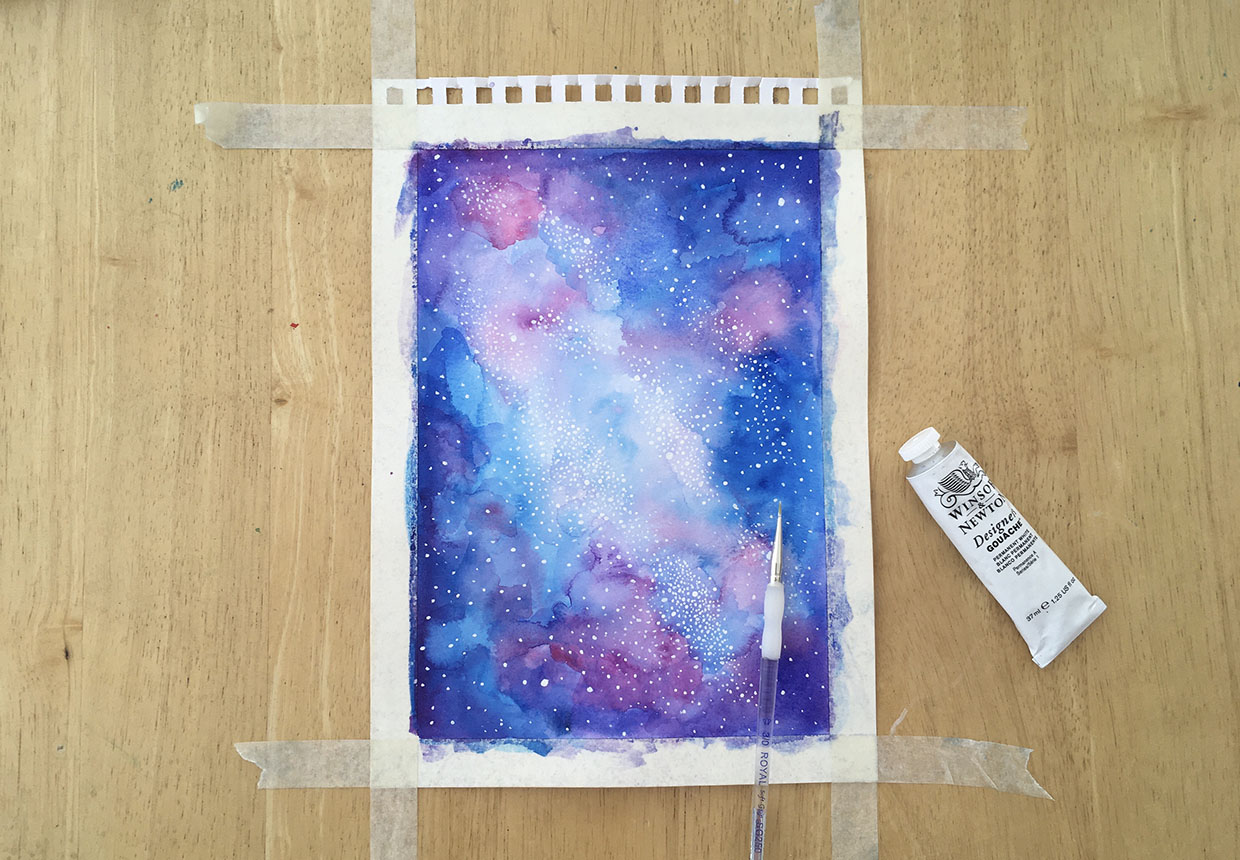
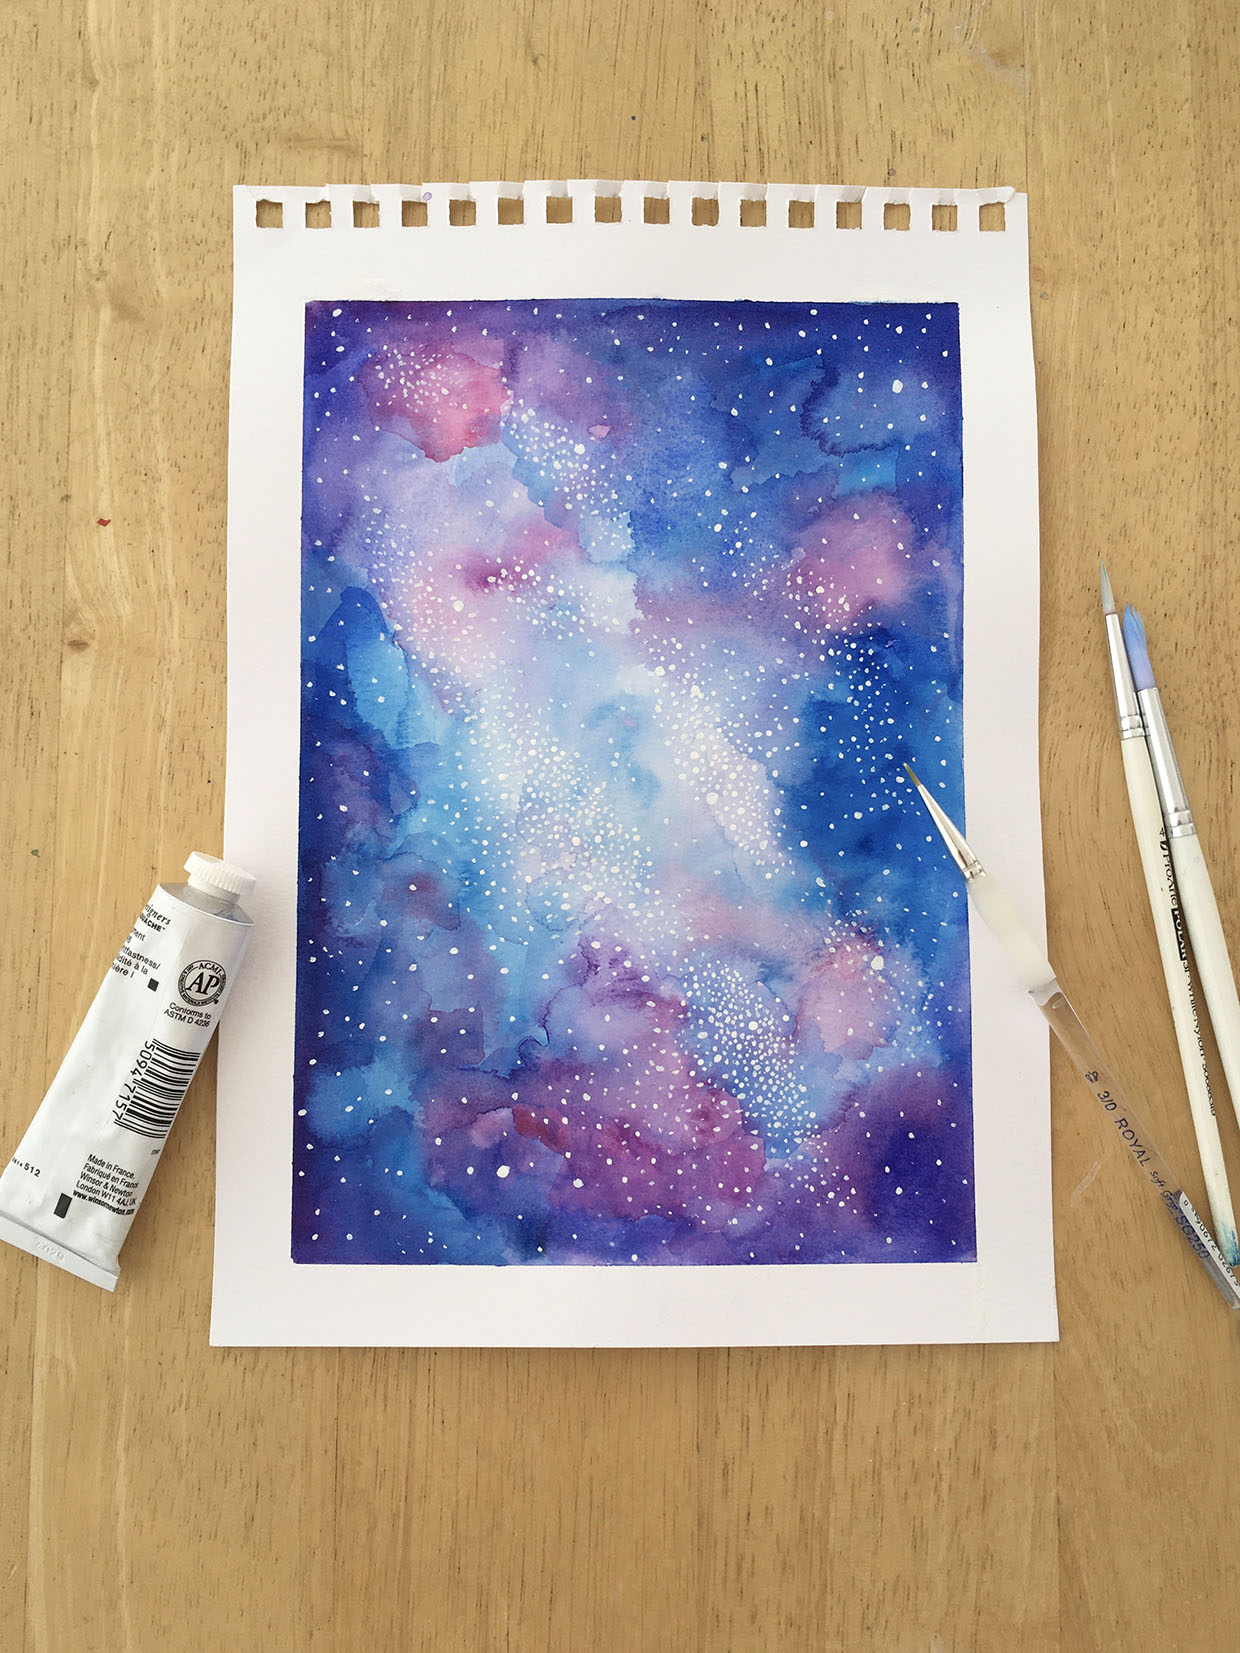
Now it’s time to add the stars! There are a few different ways to do this: you can add white gouache paint onto a brush and flick it onto the page; you can paint dots using a fine paintbrush; or you can draw them on using a white rollerball pen or a white paint pen. Vary the sizes of your stars on your night sky and keep going until you’re happy with it.
It’s a good idea to create concentrated areas of paint around the edges of the lighter area at the center of your painting. This will make it look like the Milky Way. If you get stuck, look up some pictures of the Milky Way to help you decide where to cluster your stars.
This part of the painting can be quite time consuming, but don’t be tempted to rush at this stage. Take your time and build up your stars gradually, remembering to wet your brush regularly – this helps to keep your stars looking rounded. A dry brush can make the stars look a little rough around the edges.
Step 5
Leave your watercolor galaxy to dry. Once it has dried out, gently peel away the masking tape to reveal your finished artwork. If you find that the paint has leaked through your tape in places, you can tidy up the edges with a layer of white gouache. No one will notice!
We hope you’ve enjoyed making this watercolor galaxy. Read on to learn how to paint a watercolor galaxy circle.
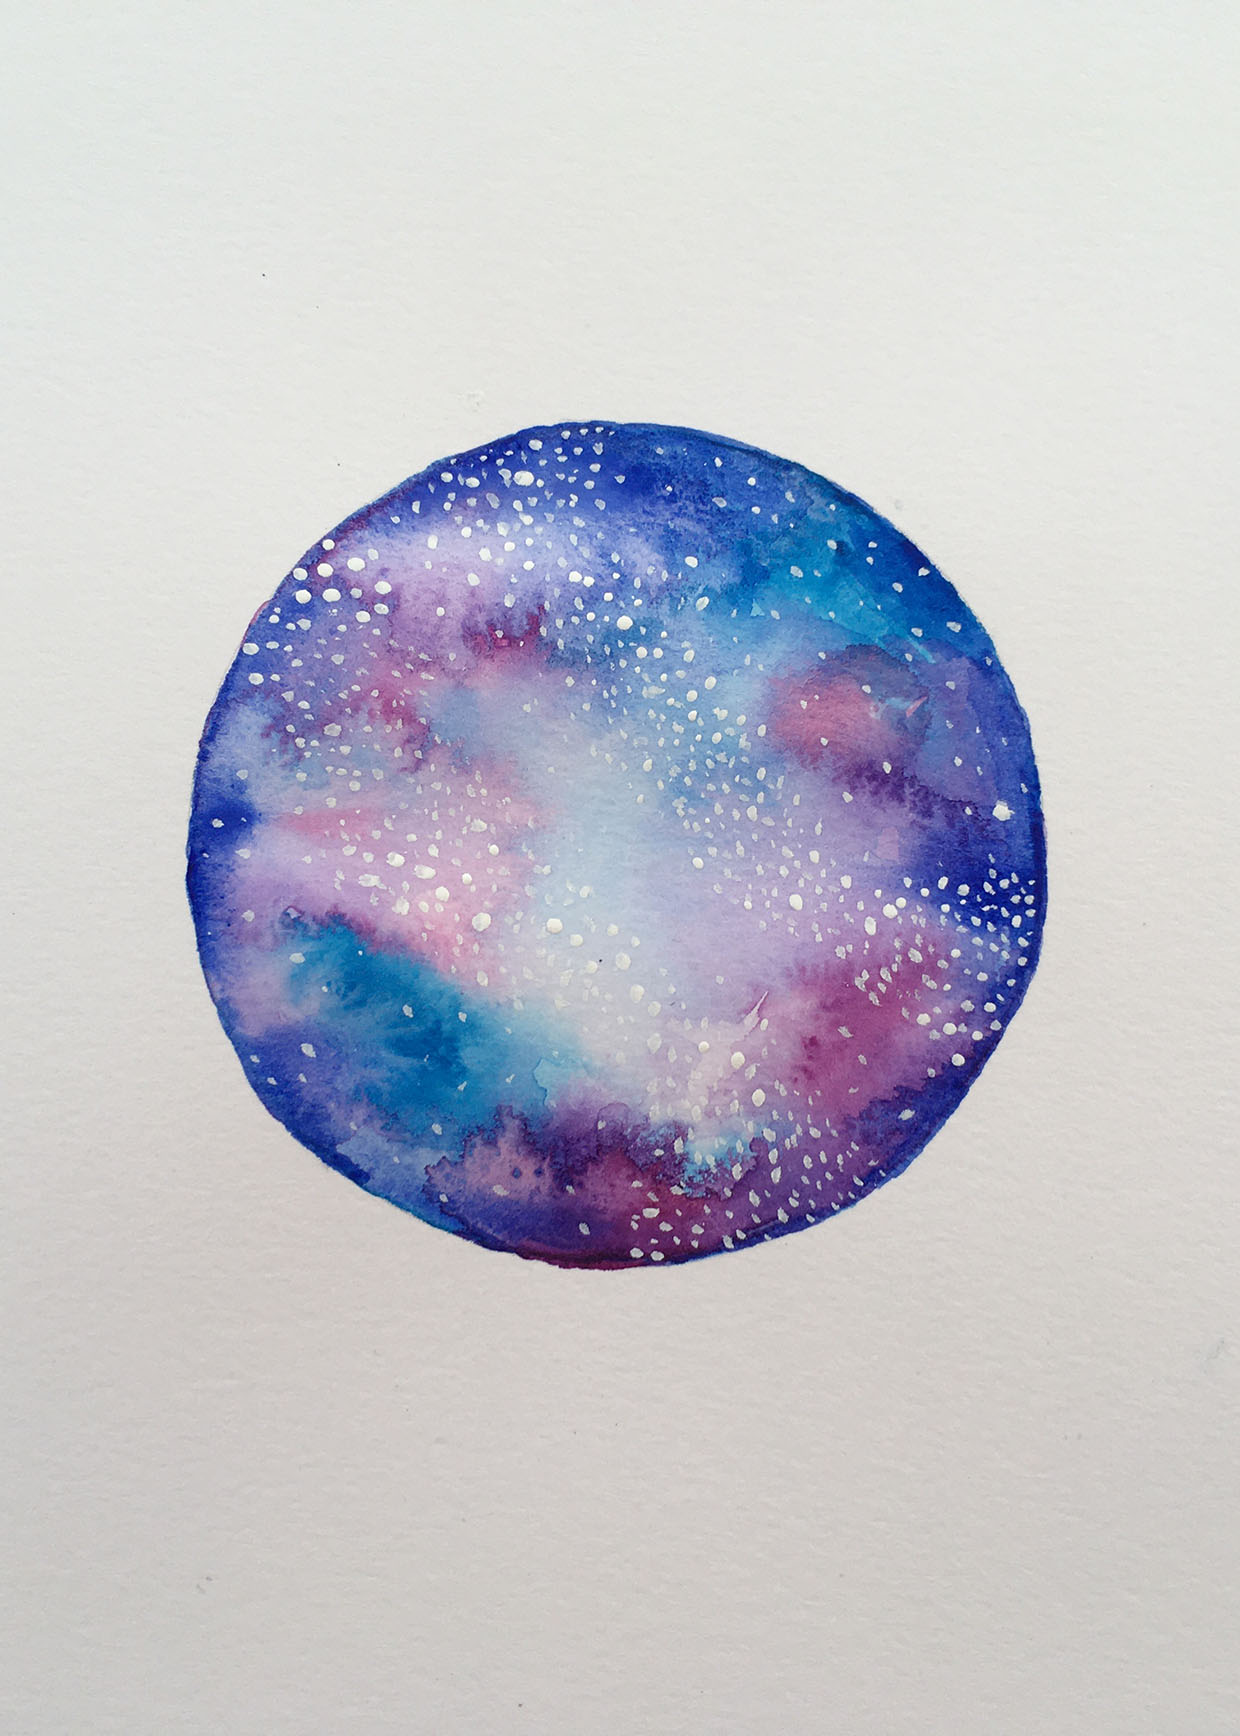
How to paint a watercolor galaxy circle
Step 1
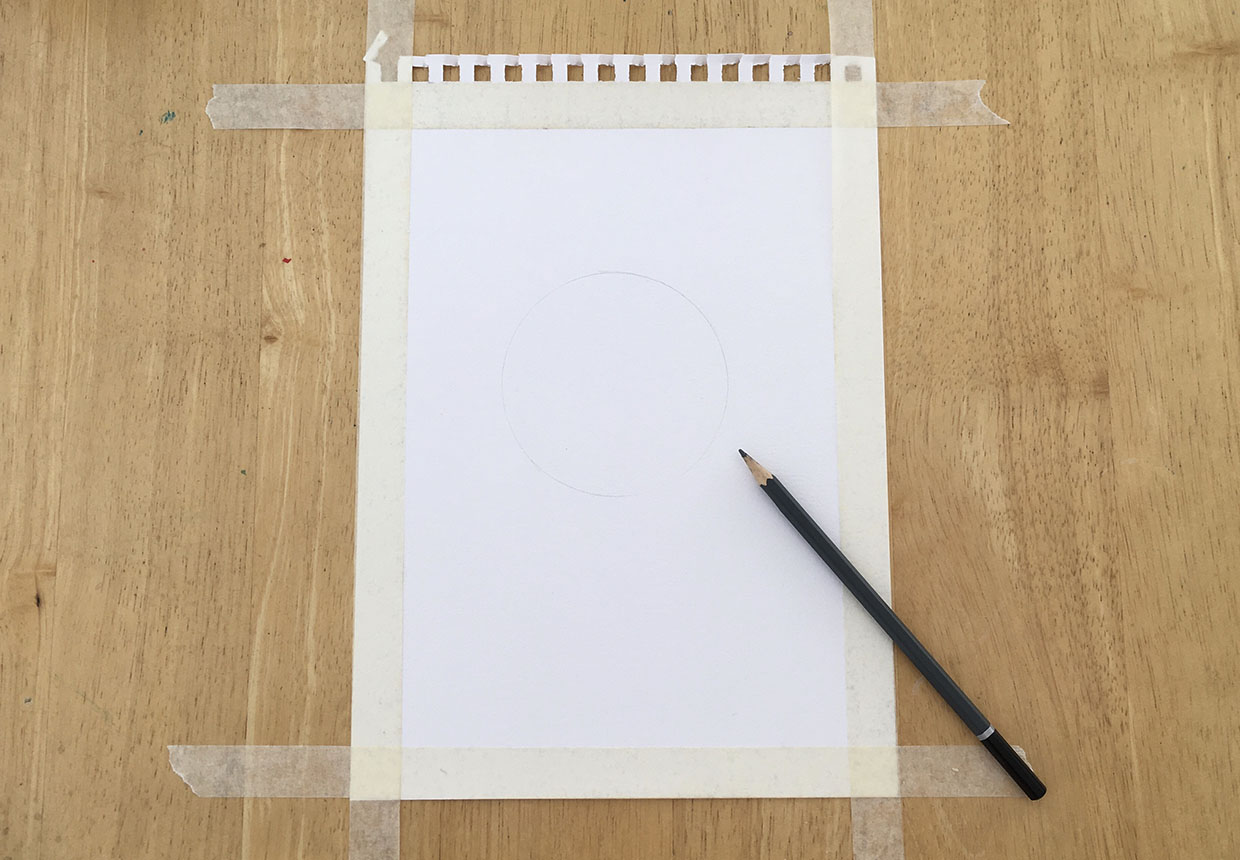
Painting your own mini watercolor galaxy circle is another fun way to explore this painting technique. Begin by lightly drawing a circle on your watercolor paper – you can use a compass for this or simply draw around a cup or plate.
Step 2
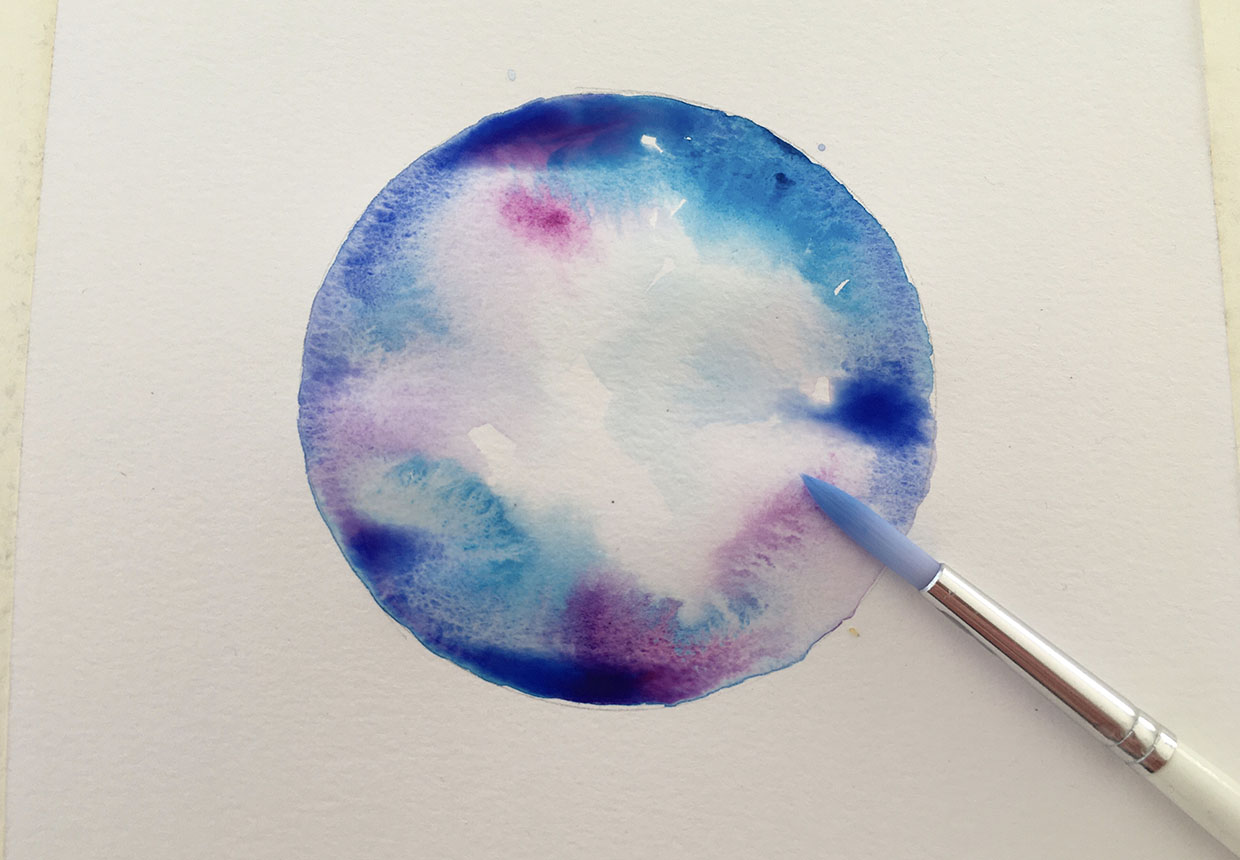
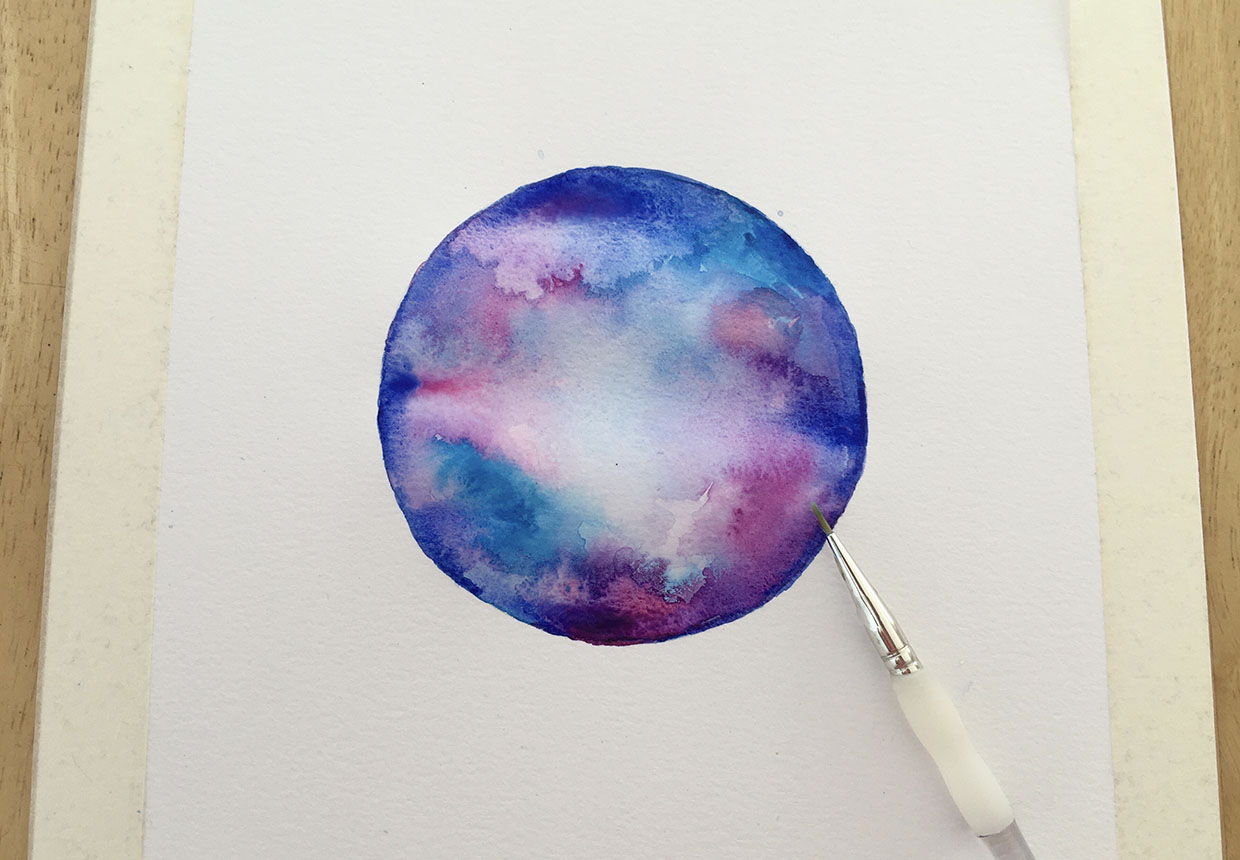
Next, brush water onto your circle. Don’t use too much or your paper will buckle! Then add some dark blue and purple paint around the edges of the circle, leaving a lighter area in the middle. When the paint is wet, you’ll find that you can move the colors around with the tip of your brush and blend them together. Leave your galaxy watercolor circle to dry out.
Step 3
Now build up the colors by adding darker shading to your watercolor galaxy circle. You don’t need to wet the paper first this time. This is be a good time to add a little pink and purple on the edges of the lighter area and to neaten up the edges with a finer brush. Leave the painting to dry.
Step 4
The next step is to add some sparkly stars to your sky. You can flick white gouache paint onto your design, but if you choose to add stars this way it's a good idea to put some paper around the edge of your circle to keep the page clean. You could paint tiny stars onto the paper with a fine brush or draw them on with a white roller pen instead. If using paint, leave it to dry.
You can leave your watercolor galaxy as it is, or you can go the extra mile and paint on a dark forest or a mountain scene on the top (or anything else you fancy!).
