Step 1
Make your polymer clay cactus pots
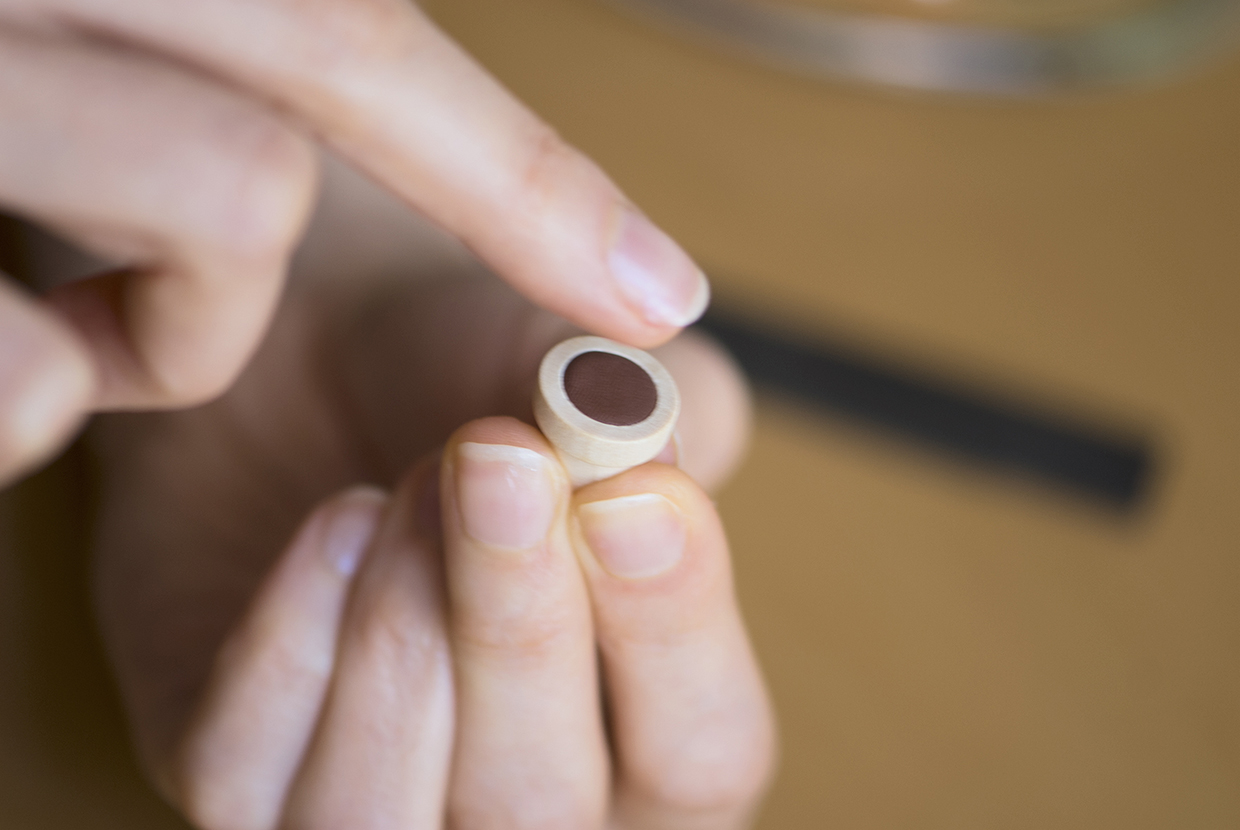
Make a brown clay ball.
Step 2
Push it inside your wooden pot and flatten the surface.
Step 3
Insert a 1cm (⅜") jewellery wire halfway into the clay using flat nose pliers. Make one per cactus.
How to make the leafy clay cactus
Step 1
Make 10 to 12 4mm (¼") diameter green clay balls. Roll each into a bicone (fat in the middle and thin at each end) and smooth out.

Step 2
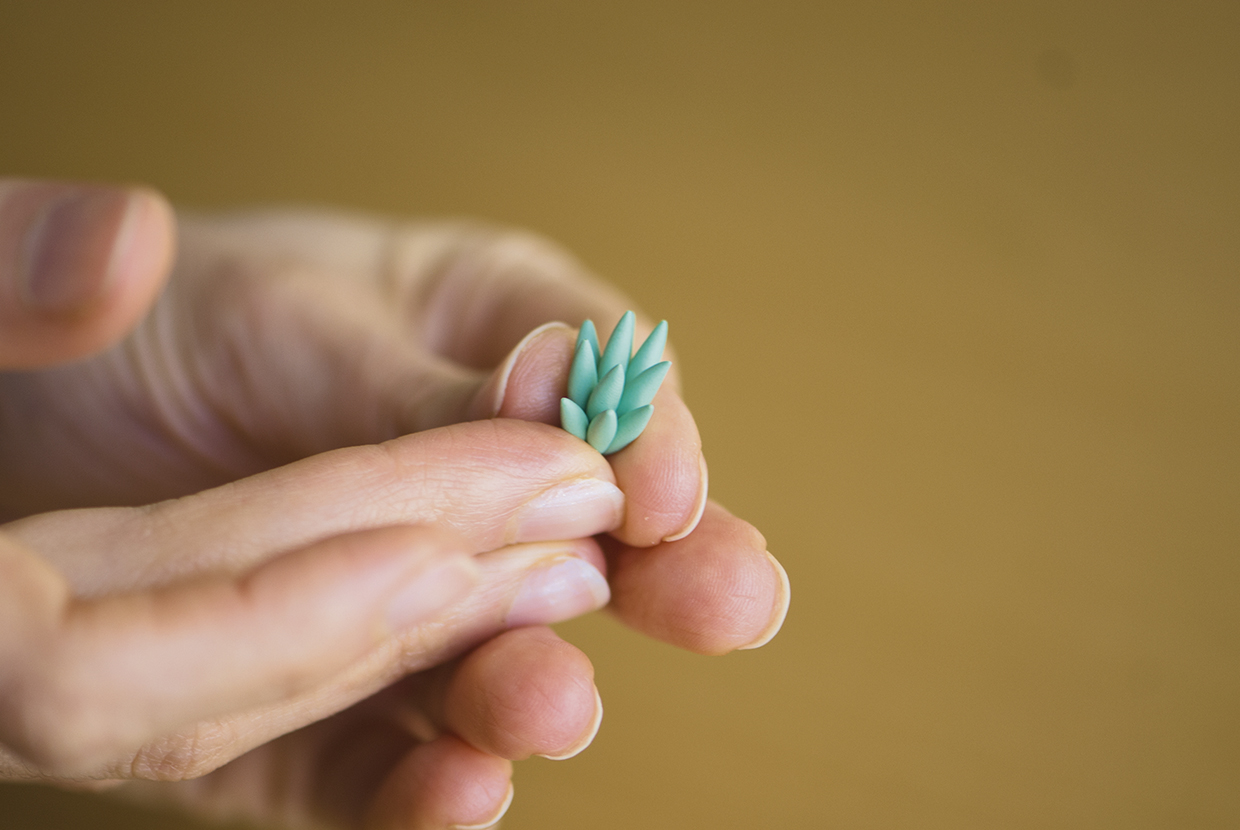
Hold the bicones side by side and press them gently together.
Step 3
Using a thin polymer clay blade, cut the end to create a flat bottom. Attach to the pot using some translucent liquid clay.
Step 4
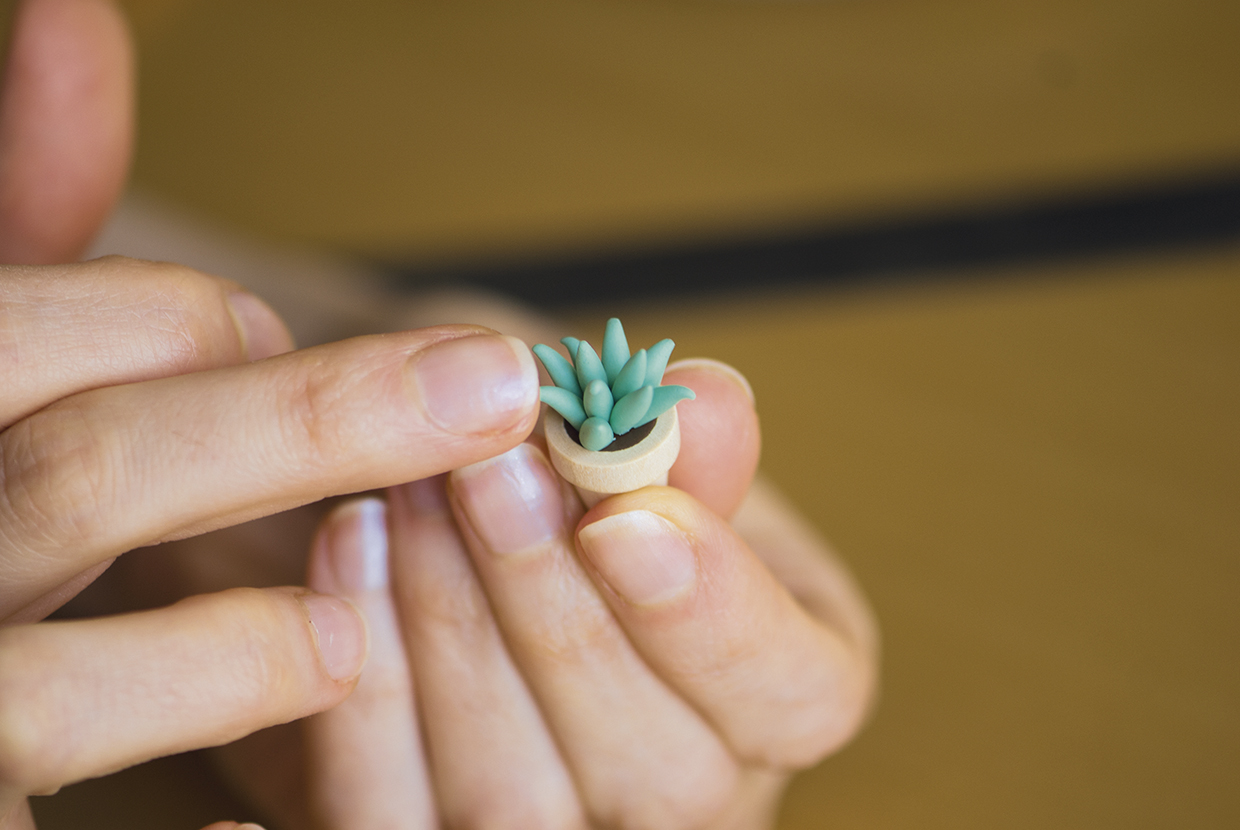
Use your fingers to gently curl the ends of the cactus stems.
How to make the prickly clay cactus
Step 1
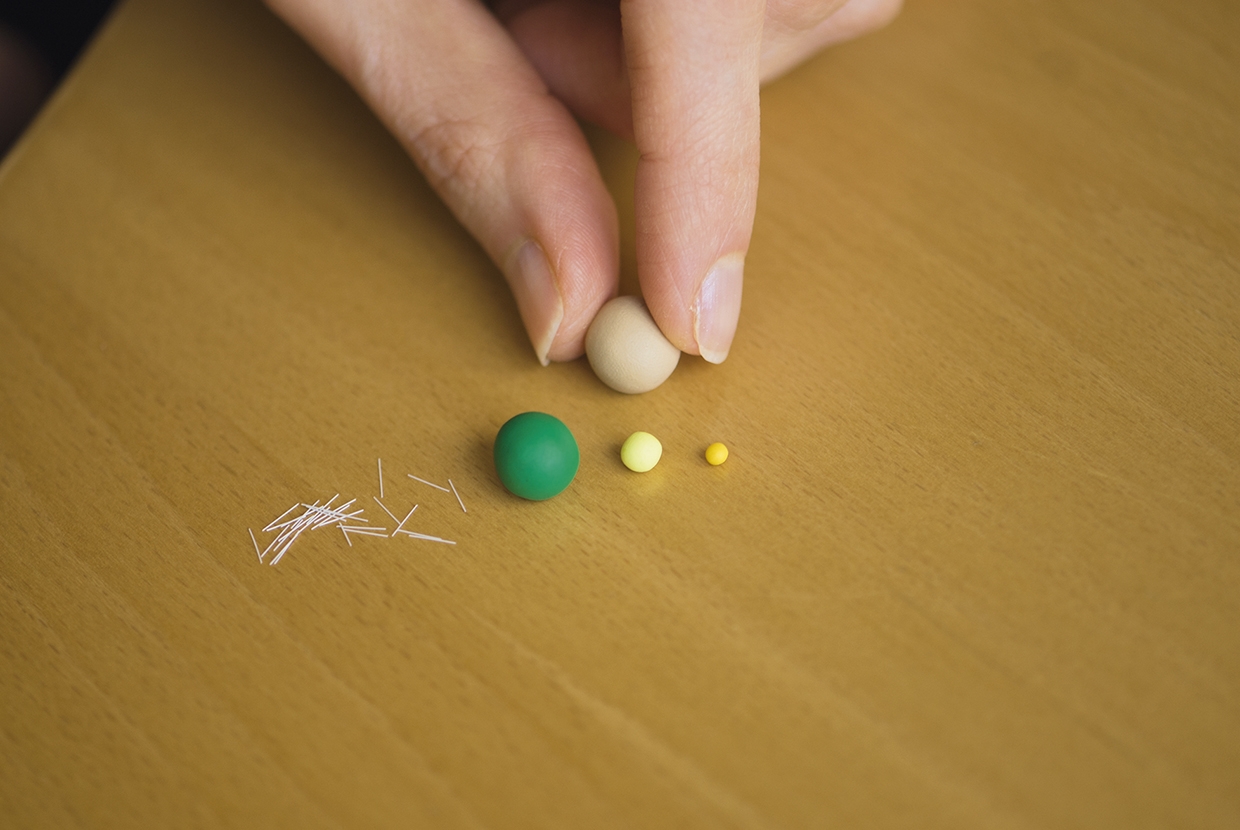
Make four clay balls in different colours for the pot, cactus body and flower. Roll the green clay into a long teardrop shape. Cut some small pieces of toothbrush bristle.
Step 2
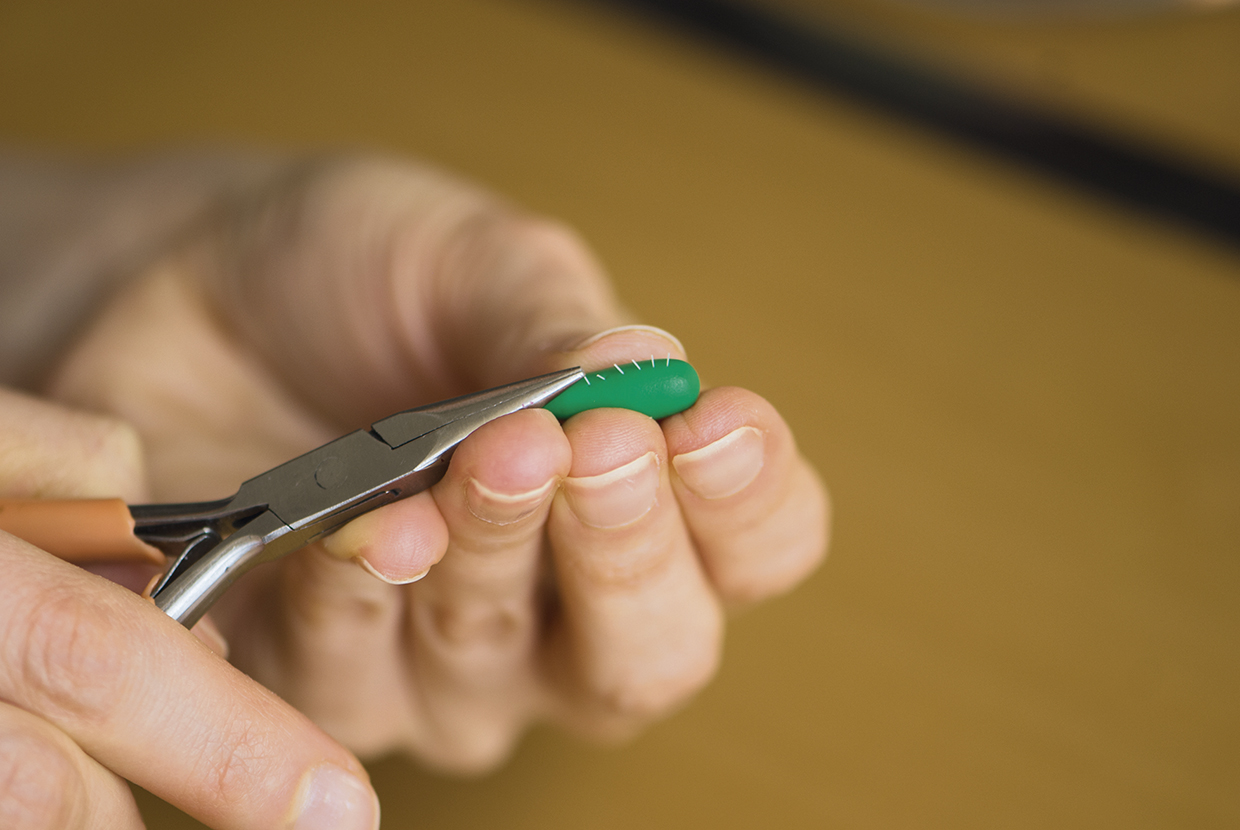
Using flat nose pliers, insert each toothbrush bristle piece halfway into the clay to create thorns in a straight line. Repeat to create five equally-spaced lines.
Step 3
Cut the end of your cacti with your blade to create a flat bottom and attach to the pot using some translucent liquid clay.
Step 4
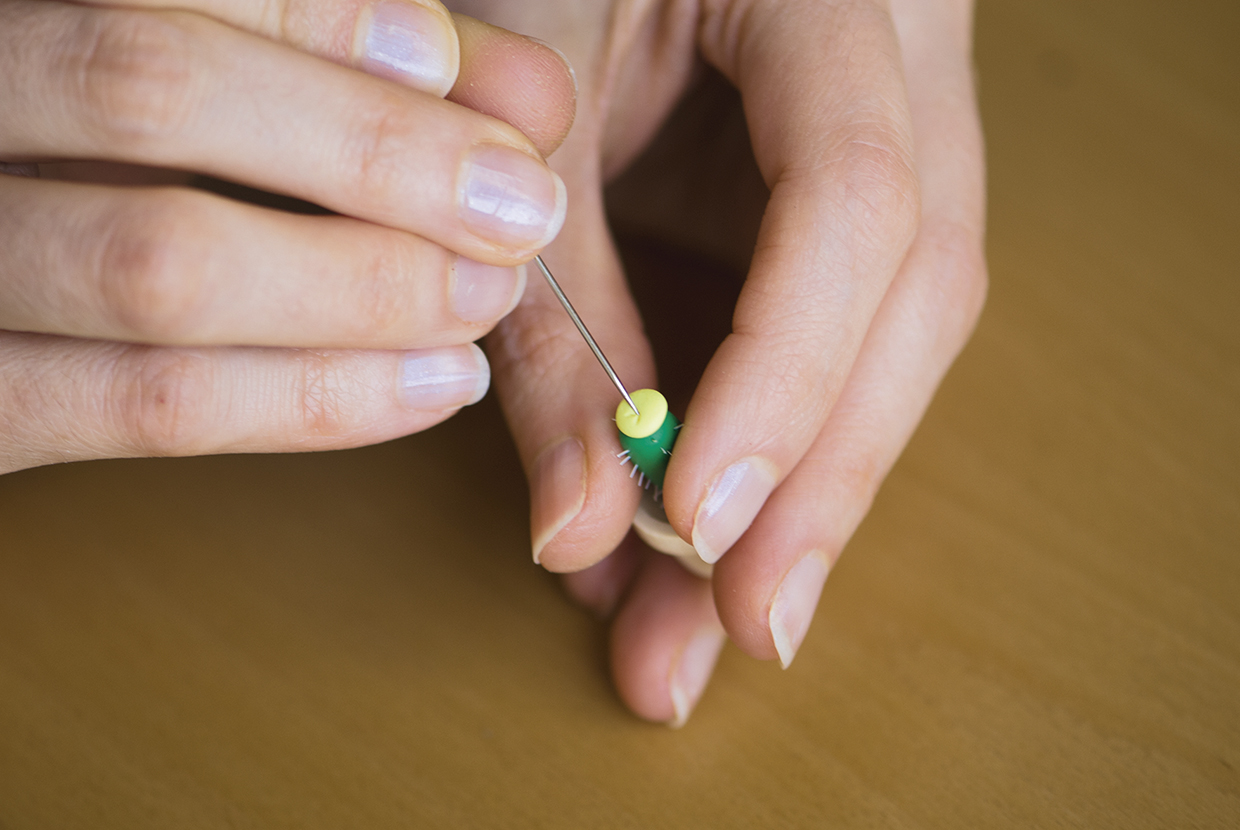
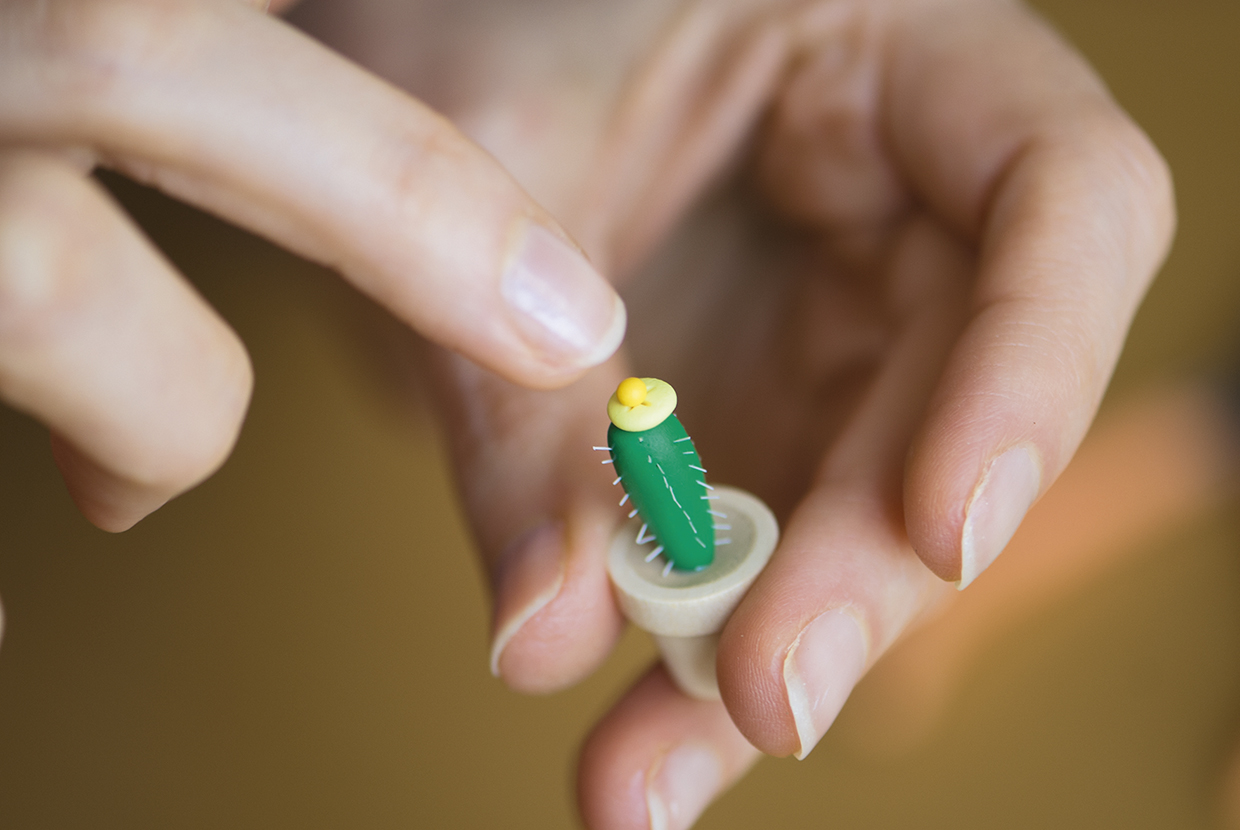
Slightly flatten your flower ball and gently press it on top of the cactus. Indent it using your needle, forming a star shape.
Step 5
Place the smallest ball on top and push it very gently with your finger to stick it to the cactus.
How to make an orange flower clay cactus
Step 1
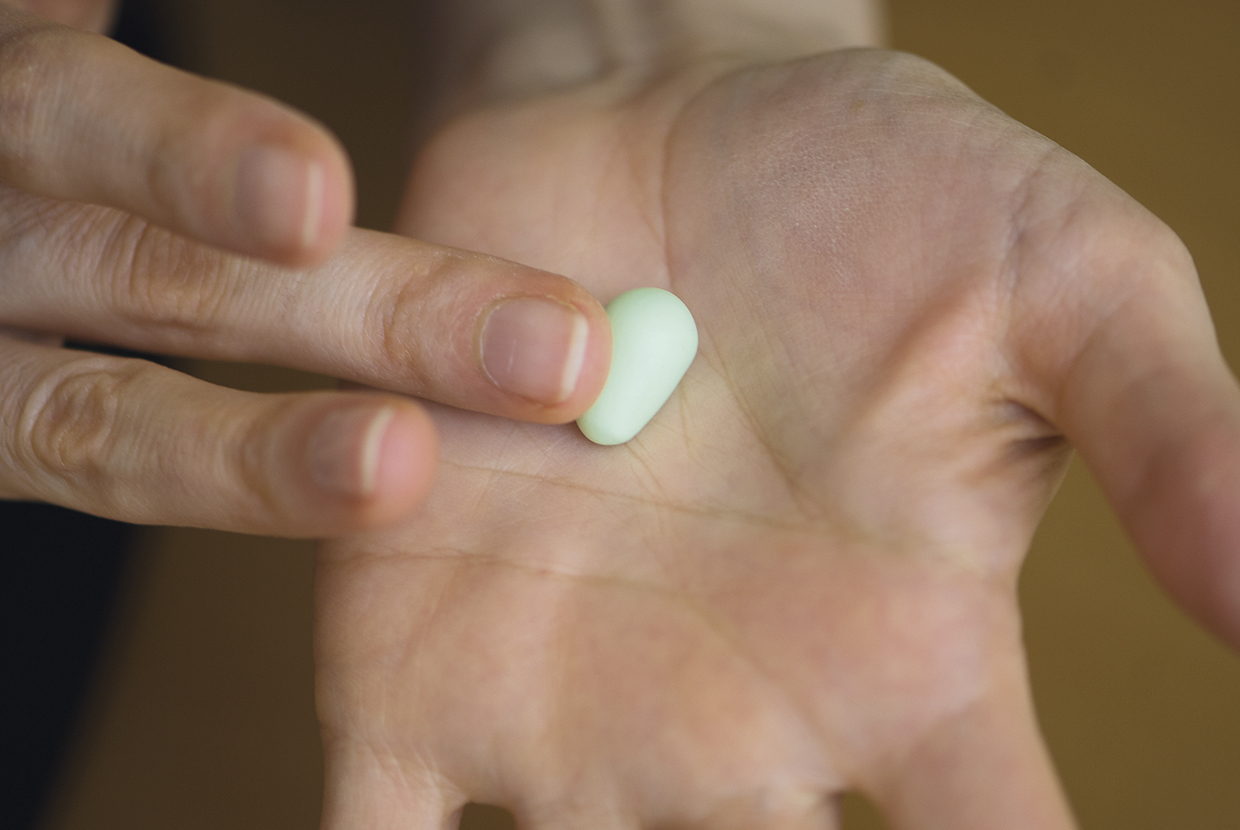
Roll a ball of green clay into a short, chubby teardrop and cut the end to create a flat bottom.
Step 2
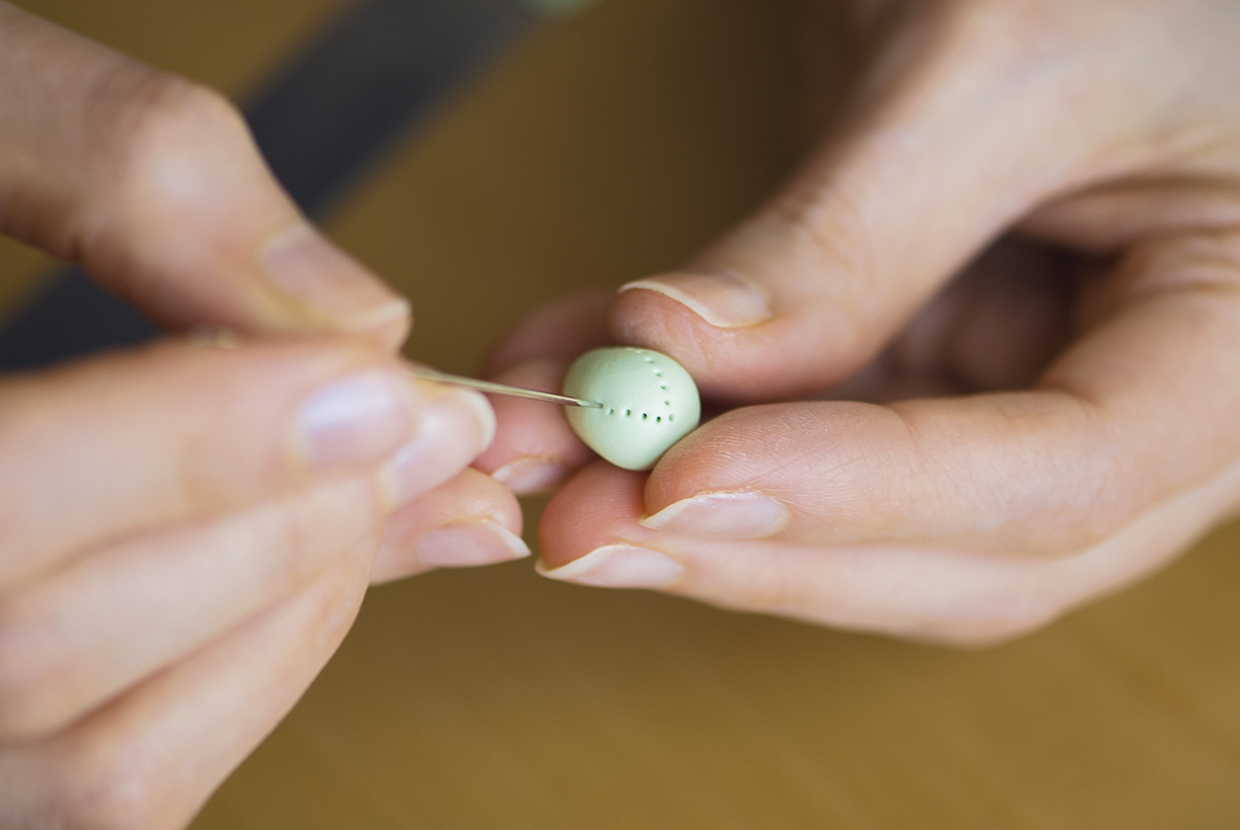
Use a needle to pierce tiny holes in the clay surface to create a dotted line. Repeat four more times to create five equally-spaced dotted lines. Attach it to the pot.
Step 3
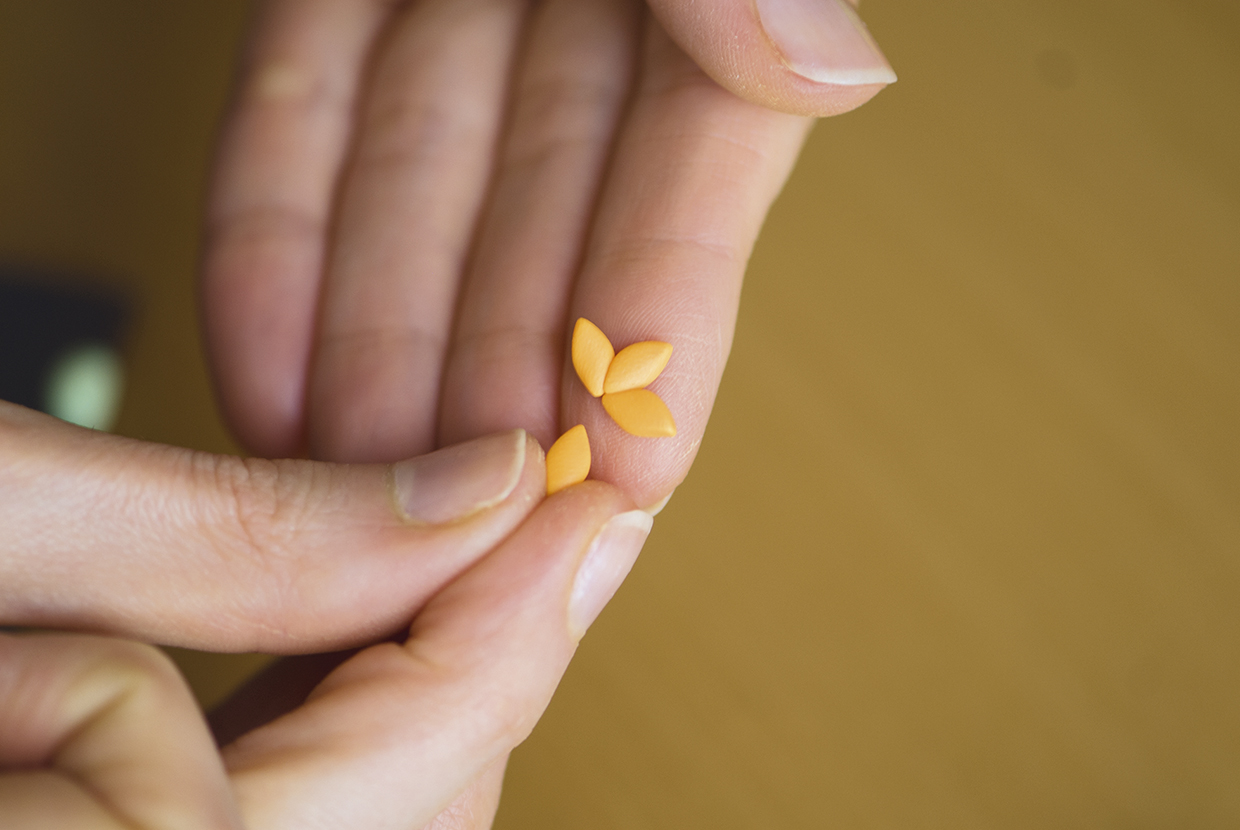
Make five 3mm (⅛") clay balls and form each one into a pointed petal. Arrange them into a flower and press together.
Step 4
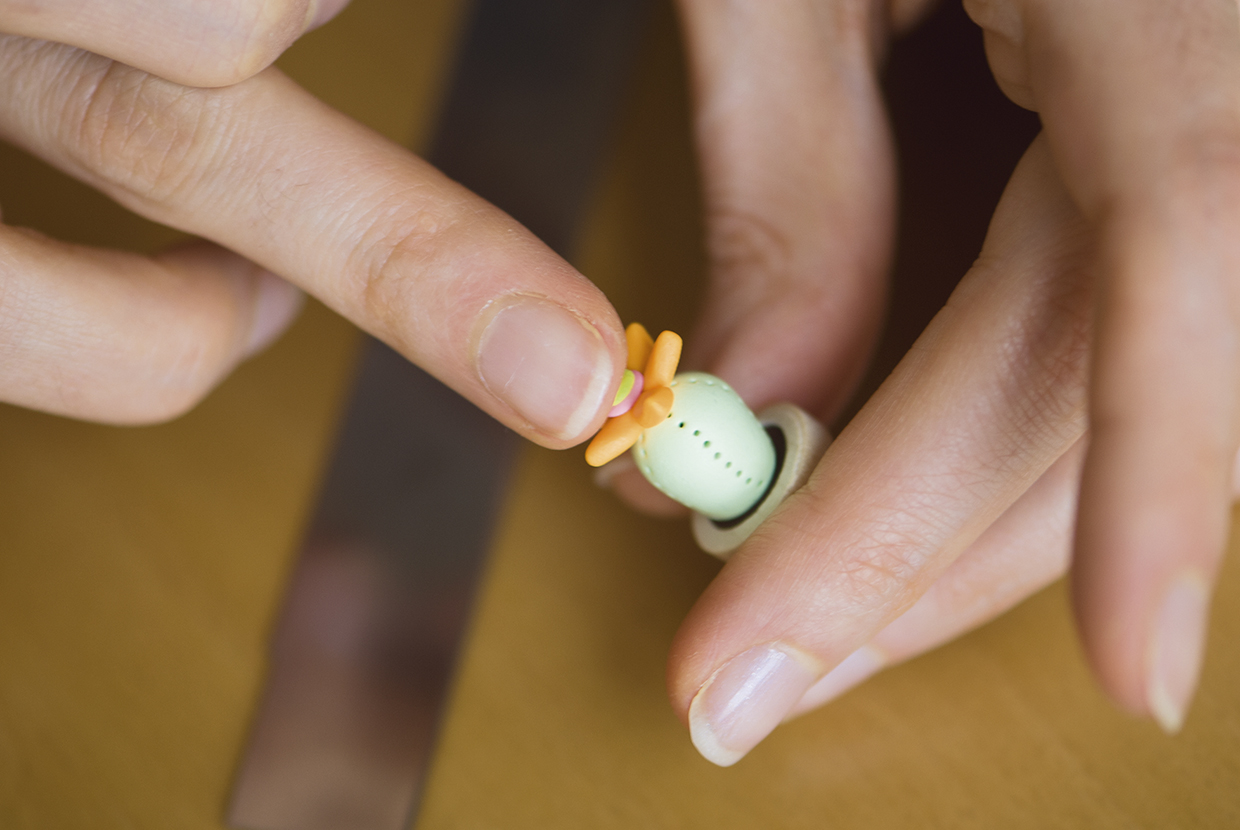
Attach the cactus to the pot using liquid clay, then attach the flower to the cactus.
Step 5
Make three small balls, flatten them and stack them on the centre of the flower. Press gently to stick, then pierce a hole in the centre using a needle.
Get stuck into more polymer clay projects
Enjoy moulding more adorable projects with our collection of the best polymer clay kits. There’s everything from Christmas decorations to earring kits.
How to make an pink flower clay cactus
Step 1
Make a 1cm (⅜") green ball and two smaller contrast colour balls.
Step 2
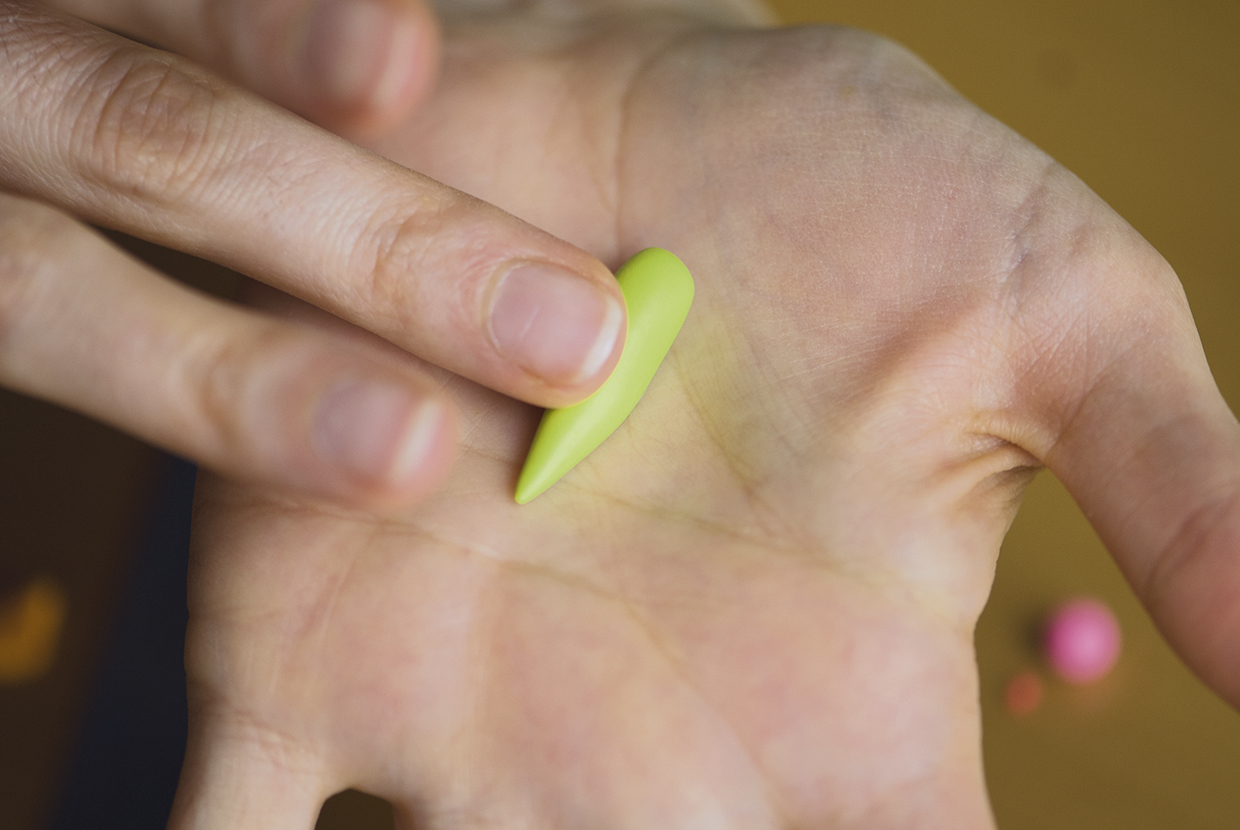
Roll the green ball into a long teardrop shape, then place on a flat surface and shape into a long pyramid. Cut the bottom and tip.
Step 3
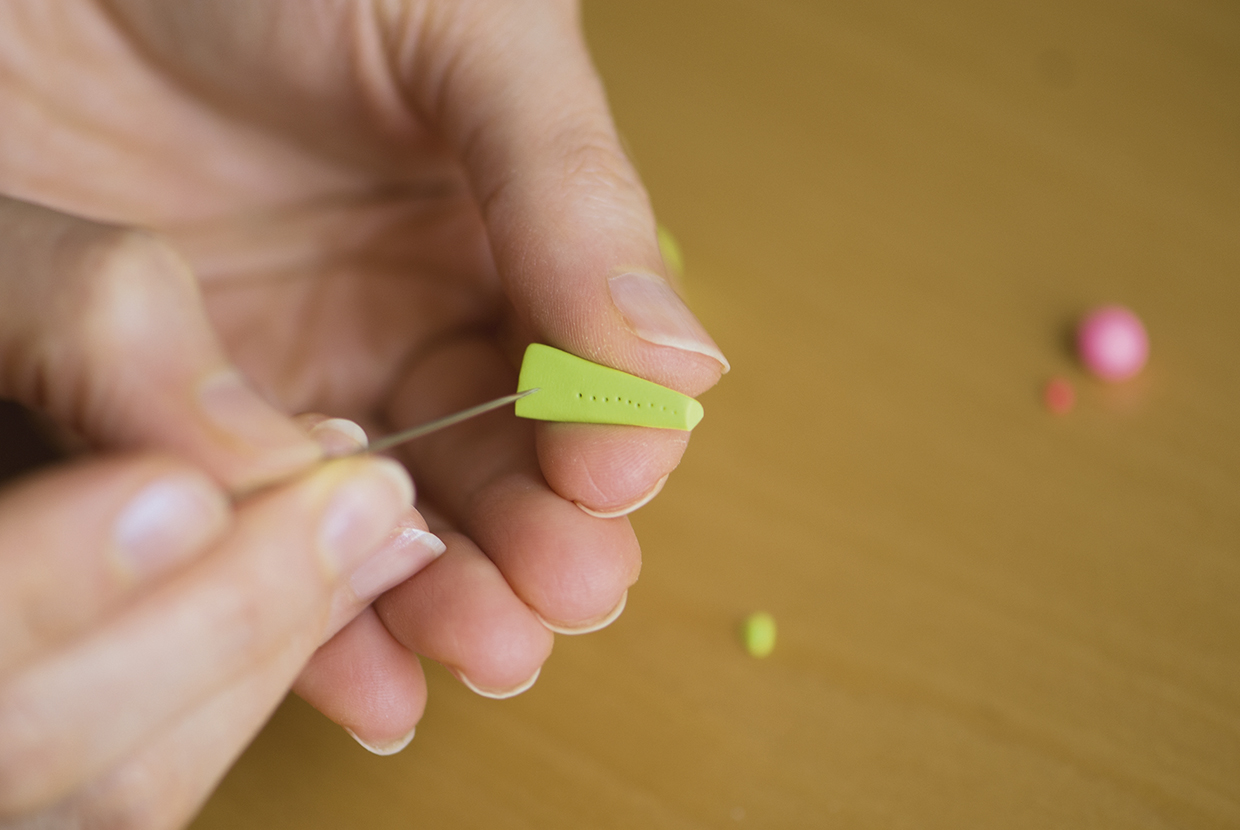
Gently create a dotted line using a needle. Repeat two more times on each side.
Step 4
Slightly flatten the pink clay ball by pressing it gently between your fingers.
Step 5
Apply translucent liquid clay onto the tip of the cactus and attach to the pot as before.
Step 6
Attach the ball to the cactus.
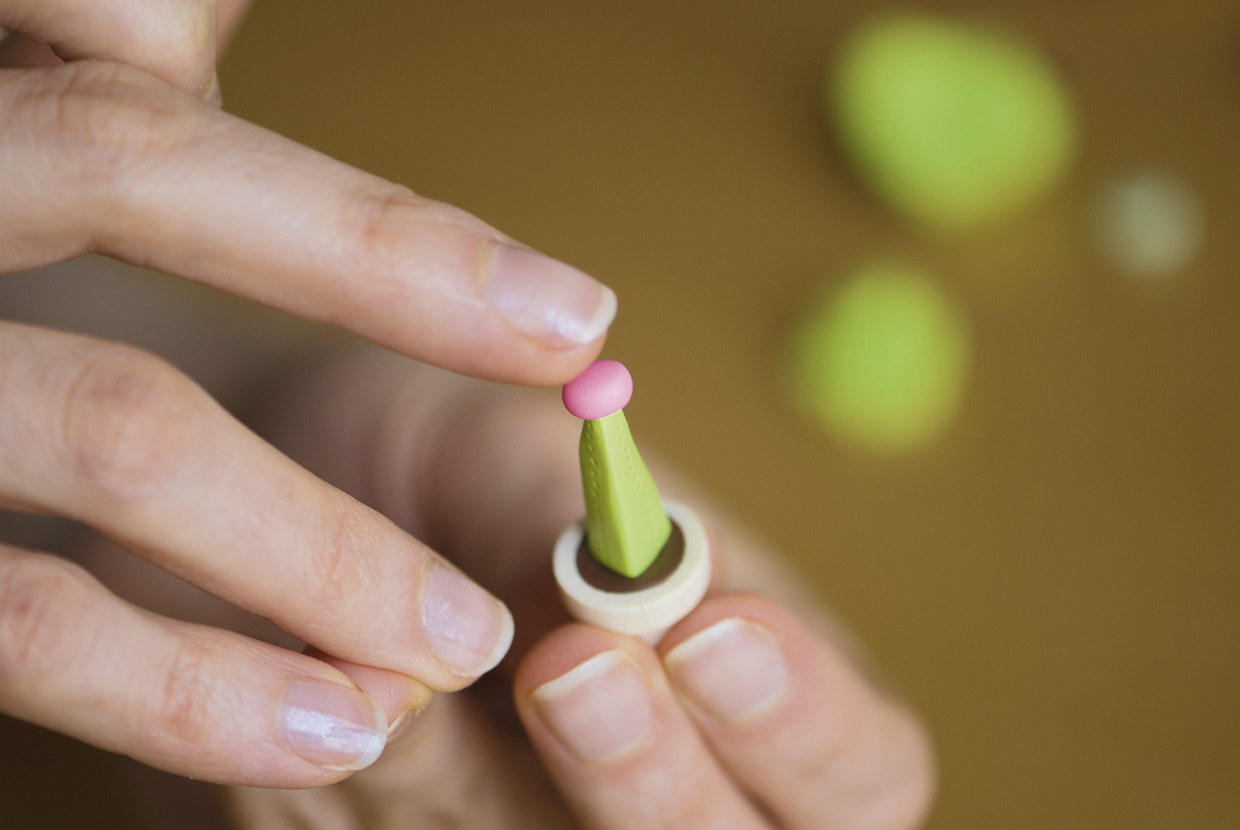
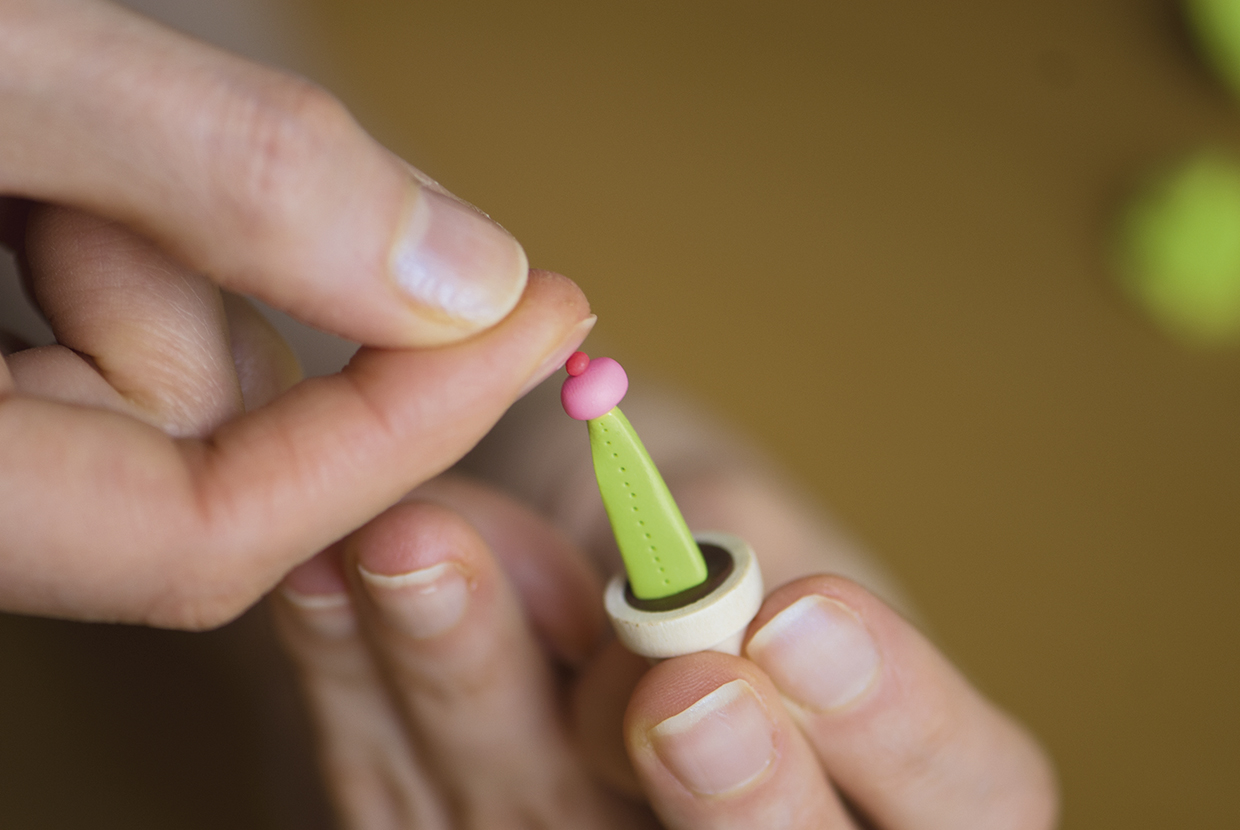
Step 7
Place the smallest ball on top and flatten it using your nail.
How to make a pear clay cactus
Step 1
Roll a small log of red clay.
Divide it into five equal segments, and then roll each one into a 1.5mm (⅛") ball.
Step 2
Make two green balls, one 1cm (⅜") and one 4mm (¼"). Roll the green balls into teardrop shapes and flatten with your finger.
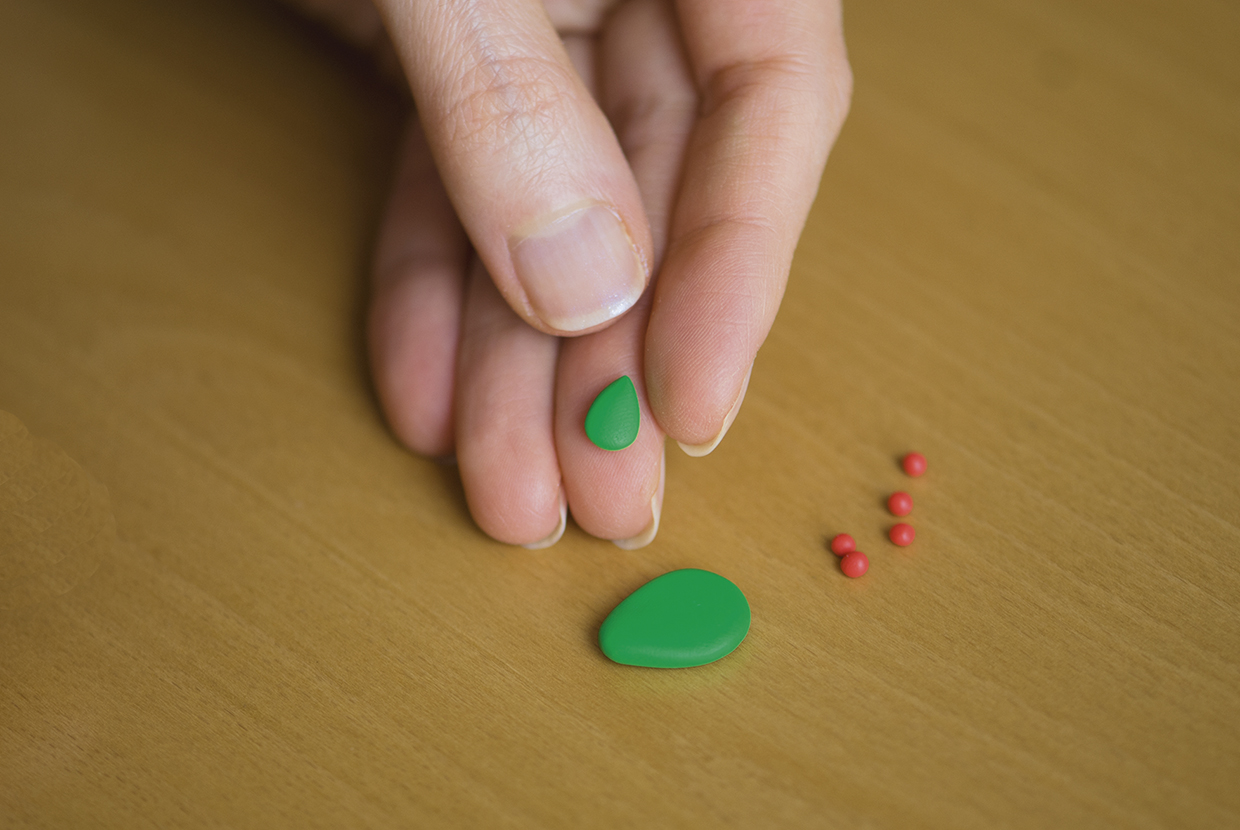
Step 3
Use a needle to create a dotted pattern on each of the cacti stems. Cut off the bottom of both stems using your blade.
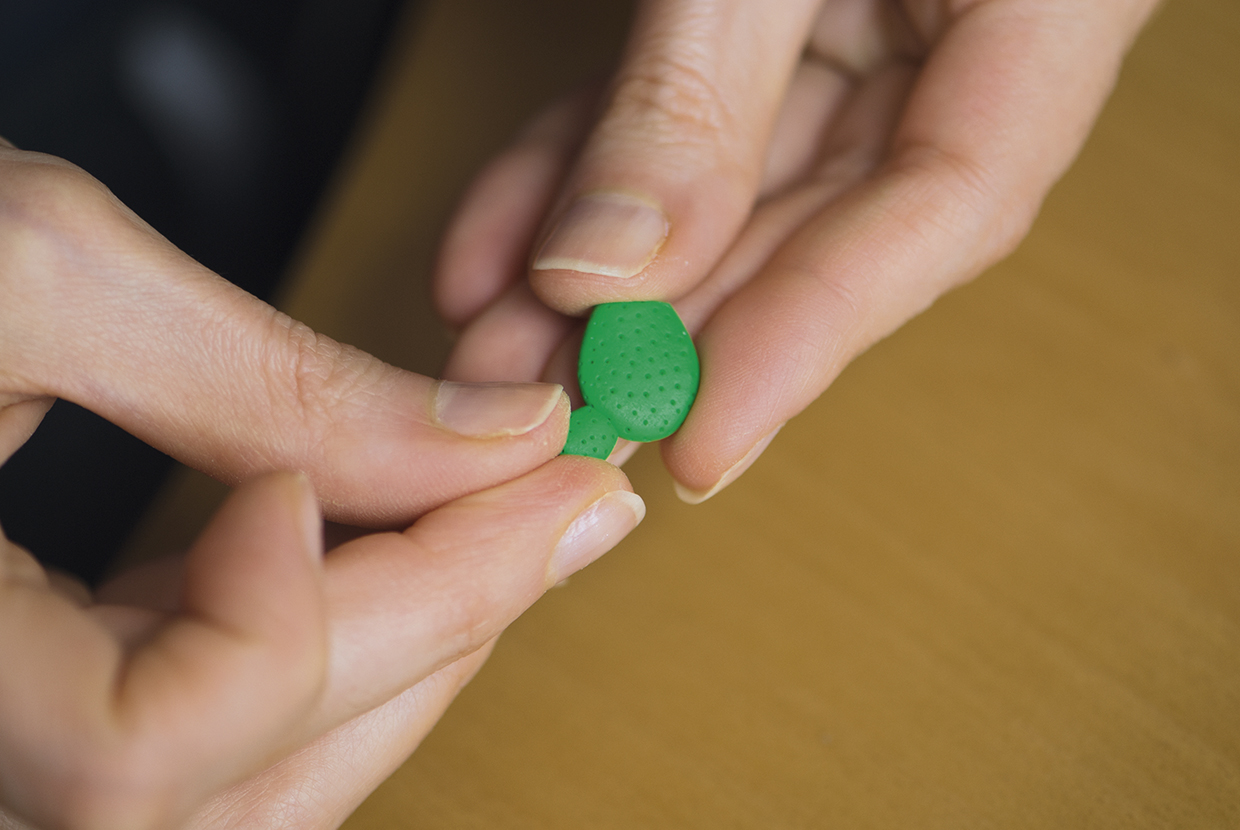
Step 4
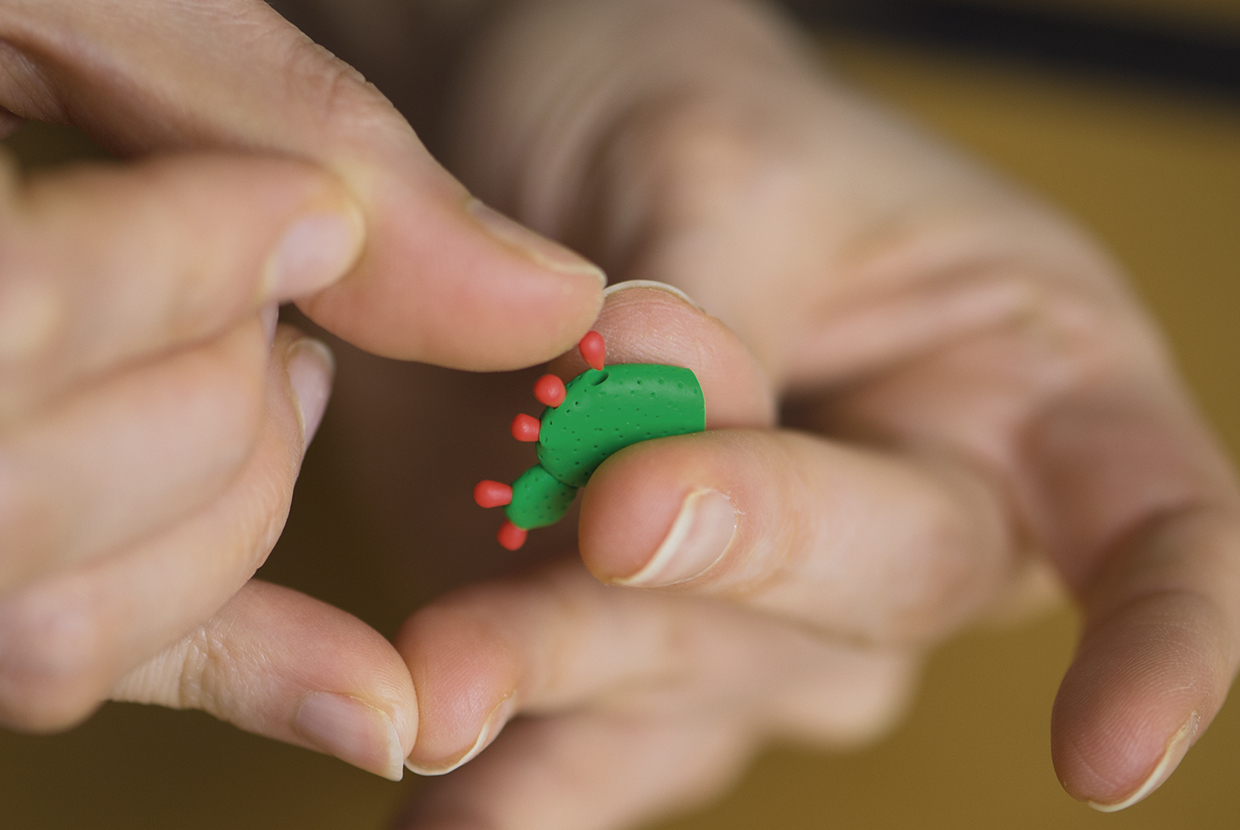
Place the smaller stem on the big one and push it to stick. Roll each red ball into a teardrop shape.
Step 5
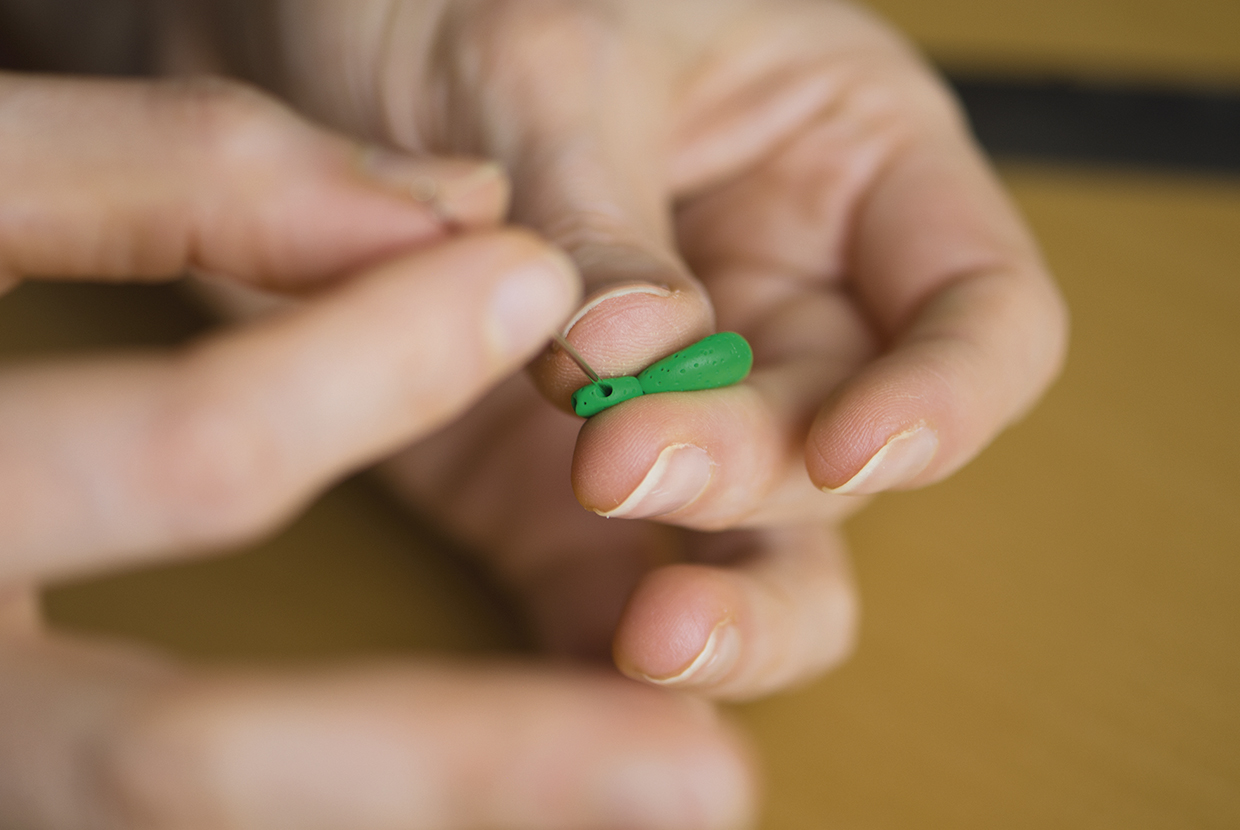
Using the needle, make fairly big holes on the edge of the cactus stems. Widen them by rotating the needle in a circular motion while the tip is in the clay.
Step 6
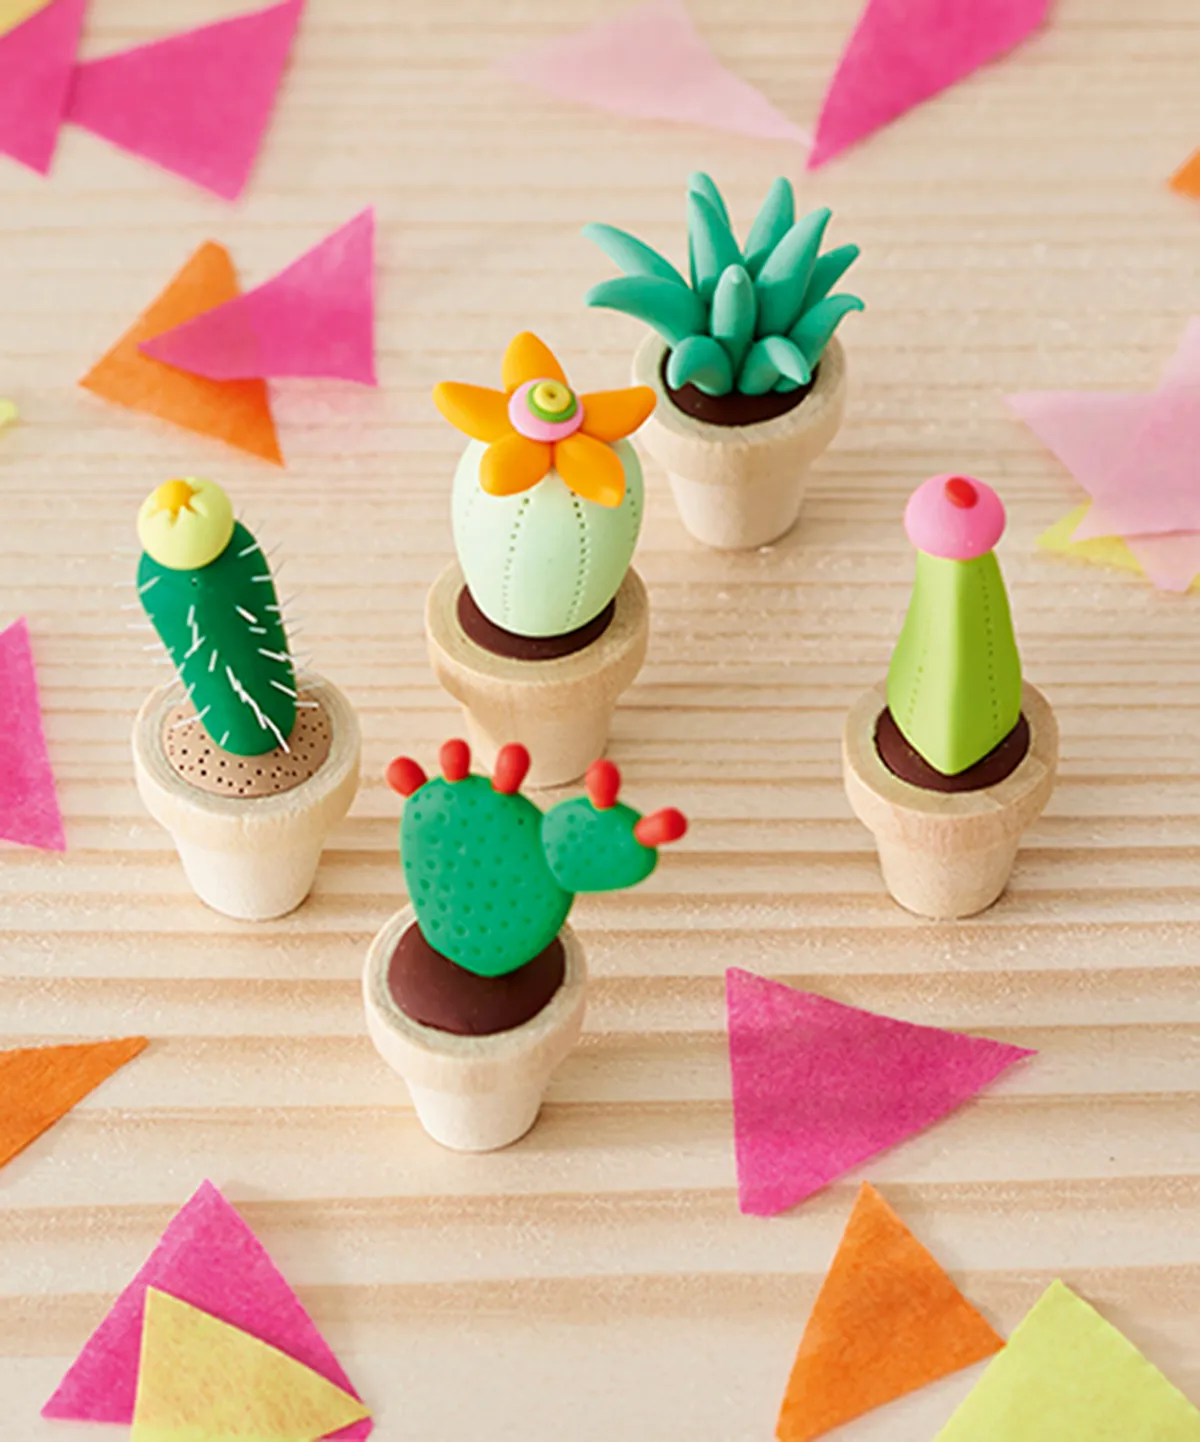
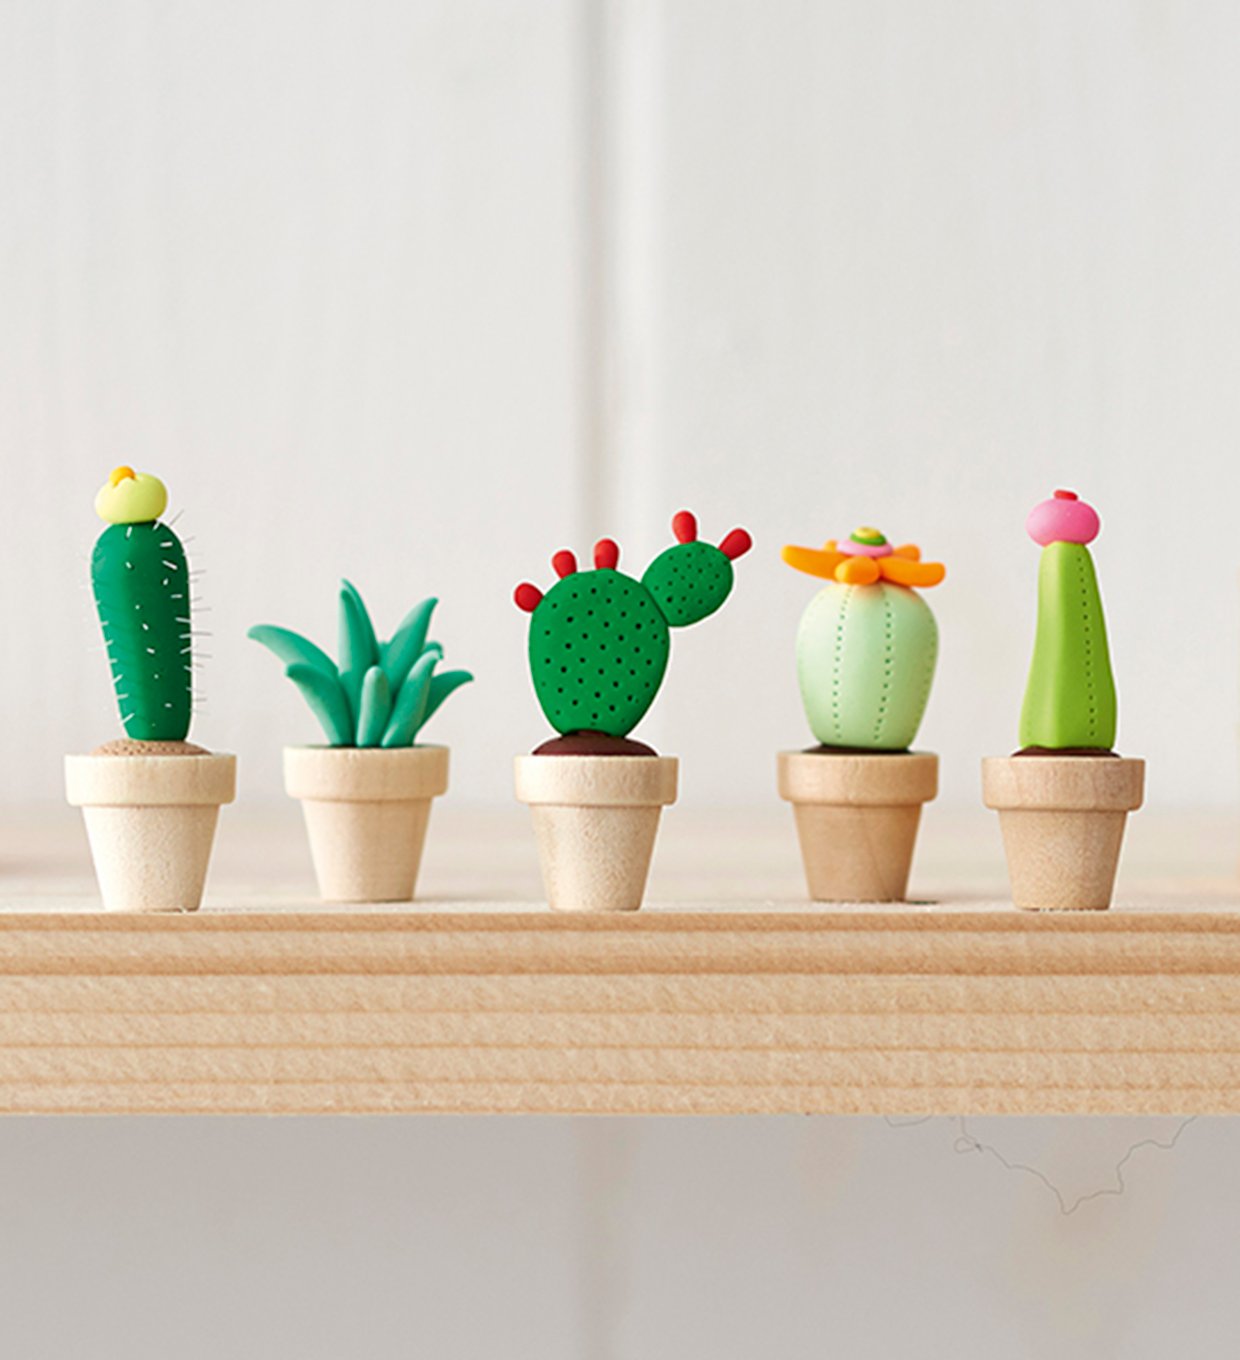
Insert each little red teardrop into these holes and push very gently to fix them in place securely. Attach the cactus to the pot using translucent liquid clay. Arrange in a miniature home.
