How to make fridge magnets from clay!

How to make fridge magnets from clay!

Treat yourself (and your fridge) to a bit of summer sweetness with these clay fridge magnets by Tia and Lauren of Little Button Diaries!

Try 6 issues of your choice of craft magazine from just £9.99

Published: April 9, 2022 at 9:32 am

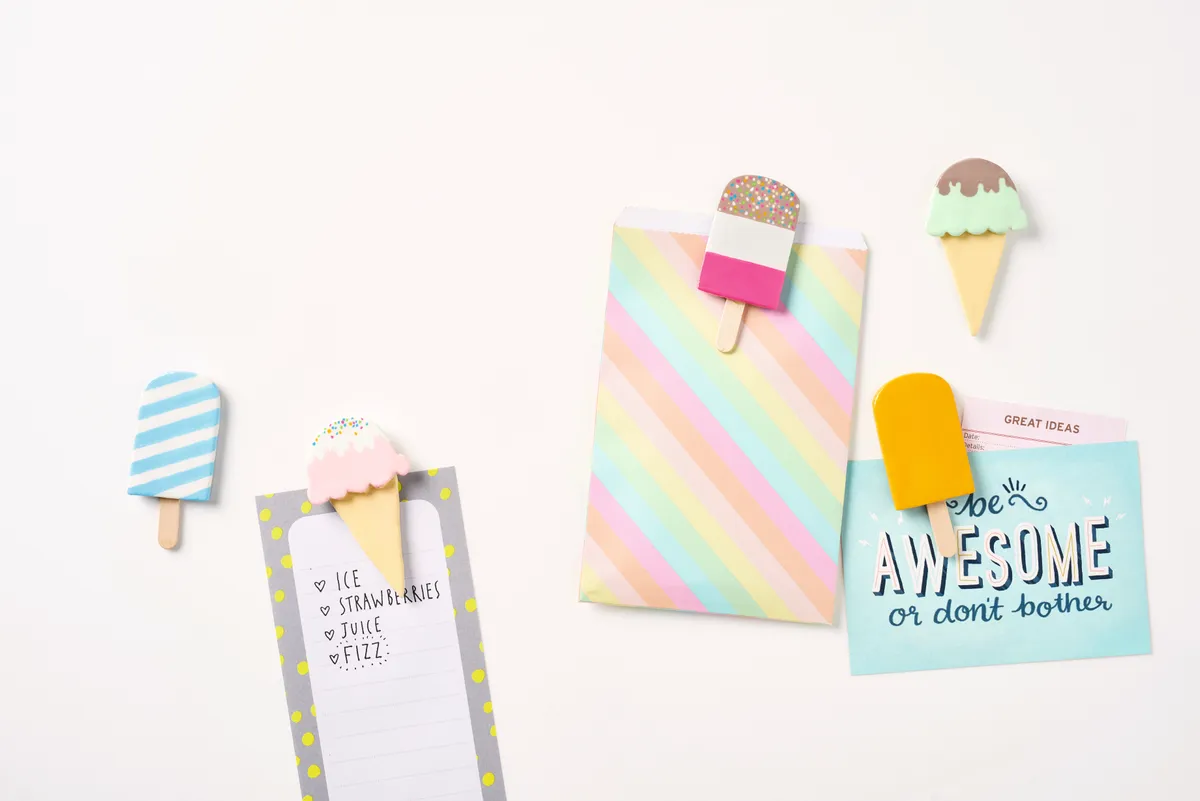
Liven up your fridge with these fun clay magnets, ideal for keeping that shopping or to-do list close by, or for displaying a selection of favourite snaps.

They’re made from air dry clay, so no need to bake them – just leave them overnight instead. Paint and add toppings according to your favourite treats, and you could even add an extra scoop or swap the cone for a mini tub. We've gone for a mixture of neon brights and tasty pastels for a feast of flavours.

Rolling clay out between sheets of clingfilm gives a smoother finish and will stop it from sticking to your work surface. Don’t worry if there are lumps and bumps in the clay – you can sand these away once it’s dried.

If you need some extra help moulding and using your air dry clay head over to our how to use air dry clay!

Now it's over to Little Button Diaries for their clay magnets tutorial...
You will need:

  • Air dry clay, approx. 200g
  • Sharp knife
  • Sandpaper
  • Two lollipop sticks
  • Strong magnetic sheet
  • Acrylic paints
  • Strong glue
  • Gloss craft varnish

How to make clay fridge magnets

You will need:

  • Air dry clay
  • Knife
  • Sandpaper
  • lollipop stick
  • Paints
  • Magnetic sheet
  • Glue
  • varnish

Step 1

How to make polymer clay magnets IceCreams 1RE

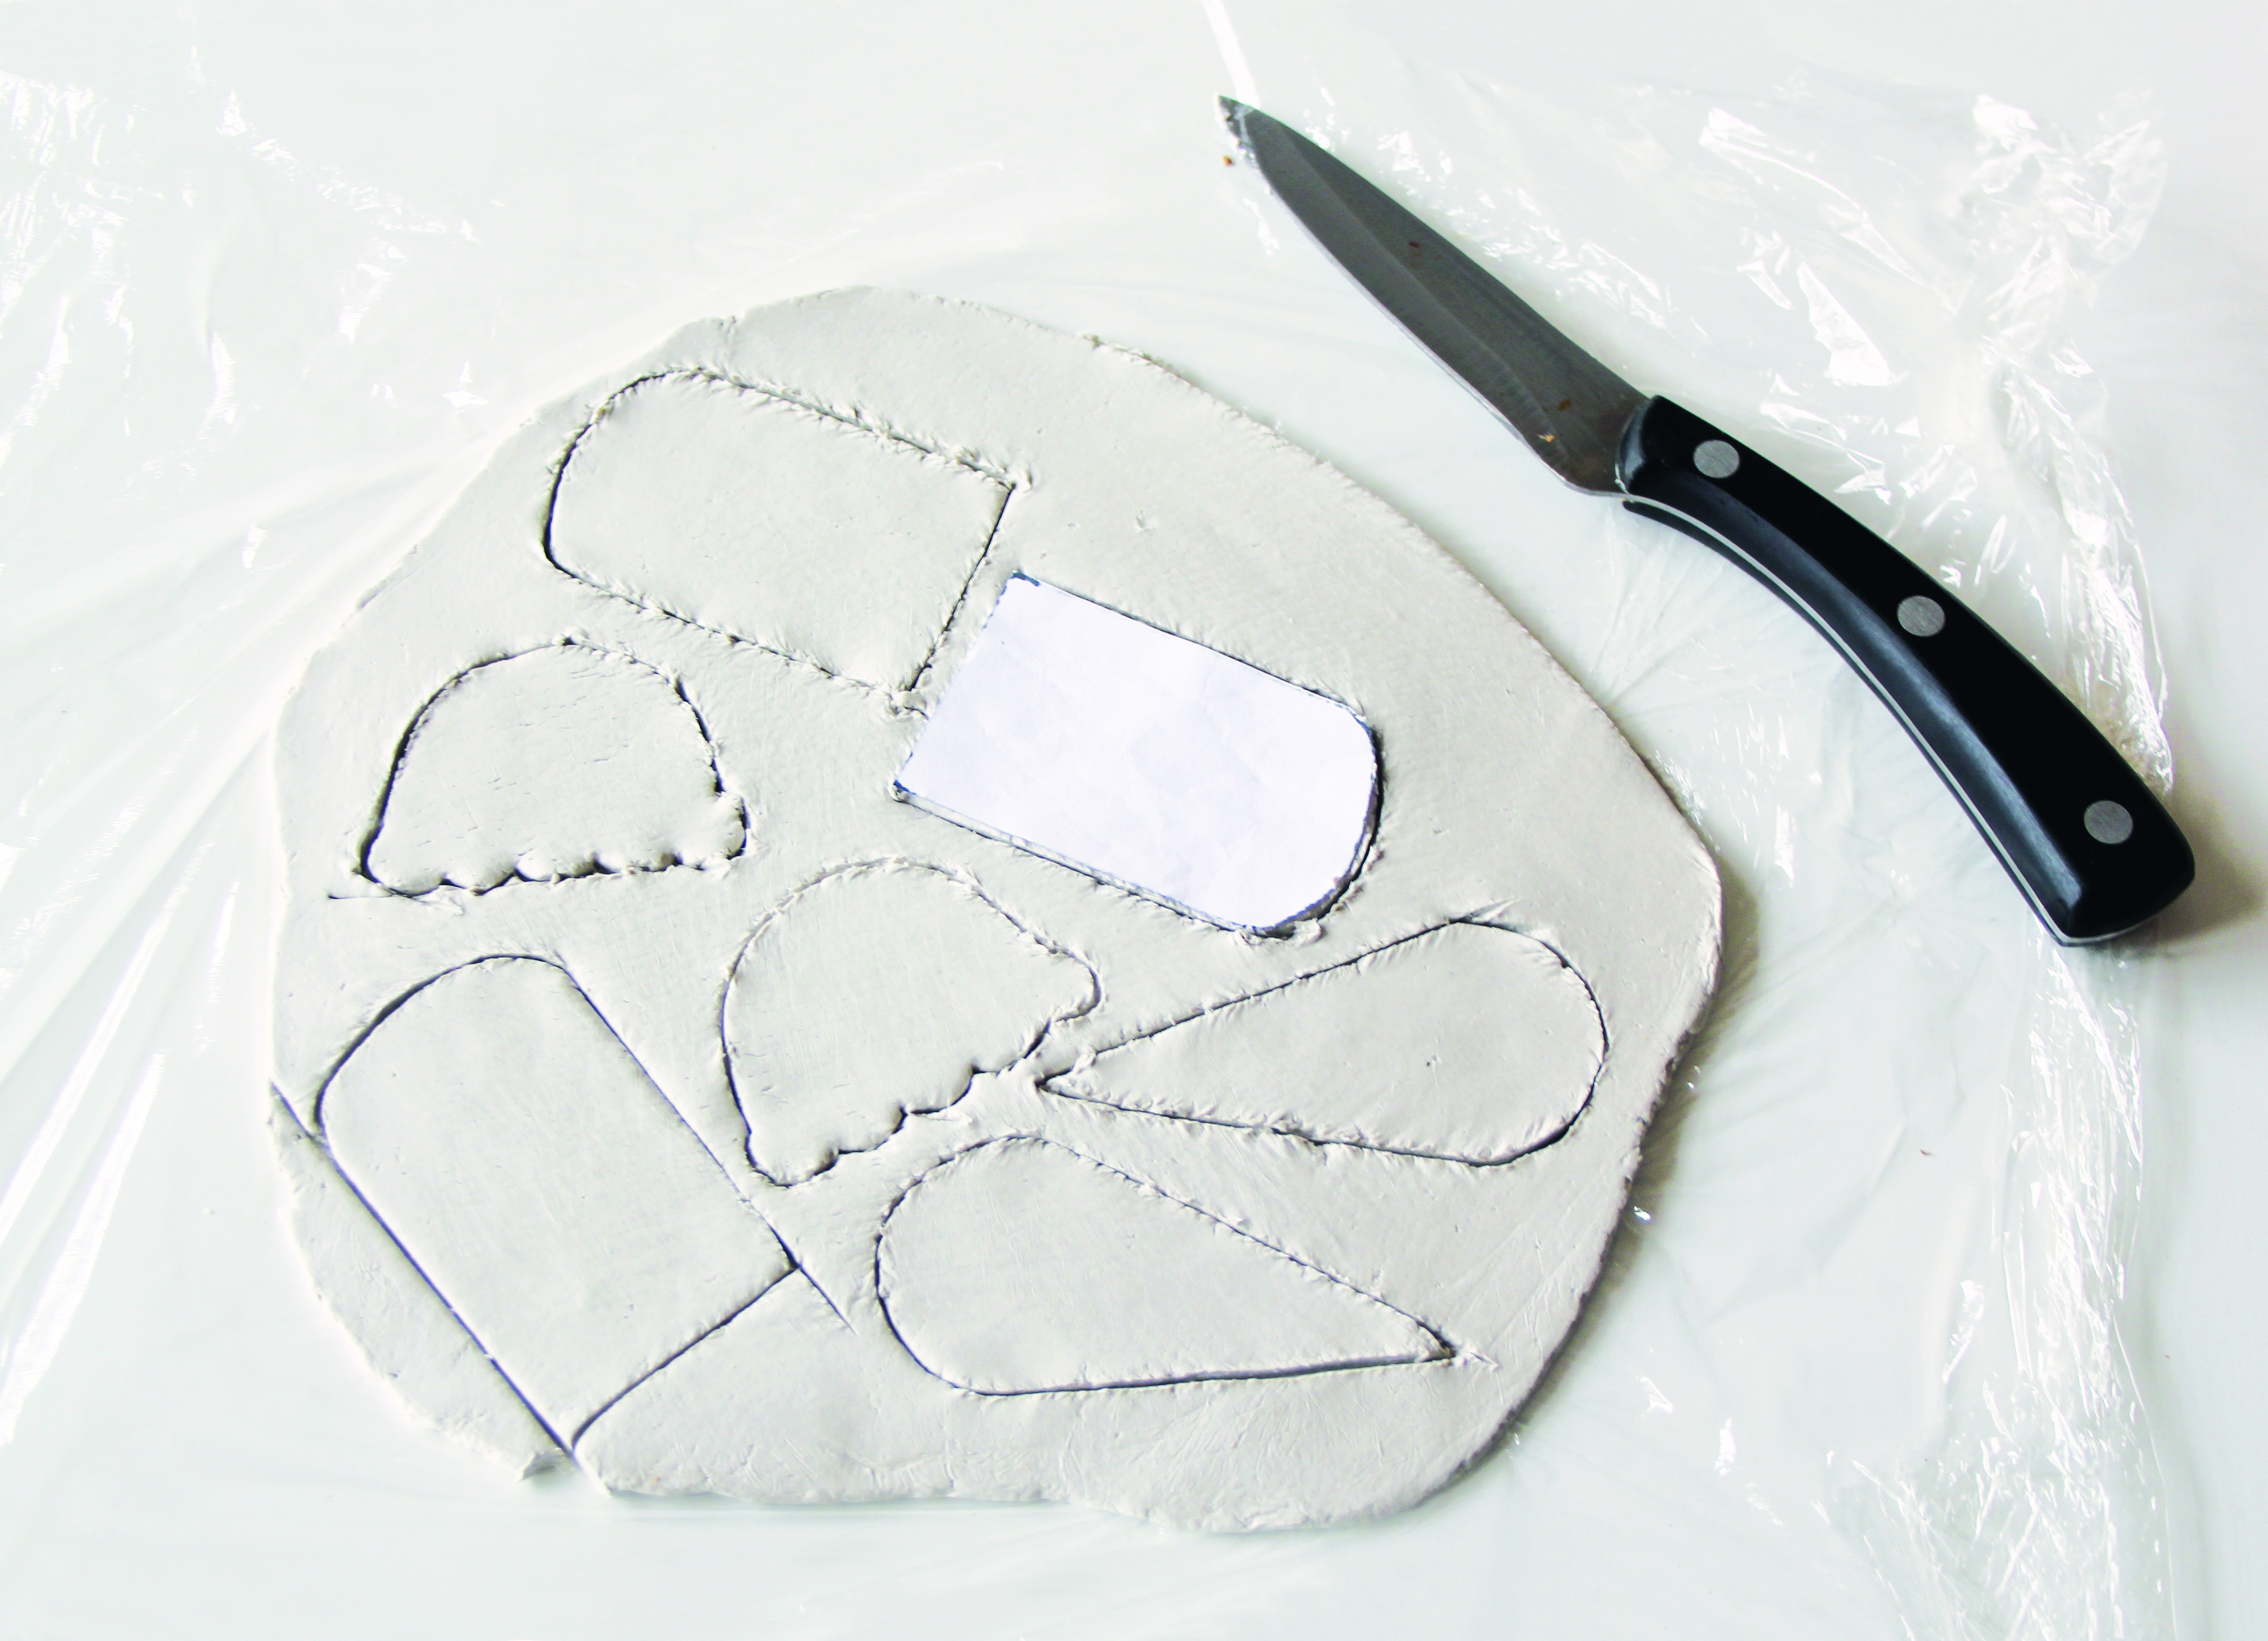
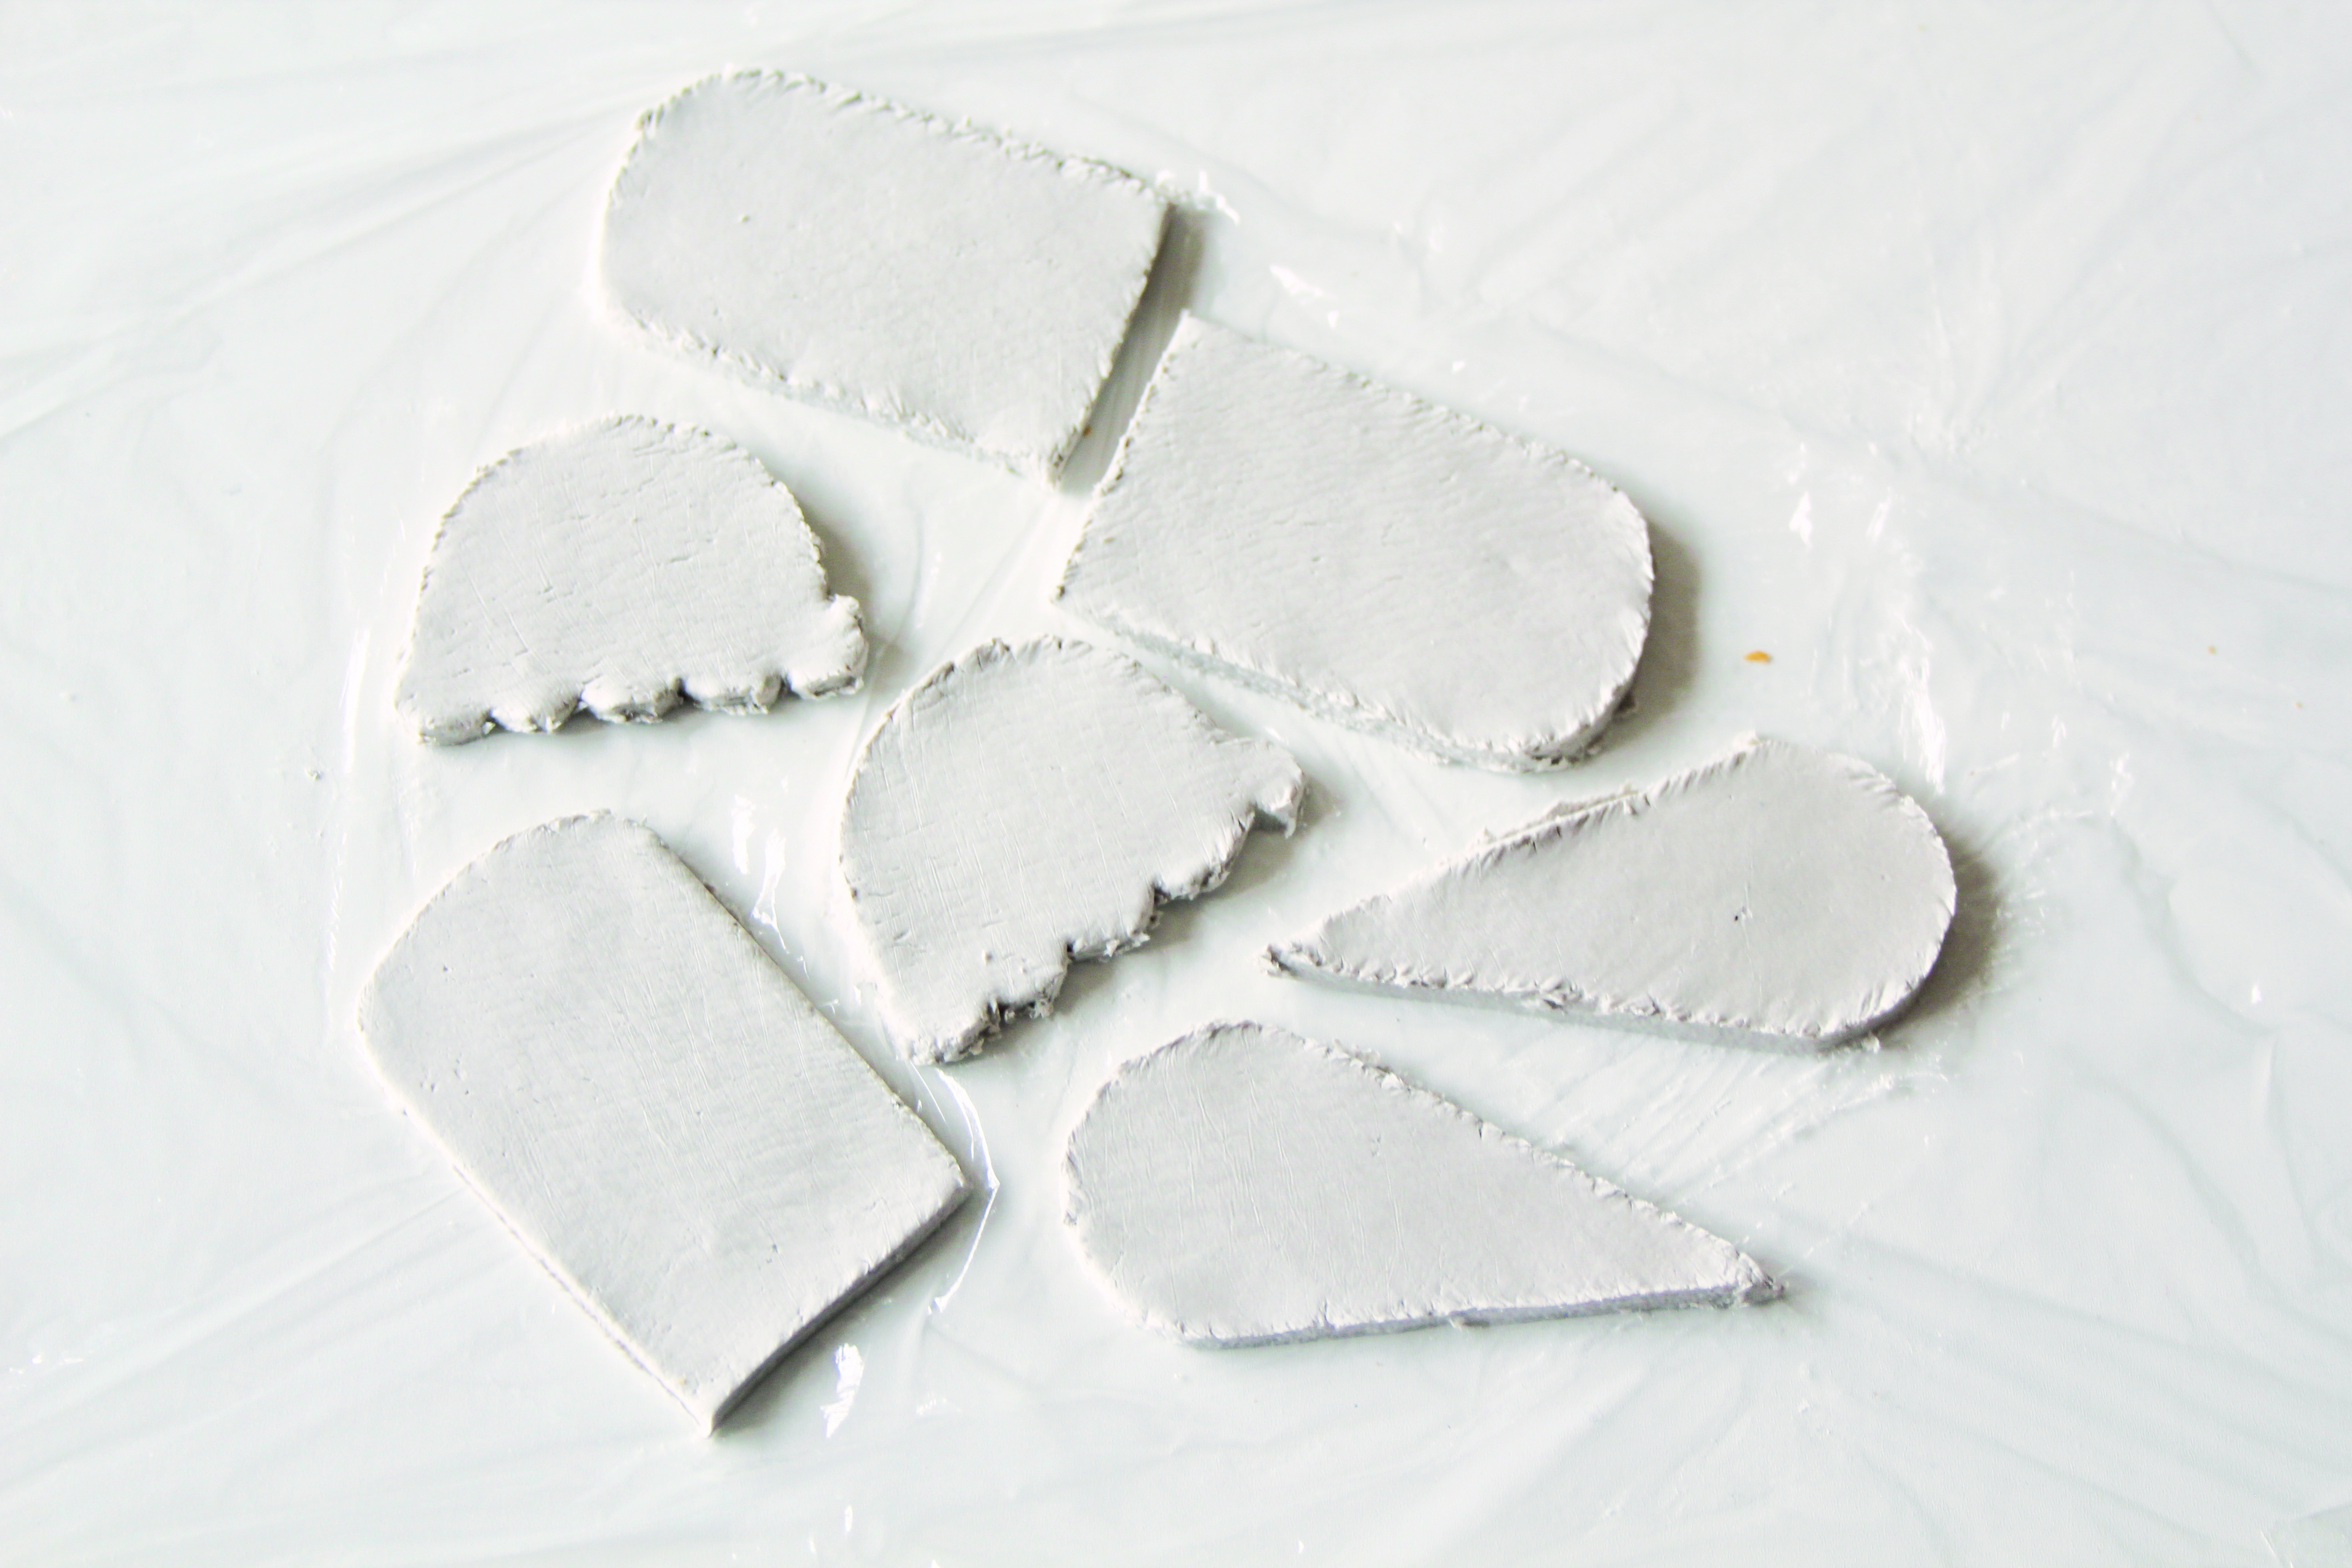
Roll out the clay between two pieces of cling film until it’s about 3mm thick. Remove the top layer of cling film, then cut out the templates from issue 67 over on Mollie Makes project templates and place them on top of the clay. Cut carefully around them using a sharp knife. Leave the clay shapes to dry overnight.

How to make polymer clay magnets IceCreams 2RE

Step 2

How to make polymer clay magnets IceCreams 4RE

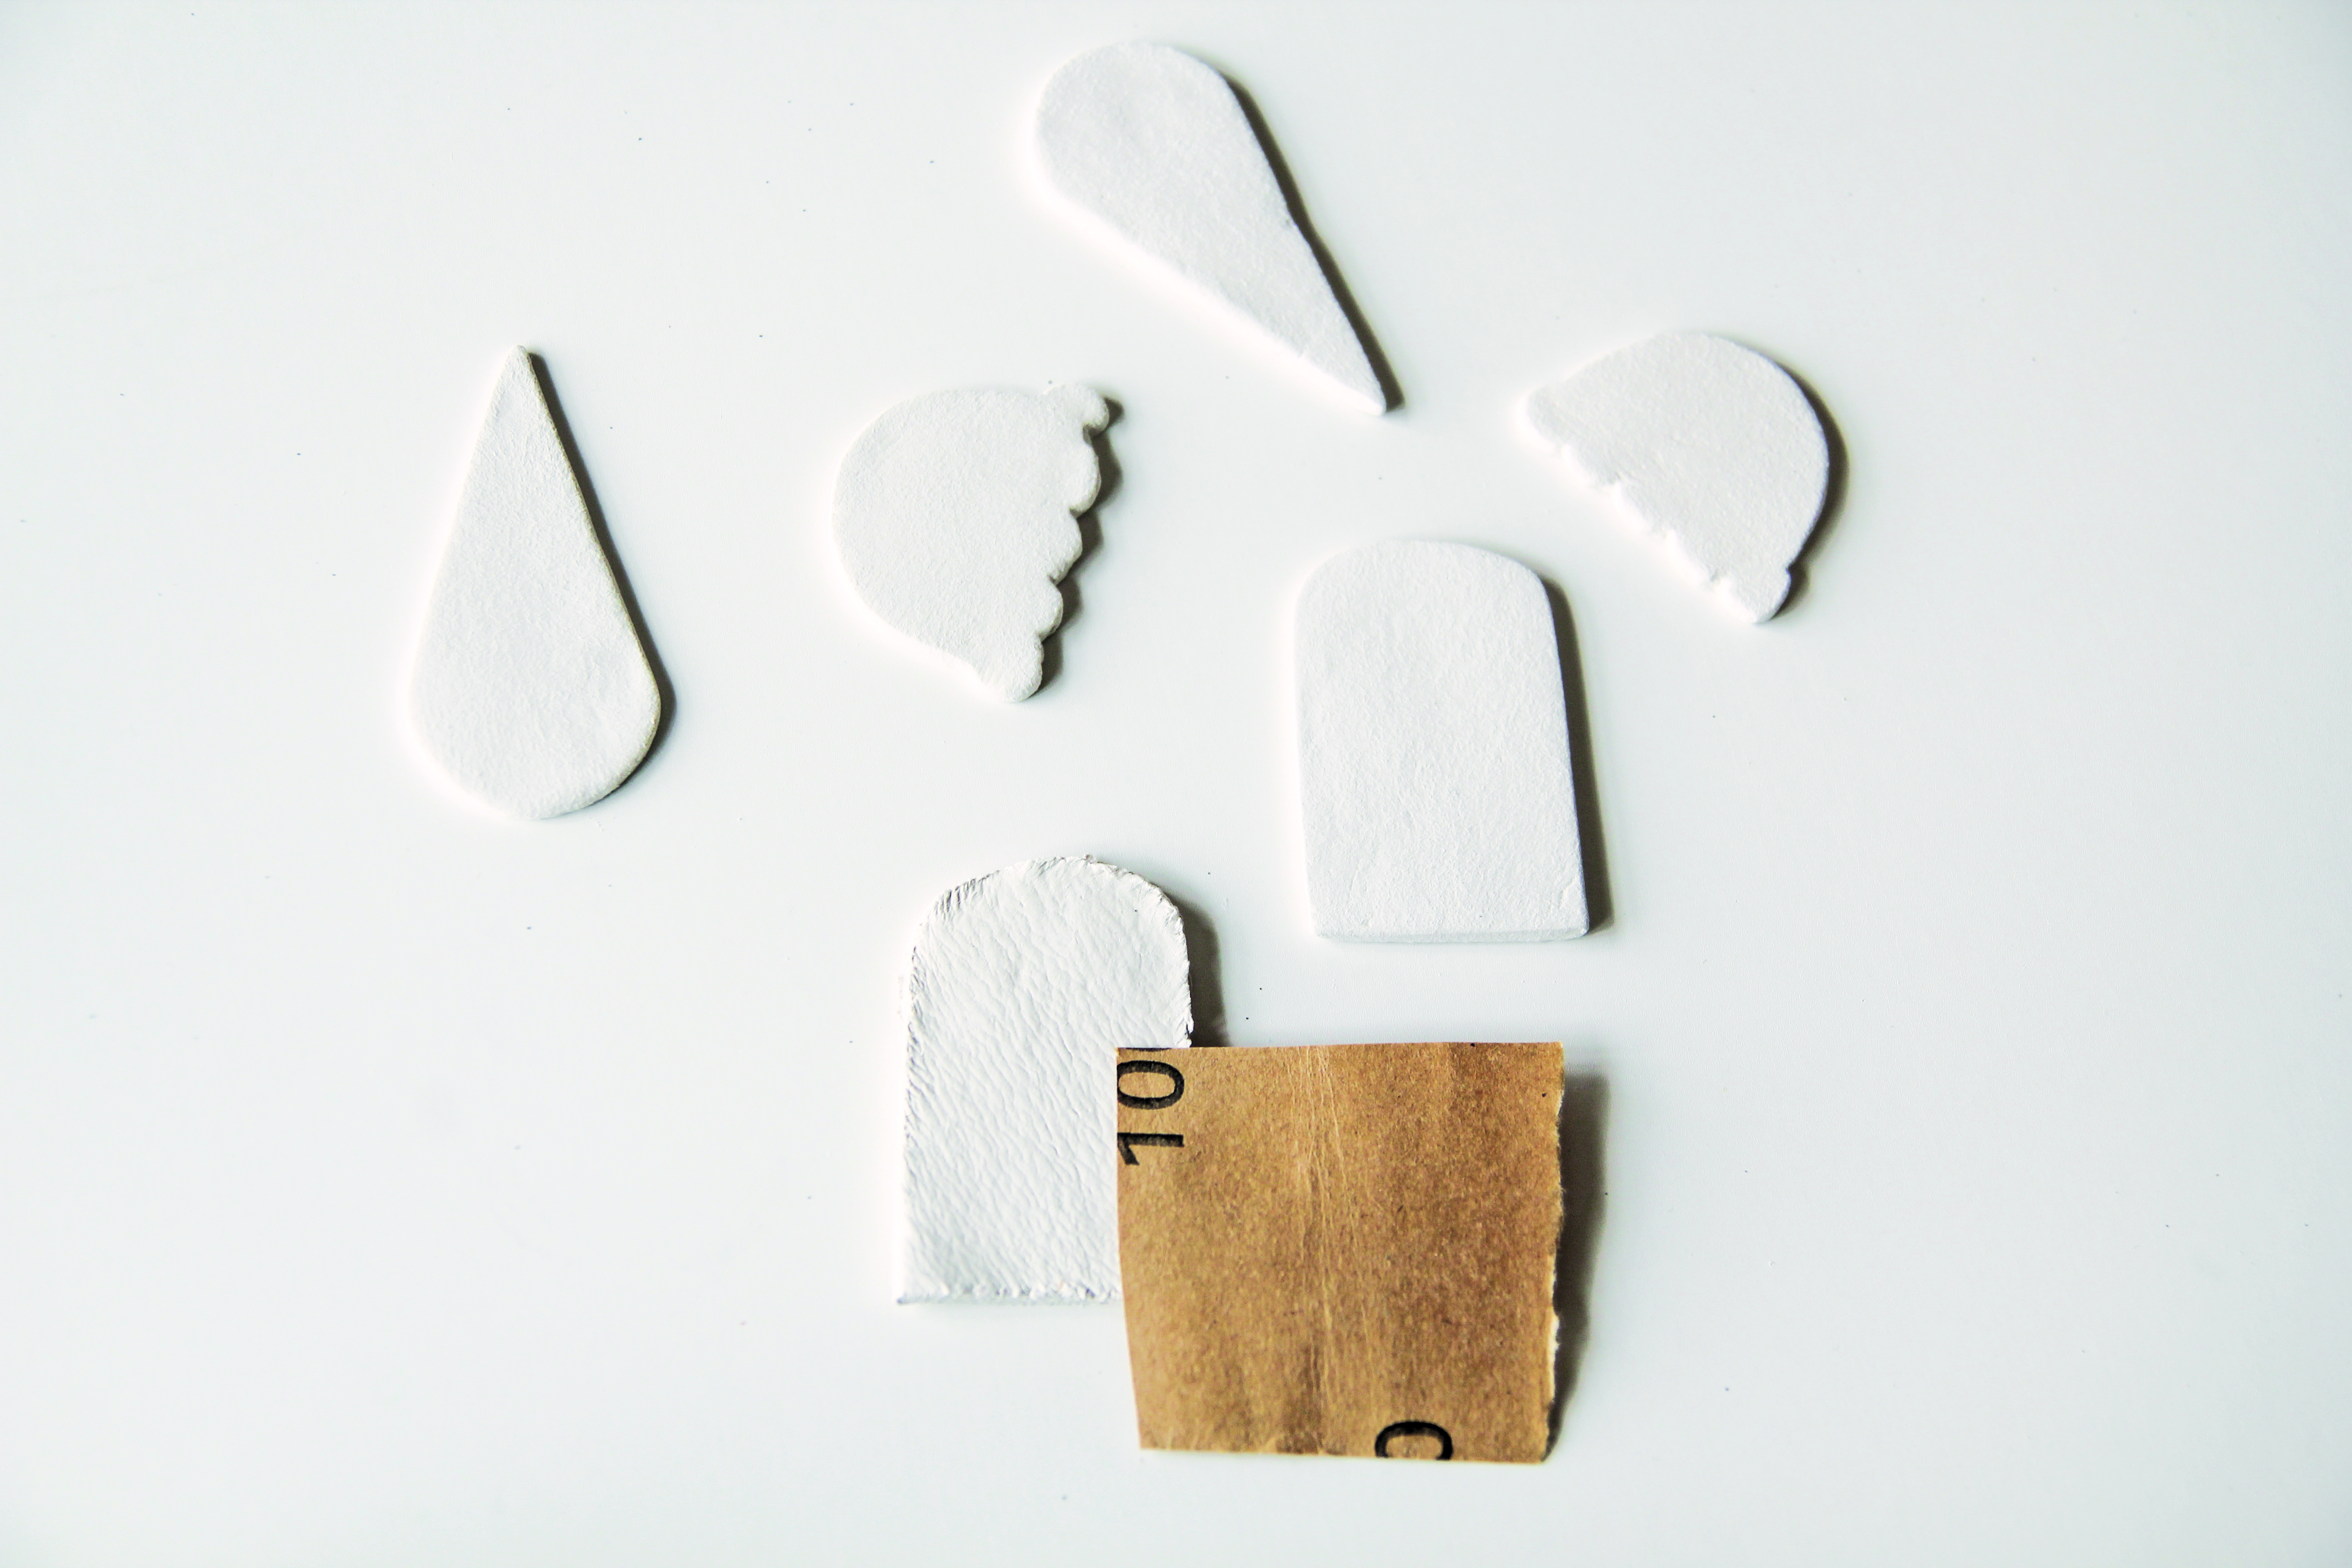
Once dry, use sandpaper to remove any rough edges and create a smooth finish.

Step 3

How to make polymer clay magnets IceCreams 5RE

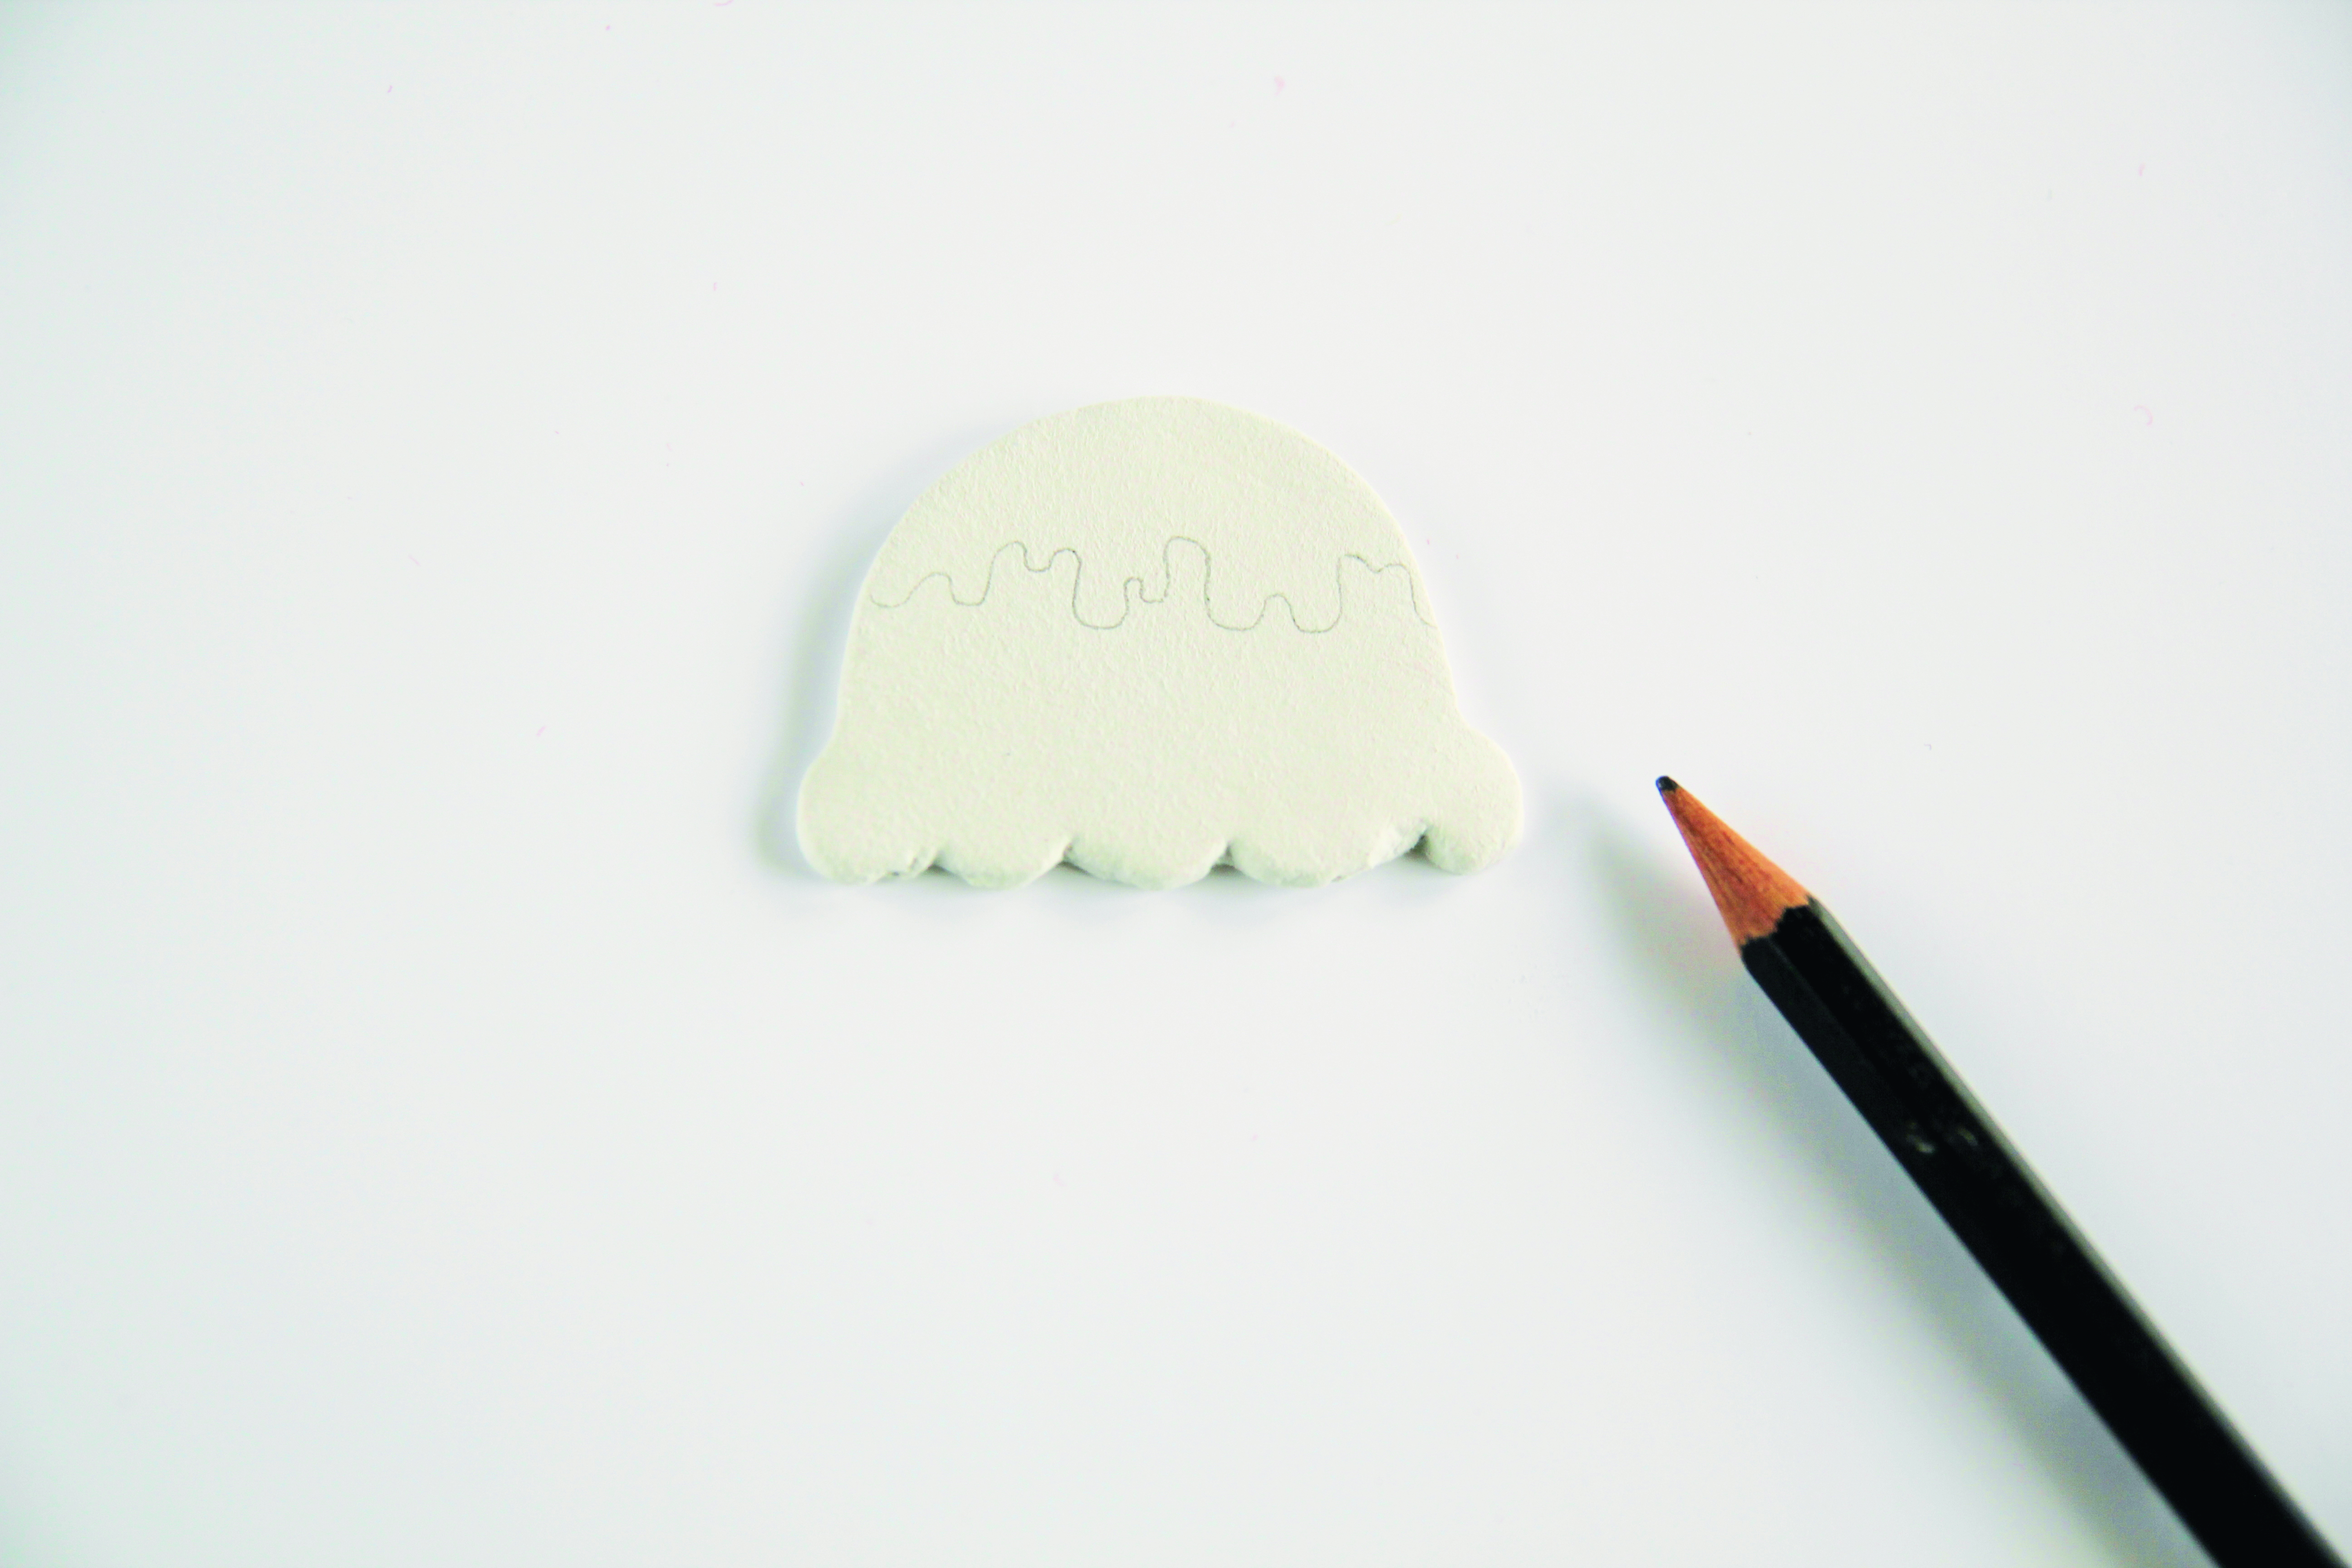
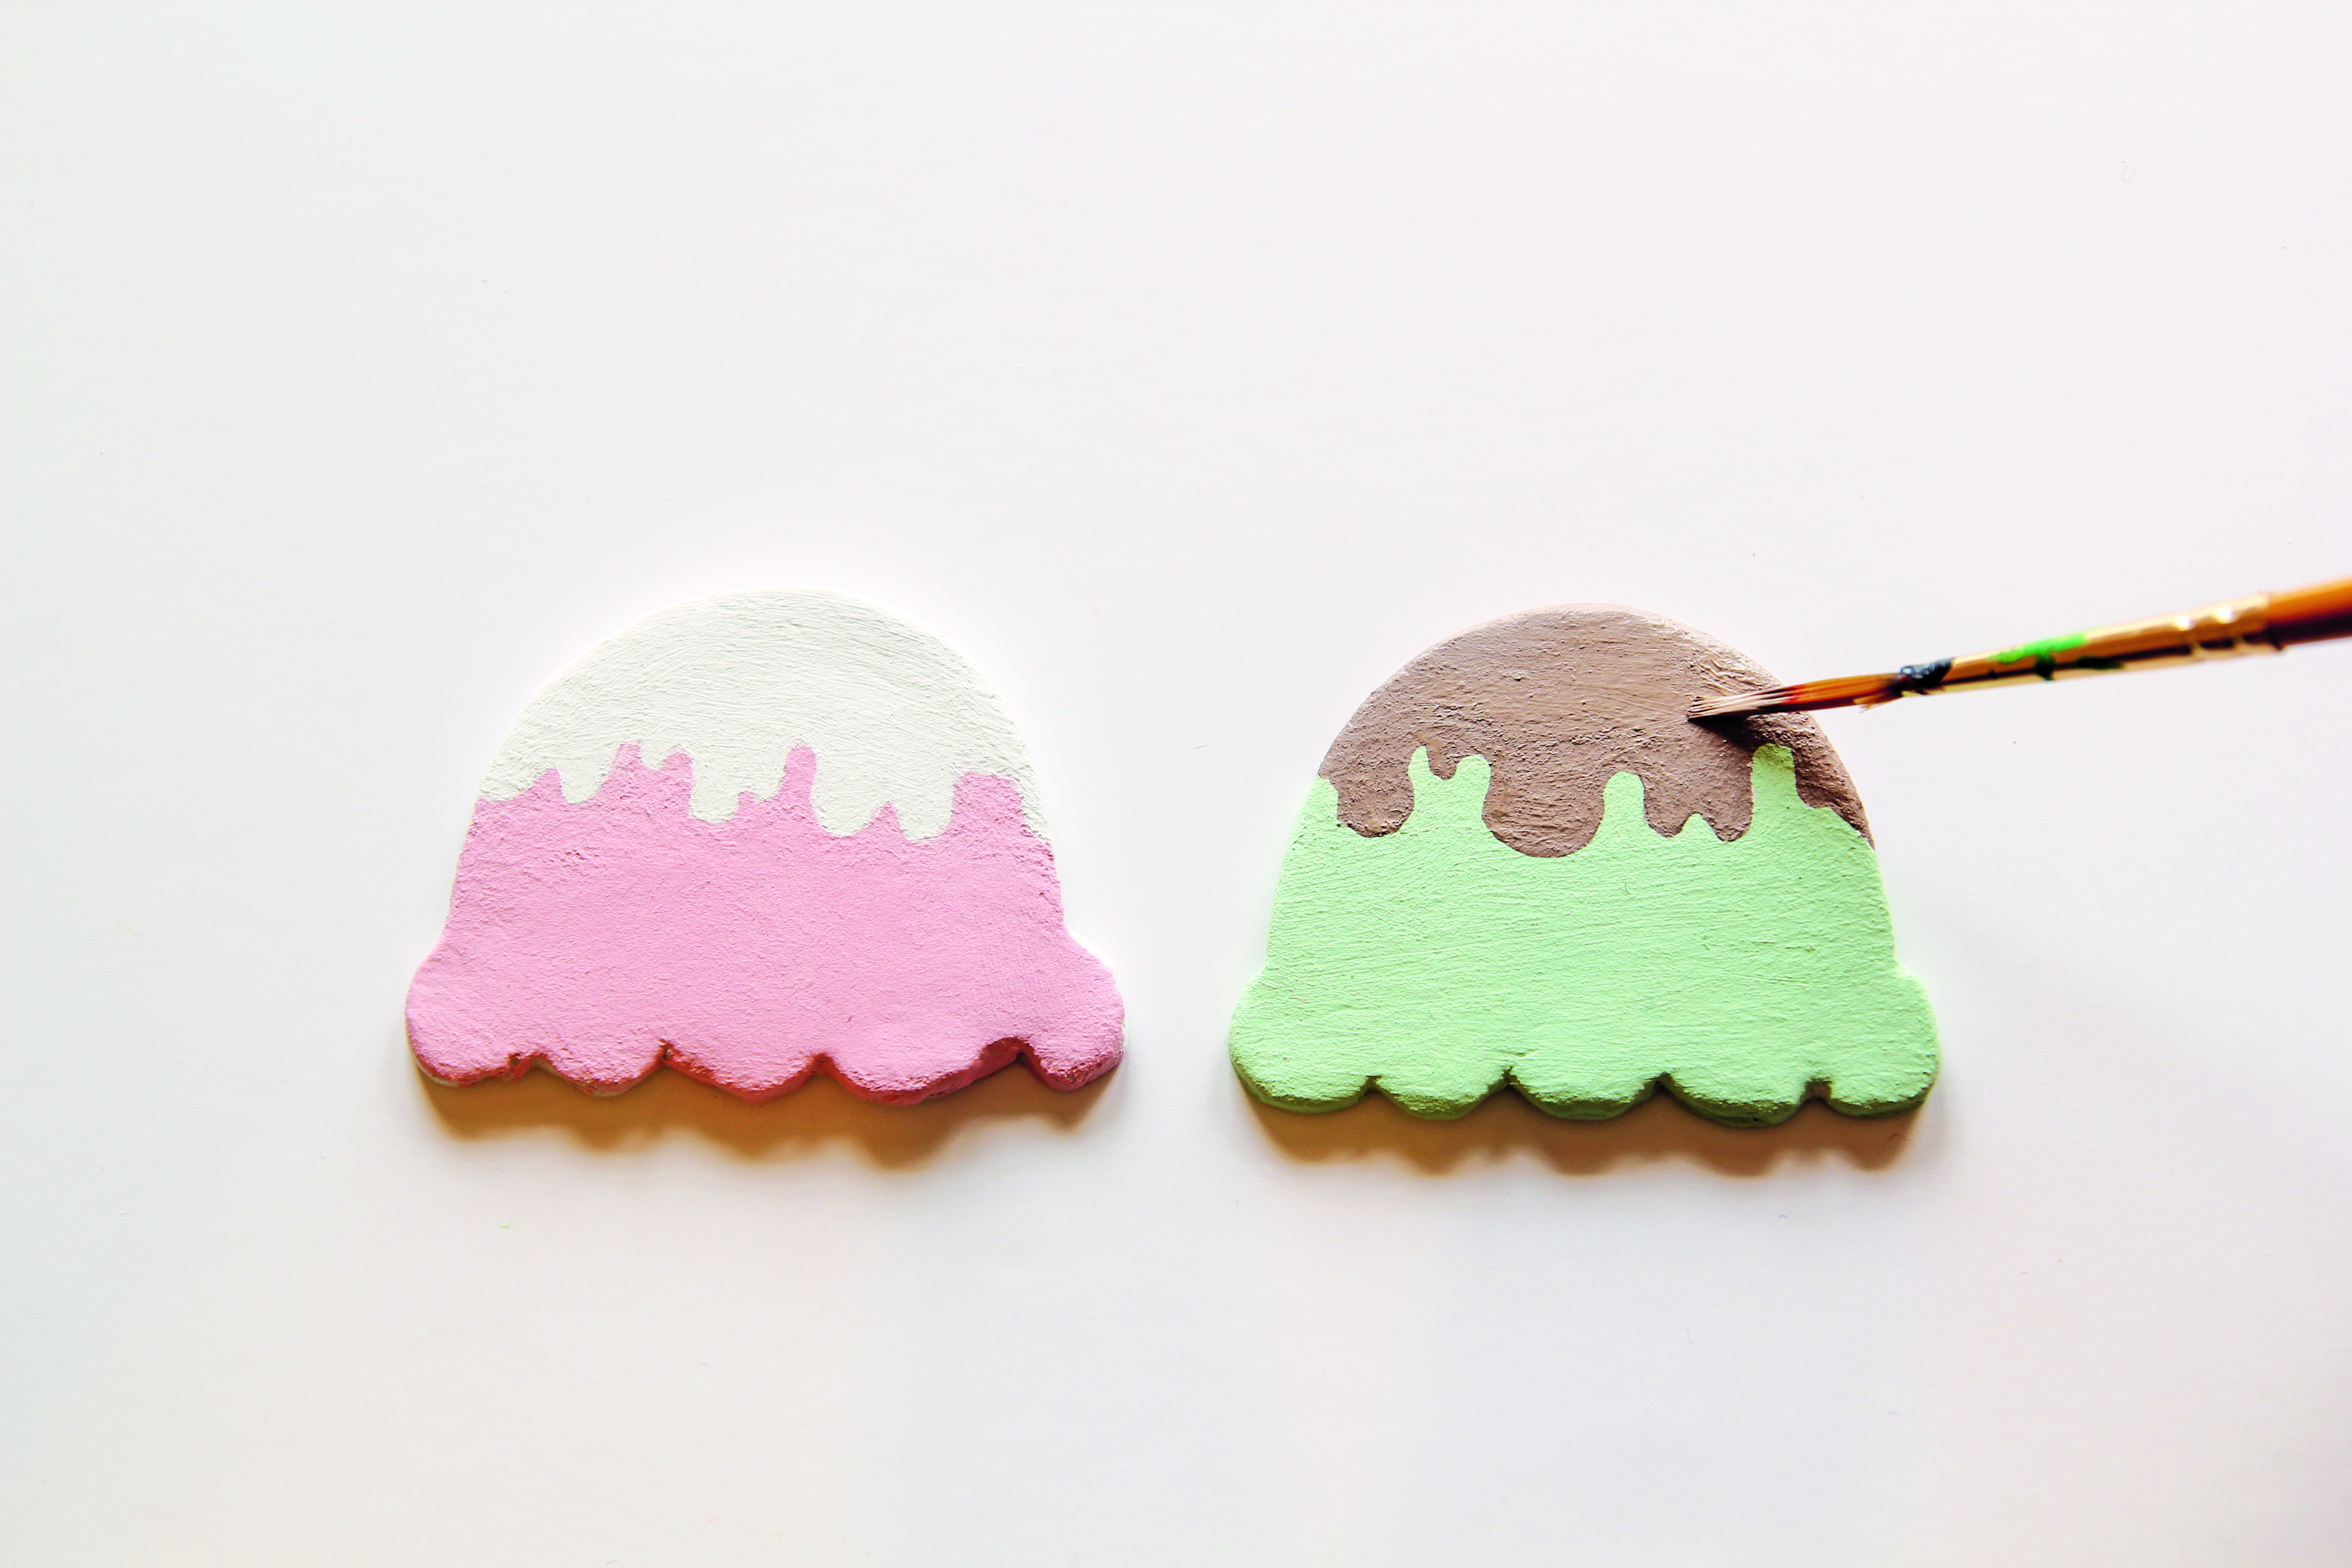
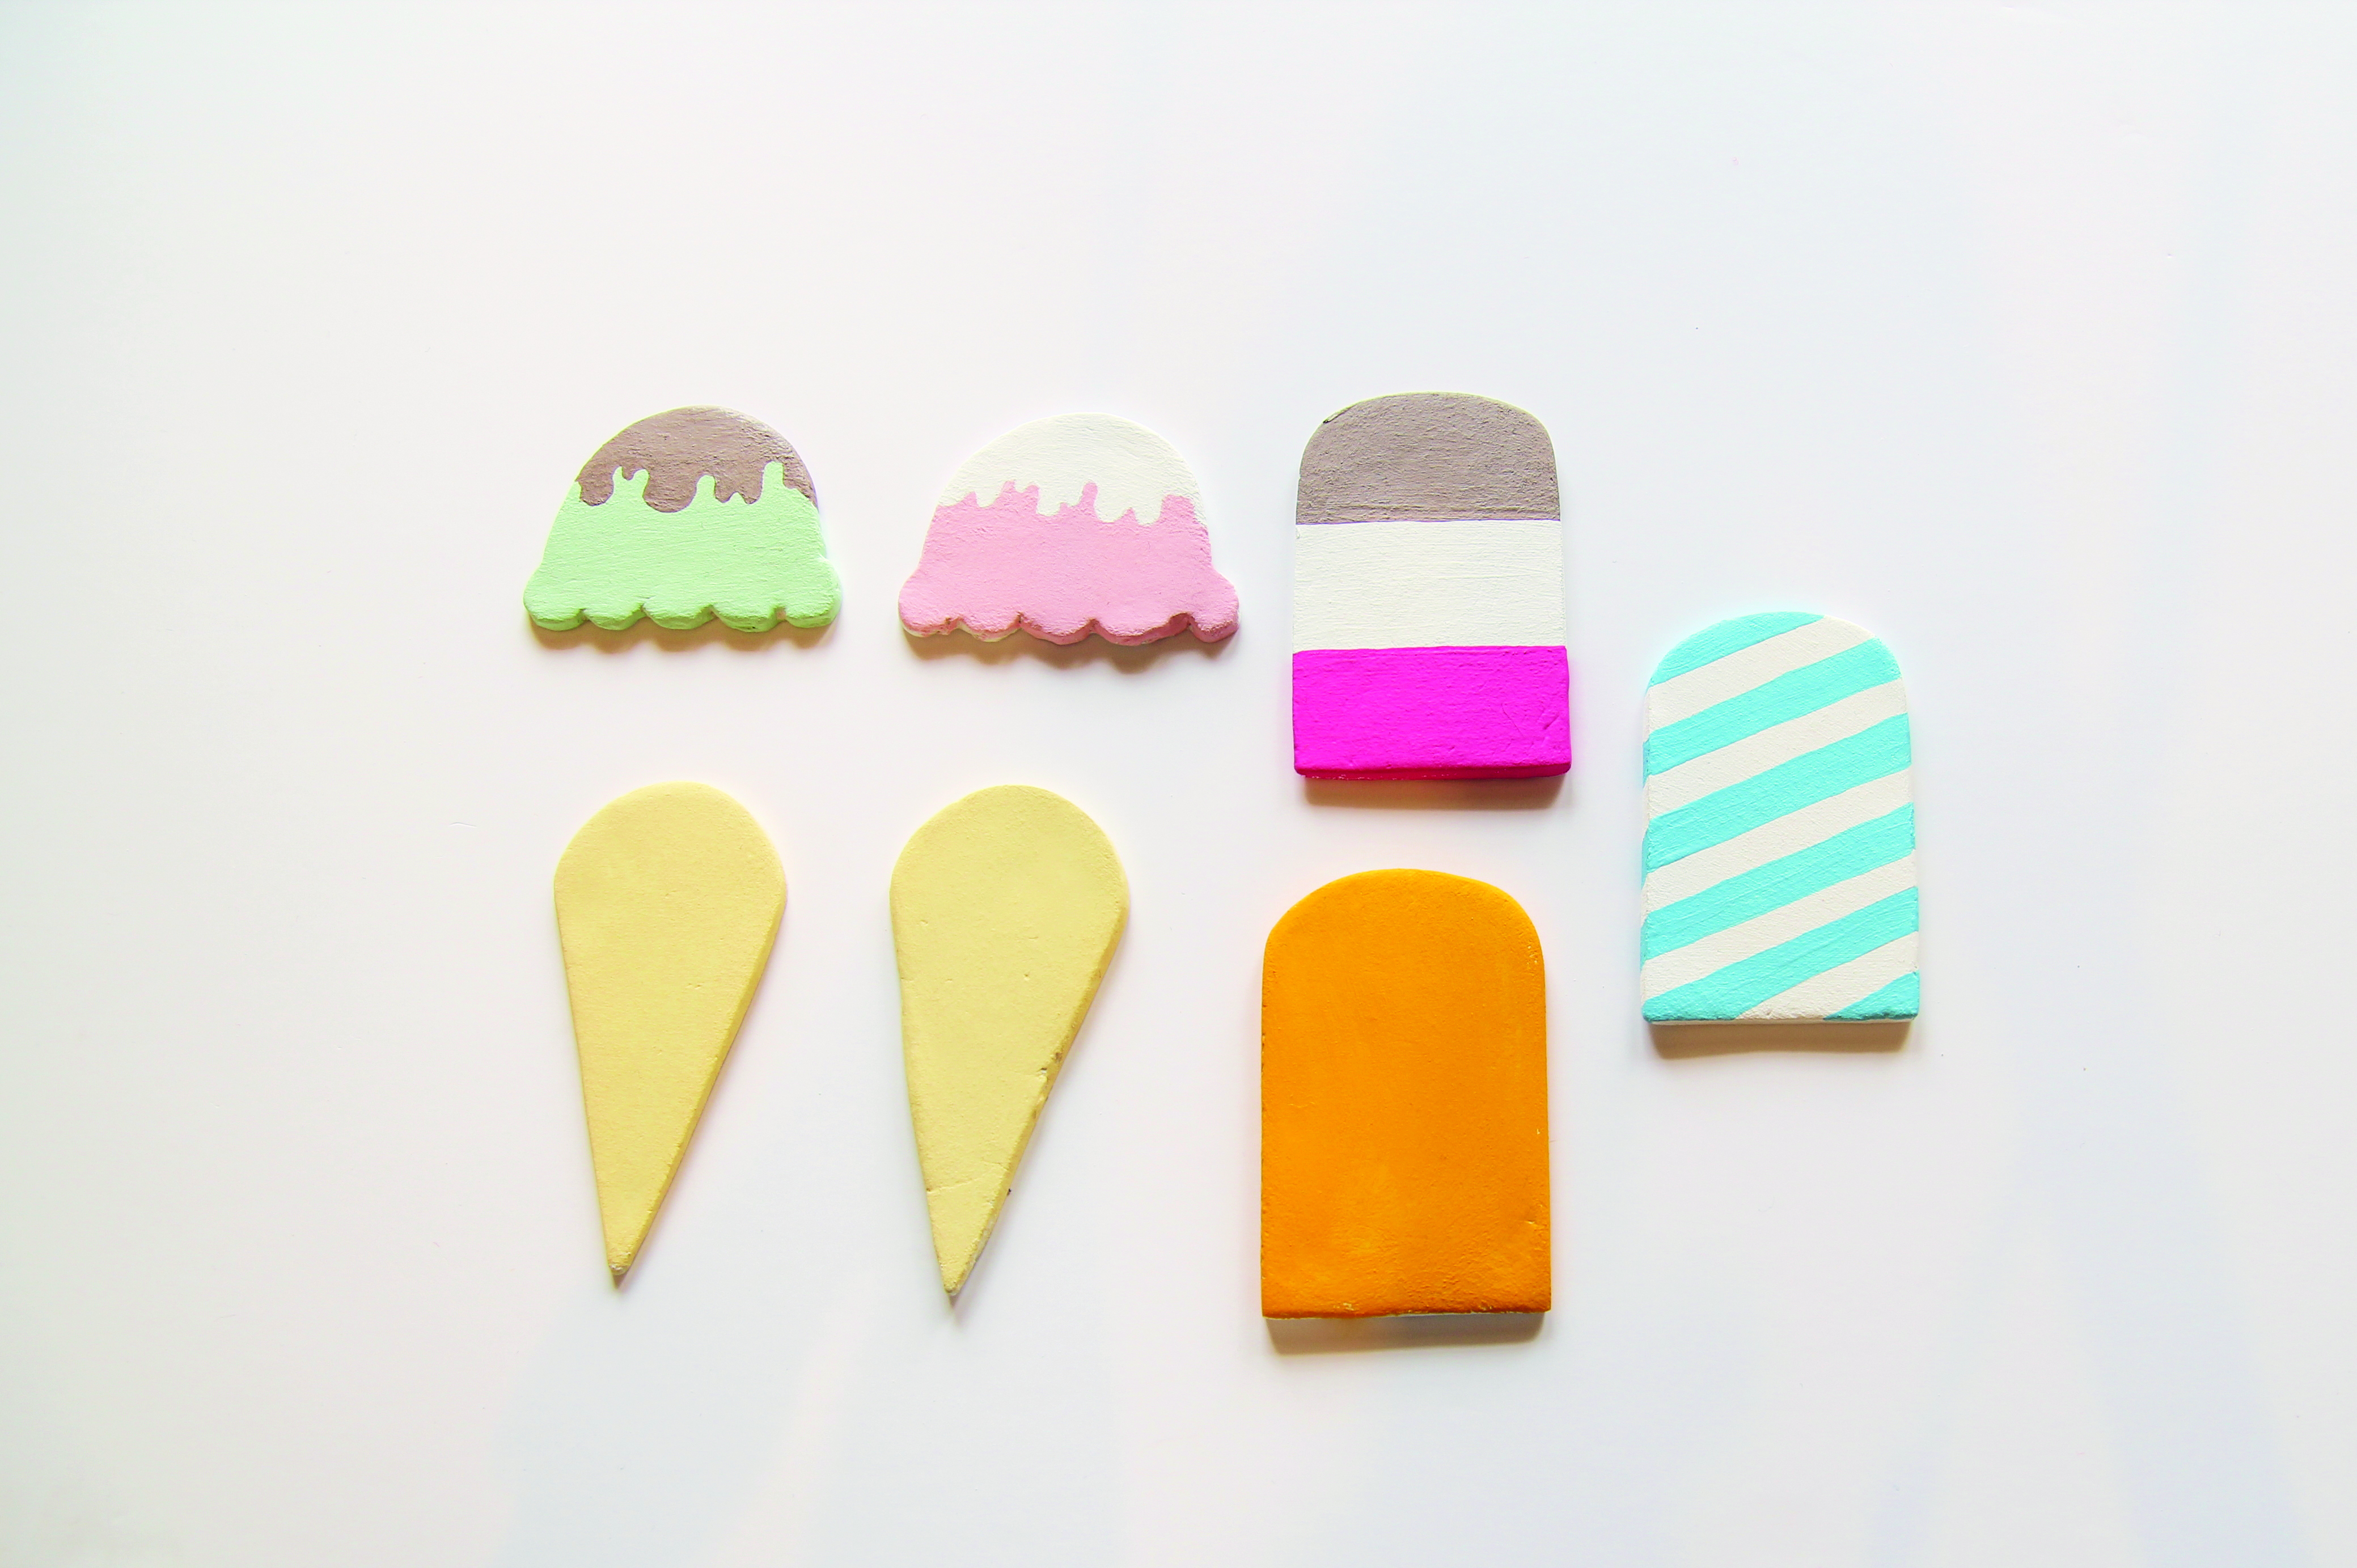
Use a pencil to mark a squiggly line for the sauce on each ice cream scoop. Add any lines or patterns to the lollipops that you’d like. Then paint your ice creams according to your favourite flavours – you can use ours as a guide.

Step 4

How to make polymer clay magnets IceCreams 6RE

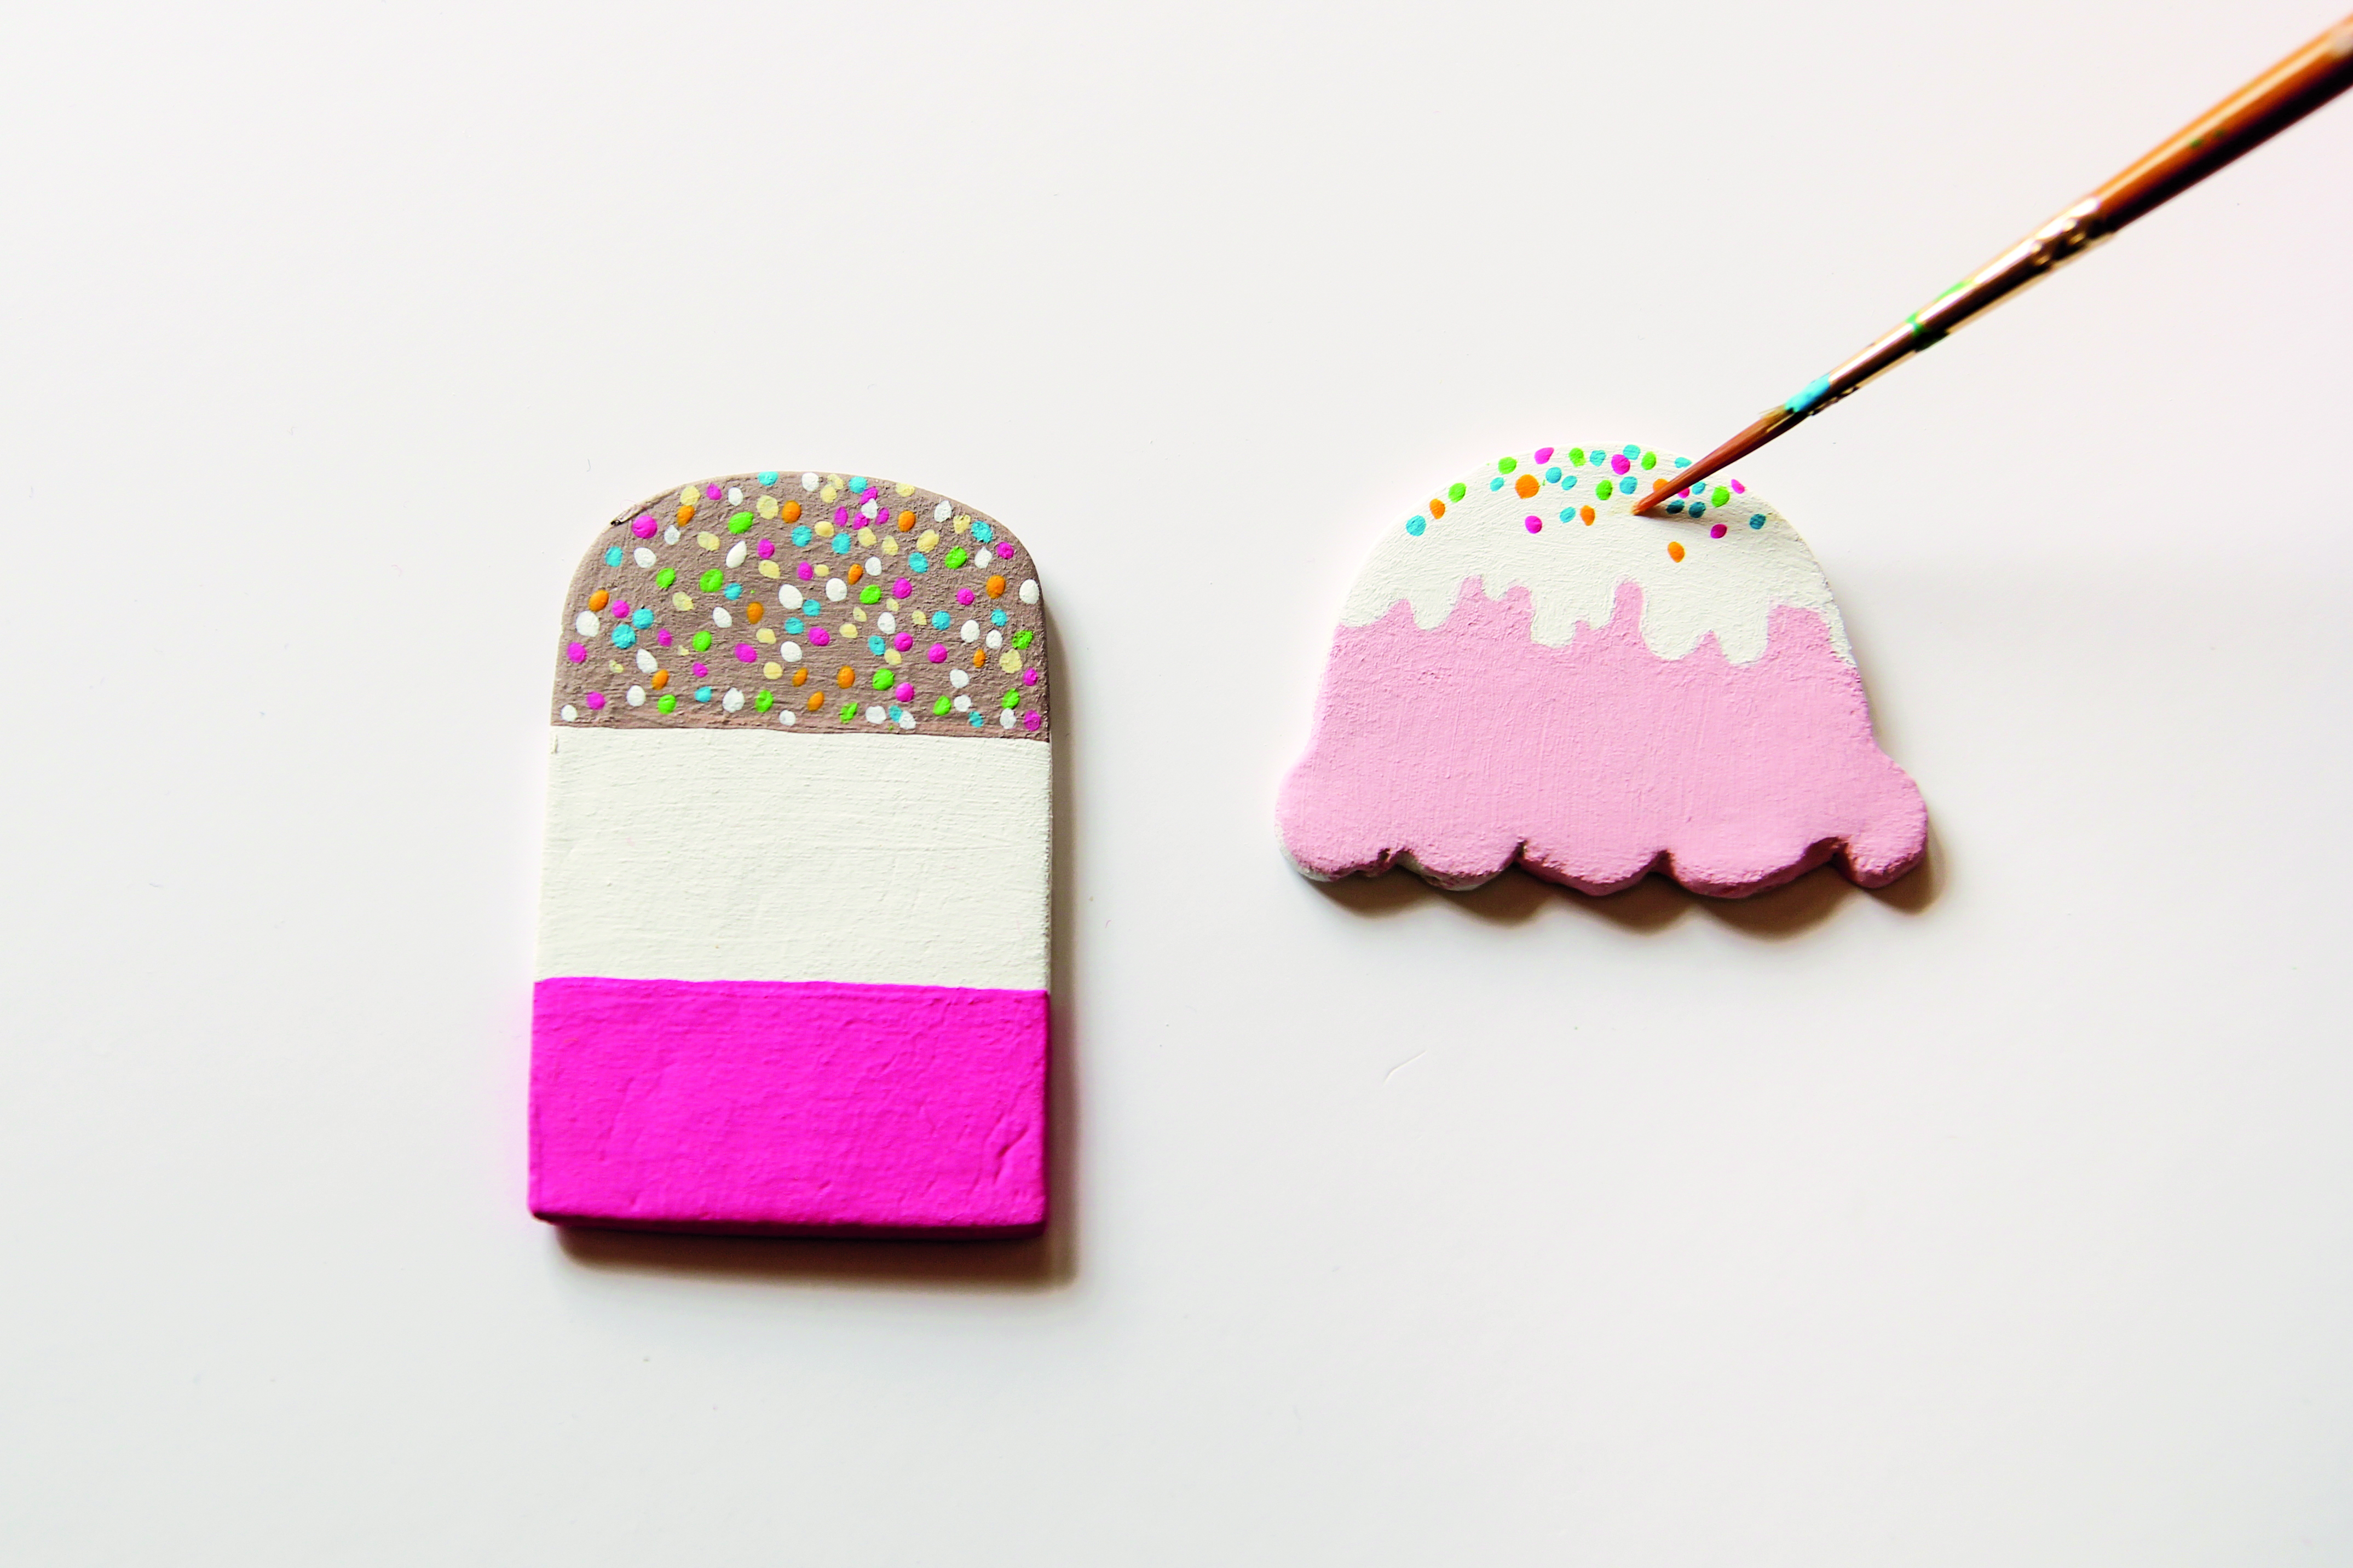
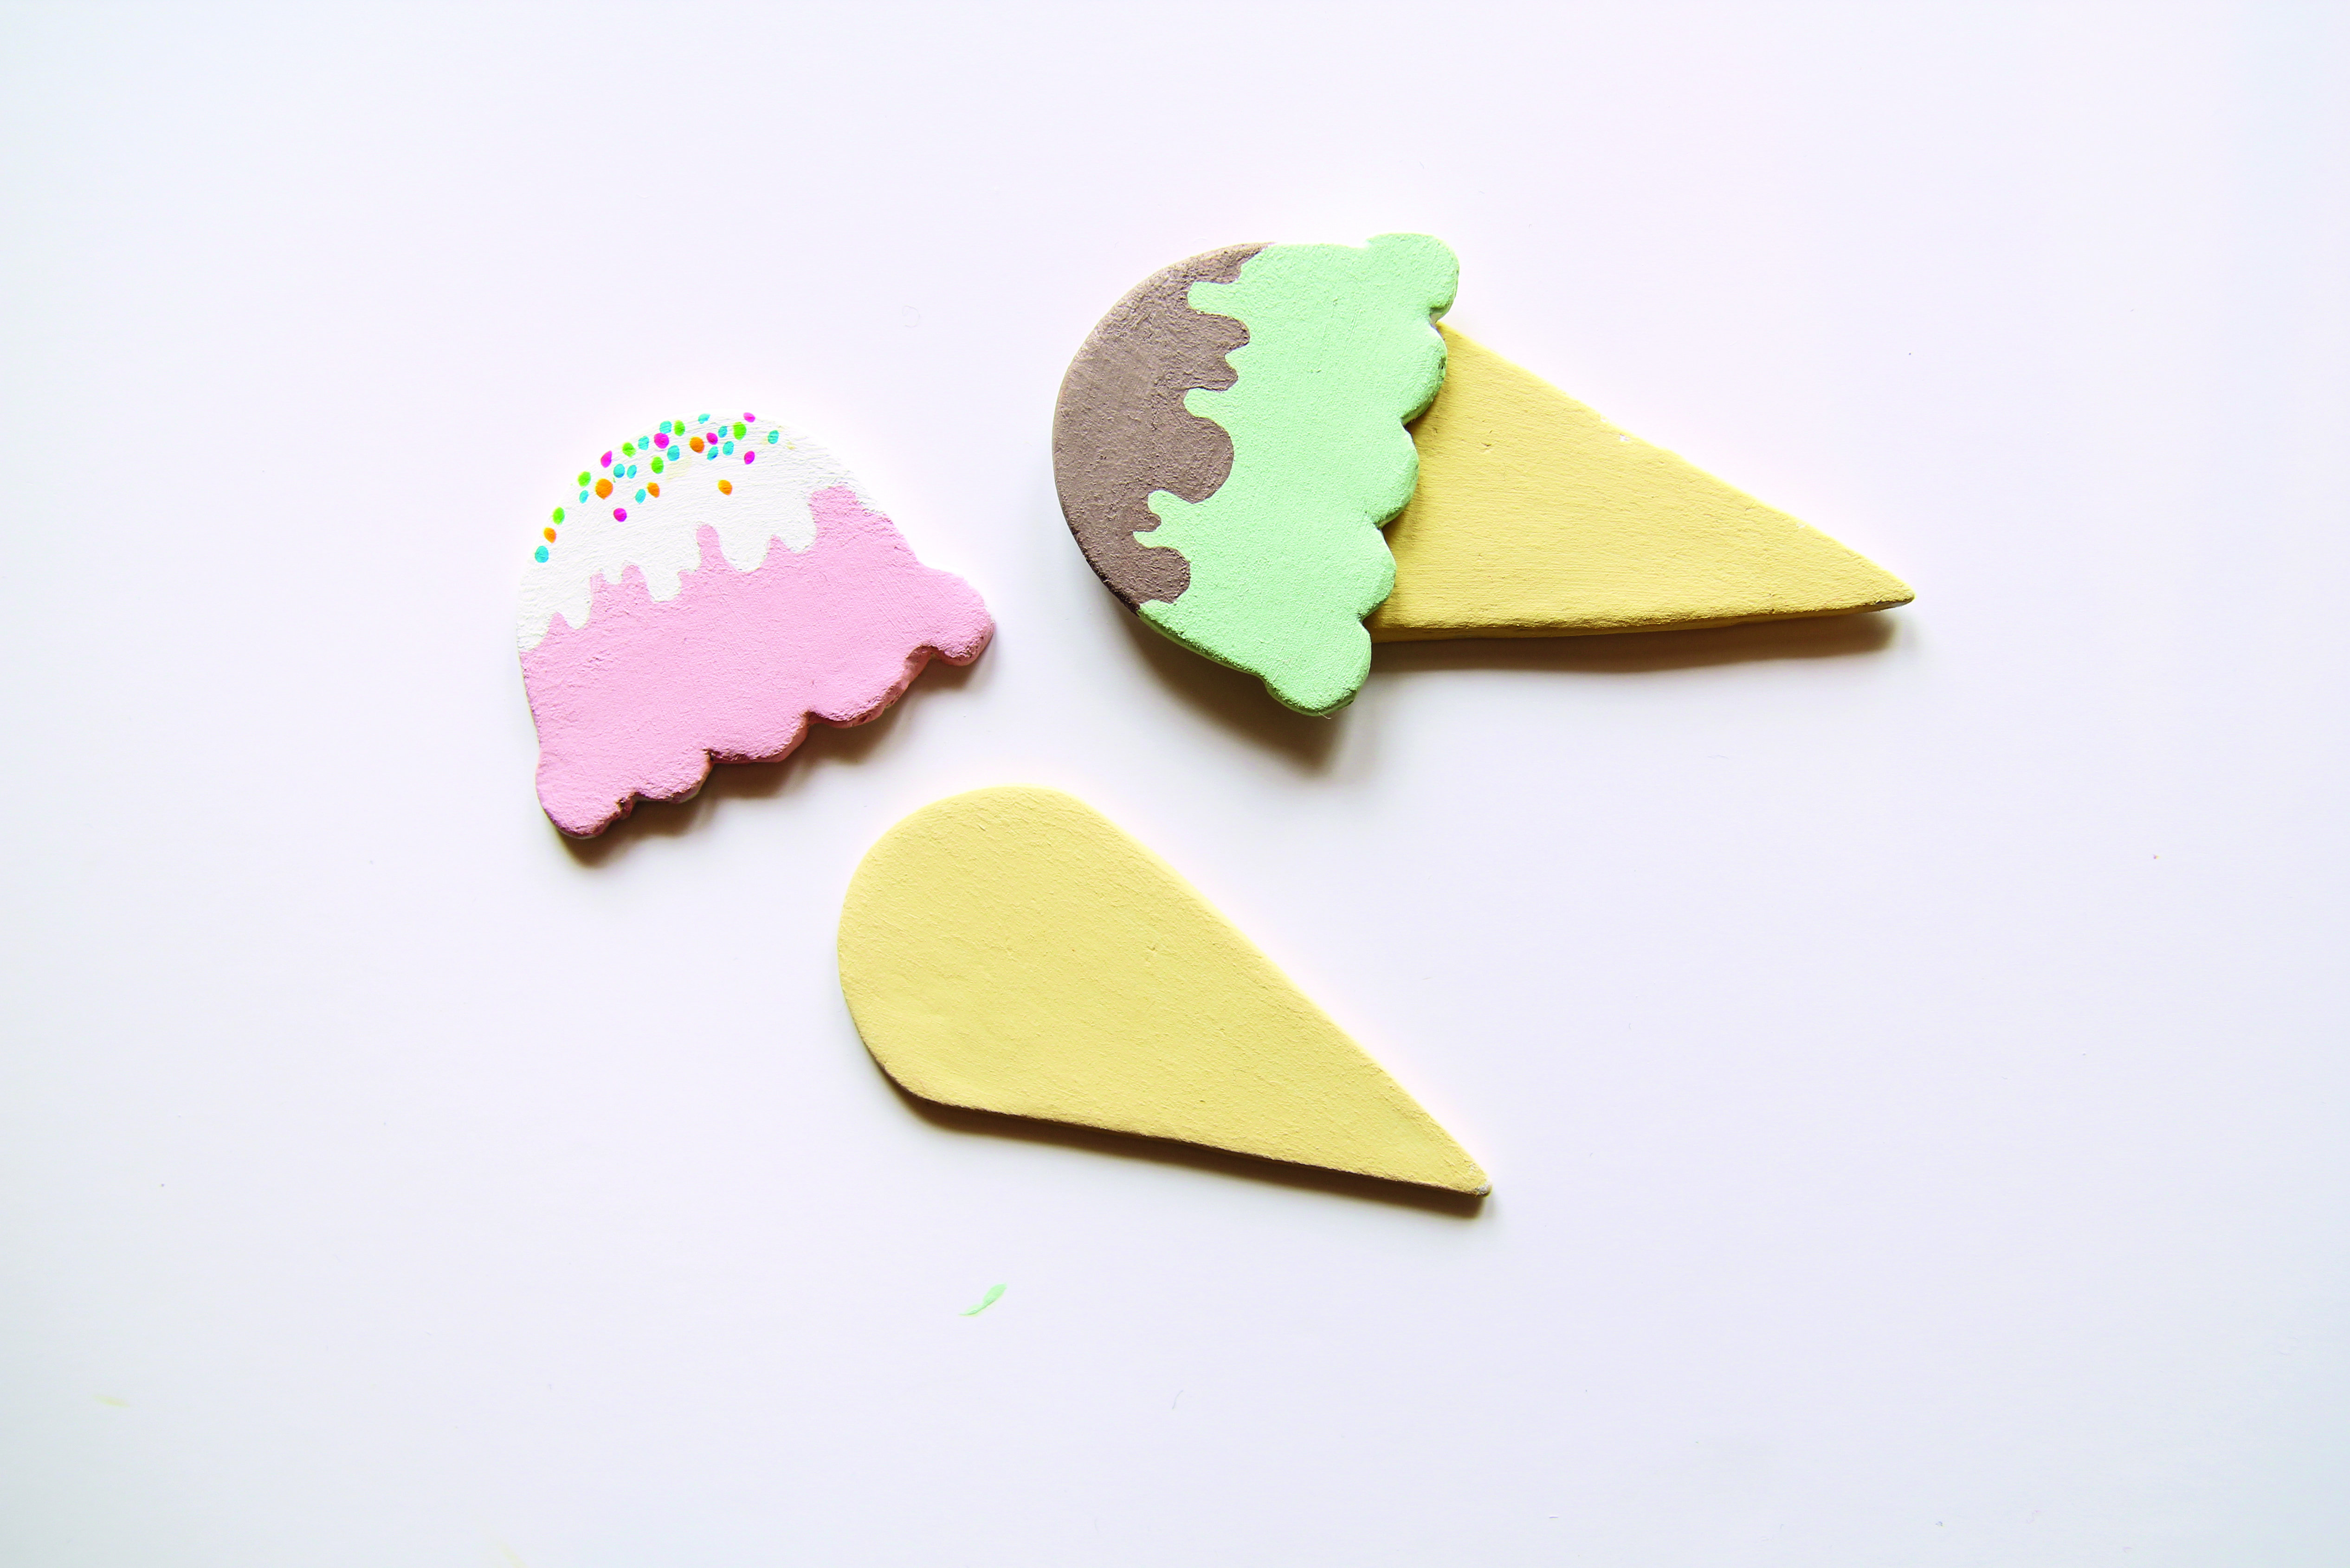
Once the paint is dry, add some sprinkles by dotting different colours onto the top of the ice creams using a fine brush. Glue the scoops onto the rounded tops of the cones, as shown in a dotted line on the template.

How to make polymer clay magnets IceCreams 7RE

Step 5

How to make polymer clay magnets IceCreams 8RE

Once the paint is dry, add some sprinkles by dotting different colours onto the top of the ice creams using a fine brush. Glue the scoops onto the rounded tops of the cones, as shown in a dotted line on the template.

Step 6

How to make polymer clay magnets IceCreams 10RE

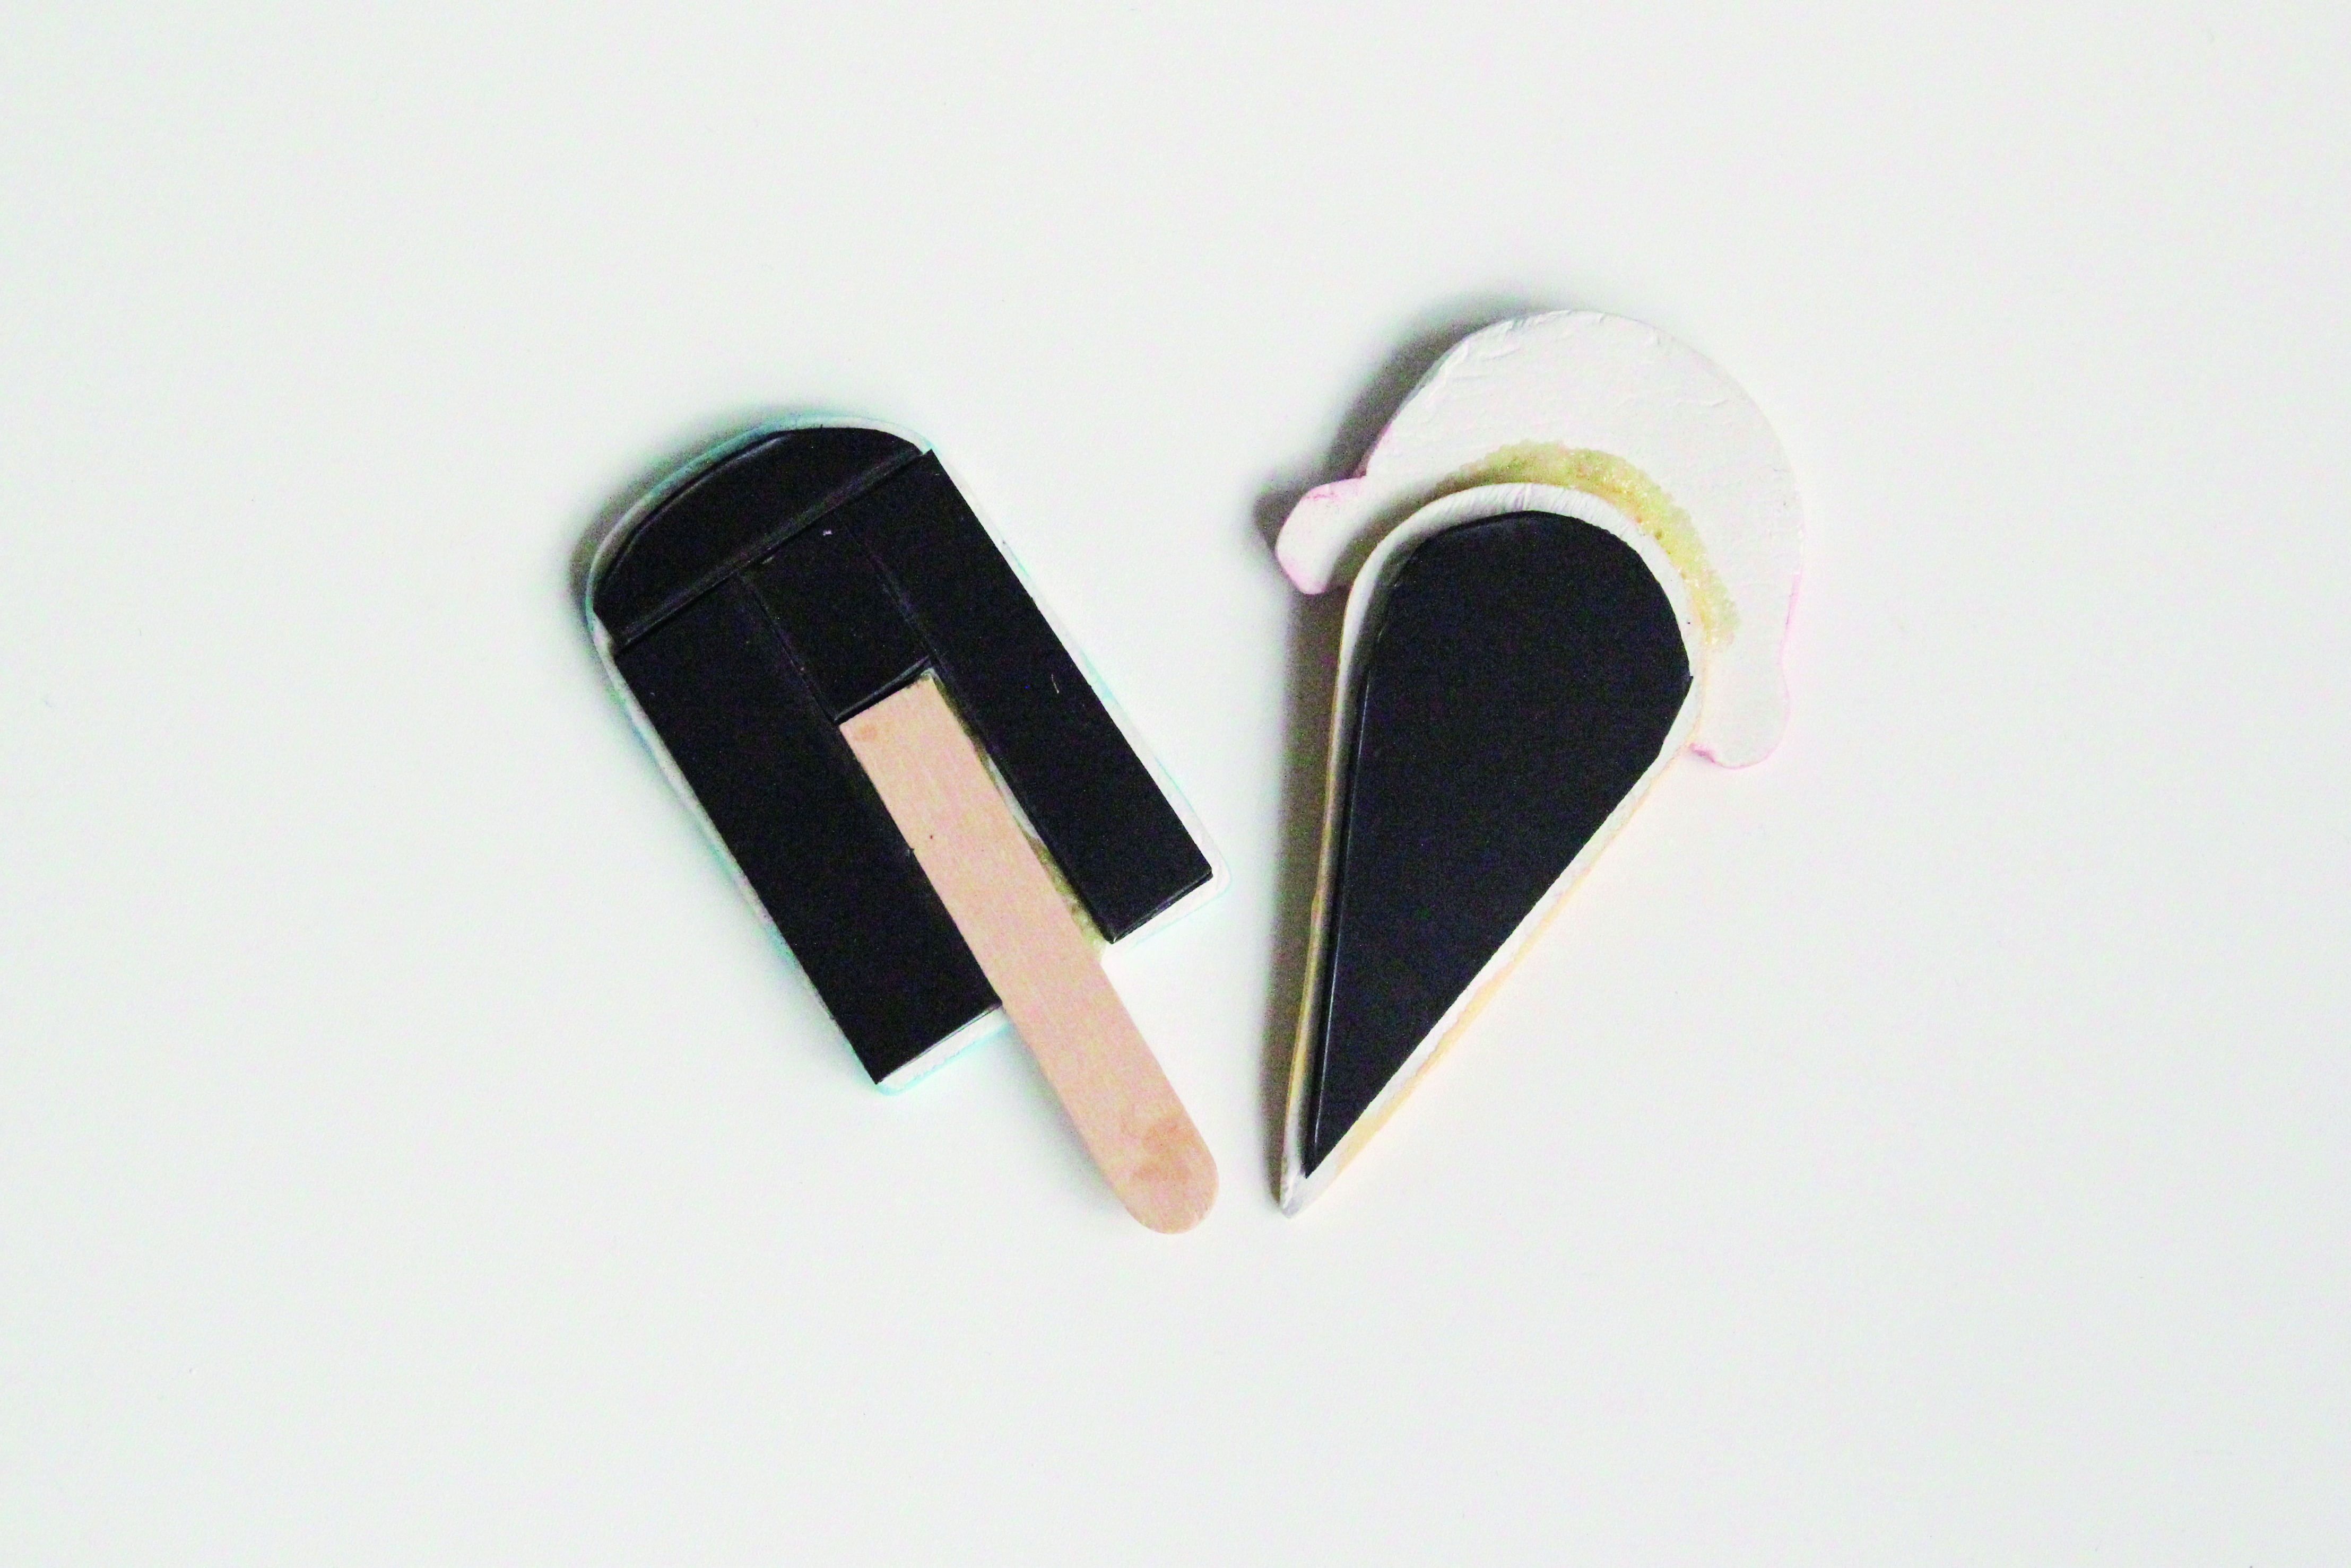
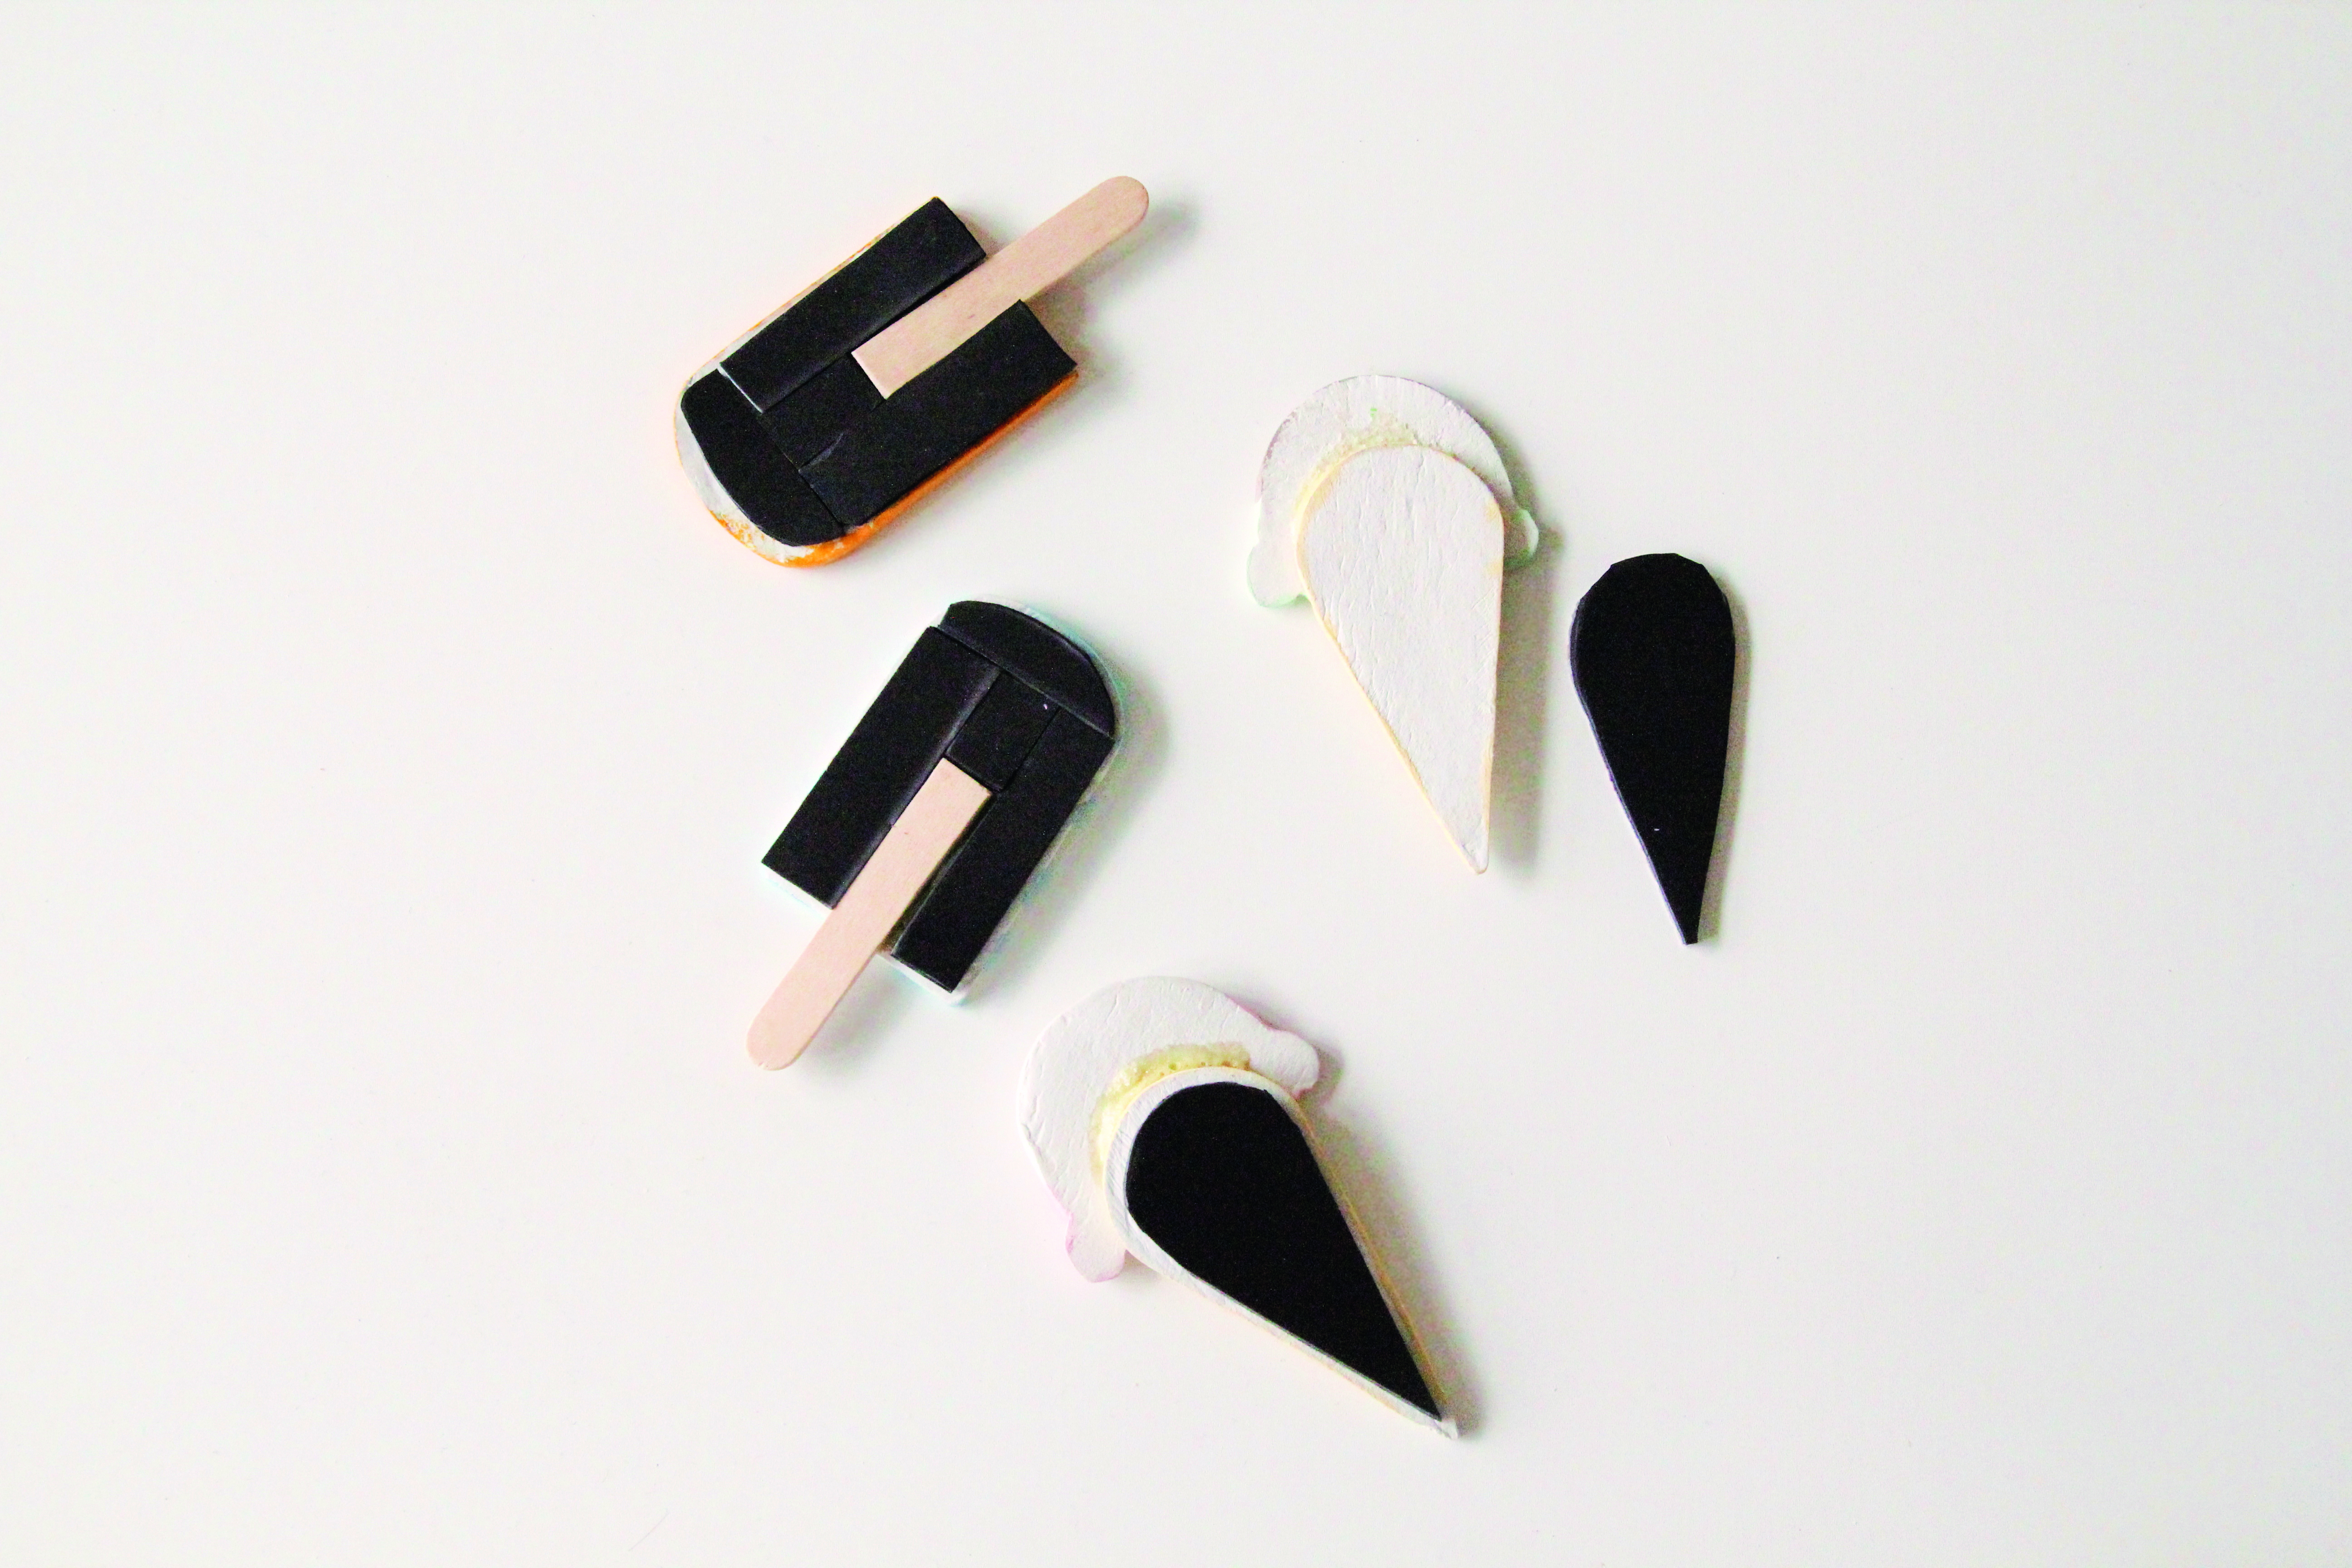
Cut the two lollipop sticks in half and glue them underneath each lolly. Cut and attach strips of magnetic sheet to fit around the sticks on the back of the lollies. Use the cone template to cut the clay magnet for the ice creams – cut them slightly smaller than the clay so they don’t peek out.

Step 7

How to make polymer clay magnets IceCreams 11RE

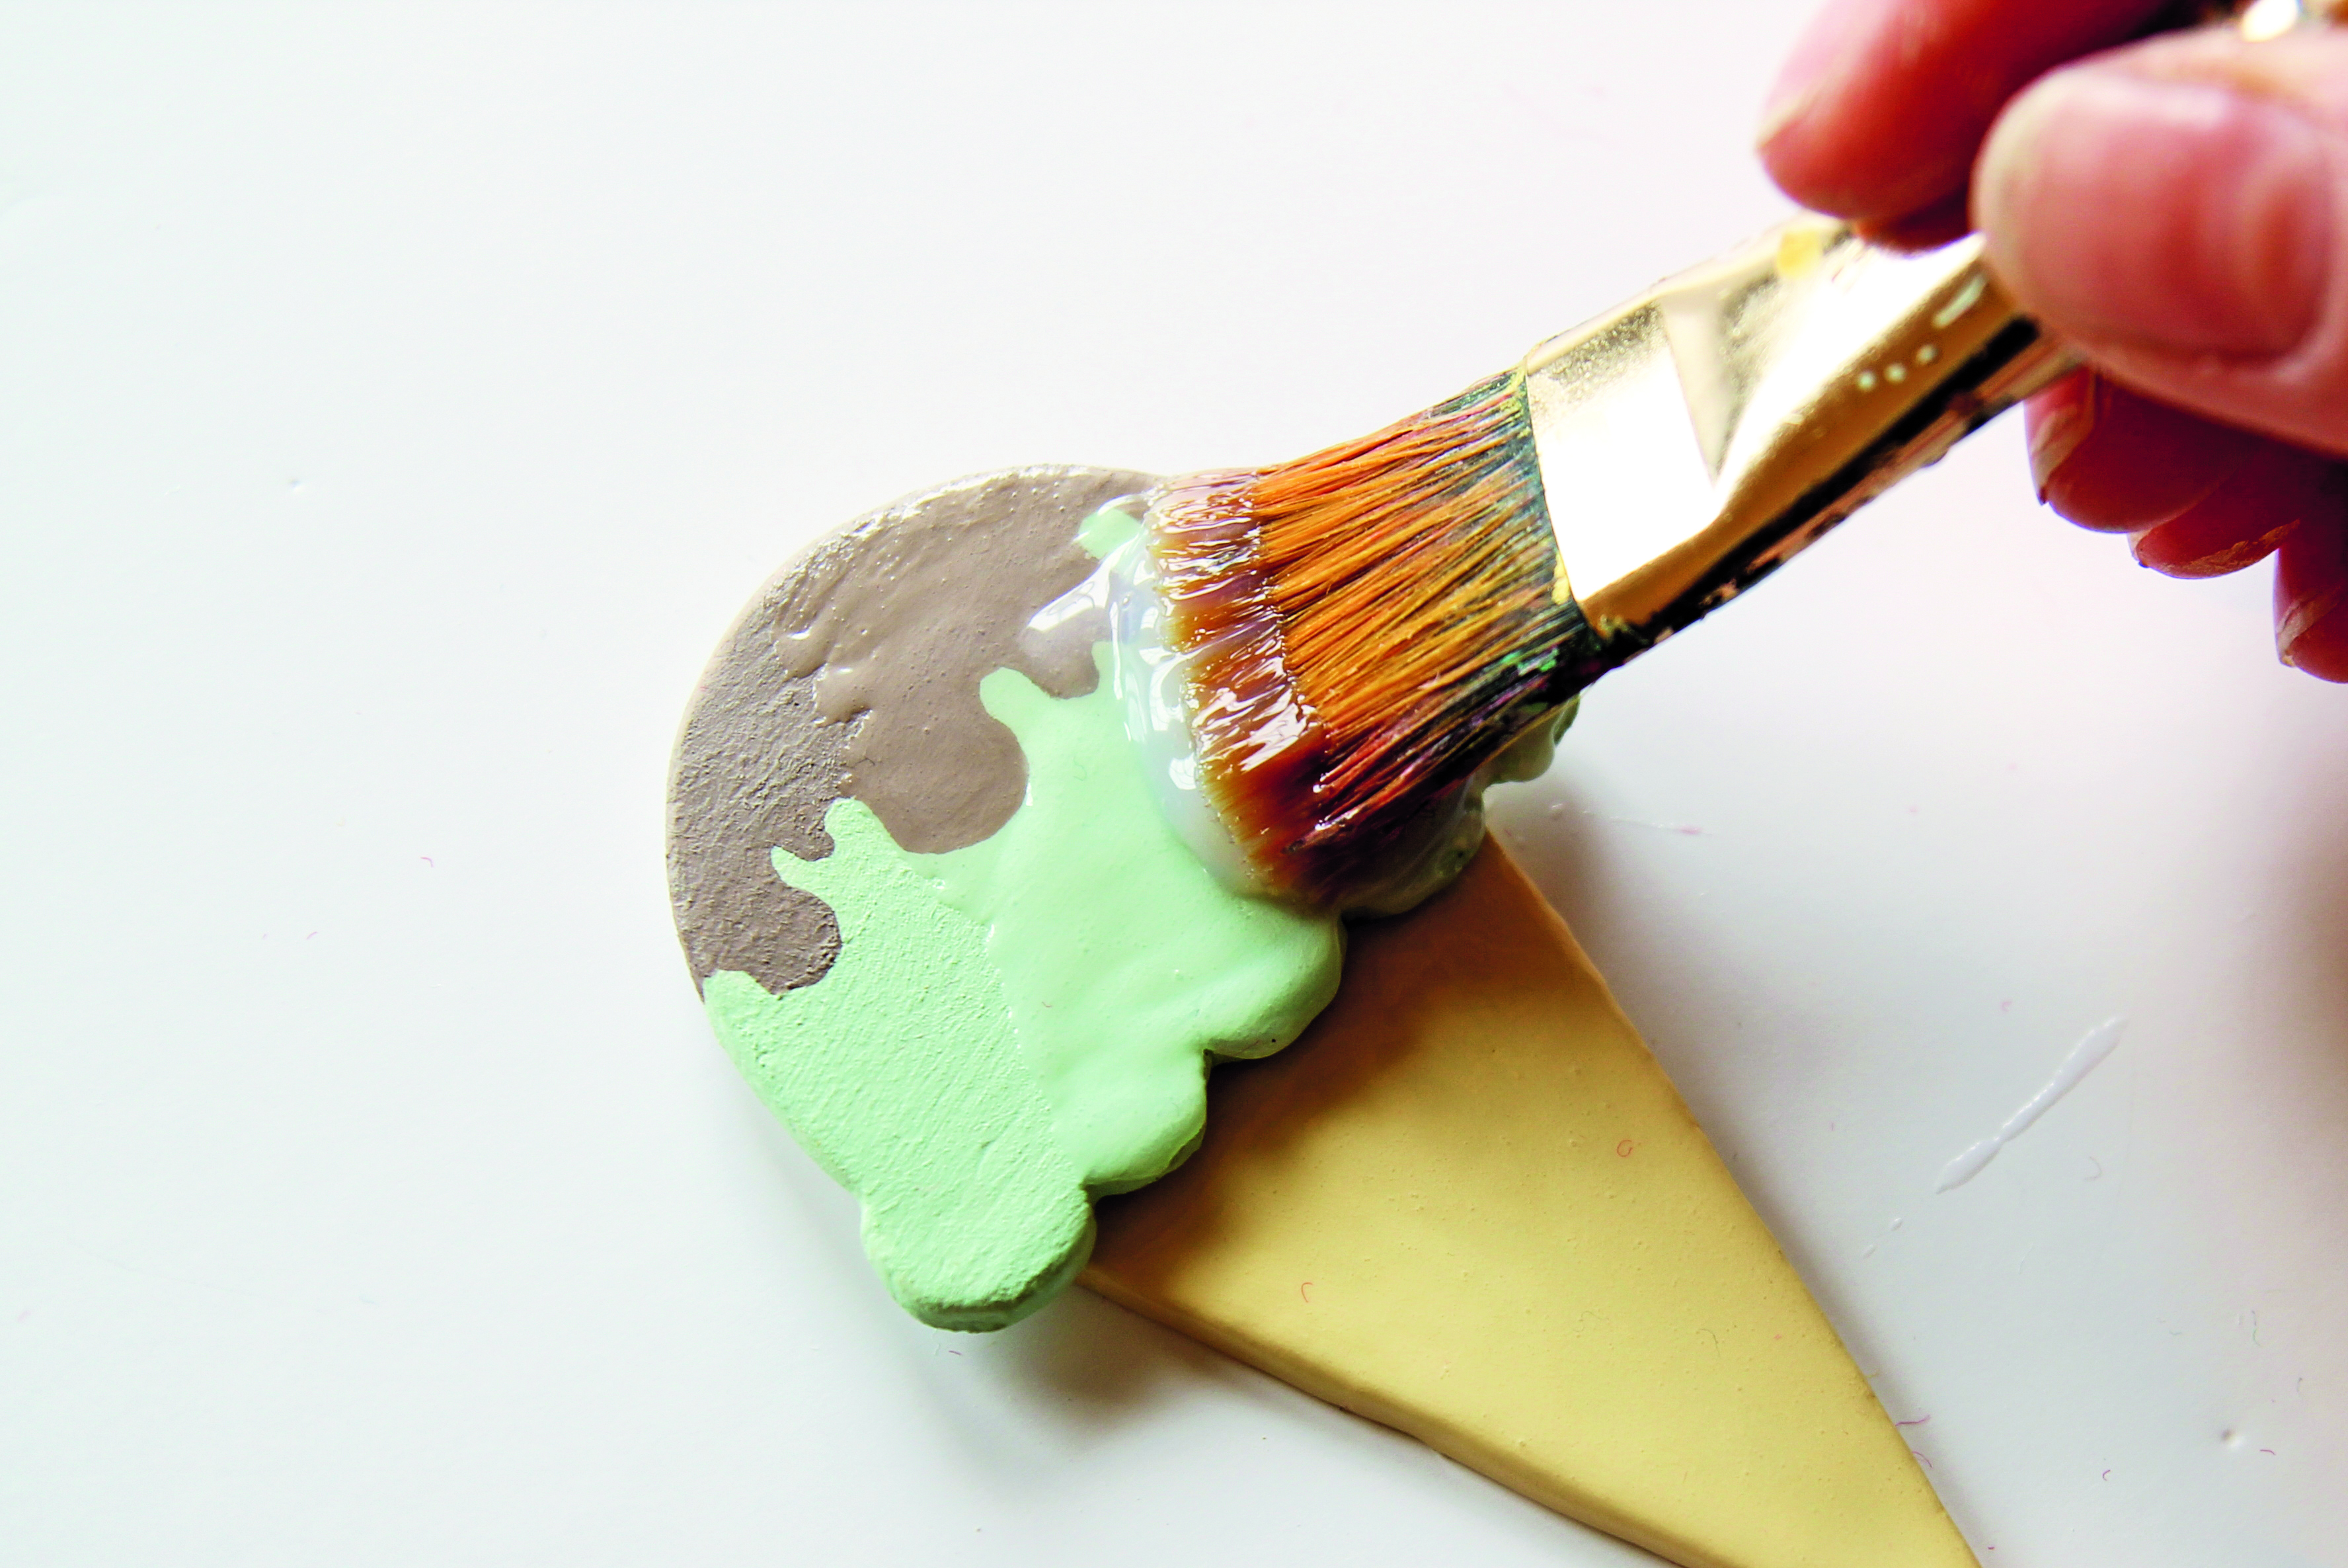
To add a little more strength and shine, paint varnish all over the front of each ice cream and lolly.

How to make polymer clay magnets IceCreams 12RE How to make polymer clay magnets IceCreams 13RE

We hope you’ve enjoyed making your air dry clay magnets! Now you’ve caught the air dry bug check out our air dry clay vases and our air dry Christmas decorations!