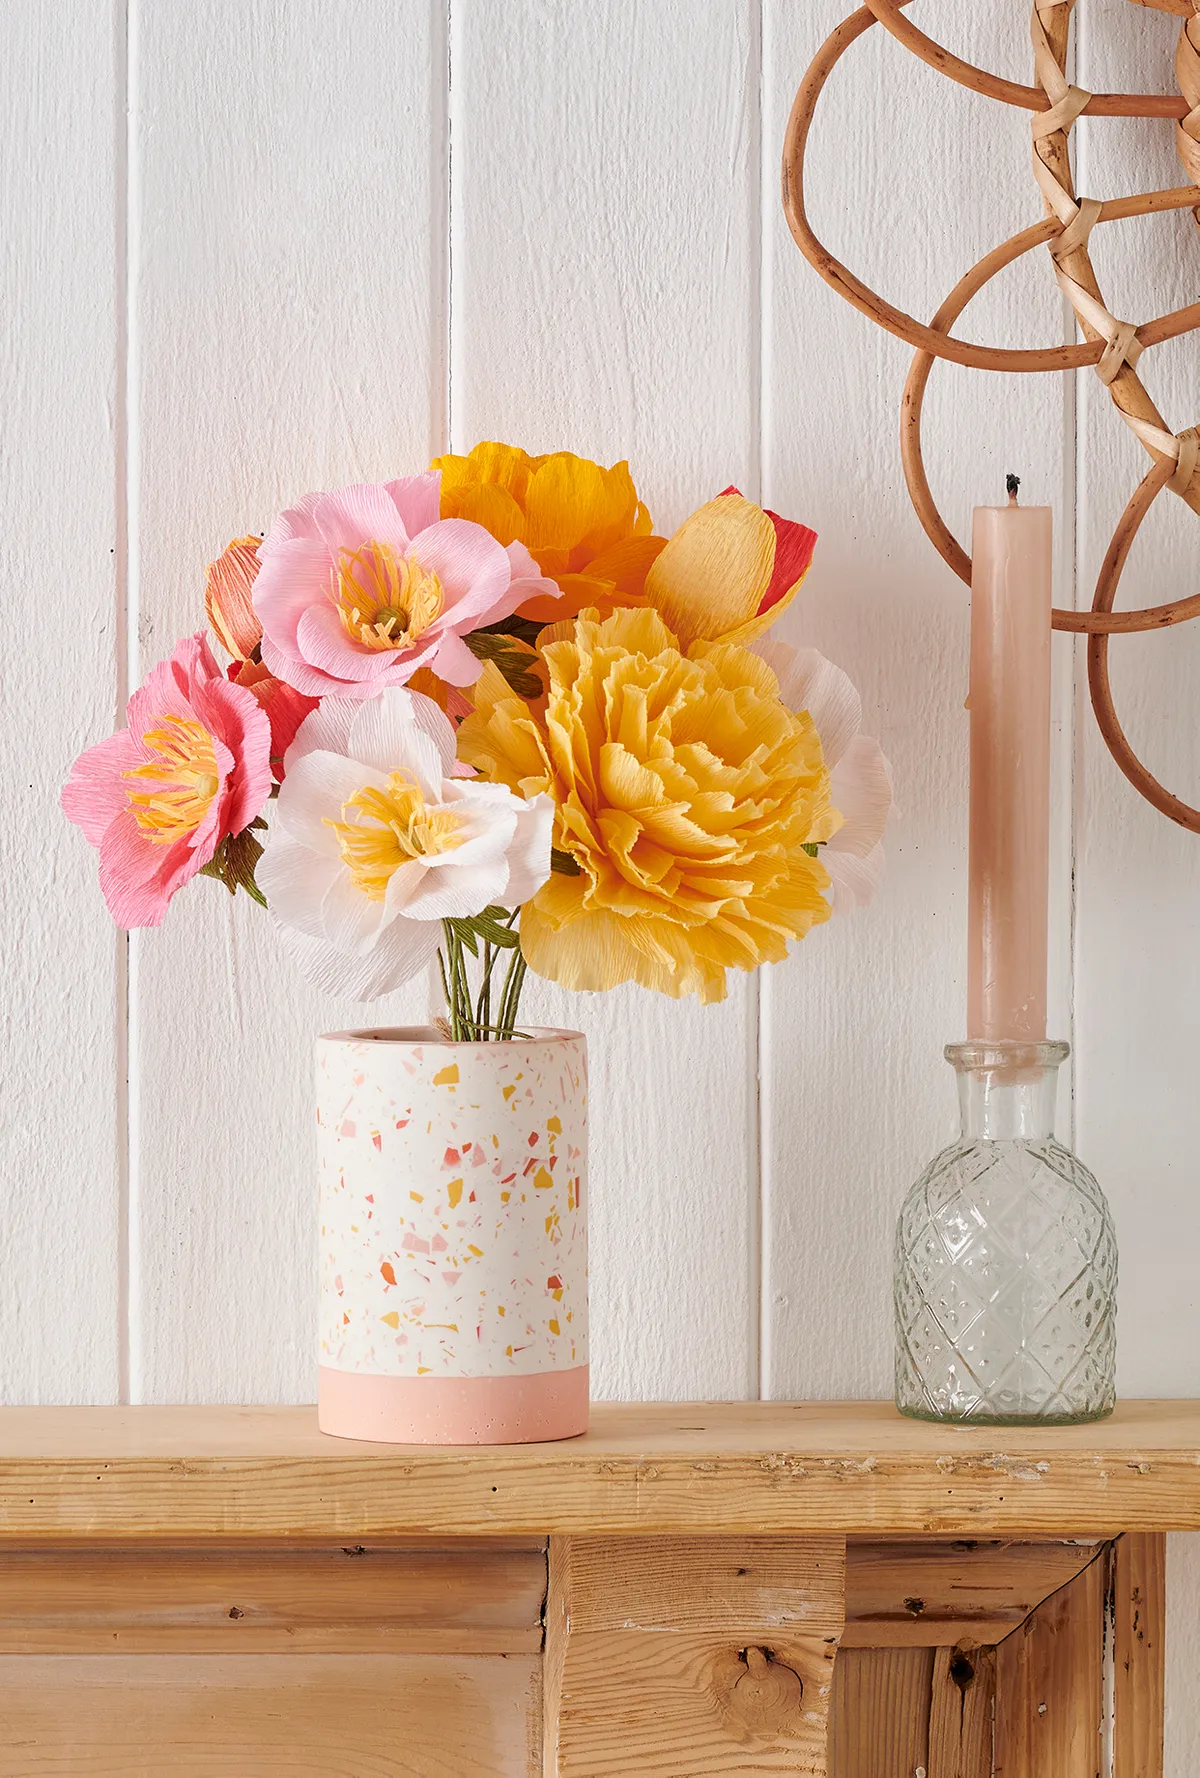
Step 1
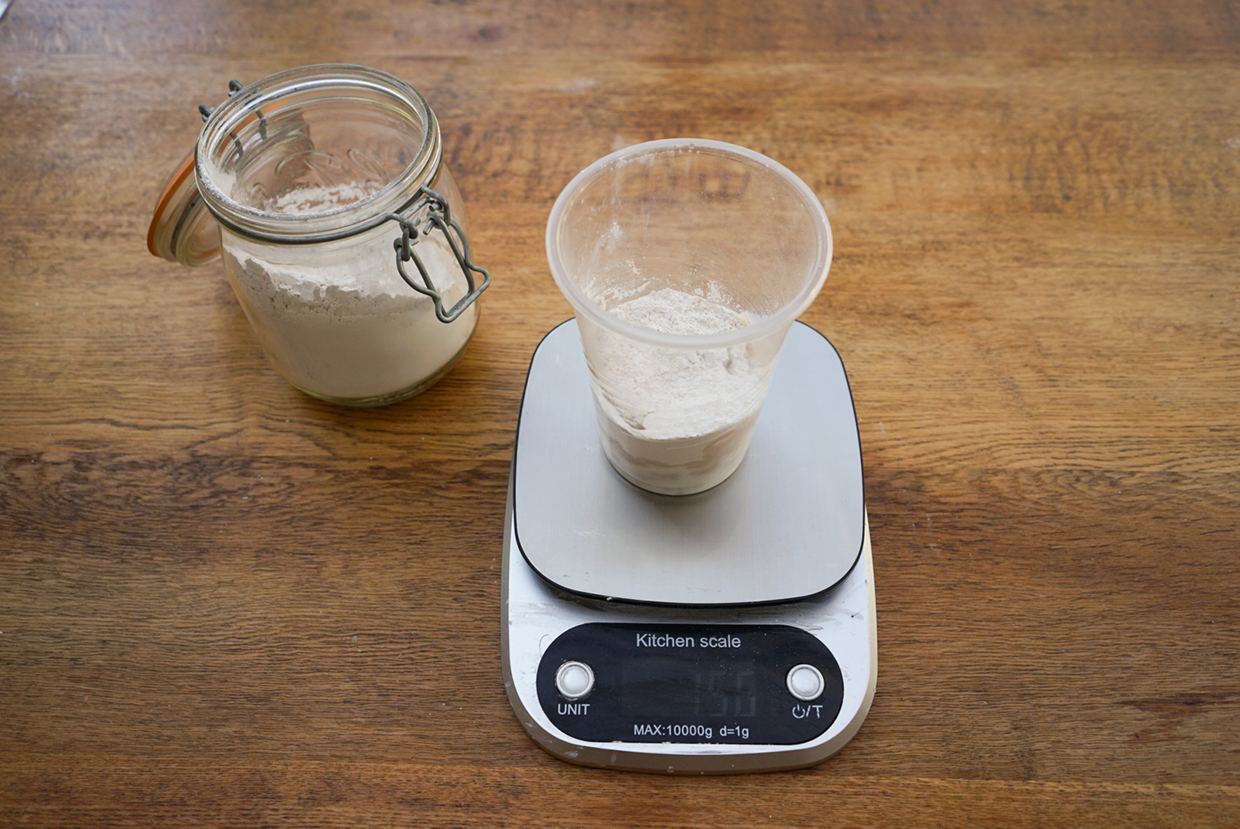
Make sure the plastic containers are clean and free of any dust, then weigh out the jesmonite powder and liquid into them. Jesmonite works with a precise ratio – 2.5 parts dry to 1 part wet – so measure out 25g powder and 10g of liquid each into five plastic cups – one cup for each of the five different colour chips used. Mix the powder and liquid with a wooden stick until smooth
Step 2
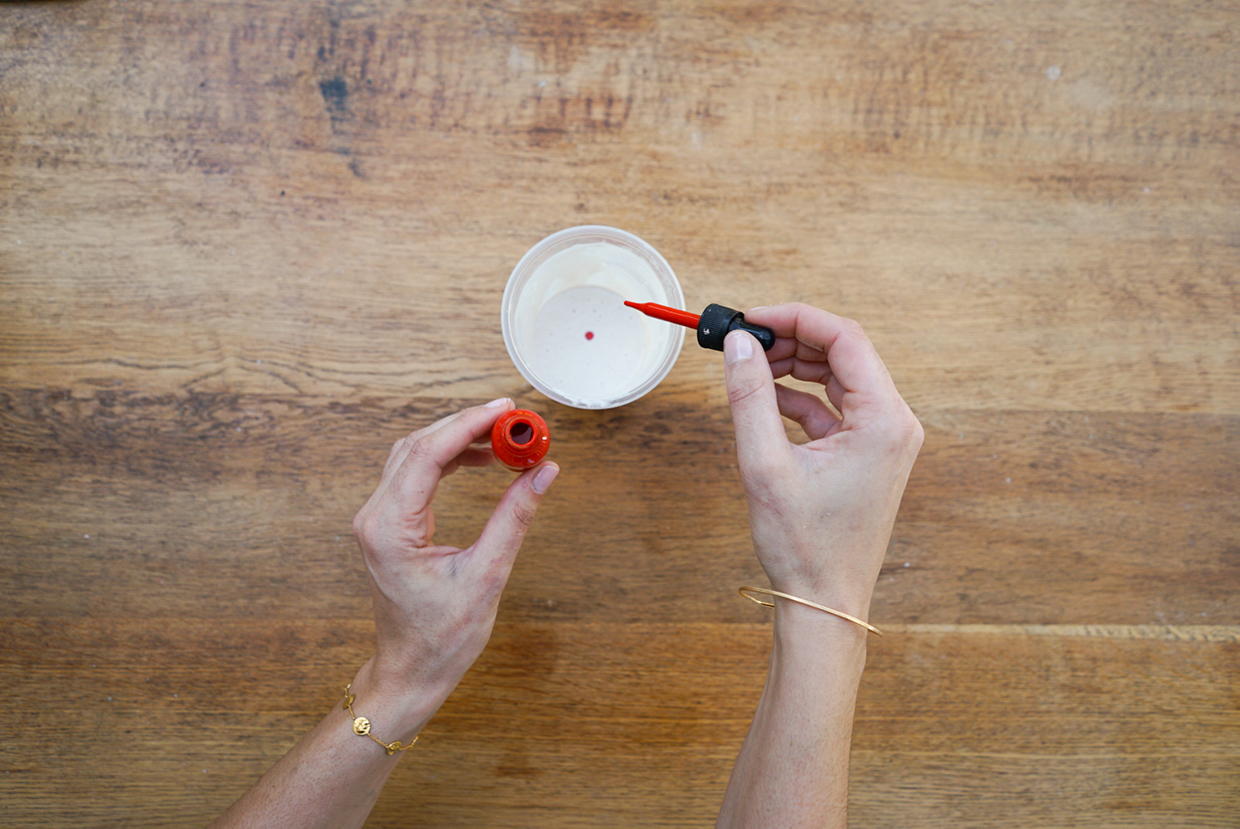
Next, add the pigments. They’re very intense, so only add a tiny bit at a time by dipping a cocktail stick into the pigment, then dropping it into the jesmonite and mixing it in. We used the yellow pigment to create a yellow colour chip, small amounts of red and yellow to create an orange and a pale peach colour chip, and varying amounts of the red pigment to create a light pink and a dark pink colour chip.
Step 3
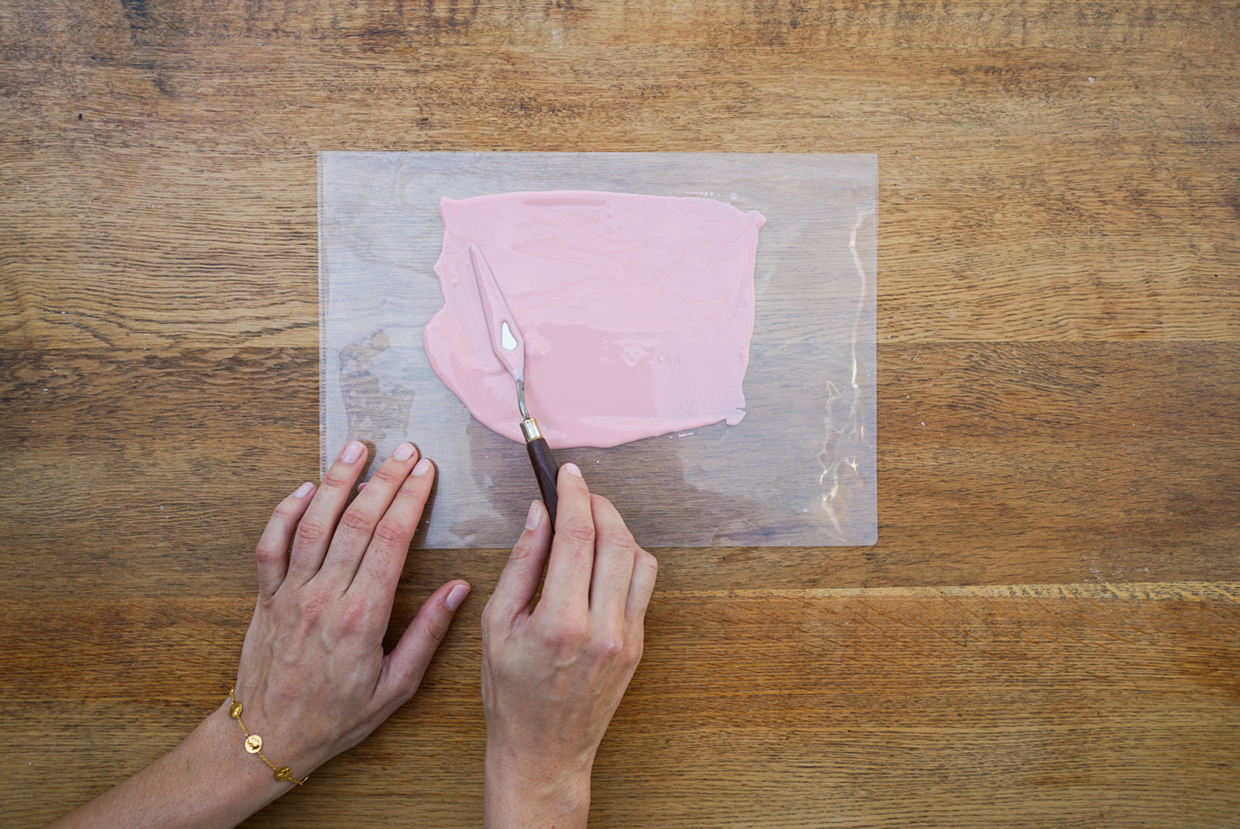
Once you’re happy with the colour in each container, spread the mixture onto a separate plastic sheet – we used old plastic folder wallets. Use the wooden stick to spread a thin, even layer, then leave it to cure for 30 minutes – you’ll know it’s ready when it snaps if you try to break it. If the mixture just bends slightly, give it a bit more time to fully cure.
Step 4
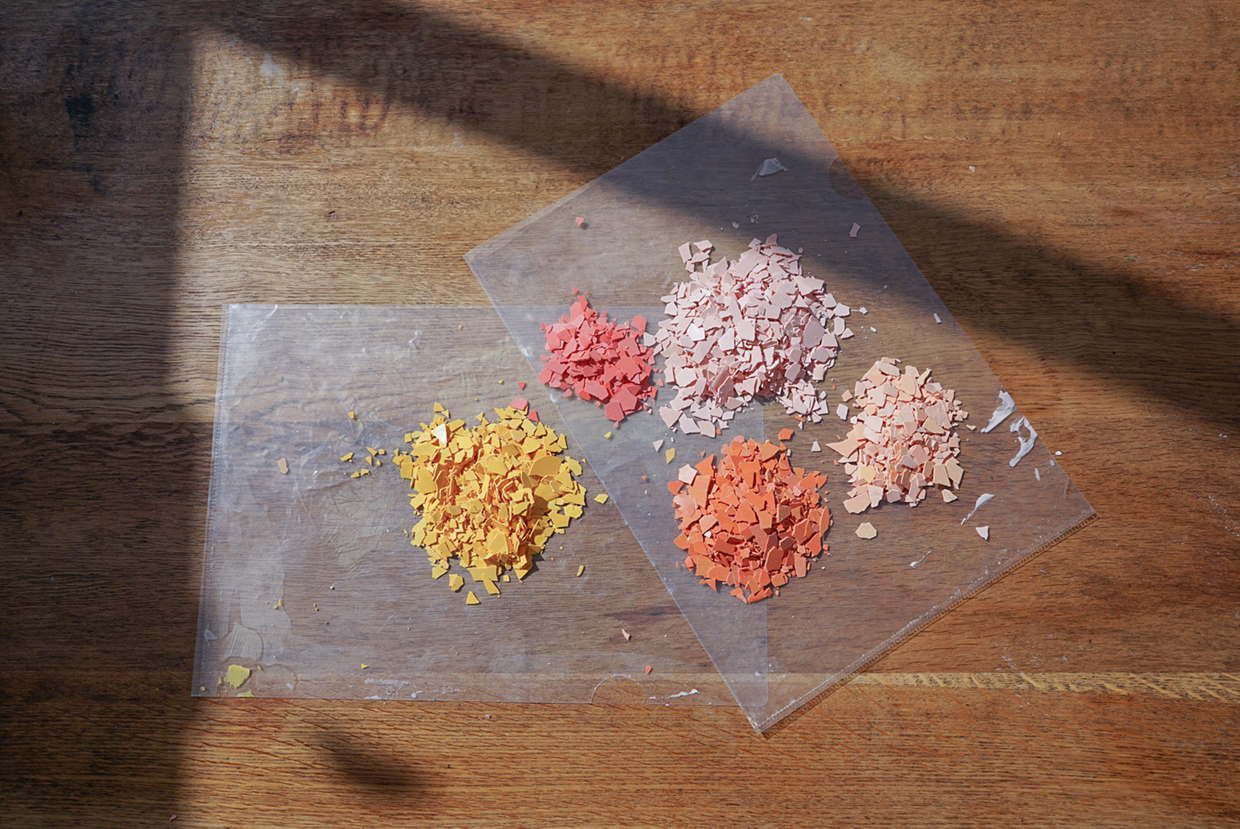
Once the jesmonite has set, crush it into chips. The chips can be any size you want, but it’s nice to have a variety of sizes, with some big and some small.
Step 5
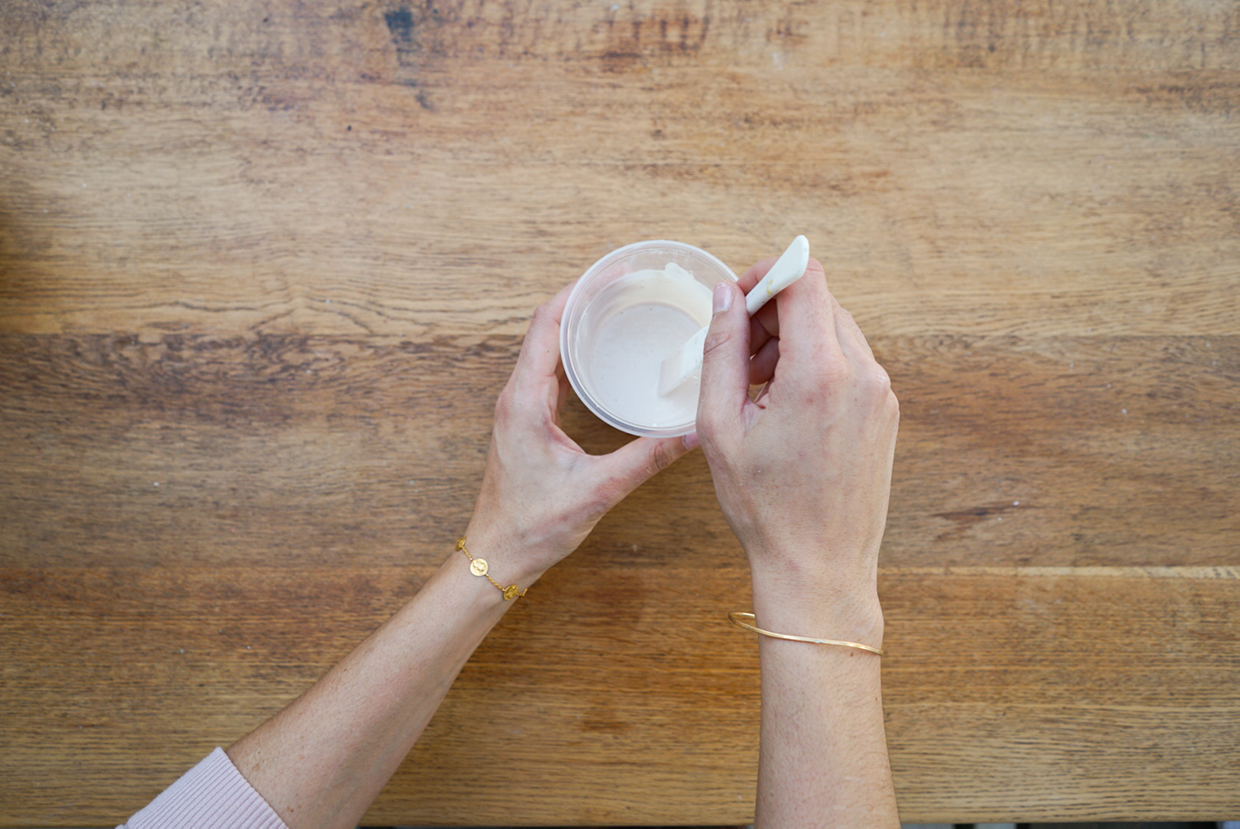
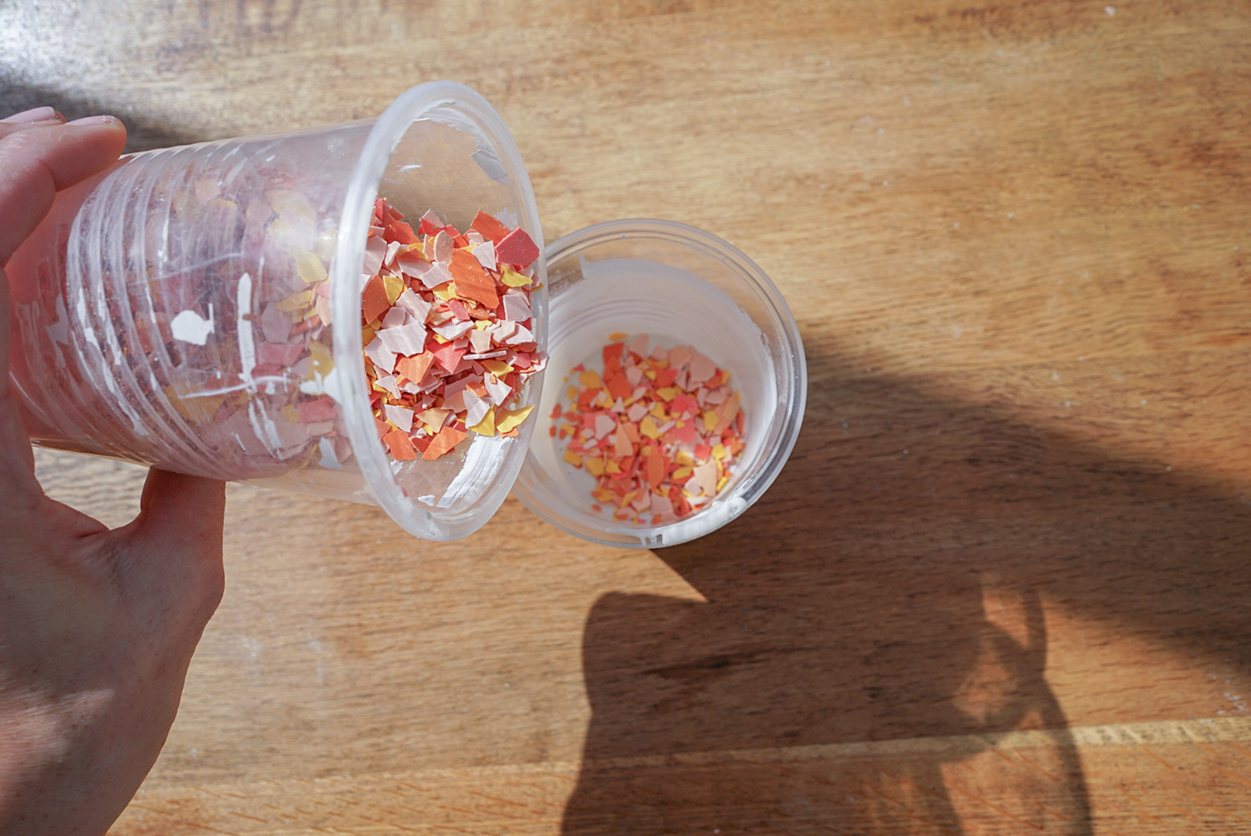
Make the jesmonite for the base colour as per Step 1, this time using 60g liquid and 150g powder. Mix until fully smooth, then add white colour pigment – this lets the coloured chips stand out. Next, mix in all the coloured chips and stir until they’re evenly distributed.
Step 6
Pour the mixture into the silicone mould, filling it three-quarters full to allow for the solid base colour to be added in later. Leave to cure for approximately 30 minutes.
Step 7
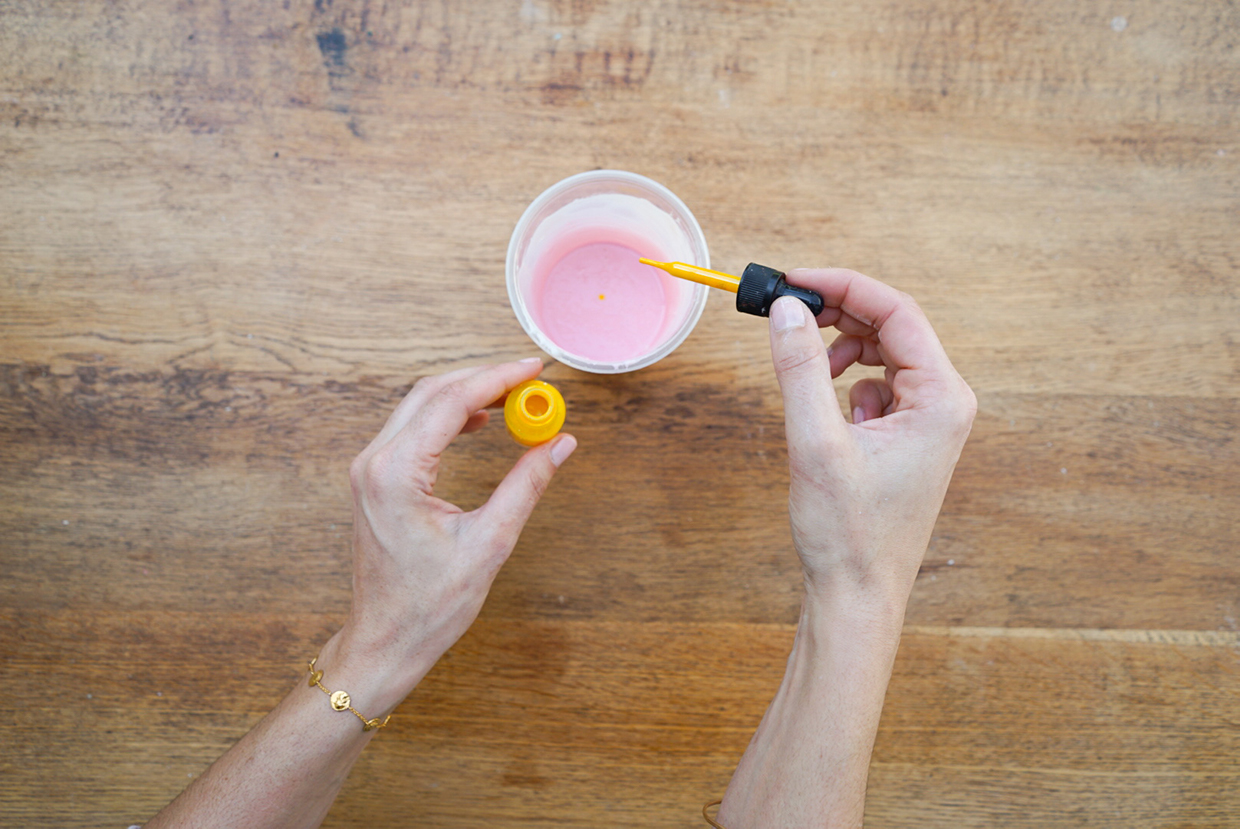
While the first colour is drying, make the solid colour mix for the base as per Steps 1-2. Weigh out 15g liquid and 37.5g of powder into a plastic cup and mix them together until smooth, then add in small amounts of red and white pigment to create a pink tone.
Step 8
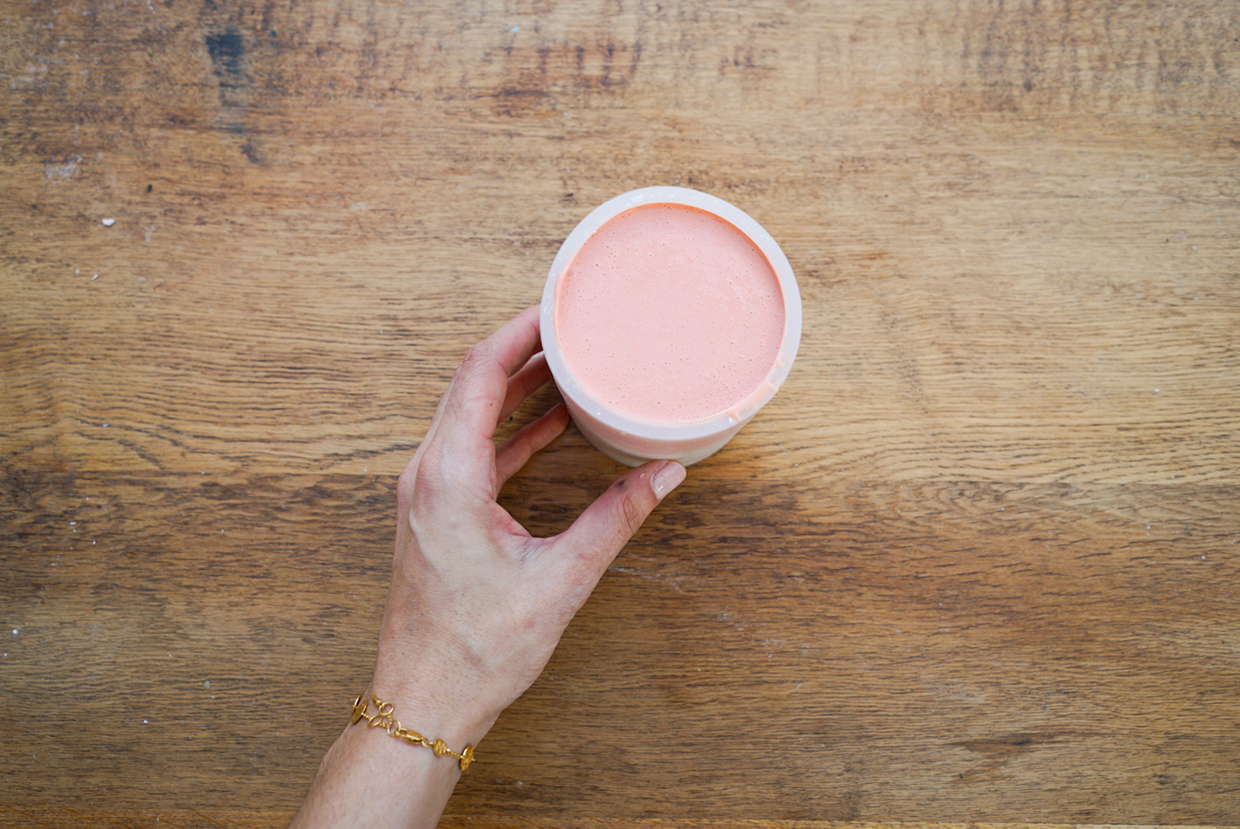
Making sure the jesmonite in the mould has dried to the touch, pour the pink mixture from Step 7 on top, filling the mould completely. Leave to cure for an hour.
Step 9
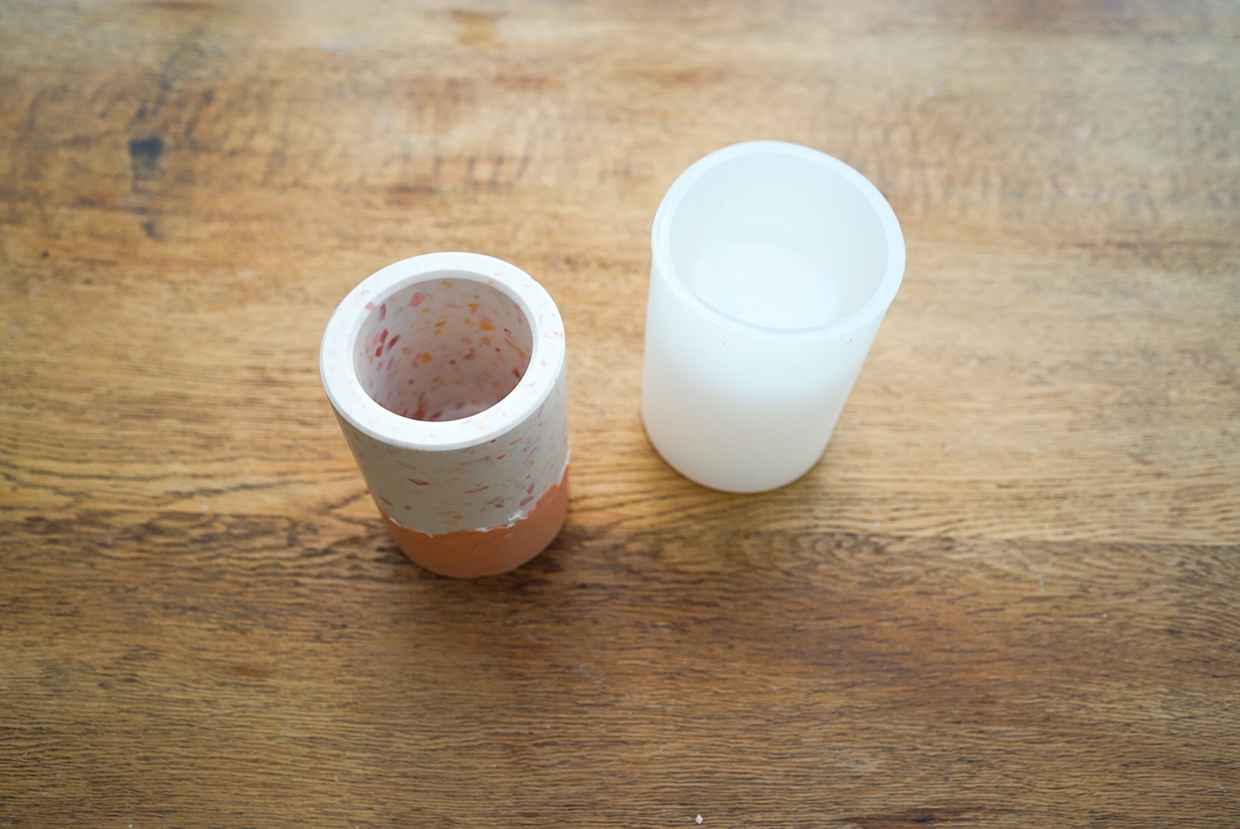
Once the jesmonite is dry, remove the pot from the mould, making sure the mixture is fully cured – if it’s warm to the touch, it’s not ready. Pull the silicone away to help remove it – the mould can be stretched without breaking it.
Step 10
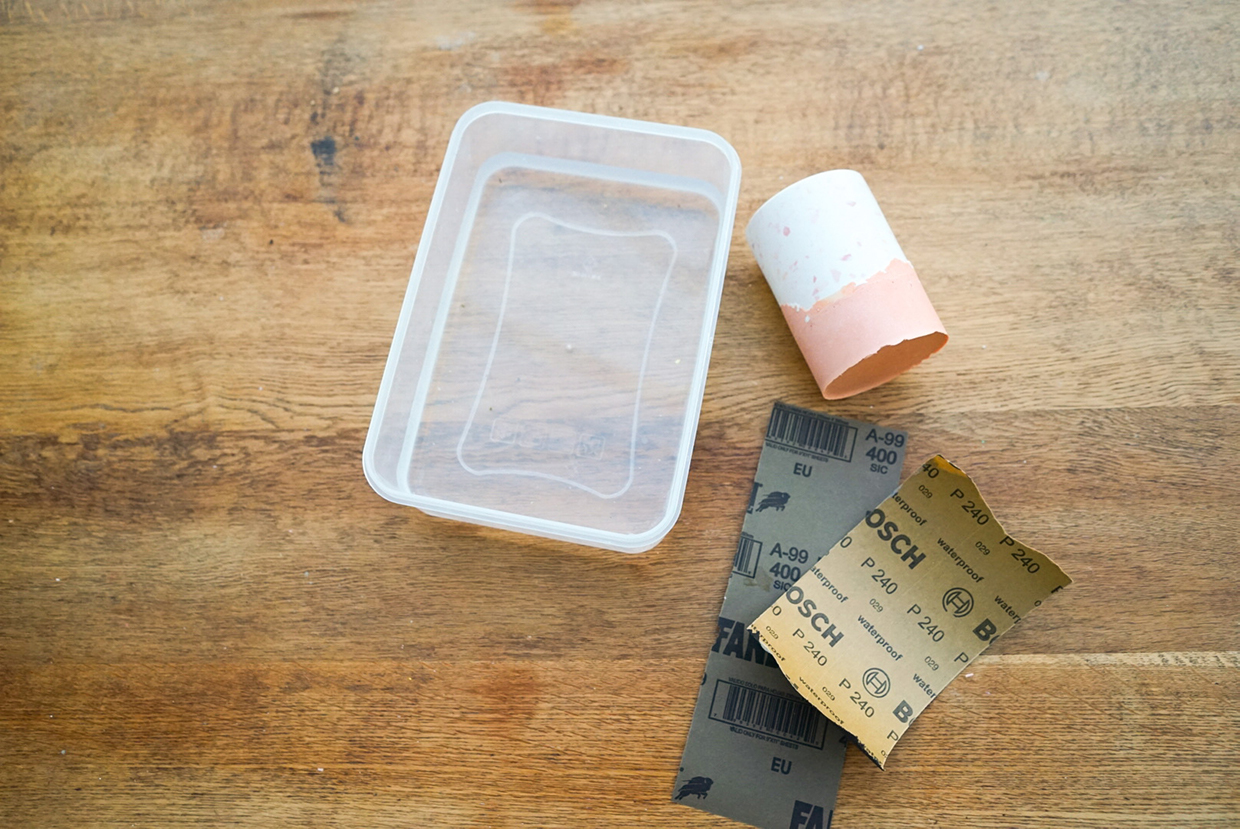
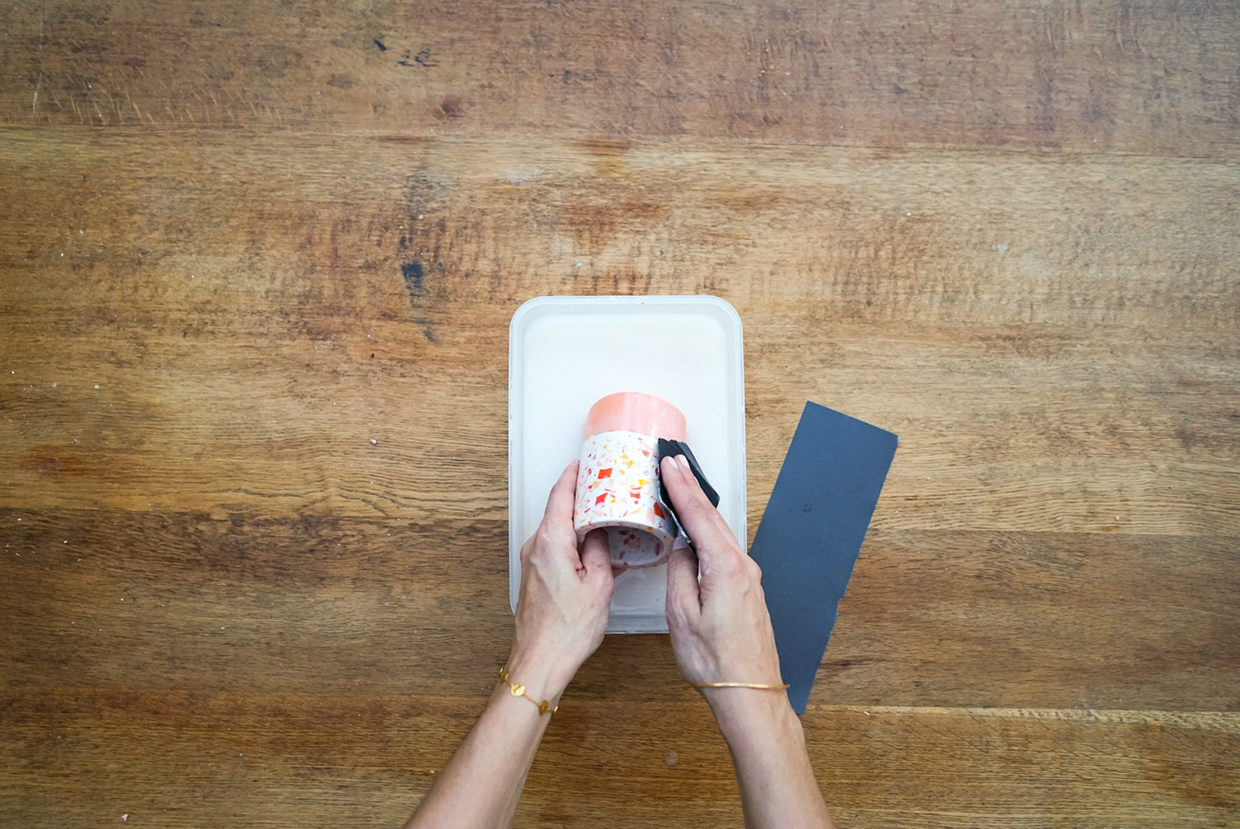
Cover the work surface you’ll be sanding on and fill a bowl with water. Dip the pot into the water, then use the coarser 240 grit sandpaper to sand the outside of the vase, revealing the chips. Once you’re happy with the amount of chips showing through, move onto the finer grit sandpaper – 400 and above – to smooth the surface. Leave the vase to dry.
Step 11
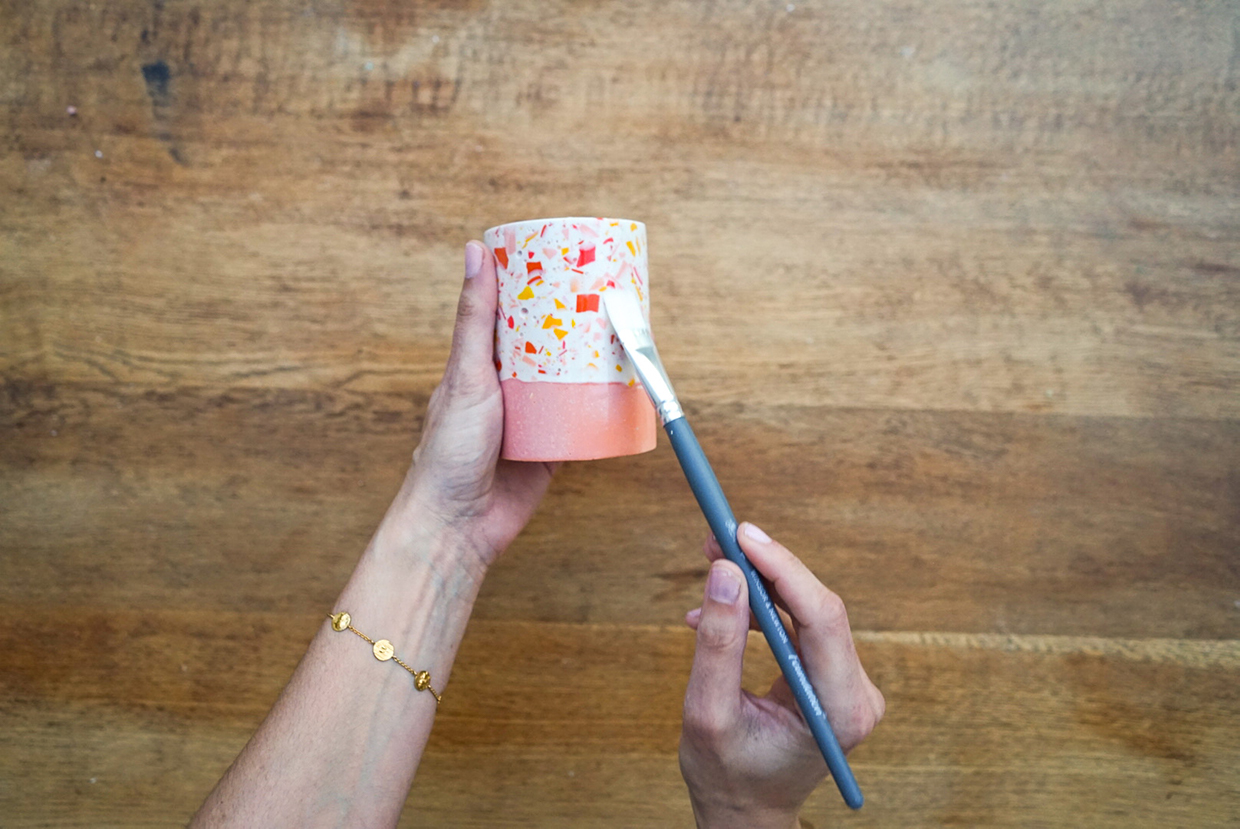
Once dry, apply the acrylic sealer using a paintbrush with a light hand to avoid any brush marks. This will protect the finished vase from water and stains.
