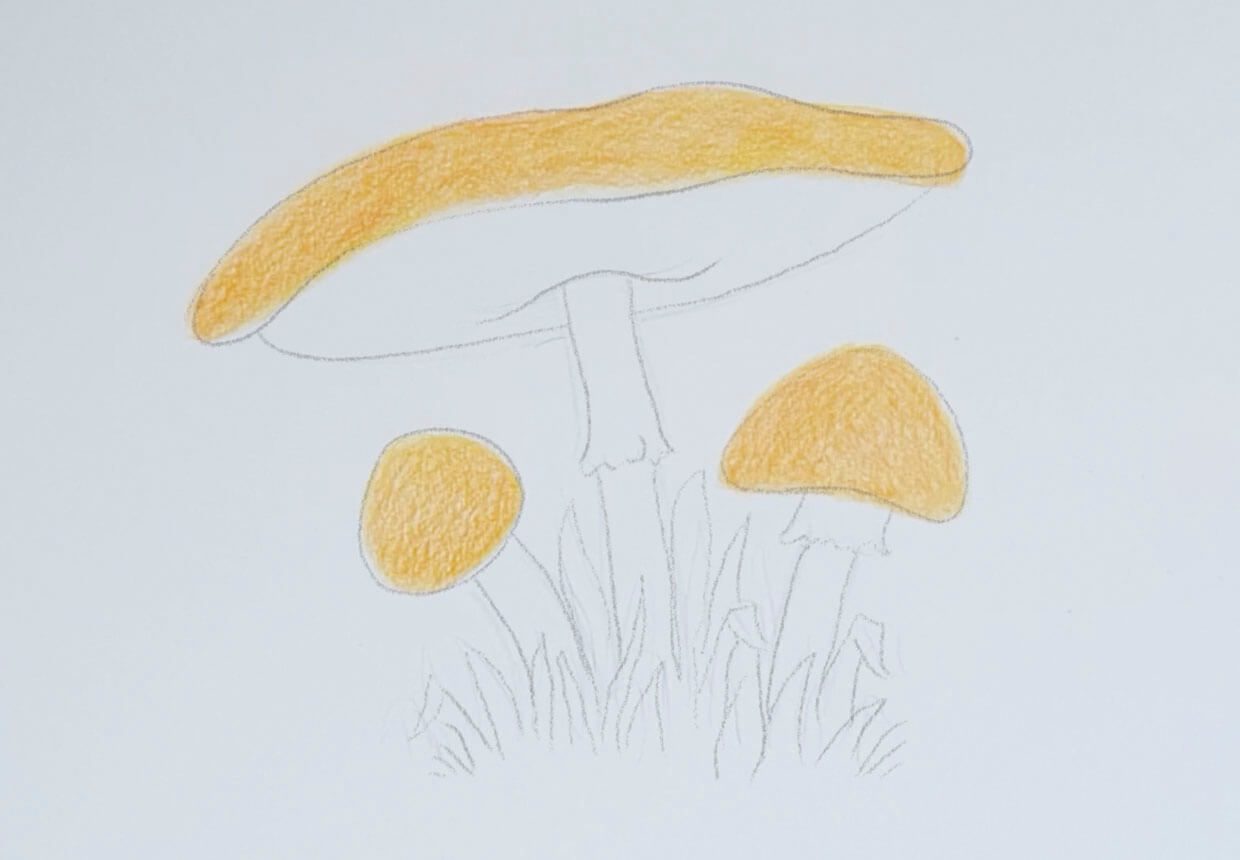
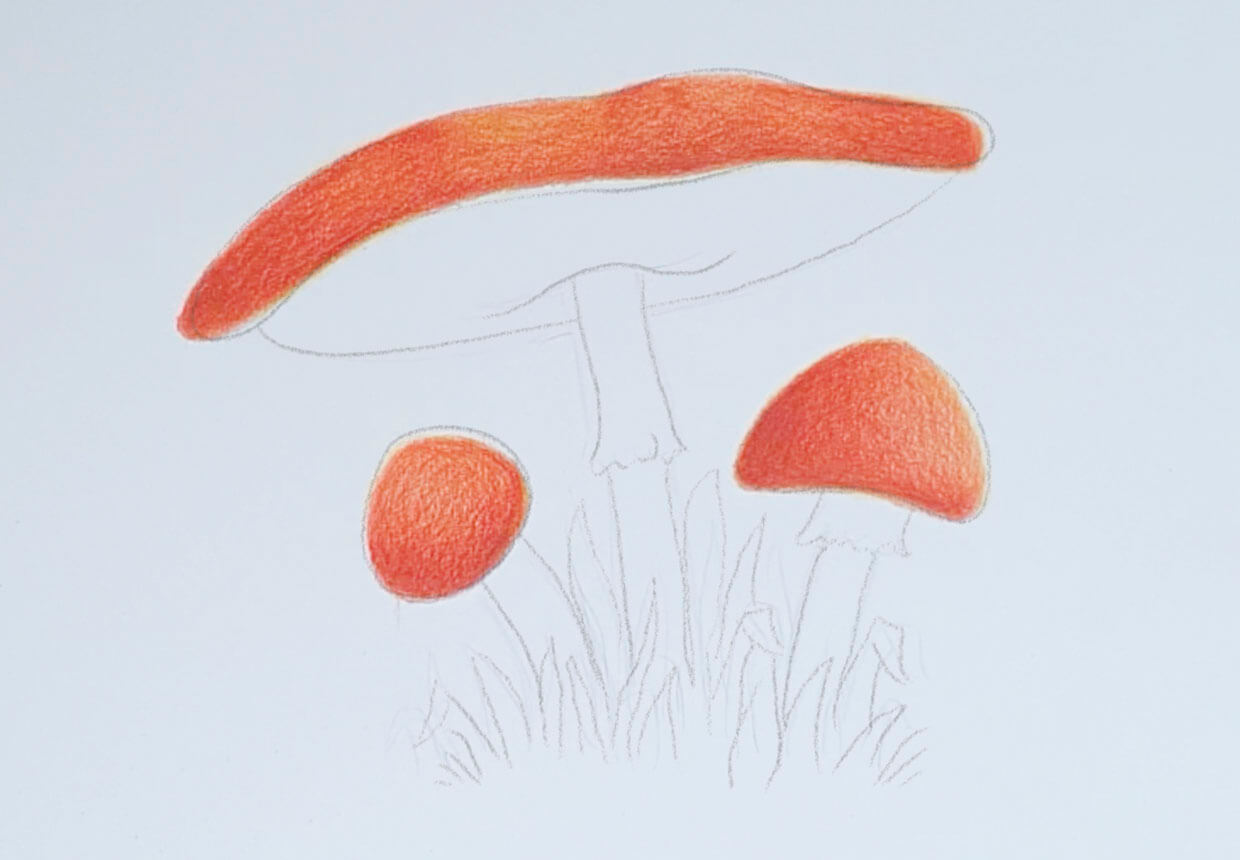
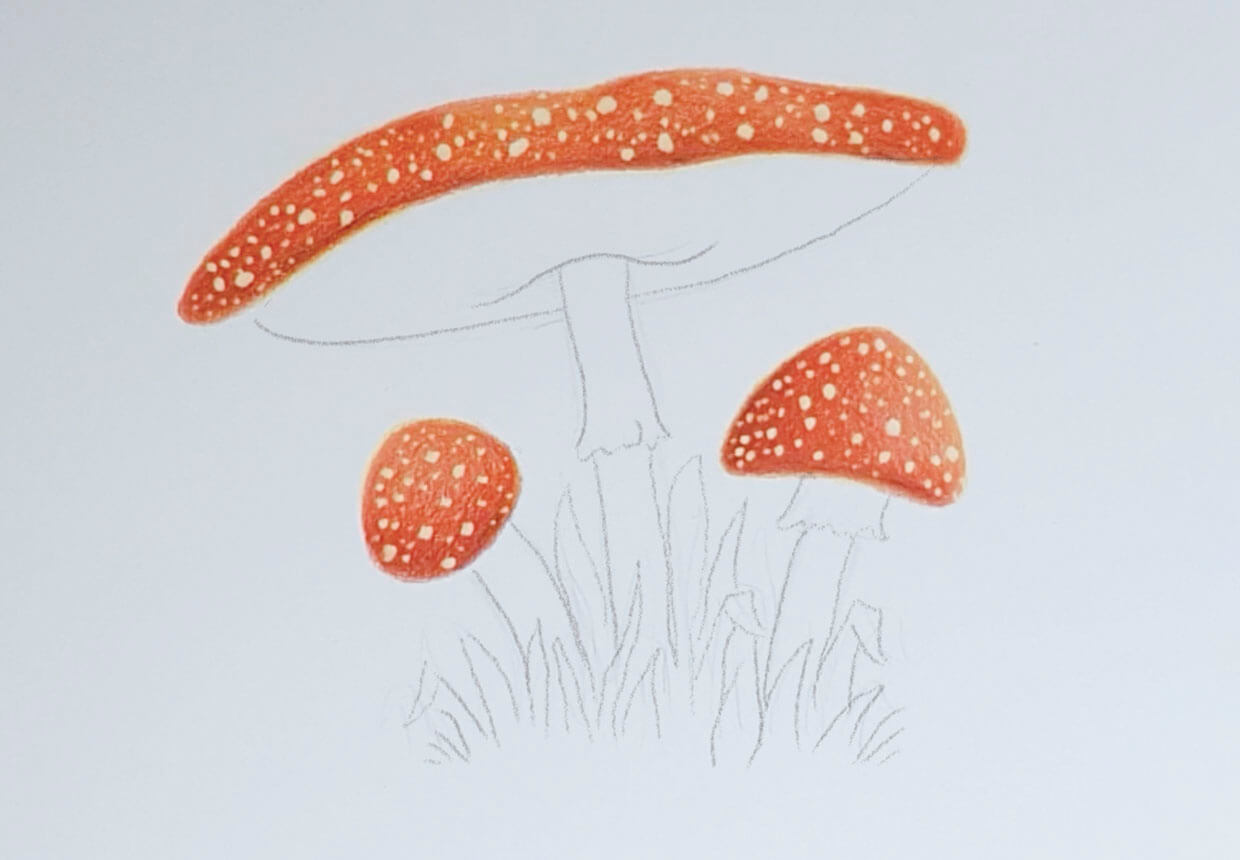
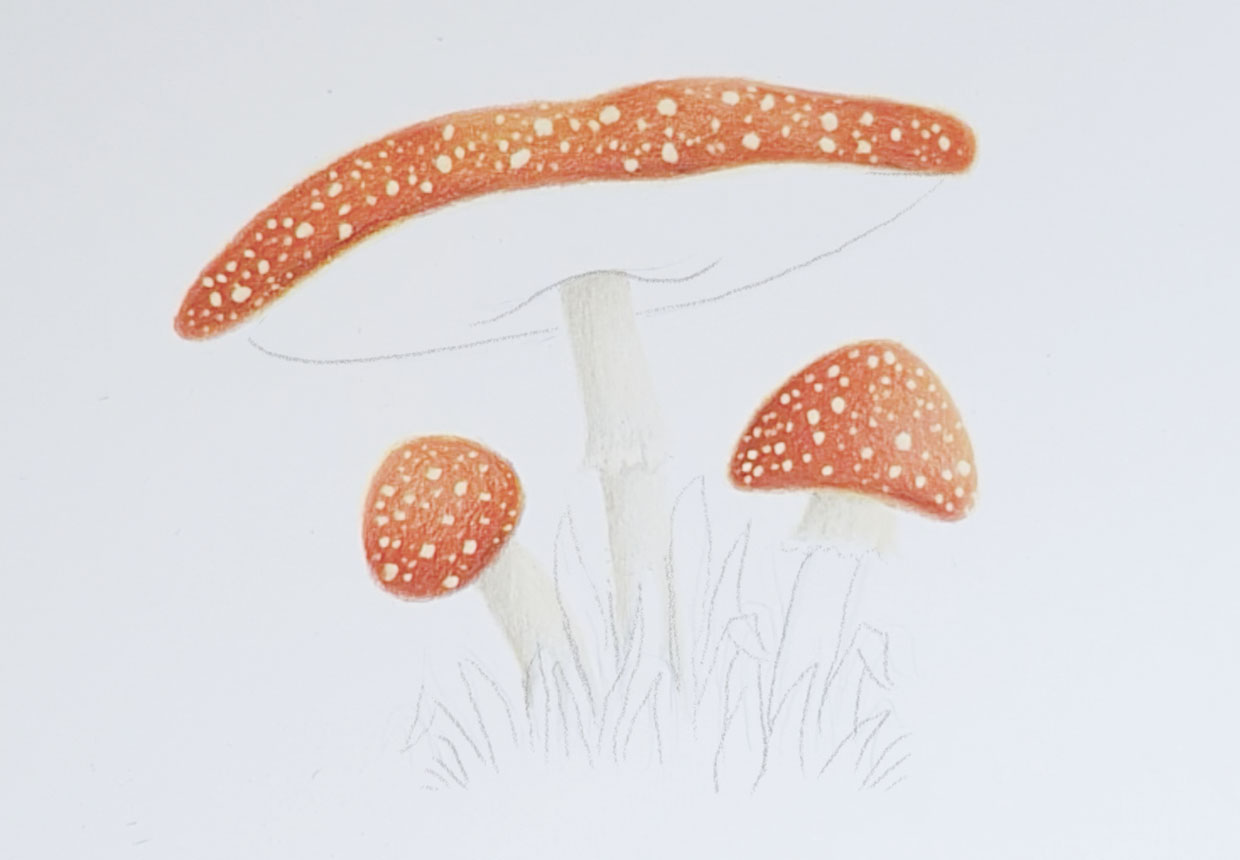
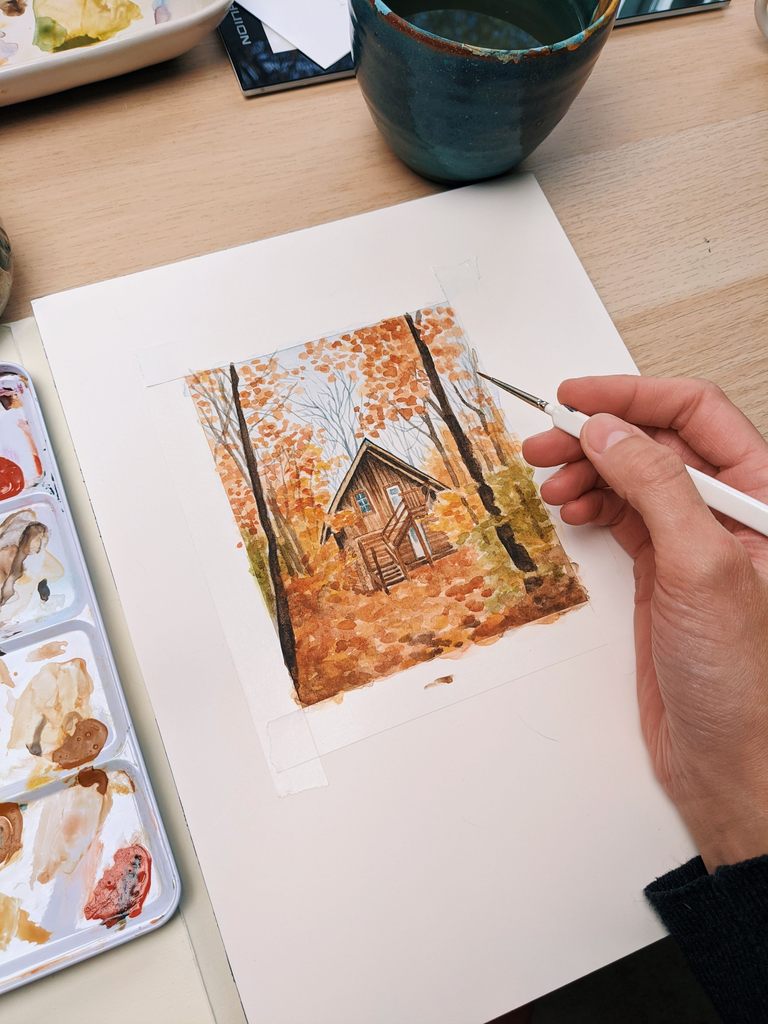
Create magic with our enchanting mushroom drawing tutorial
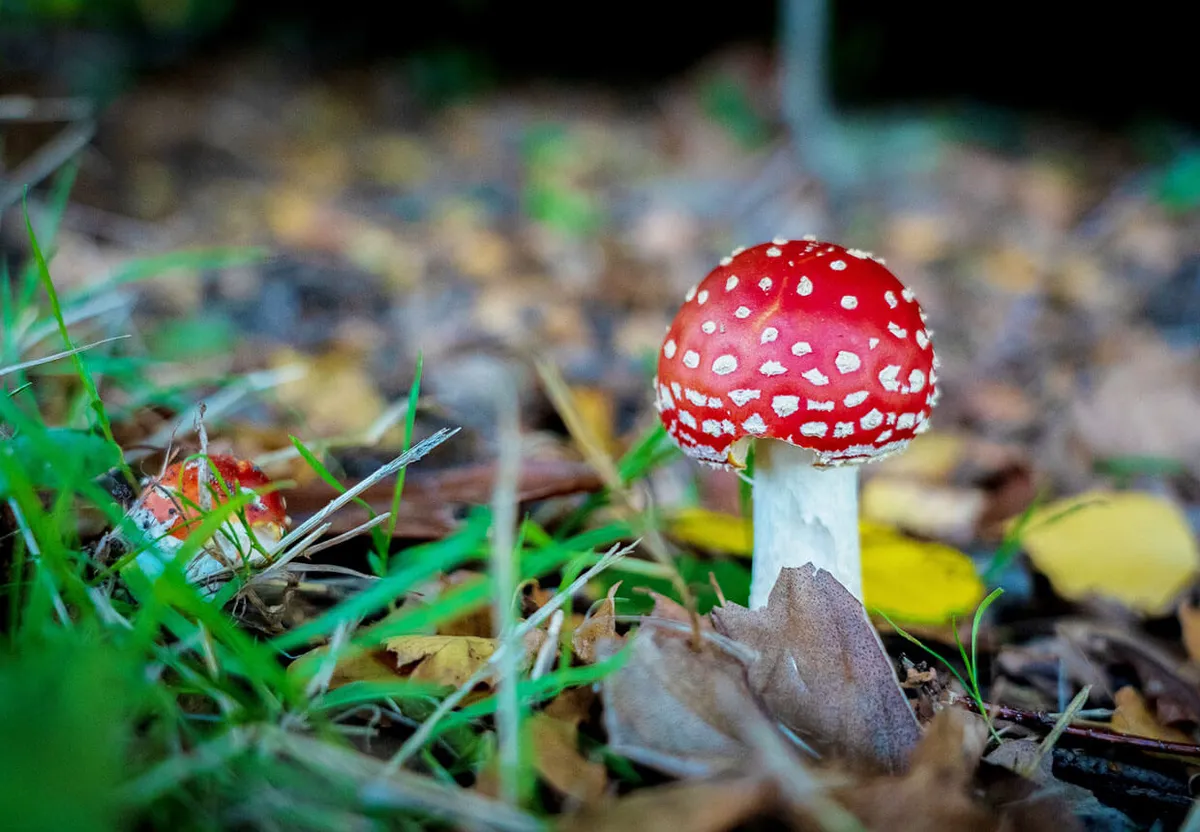
As autumn approaches, head outside for crisp walks through the woods. On the forest floor, there will be many mushrooms to discover, including the iconic red and white spotted Fly Agaric.
This distinctive toadstool is a sure sign that autumn is coming! Discover how to sketch your own realistic mushroom drawing and capture its unique beauty.
Mushroom drawing is a wonderful way to celebrate the changing seasons. Mushrooms can be used to add interest to a sketch of a woodland scene or as the starring feature of a piece of autumnal artwork.
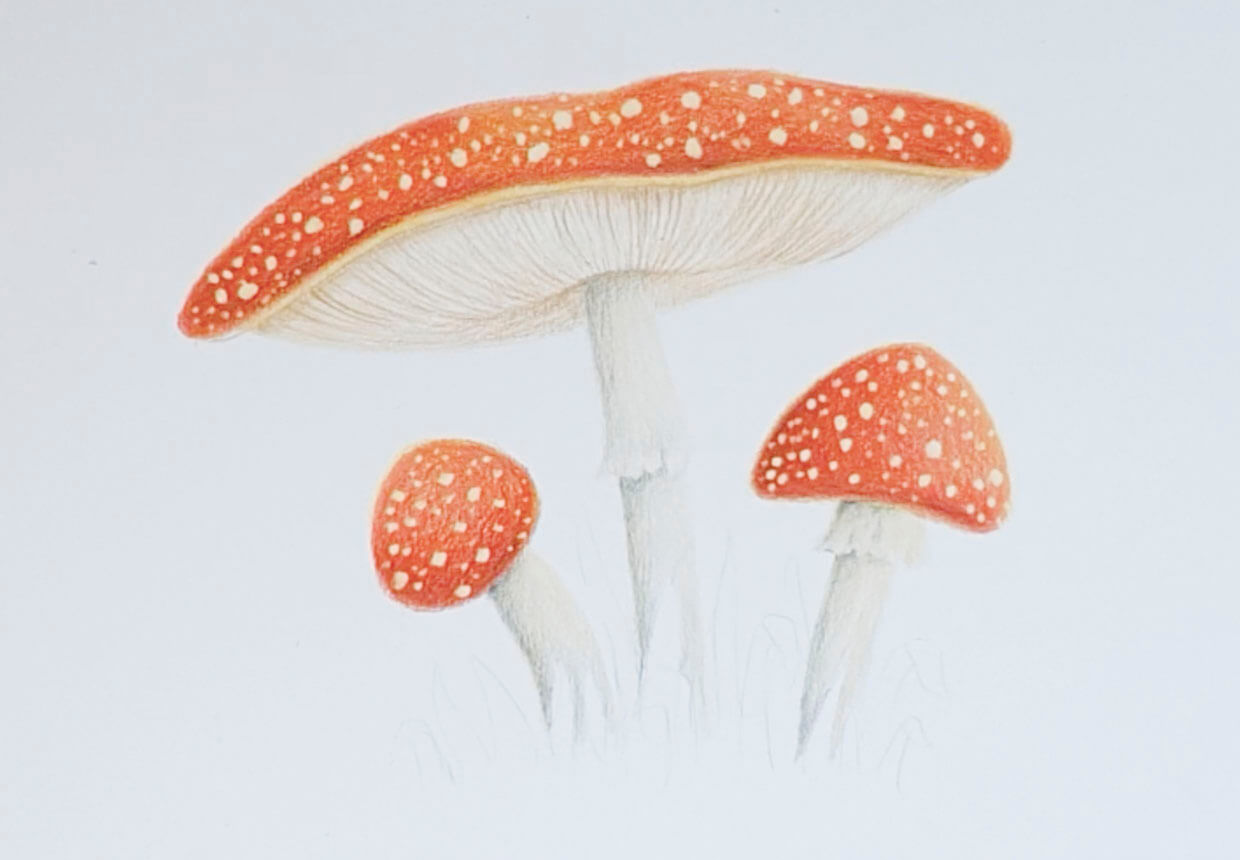
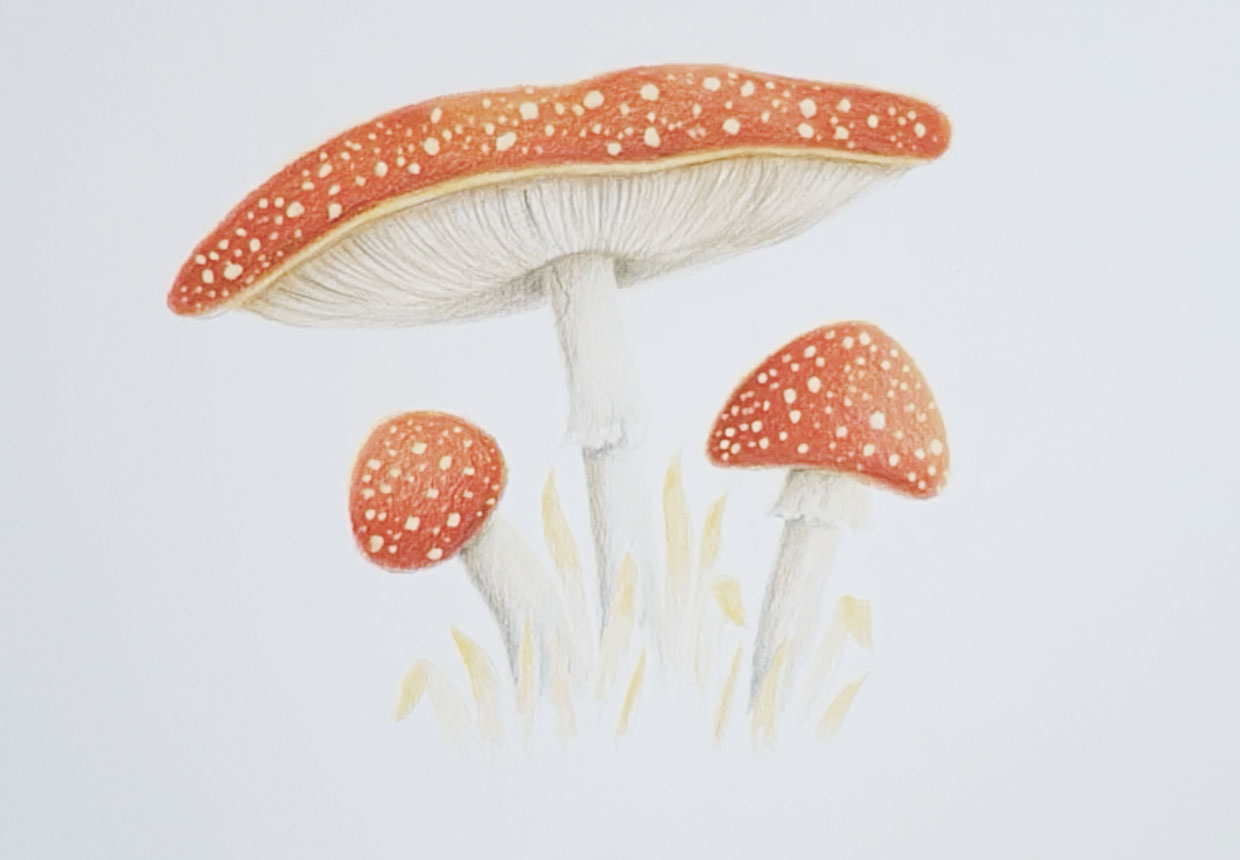
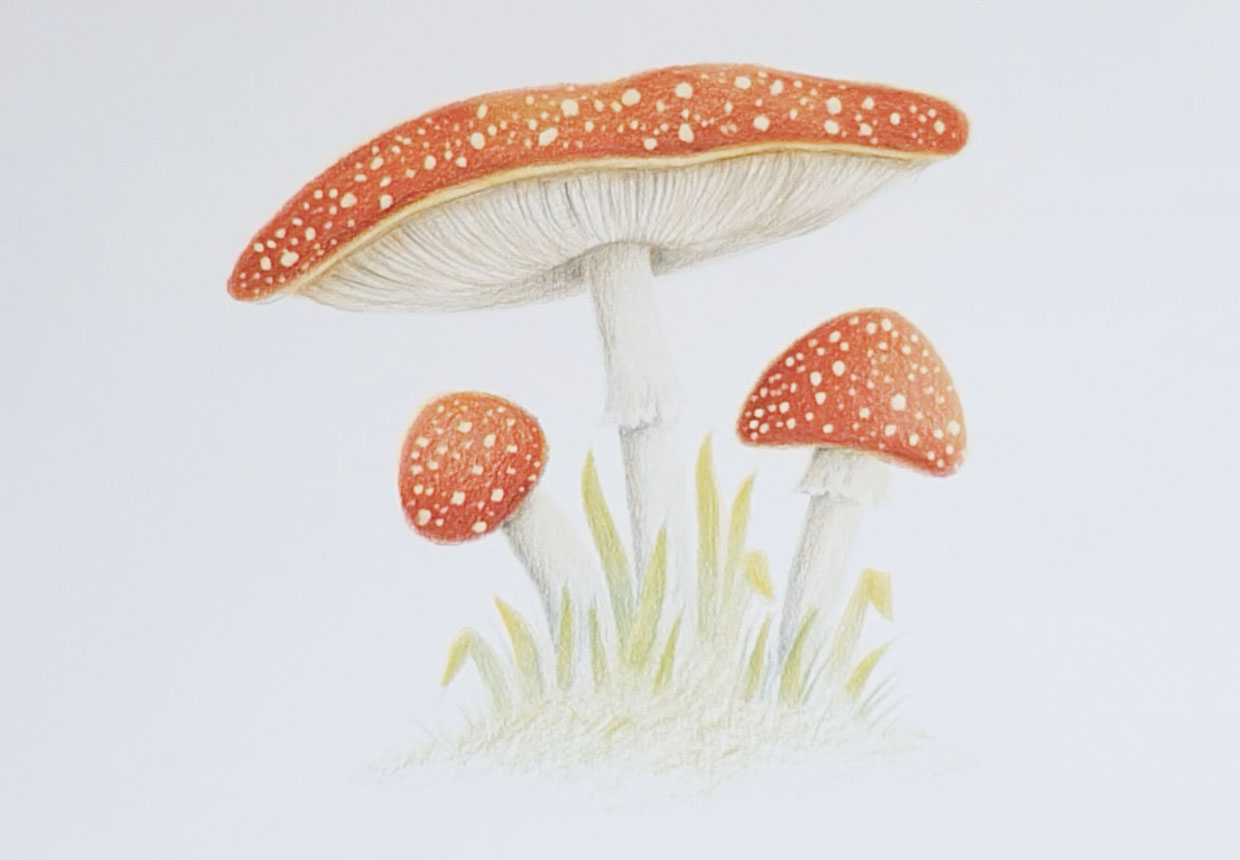
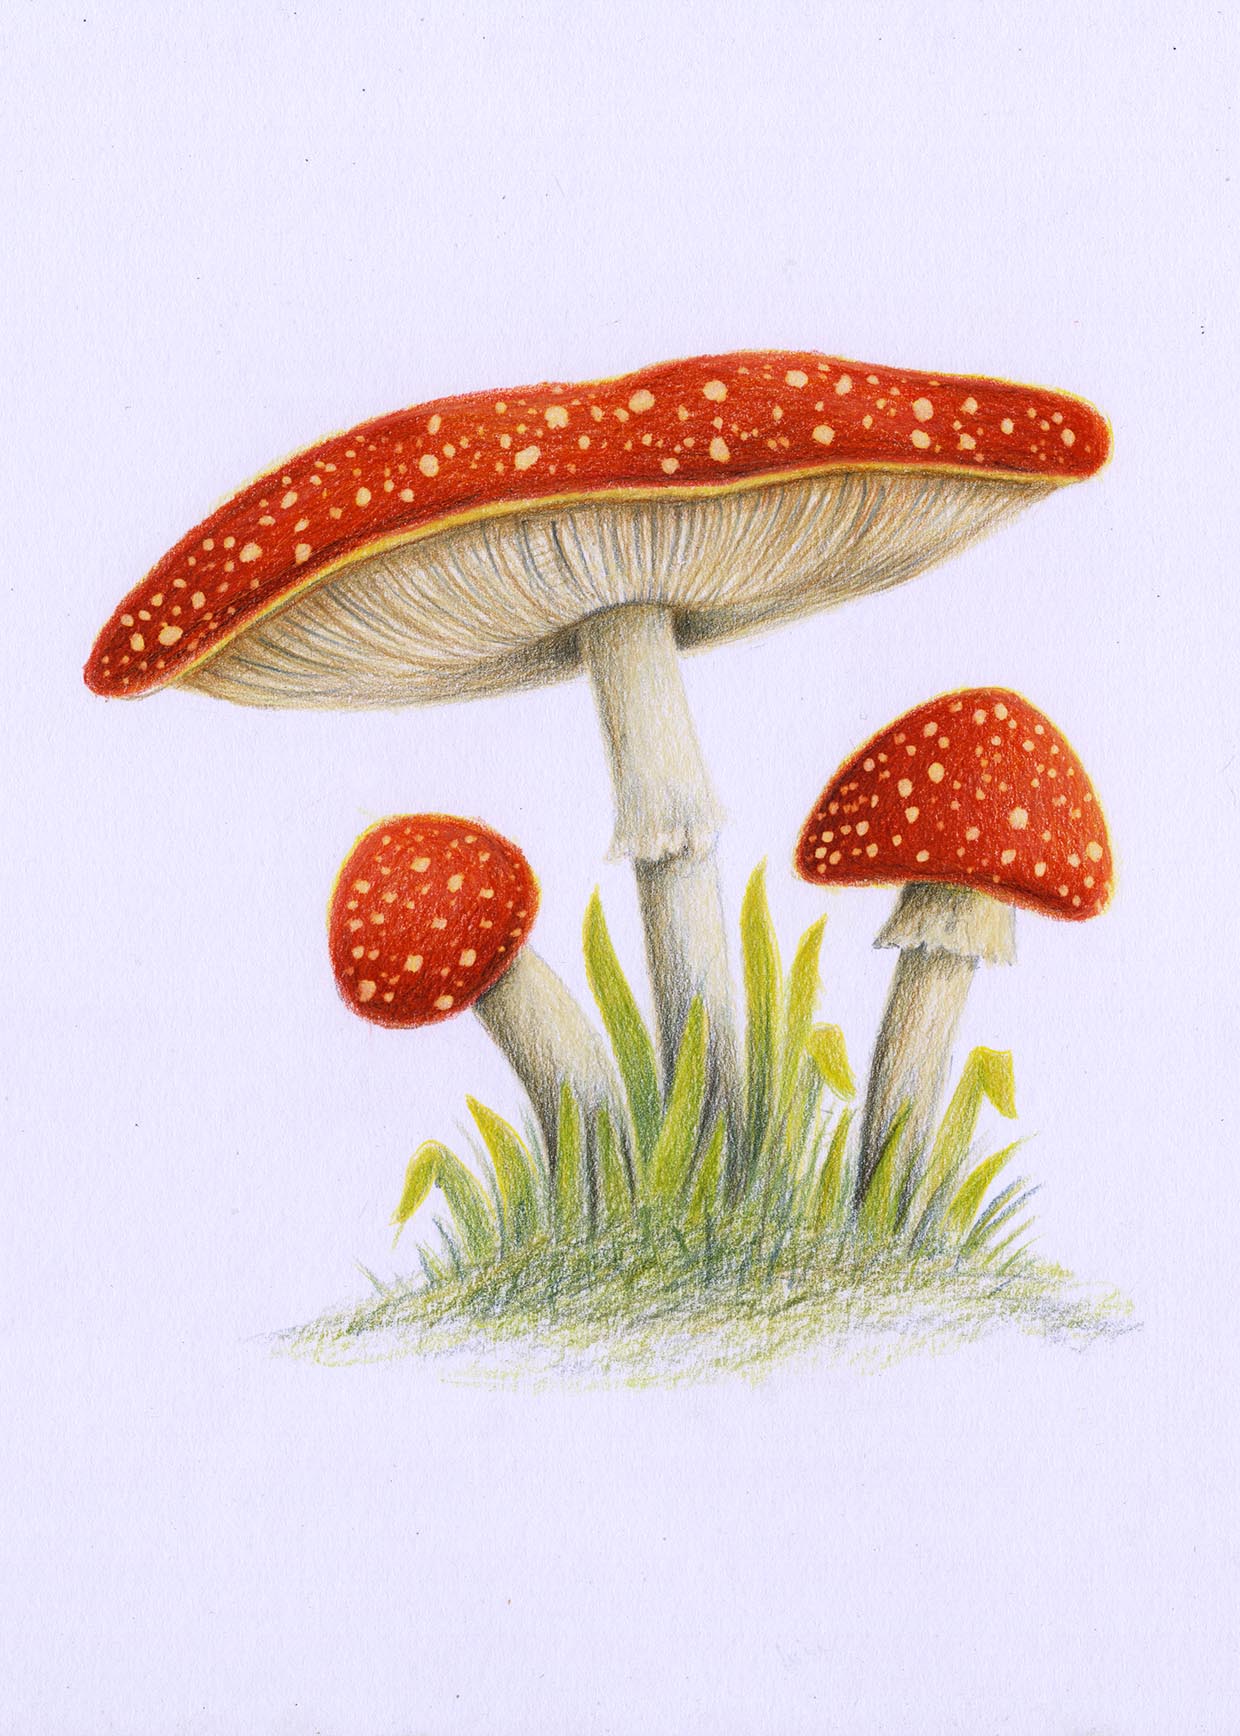
We’ll show you how to sketch the shape of your mushroom, the basics of pencil shading and how to gradually build up layers of colour. As you work, your mushroom will come to life and stand out from the page.
Once you’ve learnt the basic method, you’ll be able to draw any mushroom variety with confidence.
Keen to get started? Go straight to our mushroom drawing tutorial.
What is a Fly Agaric?
These bright red spotted mushrooms are enchanting and are evocative of fairy tales and magical folklore. This species can grow to 20cm across and 30cm tall and is native to the UK.
However, these toadstools are highly toxic, so make sure you never pick wild mushrooms without an expert's advice. It’s also important to leave them in their natural habitat because they are part of a wider eco-system.
If you do want to draw them from life, you can take your sketchbook with you out to the woods, take photographs in-situ or buy mushrooms from your local farmer’s market.
Want to learn more about the mushrooms you can find on a woodland walk? Take a look at this British wild mushroom and fungi guide from BBC Countryfile Magazine.
Top tips for mushroom drawing
For this mushroom drawing tutorial, we’ll focus on the beautiful organic shapes and the unique colours of this amazing fungus. Here are a few expert tips to bear in mind:
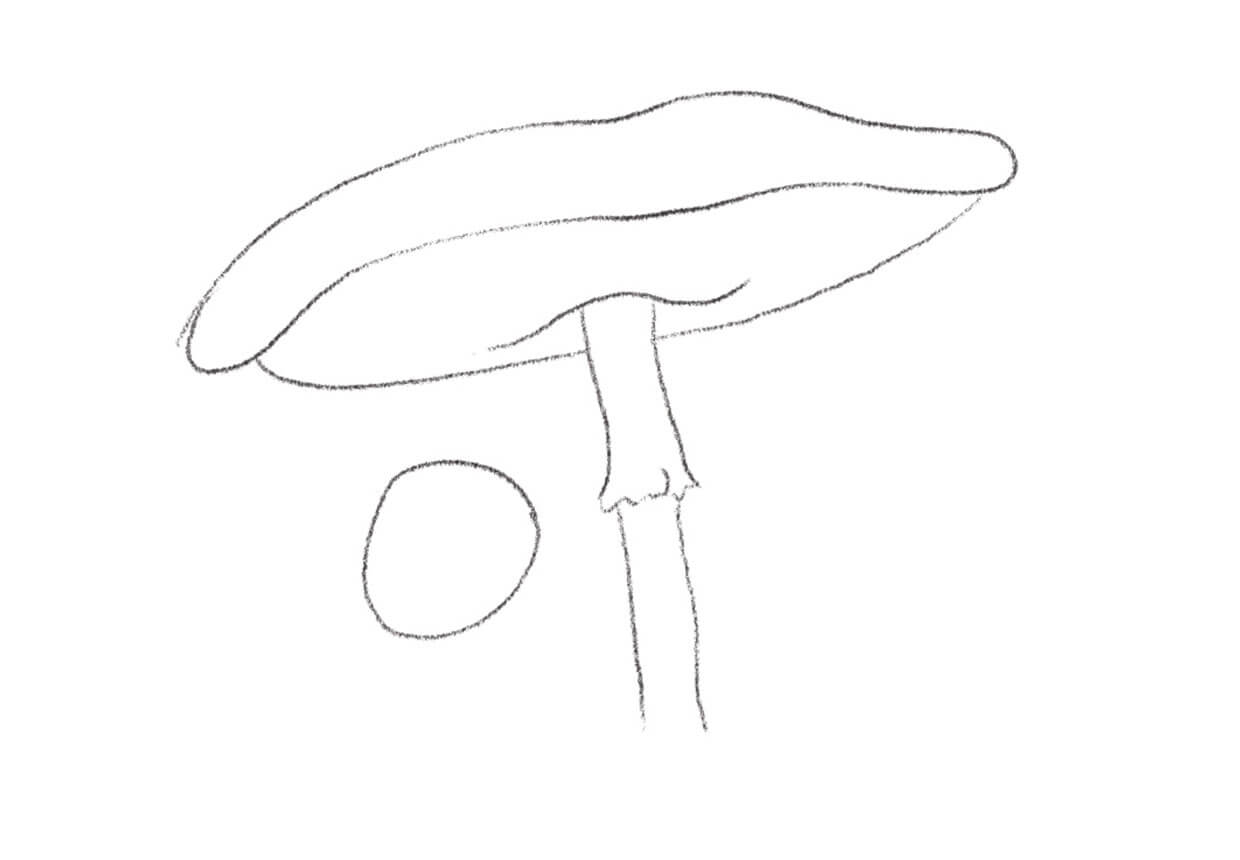
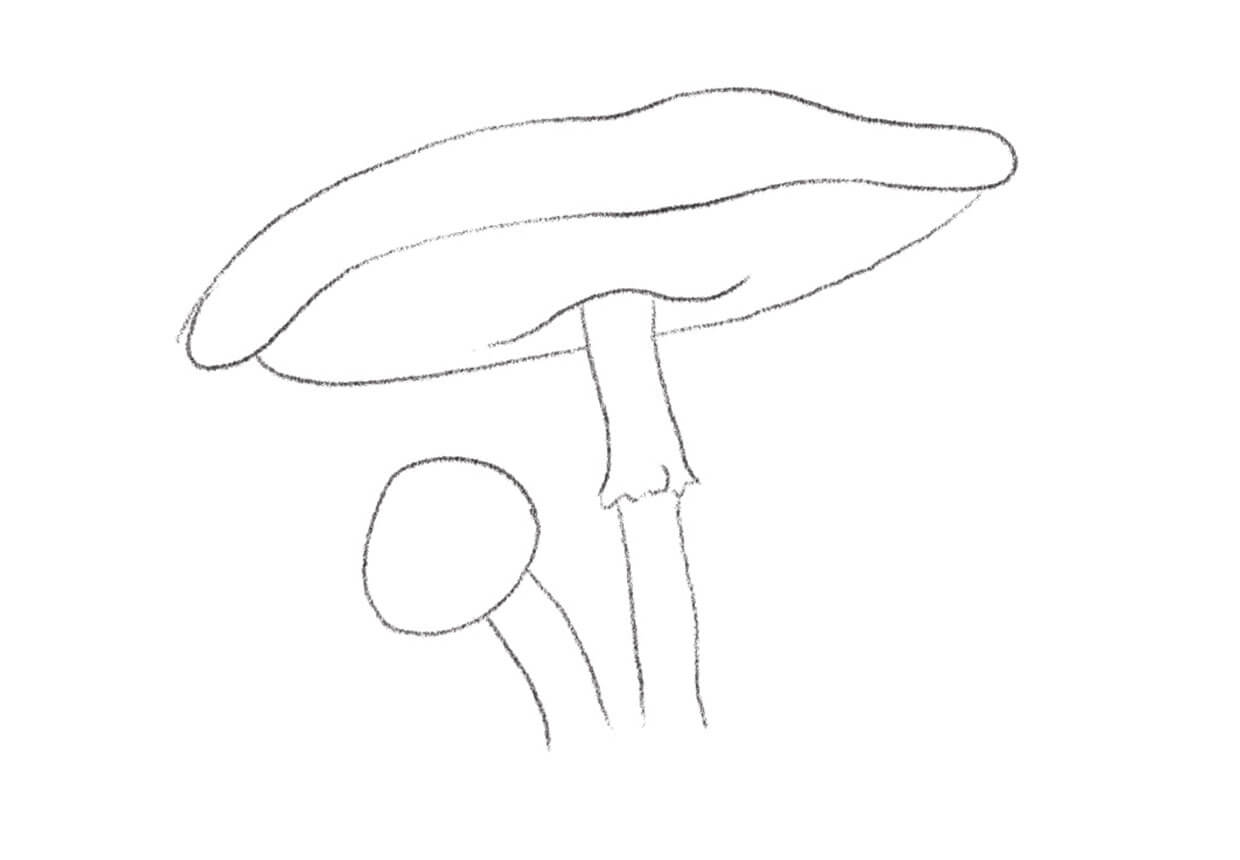
- Good things come in threes: You’ll learn how to draw a cluster of three mushrooms in total, each at a different stage of growth. Drawing three mushrooms will make the picture feel balanced (the rule of three applies in any drawing).
- Vary your mushroom shapes: The Fly Agaric mushroom varies in shape and size, so it’s interesting to showcase several different examples in your mushroom drawing.
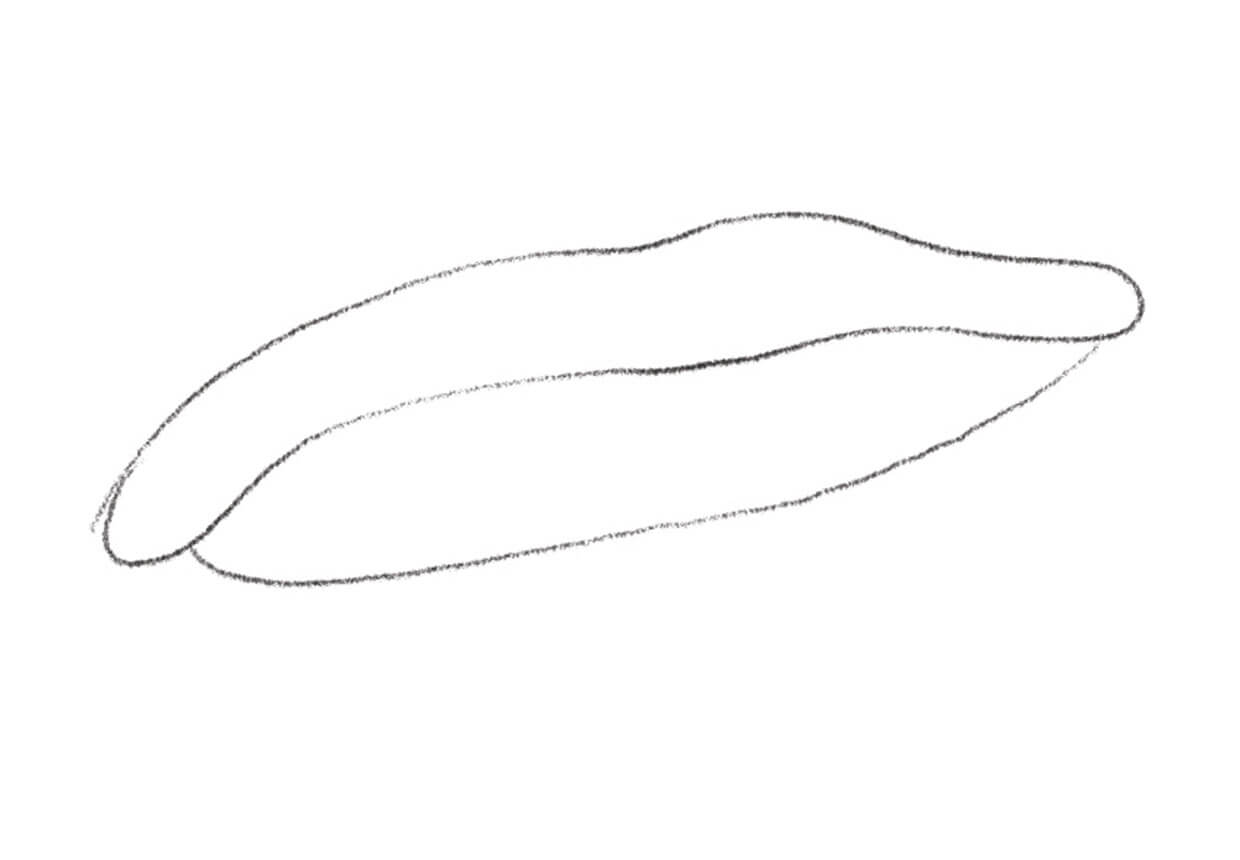
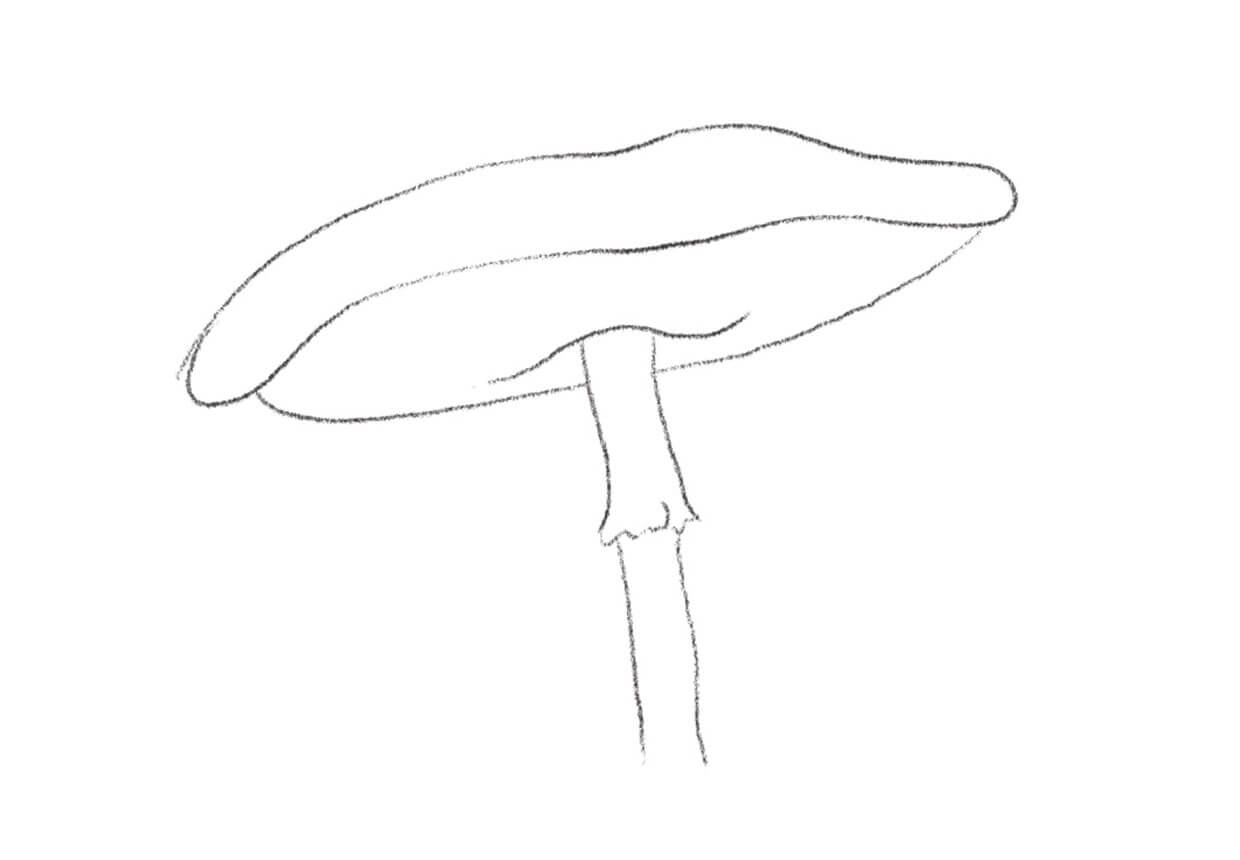
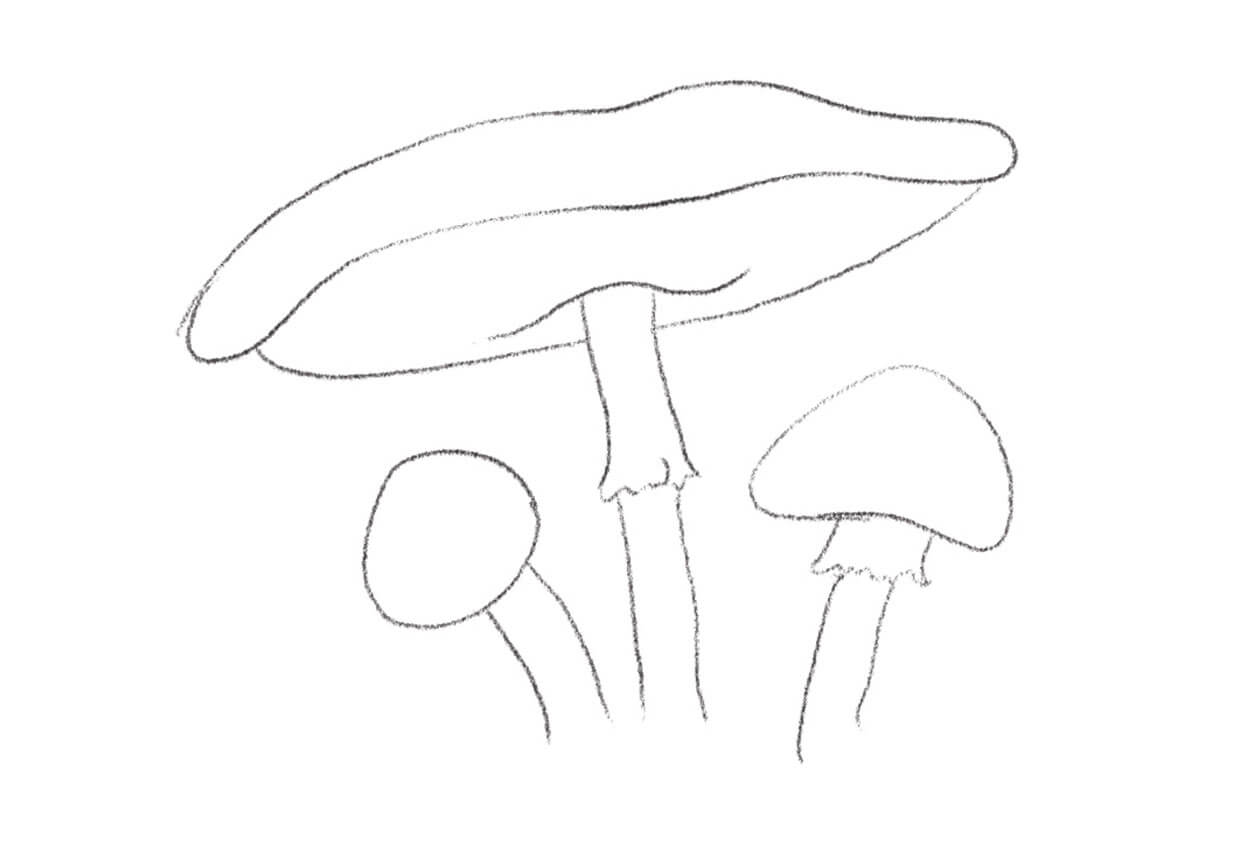
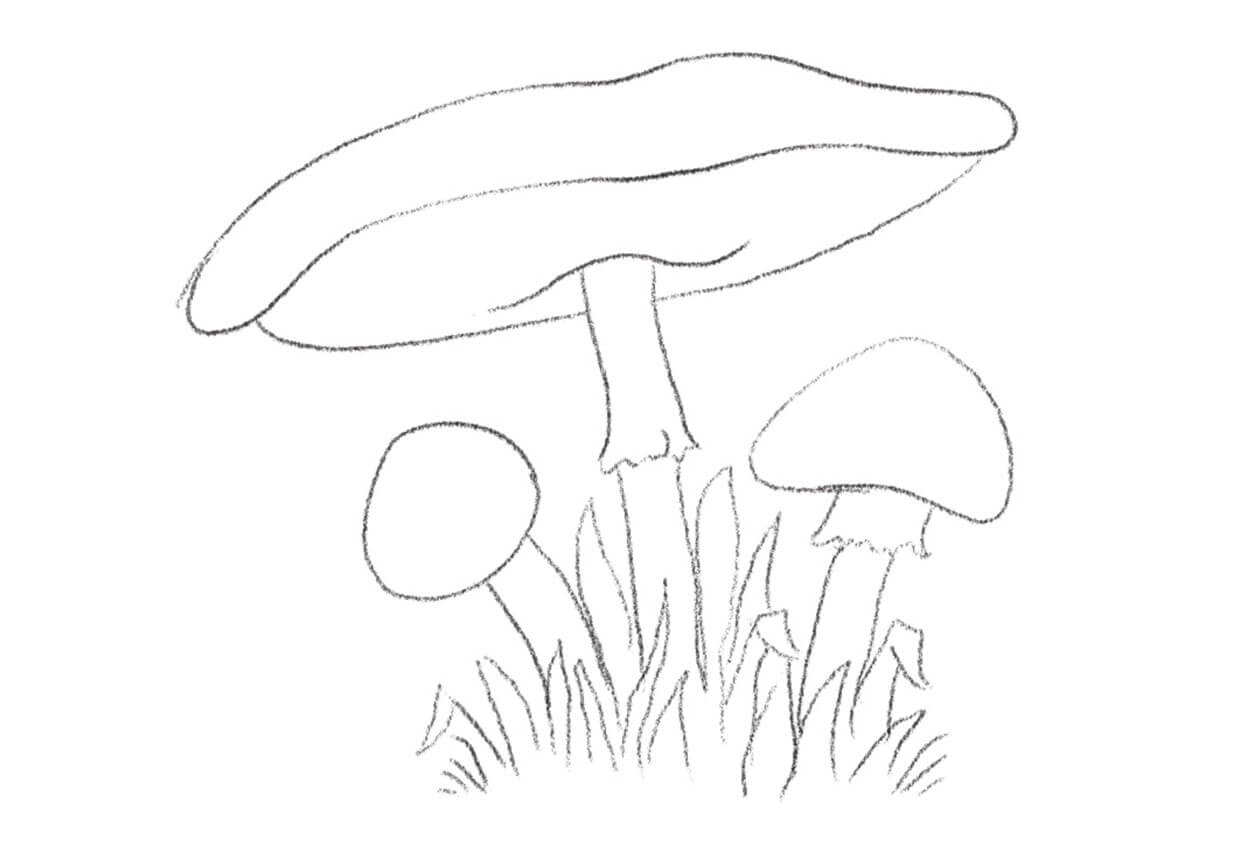
- Sketch your outlines using light pressure: You’ll start by roughly sketching out the basic mushroom shapes with a soft pencil. Use light pressure so that you can easily erase the lines to make corrections. After sketching out all the key shapes, you will then begin to add layers of colour using colouring pencils.
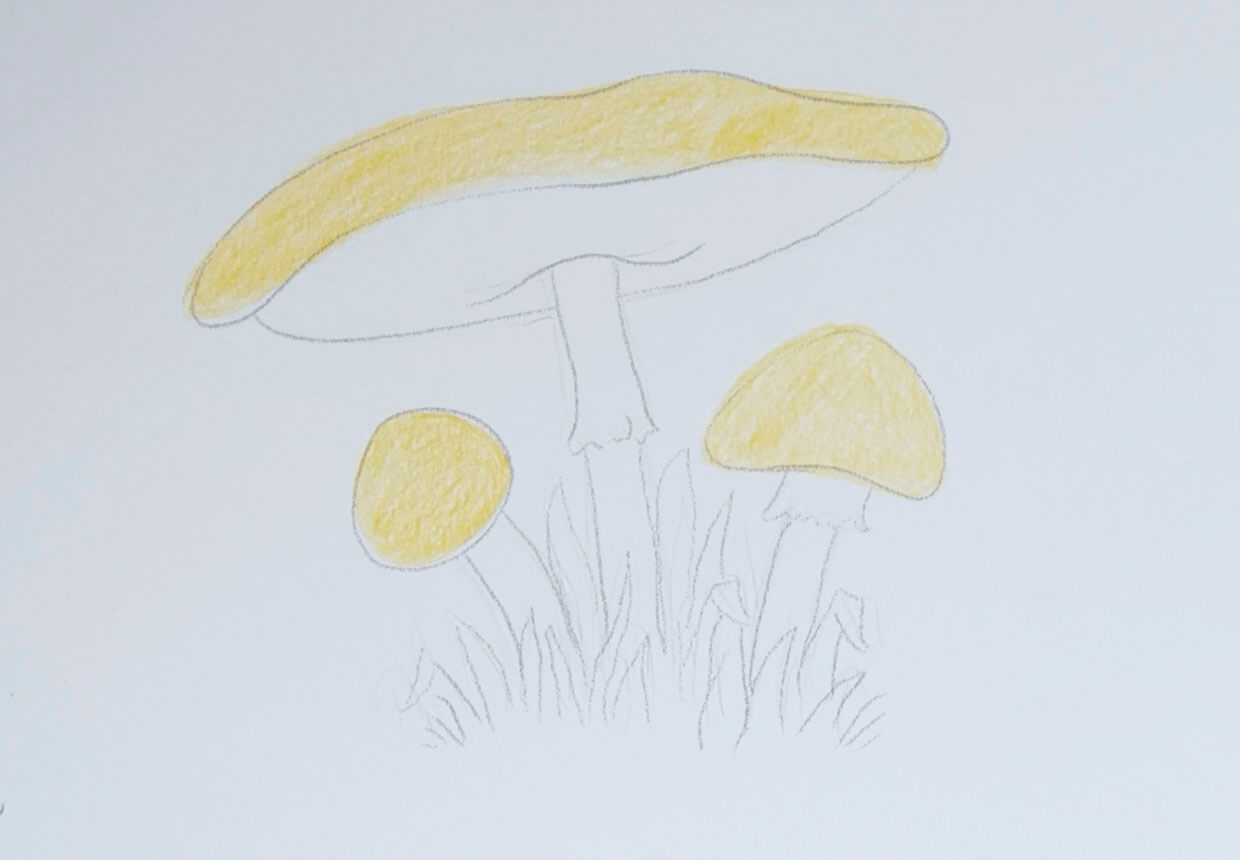
- Begin with your lightest colour: When colouring, gradually build layers of colour, starting with the lightest colour first. This gives lots of depth to your colours.
- Choose the right paper: A smooth-surfaced cartridge paper will work best for this project.
Preferred mushroom drawing materials
Cartridge paper
SQUIRREL_13085173
For this mushroom drawing tutorial, use A3 140-200 gsm cartridge paper, which you can get from any local art shop.
Colouring Pencils
SQUIRREL_13207213
Our mushroom drawing was created using a combination of Caran d'ache watercolour crayons, which are soft and blendable. The colours in this range are vibrant and bright.
SQUIRREL_13082079
The Derwent ‘Drawing’ range is also brilliant, because they are so creamy and blendable. This set has a nature-inspired woodland colour palette.
Rubber
SQUIRREL_13207215
We’d also recommend this Faber and Castell rubber, which lifts colour off the page without smudging. It’s green, which is strange but it works.

