How to block print on fabric and make a cushion cover
All products were chosen independently by our editorial team. This review contains affiliate links and we may receive a commission for purchases made. Please read our affiliates FAQ page to find out more.

How to block print on fabric and make a cushion cover

Invite beautiful colour and pattern into your home with Matilda Smith’s easy-to-make cushion covers

Try our magazines – get 6 issues from just £9.99!

Published: May 23, 2021 at 6:58 am

Cosy up to your favourite colours when you’re relaxing on the sofa with this textile project that shows off your signature style. Using fabric as her canvas, Matilda Smith shows how easy it is to introduce unique patterns into your décor by using this block print on fabric tutorial.

This tutorial will show you how to block print on fabric step by step. We'd recommend creating a simple geometric design that can be repeated to create a beautiful pattern on your cushion.

If you haven't tried lino printing before, we'd recommend that you take a look at our lino cutting for beginners guide to learn the basic skills before you get started and stock up with our recommended lino printing kits.

If you're looking for more printing ideas, check out our screen printing for beginners guide and our block printing for beginners guide.

For this block print on fabric tutorial, we're using fabric paints, but you can also use special lino printing inks for this such as Caligo Safe Wash ink. If you're using a lino printing ink, you will need to set the ink using heat once it has dried. You can do this by ironing on the back of the fabric (put something underneath so you don't stain your ironing board) or by putting it in a tumble drier. Once you've done this, you should be able to wash the fabric without losing your design.

For this block print on fabric project you will need to buy some lino and a small pack will work well. Here's one we recommend:

You will also need some lino printing tools. You can buy the gouges (carving tools) separately, or invest in a kit for beginners which will include everything you need. Here are some we recommend:

Fancy trying more printing projects? Have a go at DIY screen printing tea towels, screen printing a cushion or use lino printing to make a phases of the moon wall hanging.

Read on to learn how to block print on fabric…
You will need:

  • Lino
  • Lino cutter and gouges
  • Pen
  • Fabric paints
  • Sponge roller
  • Lino roller (brayer)
  • Fabric
  • Basic sewing kit

Step 1

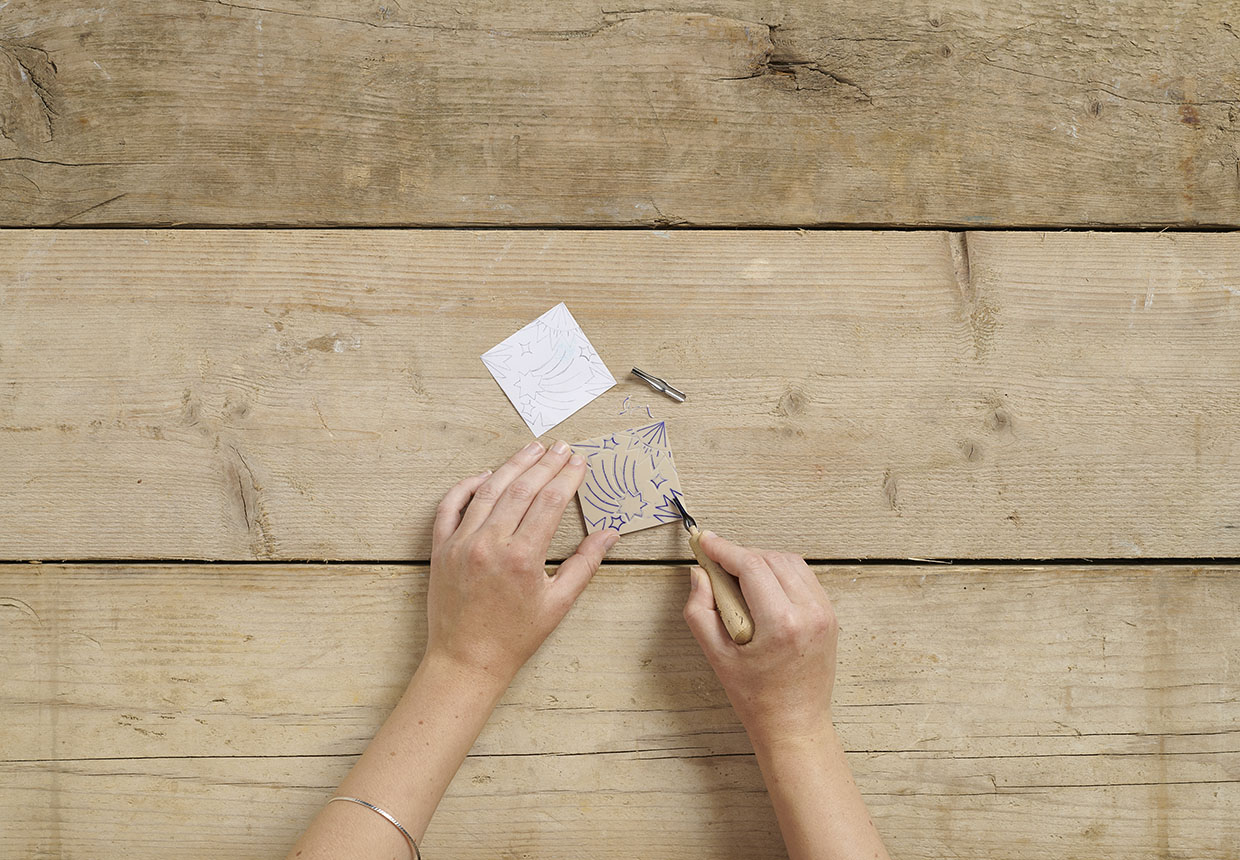
Draw your design onto paper, then transfer onto the lino. Use the tool to gouge away any areas you don’t want printed.

Block print on fabric step 1

Step 2

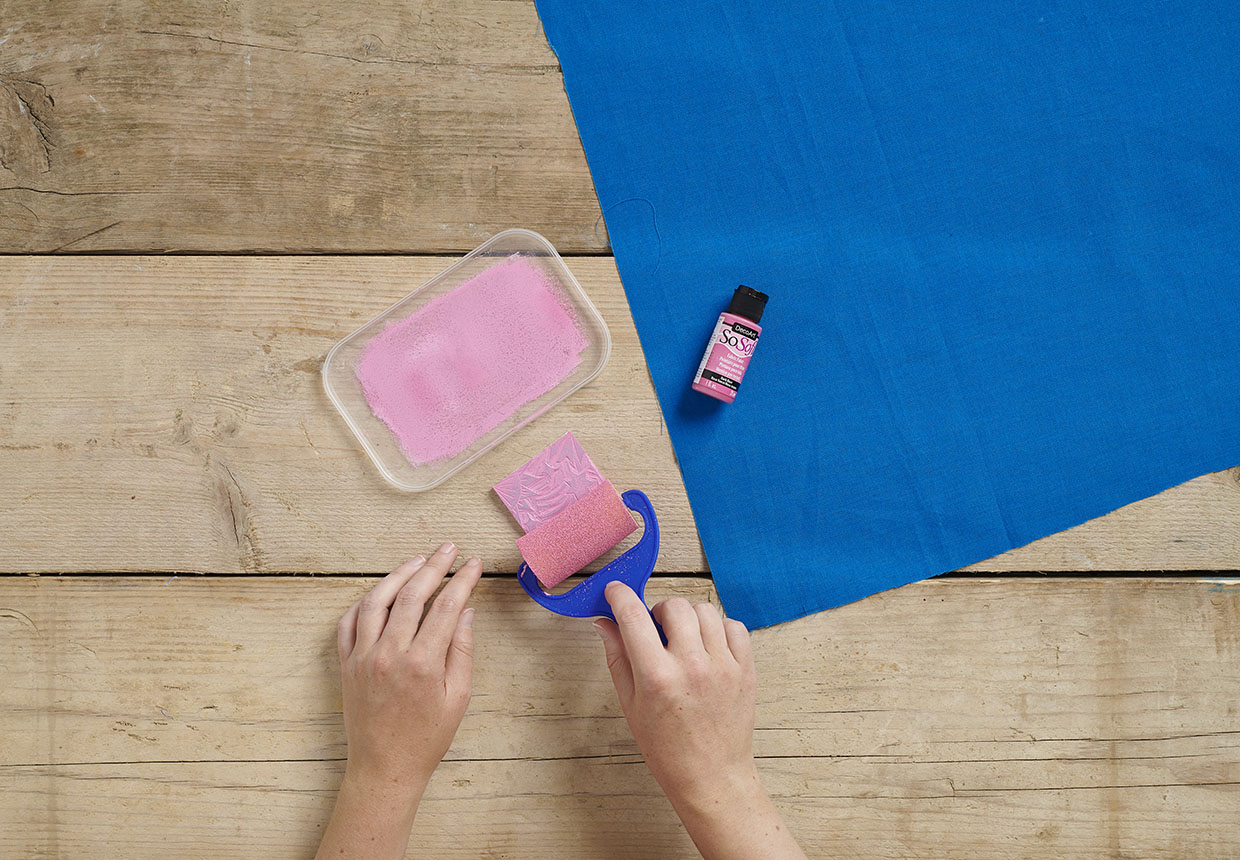
Cut your fabric to size to fit your cushion pad, remembering to add a seam allowance of 1.5cm. Roll out the fabric paint onto a tray and use the roller to apply the paint to the block, with an even coverage. Practise printing on scrap fabric first. Remember that some uneven areas are okay and can even add to the texture!

Block print on fabric step 2

Step 3

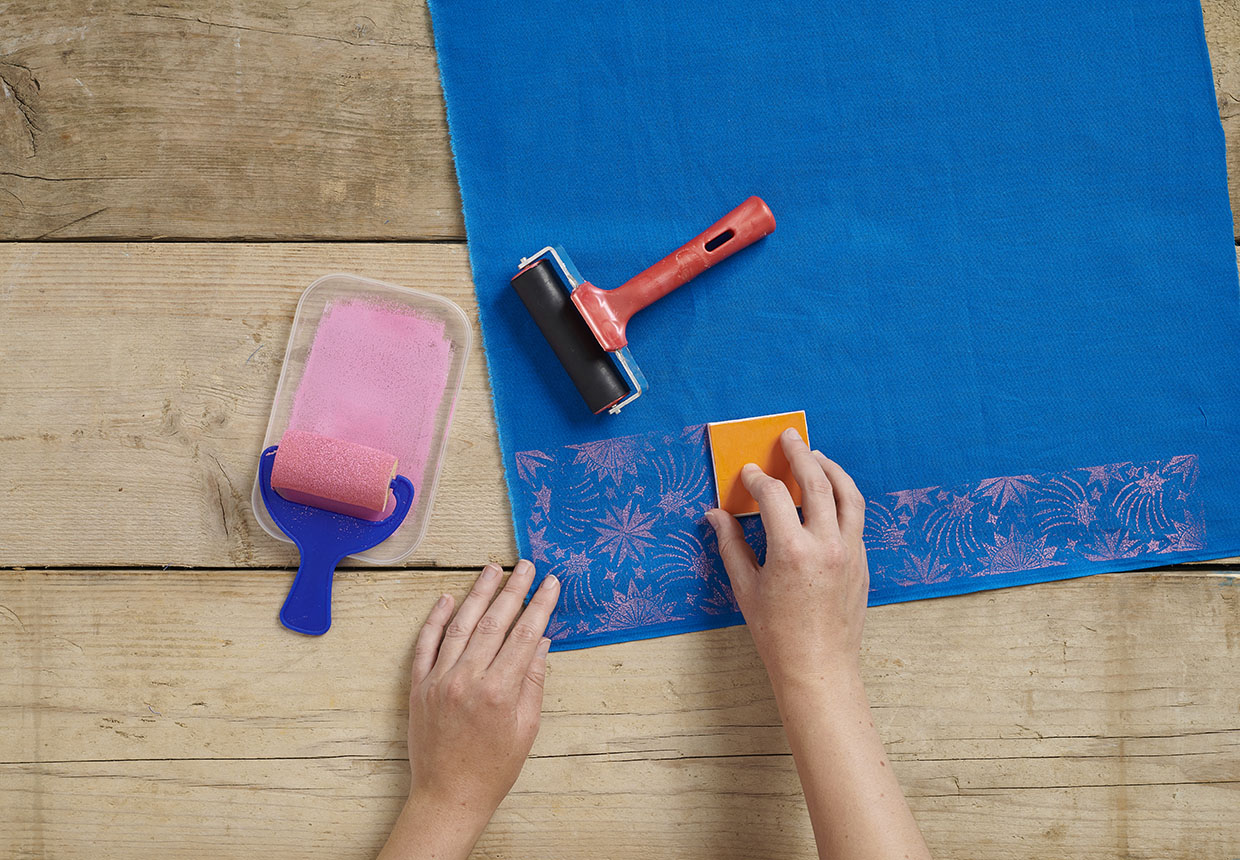
It’s time to start printing! Use the roller to press evenly onto the block, then press onto the fabric. You may need to press fairly hard depending on how smooth the fabric is. When printing, rotate the block to create a repeating design. Make sure the pattern matches before transferring the paint onto the fabric.

Block print on fabric step 3

Step 4

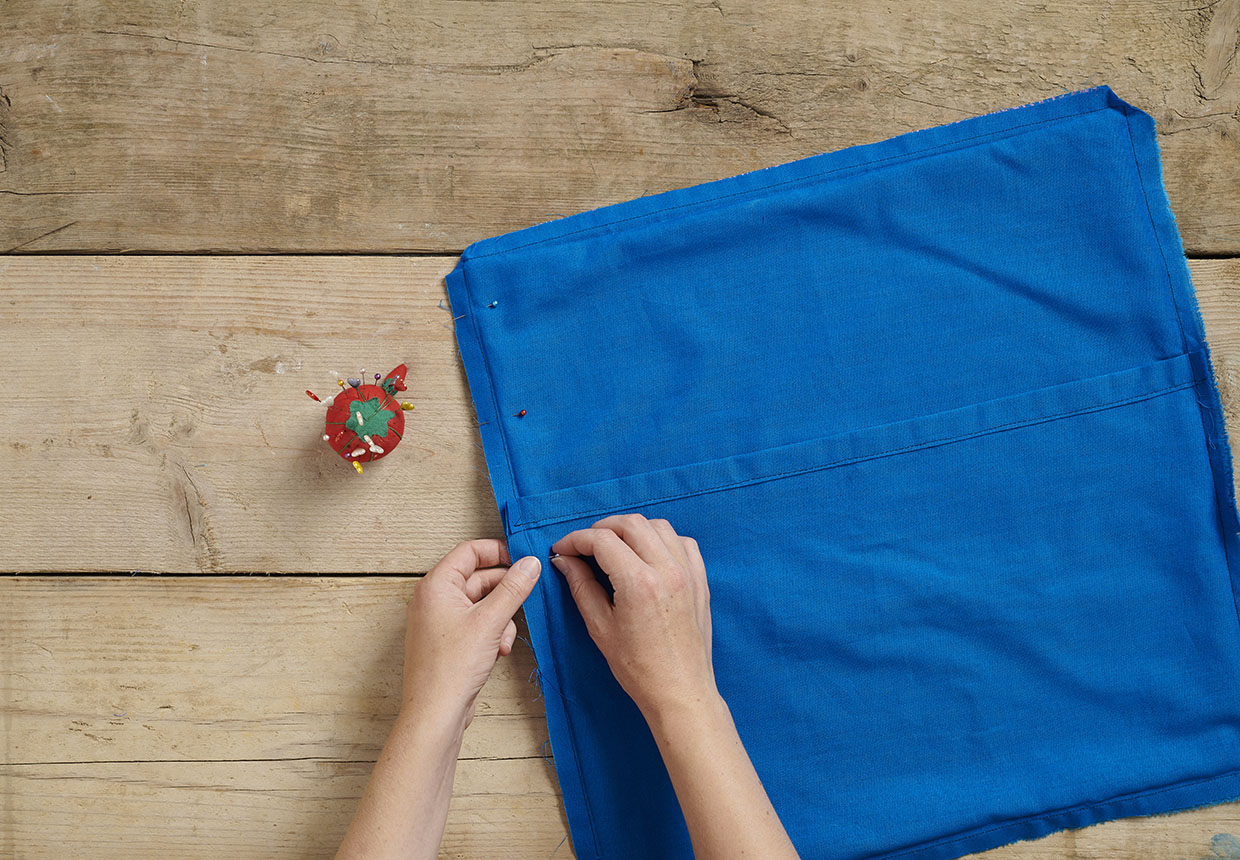
Once the surface is completely printed, leave to dry and then sew up the cushion. Instead of making the covers, you can also buy them – just make sure the fabric is smooth. If you’re new to sewing, take a look at our how to make a cushion cover guide.

Block print on fabric step 4

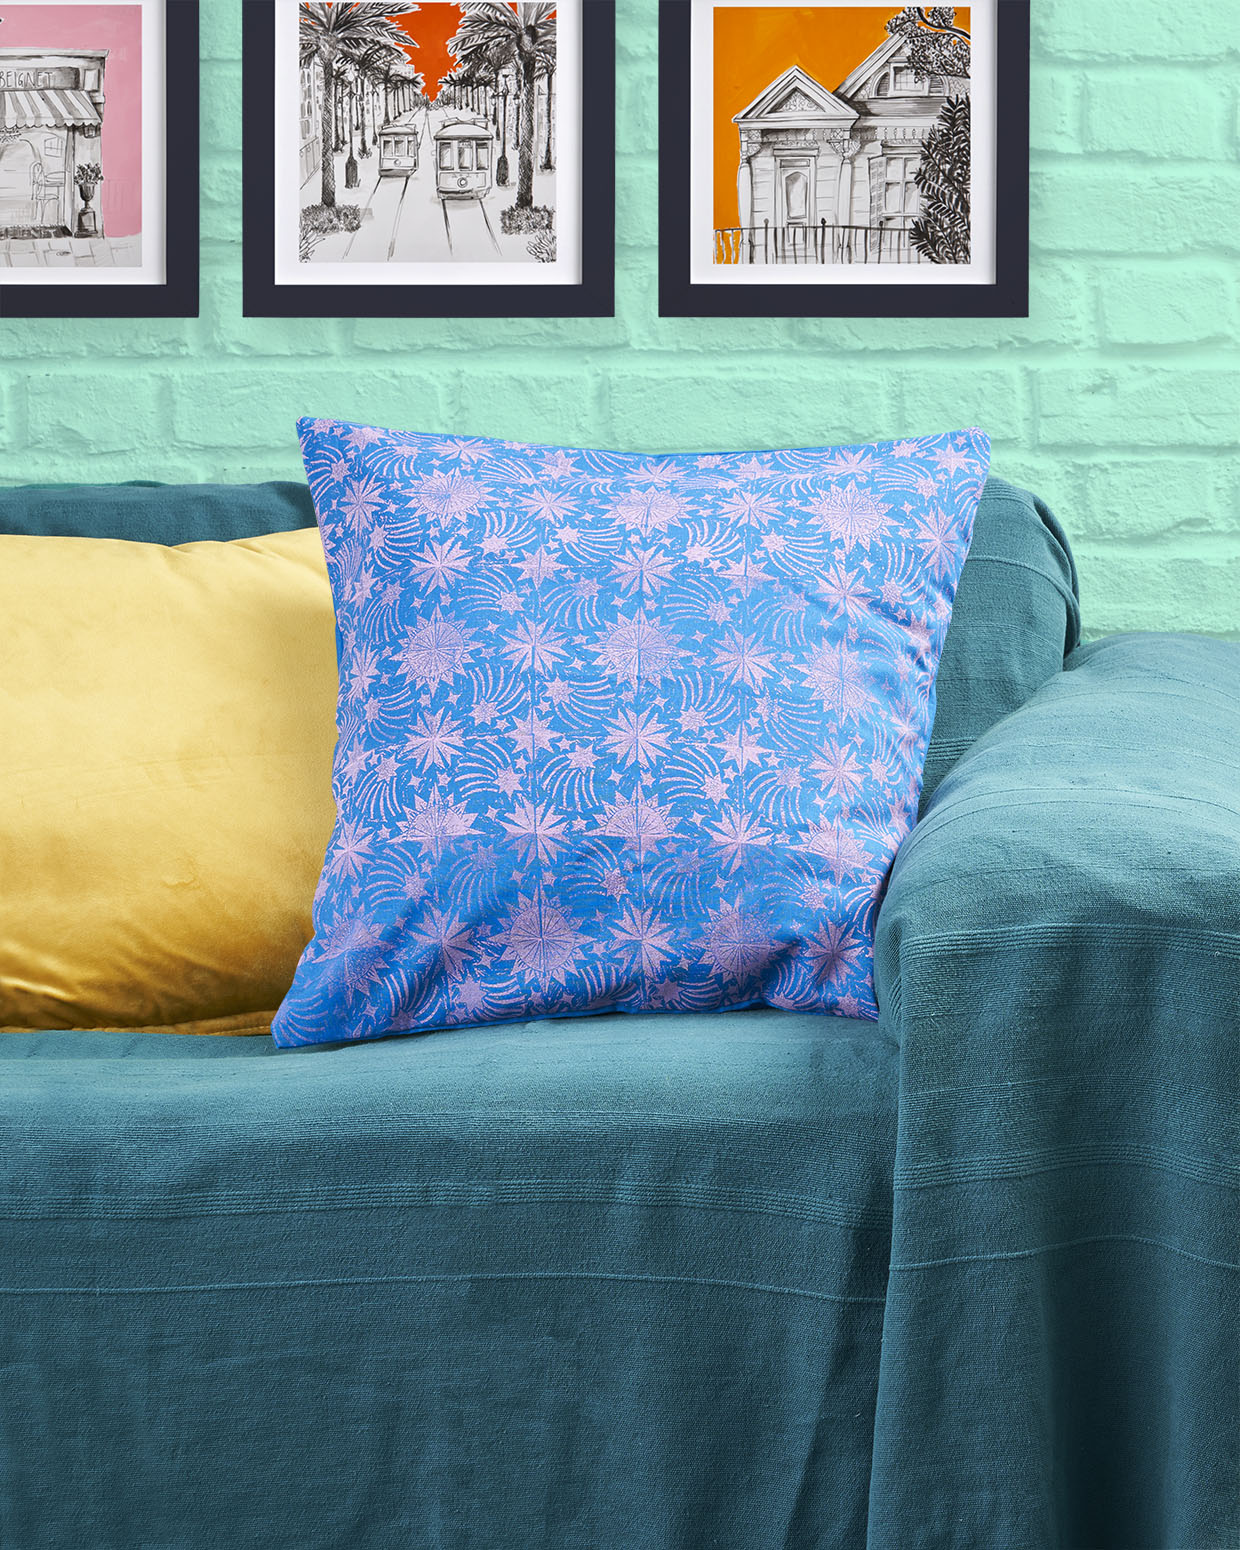
You’ve finished and you now know how to block print on fabric! We hope you enjoy using your new cushion.

Block print on fabric

About Matilda Smith

Matilda is a graphic designer by day and an illustrator by night. She draws inspiration from folk art and traditional crafts, and enjoys knitting and cooking. Find more of her work on her website: matildasmith.co.uk