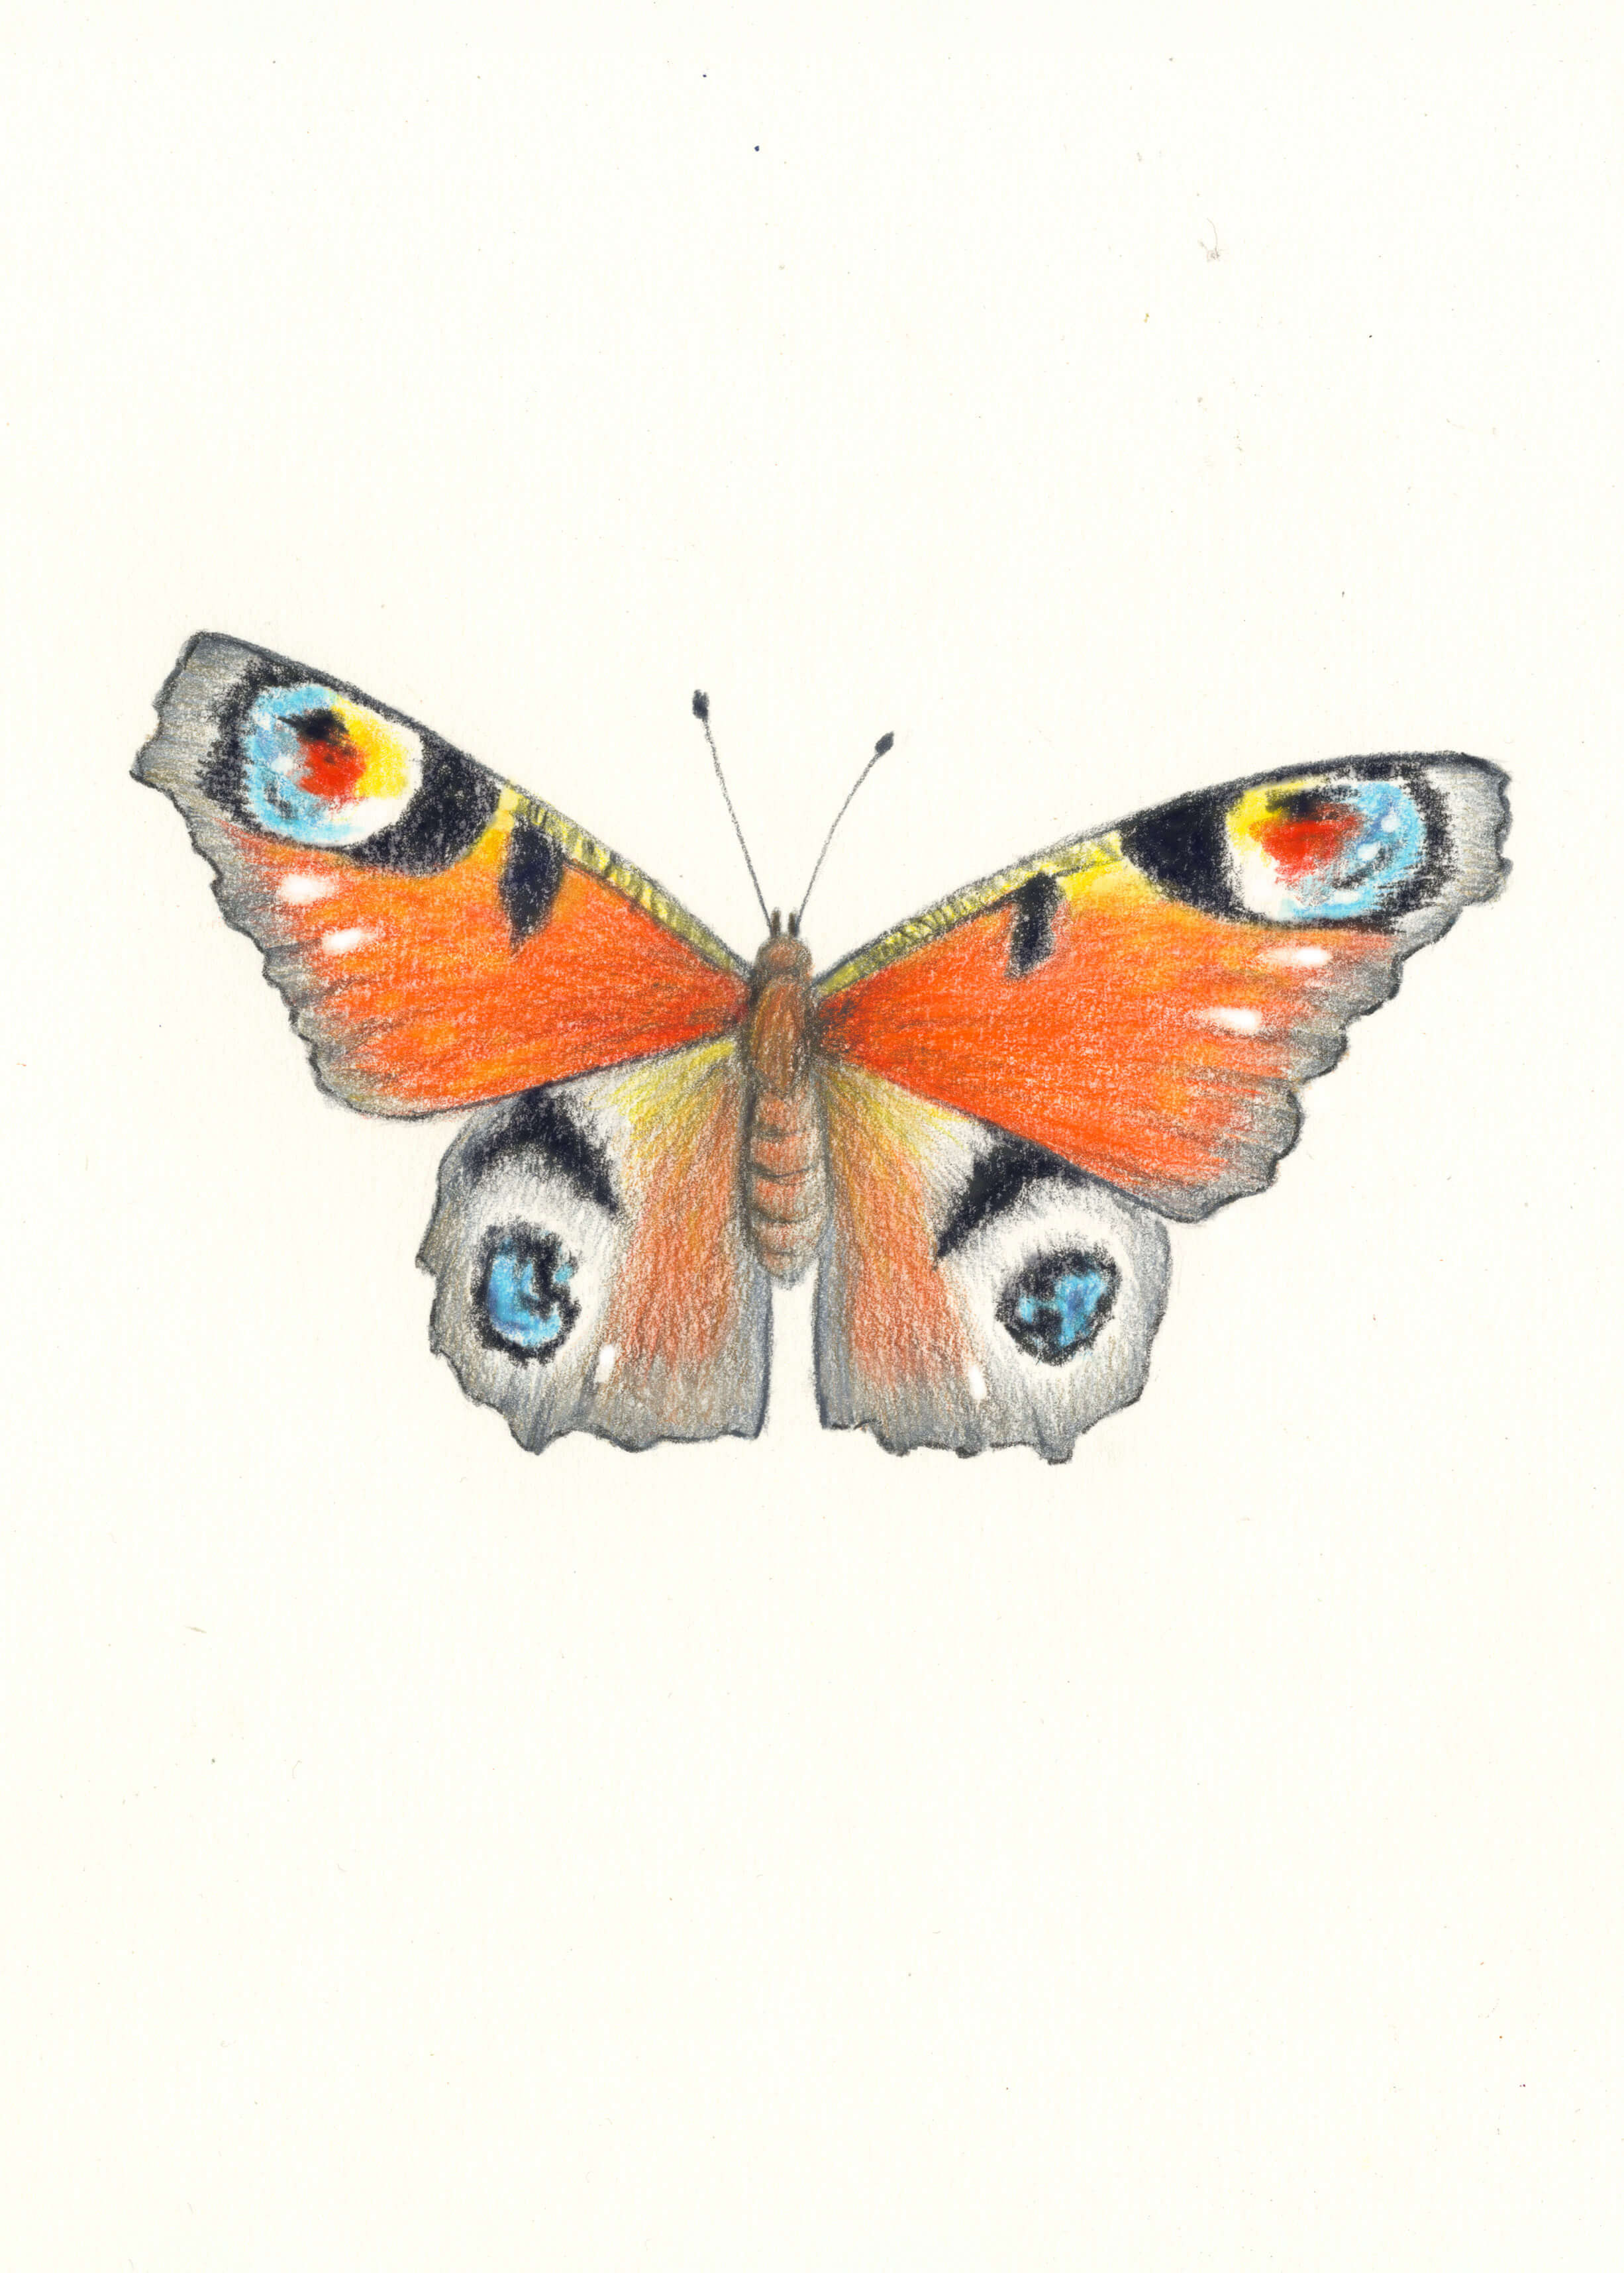
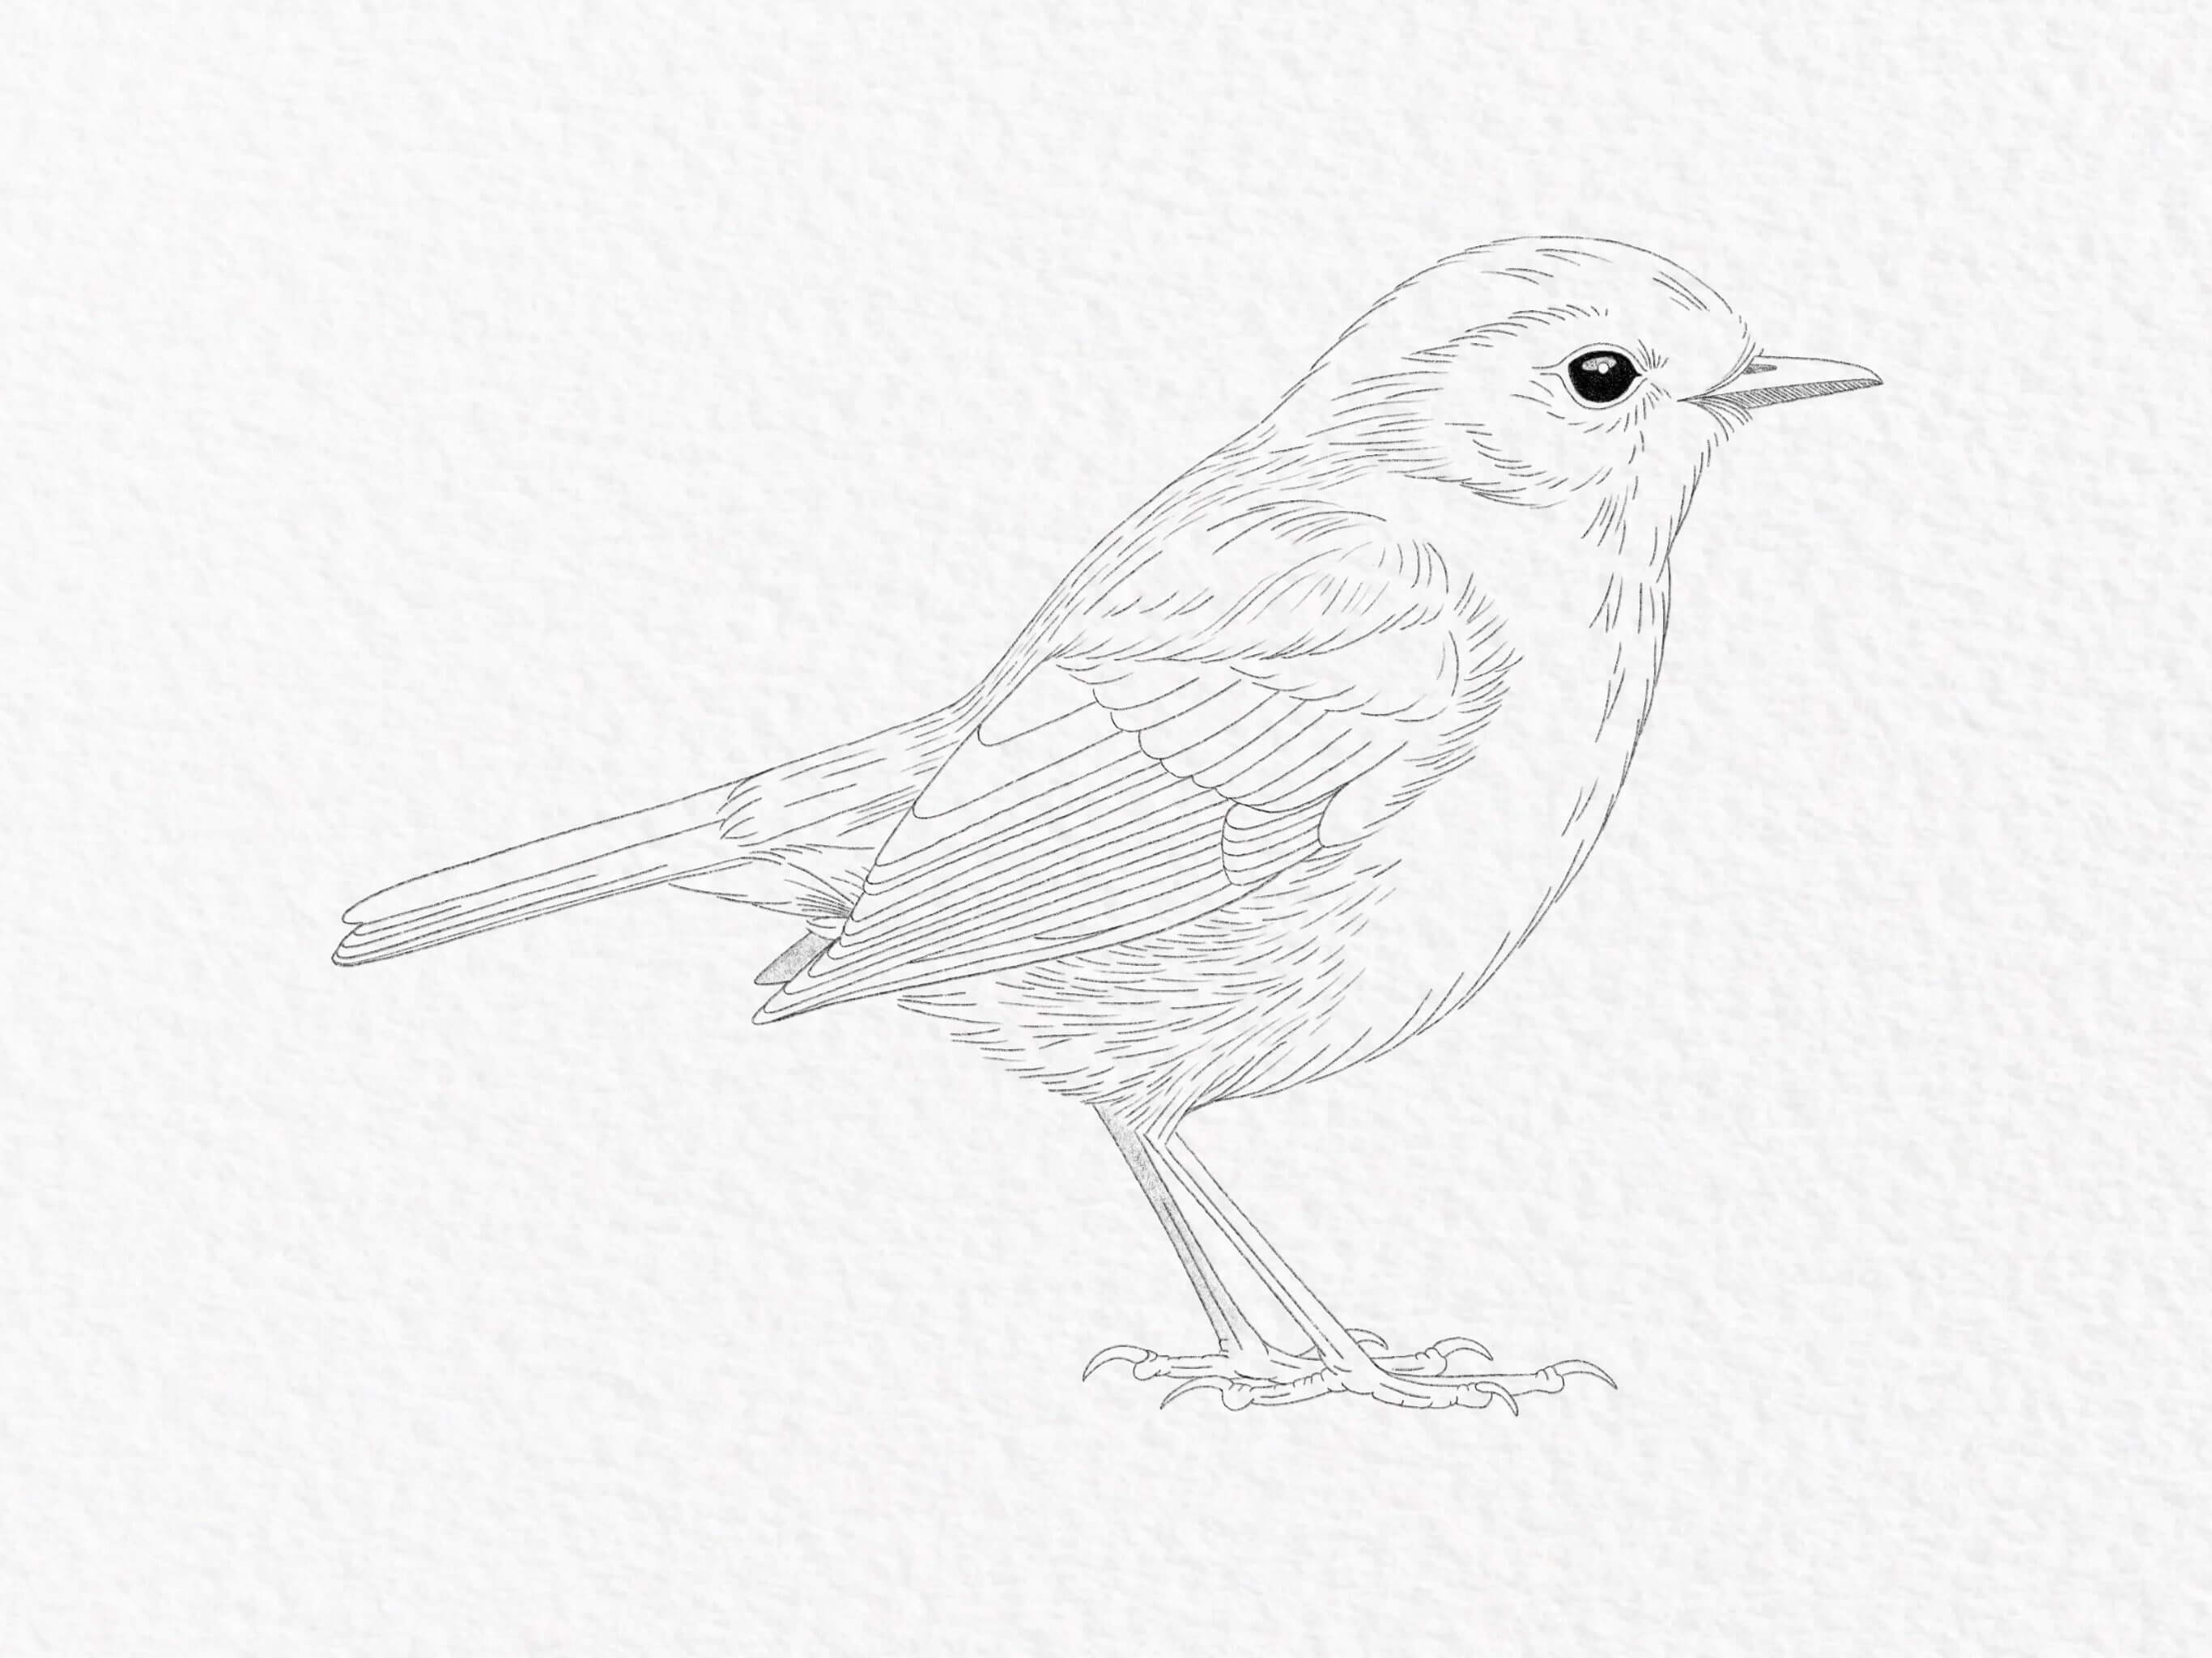
Sketching the outline of your butterfly
Step 1
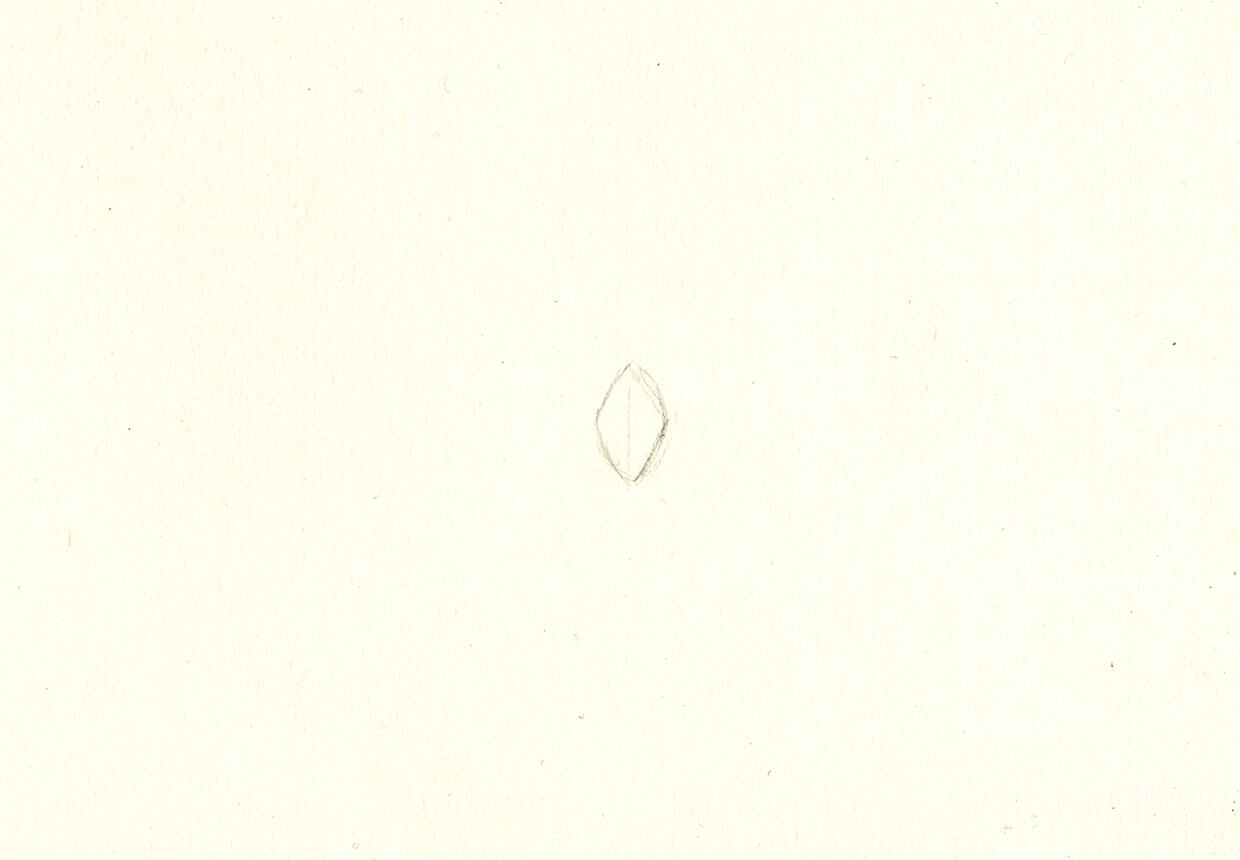
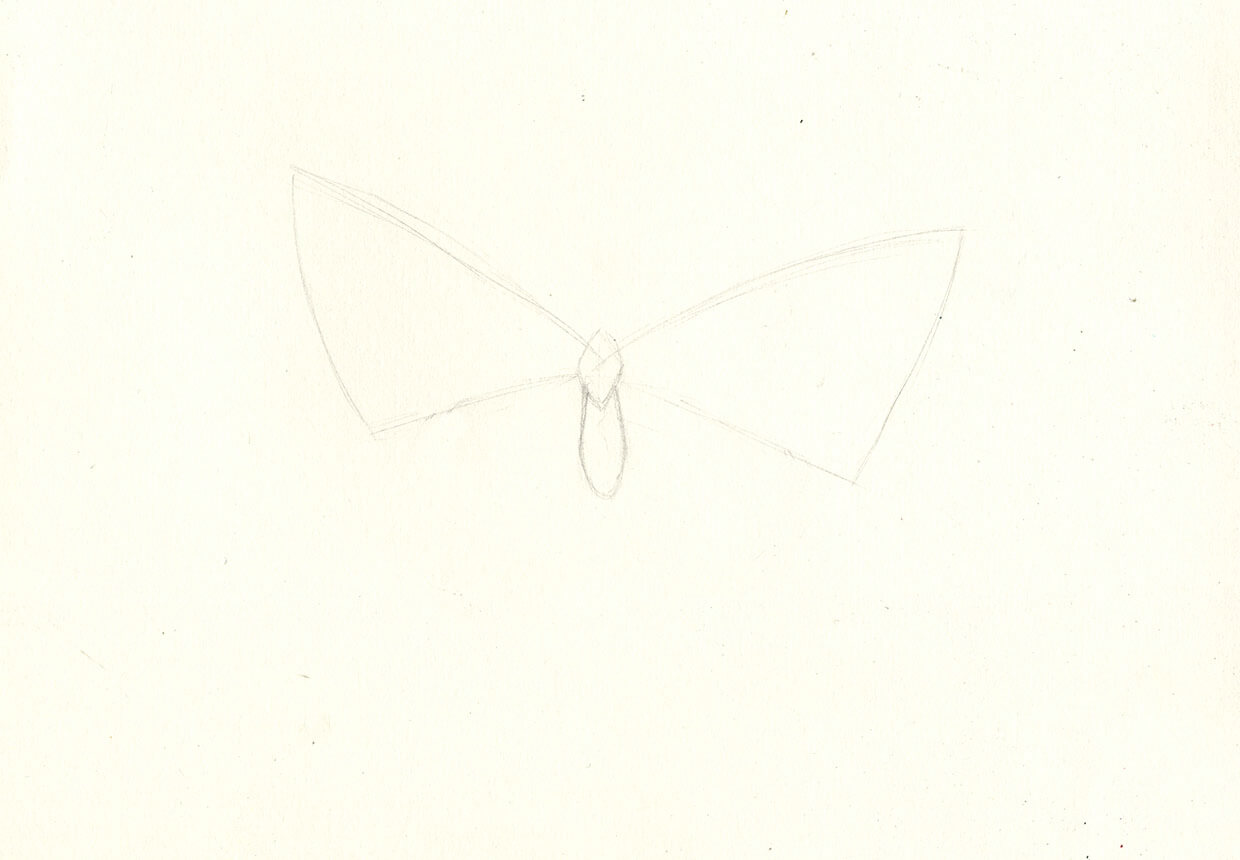
Start by lightly sketching out the shape of the top of the body. This is called the thorax, and you can think of it like a softened diamond shape.
Use very light pressure with your pencil, so that you can easily rub your lines. You can then correct your outline if you make any mistakes.
Step 2
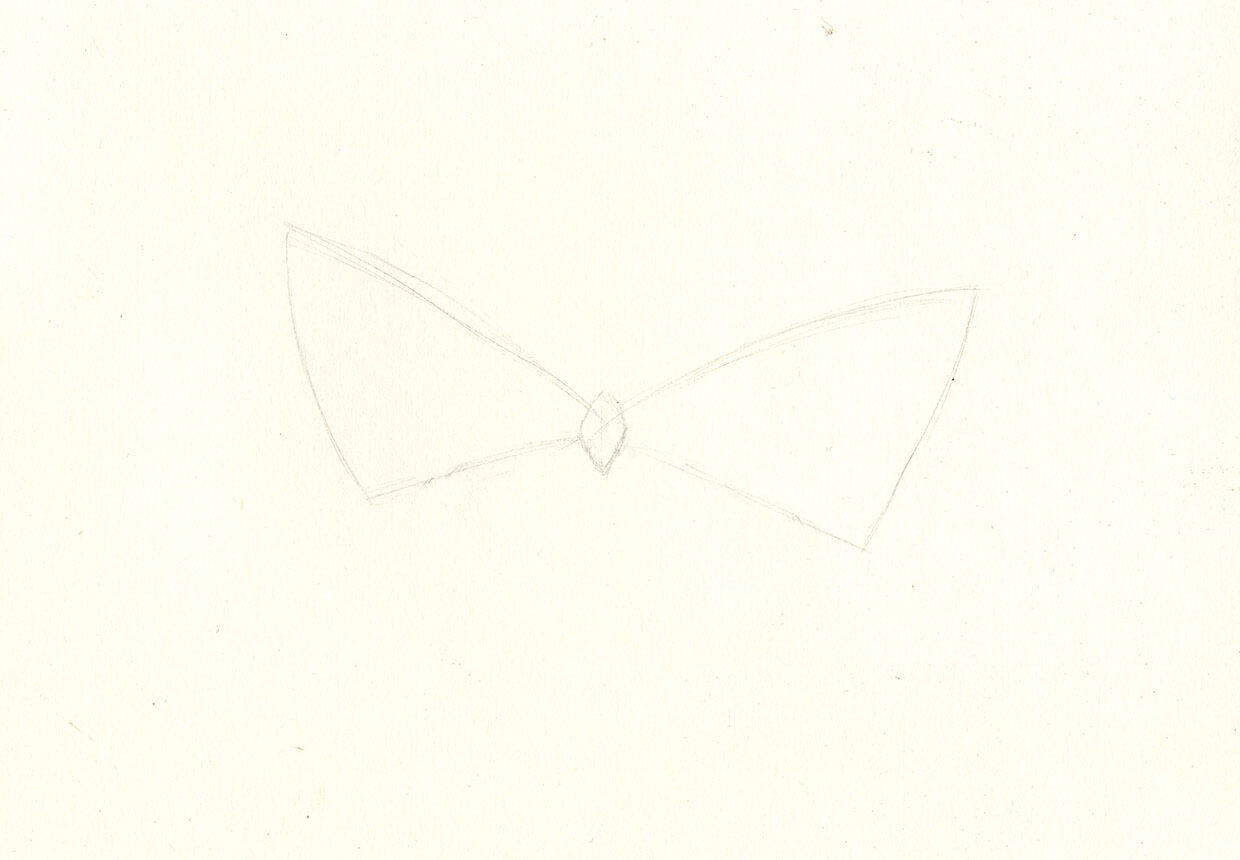
The forewings of the peacock butterfly can be simplified to a scalene triangle shape. Still using your soft pencil and light pressure, sketch out two triangles from the thorax to set out the basic shape of the forewings.
Step 3
The abdomen is a simple sausage-like shape coming down from the thorax.
Step 4
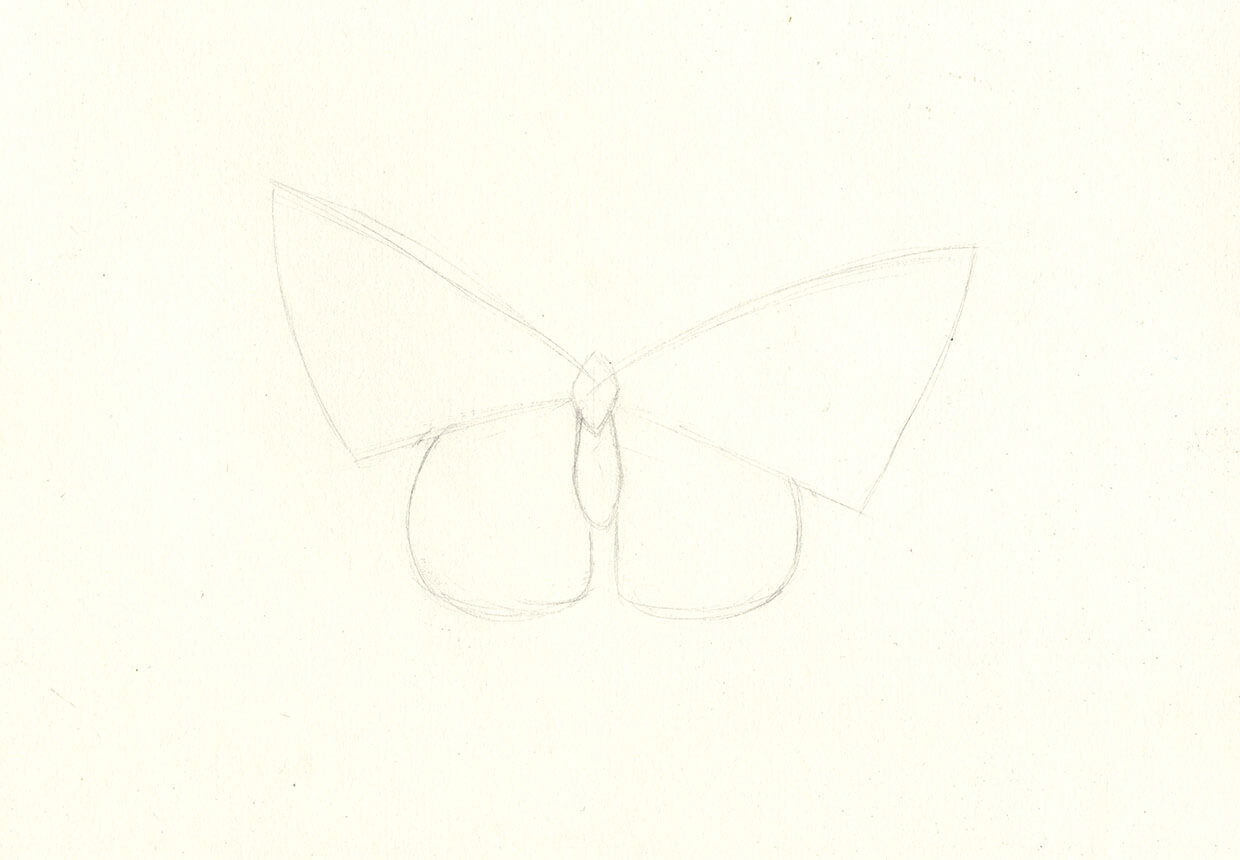
The hindwings sit beneath the forewings. Draw two teardrop shapes to help simplify the hindwings.
Step 5
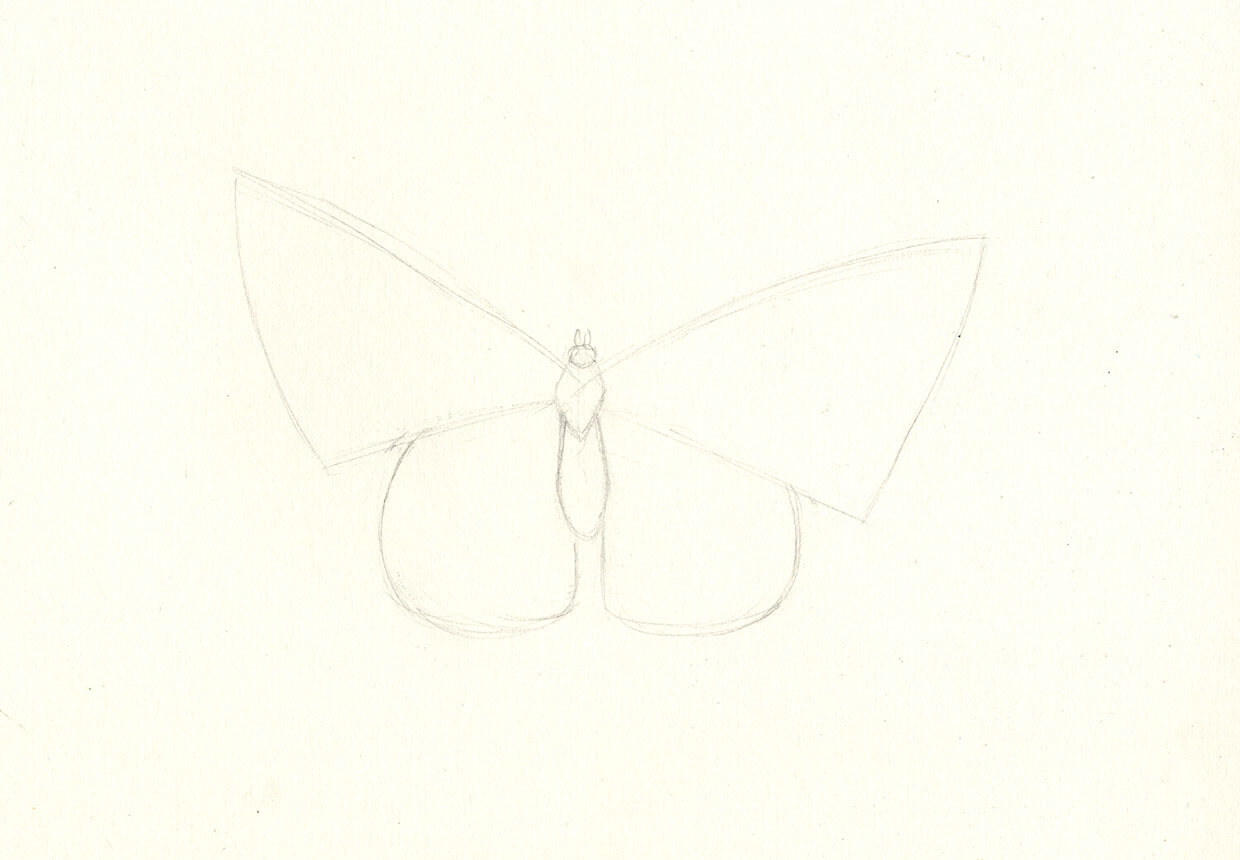
Now draw the head. The head is an oval shape that sits on top of the thorax.
Adding definition to your butterfly drawing
Step 1
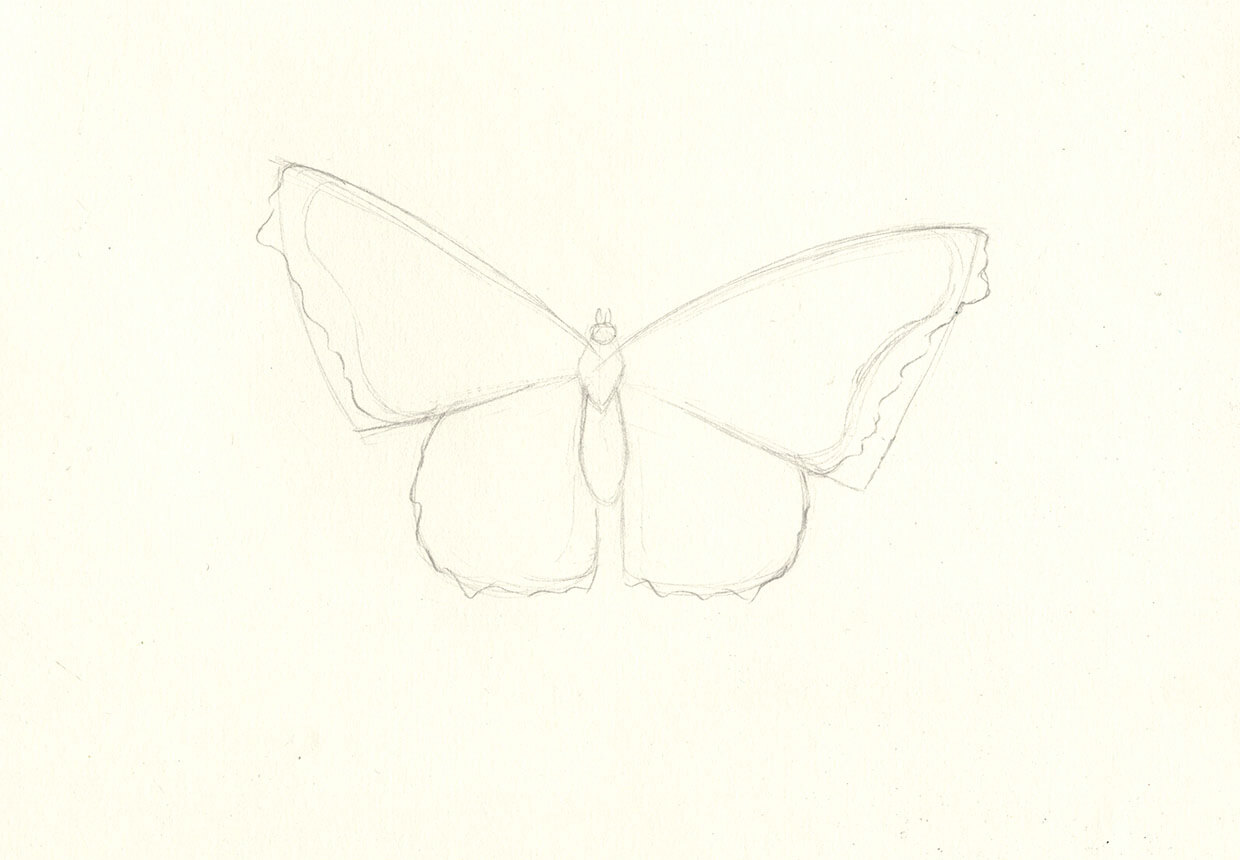
Using the shapes you’ve just drawn as a guide, define the details of the wings.
If you look at a reference photo of a peacock butterfly, you’ll see the edge of the wings are rugged.
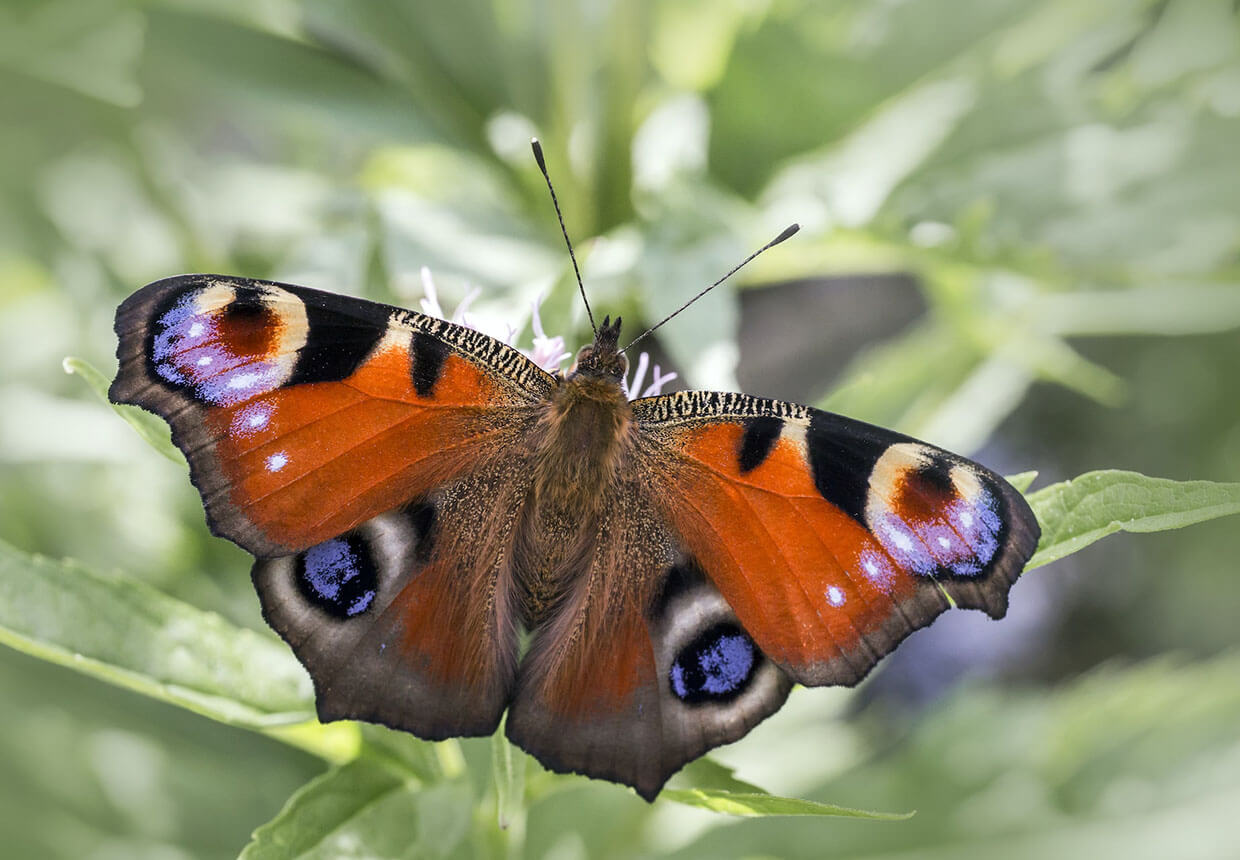
You’ll also notice that the wings are slightly curved, instead of the harsh straight lines of the triangle you’ve used as a guide.
The triangles you put down earlier are just a structure. Start to soften the lines and corners to create a delicate wing.
Notice how the wings overlap. You shouldn’t be able to see the hindwing fully as it joins the thorax because it sits behind the forewing.
Step 2
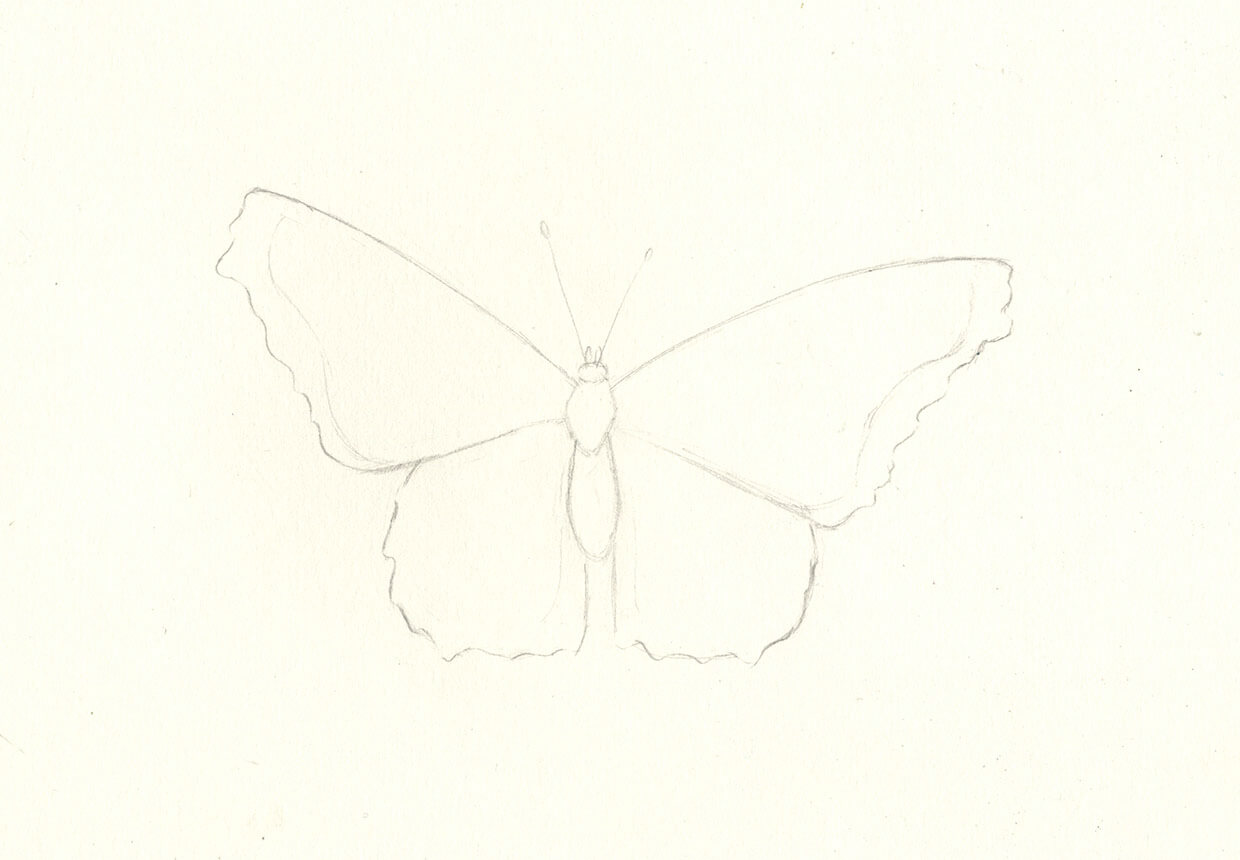
Erase any sketching lines you used for the hindwing that cross over with the forewing.
It’ll look like the hindwing is sitting behind the forewing.
Step 3
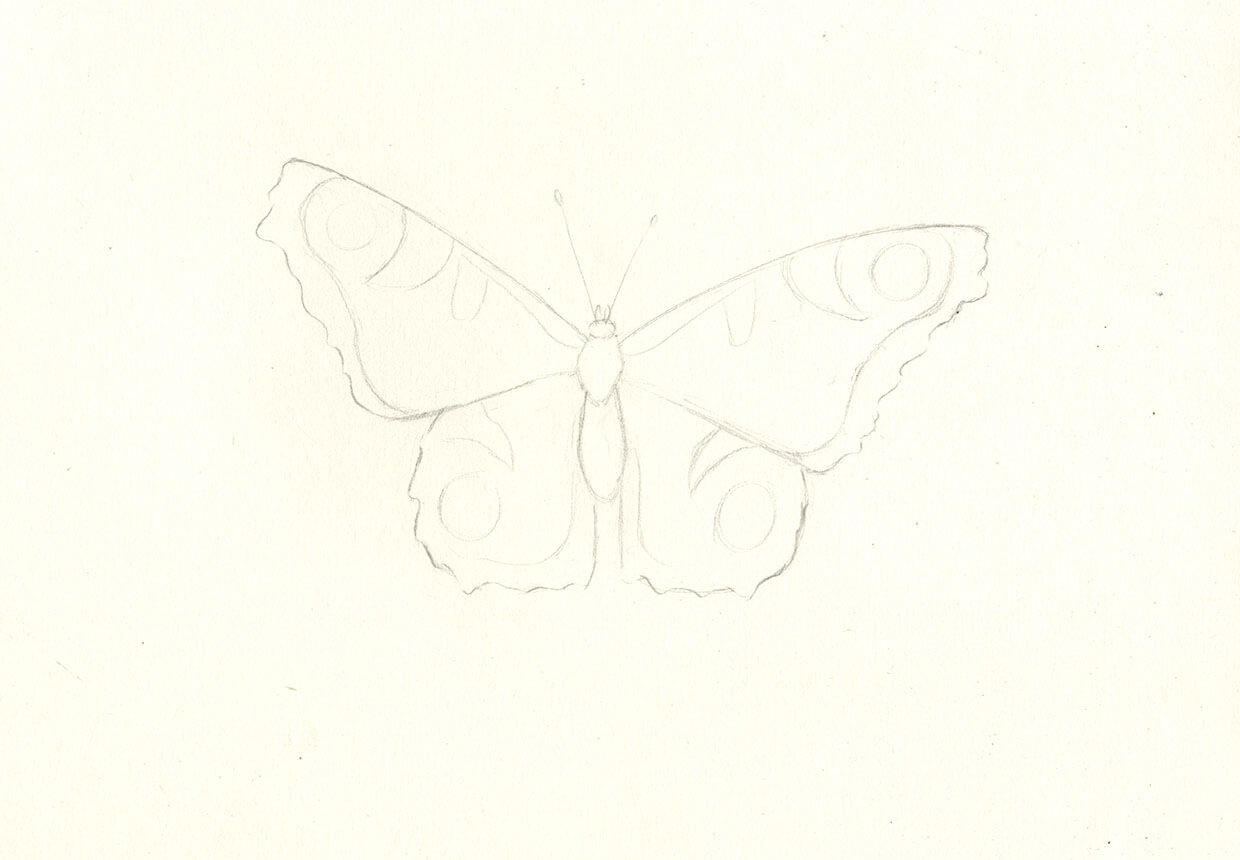
Add in a few guiding shapes to map out key colour markings, such as the rough circle shapes on each wing. Add a grey border, running around the edge of each wing.
Step 4
Now give your butterfly some essential antennae!
Draw two curved lines coming out from the head. Remember, they don’t have to be symmetrical. Add a tiny oval shape on the end of each antenna.
At this stage, you can also tidy up your lines and rub out any messy ones that you don’t need. Clean up the drawing so that you have a fresh surface to start to add colour to at the next stage.

Introducing the first layers of rich colour to the drawing
Step 1
Now for the fun part! We’ve sketched the basic outline of the butterfly and it’s time to add those dazzling colours.
Check your reference photo and take a moment to observe where colours should go on the wing.
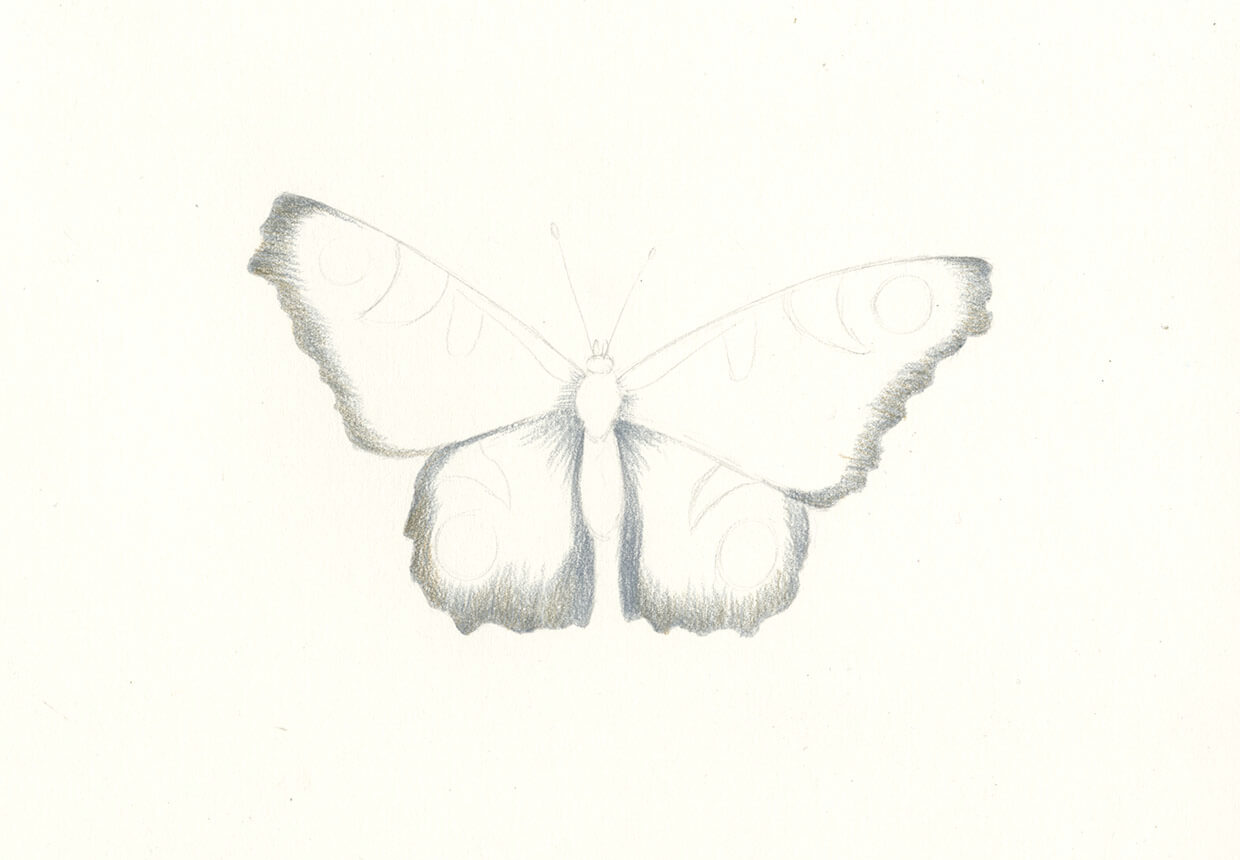
Use soft, light strokes. Keep the direction of your pencil in mind.
In the example, the strokes generally point towards the centre of the butterfly, giving a textured effect.
Step 2
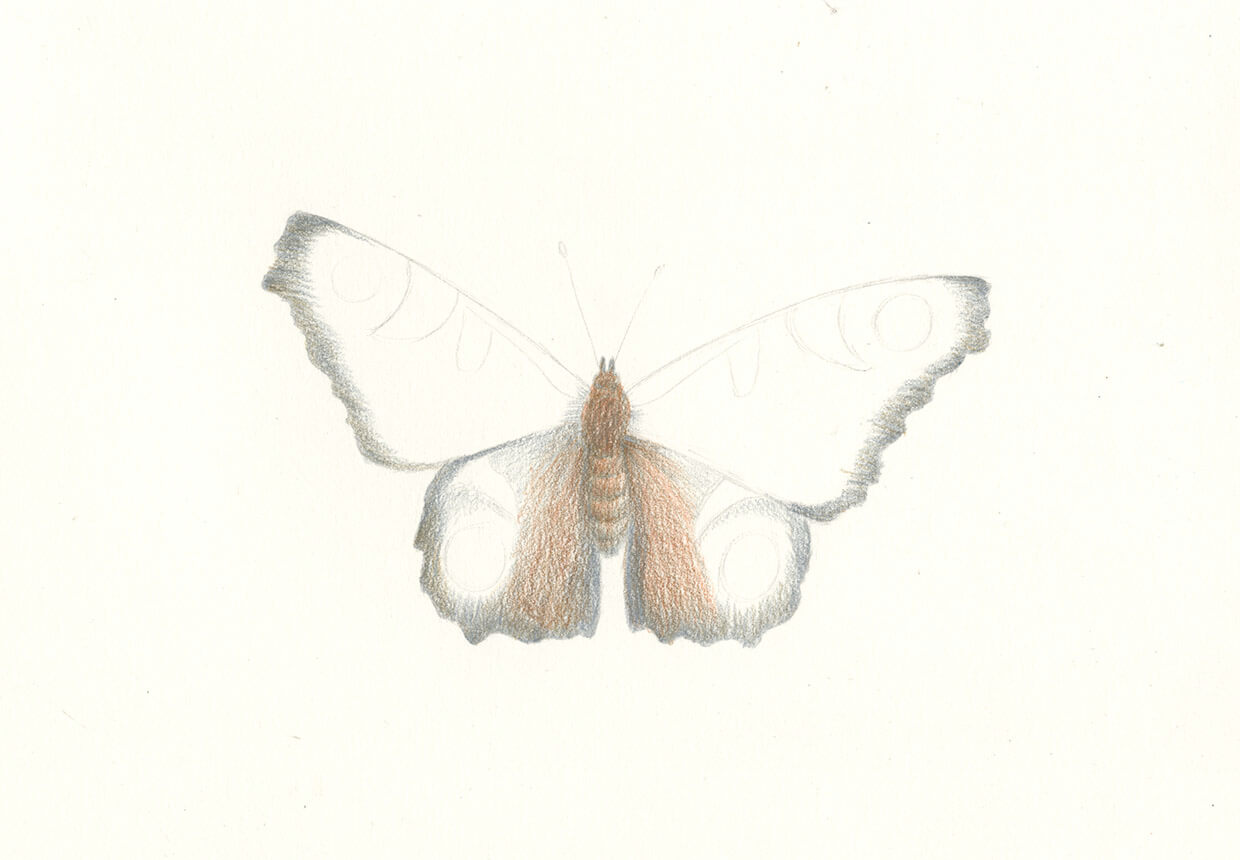
Start by colouring the soft layers of light grey and light brown that go around the edge of all four wings.
Colour soft layers of light grey and light brown across parts of the hindwing. This is a foundation layer of colour that we’ll build on in the following steps.
Step 3
Next, colour layers of light grey and light brown to fill in the head and body (the thorax and abdomen).
Notice that the thorax has little lines running across it – so don’t forget the small details if you’re looking for a realistic finish!
Deepening the layers of colour
Step 1
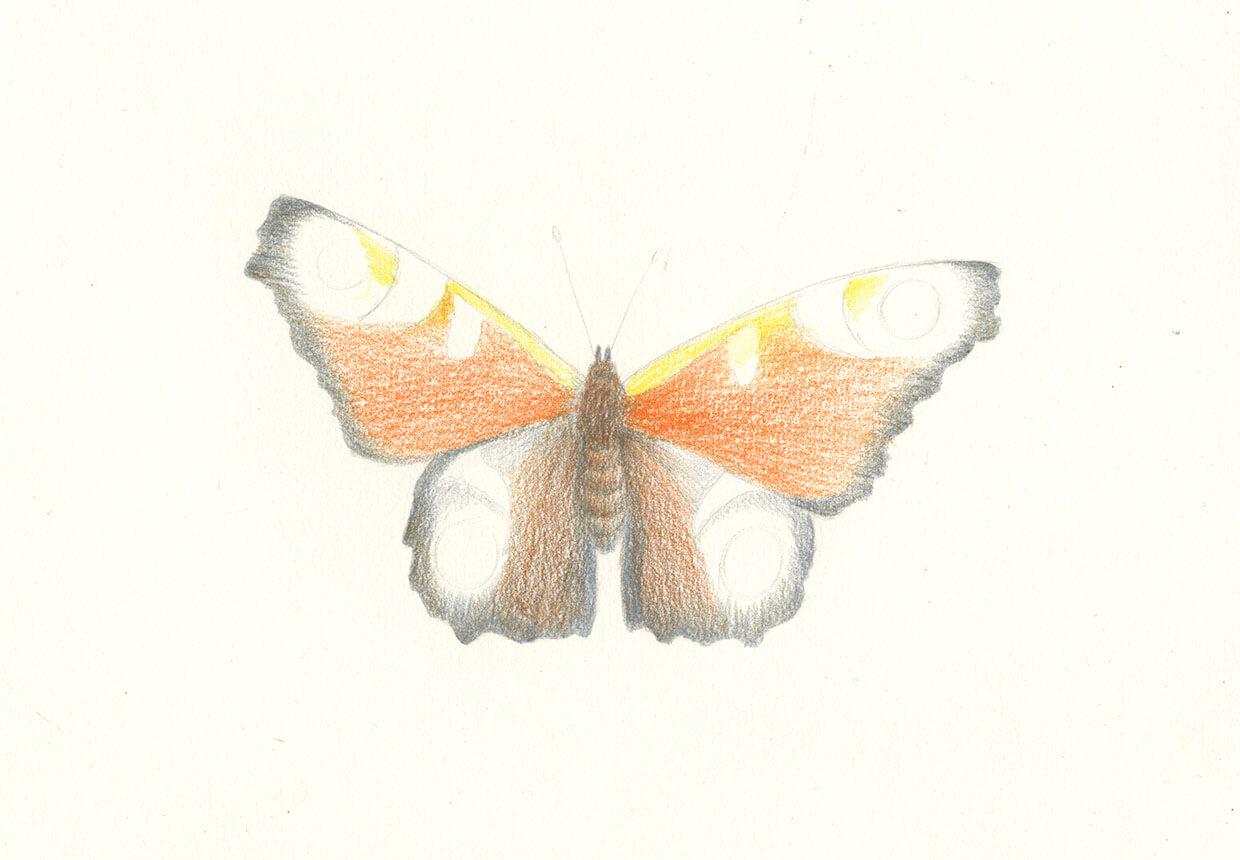
For the forewings, gradually build soft layers of yellow, orange and red to create an iridescent effect.
Always start with the lightest colour first and you try to keep your strokes consistent to get even coverage.
You can add several tones of each colour if you have more than one orange pencil. The more the better!
Step 2
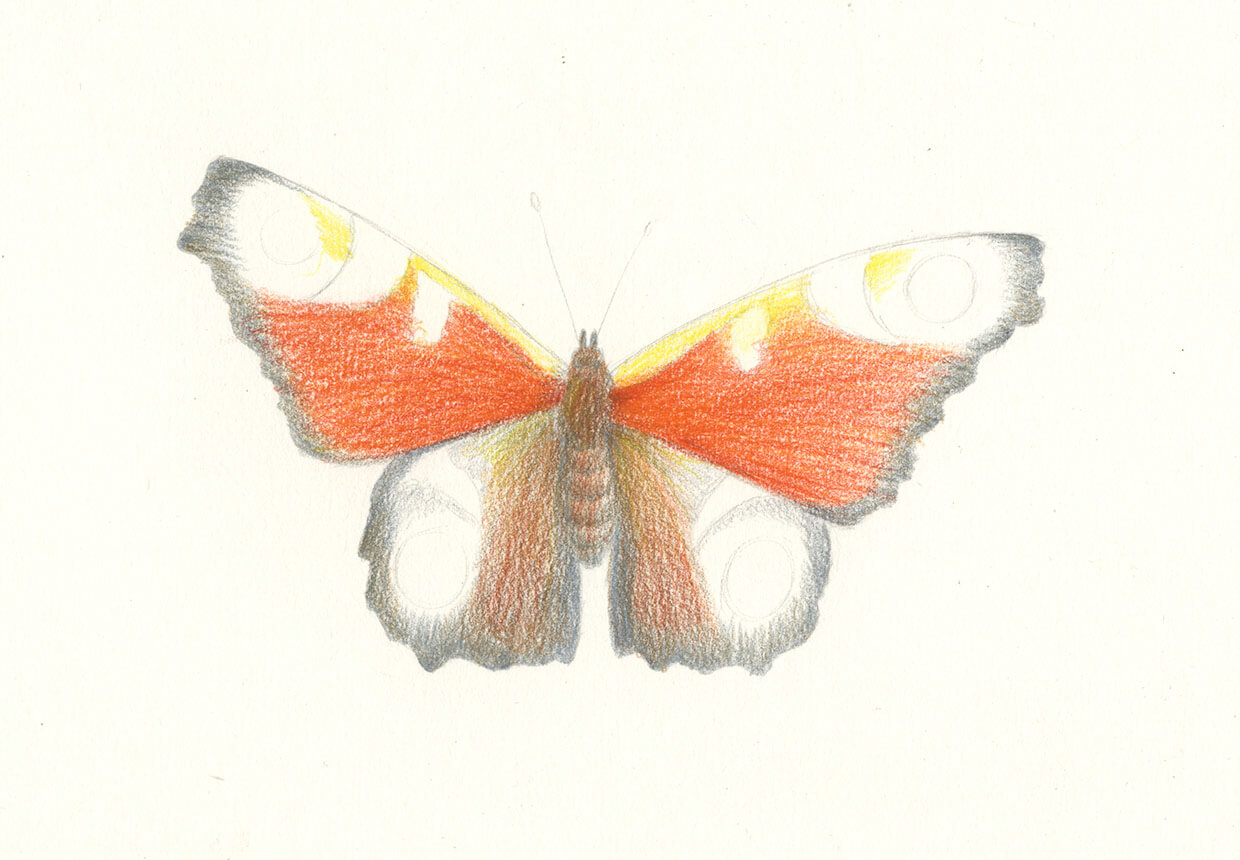
Go back and add a soft layer of orange to the hindwing to give some extra vibrance here!
Drawing markings on the wings to make your butterfly unique
Step 1
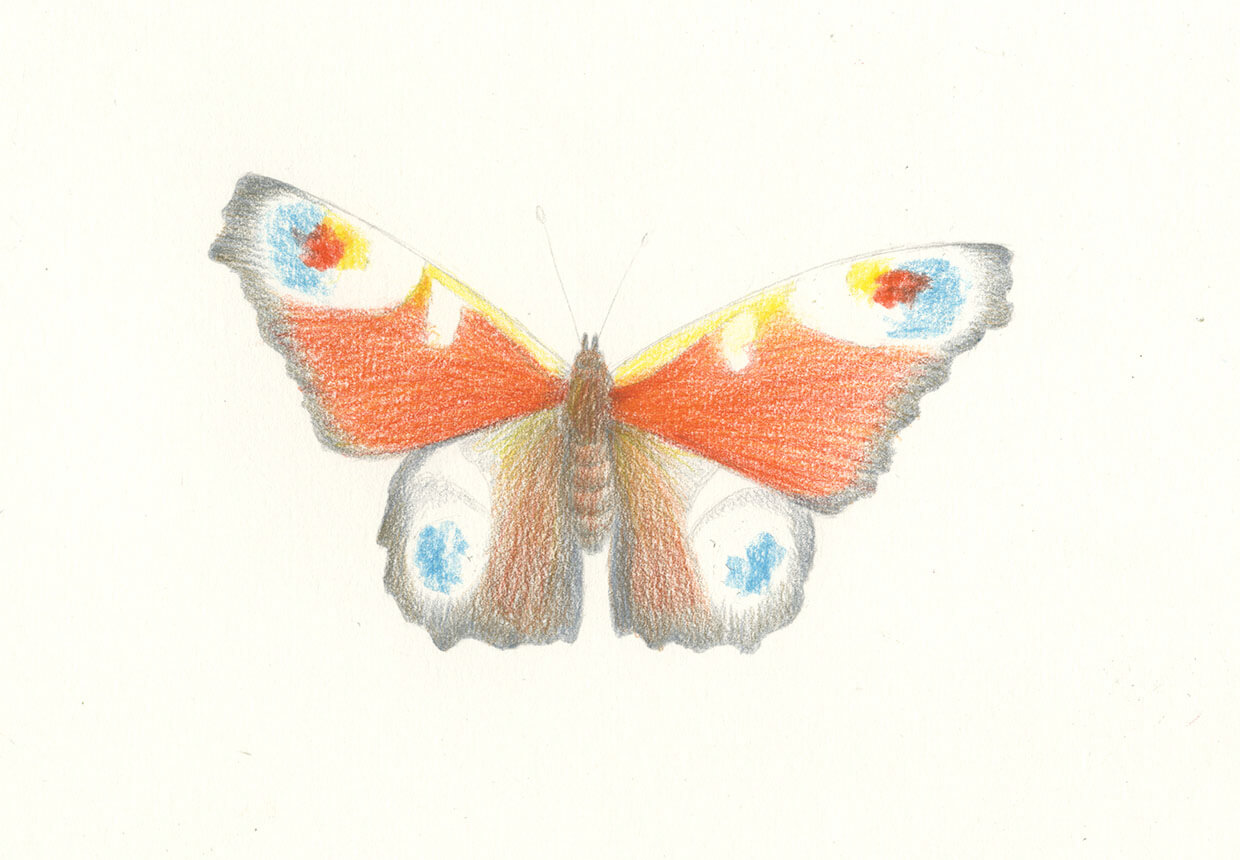
Using the side of your pencil, you can create different markings. It will look smudgier and less controlled than using the sharp tip of the pencil, which is perfect for capturing fuzzy textures.
You’ll also have less control over the mark, which will make your drawing more interesting.
Step 2
With the side of a light blue pencil, make the markings in each of the four corners of the butterfly.
Don’t worry about these being symmetrical! Do the same with red pencil.
Adding contrast to bring your butterfly drawing to life
Step 1
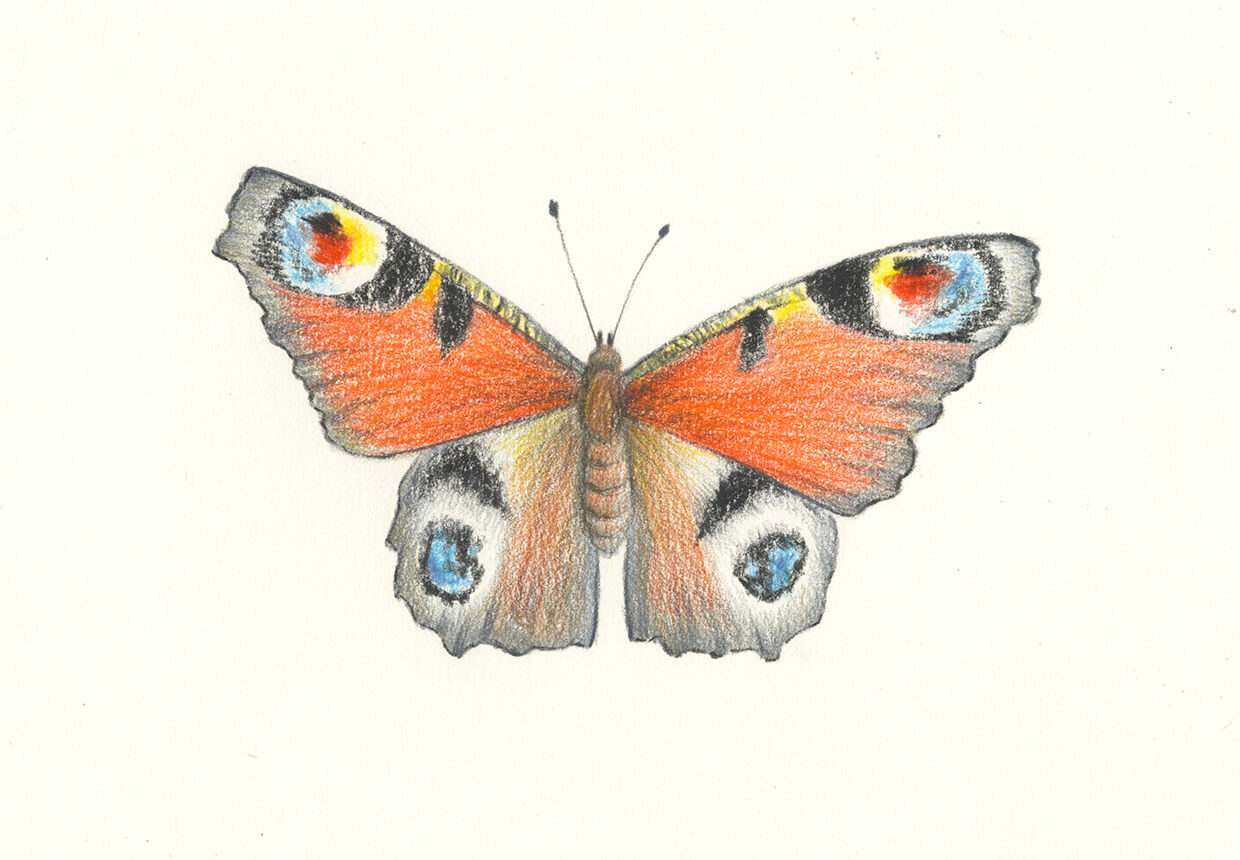
Now go in softly with a dark grey or black pencil for the final layer of colour.
Draw a fine, black, broken line around the edge of the wings with a sharpened pencil to define the wing and bring everything together.
Step 2
Use your darker pencil to go over and bring out the antennae. Use the side of the pencil to make the larger, heavier, black markings on the wings.
Don’t worry if the black goes on top of the other colours – this will just add some depth of colour.
Highlighting the wings to add depth to your drawing
Step 1
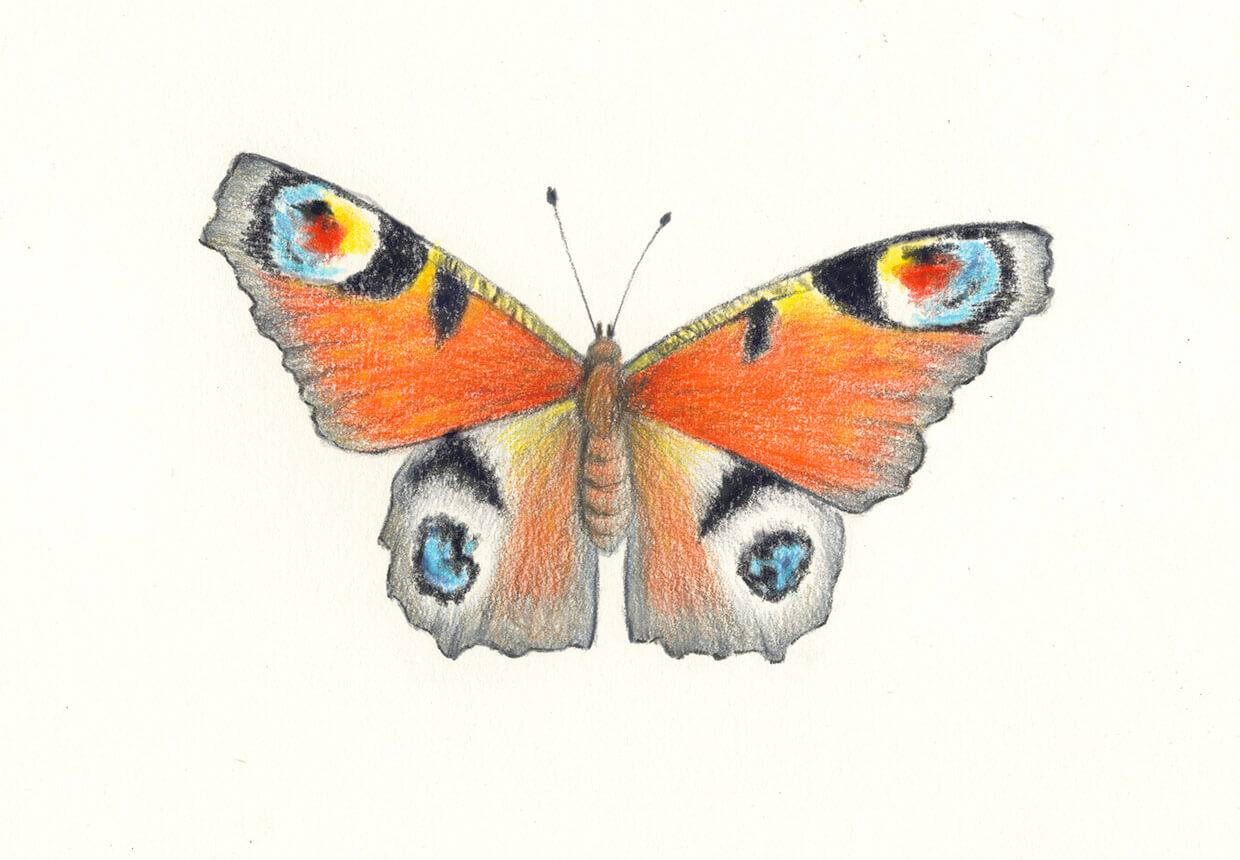
Use the electric rubber to lift off the layers of pencil. Add a few final, finer white markings. The electric rubber will take off all the layers of colour from the page, leaving a clear white spot.
It’s an effective way to get some extra fine details in your drawing. You can add two or three white spots to the forewings to complete your butterfly drawing.

Step 2
At this stage, you can stand back and take a moment to reflect on your drawing as a whole.
Maybe you’d like to bring out some more of the orange colour, or add deeper reds towards the centre of the butterfly or brighten some of the yellows.


