How to make butterfly art for your home

How to make butterfly art for your home

Let your creative streak fly high with Alys Paterson’s butterfly art project

Try our magazines – get 6 issues from just £9.99!

Published: March 31, 2021 at 6:55 am

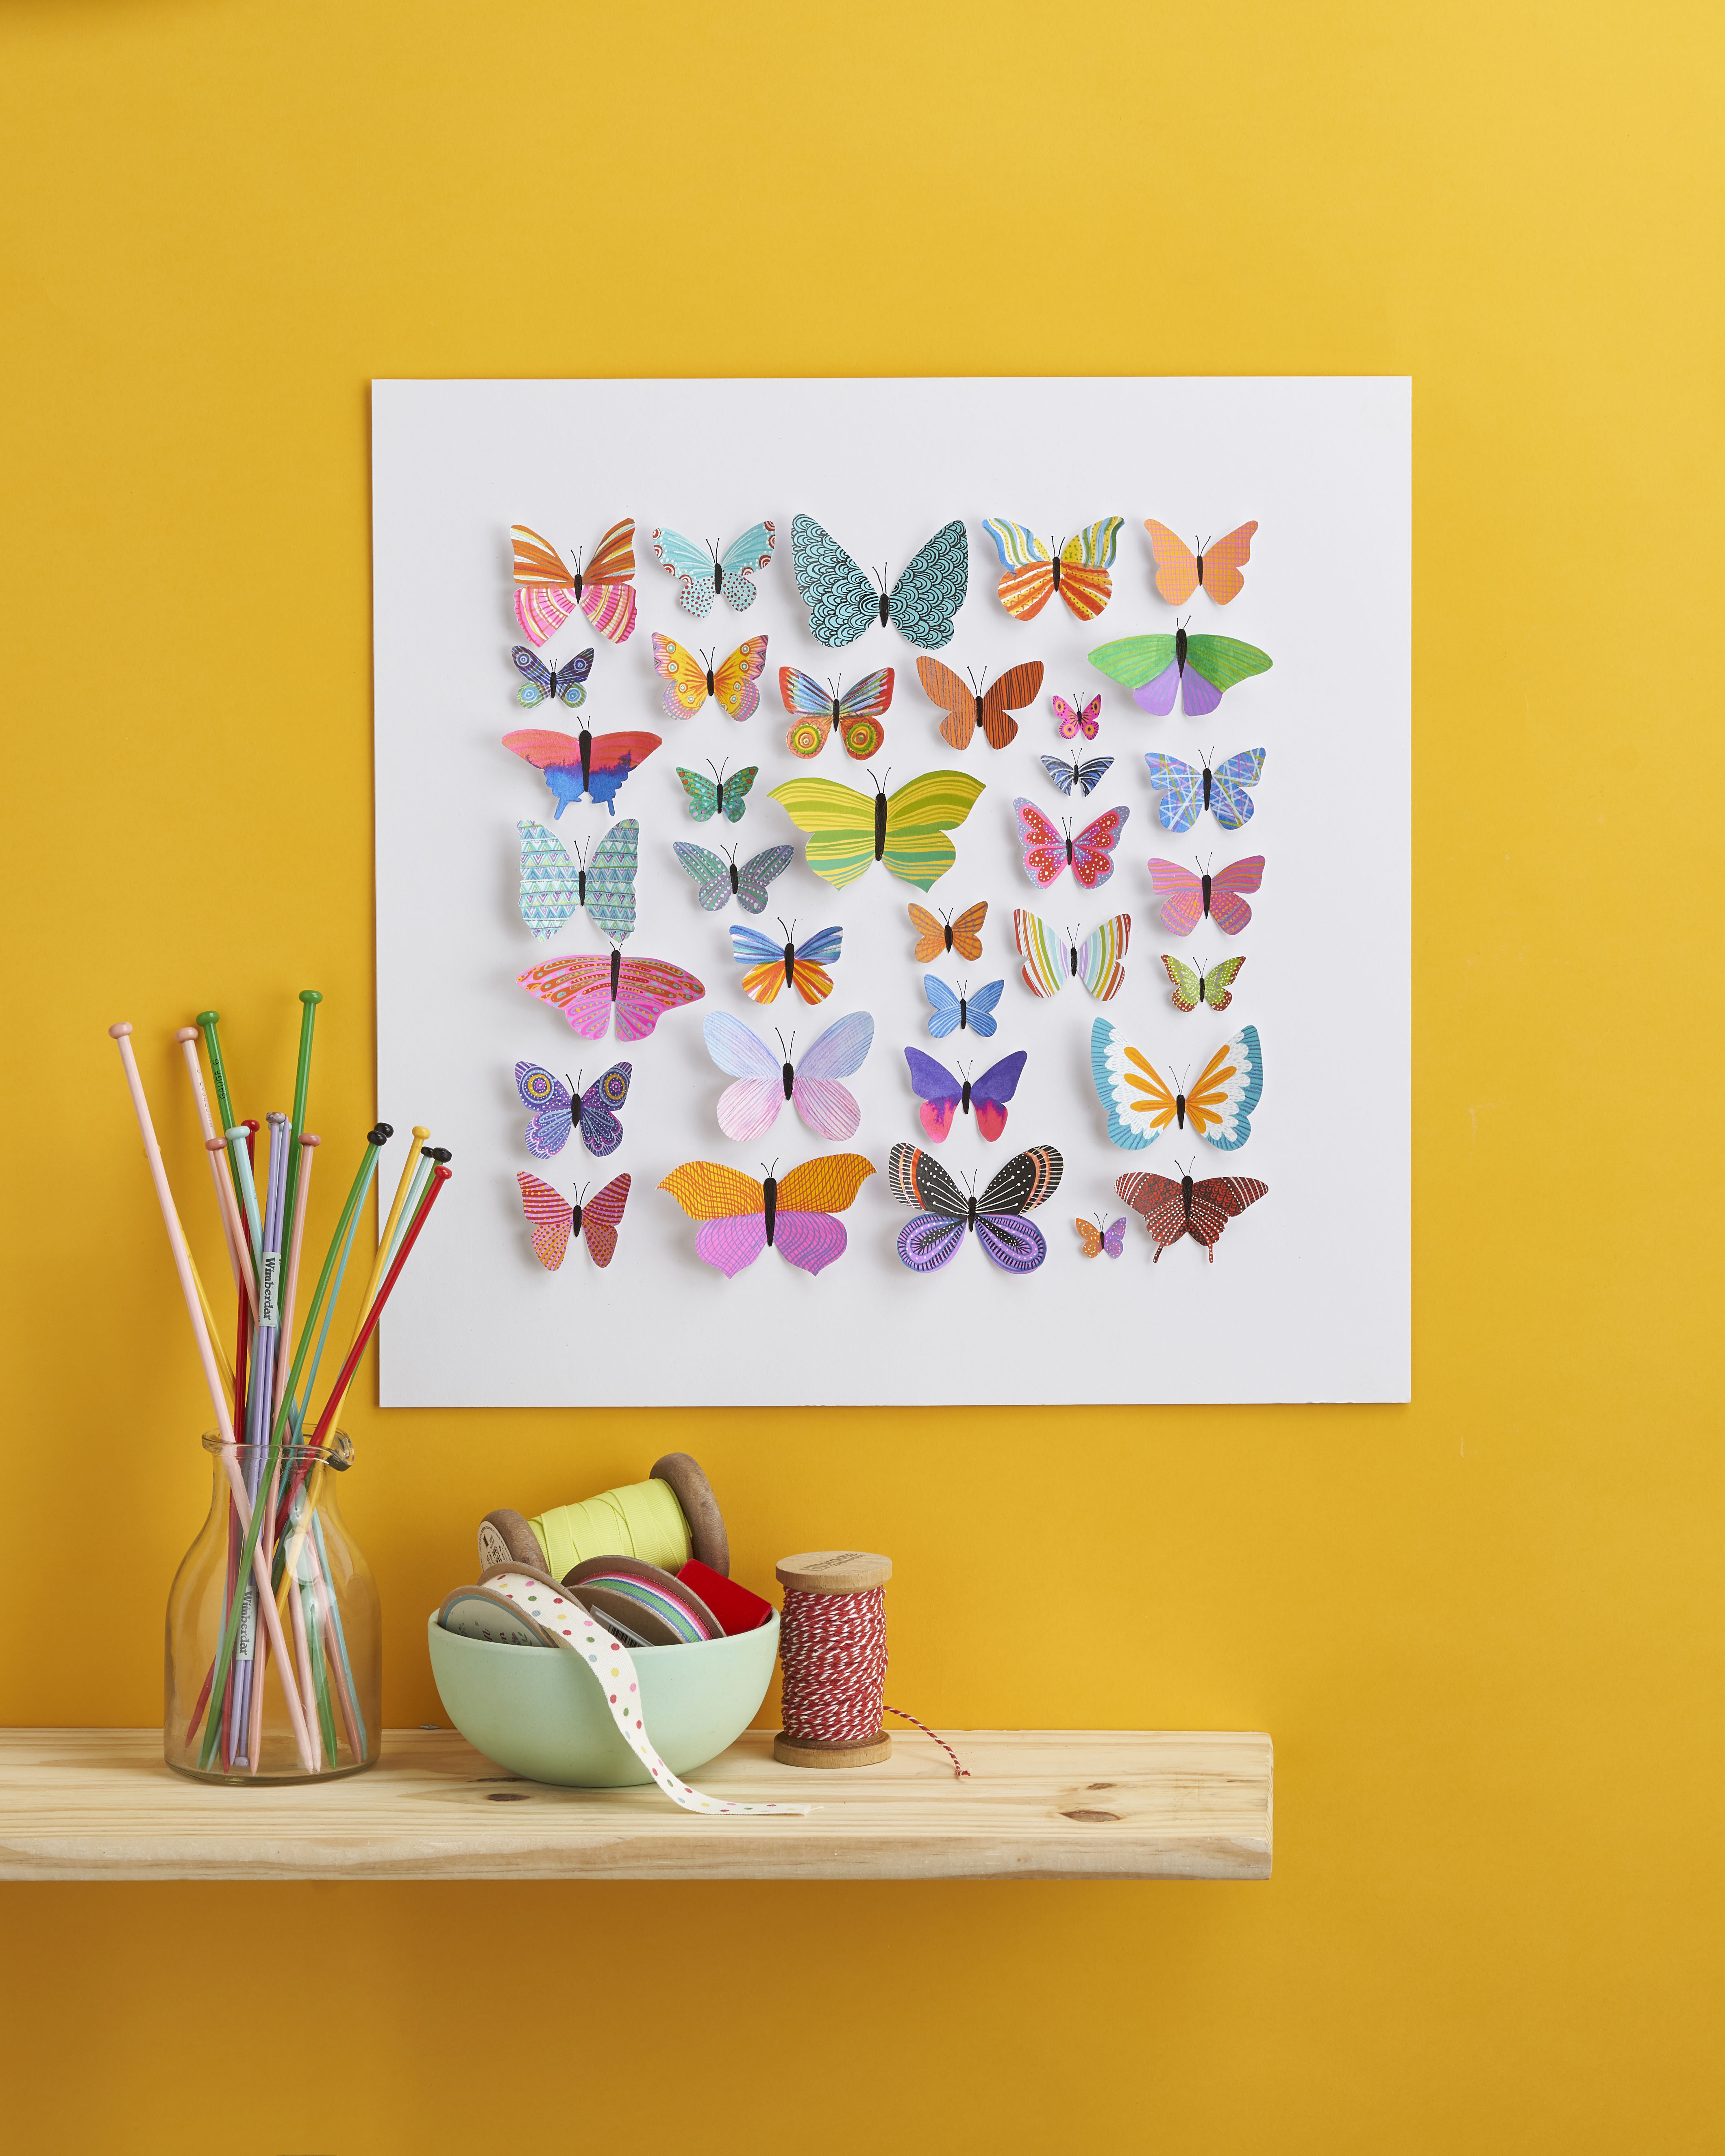
Bring your art to life with a host of beautiful 3D butterflies! Embrace the ready-made inspiration of the beautiful colours and patterns of a butterfly’s wings for this pretty gouache project. Start with a simple base, then build up your design by applying layers of colour – complementary or clashing, it’s entirely up to you!

Create individual butterflies for cards and tags, or produce a whole flutter and present your butterfly art in a box-frame to give as a gift.

Top tip: Ensure the paper you use isn’t too thick, or it could be tricky to cut out the butterflies.

Read on to learn how to create butterfly art for your home…

Looking for more art projects to paint? Learn how to paint an abstract acrylic painting, how paint a self portrait using gouache, how to paint watercolour pebbles or add some colour to your home with a watercolour cactus painting. We've also put together a collection of easy watercolour painting ideas, art journal ideas and fall painting ideas to inspire you.

If you'd like to build up your artist skills, explore our acrylic painting guide and gouache painting for beginners guides, get to grips with watercolour painting for beginners or try your hand at oil painting for beginners.
You will need:

  • Gouache paint set
  • Small/medium paint brushes
  • Medium-weight cartridge paper
  • Thick white card
  • Small scissors
  • Glue stick
  • Pencil
  • Black fineliner or dip pen
  • Reference pictures of butterflies

Step 1

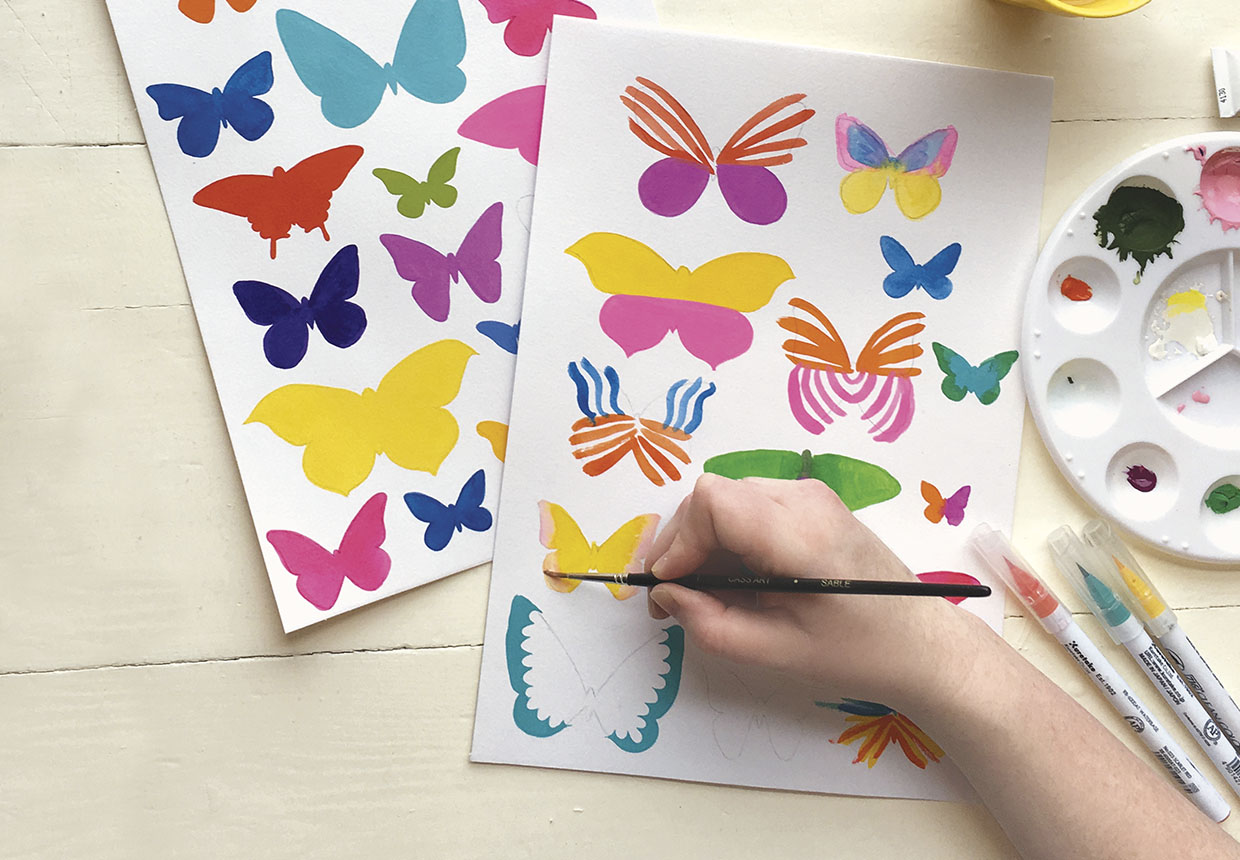
Lightly sketch butterfly outlines onto paper with a pencil. Trace around your reference pictures to make sure the wings are symmetrical. Once you’re happy with your outlines, paint each butterfly with a base colour. Either choose a solid colour or paint the first layer of your pattern with different shades.

Butterfly art step one

Step 2

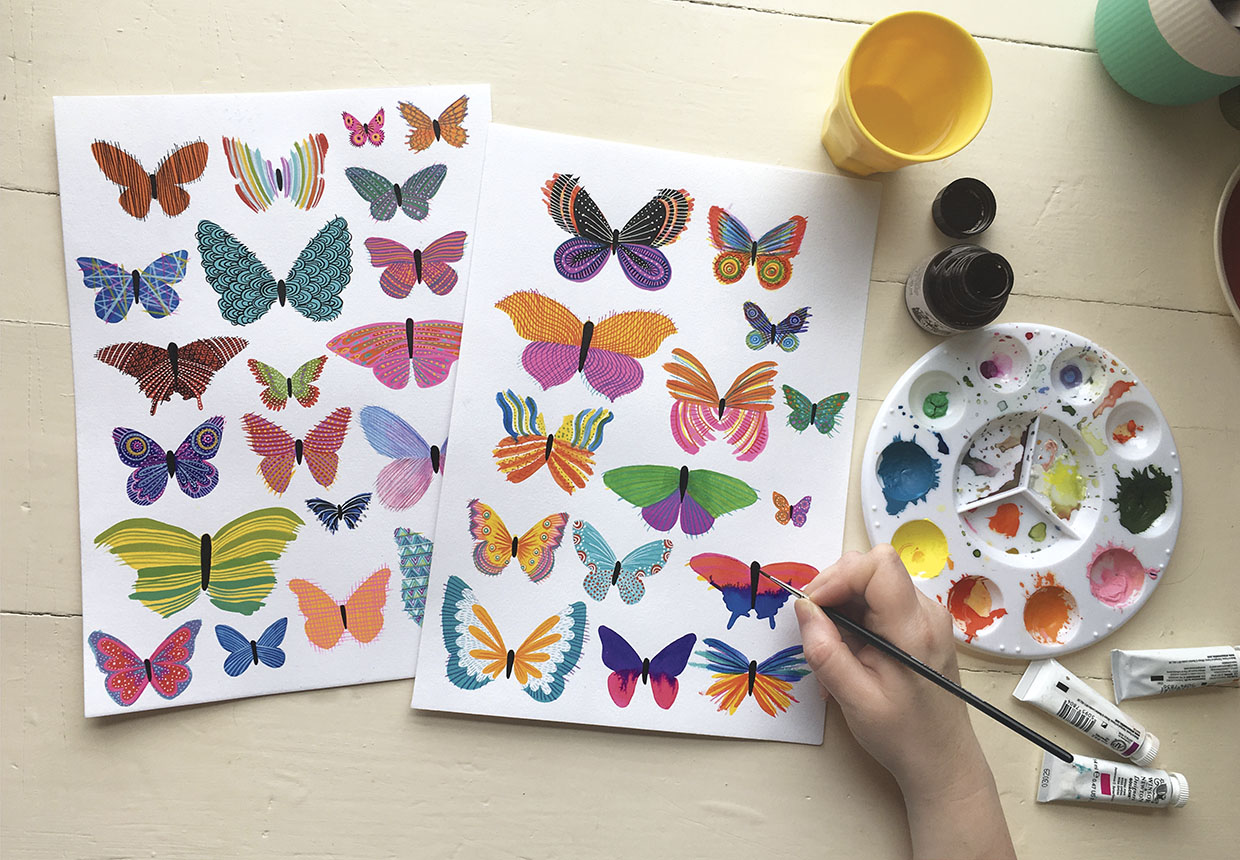
It’s now time to think about pattern. You could have realistic-looking butterflies or create your own design. You don’t have to be too neat or stay within the lines as you’ll be cutting out the butterflies. There’s lots of fun to be had experimenting with gouache, watercolour, inks, coloured pens and pencils. Once you’re satisfied with your pattern, colour in the central body with black (or dark) ink or paint.

Butterfly art step two

Step 3

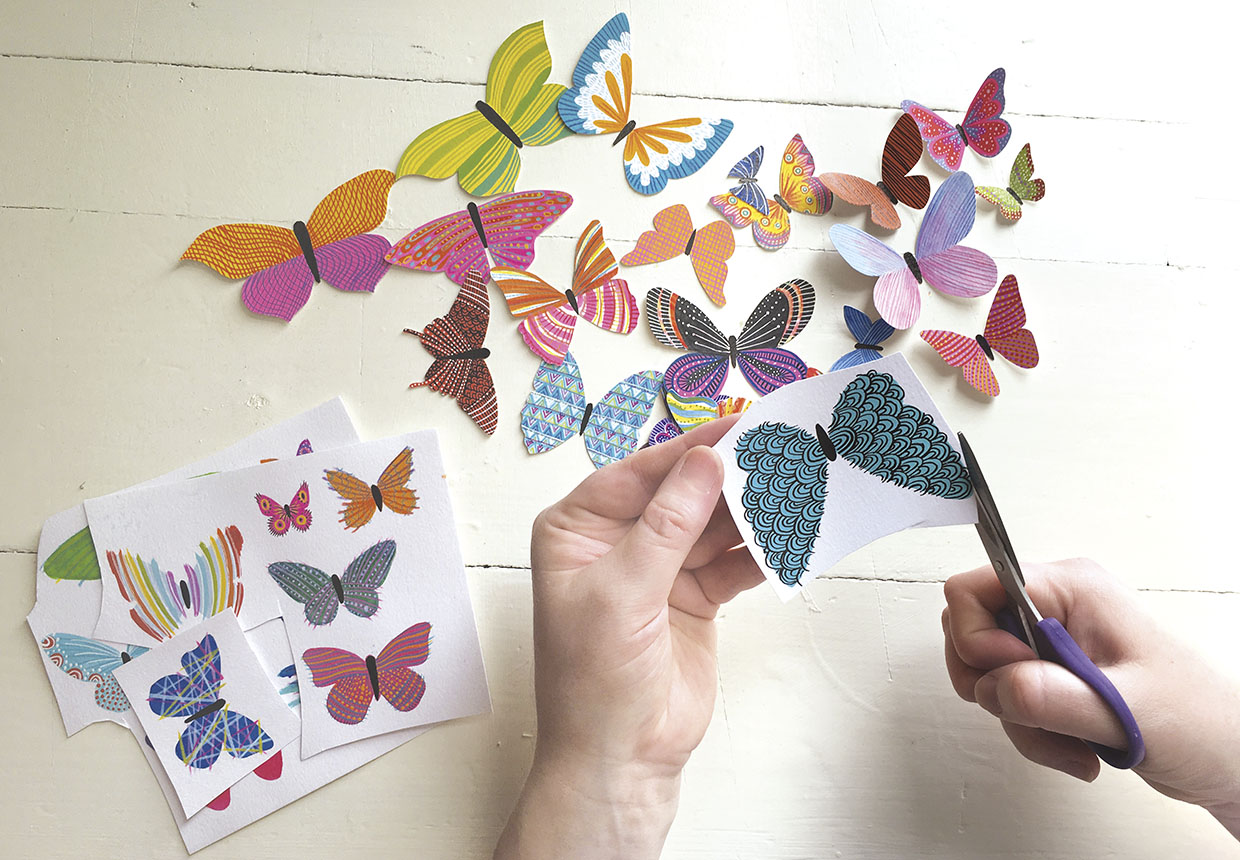
Cut out the butterflies with small scissors or use a scalpel and cutting mat. Once cut out, neatly fold up the wings on either side, leaving the central body flat.

Butterfly art step four

Step 4

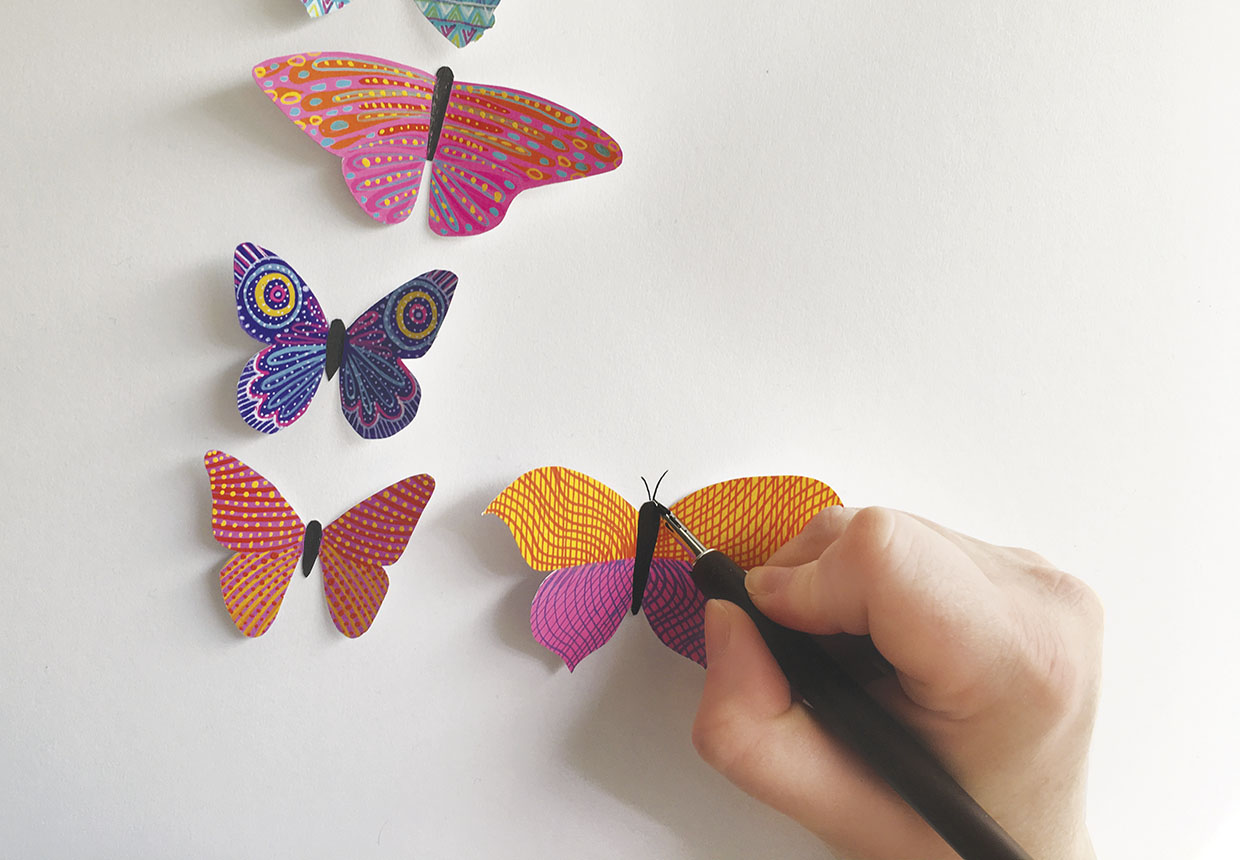
Take some white card and trim it to the size of your chosen box-frame. Arrange the butterflies, then glue each one down by the body, making sure the wings are slightly folded up. When they’re all glued down, draw a pair of antennae on each with a black fineliner pen.

Butterfly art step four

You’ve finished! Display your beautiful gouache butterfly art to brighten any room.

This project was first published in Project Calm’s Learn to Paint and Draw magazine. Find more creative projects on our sister website Calmmoment.

Butterfly art