Fabric painting is a great way to create original items of clothing, artwork, home decor or even footwear. Using specialist fabric paints freehand with brushes or through a stencil you have the freedom to design your own one-off pieces. Fabric paints are general quite thick and opaque and come in numerous colours to will match your chosen theme perfectly. The beauty of using fabric paints rather than normal paint on your projects is when it dries it is still flexible. Normal paints tend to try hard and can then crack and flake. Also, once they are completely dry they are permanent and therefore can be washed.
You can use any fabric for fabric painting but the easiest ones to use are those that have a tight weave and a flat surface like cotton or silk. Ideally, you want to wash and iron your fabric before use so has the perfect flat surface to create your designs on. Fabric paints are used in a very similar way to paints but you’re best to apply them sparingly and build up the colour rather than applying them too thickly. This ensures a neat and even finish. Practice first on scrap fabric to get a feel for the fabric paints and what results in you can achieve. Painting fabric is very much like painting on paper or canvas but the end result is a lot more fun as you can make something out of it at the end, whether that’s a cushion, bag, or item of clothing, the possibilities are endless.
I'm going to show you how to do fabric painting as well as where you can buy your fabric paints from! Keep scrolling to learn all about the wonderful world of fabric painting and make sure you check out our pottery painting ideas and beginner’s guide to glass painting for more crafty tutorials.
Where to buy fabric paints
Fabric paints are readily available from many retailers.
- If you wish to shop online then Amazon has an abundance of kits to suit every budget.
- Hobbycraft sell lots of singular fabric paints rather than kits which is perfect if you have a specific colour scheme in mind. They are available online or in-store too.
- Cassart has a great selection of starter kits and singular fabric paints
- If you’d like to try painting fabric with the kids then Baker Ross stock a selection of child-friendly kits for them to have fun with.
The best fabric paints for fabric painting
1. Magicfly Soft Fabric Paint Set
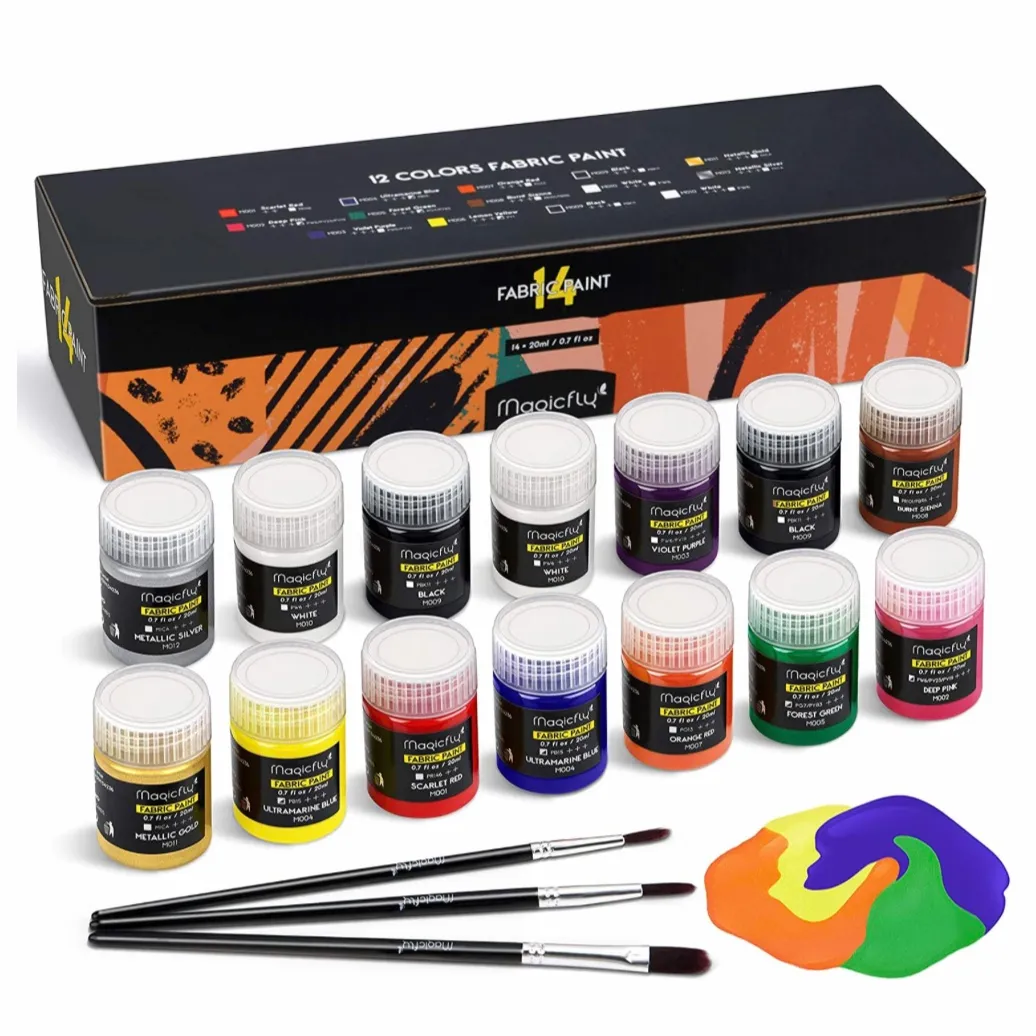
Pros: Great price, includes brushes, comes in a useful box.
Cons: Limited colours, lids maybe a little fiddly.
This is a great fabric painting starter kit containing 14 20ml bottles in various colours including gold and silver. They are fast-drying, waterproof and the kit also contains three brushes. These paints are perfect for fabric painting and can be used on a huge range of projects. Why not upgrade this tote bag pattern with them? Or maybe you could decorate our chair cushions with a fun design.
2. Crafts 4 All Fabric Paint Set
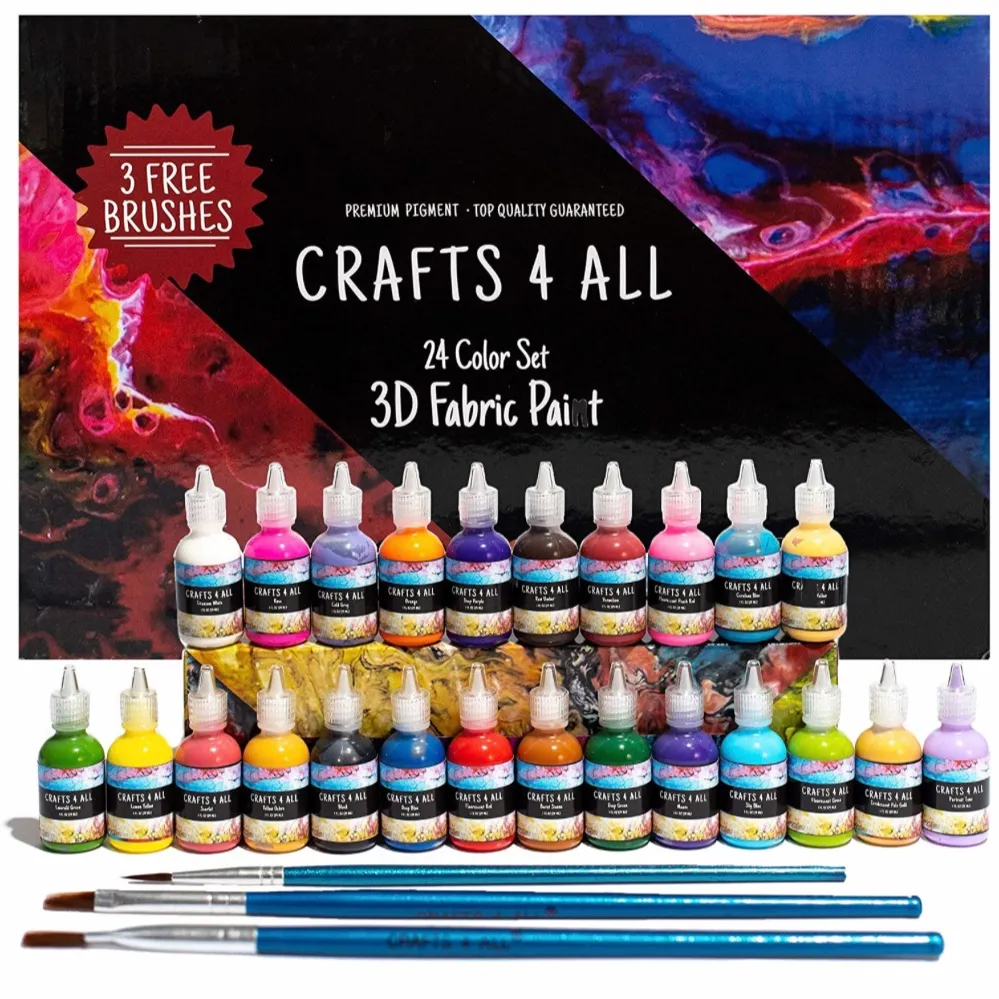
>Pros: Lots of colours to choose from, can be applied directly from the tip for a 3D effect, includes brushes
Cons: Colours will need to be squeezed out into a suitable container before use, may be too many colours to choose from in a starter kit.
This kit contains 24 non-toxic and washable shades that can be used straight from the tip to create a 3D effect or with a brush for a 2D effect. They are machine washable and the kit contains three good quality brushes.
3. I Love To Create Tulip Dimensional Fabric Paint Set
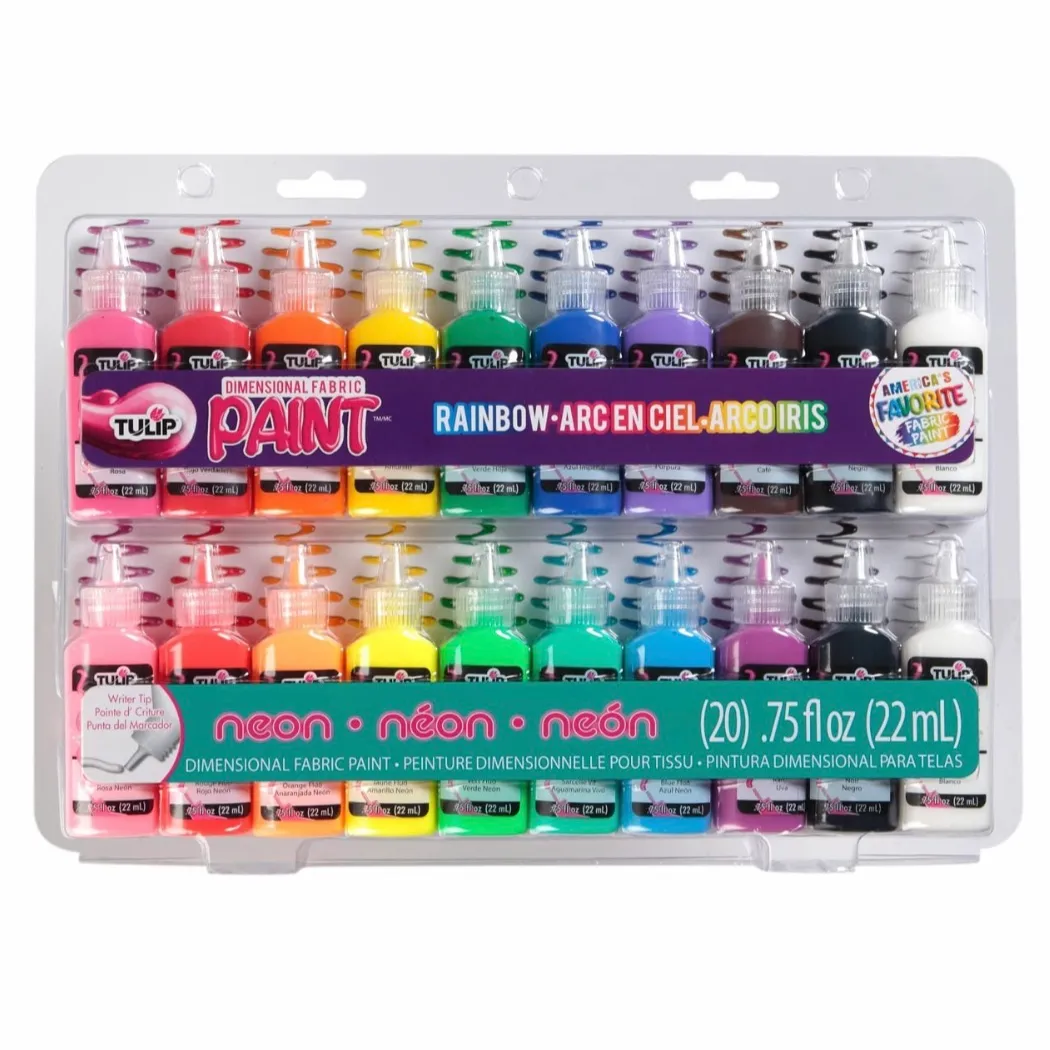
Pros: Modern colour selection including some neon colours, easy to use tips for 3D effects Cons: No brushes included and no storage box This kit has 20 easy-to- squeeze bottles that are ideal for creating lines, dots and details to projects. They dry permanent and can be used on hard surfaces too such as glass and wood.
4.Marabu Textil Neon Set
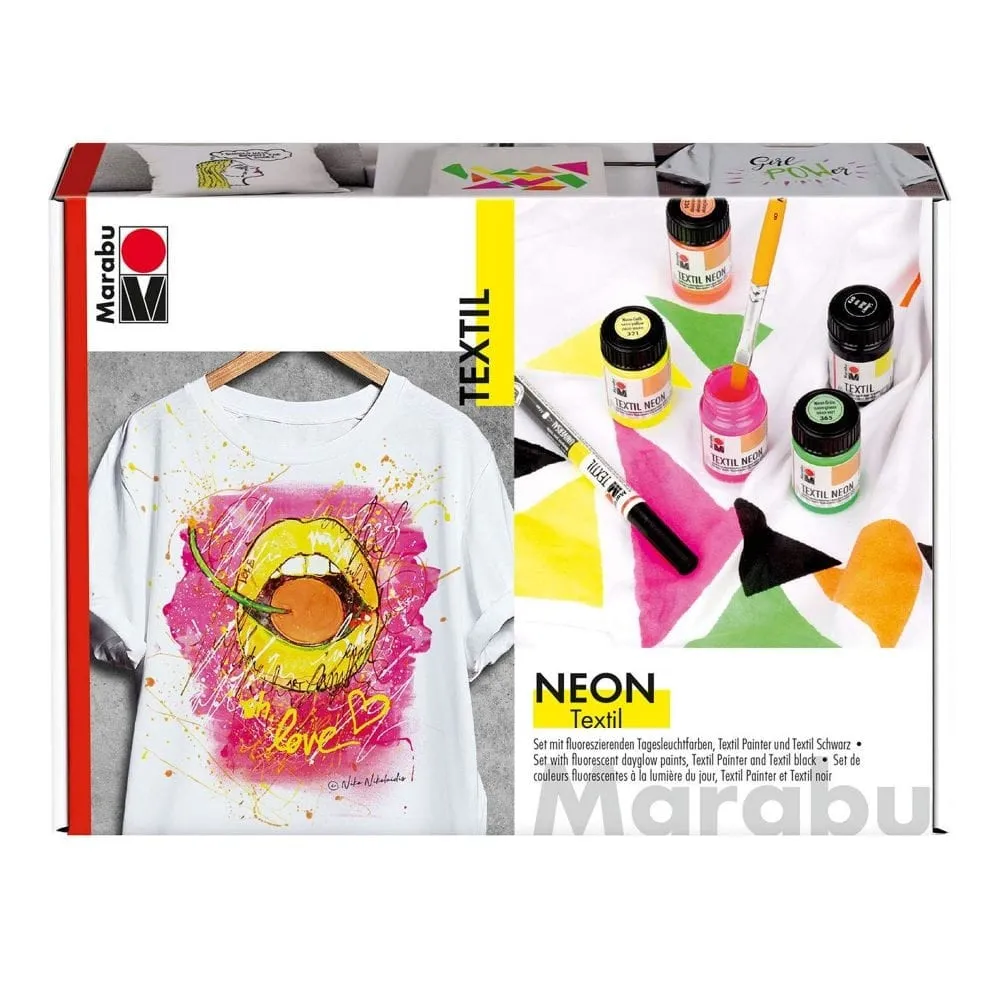
Pros: Vibrant, water-based colours, includes an ideas sheet and black marker pen
Cons: Limited colours
This fun kit features four neon paints, one black paint and a black marker pen to create striking designs. This is an online exclusive kit with also contains a brush and comes with an ideas sheet to get you started.
5. Baker Ross Fabric Paint Pots
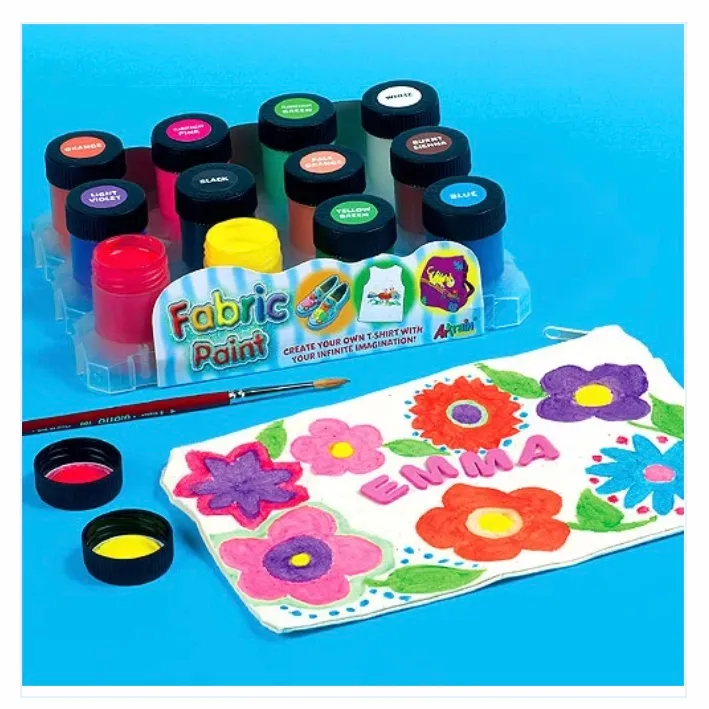
Pros: Great price, lovely colours, easy to open for small hands.
Cons: No brush or storage box included. Small pots. This is a great economical starter kit for those little ones that want to try their hand at fabric painting. There are 12 small pots that can be easily handled and opened in lovely, bright colours.
How to remove fabric paint
It’s best to tackle the stain as soon as possible. If the paint is wet then you have a lot better chance of removing it successfully. It’s best to soak the area with a mixture of water and washing up liquid. Let the stain sit in the solution for a few minutes then scrub with a sponge. Once the fabric paint is removed then rinse in water.
If the fabric paint has dried it will prove a little more tricky. Firstly, try and scrape off as much as possible then apply an alcohol-based solvent (such as isopropyl alcohol). Scrub with a bristled brush then machine wash the garment on a cold setting.
How to do fabric painting
This idea features a stencil and simple lines. It's a perfect beginner's fabric painting project as the main body of the design has already been created for you. Using a stencil and craft tape for the design will help you get a feel for the fabric paints and help you gain confidence before trying a design of your own. Step 1
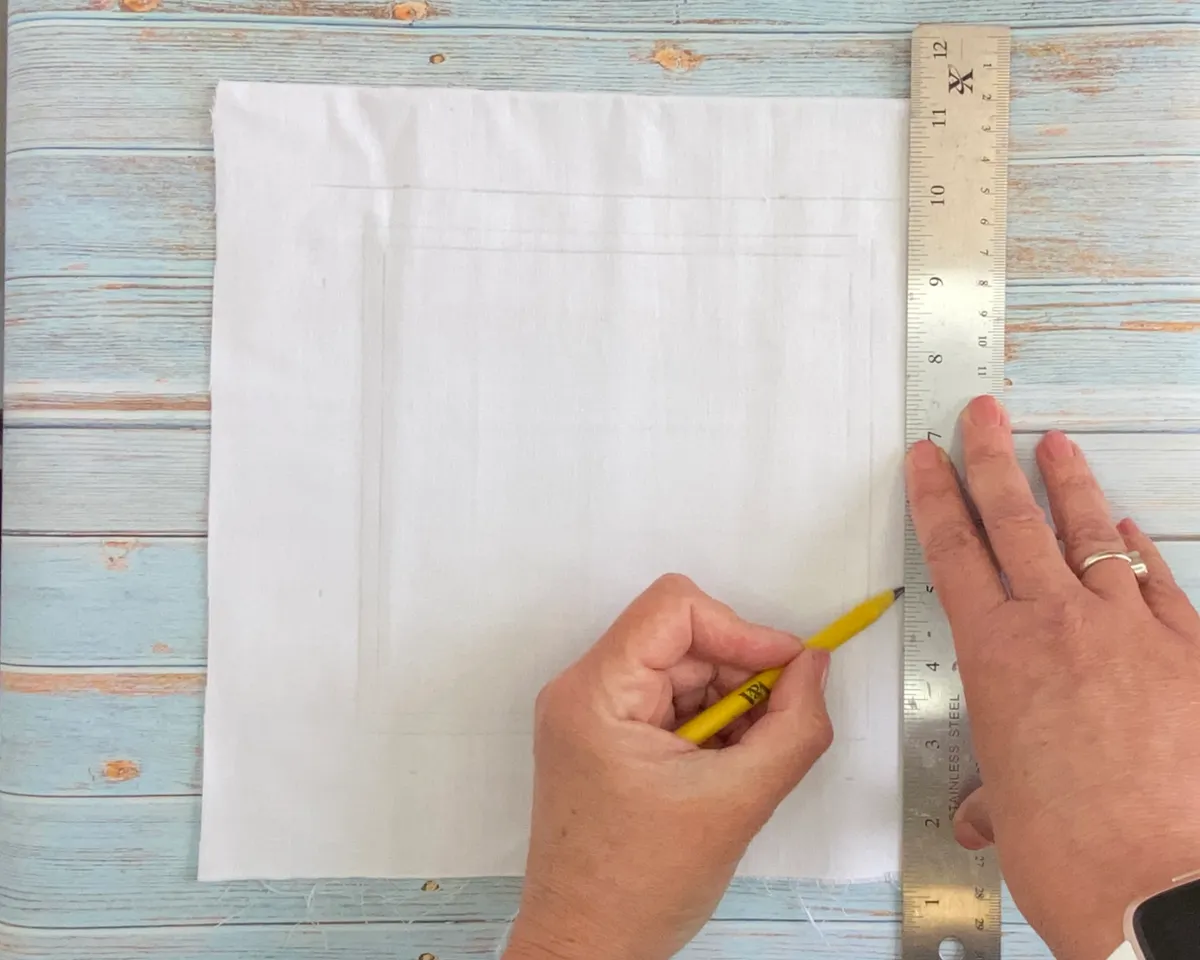
Lightly draw out your design onto your chosen fabric with a pencil and ruler. Choose your fabric paint colours and pour a little of each colour into a suitable holder.
Step 2
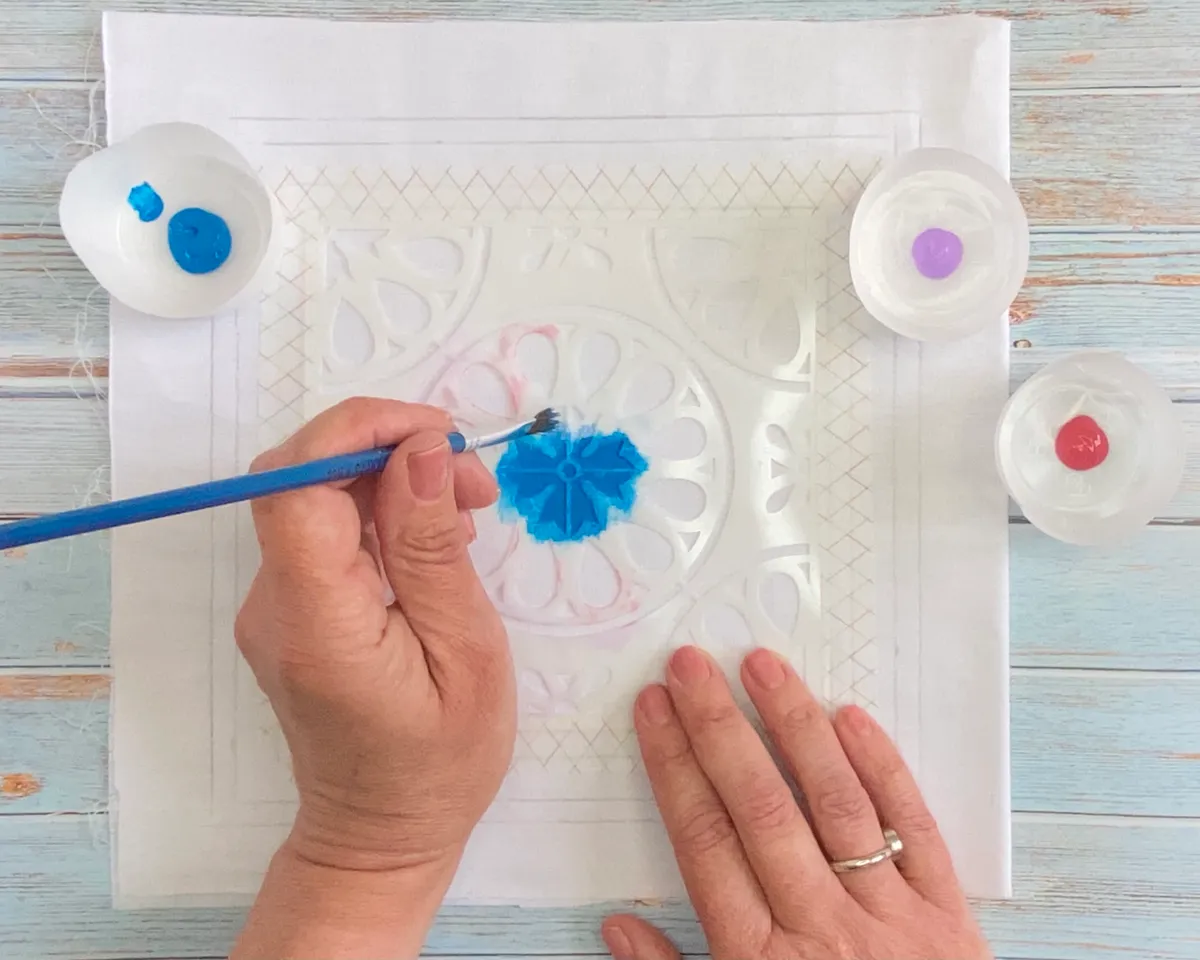
Tape the stencil in place in the centre with craft or masking tape. Working from the inside outwards, use the end of a flat brush to apply a small amount of fabric paint through the stencil. Work up and down in a stippling motion. Step 3
Step 2


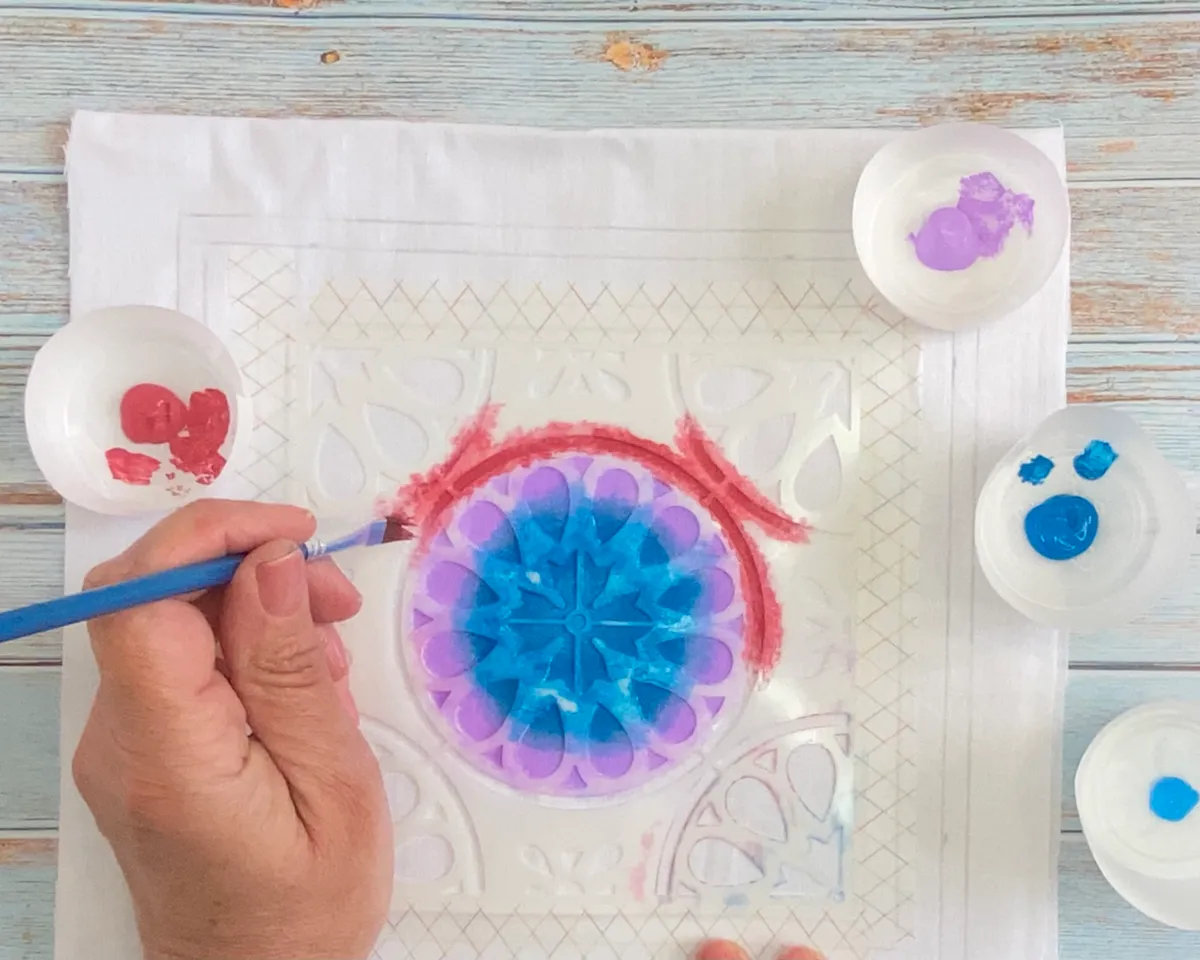
After your first colour has been applied, wash your brush then add another colour. Repeat until the whole stencil has been filled.
Step 4
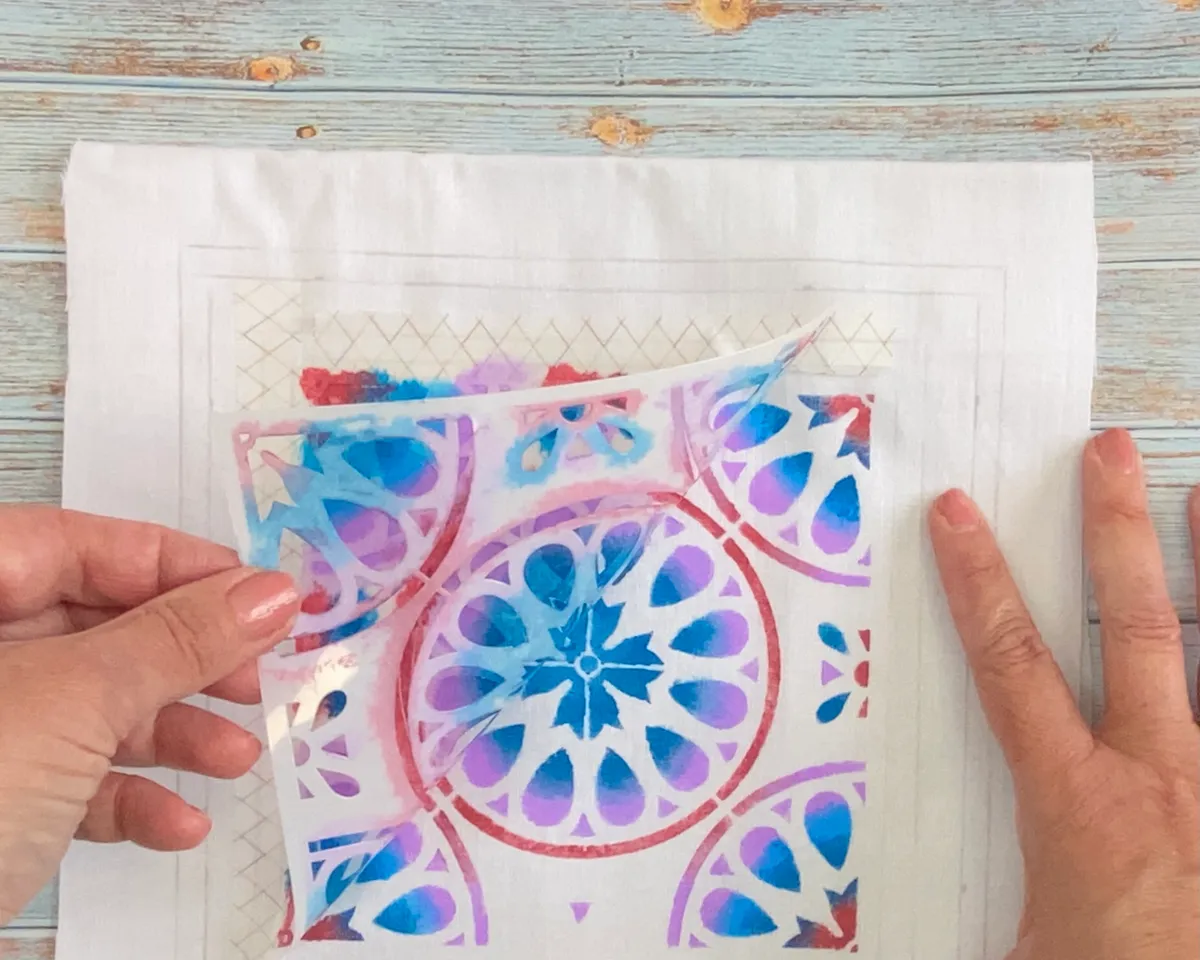
Carefully peel off the craft tape to remove the stencil and wash it. Leave the design to dry thoroughly.
Step 5
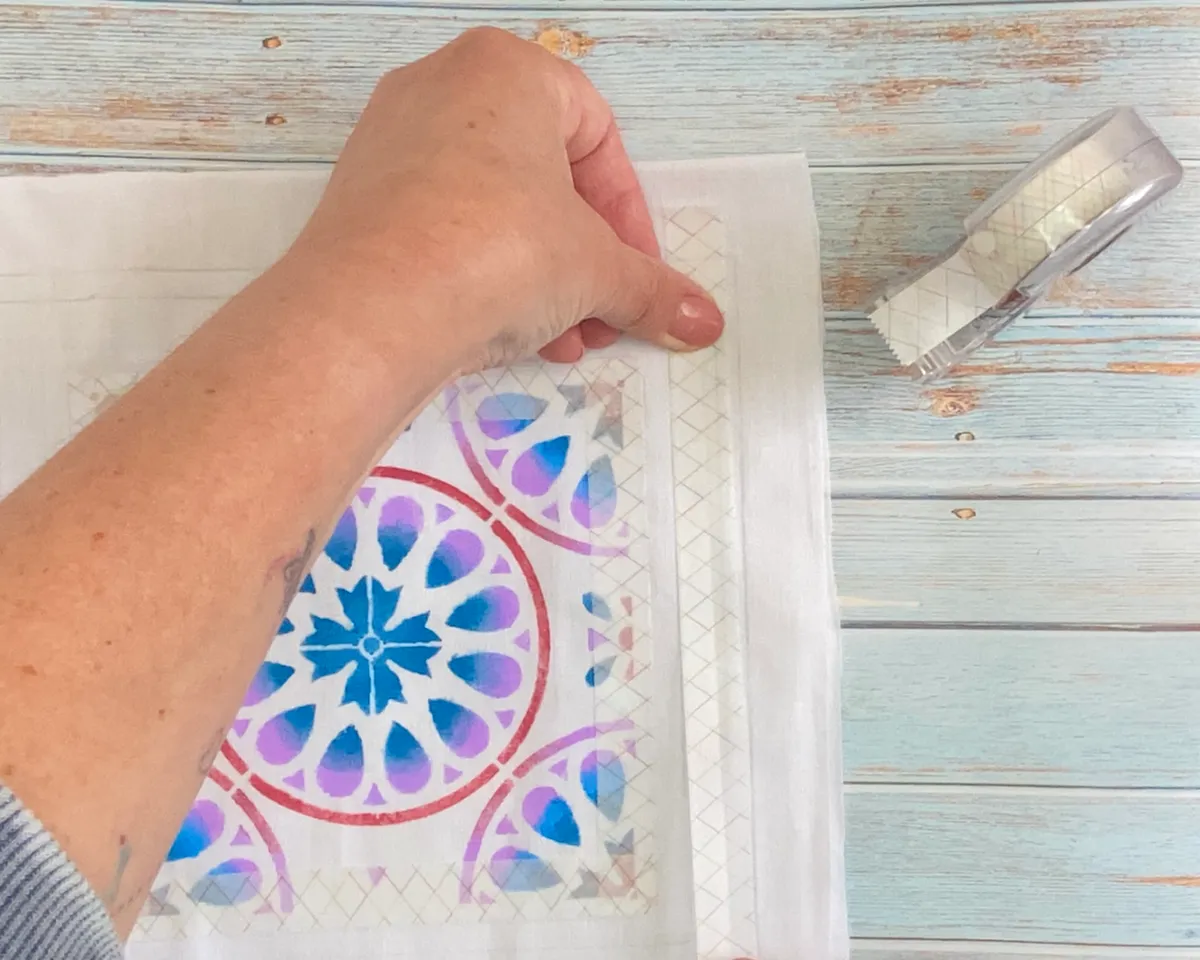
Use craft or masking tape to create lines around the design. Make sure the tape is completely flat and there are no gaps. Step 6
Step 5


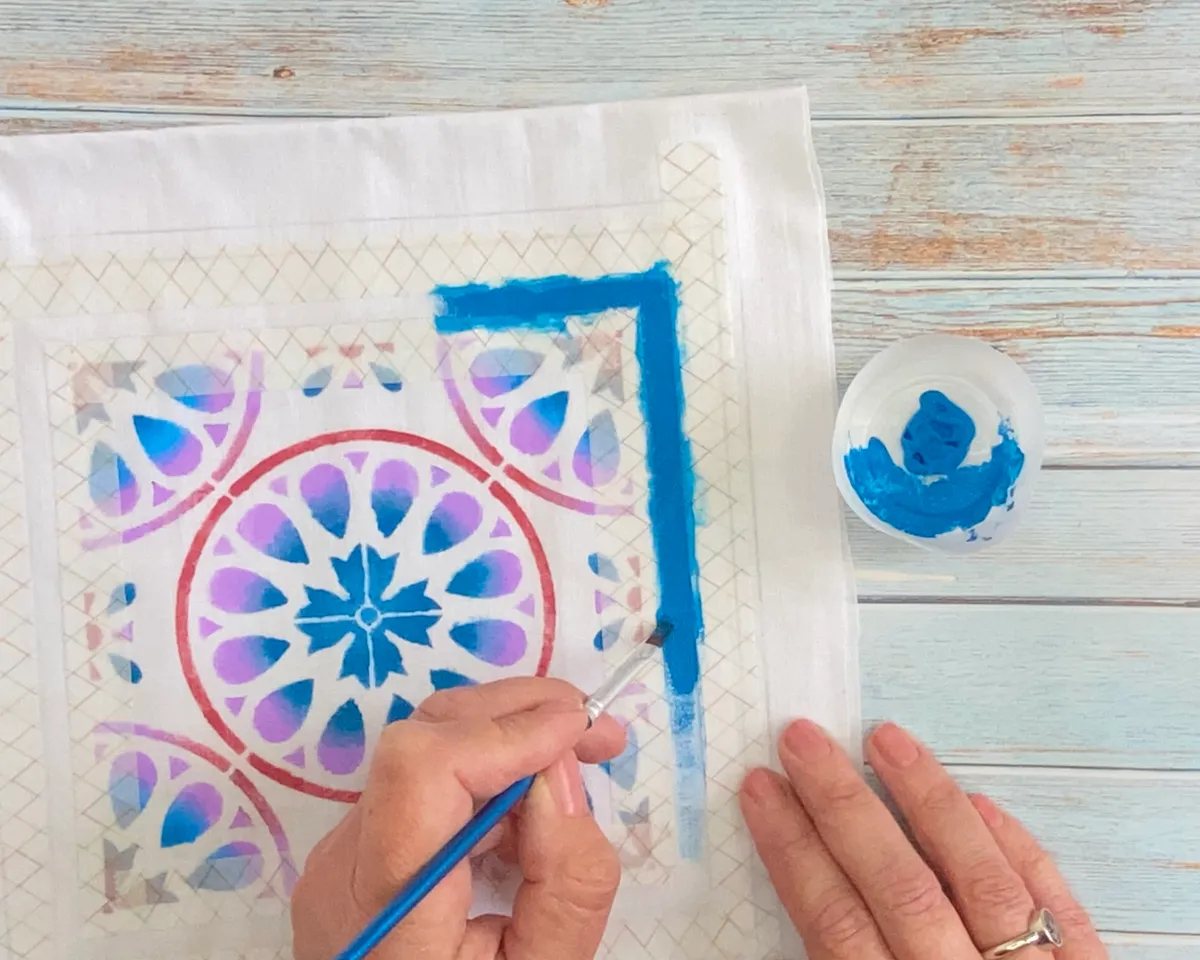
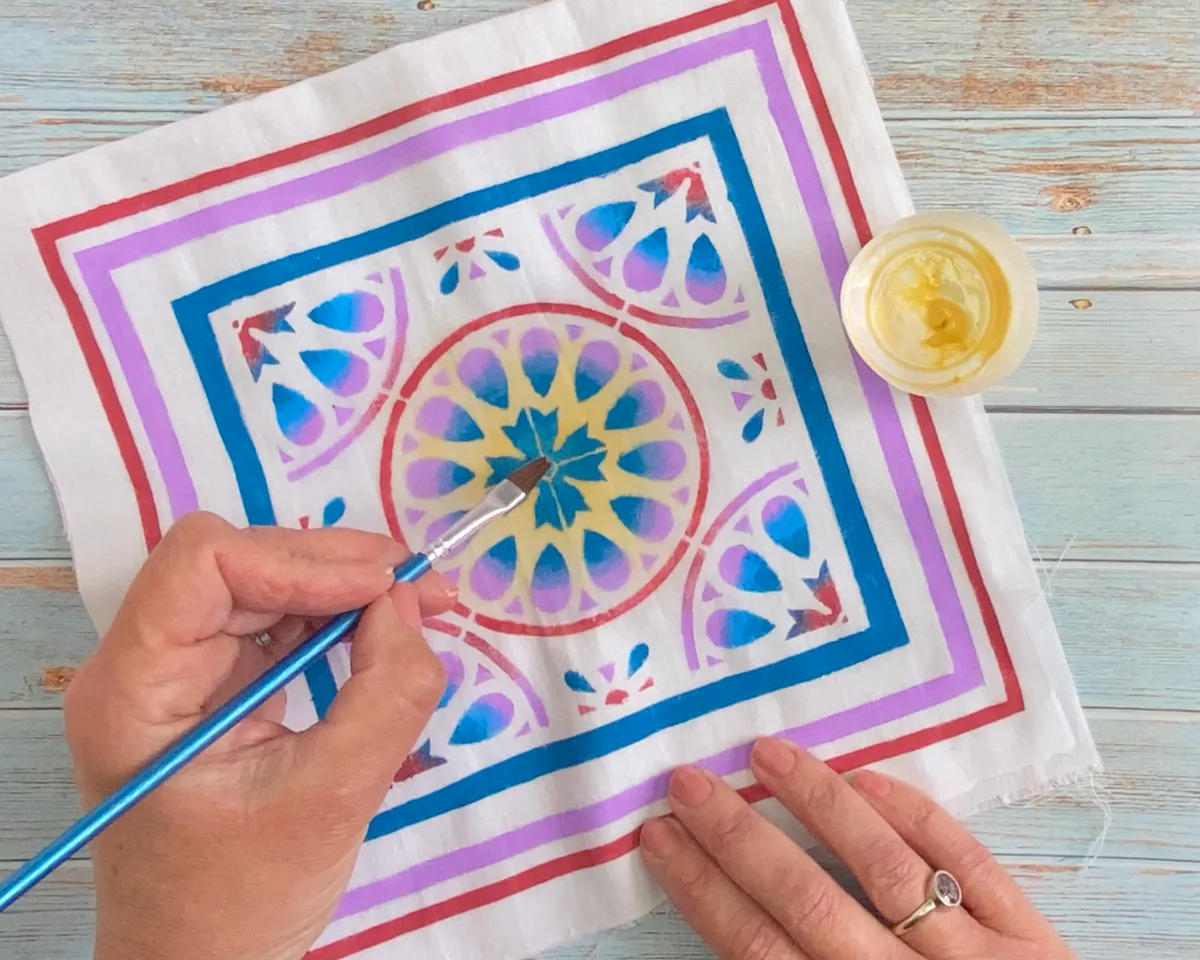
Use a small flat brush to apply a thin layer of fabric paint in between the tape. Work up and down the line in short strokes. Step 7


Step 5


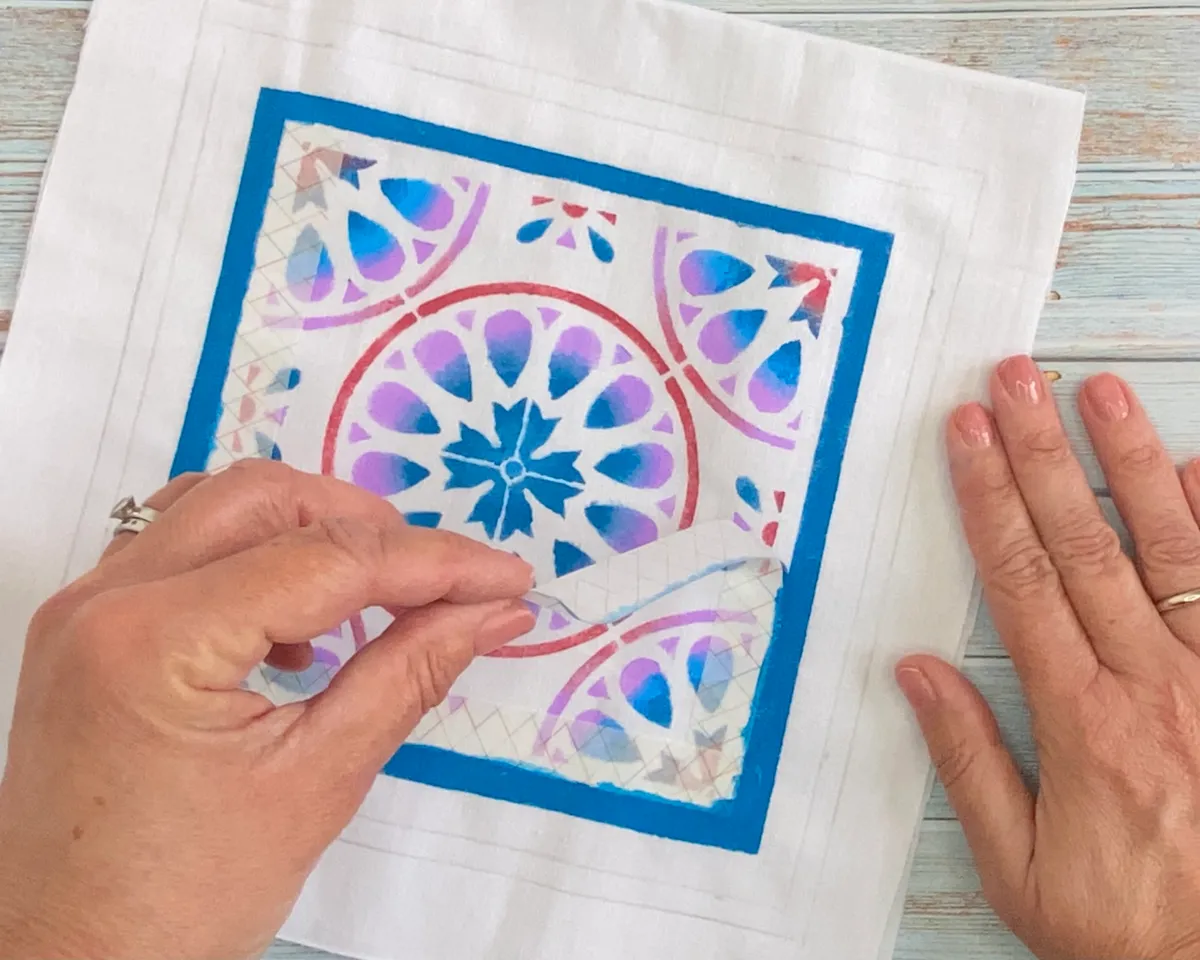
Remove the tape then allow the fabric paint to dry. Repeat the process twice more to complete the design. Step 8


Step 5


Dilute a little fabric paint with water then spritz water on the design where you wish the paint to be applied. Apply the fabric paint sparingly to your chosen areas then leave to dry. Step 9

Step 5


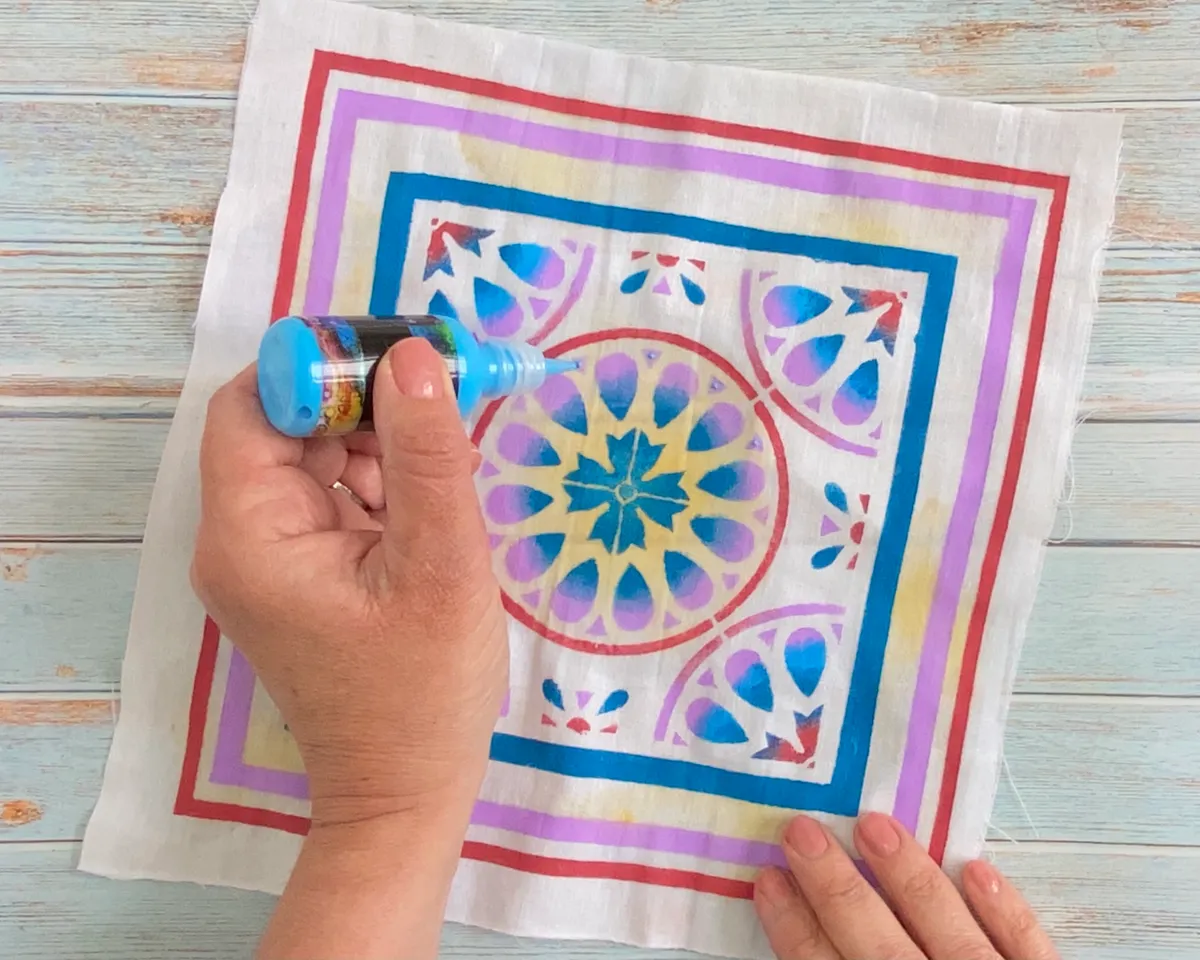
For a 3D effect apply small dots of colour to the design using the tip of the fabric paint bottle (if you have the bottled version).
Finished!
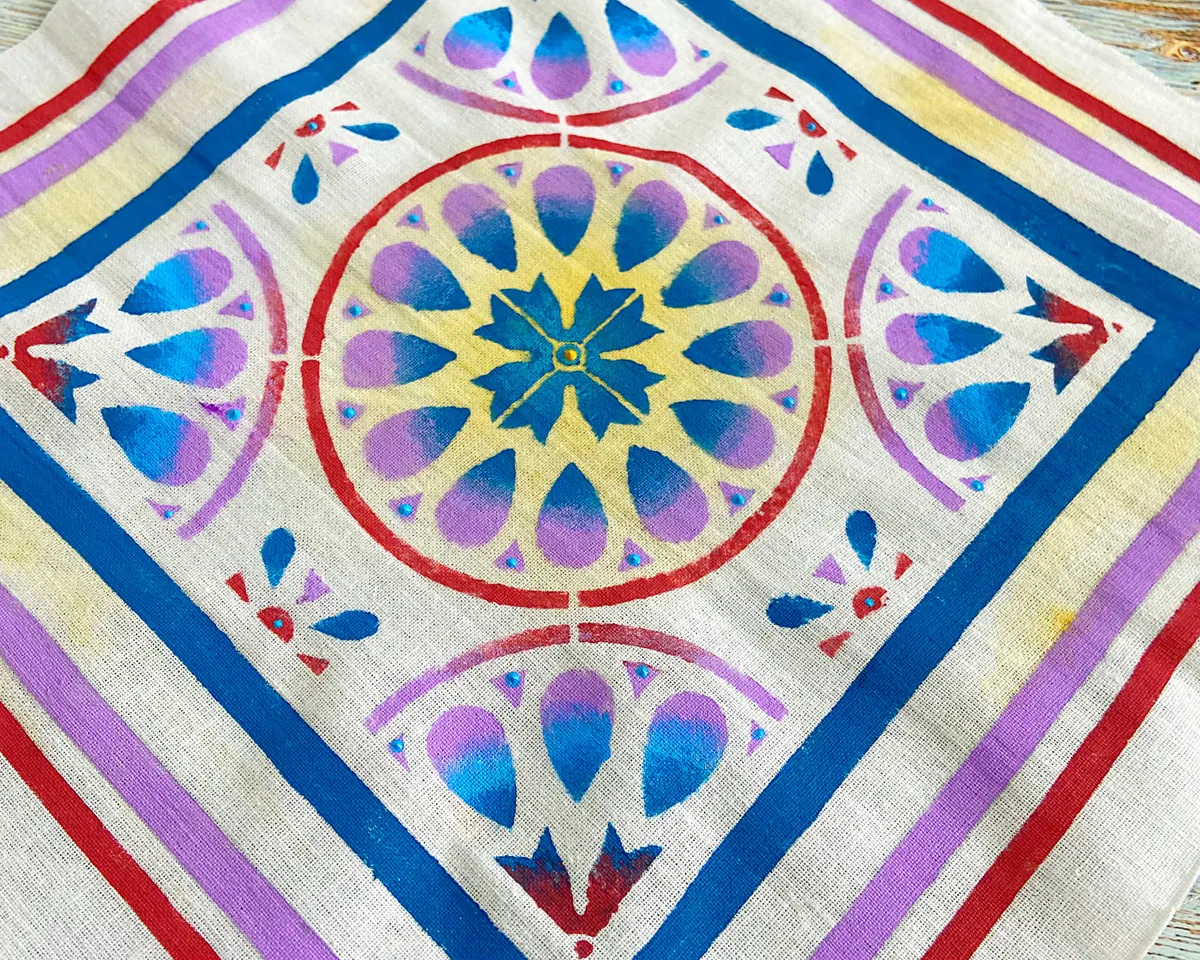
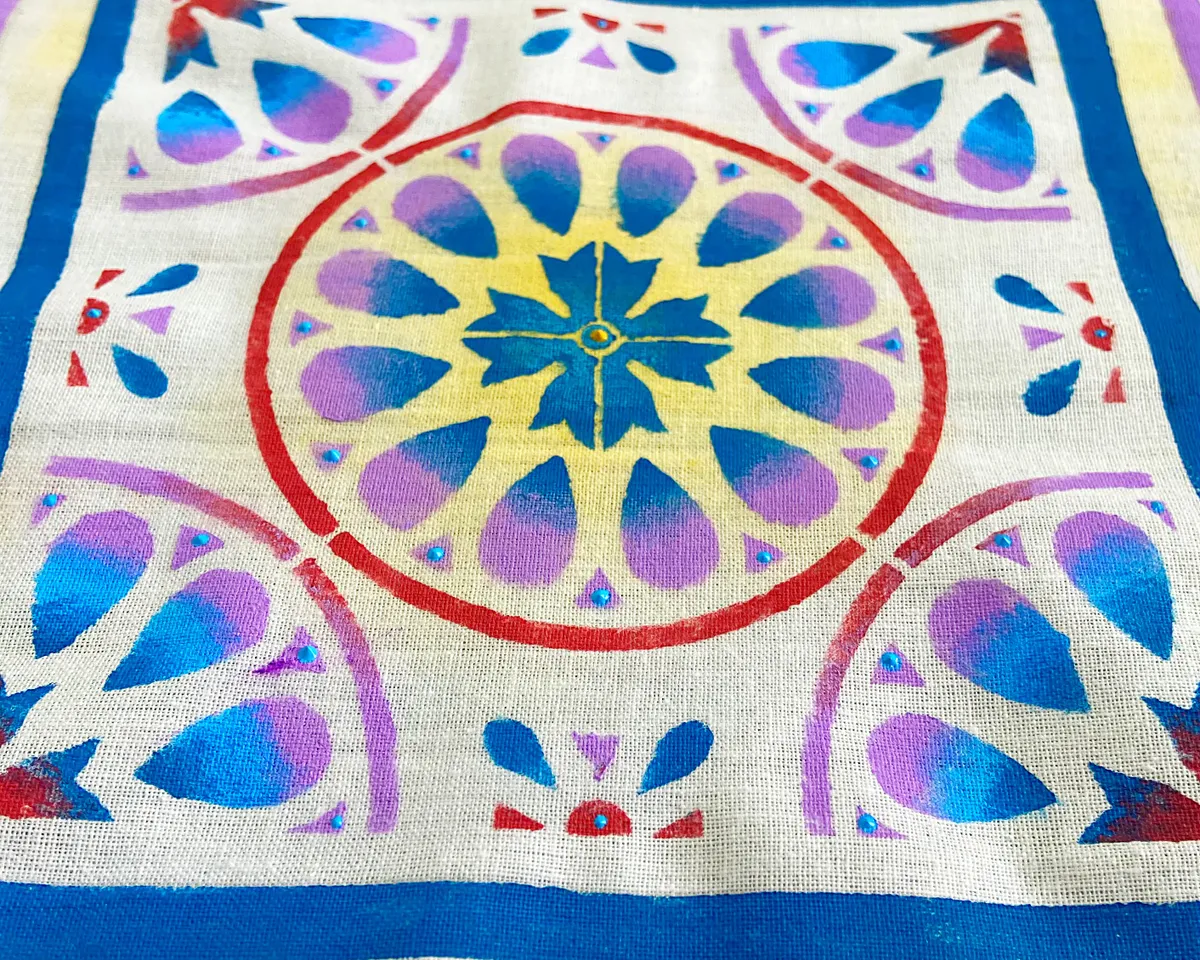


We hope you've enjoyed learning how to do fabric painting! We have plenty of art tutorials here on Gathered for you to make. Head over to our beginner’s guide to gouache and Beginner's Guide to Pottery to learn more crafts.
