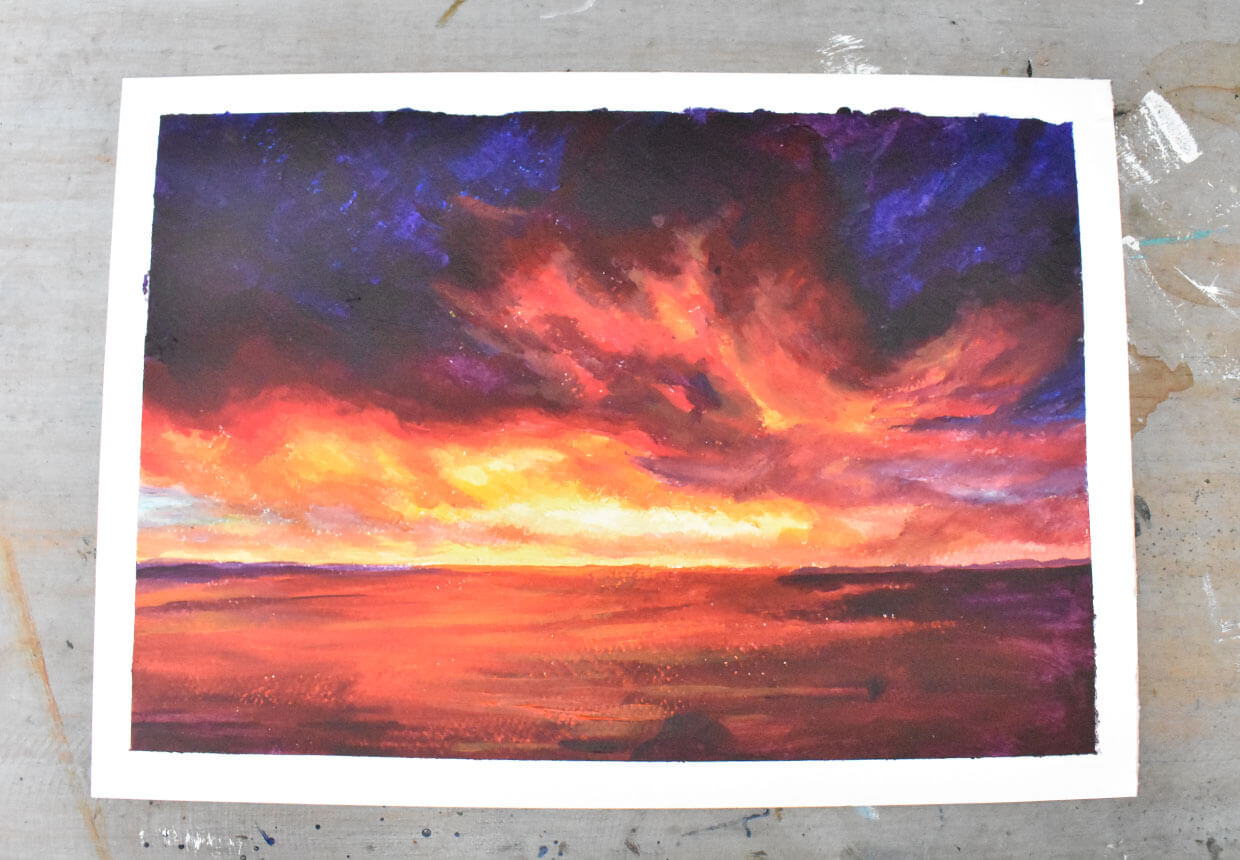
How to create a spectacular acrylic sunset painting
All products were chosen independently by our editorial team. This review contains affiliate links and we may receive a commission for purchases made. Please read our affiliates FAQ page to find out more.

How to create a spectacular acrylic sunset painting

Sunsets are an endless source of inspiration – and each one is unique! Learn how to paint a sunset with our easy tutorial

Try our magazines – get 6 issues from just £9.99!

Published: September 19, 2022 at 6:00 am

Acrylic sunset paintings can capture the unique beauty of one of the most dramatic landscape scenes. Vibrant and fast-drying, acrylic paints can bring the evening sky to life, making a gorgeous set piece for your home.

Every sunset is unique and you’ll notice that they look different at certain times of the year. Autumn and winter sunsets can be particularly striking with fiery colours and dazzling rays bursting through the clouds. Once you try sunset painting, you’re bound to become a dedicated sunset watcher.

Using acrylic paint can seem a little daunting at first – especially as features such as clouds or reflections over water can be a little tricky. So in this easy tutorial, we’ll show you how to approach an acrylic sunset painting, so that you can master the art of recreating the magic of last light.

You’ll learn how to plan your sunset painting, how to blend the paint to create beautiful clouds and how to build up layers of paint in stages.

Top tips for your acrylic sunset painting

If you haven’t used acrylic paints before, it can take time to get used to the medium, but it’s well worth the effort! Get started with these expert tips…

  1. Acrylics dry really, really quickly: Blending with this type of paint can be difficult. Work with this element of the paint, rather than fighting against it, by painting in lots of layers.
  2. Blend, then combine colours on your palette: Once you’ve blended two areas of colour, simply combine the two on your palette, and use that colour to blend between them again. This is really helpful when painting features like clouds.
  3. Start with the lightest areas: If you want an area to be bright, your base layer needs to be bright too. Bear this in mind when painting your sun, the brightest star of every sunset painting!

Materials you’ll need to create an acrylic sunset painting

To create your sunset painting, you’ll need to make sure you have the right art materials. Here are our recommendations:

Liquitex Basics acrylic paints

At the moment, we’re using a Liquitex Basics set. The coverage might be a little bit thinner, but you can get a wide range of colours for an affordable price, and the paints feel nice to use.

It’s also advisable to have a bigger tube of white paint on hand, as you will go through this very quickly.

Filbert paintbrushes

For this acrylic sunset painting tutorial, we’re using filbert brushes (which have a curved, flat tip) for blending colours together and smaller round brushes to add details (such as highlights).

A palette

Your palette is essential for mixing up the right colours before you start painting. It’s especially important for sunset paintings, as you’re going to want lots of subtly different shades for blending.

Canvas or paper

It’s your choice whether you’d prefer to end up with a painting on canvas or paper. If you decide to use paper (like I did for this acrylic sunset painting), look for a minimum of 300gsm or paper that’s for mixed media, so that it doesn’t warp when it gets wet.

We’d recommend buying a pad of mixed media paper from Cass Art, which does a good job of holding the paint.

How to paint a sunset in acrylic step by step

You will need:

  • Acrylic paints
  • Canvas or mixed media paper
  • paintbrushes
  • A palette
  • A cloth (Keep a rag or piece of kitchen paper to one side to remove excess water from your brush)
  • A jar of water (A jar of water on hand makes it quick and easy to dampen and clean your brushes)

Drafting your spectacular sunset painting

Step 1

Choosing a striking sunset photo to work from

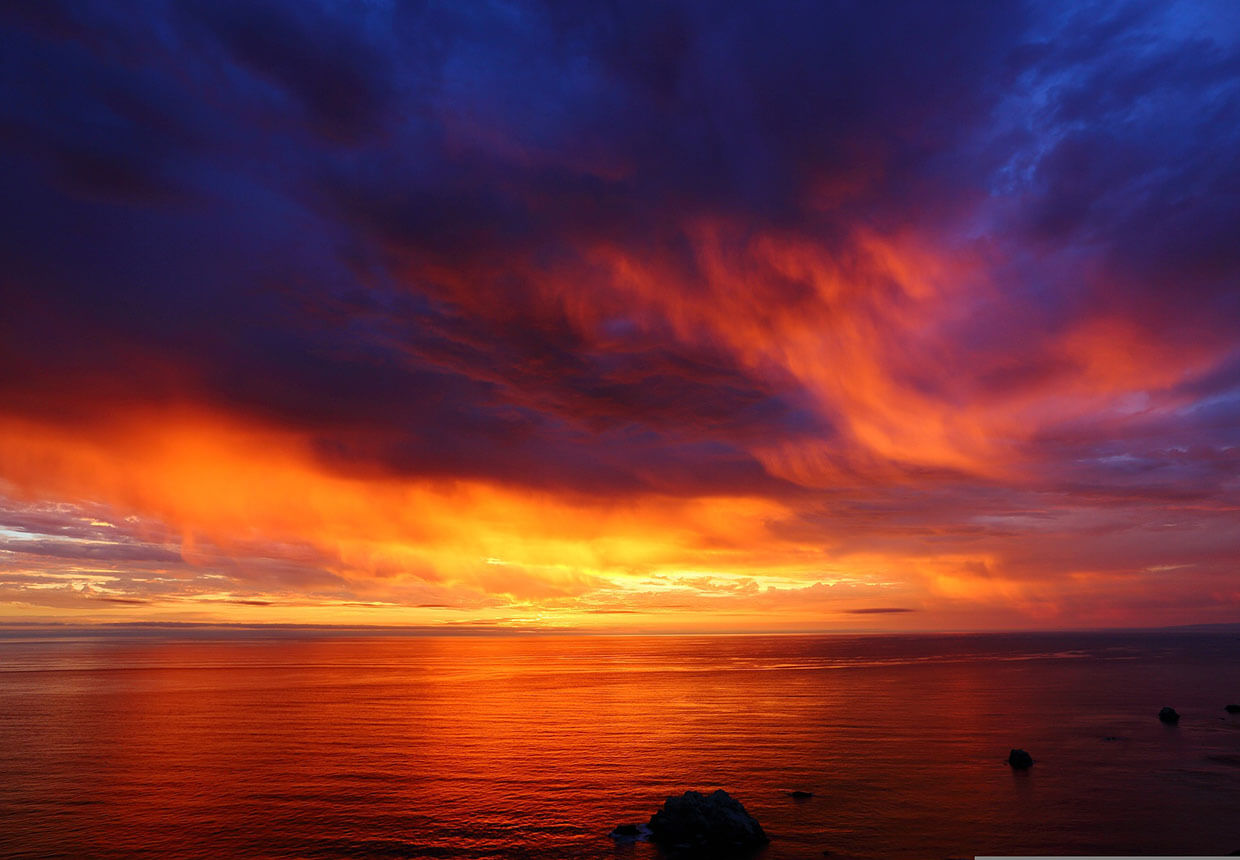
Before you get started on your acrylic sunset painting, you first need to choose a reference photo. If you haven’t taken a photo yourself, there are a few sites which offer royalty-free images you could use instead. We recommend Pixabay, Pexels, or Unsplash.

For our sunset painting tutorial, we’ve settled on this dramatic photo by KeYang on Pixabay.

Sunset photo by KeYang on Pixabay

Step 2

Tape the paper down to create a neat border

If you’re using paper, start by taping this down to a hard surface. We’re using masking tape.

Stick the tape to the surface of your desk once and peel it off again before sticking down the paper. This makes it less tacky and will stop the paper from ripping when you remove the tape.

Taping down your paper helps prevent it buckling when a lot of water is added, and leaves a crisp white border around the edge of your painting.

Step 3

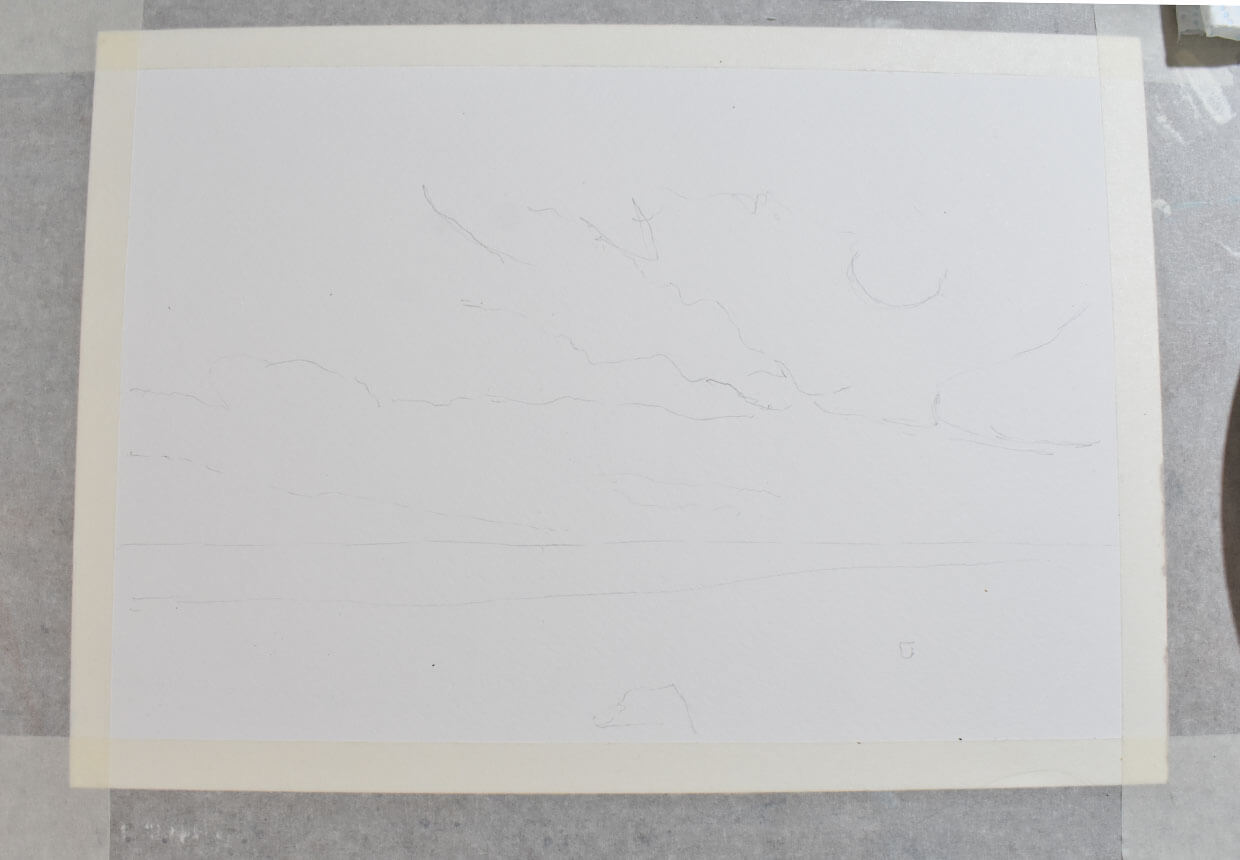
Sketch out the rough shapes of the painting

Whether you’re using paper or canvas, we’d recommend sketching in a light outline of your sunset painting before you get started.

This can be as simple as a curved line to mark the edge of a dark cloud, or a line where the horizon will go. It’ll help make sure everything’s in the right place before you begin painting.

Step 1 – sketching the sunset outline

Set the sky on fire with vibrant colours

Step 1

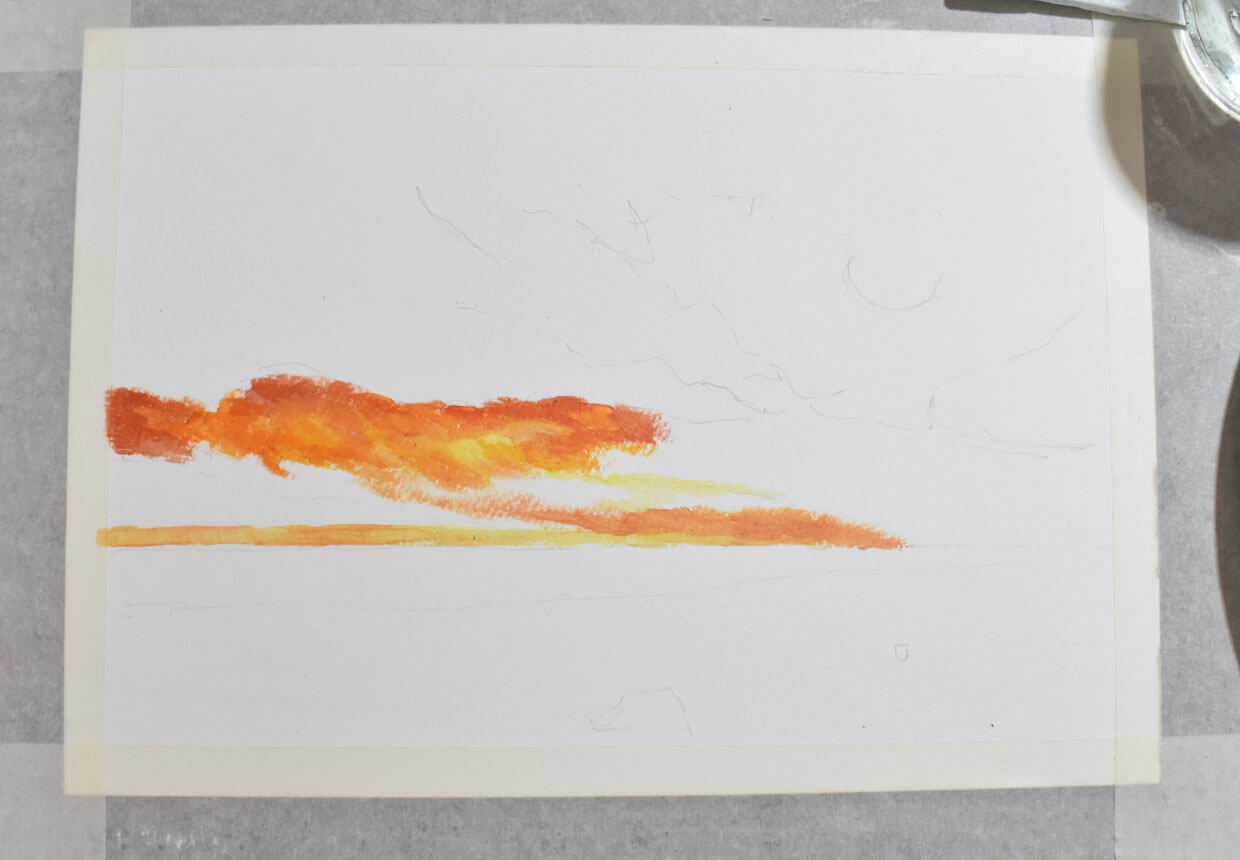
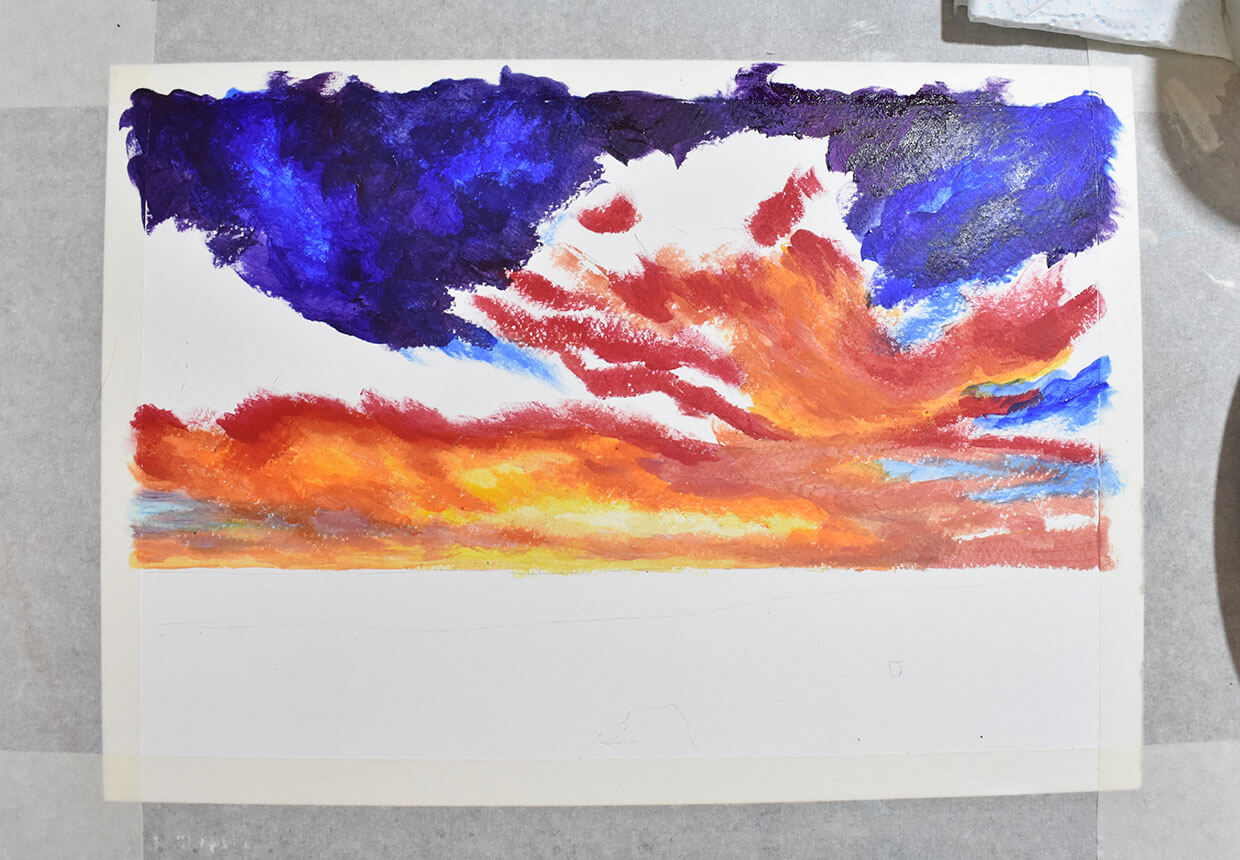
Illuminate the sky with your lightest shades

Add the very lightest colours to your painting first. This will be wherever your sun is positioned. Start with a dab of white, then add a tiny amount of lemon yellow.

From there, build very slowly up to the pale yellows, apricots, and pinks you can see in the lightest areas of your photo.

Blend the colours together by overlapping them and alternating the order you add them. Use dabbing and scrubbing motions with your brush to create a smooth gradient.

Step 2 – adding lighter colours to the sky

Step 2

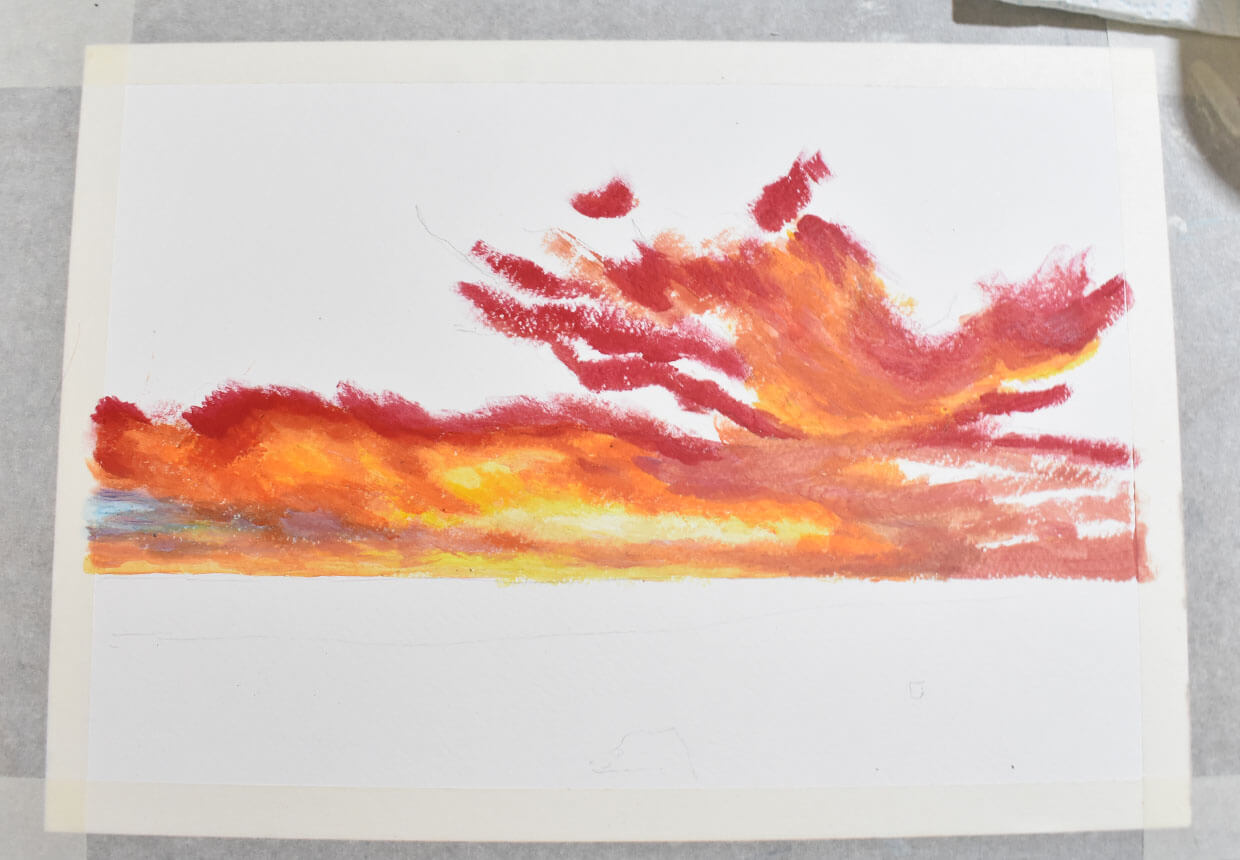
Add warmth with darker yellows, oranges and pinks

Keep building up the sky in layers, slowly darkening the colours until the lighter areas give way to deeper golds, oranges, and pinks.

Pay particular attention to the places where the sky meets the darker clouds. If you can create a darker line of reddish-pink here, you will be able to blend the edges of the clouds more easily.

Step 3 – adding red colours to the clouds

Step 3

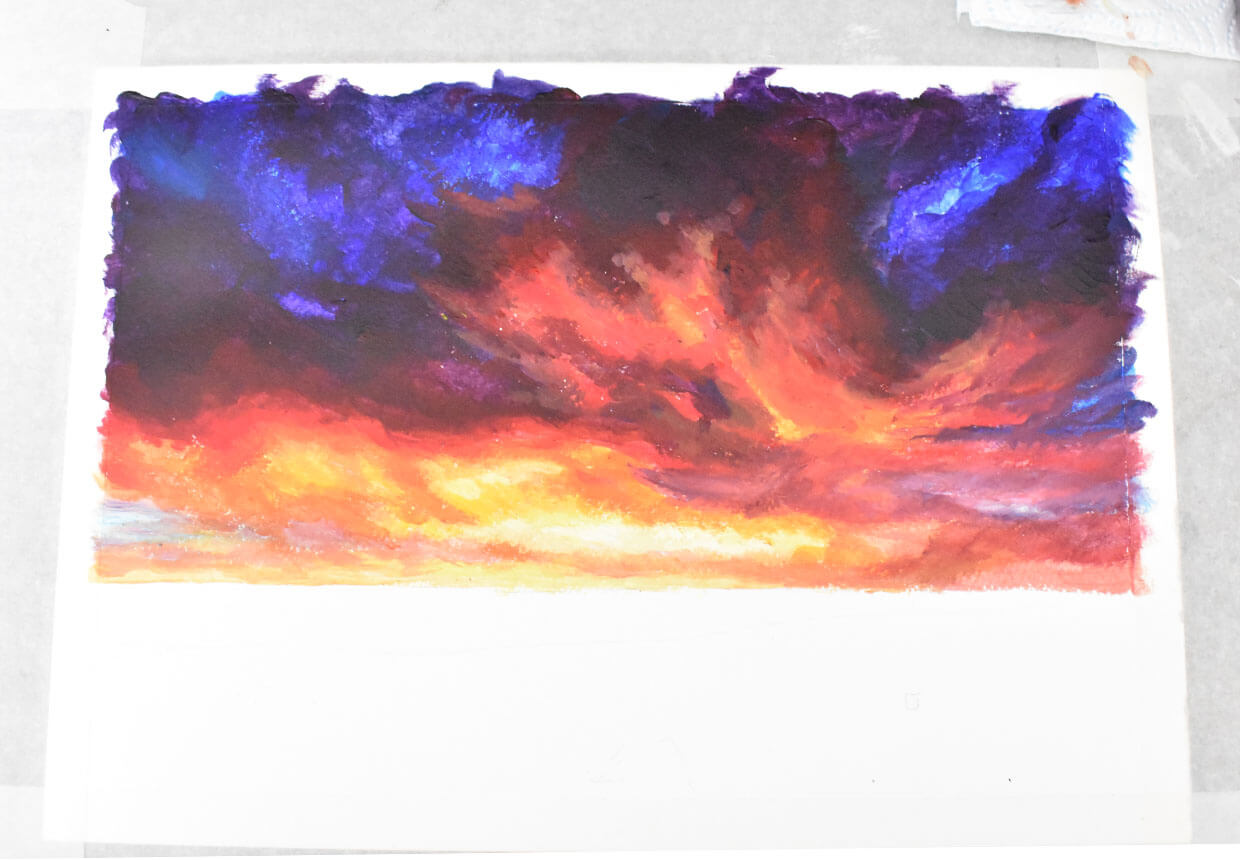
Create contrast by adding shadows to the clouds

Once you’ve got the brighter colours down, it’s time to add contrast. Start filling in the darkest areas of the clouds, before working outwards to meet the brighter sky.

Step 4 – painting shadows in the sky

Step 4

Build up layers of paint for a blended look

Getting your blending technique right will help your acrylic sunset painting to look more realistic, so pay attention to the areas where dark and light merge together.
Go back to all the places where the dark clouds meet the vibrant sky and add careful touches to make sure they’re properly blended.

Keep adding layers that are pinker and layers that are a darker purple until you’re happy.

Step 5 – blending the sky colours together

Painting the sea at sunset in acrylic

Step 1

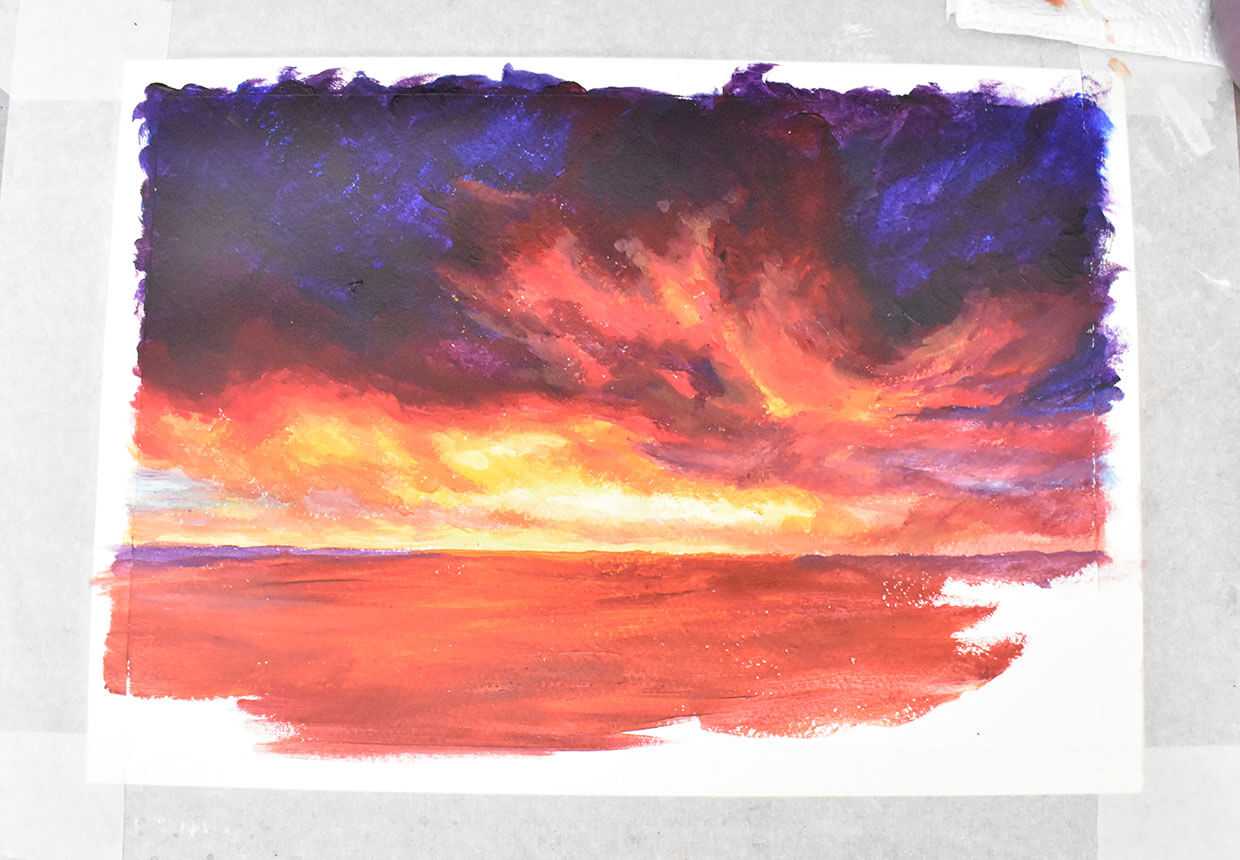
Add luminous highlights to the waves

Once the lightest colours you need for the waves are painted in, begin building up to the darker yellows, oranges, and pinks.

Starting to sound familiar? Well, that’s because we’re effectively repeating what we did for the sky, this time for the sea.

In our example, we’ve kept the sea a little bit rougher, since we want the sky to be the main focus of the painting, but the layering process is the same.

Keep adding in gradually darker shades until you’ve perfected the effect you’re looking for.

Step 6 – adding the sunset colours to the sea

Step 2

Paint the darkest areas of the sea

Just like you did with the sky, now move on to filling in the darkest areas of the sea, before blending this out into the brighter colours you just painted.

Step 7 – painting shadows on the waves

Step 3

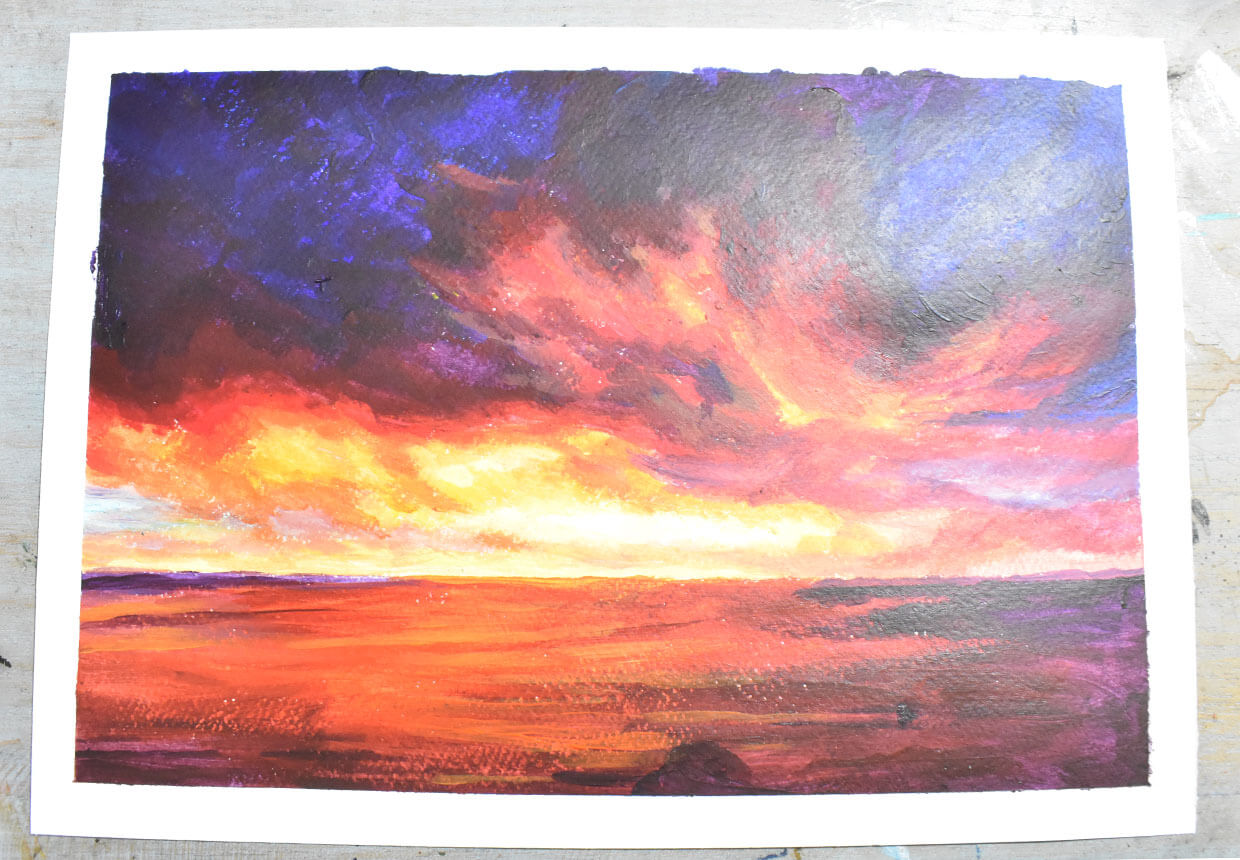
Blending the colours on the waves and adding finishing touches

Finish off your painting by smoothing out your blending with extra layers if needed, and adding in a few final touches. Look for areas that need to be a little darker, or parts you want to lighten with some highlights.

And there you have it! Your acrylic sunset painting is complete.

How to paint a sunset

Capture the breathtaking views with an acrylic sunset painting

Sunset paintings are an endless fascinating subject matter and it’s a great way to embrace the changing seasons. Return to this acrylic sunset painting guide throughout the year to capture the sky in all its moods.

Sunset painting provides you with the opportunity to practice your blending and colour mixing skills without having to be too precise. Working quickly will help you to produce beautiful gradients and paint effects on your canvas.

Once you’re comfortable with the basics of acrylic sunset painting, you can explore other landscapes using different mediums to take your artistic skills to the next level.

Paint scenes in a new medium with our watercolour landscapes guide

Watercolour paints can be used to create atmospheric landscape paintings. Portable and incredibly versatile, watercolour paints are the perfect medium to try if you want to paint a scene outdoors.

Professional artist Olly Pyle will show you how to paint a watercolour landscape with his easy step-by-step guide on Gathered.