Fussy cut quilt tops are sewn together from shapes which have been cut to show off a special part of the patterned fabric. When these parts are arranged together they add a new dimension to your patchwork patterns. If you're new to fussy cutting, we'll show you how in this tutorial.
In this post, our Deputy Editor Laura Pritchard shows you how to get fussy cutting effects with English Paper Piecing. If you've never tried EPP before, never fear! Head over to our Beginner's Guide to English Paper Piecing to swot up on the basics before you begin. You might also like our Essential Guide to Flying Geese Quilts.

A few things before we begin...
- Your free templates include a ¼in seam allowance.
- Press all fabrics well before cutting (a little starch helps to give crisp edges).
- Fussy-cutting fabric can create wastage so you may need to increase fabric quantities for a project, depending on print repeat and desired effects.
- When we say 'EPP' we mean English Paper Piecing.
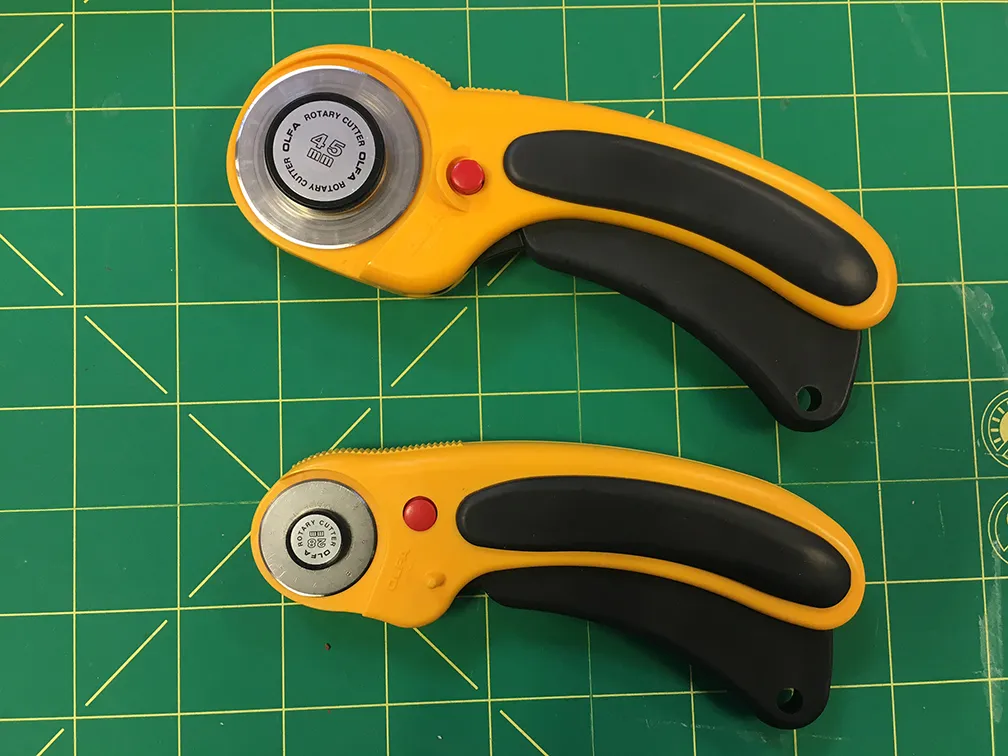
- You'll find that a small blade rotary cutter such as a 28mm, is more precise than a standard size blade.
- Download our Free Fussy Cutting Templates here
How to choose shapes for English Paper Piecing
EPP shapes are measured by the length of one side; this ensures they will tessellate when assembled together. In this case, each of our shapes measures 11⁄2in. Some shapes can be used alone and others need extra shapes to fill in the angles. The free templates include four coordinating shapes which you can use alone or mix 'n match to create interesting EPP blocks.
Choosing fabric prints
Most print fabrics can be used one way or another for fussy-cutting but some have more striking results than others. Train your eye to look at a print differently, focusing on individual shapes and elements rather than the design as a whole. These might not be immediately obvious; you may find a shape within a shape or like how the top of one element meets the bottom of another. It could even be the negative space that will create an interesting design. Here are some suggestions for the types of fabrics which can work especially well for fussy-cutting:
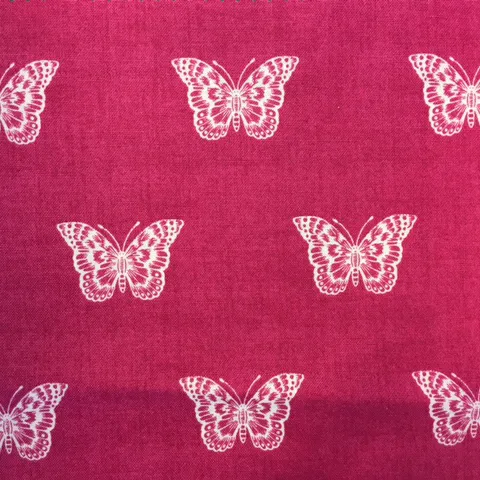
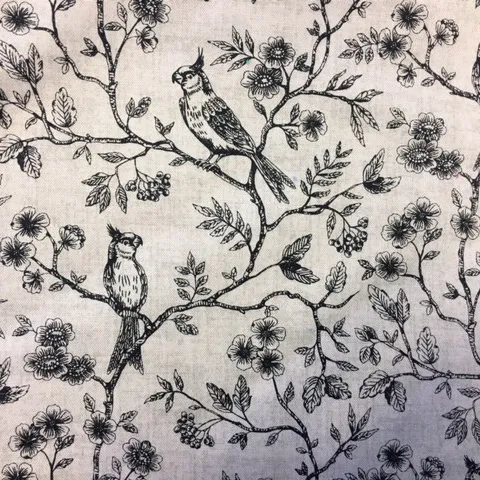
1. Prints with an isolated shape or motif
To frame and showcase a geometric shape, flower, character or object.

Fabrics by Makower UK
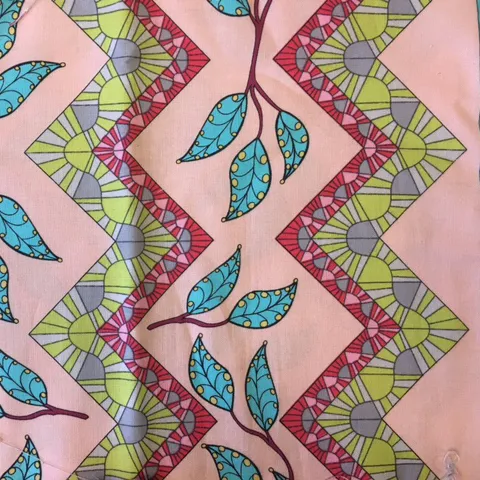
2. A single large all-over print
Contains different design elements to select from to create new shapes.
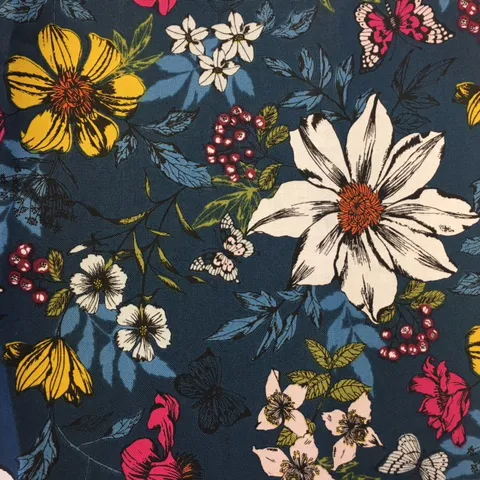
Fabrics by Makower UK
3. Stripes and similar directional prints
Can be cut horizontally, vertically or on the bias for different effects.
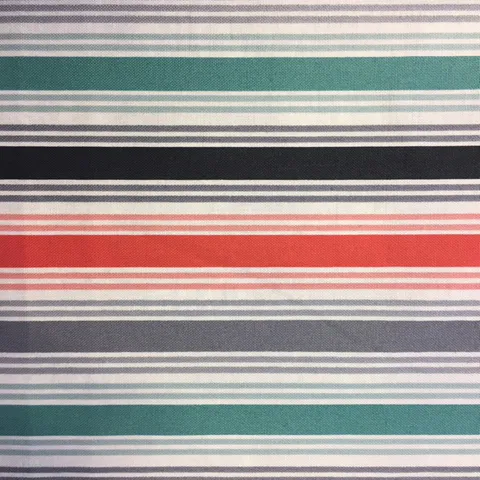
Fabrics by FreeSpirit and Makower UK
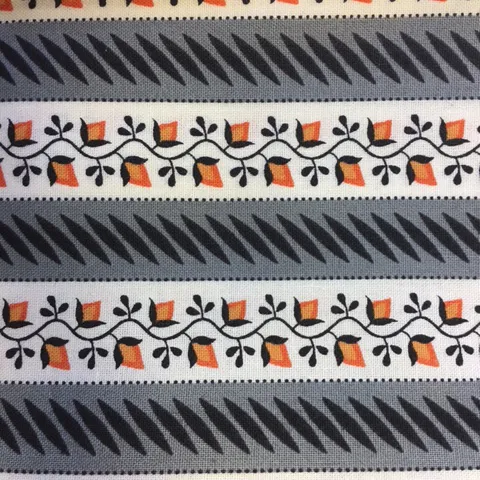
4. Border prints
Often have varied linear patterns which are easy to cut repeats from.
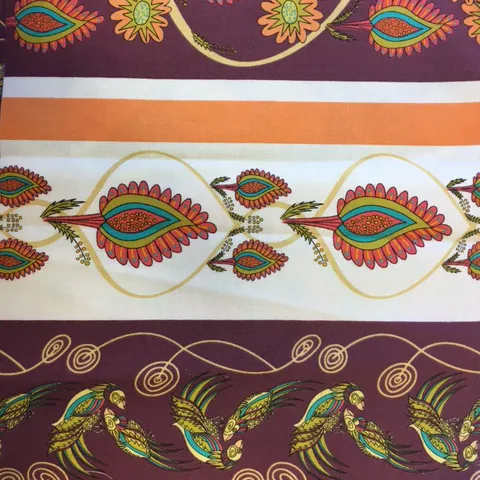
Fabrics by FreeSpirit
5. Text prints
Isolate individual words or letters to spall a name or convey a message.
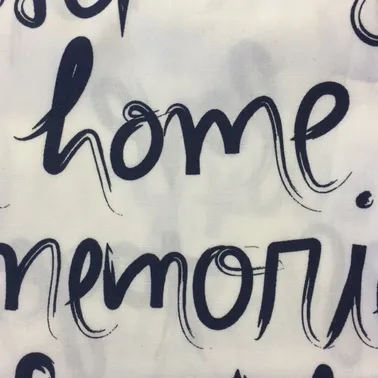
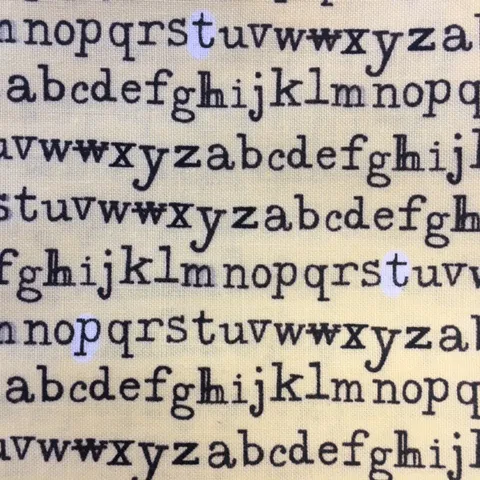
Fabrics by Art Gallery Fabrics and Windham Fabrics
Other points to consider
Scale
Is the element you want to showcase large or small enough to fit within the geometric shape? Is there plenty of space around each motif? Do you want to frame the entire shape or just a corner, or single plume?
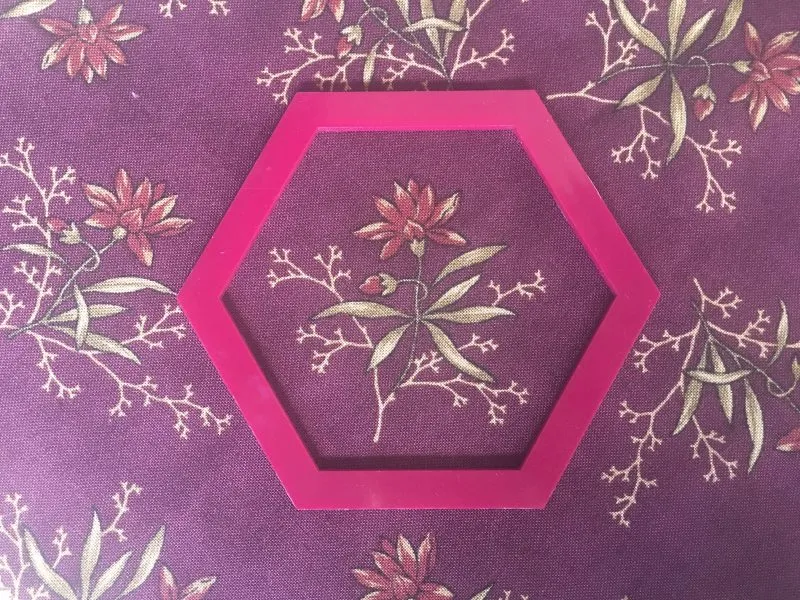
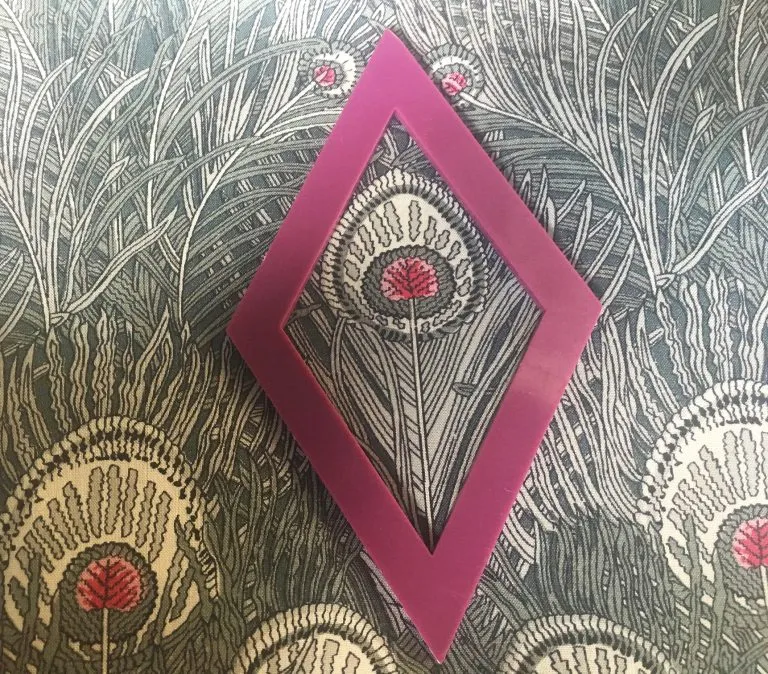
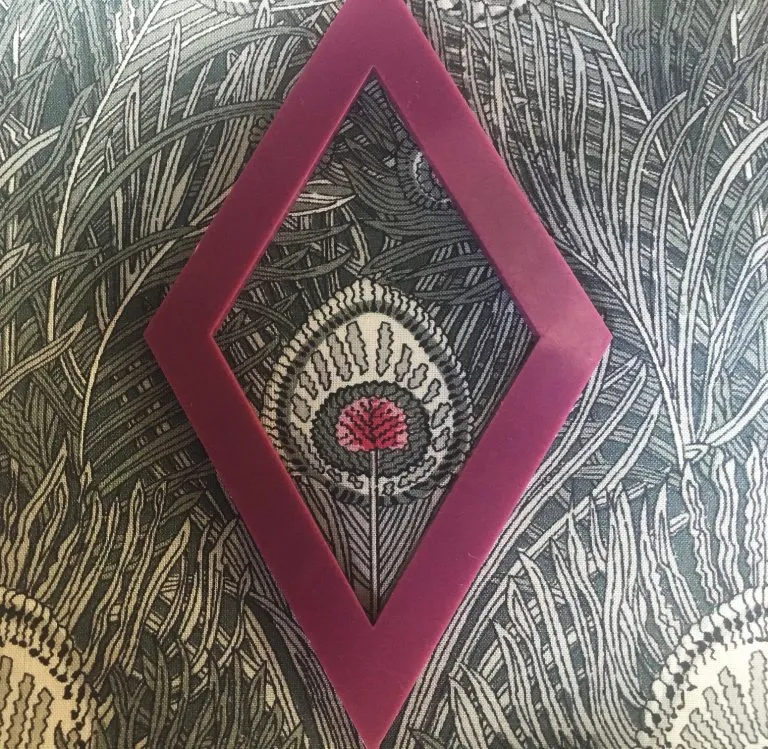
Shape
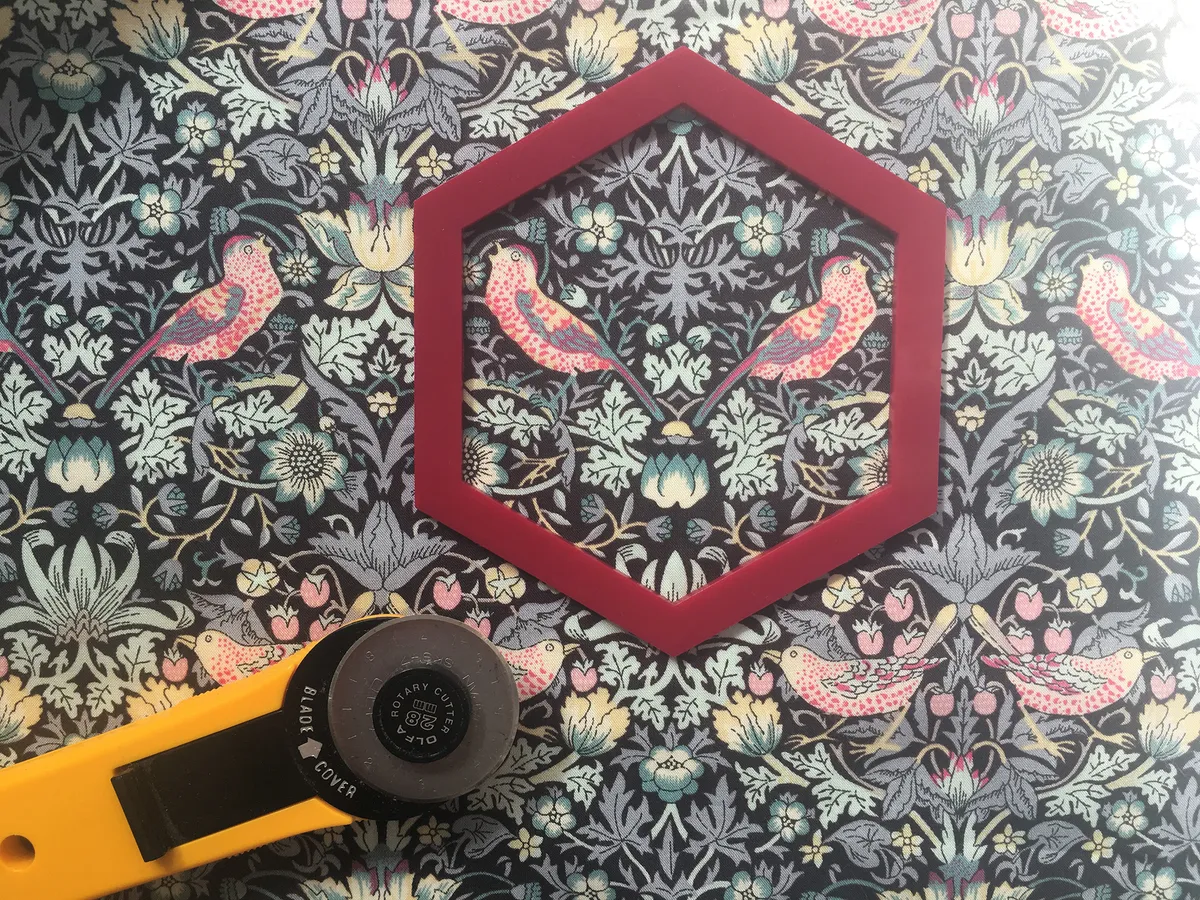
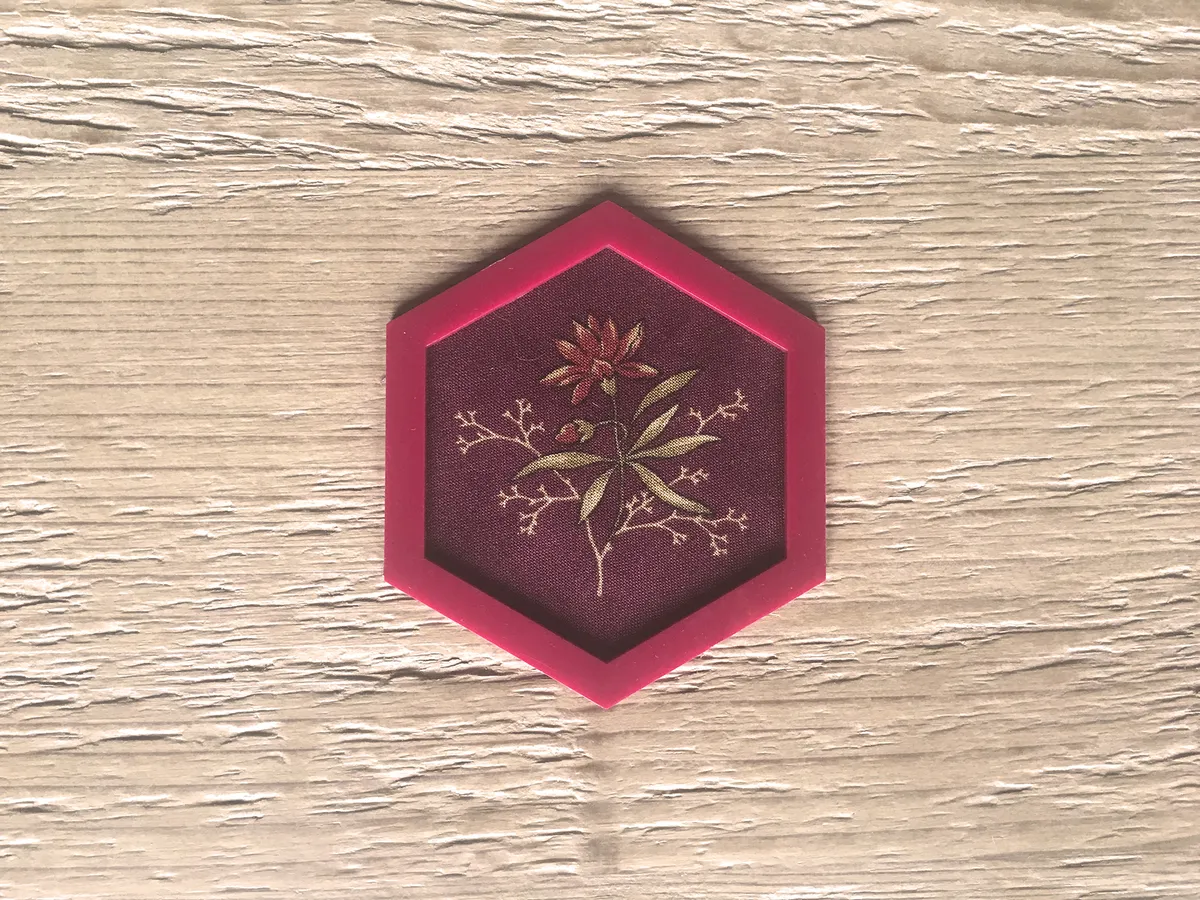
Does the motif lend itself well to the shape of the paper piece? Is it long and narrow or short and squat? For example, a feather or plant fronds might work better as a diamond and an animal head or full bloom may fit better on a rounder shape such as a hexagon. Use your templates to identify these motifs and decide which effect you like best. The images below show the same motif targeted with a hexagon and a 60-degree diamond.
.
Repeat
How regularly is the element repeated across the print? If you need to cut many of the same, you may need to buy extra fabric if they are spaced far apart, as there could be lots of wastage. Elements which are too close together may create a lot of fabric wastage, for instance, where only one petal per flower is usable, so take this into consideration when purchasing fabric.
Planning your Fussy Cut Block Design
- Decide which of your fabrics will go where, and which part of the design you are going to use for each piece. It is particularly effective to keep symmetry and circular rotation in mind for a strong composition. Keeping repeated elements facing one direction will add spinning movement or using reflected shapes can create unique effects. Using a folding mirror can help you to preview the effect of a repeated pattern.
- Having points and shapes facing towards the outside of the patchwork will create a blooming, starburst effect, or having them facing inwards will draw the eye in to the centre. Mix and matching directional elements will create a very dynamic design.
- The same fabric can look very different by selecting a part of the pattern and simply rotating it within a block. Centring it will show off the individual motif, but positioning it to one side, or in one corner, may create something more interesting when the pieces meet to create a new shape such as a star. Try moving your template over the fabric detail to find the most interesting framing. The repeated effect can be previewed with a folding mirror, or sketched onto a drawing of your block.
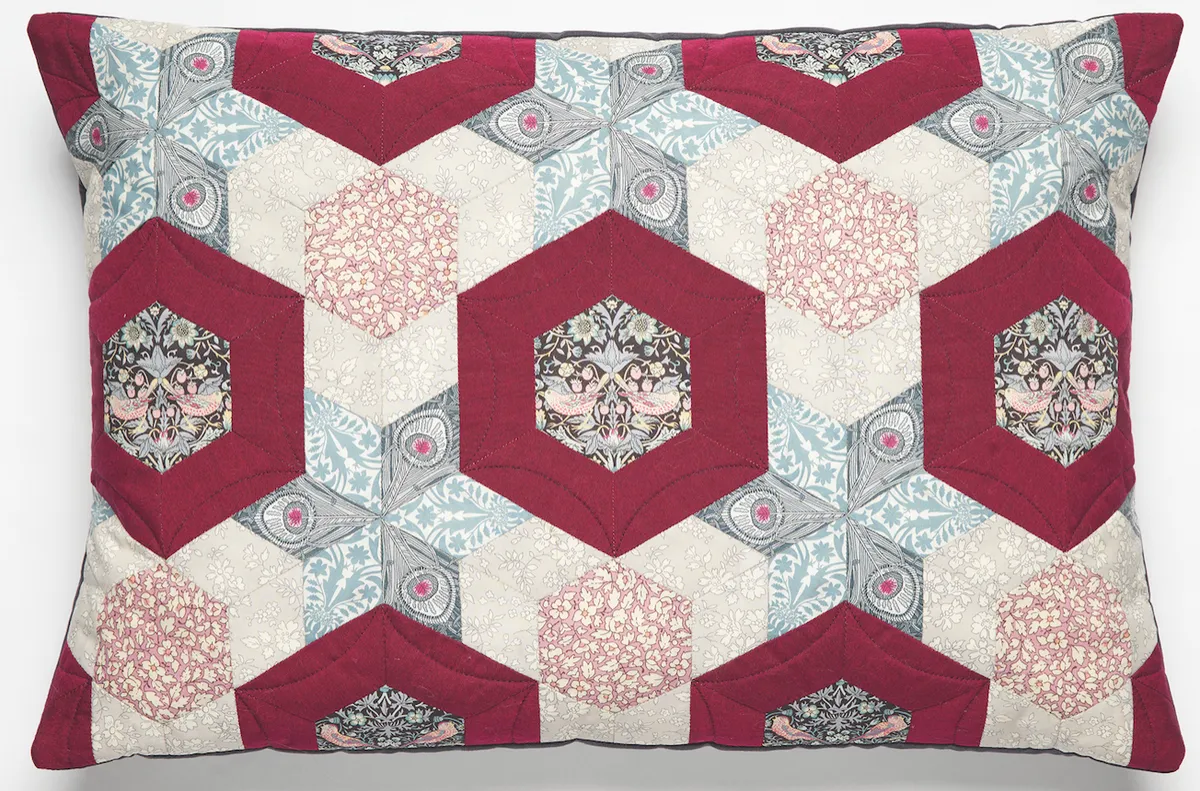
Whilst making my cushion for issue 29, I spent quite a while playing with the countless different ways I could use my fabrics. In the end I chose to use two different prints for the star shapes, with the peacock feathers facing outwards and the other print arranged in a blooming effect.
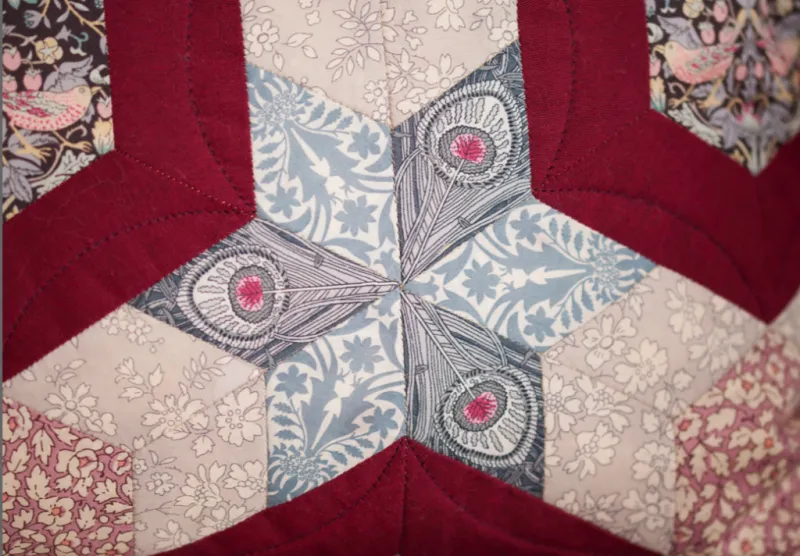
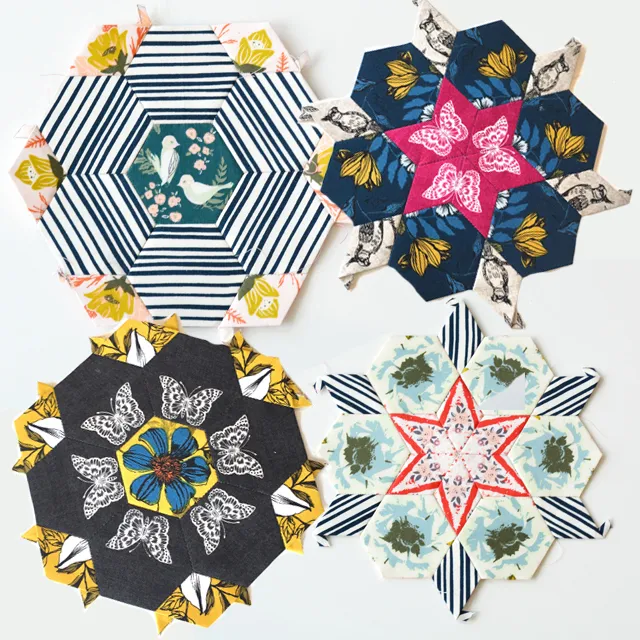
The four blocks below were workshop samples, each using different types of prints in varied ways to create new shapes and kaleidoscopic effects.
Using templates for fussy cutting
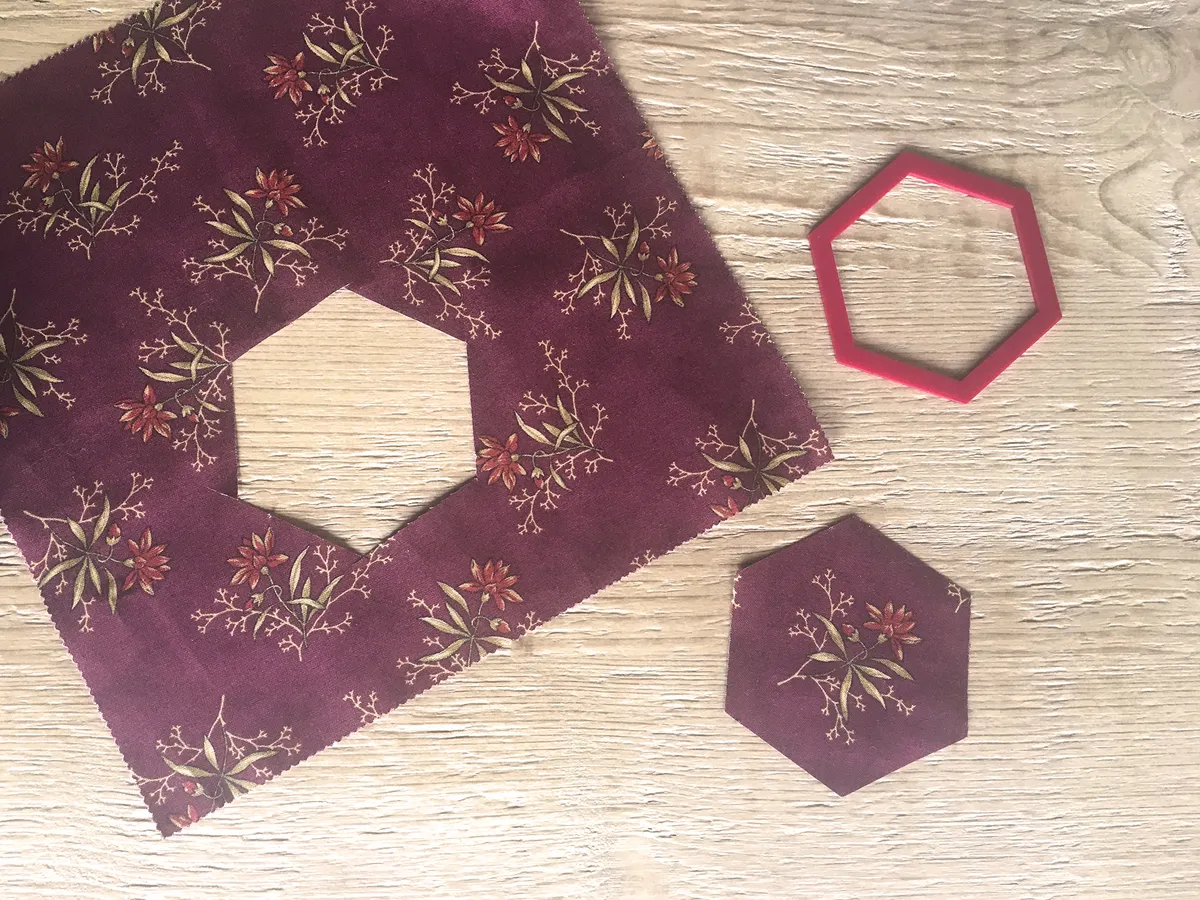
Line up the template over your chosen design element using the window to frame the shape. Draw around the outer edge of the plastic and then cut out along the marked lines. Use a straight edge ruler and rotary cutter (this will create the least wastage), or scissors as preferred.
If you are cutting lots of the same element, it can help to put markings on the template to help you line it up on the same part of the pattern each time. For example, dots at a point where a line should bisect, or where the tip of a petal should sit. Using a dry wipe marker will mean these can be easily removed to make the template reusable.
Accurate basting
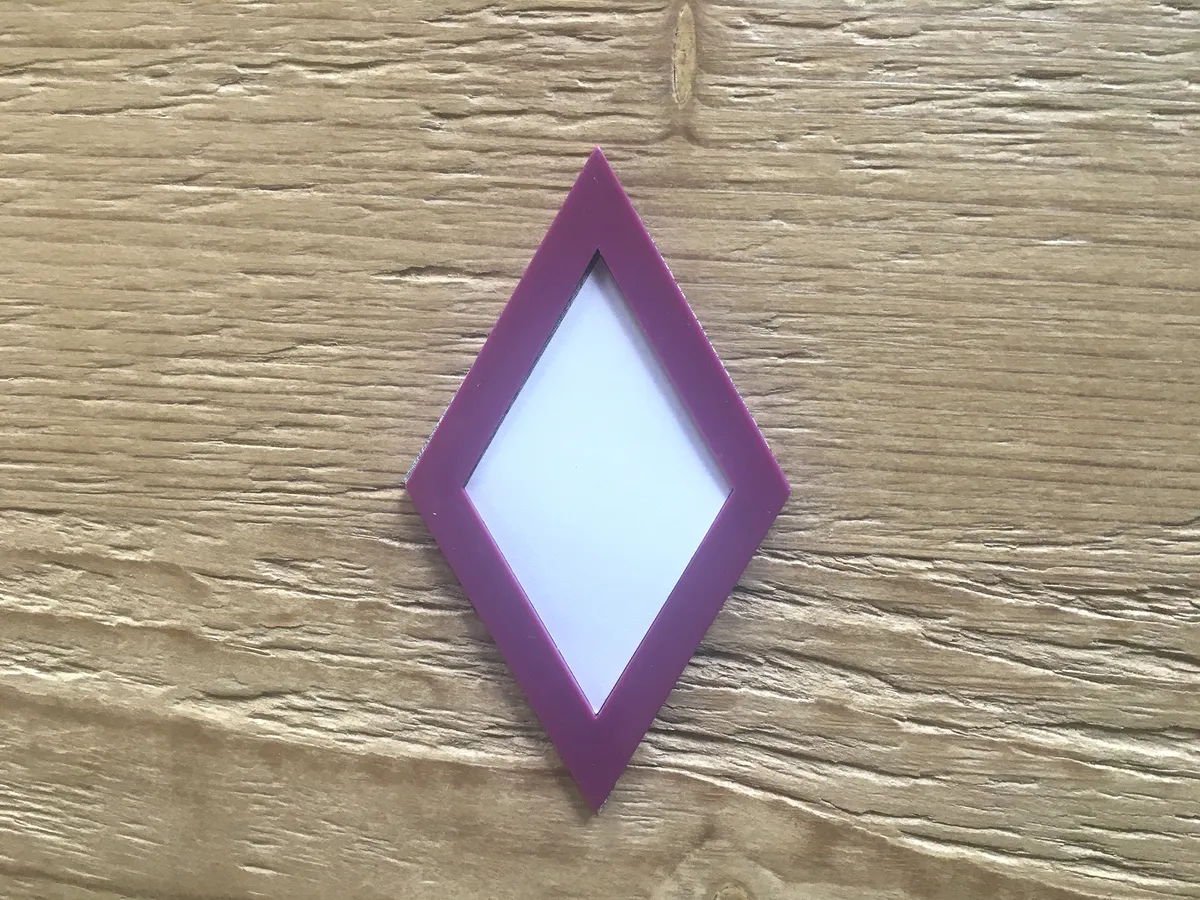
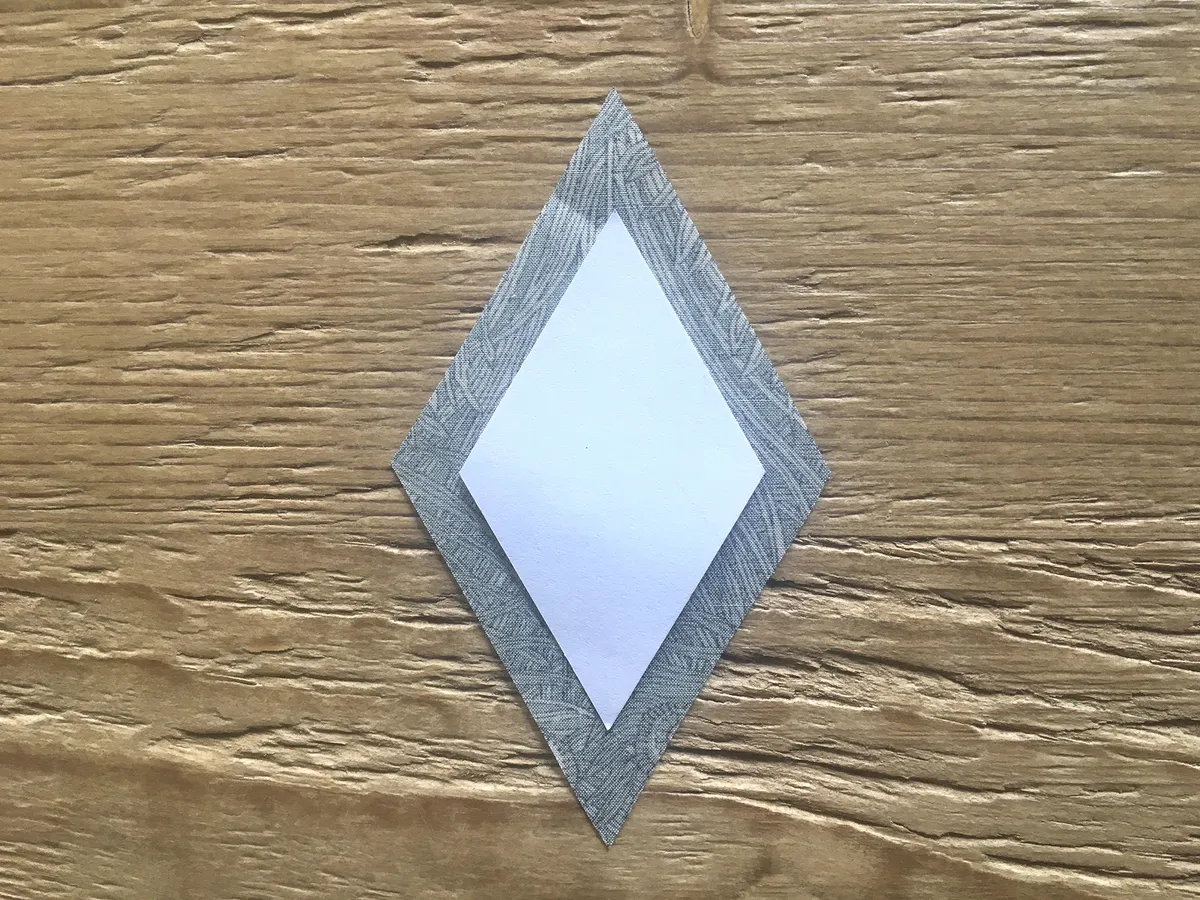
Once you've accurately cut out your desired motifs, you will want to make sure your paper piece remains exactly in the centre of the fabric whilst basting. This is especially important when design elements are required to meet and blend seamlessly. The fussy-cut templates can be used to make sure you line up the paper piece precisely.
Turn over the cut fabric piece so it is the wrong side up. Line up your plastic template with the edges of your cut fabric, the window in the centre shows you where the paper piece should sit. Dab a small amount of fabric or washable glue on the back of the paper piece, then drop it into the window. The glue will hold the paper exactly in the middle. The template can now be removed and your shape basted using your preferred method.
Now you're ready to start your first fussy-cut project! Why not begin with our 'In Fine Feather' cushion inside issue 28 of Today's Quilter magazine? Get your copy today straight to your phone, tablet or computer through the Today's Quilter app for Apple Newsstand or Google Play.