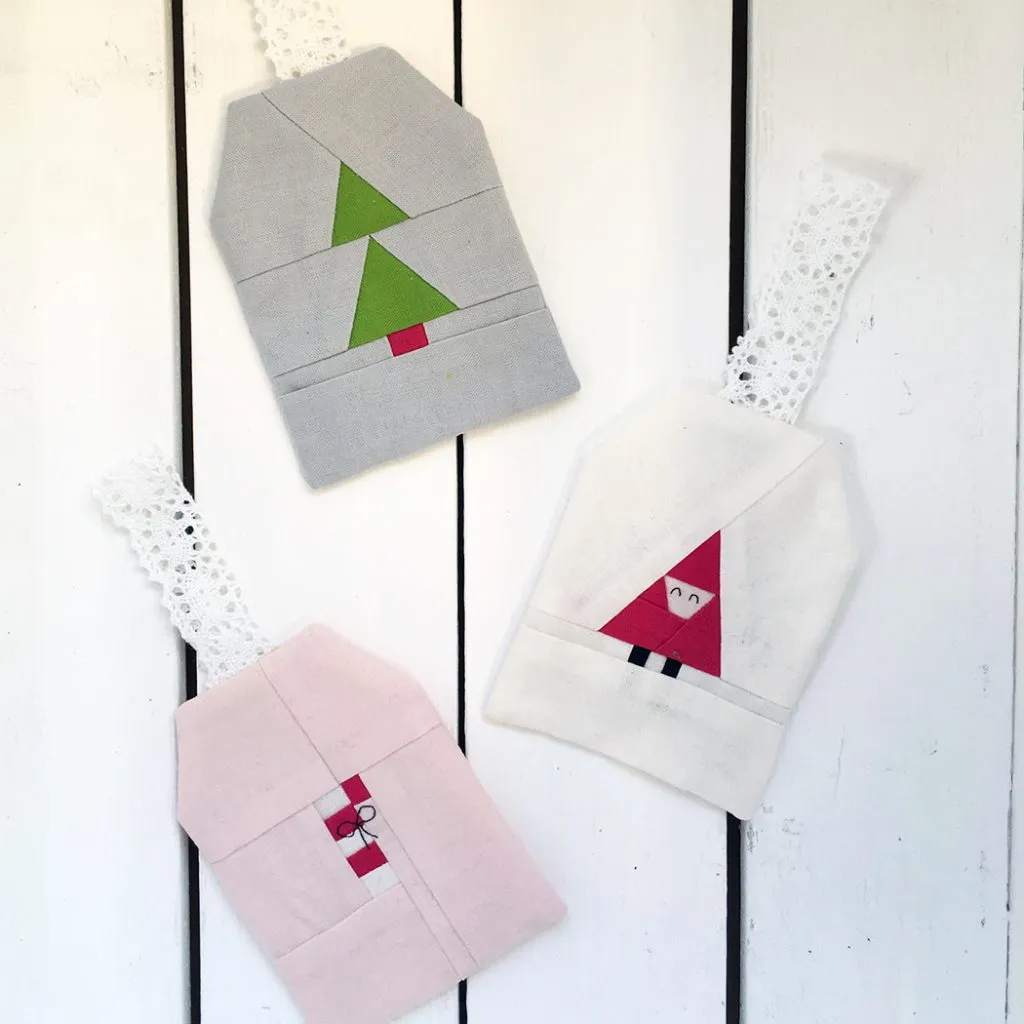
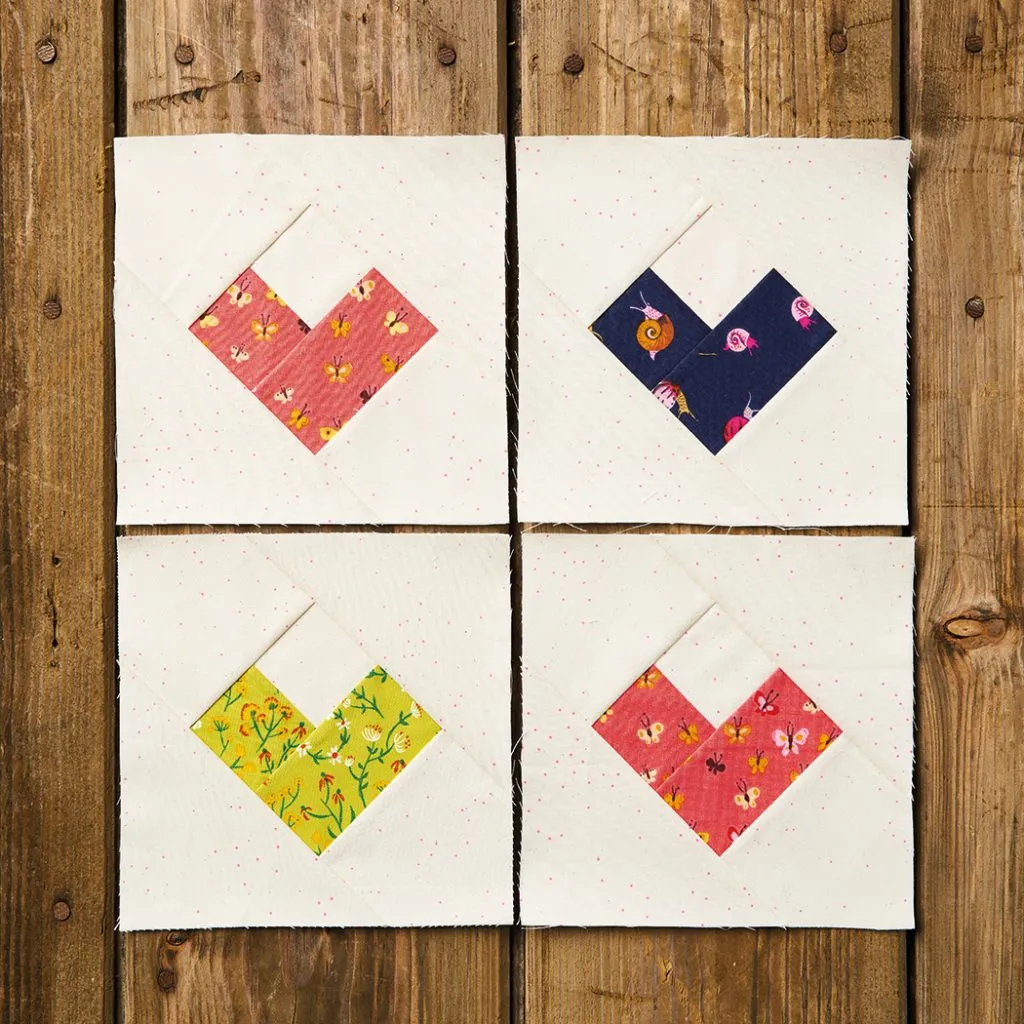
These Santa and candy cane motifs are just two of a set of seasonal foundation paper piecing templates that we're bringing you as part of our 24 Free Christmas Sewing Projects series. Sew them up into fabric gift tags or why not sew each design from the series below into a square block and piece them with solid squares to make a festive mini quilt?
Read on and we'll show you how it's done! Get ready to sew all the merry into your Christmas quilting! If you're looking for paper piecing fun, you might also like our free hexagon templates for a soothing spot of English Paper Piecing.
Free Christmas Foundation Paper Piecing Patterns
Pick your favourite to stitch today or sew the set:
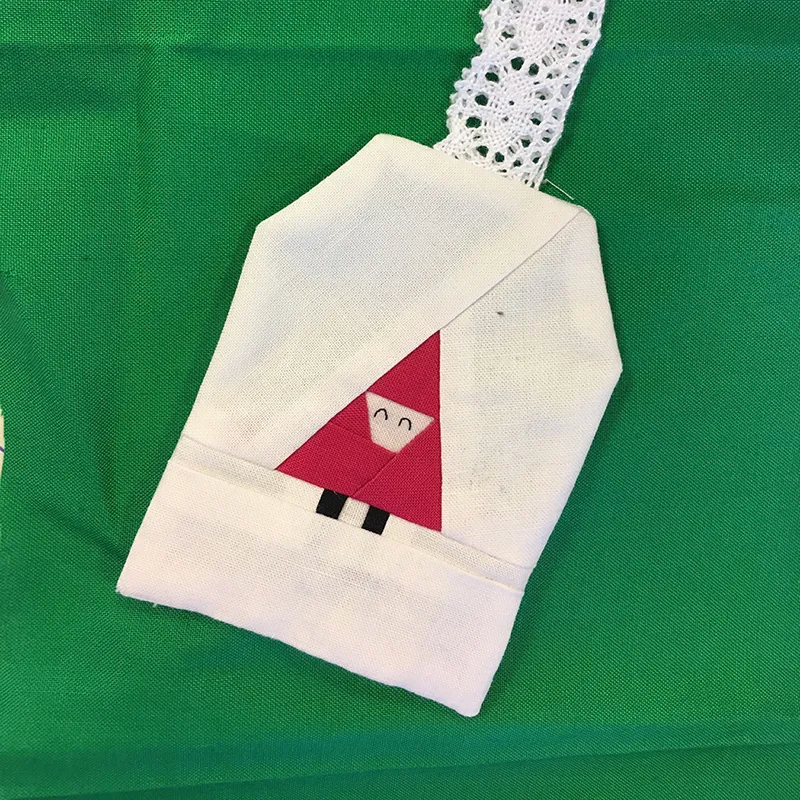
- Free Santa foundation paper piecing pattern (PDF)
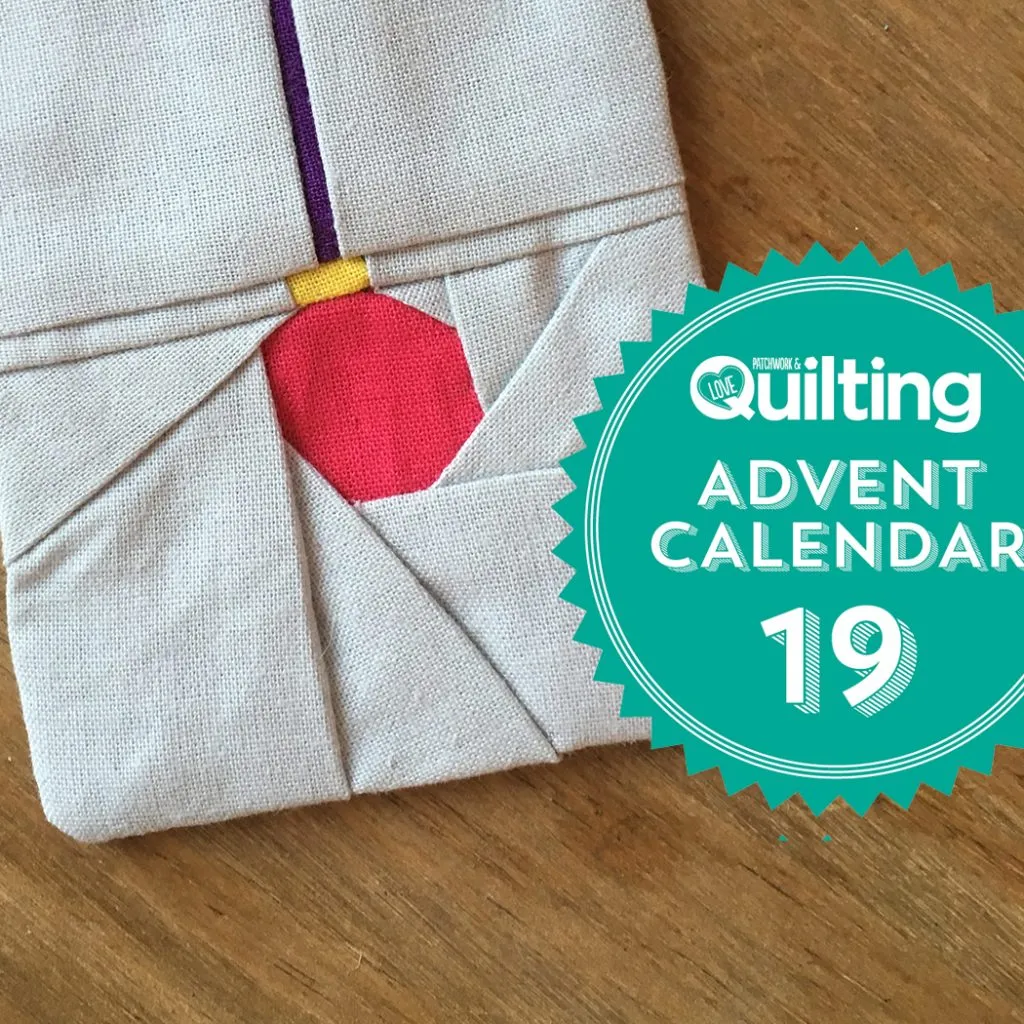
- Free candy cane Foundation paper piecing template (PDF)
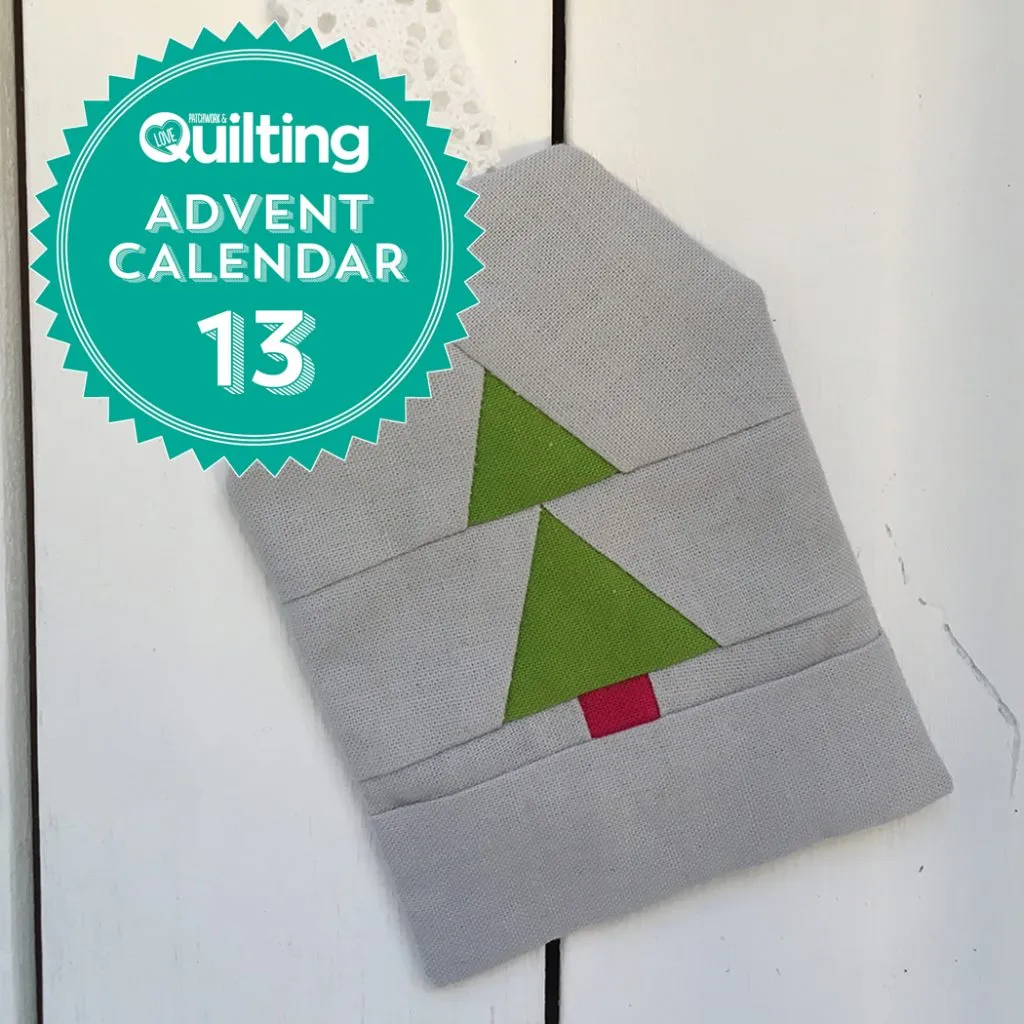
- Free-Christmas-tree-foundation-paper-piecing-template
- Free Christmas stocking foundation paper piecing pattern
- Free Christmas bauble foundation paper piecing template

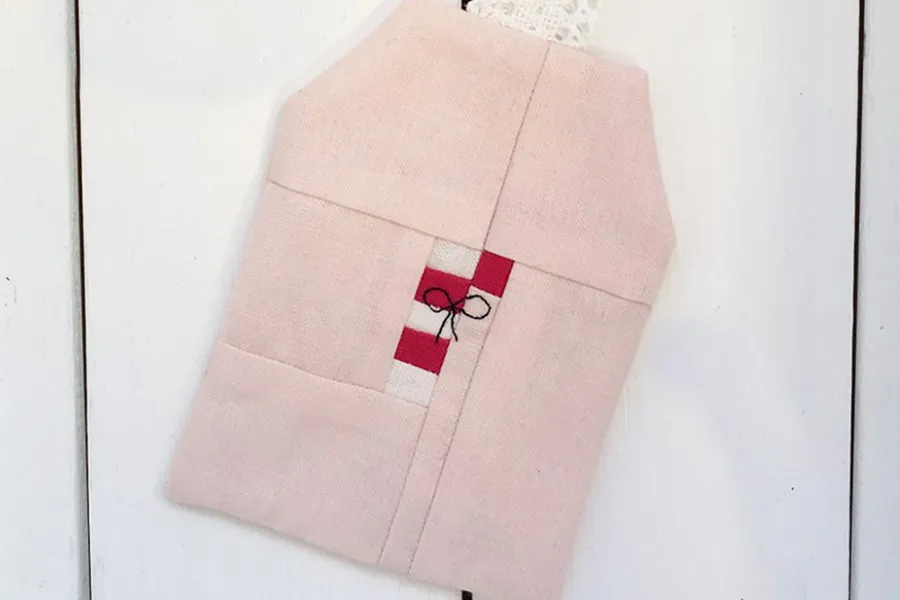
How to sew a fabric gift tag
You will need...
- Some small fabric scraps – we've used solids from our stash
- 6in piece of ribbon for the loop
A few things before you begin
- Each finished tag measures 4in x 3in.
- If you've never tried foundation paper piecing before, check out our How to FPP tutorial to learn the ropes
- Tip: As you sew, remember to cut your seams to ¼in after you add each new piece and then press - this will stop your tag from getting too bulky.
New to Foundation Paper Piecing?
Welcome to a whole new world of exciting patchwork effects! Read our Beginner's Guide to FPP to learn how it's done and practise your skills before you dive into this santa pattern.
How to make a patchwork gift tag
Step 1
Download and print out the foundation paper piecing pattern of your choice from the list above.
Step 2
Foundation piece the template tag shape using fabric scraps. You'll see a red line on the template - this means you have to cut the template into different parts, for example either side of the red line (A and B). It's very important that you add a ¼in seam to the red edge before you start to sew! Otherwise the two parts won't match up when you come to join them. So each finished section will have a ¼in seam all around its edge.
Step 3
Once you've finished sewing the different sections, join them together along the red line with a ¼in seam and press. You'll be left with a foundation paper piecied tag shape including ¼in seam allowance around the edge.
Step 4
Now it's time to turn your design into a tag! You've already sewn one tag shape. Cut a second tag shape from any fabric you like using the dashed outer line of the template as your pattern. Place the two tag shapes right sides together.
Step 5
Fold your ribbon in half to form a loop. Position the loop in between the two pieces of fabric so it sandwiched in between them with the fold of the loop lying in the centre of the tag shape and the two cut ends of the ribbon poking out from the top edge by about ¼in.
Step 6
Sew all around the edge of the tags leaving a ¼in seam and a small hole along the bottom edge of the tag, so that you can use it to turn the tag inside out. Turn the tag inside out and the ribbon loop should be poking out from the top edge. Press the tag and slip stitch the hole together to finish.
Tip: To add a more personal feel, embroider the name of your gift recipient on the back of the tag before you sew the front and back together.

Head to our round up of the best Christmas sewing patterns to find more Christmas quilting and sewing projects.
