Cutting out
Step 1
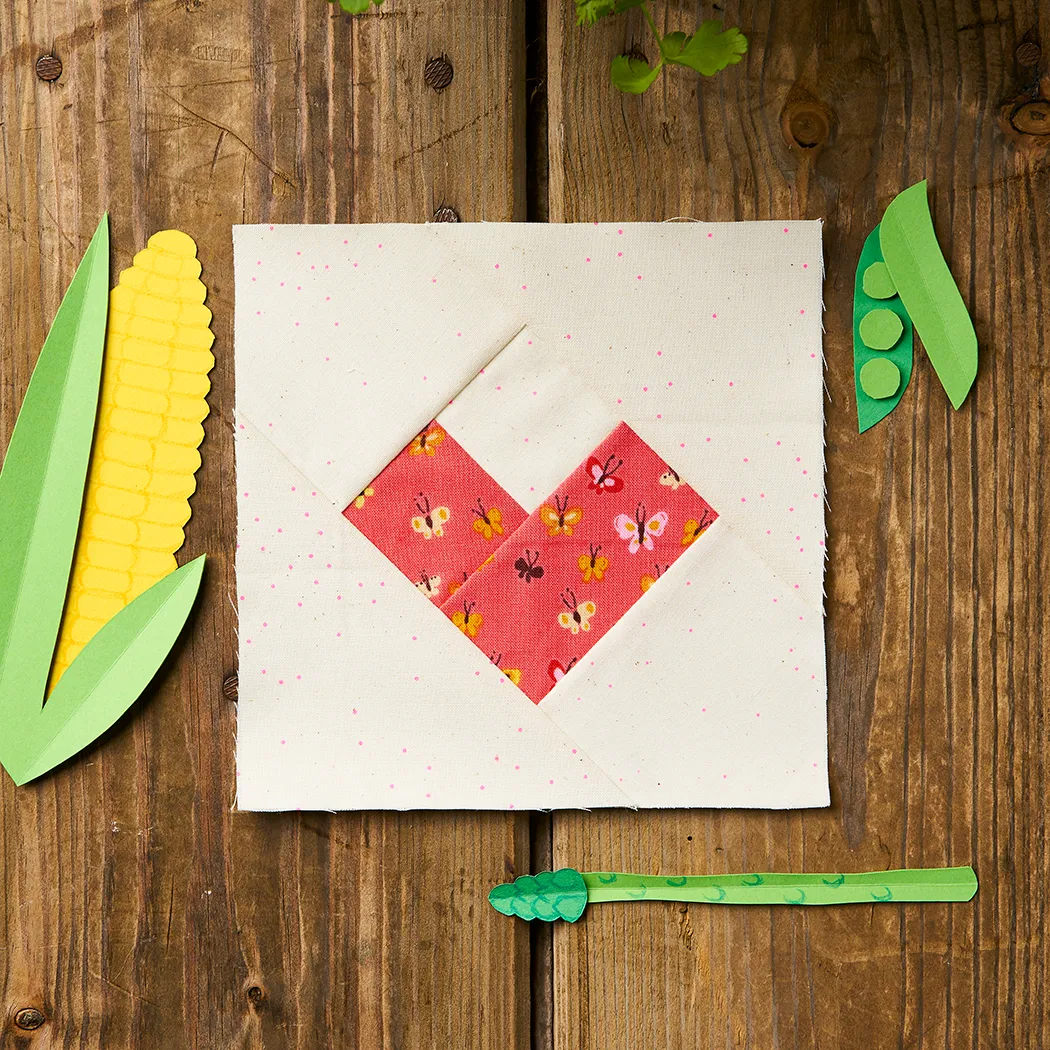
Before you begin, refer to the image of the finished block to work out which fabric will be used for each section of the template. Cut the fabric pieces for each section of the FPP template, making sure that the pieces will be at least 1⁄4in larger than the section they will cover, all the way around. You will trim off excess fabric later, so if you are new to this technique, then it’s best to allow 1⁄2in.
TIP:
One way to prevent yourself from cutting fabric too small is printing out an extra paper template, cutting the pieces out and using them as templates for cutting out your fabric, adding the seam allowance around each piece.
Piecing the template
Step 1
Start by finding Sections 1 and 2 on the paper template and taking the fabric pieces for each section. For this template, Section 1 is a background fabric square and Section 2 is a print fabric square.
Step 2
Hold up your template against a light source – windows are great for this! The right side of the paper needs to be facing you. Take the background fabric square and hold it to the wrong side of the paper template, with the wrong side of the fabric touching the paper and the right side of the fabric facing the light source. Hold it against the window to make sure that the fabric covers all of the paper square and has at least ¼in seam allowance all around. Pin in place (Fig A).

Figure A
Step 3
Place the Section 2 fabric RST with the Section 1 fabric, aligning the raw edges on the side where Sections 1 and 2 meet. Pin in place along the line between the two sections. Now you can fold back the Section 2 fabric and check that once sewn, it will cover Section 2 completely, including the ¼in seam allowance on all edges (Fig B).

Figure B
Step 4
Set the stitch length on your sewing machine so that it is smaller than usual. Susi recommends 1.5. This will make it easier to remove the templates later, as your needle will perforate the paper as you sew. Sew along the line on the template between Sections 1 and 2, backstitching at both ends to secure (Fig C).

Figure C
Step 5
Fold back the print fabric and make sure that it covers all of Section 2 with a ¼in seam allowance all round (Fig D).
 Figure D
Then fold back the template on the seam to expose the seam allowance. Trim it to approx 1⁄8in. Press the print fabric towards Section 2 (Fig E).

Figure E
Step 6
Repeat steps 4–6 to piece the remaining sections on the template, working in numerical order (Figs F–H).

Figure F

Figure G

Figure H
Step 7
Trim the pieced block along the dashed outer edge of the paper template.
Step 8
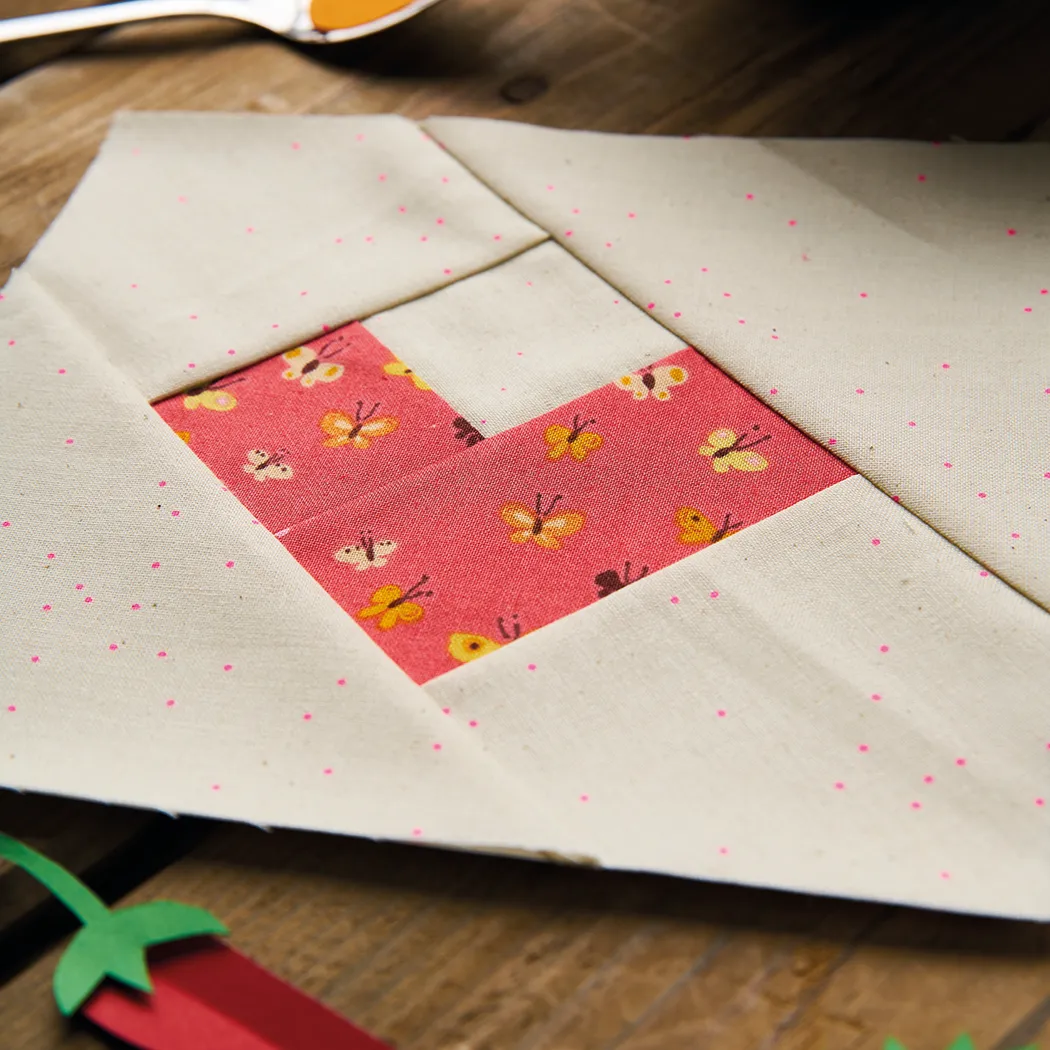
Remove the template to complete one Heart block (Fig I).
 Figure I