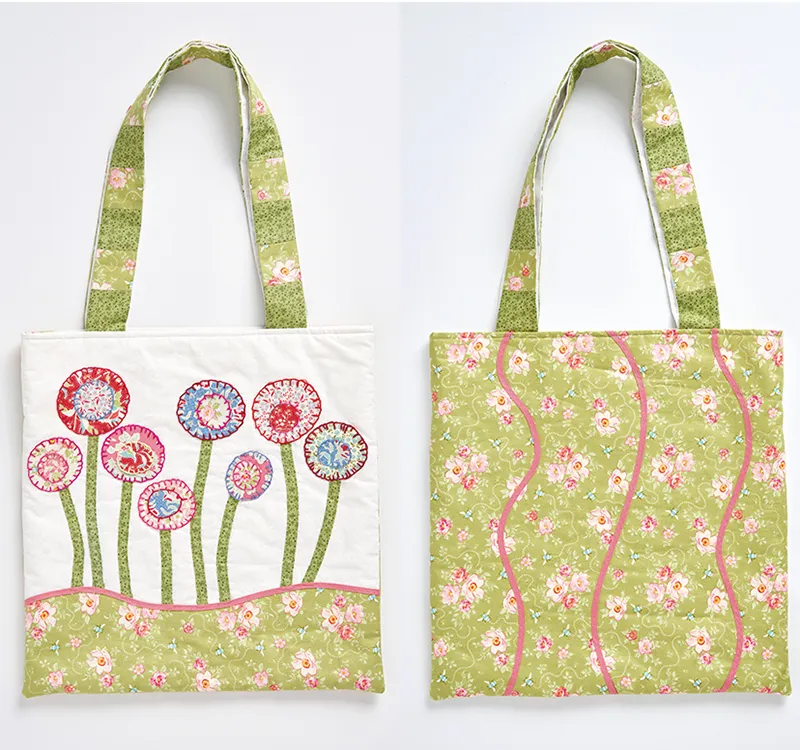
For this clever technique, you'll use fabric strips for appliqué, which can be used to represent straight or curved elements in a design, or to outline shapes or motifs. Here's how it's done...
What is Bias Strip Appliqué?
Bias-strip appliqué is a method of appliqué that uses narrow strips to add bold elements to a design. Cutting strips on the bias means that the fabric is able to curve more easily, allowing you to achieve fluid shapes.
Strips can most easily be created using commercial fusible bias tape, and these are available in different widths, with ¼in and ½in being the most common. You can also make your own bias strips, which will give you wider choices in terms of fabric and widths. Homemade strips can be made in any width, from 1/8in upwards.
Strips can be used in appliqué in various ways – from simple shapes to represent the stems of flowers, branches on trees, legs of animals and curling vines, to the more complex designs of stained-glass appliqué and Celtic appliqué.
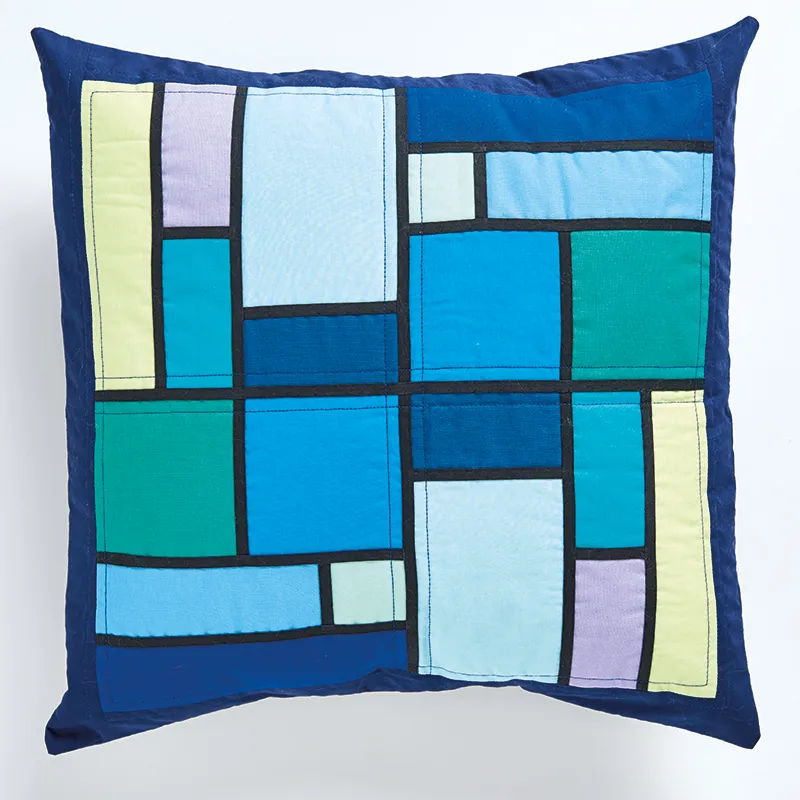
This article describes the methods you will need to create bias strips for appliqué and how to apply them. It also suggests some design options. Next month we will take the technique further and look at creating stained-glass appliqué designs.
What do you need to try bias strip appliqué
All you needto make your own bias strip appliqué without a tool is some fabric, basic sewing kit, an iron for pressing and a needle and thread. However if you want a helping hand, try this extra kit:
How to decide your strip thickness
When deciding on strip width you need to consider two main things.
- What width will work best with your design? It needs to be wide enough to show up well, yet not so wide that it overwhelms the design.
- How easy is it to make the strips? For example, if a design needs a 1⁄8in width but needs yards and yards then you might prefer to scale up the design so a commercial ¼in width can be used instead. Widths of ¼in and ½in are much more readily available in commercial tape.
Brought or homemade?
Probably the first decision you need to make is whether to buy ready-made bias tape or make your own. Some of the advantages and disadvantages are given here.
Commercial tape
- Bias strips come ready to use, with the seam allowance already pressed in place.
- Some commercial tapes are backed with fusible web, which means that they can easily be fused into position.
- Widths of ¼in and ½in are readily available.
- Narrower widths, such as 1⁄8in are more difficult to find.
- Fabric choices and colours are limited, especially patterned ones.
Homemade tape
- Bias strips can be made in whatever width you want, from 1⁄8in upwards. The widths can also be varied in a design.
- Making the tape yourself means you can use any fabric you like, be it solid or patterned, to work specifically with your design.
- You can add narrow fusible web to the back of homemade tape, to make it fusible.
- You can use a bias maker tool to make bias strips or a bias bar to make bias tubes.
- It is more time consuming to make your own tape.

How to make bias strips without gadgets
So, you’ve decided to make your own bias strips, giving you the best choice and flexibility. Depending on the size of your project, you will probably need bias strips with a finished width of 1⁄8in, 1⁄4in or 3⁄8in. If your project is a large one, then a 1⁄2in width might be needed. You can make these strips with just a ruler and rotary cutter, or you can make them using tools such as a bias maker or a bias bar. Let’s look at the no-gadget method first – I call this the “sides to middle method”.
Scroll down for our full step by step guide.
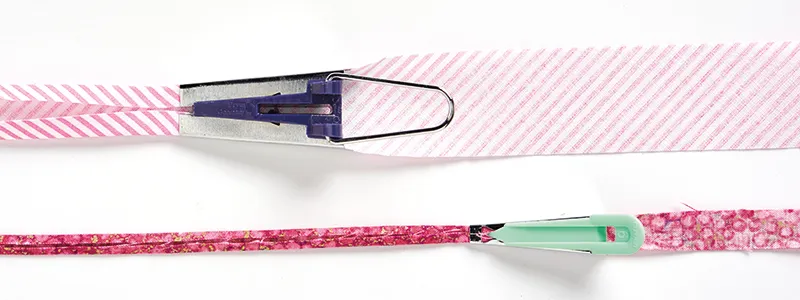
How to make bias strips with a Bias maker
Using a bias bar helps to turn bias-cut strips into a neat tubular form, which is really useful for appliqué, particularly for flower stems and narrow shapes that need to curve smoothly. The bars are made from metal or heat-resistant plastic and are usually available in a pack of different widths. Simply choose the width you need your finished strips to be. The advantage of creating a tube is that you can avoid tiny, fiddly seam allowances by cutting the allowance wider than you need and then trimming it down after the tube has been sewn (before the bias bar is used).
Scroll down to find out how to use one.