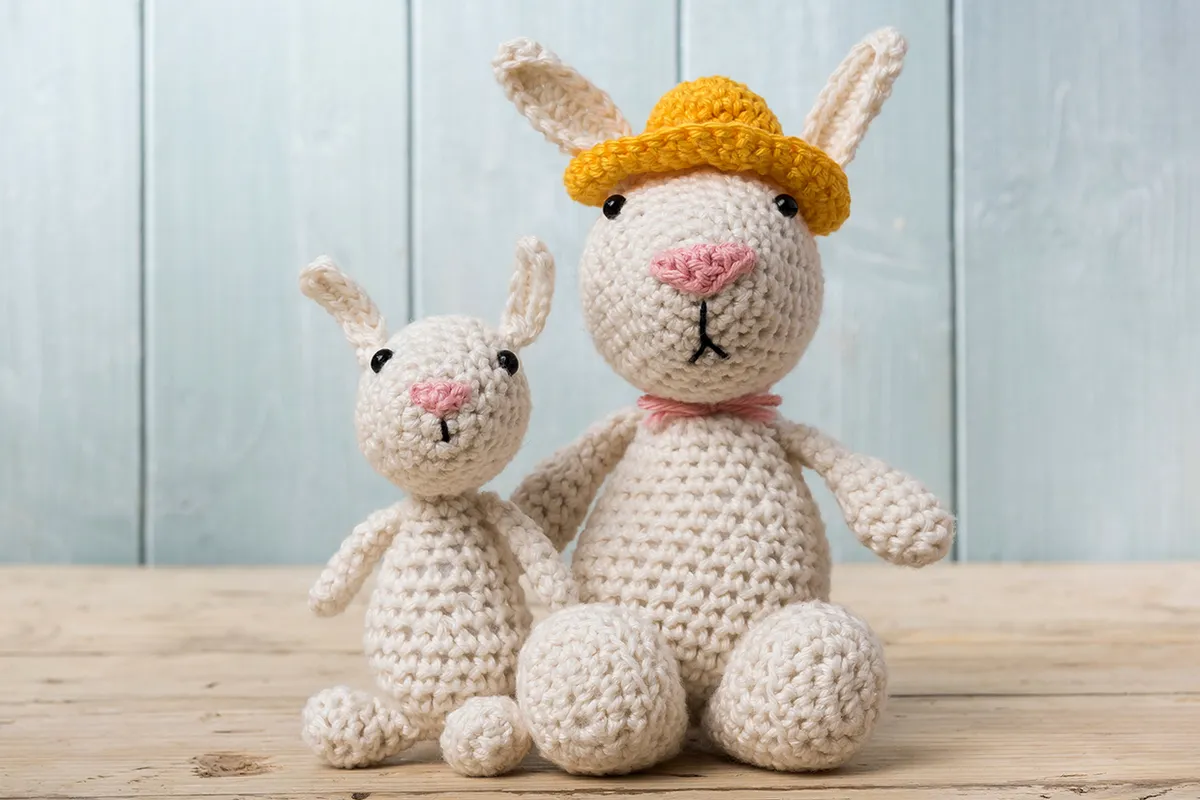
This free crochet bunny ears pattern by Anne Egan is the perfect Easter accessory for your little one (or yourself) while on an egg hunt.
The ears are made with wire pipe cleaners – so they’re fully pose-able, and it's easy to adjust the headband cover section to suit whatever size you need!
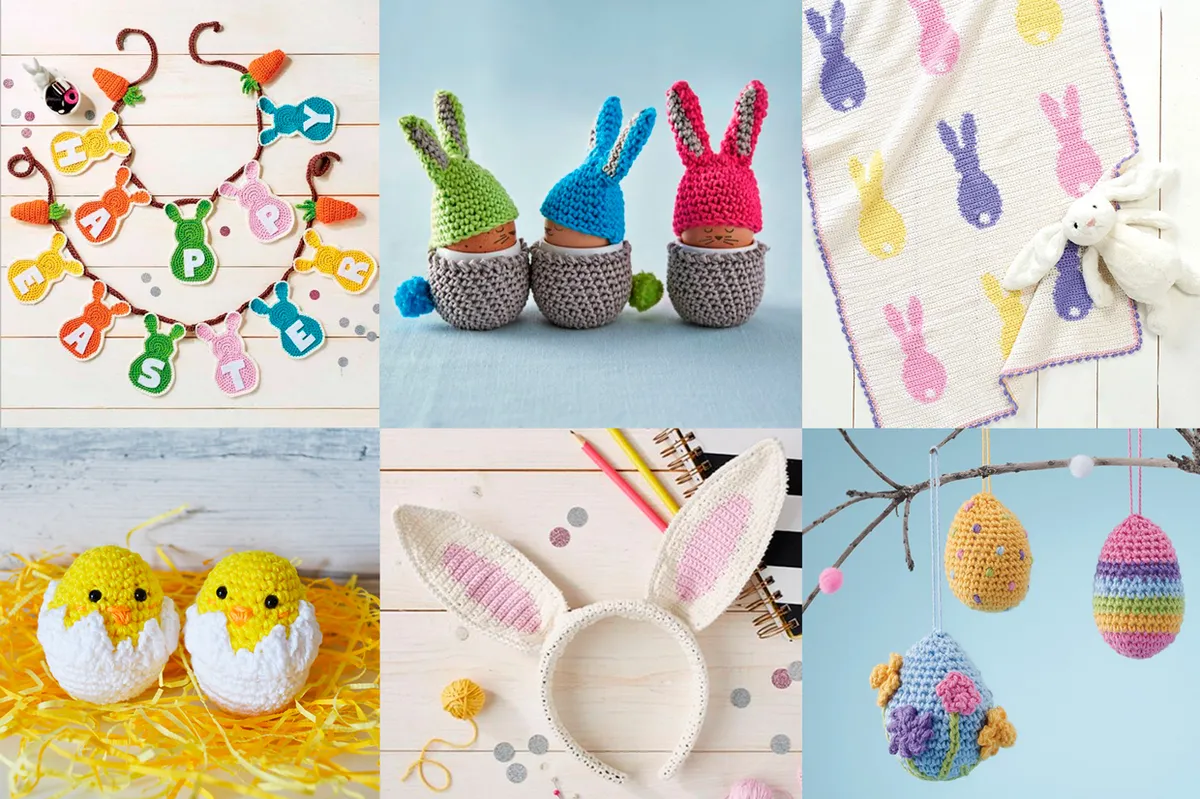
Why not make a full set of accessories to go with your Easter bunny ears - you could try making our simple but colourful Easter basket crochet pattern, or complete your Easter outfit with our free crochet bunny brooch pattern!
Hop to it!
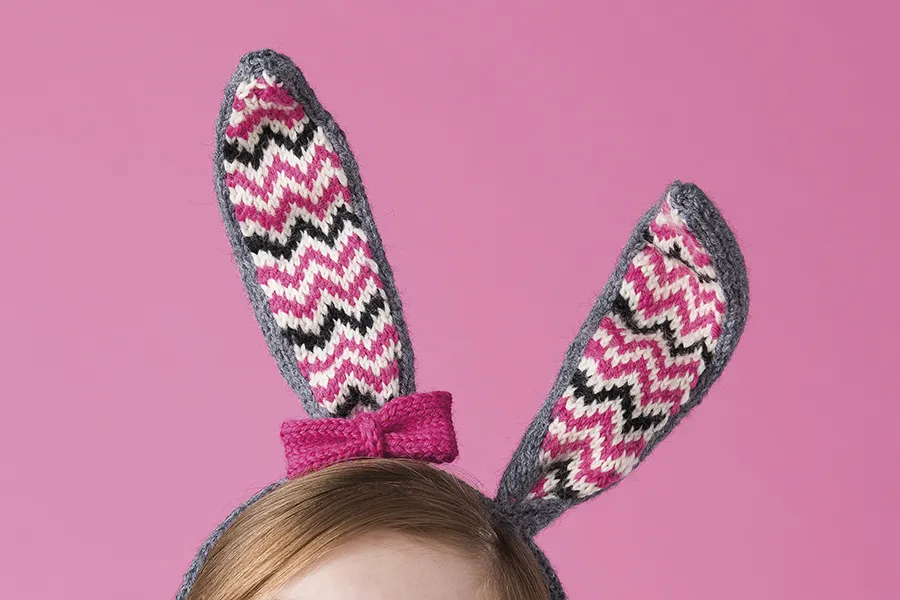
If you're also handy with a pair of knitting needles, try our Free knitted bunny ears headband.
You will need
- DMC Natura Just Cotton (100% cotton, 50g/155m) or alternative 4ply yarn, in the following;
- 1 ball of White - Ivory (N02)
- Small amount of Pink - Rose Soraya (N32)
- A 3mm (US C/2 or D/3) hook
- A plastic hair band, 40cm (15¾in) long, 4.2cm (1½in) diameter at widest part
- 4 pipe cleaners, 30cm (12in) long
Measurements
Ear height - 16cm (40½in)
Abbreviations
You can find a full list of all abbreviations we use in our abbreviations and conversions guide. This bunny ears headband crochet pattern is written in UK terminology but you can easily convert it to US terms using the guide
Notes
Inside and outside of crochet bunny ears are worked in rows, then the edges are joined while crocheting over pipe cleaners to give structure. Ears bent to shape and attached to Headband Cover, which is stitched tightly over the hair band.
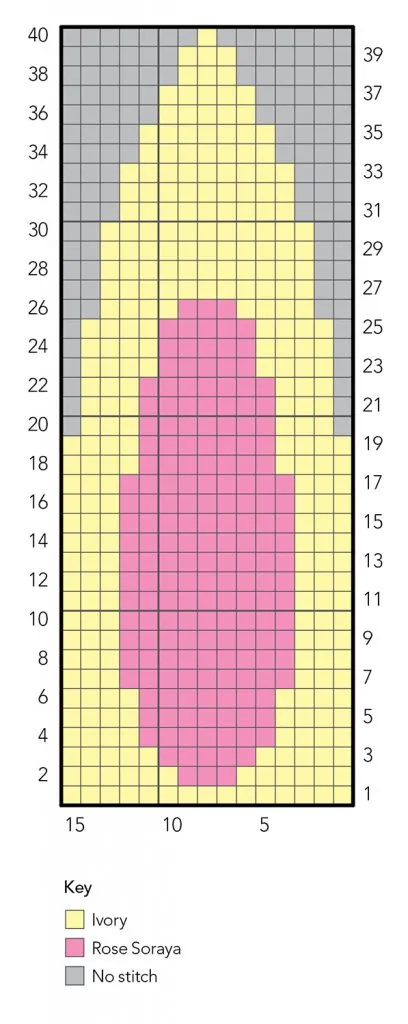
Work the Front Ears following the Chart below. Each square represents 1dc stitch. Read all RS rows from right to left and WS rows from left to right. When changing colour mid-row, twist the ends of the two colours together (to avoid making a hole). Pick up the new colour in the last yrh of the prev stitch and carry the unused strands of yarn across the WS of the work.
For the Headband Cover, increases and decreases should be made in the middle of the row. Increase by working 2dc in one stitch and decrease by working dc2tog.
New to crochet? Then check out our beginners guide to what you need to start crocheting
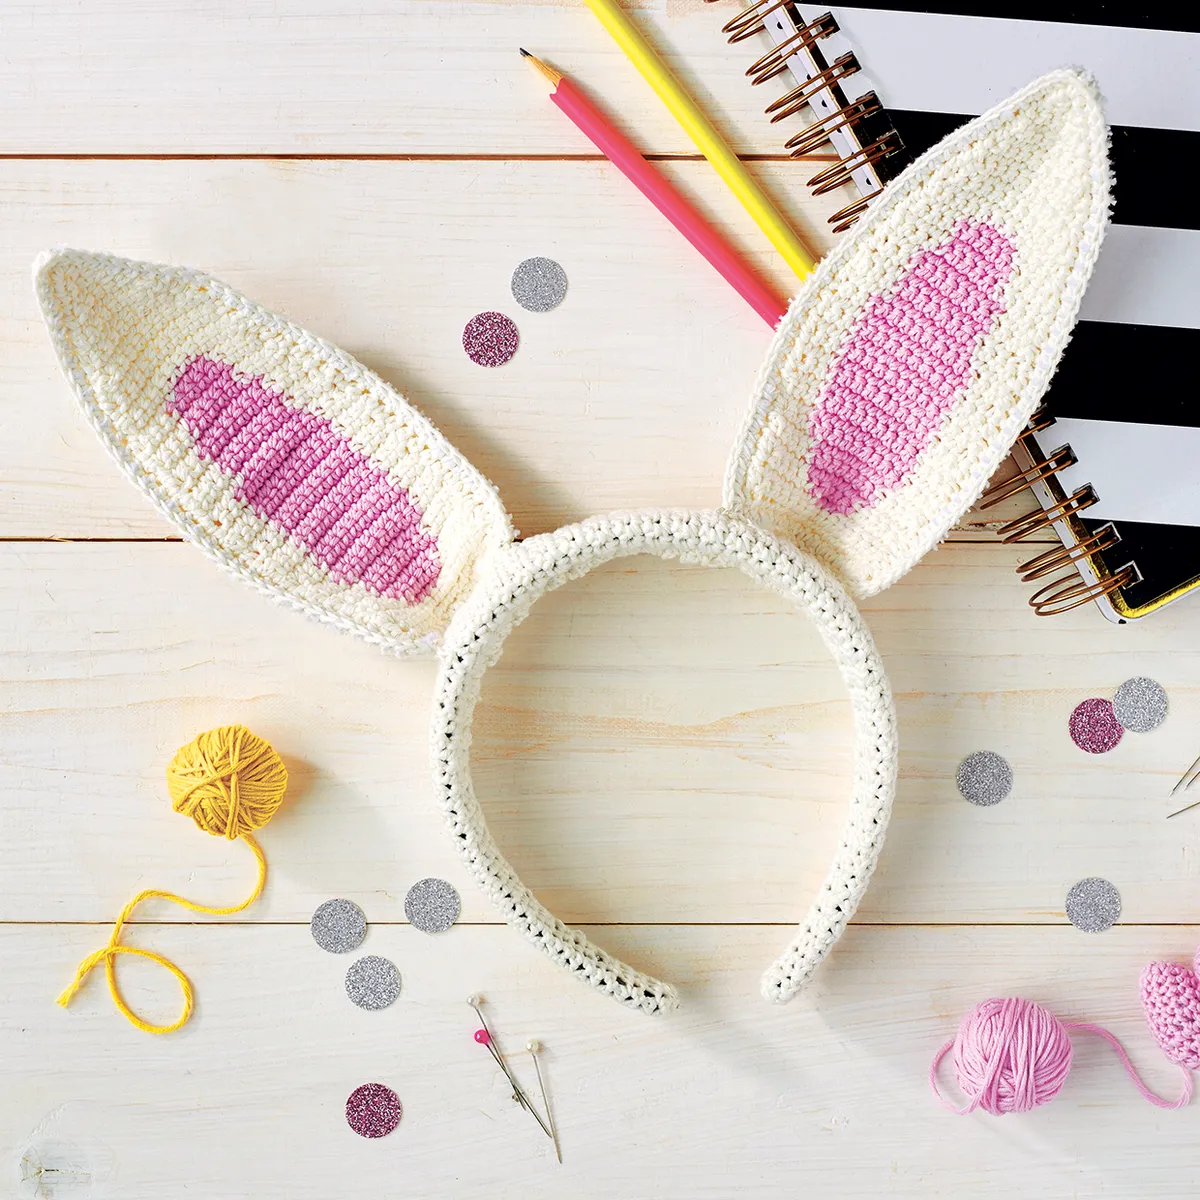
Free Easter bunny ears crochet pattern
Ear back (make 2)
Using Ivory, ch16.
Row 1 Dc in second ch from hook and in each ch to end, turn. [15 sts]
Rows 2-19 Ch1 (does not count as a st throughout), dc in each st to end, turn. [15 sts]
Row 20 Ch1, skip next dc, dc in each of next 12 dc, dc2tog, turn. [13 sts]
Rows 21-25 Ch1, dc in each st to end, turn.
Row 26 Ch1, skip next dc, dc in each of next 10 dc, dc2tog, turn. [11 sts]
Rows 27-30 Ch1, dc in each st to end, turn.
Row 31 Ch1, skip next dc, dc in each of next 8 dc, dc2tog, turn. [9 sts]
Rows 32-33 Ch1, dc in each st to end, turn.
Row 34 Ch1, skip next dc, dc in each of next 6 dc, dc2tog, turn. [7 sts]
Row 35 Ch1, dc in each st to end, turn.
Row 36 Ch1, skip next dc, dc in each of next 4 dc, dc2tog, turn. [5 sts]
Row 37 Ch1, dc in each st to end, turn.
Row 38 Ch1, skip next dc, dc in each of next 2 dc, dc2tog, turn. [3 sts]
Row 39 Ch1, dc in each st to end, turn.
Row 40 Ch1, skip next dc, dc2tog, turn. [1 st] Rotate and work a row of dc evenly spaced around the outside of the Ear, ss to first dc.
Fasten off.
Ear front (make 2)
Work as given for Ear Back, working an oval section in the centre using Rose Soraya (see Chart below). See Notes above for information on how to use the Chart.
Making up the crochet bunny ears
Place an Ear Back and an Ear Front together with WS facing and RS outermost.
Hold a pipe cleaner against the edge and using Ivory, join the two edges with dc around, working over the pipe cleaner into a dc st from both layers. Fasten off.
Rockin' Rabbits
Looking for more fantastic bunny crochet projects? You'll find loads in our pick of the best amigurumi bunny crochet patterns
Bunny ears headband cover
Using Ivory, ch8.
Row 1 (RS) Dc in second ch from hook and in each ch to end, turn. [7 sts]
Row 2 Ch1 (does not count as st throughout), dc in each st to end, increasing by 1 st in the middle of the row, turn. [8 sts]
Row 3 Ch1, dc in each st to end, turn.
Row 4 Ch1, dc in each st to end, increasing by 1 st in the middle of the row, turn. [9 sts]
Rows 5-6 Ch1, dc in each st to end, turn.
Rows 7-36 Rep Rows 2-6 another 6 times. [21 sts]
Rows 37-69 Ch1, dc in each st to end, turn.
Row 70 Ch1, dc in each st to end, decreasing by 1 st in the middle of the row, turn. [20 sts]
Row 71 Ch1, dc in each st to end, turn. Row 72 Ch1, dc in each st to end, decreasing by 1 st in the middle of the row, turn. [19 sts]
Rows 73-74 Ch1, dc in each st to end, turn.
Rows 75-99 Rep Rows 70-74 another 5 times, turn. [9 sts]
Row 100 Ch1, dc in each st to end, decreasing by 1 st in the middle of the row, turn. [8 sts]
Row 101 Ch1, dc in each st to end, turn.
Row 102 Ch1, dc in each st to end, dec by 1 st in middle of the row, turn. [7 sts]
Fasten off, leaving a long tail.
How to finish making your bunny ears headband
Bend the bottom of each ear into a ‘U’ shape and attach centrally between the long edges on RS of the Headband Cover. Fold Headband Cover over hair band, pull long edges together under the hair band and st tog so fit is snug. Fasten off and weave ends into WS.
If hair band is different size than recommended, make sure the Headband Cover is twice the width of the plastic hair band. Start with narrow end and increase until wide enough, then decrease at same rate to opposite narrow end.
Chart
Enjoy your Easter bunny ears
Kids will love wearing these crochet bunny ears at Easter, especially if they're going on an Easter egg hunt. That said, we know a fair few adults who would love a pair themselves too!
Fill this Easter full of crochet!
Find even more makes to celebrate the season with our Top 50 free Easter crochet patterns on Gathered